Free crochet swimsuit pattern: one-piece, sizes XS–XL
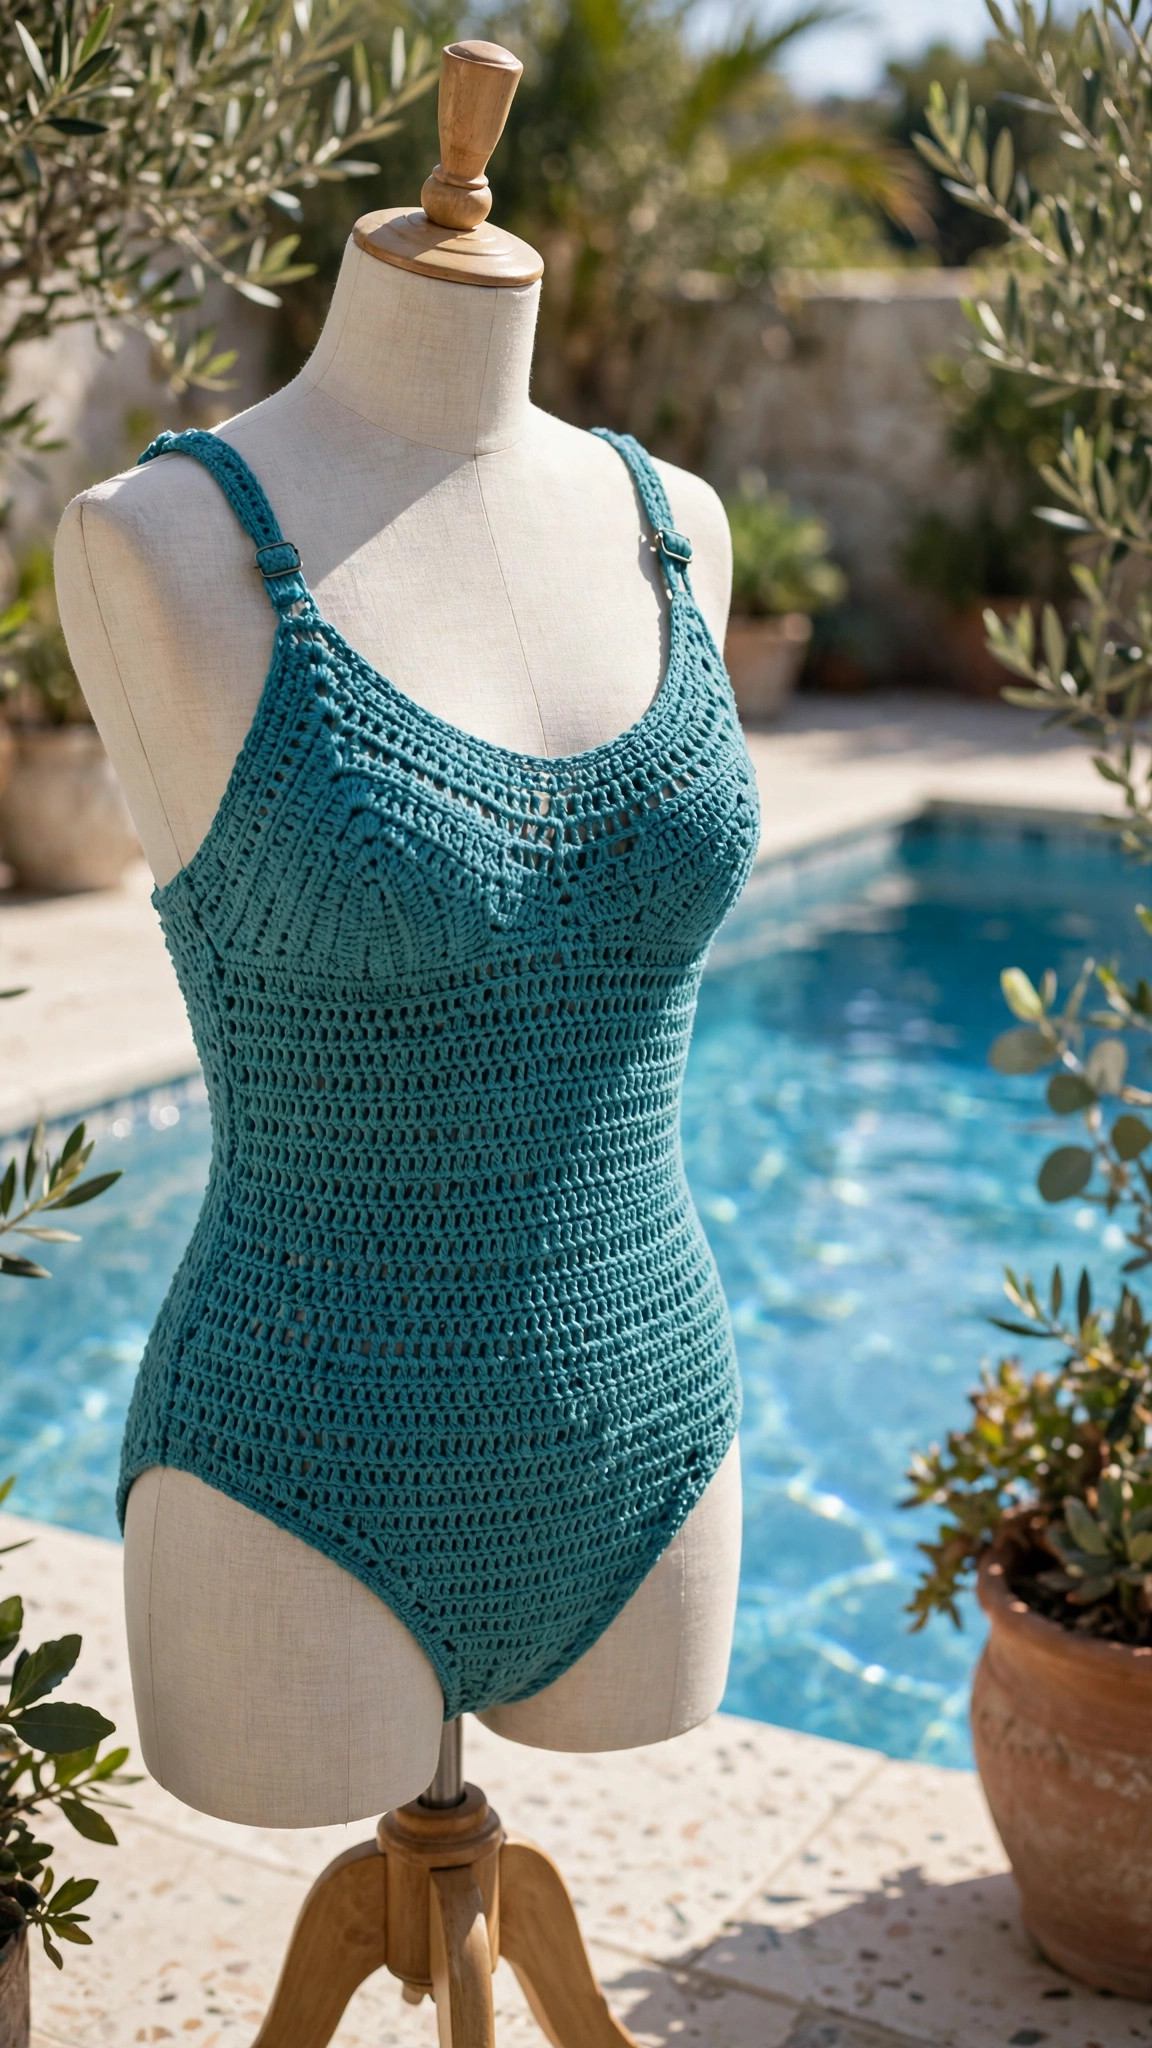
A completely original one-piece swimsuit with a classic scoop neckline and adjustable straps, worked bottom-up in firm single crochet with real negative ease, swimwear lining and elastic-friendly stitch tension — in five sizes from XS to XL.

Garments · Crochet
- Sizes
- XS–XL, finished bust 28–35.5 in
- Making time
- About 12–15 hours
- Hook
- 3.5 mm, DK cotton-elastic blend
- Fit
- ~12% negative ease, lined brief
- Skill
- Intermediate
In this post
You made it. The one-piece swimsuit you crocheted yourself — no fitting-room trips, no mystery sizing charts, just a scoop neckline, adjustable straps and a fit you shaped to your own body, stitch by stitch. This free crochet swimsuit pattern is a completely original design worked bottom-up in firm single crochet, sizes XS to XL, with a full measurement table, clear stitch counts and the practical know-how to make it hold up in real water: the right yarn, lining, negative ease, and honest stretch advice.
Why you'll love this free crochet swimsuit pattern
Most crochet swimwear patterns promise glamour and deliver a saggy disaster the first time you step into the water. This design is built differently. The stitch is dense single crochet on a smaller-than-usual hook, so the fabric is firm, opaque and supportive rather than lacy and loose. The suit is made with real negative ease — the finished garment is smaller than your body and stretches to fit — exactly how commercial swimsuits are engineered, and the biggest difference between a suit that stays put and one that slides.
The construction is simpler than it looks: front and back panels worked flat from the gusset up, all shaping done with increases and decreases at the edges. No tricky rounds, no picking up stitches around leg openings. The scoop neckline gives that classic silhouette, and the straps are genuinely adjustable — three buttonholes per strap let you fine-tune the length wet or dry. And it's honest about what it is: a suit for sunning, wading and gentle swimming. Training laps? Buy a racing suit.
Materials you'll need
| Supply | What to get |
|---|---|
| Main yarn | DK/light-worsted (#3) cotton-elastic or cotton-nylon blend, approx. 350 (400, 450, 500, 575) g — see the yarn note below |
| Crochet hook | 3.5 mm (E-4) |
| Elastic thread (optional but recommended) | 1 spool clear or matching elastic sewing thread, held with the yarn on the brief and leg edging |
| Lining | One pre-made swimsuit lining insert, or 0.5 m (0.5 yd) swimwear lining fabric in a matching color |
| Buttons | 2 flat buttons, 15 mm |
| Notions | Tapestry needle, stitch markers, scissors, measuring tape, sewing needle and thread |
The yarn note — read this before you buy anything. Regular 100% cotton is the trap in crochet swimwear: it absorbs water, gets heavy, and stretches out of shape when wet. For a suit that actually works, choose one of these:
- Cotton-elastic blends (cotton with 5–10% elastane): the best all-round choice — soft, breathable, and the elastic recovery pulls the suit back into shape when wet.
- Cotton-nylon blends: nylon adds strength and quick-drying performance — great if you'll swim often.
- Purpose-made swim yarns: several brands now sell yarn specifically for crochet swimwear.
Buy an extra ball beyond your size's quantity — dye lots matter on a garment this size.
Size, gauge and skill level
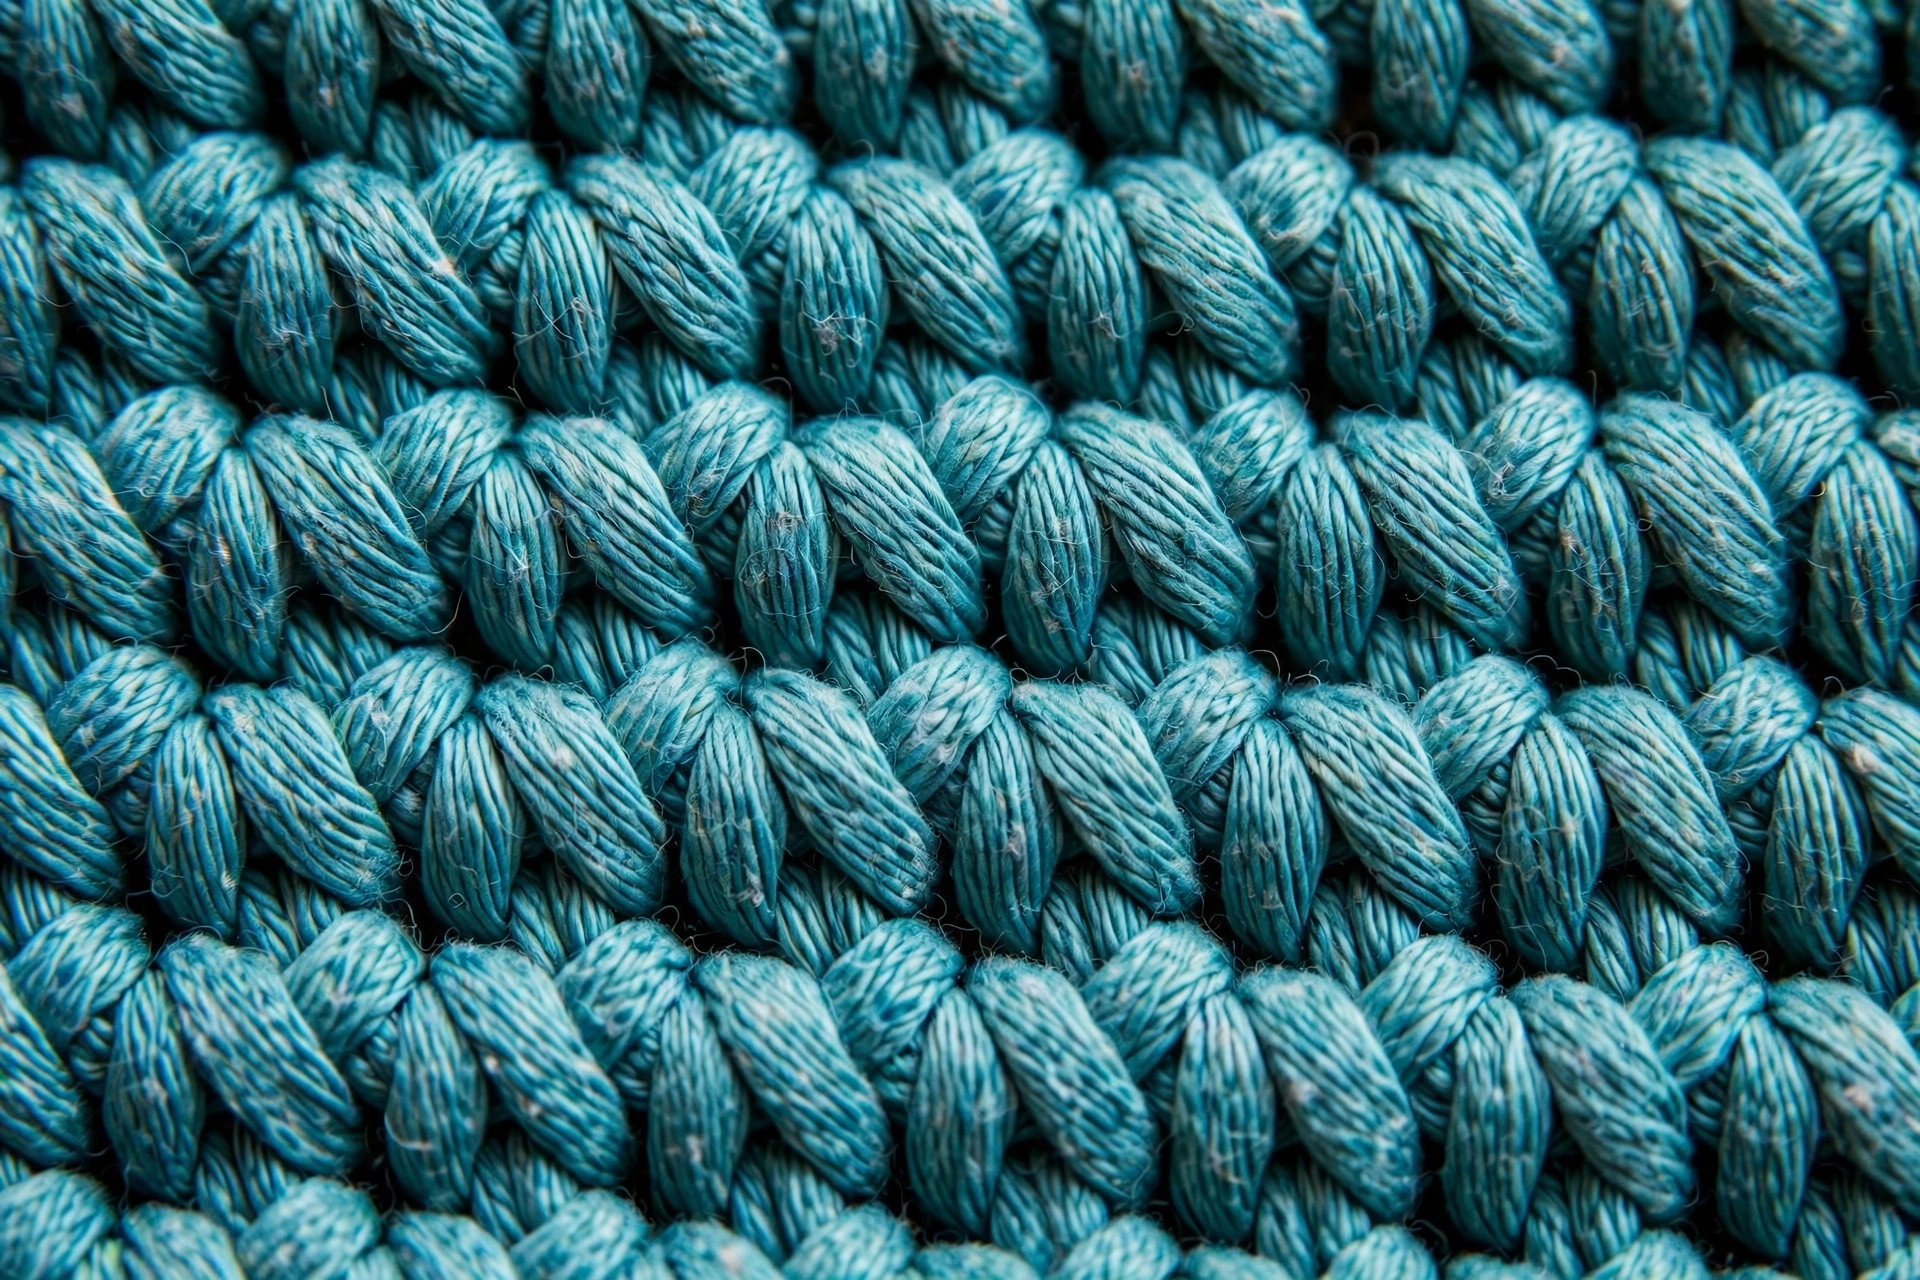
- Gauge: 20 sc × 24 rows = 10 cm (4 in) in single crochet with a 3.5 mm hook. Gauge genuinely matters here — a loose swatch means a loose suit. If your swatch measures bigger than 10 cm, drop to a 3.25 mm hook and swatch again.
- Skill level: intermediate, or a confident beginner ready for shaping. You should know single crochet, increasing, decreasing, working flat in rows, and simple seaming.
How the sizing works: negative ease, explained
Swimwear is worn stretched, so this pattern is written with negative ease: the finished measurements below are smaller than the body measurements, and the fabric stretches to fit — about 12% at bust and hip for a snug fit that stays put in the water.
Choose your size by your body measurements, not the finished ones: bust and hips at the fullest point, waist at the natural crease, tape snug but not tight. Between sizes? Pick the smaller one — a loose swimsuit is unwearable, a snug one just stretches more.
| Size | Body bust | Body waist | Body hip | Finished bust | Finished hip |
|---|---|---|---|---|---|
| XS | 32 in (81 cm) | 25 in (64 cm) | 34 in (86 cm) | 28 in (71 cm) | 30 in (76 cm) |
| S | 34 in (86 cm) | 27 in (69 cm) | 36 in (91 cm) | 30 in (76 cm) | 32 in (81 cm) |
| M | 36 in (91 cm) | 29 in (74 cm) | 38 in (97 cm) | 32 in (81 cm) | 33.5 in (85 cm) |
| L | 38 in (97 cm) | 31 in (79 cm) | 40 in (102 cm) | 33.5 in (85 cm) | 35 in (89 cm) |
| XL | 40 in (102 cm) | 33 in (84 cm) | 42 in (107 cm) | 35.5 in (90 cm) | 37 in (94 cm) |
Fit checkpoint: after each panel, measure the hip and bust widths — within 1 cm (0.5 in) of half the finished measurement for your size, or your gauge has drifted.
Abbreviations — US terms
| Abbreviation | Meaning |
|---|---|
| ch | chain |
| sc | single crochet |
| inc | increase (2 sc in the same stitch) |
| dec | decrease (sc 2 together) |
| sl st | slip stitch |
| st(s) | stitch(es) |
| FO | fasten off |
A note on tension: work firmly — pull each stitch snug. Swimwear fabric should feel almost stiff off the hook; if it drapes like a scarf, go down a hook size.
The pattern (US terms)
Two flat panels — front and back — each start at the gusset (the narrow base between the legs) and work upward: increases shape the brief, the panels narrow at the waist, widen at the bust, and the neckline is shaped at the top. Then seam, line, edge and add straps. Stitch counts are XS (S, M, L, XL) — count at the end of every shaping row.
Part 1 — The gusset and brief (front panel)
If you're using elastic thread, hold it together with your yarn for this section — the brief takes the most strain.
- Foundation: Ch 19 (21, 21, 23, 23). Set-up row: sc in the 2nd ch from the hook and in each ch across: 18 (20, 20, 22, 22) sc. This narrow strip is your gusset.
- Rows 1–6: Ch 1, turn, sc in each st across: 18 (20, 20, 22, 22) sc.
- Increase rows: Ch 1, turn, inc in the first st, sc across to the last st, inc in the last st. Repeat 29 (31, 32, 33, 36) times in total, increasing on every row for a classic medium leg line. End count: 76 (82, 84, 88, 94) sc. The panel now measures about 38 (41, 42, 44, 47) cm / 15 (16, 16.5, 17.5, 18.5) in across — your hip line, half the finished hip.
- Hip rows: Sc in each st across for 6 rows even. Mark both ends of the last row: this is the hip line you'll measure against later.
Part 2 — Waist shaping and torso (front panel)
- Waist decrease rows: Ch 1, turn, dec, sc in each st across to the last 2 sts, dec. Work this decrease row every 3rd row, 4 times in total. End count: 68 (74, 76, 80, 86) sc.
- Torso rows: Work sc rows even until the panel measures 20 (21, 22, 23, 24) cm / 8 (8.25, 8.5, 9, 9.5) in above the hip markers — the top should sit just under your bust. Add or remove rows here for a longer or shorter torso.
Part 3 — Bust shaping and scoop neckline (front panel)
- Bust increase rows: Ch 1, turn, inc in the first st, sc across to the last st, inc in the last st. Work this increase row every 4th row, 2 (2, 4, 4, 4) times in total. End count: 72 (78, 84, 88, 94) sc.
- Bust rows: Work 8 (9, 10, 11, 12) rows even in sc. The panel top is now your bust line.
- Divide for the scoop: Lay the panel flat and mark the center 24 (26, 28, 30, 30) sts — this unworked center section becomes the bottom curve of the scoop. Shape each side separately.
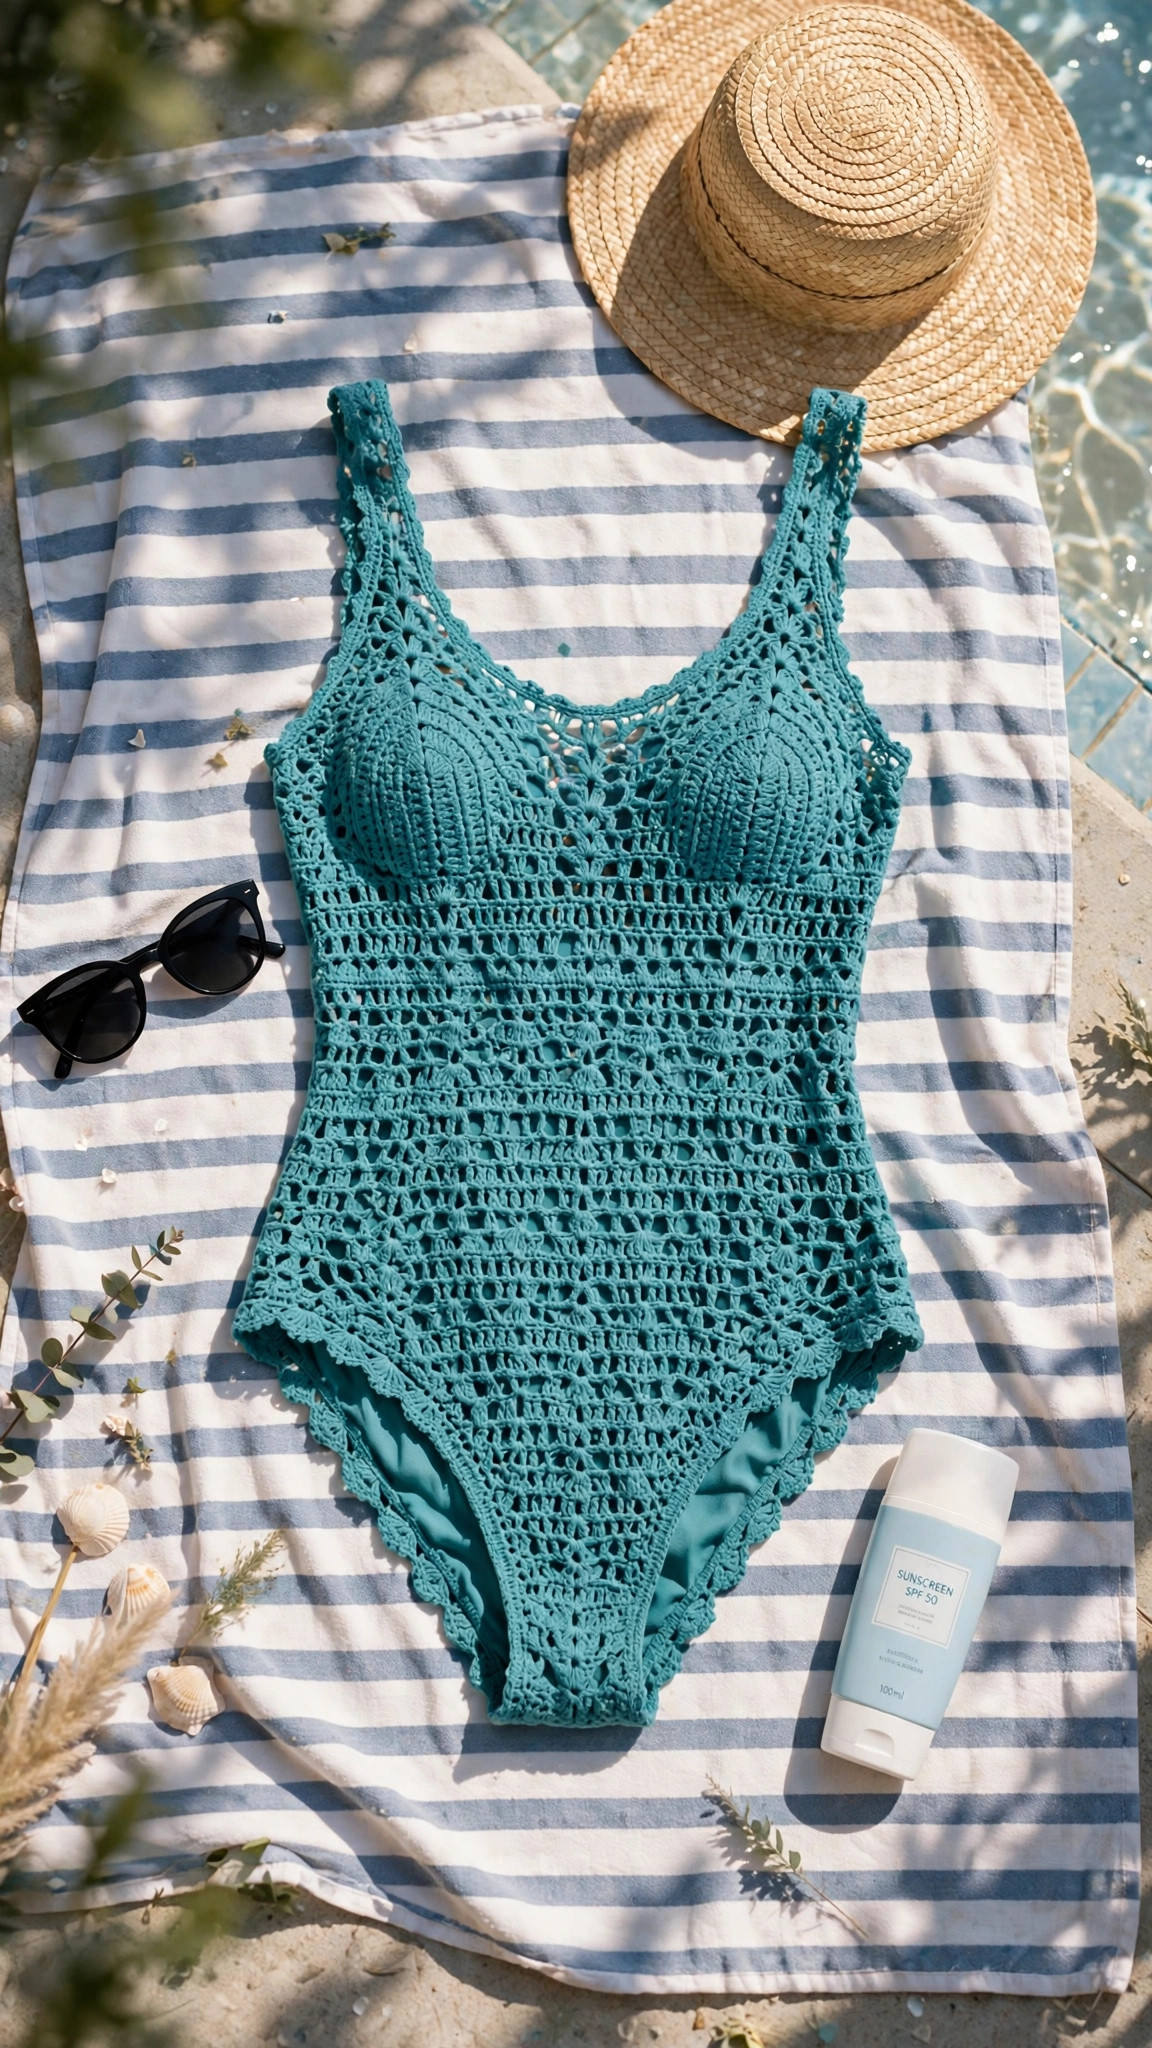
- Right side of neckline: Working on the 24 (26, 28, 29, 32) sts from the right edge to the first center marker: Row 1: ch 1, turn, sc across to the last 2 sts before the marker, dec. Rows 2–8: repeat, decreasing 1 st at the neck edge every row. End count: 16 (18, 20, 21, 24) sts. Continue in sc, decreasing at the neck edge every other row, until 8 sts remain — your strap base. Work 2 rows even and FO.
- Left side of neckline: Rejoin yarn at the other center marker and mirror the right side exactly, ending with 2 rows even on the final 8 sts. FO. The unworked center stitches look squared-off for now — the Part 5 edging rounds them into a smooth curve.
Part 4 — The back panel
Work exactly as the front panel through Part 3's bust rows — same gusset, brief, waist shaping and bust counts of 72 (78, 84, 88, 94) sts. Only the neckline differs; the back sits higher:
- Back neckline: Mark the center 30 (32, 34, 36, 36) sts. Work each side as for the front, but decrease at the neck edge every row for only 4 rows, then every other row, until 8 sts remain for the strap base. Work 2 rows even on the final 8 sts each side and FO.
Prefer a lower, scoopier back? Simply work the back exactly like the front — both options are built into the same stitch math.
Part 5 — Assembly and edging
- Side seams. Panels right sides together, matching hip markers and shaping, sew each side seam with mattress stitch — from hip line up to the bust, then down around the brief to the gusset. Keep the seam elastic: small stitches, never drum-tight, or it puckers when the suit stretches.
- Gusset seam. Join the front and back gusset strips with a flat whipstitch through both layers — no ridge where it matters most.
- Leg edging. Right side out, join yarn at a side seam and work 2 rounds of sc around each leg opening (guide: 1 sc in the end of every row along the shaped edge). Hold elastic thread with the yarn for round 2 — this round grips your leg and stops the brief riding or gaping. Join with sl st, FO.
- Neckline and armhole edging. Work 1 round of sc evenly around the whole neckline opening, with 3 sc into the deepest point of the scoop to keep it smooth, then a second plain round. Repeat the same 2-round edging around each armhole.
- Try it on. Seriously — before straps and lining, while adjustments are easy. Check hip fit, bust coverage and scoop depth.
Finishing touches
Lining — don't skip this
Unlined crochet swimwear can go slightly see-through when wet and loses support. A lining fixes both in twenty minutes.
- Easiest option: buy a pre-made swimsuit lining insert in the brief size closest to yours. Pin it inside the brief, stretching gently to match, and hand-sew around its edges with small, slightly loose stitches — the lining must stretch with the suit.
- Sew-your-own option: lay the brief flat on lining fabric, trace around it adding 1 cm (0.5 in), and cut one front and one back piece. Pin inside, fold raw edges under, and hand-sew as above.
- Line the brief always; line the bust too for lighter colors. Hold the suit up to bright light: if light shows through the bust fabric, it needs lining.
Adjustable straps
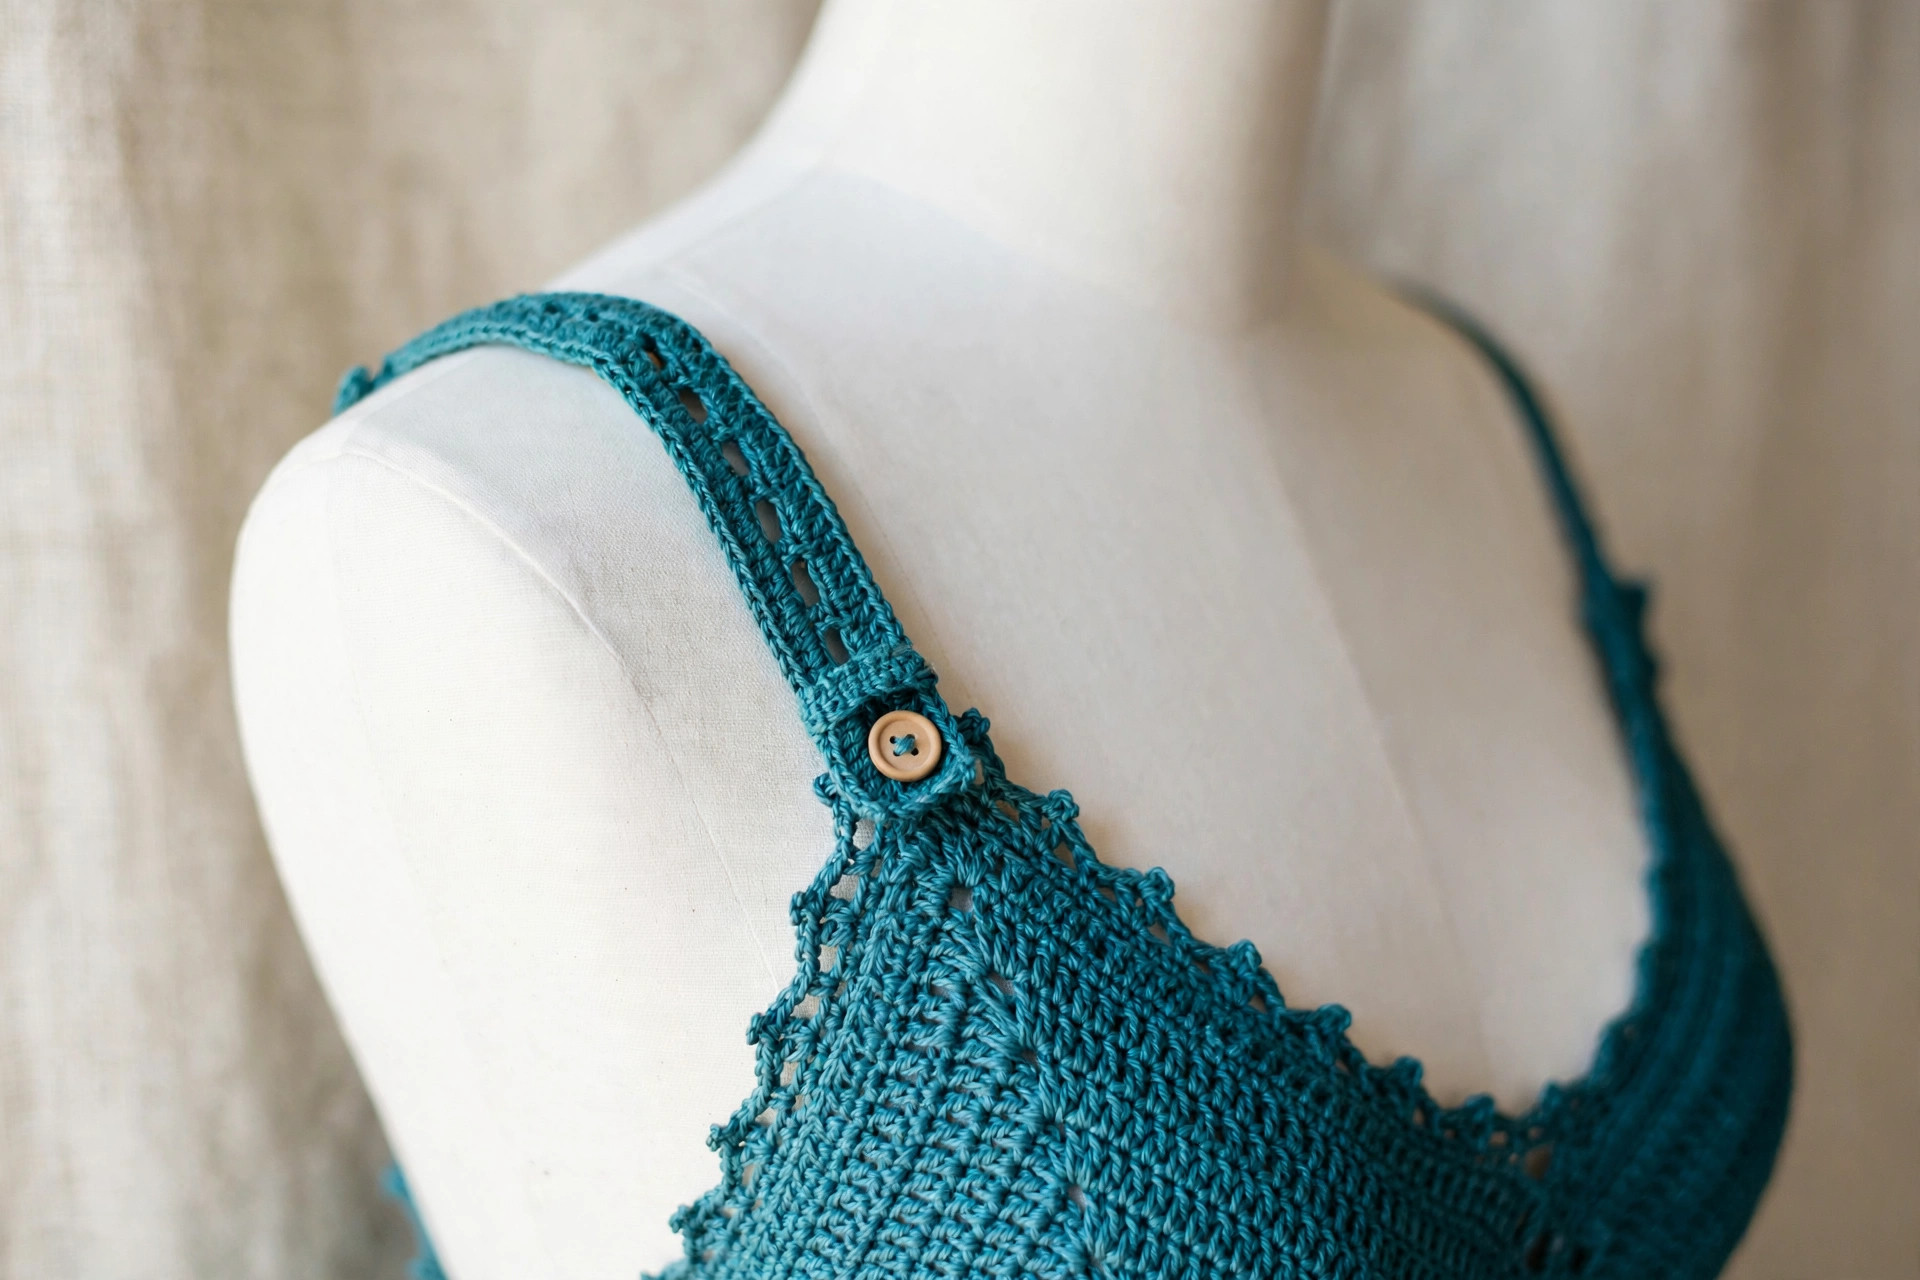
- Make 2: Ch 7. Row 1: sc in the 2nd ch from the hook and in each ch across (6 sc). Then ch 1, turn, sc in each st across (6 sc) until the strap measures 38 (40, 42, 44, 46) cm / 15 (15.75, 16.5, 17.25, 18) in.
- Buttonholes: In the last 8 cm (3 in) of each strap, work 3 buttonholes evenly spaced: on a buttonhole row, sc 2, ch 2, skip 2 sts, sc 2. Next row, work 2 sc into each ch-2 space to keep 6 sc.
- Attach: Sew the plain end of each strap firmly to a front strap base (the 8-st sections from Part 3). Sew one 15 mm button inside the top of each back strap base, thread the buttonhole end over the shoulder and button it at the back — start on the middle buttonhole.
- No-sew alternative: make the straps 8 cm (3 in) longer and tie them in bows at the shoulders, halter-style.
A note on variations
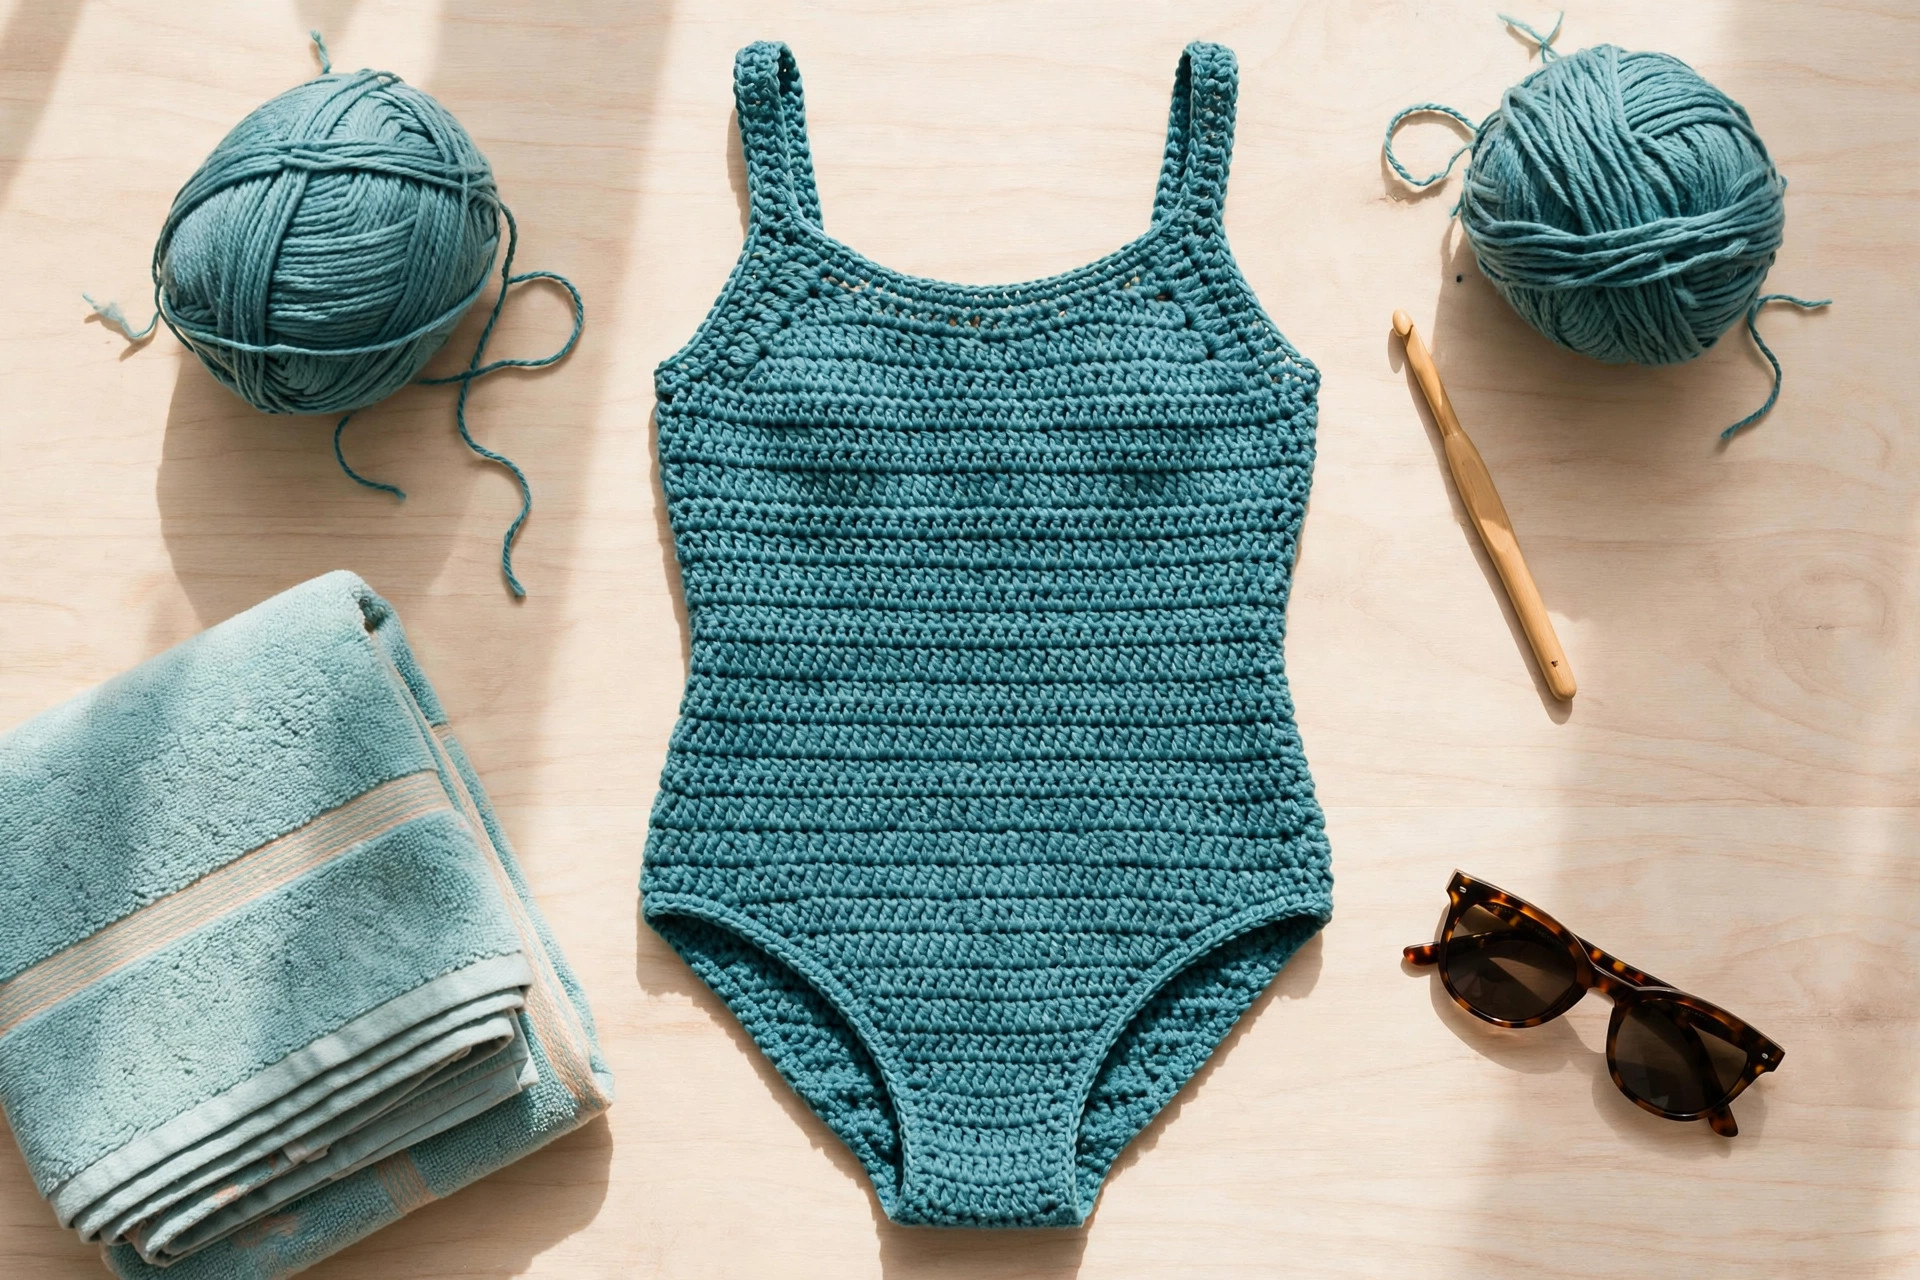
Want a bikini instead? Stop both panels at the end of Part 2's torso rows and edge the top of each — instant high-waisted bikini bottom from the same math. For a matching top, work two bust cups from Part 3's increase rows shaped with the neckline decreases. And our free crochet bag patterns include roomy beach totes that swallow a towel, sunscreen and this suit.
Troubleshooting tips
- The suit stretches out in the water. Almost always the yarn. If yours is plain cotton, line it fully and add elastic thread to the leg and neckline edging. Next time, choose a cotton-elastic or nylon blend.
- It sags at the seat when wet. The brief needs more grip, not more stitches: add a round of elastic-thread sc around the leg openings and one at the hip line, and check your side seams.
- The fabric is see-through held to the light. Your gauge is too loose. A full lining saves this suit; next time, drop a hook size and re-swatch.
- The scoop neckline gapes. Work one extra edging round holding elastic thread, pulling slightly as you go — gaping is an edging-tension issue nine times out of ten.
- The straps keep slipping. Button up one hole shorter, and check the strap was sewn centered on the front strap base — off-center straps twist and slide.
- It fits dry but feels tight in the water. That's correct — crochet firms up slightly when wet as fibers swell. If genuinely uncomfortable, work the bust section only with a 3.75 mm hook next time.
Frequently asked questions
Can you really swim in a crochet swimsuit?
Yes — gently. With the right yarn, a lining and proper negative ease, this suit handles wading, floating and relaxed swimming beautifully. It's not built for diving, surfing or swim training. Think of it as your sunning-and-dipping suit.
What is the best yarn for a crochet swimsuit?
A DK-weight cotton blend with elastic or nylon in it. Cotton-elastic gives softness plus shape recovery; cotton-nylon gives strength and faster drying. Avoid 100% cotton (heavy and saggy when wet) and acrylic, which goes slippery and loses its fit in water.
How much negative ease should a crochet swimsuit have?
About 10–15% at bust and hip — this pattern is written at roughly 12%. The finished garment should measure noticeably smaller than your body and stretch to fit; a suit that's loose on dry land floats away from your body in the water.
Does a crochet swimsuit need lining?
The brief, yes, always — for modesty and shape. The bust depends on color and gauge: dark colors in firm single crochet are usually fine unlined, pale colors rarely are. The light test above takes ten seconds and settles it.
Can I sell swimsuits I make from this pattern?
Yes! Sell finished swimsuits in small batches (markets, Etsy, commissions) — please credit Little Loop Finds as the designer with a link back to this page. The pattern text and photos may not be redistributed or sold.
How do I wash and store a crochet swimsuit?
Rinse in cool fresh water after every swim — chlorine and salt are unkind to elastic. Hand wash occasionally with mild detergent, roll in a towel to press out water (never wring), dry flat out of direct sun, and store flat: a suit on a hanger stretches under its own weight.
I'm between sizes — which should I make?
The smaller one — every crochet swimwear problem comes from too much fabric, never too little. You can also mix sizes: work the brief in one size and switch counts at the waist decrease rows if your hips and bust measure differently.
More free patterns to try
The suit is made — now build the beach day around it. A lightweight crochet shawl doubles as the prettiest cover-up on the sand, and the flowing circle vest makes a gorgeous open layer over this one-piece. Keep the sun off with a quick crochet bandana, layer up for the walk home with the relaxed crochet cardigan sweater, or add free leg warmers for the sunset walk back. Happy stitching — and happy swimming!
The box below contains an Etsy link. If you buy through it, we may earn a small commission at no extra cost to you. Learn more.
No time to make one?
Not ready to stitch it yourself? Find handmade crochet swimwear from independent makers on Etsy.
Browse on Etsy (opens Etsy in a new tab)