Flamingo crochet pattern: standing amigurumi flamingo
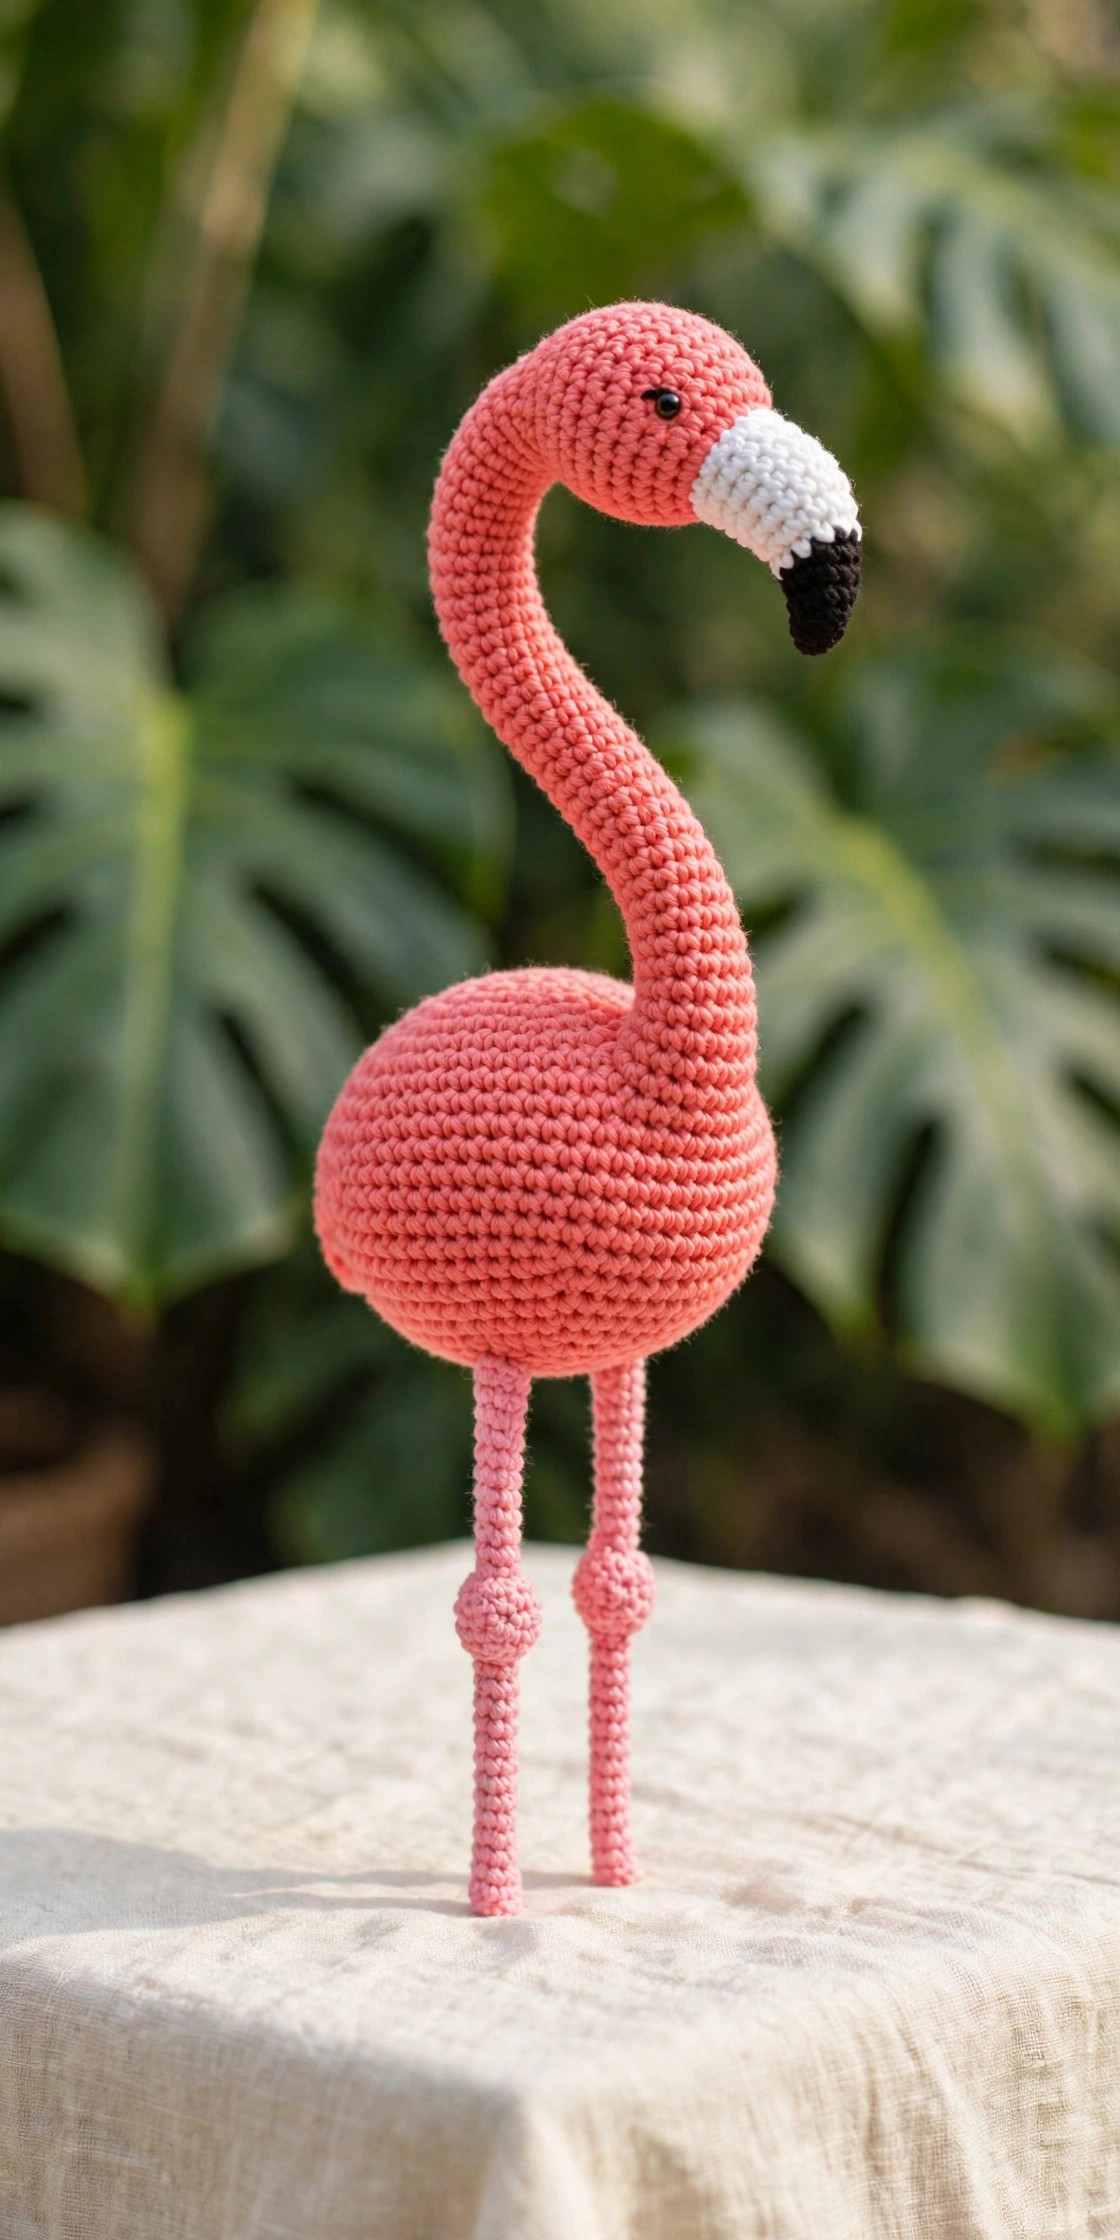
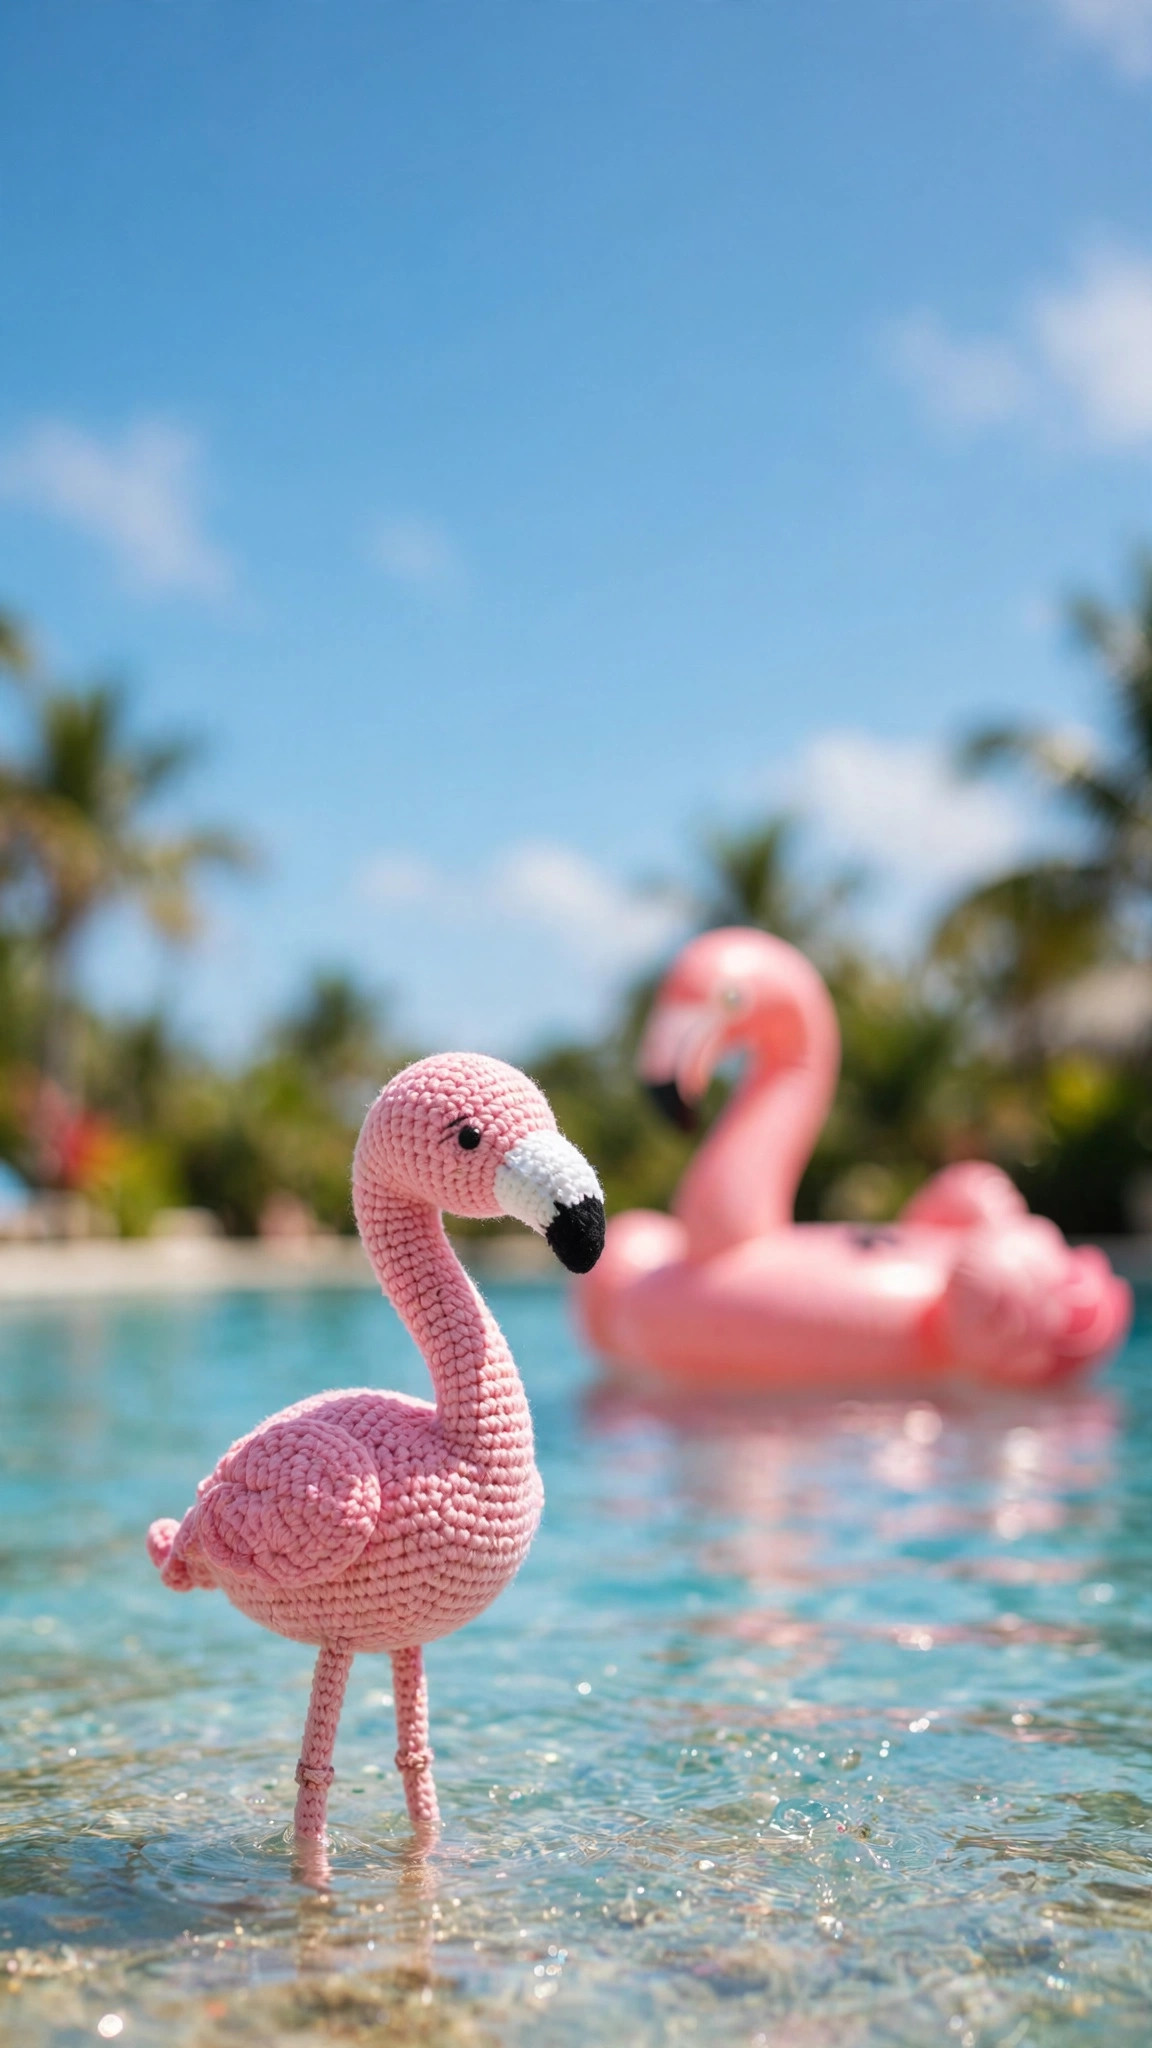
A standing pink flamingo with a long S-curved neck, black-tipped downward-tilted beak and poseable skinny legs — worked in simple single-crochet spirals with hidden pipe cleaners, 9 small pieces sewn together over one relaxing weekend.

Amigurumi · Crochet
- Finished size
- About 22 cm / 8.5 in tall
- Making time
- About 5–6 hours
- Hook
- 3.5 mm, worsted-weight yarn
- Pieces
- 9 pieces to assemble
- Skill
- Advanced beginner
In this post
Flamingos have been having a moment for years — pool floats, party decor, nursery themes — and this free flamingo crochet pattern brings all that tropical charm into your amigurumi basket. This original design is a standing pink flamingo with a long, gracefully curving neck, a black-tipped beak tilted downward like the real bird's famous "broken" bill, tiny black wing tips, and long skinny legs you can pose on two feet or balanced on one. No special yarn, no wire armatures — just worsted weight, a 3.5 mm hook, and two cheap pipe cleaners hidden inside the neck and legs that do all the posing magic.
Table of contents
- Why you'll love this flamingo crochet pattern
- Materials you'll need
- Size, gauge and skill level
- Abbreviations — US terms
- The pattern (US terms)
- Finishing touches
- Three cute variations to try next
- Troubleshooting tips
- Frequently asked questions
- More free patterns to try
Why you'll love this flamingo crochet pattern
Most free flamingo patterns online are either felt plushies or ornaments with a stubby neck that reads "pink duck." This design was built from scratch around the two things that make a flamingo unmistakably a flamingo: the S-curved neck and those impossible legs. The neck is a slim stuffed tube with a pipe cleaner inside, so you bend it into the bird's classic S after assembly — upright and alert, or dipped down as if she's fishing. The legs get the same treatment, which is what makes the signature one-leg stand actually work without the flamingo face-planting off the shelf.
Everything else is classic amigurumi math: magic rings, single-crochet spirals, standard increases and decreases. The wings and tail carry the flamingo's black flight feathers as simple two-tone color changes — pink into a black tip — so you get that striking tropical contrast with zero intarsia. And because the body is one smooth teardrop shape, the whole thing sews together forgivingly: even slightly wobbly sewing disappears into the stitch texture.
Materials you'll need
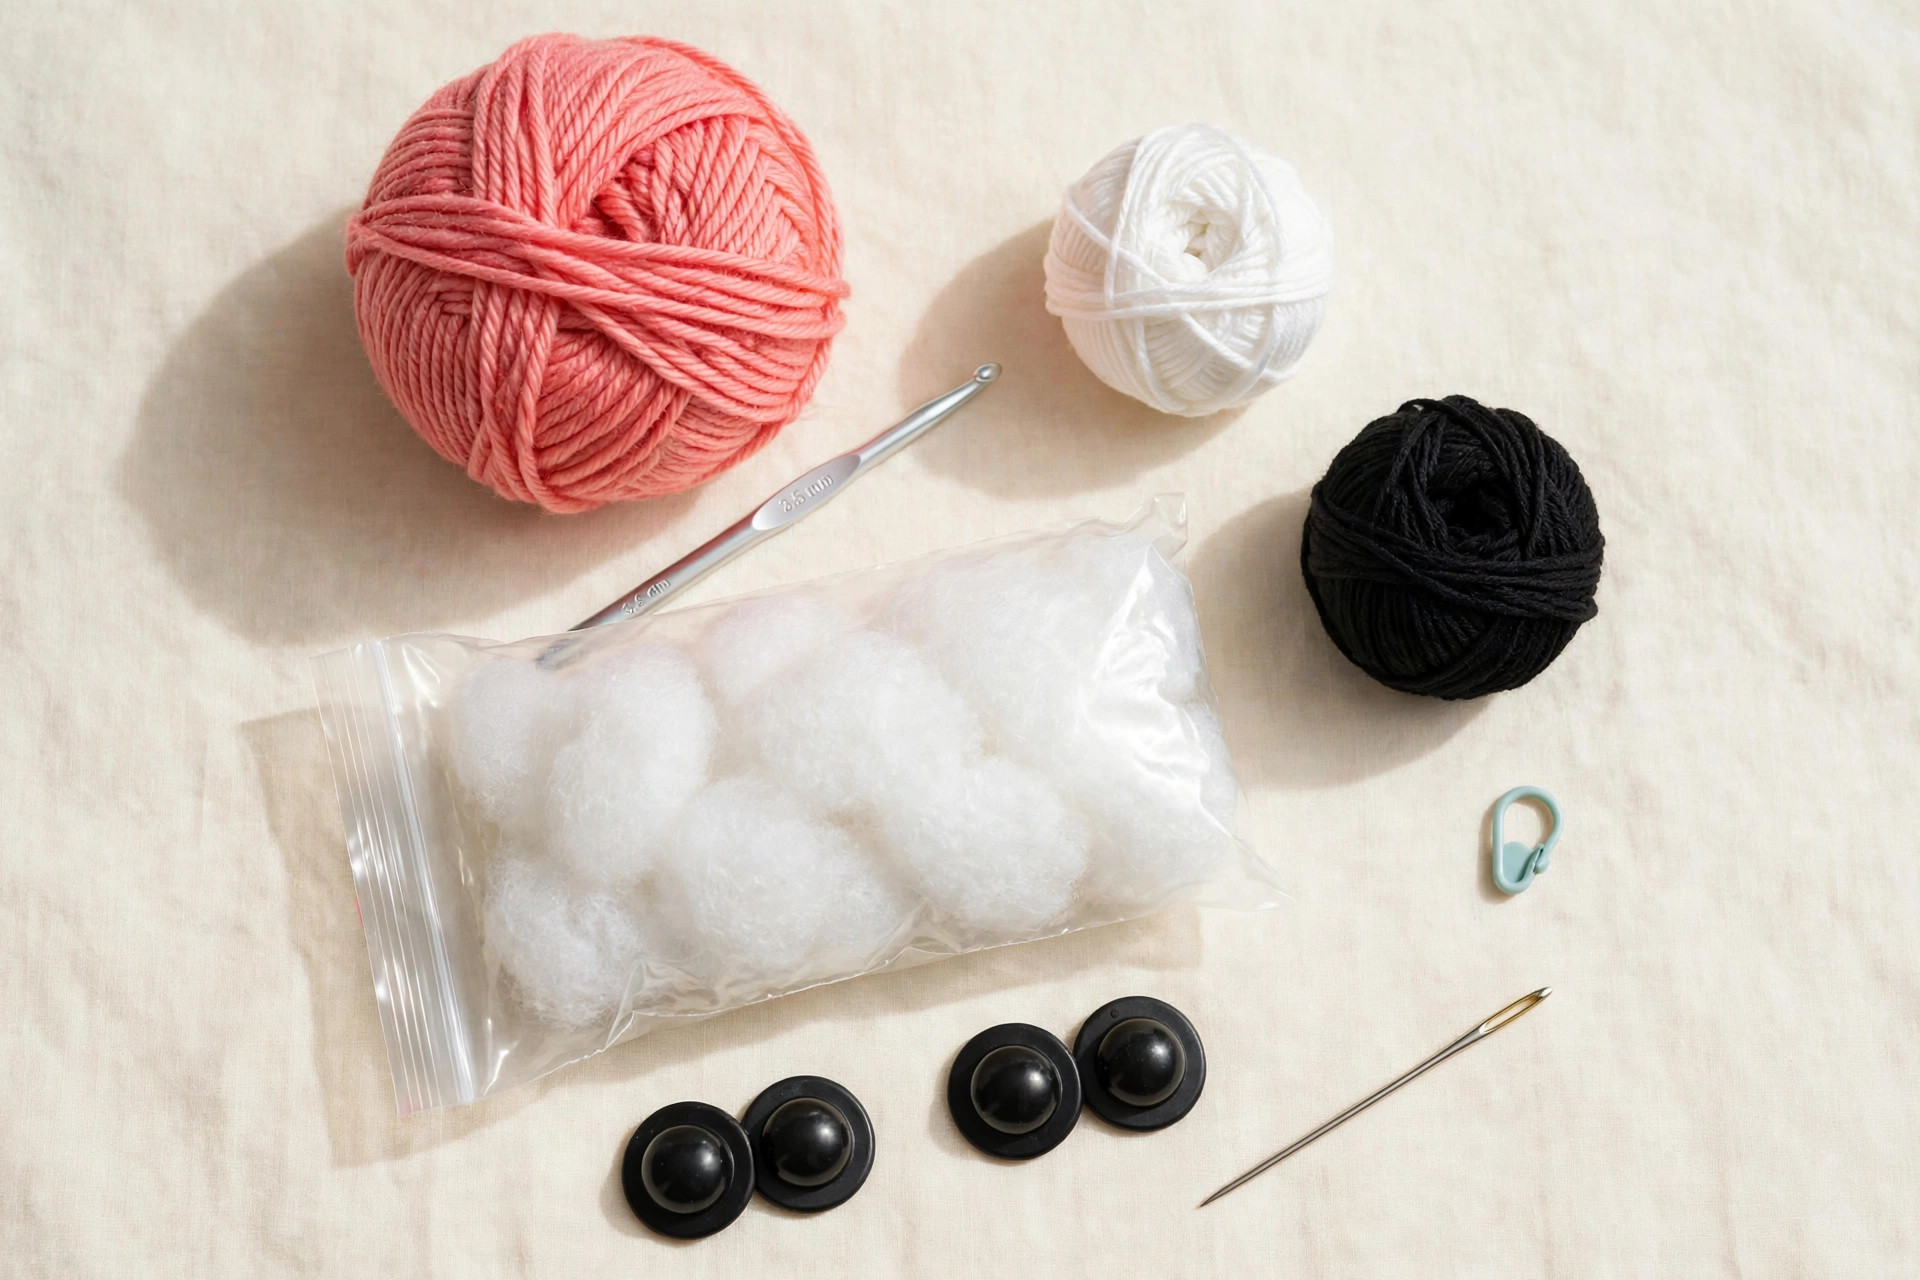
- Yarn: worsted-weight (#4) acrylic or cotton in three colors — coral pink (about 80 g, the whole bird), white (a few meters for the beak), black (a few meters for the beak tip, wing tips and tail edge)
- Hook: 3.5 mm (E-4) — size down 0.5 mm from your yarn label's suggestion so the fabric is dense and no stuffing shows through
- Safety eyes: two 9 mm black safety eyes
- Fiberfill stuffing: a small bag of polyester fiberfill
- Pipe cleaners: two standard chenille stems (one for the neck, one shared/bent for the legs) — this is the secret to the standing pose
- Tools: yarn needle with a large eye, stitch marker, sharp scissors
- Optional: pink and black embroidery floss if you prefer embroidered eyes for a baby-safe version
The pipe cleaners do real structural work here, so don't skip them — but choose the plain chenille kind with finished ends rather than sharp craft wire. If you're making this flamingo for a very small child, leave the pipe cleaners out and pose her on two straight legs; she'll still stand, just without the one-leg party trick.
Size, gauge and skill level
Finished size: about 22 cm (8.5 in) tall in the standing pose, measured from foot to the top of the head with the neck in a gentle S-curve. The body itself is about 10 cm long.
Gauge: not critical for amigurumi — what matters is that your fabric is tight enough that fiberfill doesn't peek through. As a reference, my swatch was 20 single crochets and 22 rounds to 10 cm with a 3.5 mm hook. If you can see stuffing, go down half a hook size.
Skill level: advanced beginner. You should be comfortable with the magic ring, single crochet in the round, increasing, decreasing, and changing colors. The "advanced" part is the assembly — bending the neck into a smooth curve and getting the legs positioned so she balances takes a little patience, but the troubleshooting section below has you covered.
Abbreviations — US terms
- MR — magic ring
- sc — single crochet
- inc — increase (2 sc in the same stitch)
- dec — invisible decrease (single crochet 2 together)
- ch — chain
- sl st — slip stitch
- st(s) — stitch(es)
- R — round
- […] — stitch count at the end of the round
- FO — fasten off
Work in continuous spirals unless noted, marking the first stitch of each round with a stitch marker. Stuff firmly as you go — flamingos are sleek birds, so you want smooth, dense pieces rather than squishy ones.
The pattern (US terms)
Nine pieces, all small and quick. Crochet them in the order below so assembly flows naturally: body first, then everything attaches to it.
Body — coral pink
The body is a smooth teardrop: widest around the middle, tapering toward the breast. Standard increase math, so it shapes itself.
- R1: 6 sc in MR [6]
- R2: inc in each st [12]
- R3: (1 sc, inc) × 6 [18]
- R4: (2 sc, inc) × 6 [24]
- R5: (3 sc, inc) × 6 [30]
- R6–9: sc in each st around [30] — 4 rounds
- R10: (3 sc, dec) × 6 [24]
- R11–12: sc in each st around [24] — 2 rounds
- R13: (2 sc, dec) × 6 [18]
- R14: (1 sc, dec) × 6 [12]
- R15: dec × 6 [6]
Stuff firmly, shaping the body into a plump teardrop as you go — slightly fuller at the back (the R6–9 end) and tapering toward the breast. FO and close the hole with a yarn needle.
Head — coral pink
A clean sphere. The eyes go on before you close it, so read ahead.
- R1: 6 sc in MR [6]
- R2: inc in each st [12]
- R3: (1 sc, inc) × 6 [18]
- R4–6: sc in each st around [18] — 3 rounds
- R7: (1 sc, dec) × 6 [12]
- R8: dec × 6 [6]
Place the 9 mm safety eyes between R4 and R5, about 5 stitches apart, before you stuff. Stuff firmly, FO, close.
Neck — coral pink
This is the star of the show: a long slim tube that you'll bend into the flamingo's S-curve after stuffing.
- R1: 6 sc in MR [6]
- R2: (2 sc, inc) × 2 [8]
- R3–17: sc in each st around [8] — 15 rounds
Lightly stuff as you go — firm enough to hold shape, soft enough to bend. Around R15, fold one pipe cleaner in half and slide it inside so it runs the full length of the neck; the folded end should sit a round or two below the top. FO, leaving a long tail for sewing.
The pipe cleaner is what lets you pose the neck later. If yours feels too floppy, double it; if it feels too stiff to bend smoothly, pull it out and use a single one.
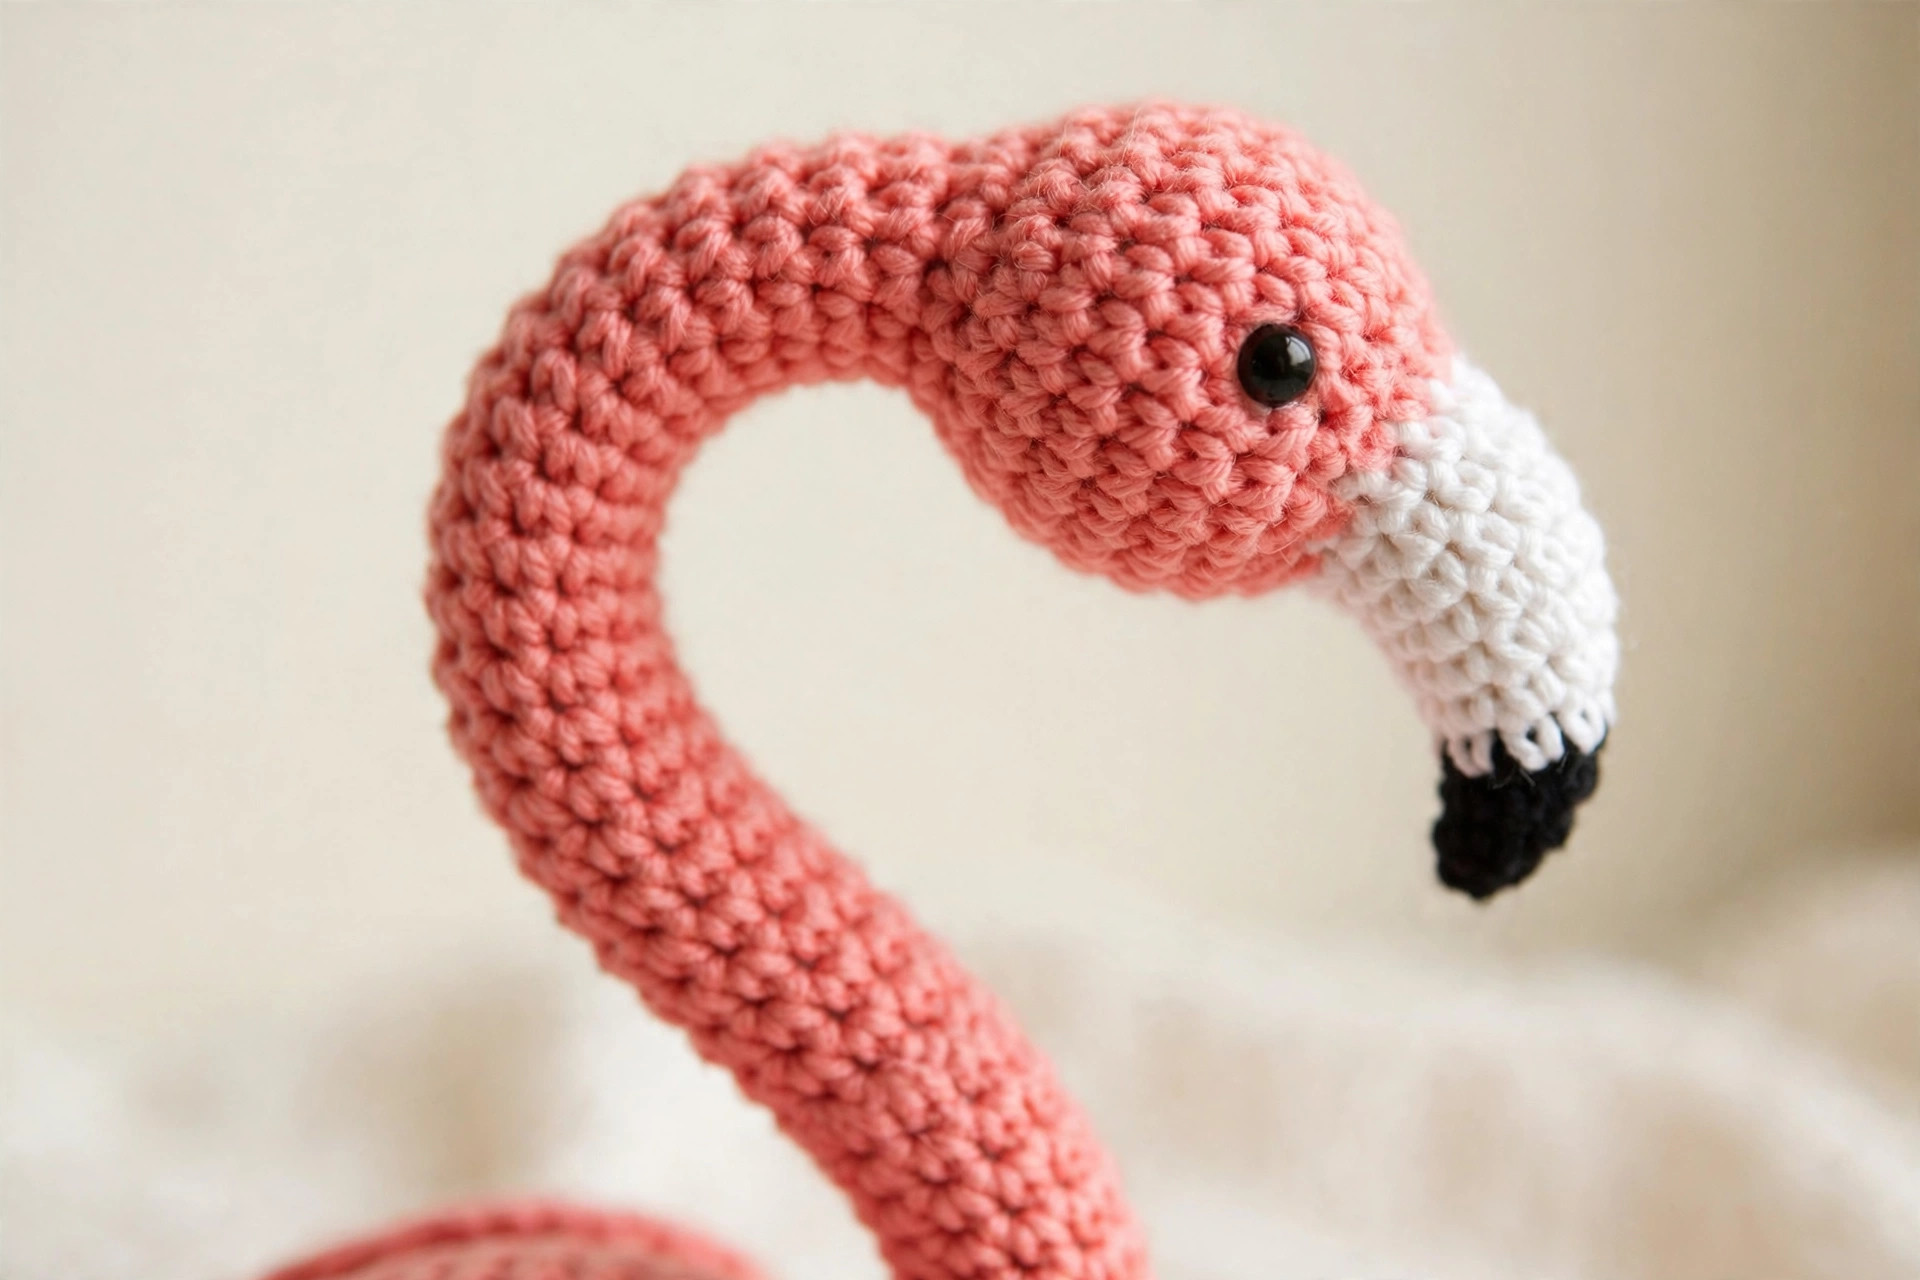
Beak — start black, then white
A real flamingo's beak is pale at the base, black at the tip, and bends sharply downward. This little two-tone cone captures all three traits.
- R1 (black): 4 sc in MR [4]
- R2 (black): sc in each st around [4]
- R3 (black): (3 sc, inc) [5]
- R4 (white): sc in each st around [5]
- R5 (white): (4 sc, inc) [6]
- R6–7 (white): sc in each st around [6] — 2 rounds
- R8 (white): (5 sc, inc) [7]
- R9 (white): sc in each st around [7]
FO, leaving a tail. If your black section looks too long, drop R2. When you sew it on, tilt it downward about 30 degrees for the flamingo's broken-beak look.
Wings — coral pink with black tips, make 2
Flat little ovals with the flamingo's black flight feathers as a color-change tip. Do not stuff.
- R1 (pink): 6 sc in MR [6]
- R2 (pink): (1 sc, inc) × 3 [9]
- R3 (pink): sc in each st around [9]
- R4 (black): (1 sc, dec) × 3 [6]
- R5 (black): sc in each st around [6]
Flatten the piece and FO, leaving a tail. The black tip should sit at the outer end of the wing.
Legs — coral pink, make 2
Long and skinny. A second pipe cleaner goes inside each leg — this is what makes the standing pose (one leg or two) actually hold.
- R1: 6 sc in MR [6]
- R2–13: sc in each st around [6] — 12 rounds
Slide a pipe cleaner inside each leg, folding a tiny loop at the top so the end can't poke through the fabric. Stuff only the top 3 rounds lightly — the rest of the leg should be hollow around the pipe cleaner. FO, leaving a tail. Flatten the bottom round and sew it shut with 2–3 whipstitches so the foot end is neat.
Tail — coral pink with black edge
A tiny flattened fan at the rear, with a black edge echoing the wing tips.
- R1 (pink): 5 sc in MR [5]
- R2 (pink): sc in each st around [5]
- R3 (pink): inc in each st [10]
- R4 (black): sc in each st around [10]
Flatten, FO, leave a tail. Done — the smallest piece in the pattern.
Assembly — the order that actually matters
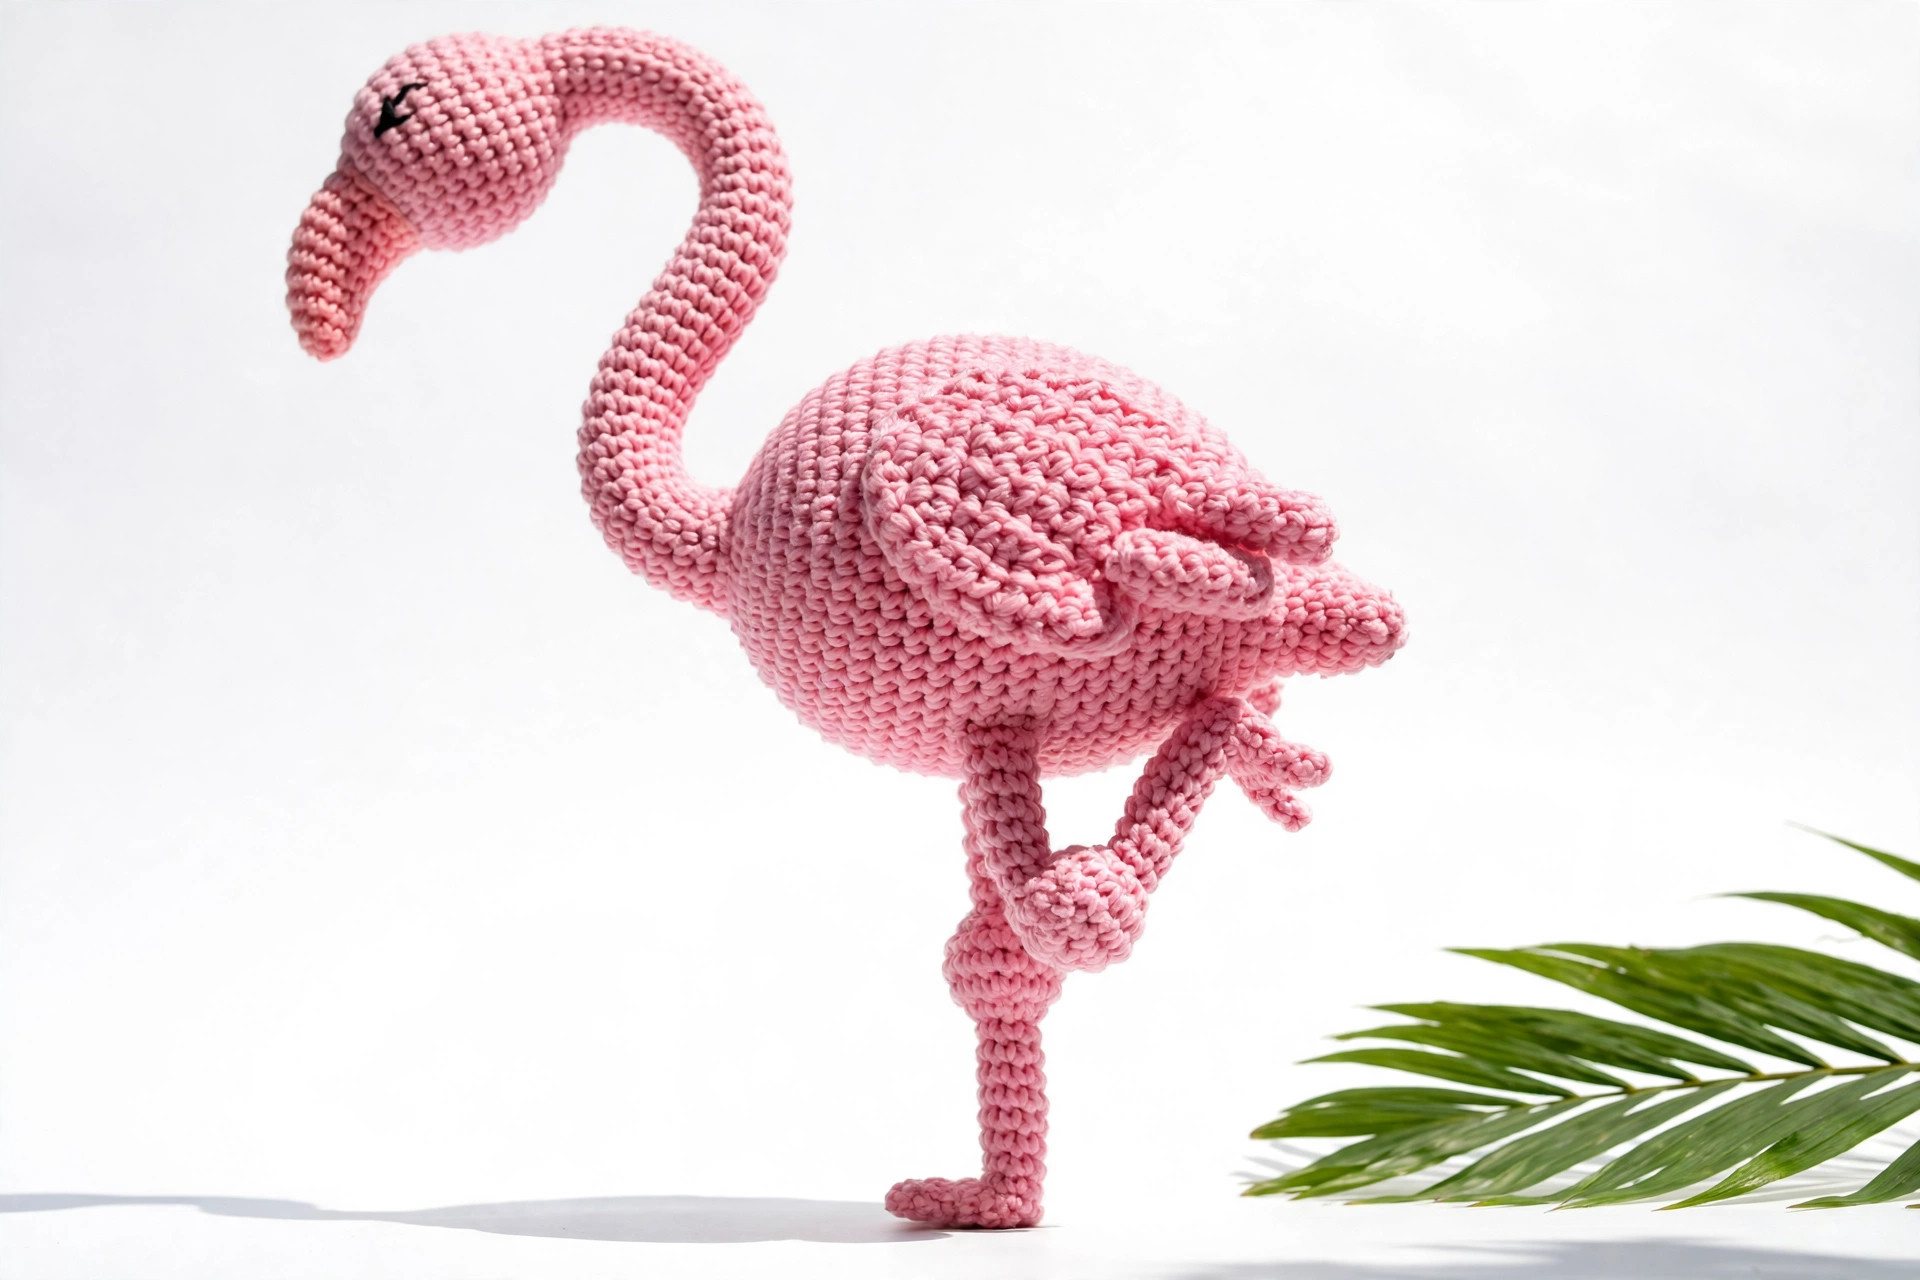
- Legs first. Sew the top of each leg to the underside of the body around R13–14, about 2 stitches apart. For the one-leg pose, bend one leg's pipe cleaner into a zigzag, tuck it up against the body, and sew it flat along the underside so it reads as folded.
- Tail. Sew the flattened tail to the rear of the body at R6–7, black edge facing outward.
- Neck to body. Sew the bottom 2 rounds of the neck into the top of the body around R3–4, slightly forward of center. Reinforce with a second pass of stitches — the neck is top-heavy and this joint takes the load.
- Head to neck. Sew the head onto the top of the neck with a slight forward tilt, like she's looking down at the water. Before the final stitches, bend the neck into your S-curve and check the head angle looks right from the side.
- Wings. Sew one wing to each side of the body at R6–8, black tips pointing back and slightly down. Keep the top edge of each wing loose — just tack the inner half — so the wings lift a little off the body like real folded wings.
- Beak. Sew the white end to the front of the head between and just below the eyes, tilted downward about 30 degrees. The downward tilt is what sells "flamingo" instead of "pink goose," so take a moment here.
Stand her up, bend the neck into a soft S, and step back. She should balance on her legs with the body held high — that's the flamingo silhouette.
Finishing touches
Weave in all tails with your yarn needle, pulling them into the stuffing so nothing shows. If any seam looks gappy, a couple of extra whipstitches in matching pink disappear into the stitch texture.
Check the balance: set her on a flat surface and let go. If she tips forward, the head is angled too far down or the neck curve is too deep — rebend the pipe cleaner a touch. If she tips sideways, one leg is sewn a stitch or two off-center; unpick and shift it. These two checks take a minute and are the difference between a flamingo that poses on a shelf and one that lies in a drawer.
Optional flourish: pull six 4 cm strands of pink yarn through a stitch at the crown and trim into a little crest. Real flamingos don't have crests — nobody complains.
Three cute variations to try next
Once you've made one flamingo, the pattern is a launchpad. Same pieces, three personalities:
- Baby flamingo chick. Work the whole bird in soft peachy-pink or grey (real chicks are grey!), use 6 mm safety eyes, and skip the pipe cleaners — bend the neck into a tight curl so she's sleeping. She comes out about 15 cm tall and is unbearably cute next to the adult.
- Keychain mini. Make the entire flamingo in DK or sport-weight yarn with a 2.75 mm hook, shorten the neck to R3–12 and the legs to R2–9, and skip the pipe cleaners. She'll stand about 10 cm tall — perfect for a bag charm with a keyring sewn into the top of the head.
- Tropical party flamingo. Keep the pattern as written but work the body in hot magenta and tuck a tiny crocheted flower behind one eye like a Hawaiian hair flower. This is the version to make if she's headed for a luau or a summer birthday table.
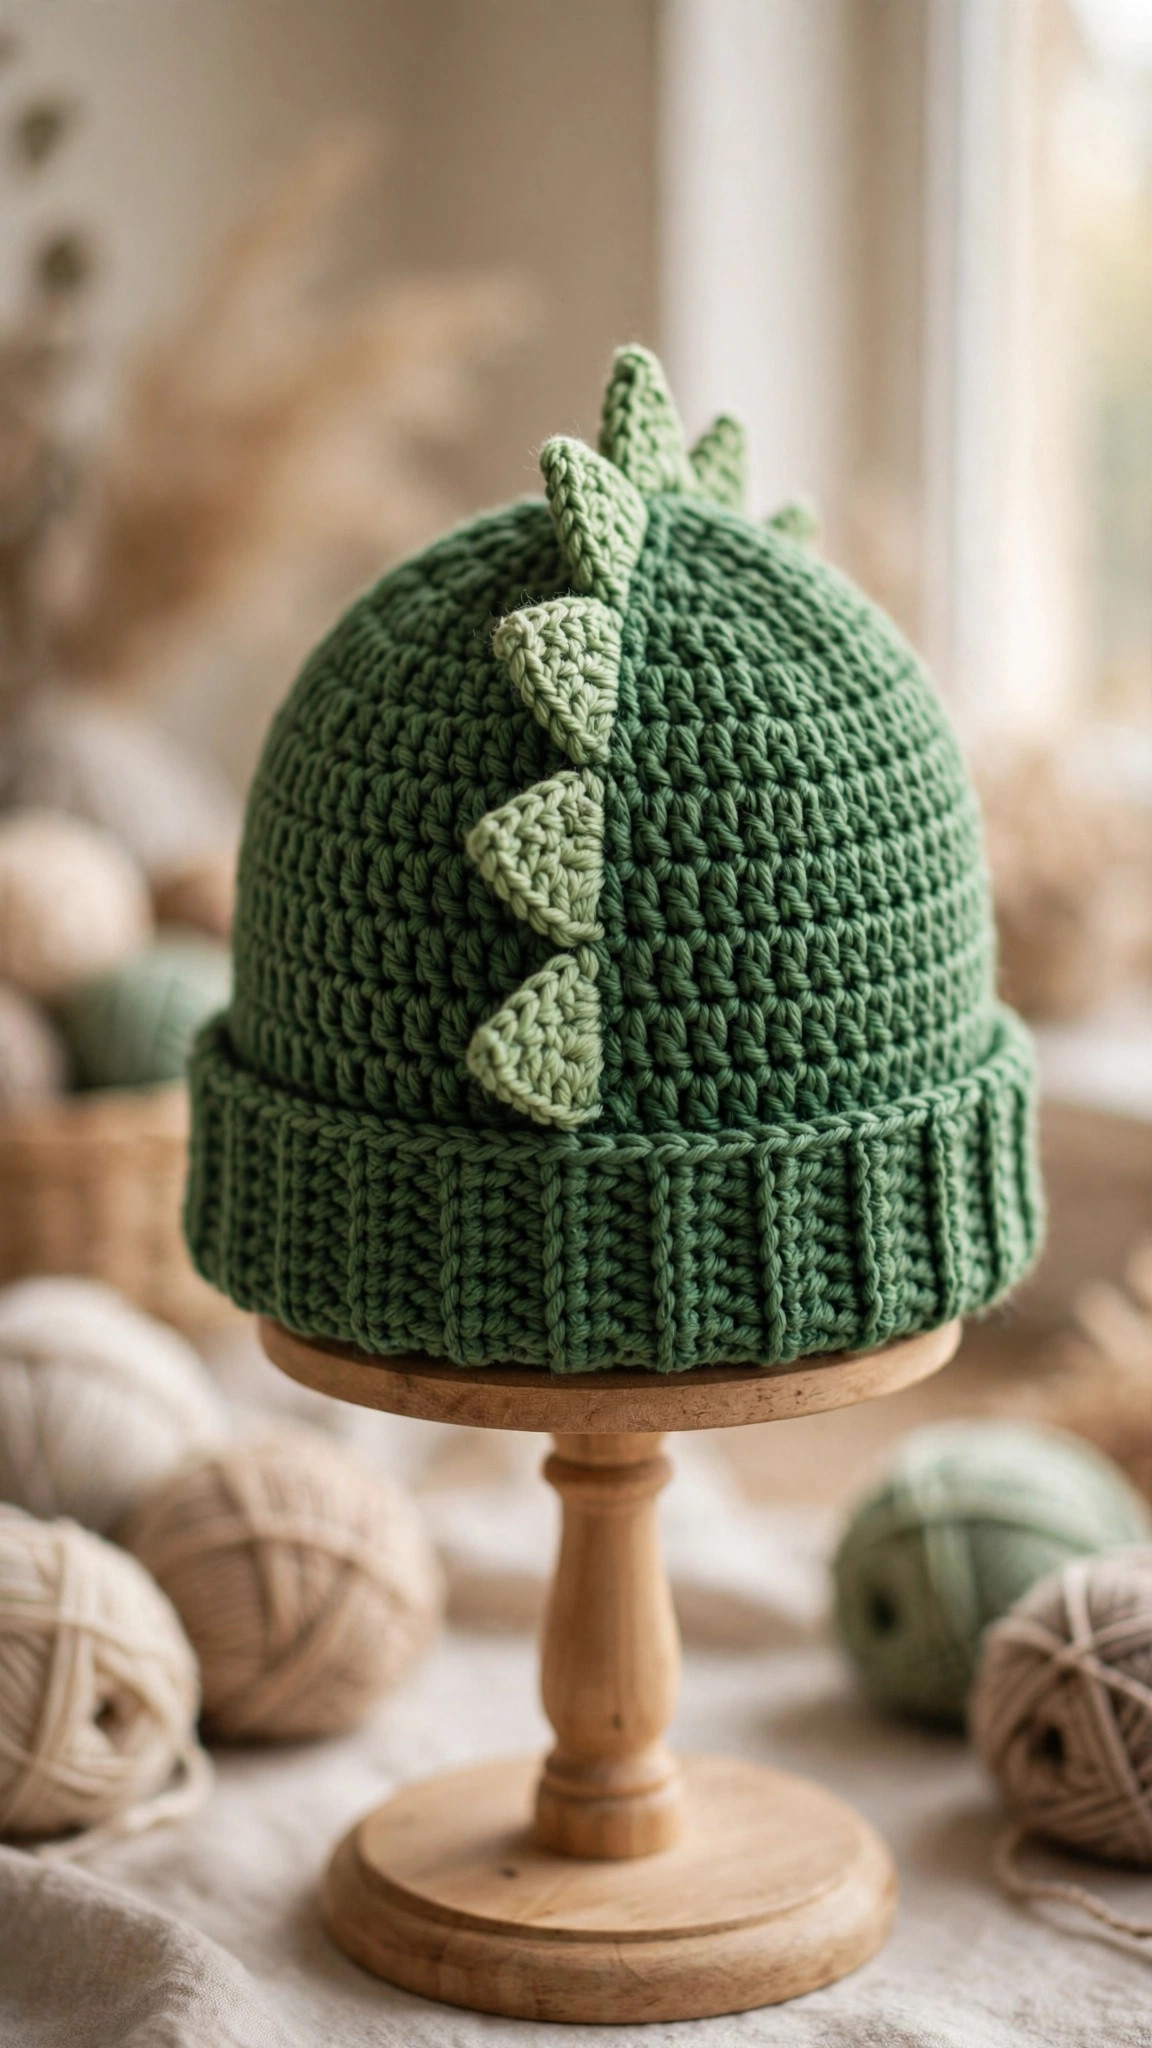
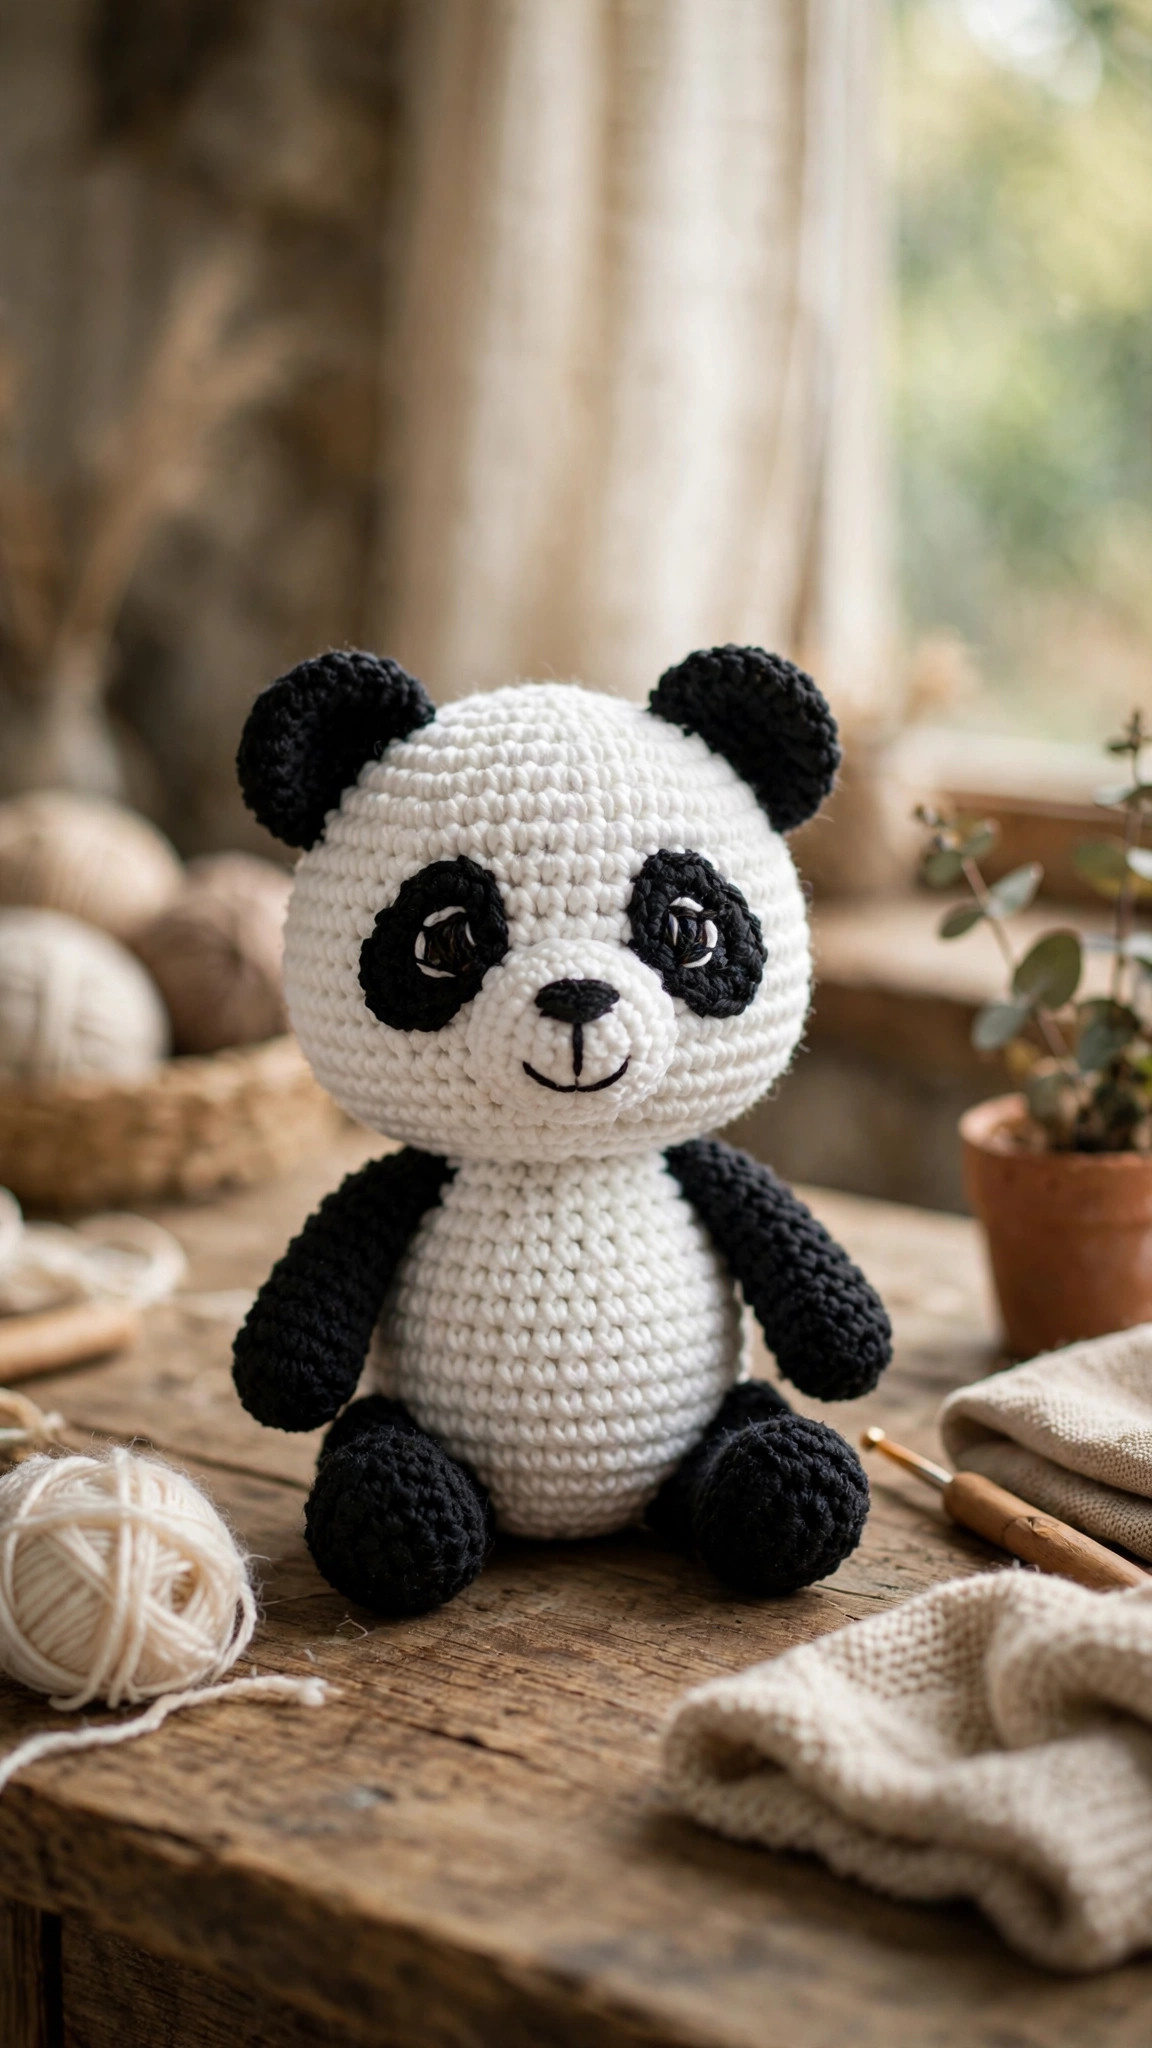
And if this project gave you the amigurumi bug, the crochet panda uses the same spiral-and-sew construction at a cuddlier scale, and the highland cow is the perfect next challenge — same techniques, gloriously shaggy result.
Troubleshooting tips
- The neck won't hold its curve. The pipe cleaner is too short or too thin. Use a doubled pipe cleaner running the full length of the tube, folded end at the top — it should bend and stay put with gentle finger pressure.
- She topples forward. Almost always the head angle. Re-bend the neck into a shallower S and tilt the head up a few degrees — flamingos carry their heads high, and the physics agrees with them.
- The legs splay outward. The leg tops are sewn too far apart. They should sit about 2 stitches apart, nearly touching — reposition them and she'll stand like a tripod.
- You can see the pipe cleaner through the stitches. Fold a small loop in the end of each pipe cleaner so there are no sharp tips, and consider dropping to a 3.25 mm hook for the neck and legs.
- The beak looks like a duck bill. It's sewn on too straight. Unpick and re-sew with the tip angled clearly downward — 30 degrees minimum. That bend is the single most flamingo-ish detail on the bird.
- The wings stick out like airplane wings. You sewed the full wing flat. Tack only the inner half, leaving the outer half free — folded wings lift away from the body at the tips.
- The color change on the beak has a jog. Normal for spiral color changes. Sew the beak so the jog faces the underside, or work the first white round in the back loop only for a cleaner line.
Frequently asked questions
Is this flamingo crochet pattern really free?
Yes — the complete pattern above is free, no email signup and no PDF purchase required. If you'd like to support the site, sharing the post or saving it on Pinterest is the kindest thank-you.
What skill level is this pattern?
Advanced beginner. If you can work a magic ring, single crochet in the round, and do basic increases and decreases, you have the stitch skills. The "advanced" part is the assembly — posing the pipe-cleaner neck and balancing the legs takes a little patience, but there are no difficult stitches anywhere in the pattern.
How does she stand up on those skinny legs?
Two tricks: the legs are sewn close together near the body's center of gravity, and each leg hides a pipe cleaner that stiffens it. Bend the pipe cleaners straight, stand her on a flat surface, and make tiny adjustments until she balances. The one-leg pose works the same way — the tucked leg is sewn flat against the body and the standing leg's pipe cleaner does the work.
How long does it take to make?
About 5–6 hours total: roughly 3.5–4 hours of crocheting (the neck is 15 rounds of just 8 stitches — meditative but slow), 45–60 minutes of assembly and sewing, and 15 minutes of posing and finishing. A perfect weekend project.
Is this flamingo safe for babies and toddlers?
With two changes, yes: embroider the eyes instead of using safety eyes, and leave the pipe cleaners out, posing her on two straight stuffed legs. Safety eyes and pipe cleaners are fine for older children and adults but are small parts and internal wire, so use your judgment for under-threes.
Can I sell the finished flamingos I make?
Yes! You may sell finished flamingos made from this pattern in small batches (craft fairs, Etsy, gifts). Please credit Little Loop Finds as the pattern designer with a link back to this page. The pattern text and photos themselves may not be redistributed, republished, or sold.
Can I use a different yarn weight?
Absolutely. Use the hook size recommended on your yarn label minus 0.5 mm so the fabric stays tight, and your flamingo will simply come out bigger or smaller. DK yarn with a 3 mm hook makes a dainty 16 cm flamingo; chunky chenille with a 5.5 mm hook makes a gloriously squishy 30 cm statement bird — just double the pipe cleaners for the extra weight.
More free patterns to try
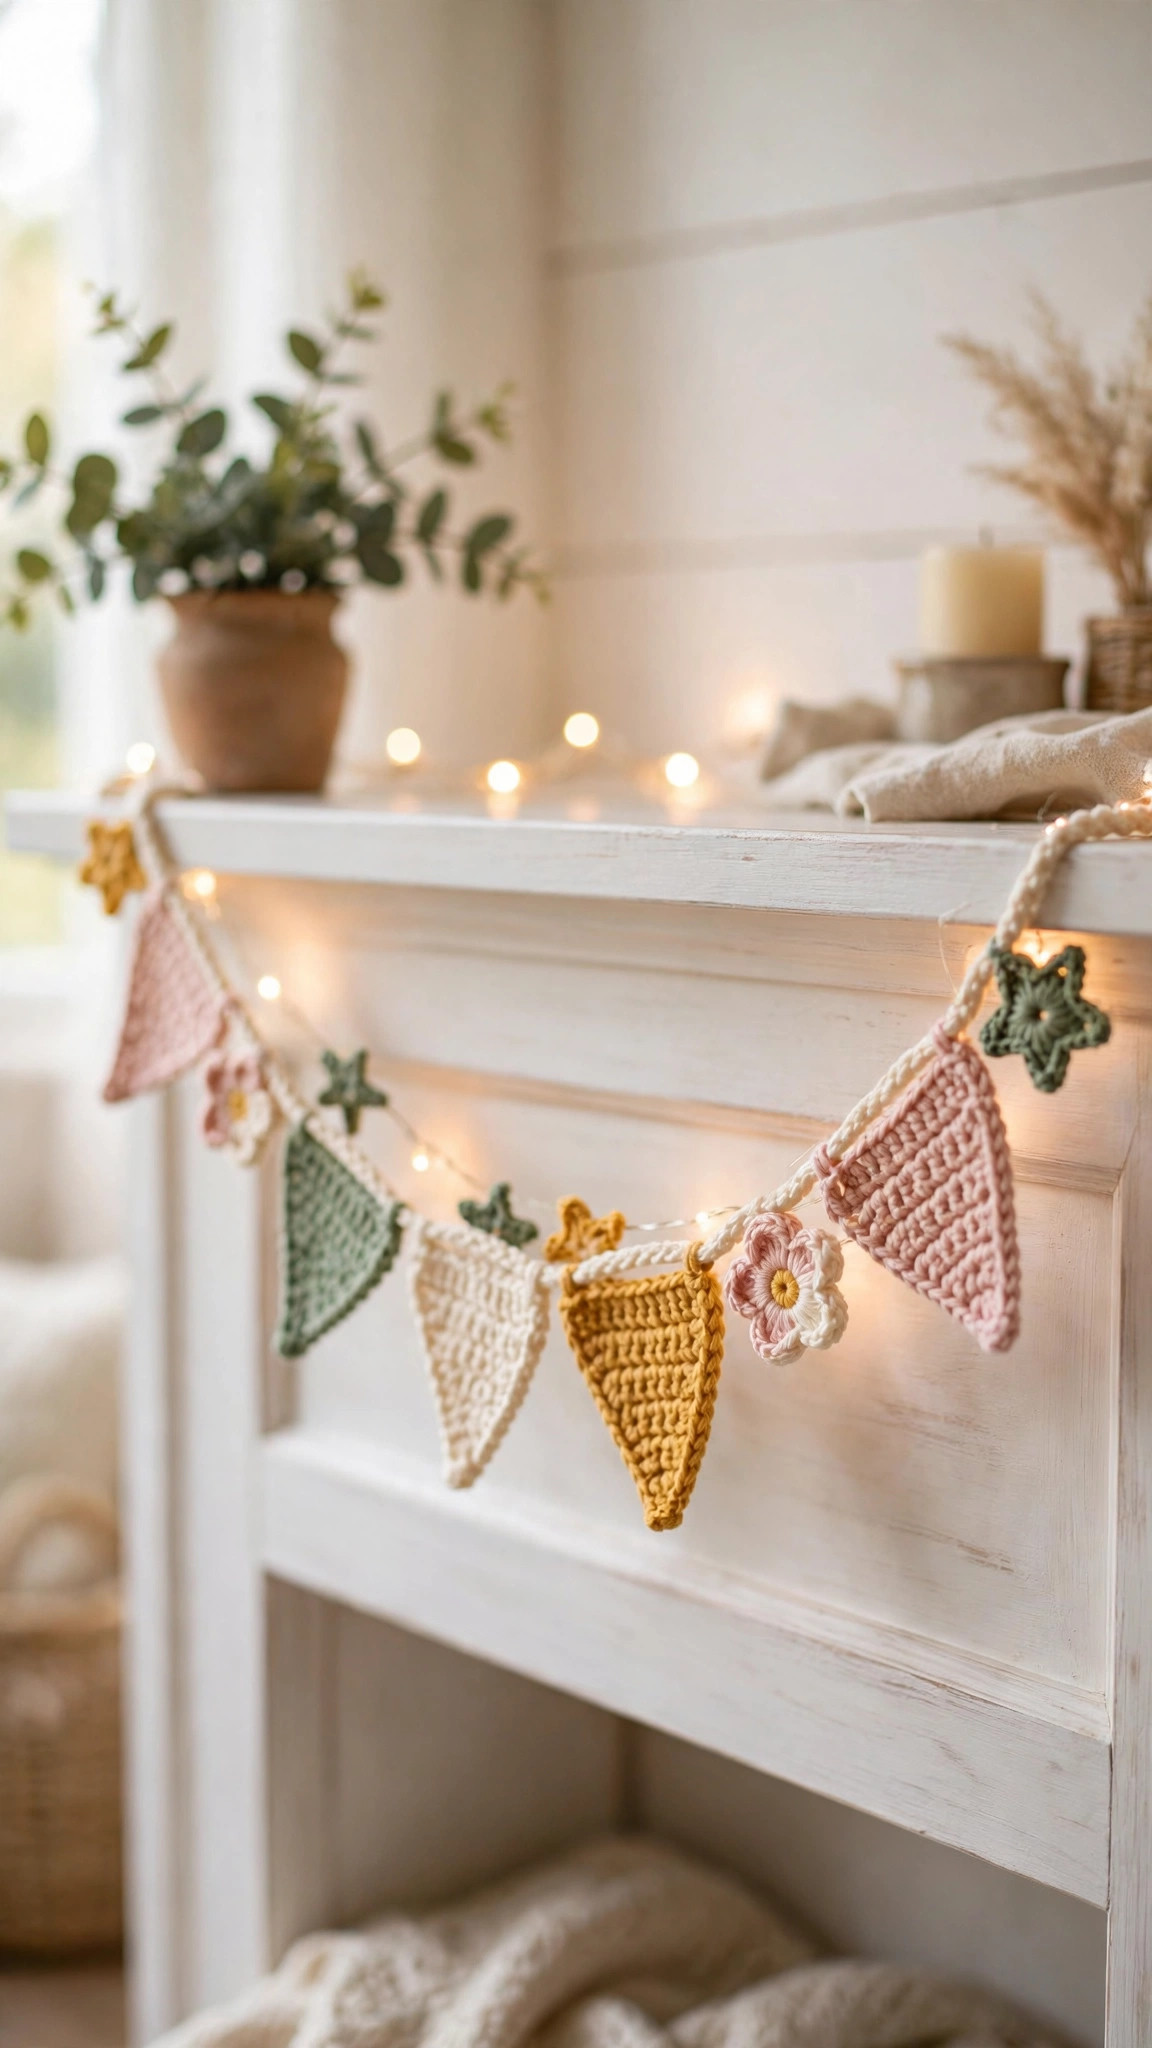
If this tropical bird was fun, keep the hook moving. The crochet dragon is a bigger showpiece project for when you're feeling ambitious. Decorating a nursery? The woodland nursery mobile turns small plushies like this flamingo into hanging decor, the star blanket makes a gorgeous backdrop for photographing your finished birds, and the crochet garland is made for stringing a whole flock of mini flamingos across a party wall.
The box below contains an Etsy link. If you buy through it, we may earn a small commission at no extra cost to you. Learn more.
No time to make one?
Short on time? Find handmade crochet flamingos from independent makers on Etsy.
Browse on Etsy (opens Etsy in a new tab)