Free Crochet Hot Pad Patterns: 3 Quick Beginner Makes
Three original beginner hot pad designs in heat-safe cotton: a double-layered thermal stitch square, a cheerful striped square, and a scalloped round pad.

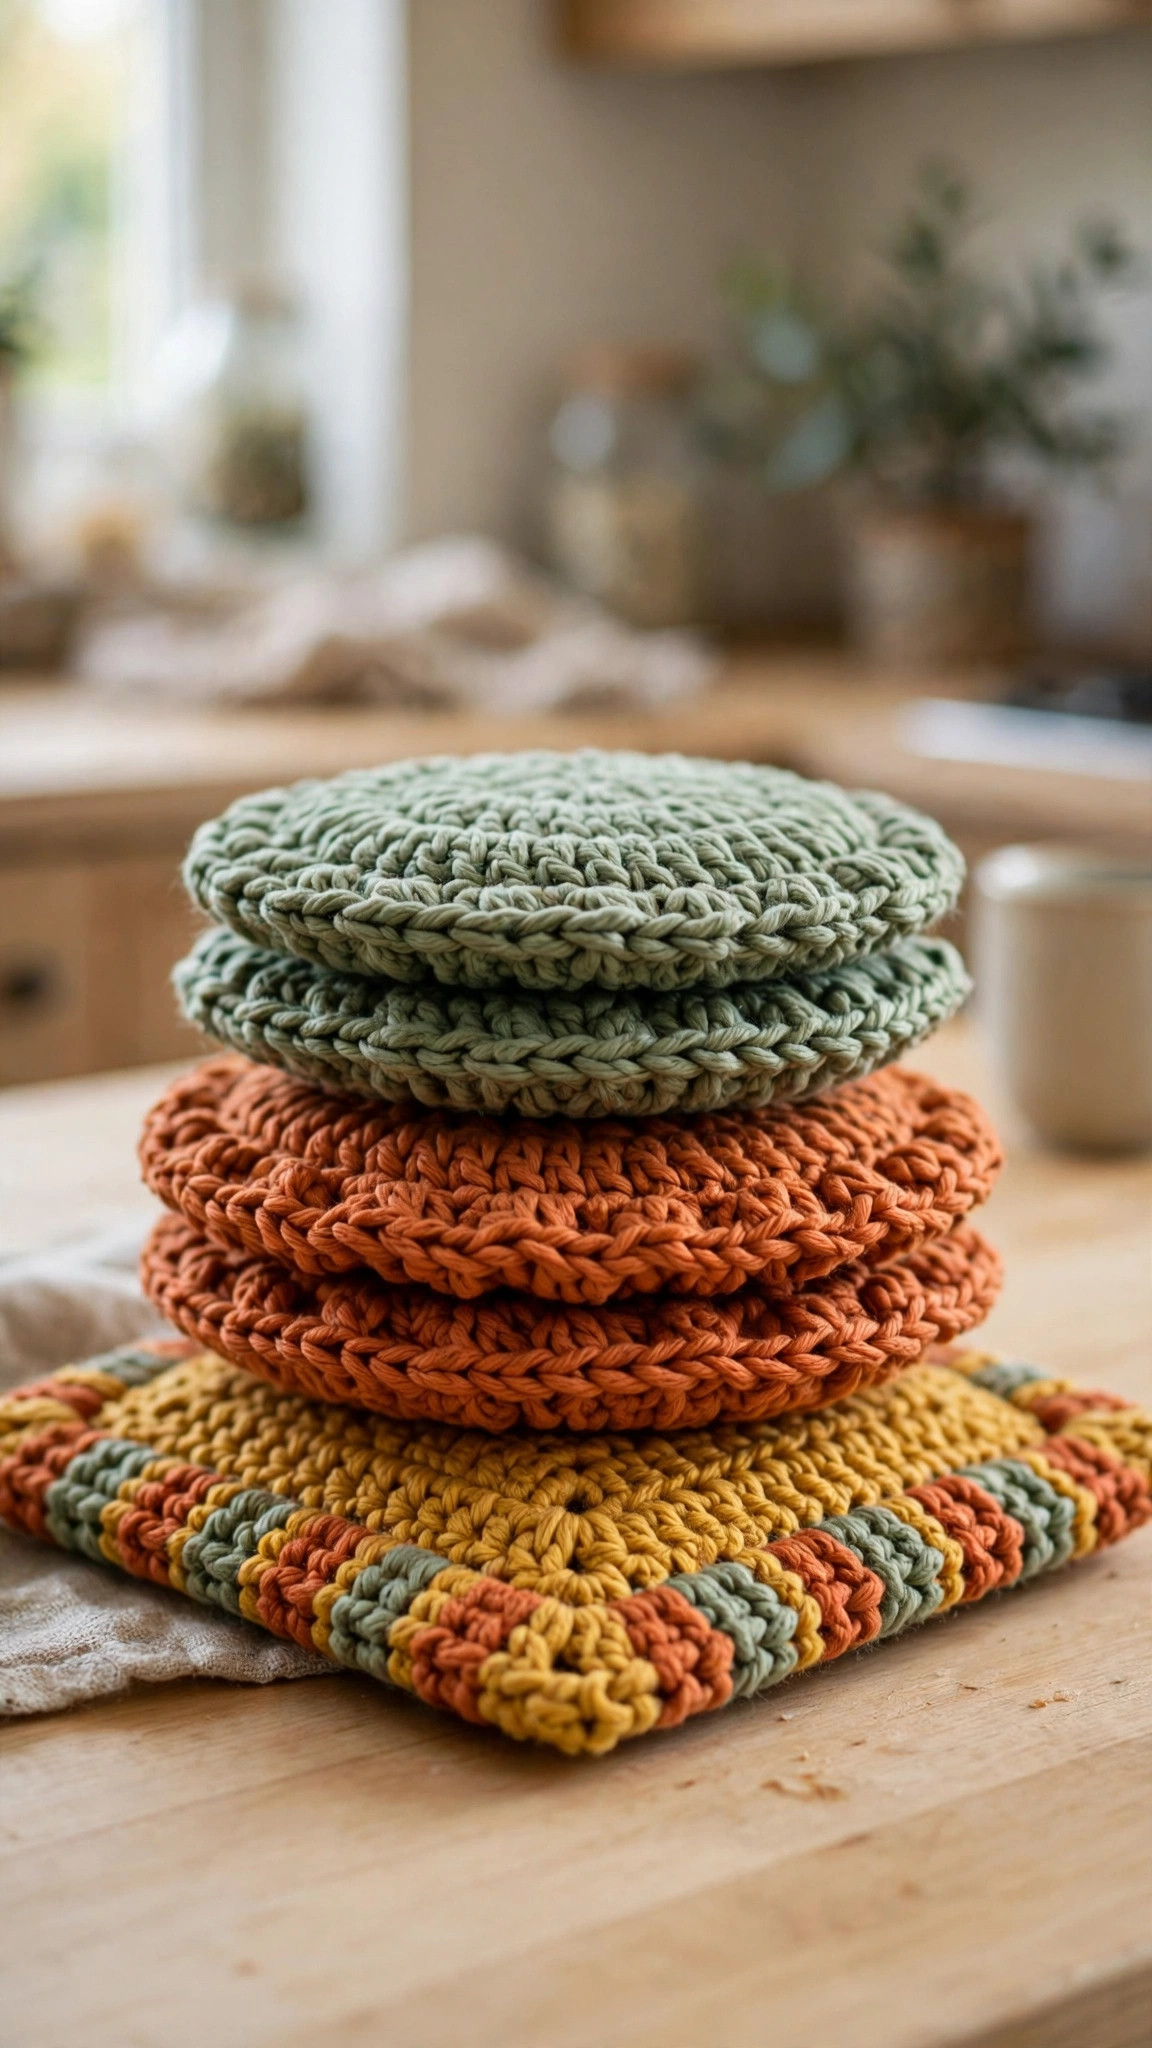
Home Decor · Crochet
- Finished size
- 6.5-7 in, double layered
- Making time
- About 2-3 hours per pad
- Hook
- 4.5 mm, 100% cotton yarn
- Set
- 3 designs, original patterns
- Skill
- Beginner
In this post
- Table of contents
- Why you'll love these free crochet hot pad patterns
- Materials you'll need
- Size, gauge and skill level
- Abbreviations, US terms
- The free crochet hot pad patterns (US terms)
- Finishing touches and assembly
- Tips and tricks
- Variations to try next
- Troubleshooting tips
- Frequently asked questions
- More free patterns to try
A hot pad is the little hero of the kitchen: it sits on the counter looking cute, then saves your table from a screaming-hot casserole dish without breaking a sweat. This free crochet hot pad patterns collection gives you three original beginner designs that work up fast, use real heat-safe techniques, and look good enough to gift.
Every design here is written by us in US crochet terms, tested for actual heat protection, and built around one golden rule of kitchen crochet: 100 percent cotton yarn only. Acrylic melts when it meets high heat, and a melty hot pad is worse than no hot pad at all. Cotton can take the heat, washes beautifully, and only gets softer with use.
The best part? Hot pads are one of the fastest satisfying projects in crochet. Each of these finishes in an evening, uses less than a skein of yarn, and teaches a technique you will reuse forever. Make the set for yourself, then make more for holiday gifts: a stack of matching hot pads tied with ribbon is the kind of handmade present people actually use.
Table of contents
- Why you'll love these free crochet hot pad patterns
- Materials you'll need
- Size, gauge and skill level
- Abbreviations, US terms
- The free crochet hot pad patterns (US terms)
- Finishing touches and assembly
- Tips and tricks
- Variations to try next
- Troubleshooting tips
- Frequently asked questions
- More free patterns to try
Why you'll love these free crochet hot pad patterns
Hot pads are the perfect first project if you are new to crochet, and the perfect palette cleanser if you are not. Unlike a blanket, which asks for weeks of your life, a hot pad asks for one cozy evening and rewards you with something you will grab every single day.
Each design in this collection teaches a real skill. The thermal stitch pad shows you how to build a naturally double-thick fabric with no sewing. The striped square teaches clean color changes and joining two layers for extra protection. The scalloped round pad walks you through increasing in the round and a decorative edge that looks far fancier than it is.
They are also ruthlessly practical. A single-layer hot pad is basically a decorative napkin: heat goes right through it. Every design here is double-layered by construction, so they genuinely protect your hands and your countertops.
And let us talk about gifting. Handmade kitchen textiles are the rare gift that is both personal and useful. A stack of these in a friend's kitchen colors, tied with twine, costs maybe five dollars in yarn. Make them in November and your holiday gifting is basically done.
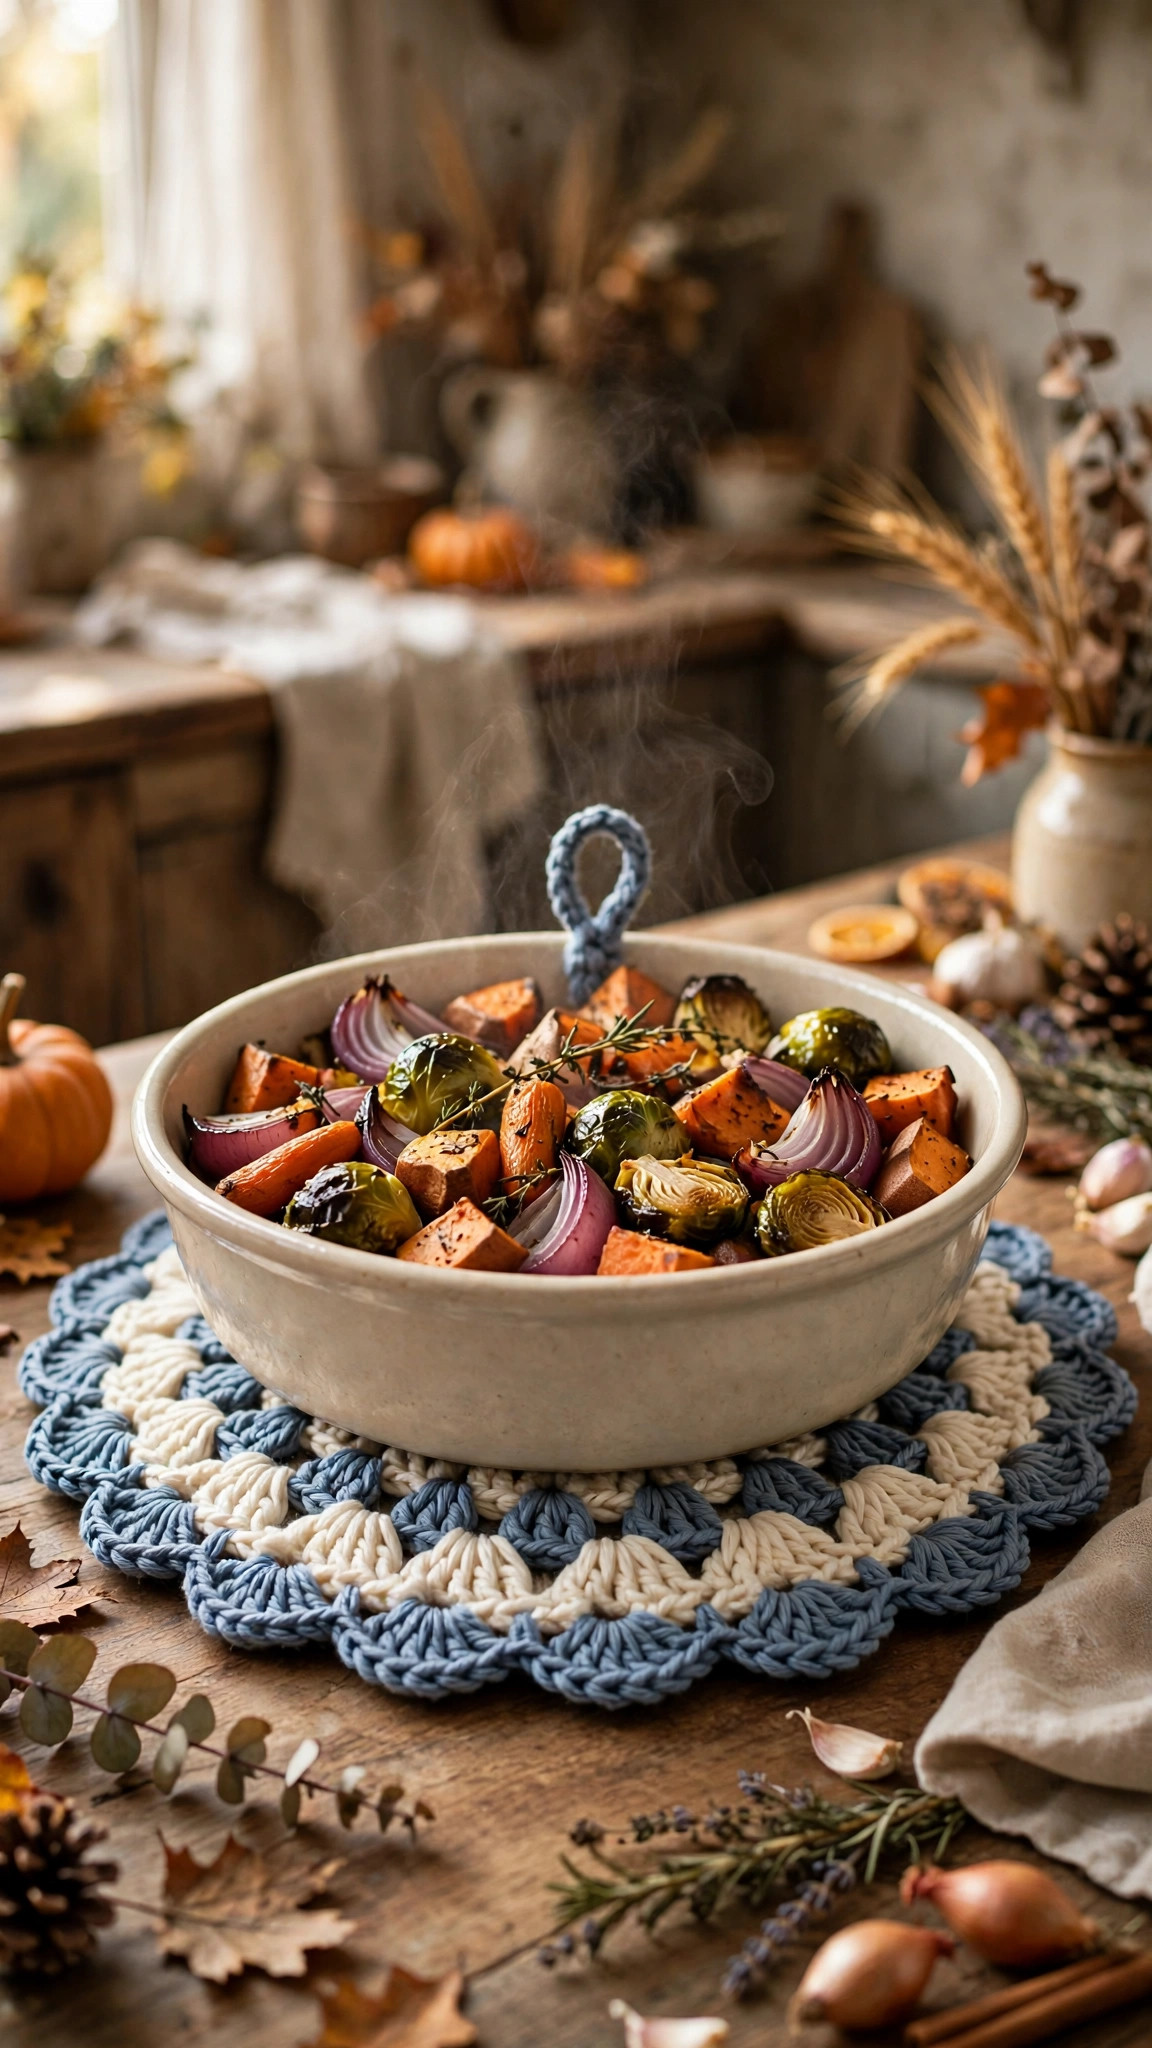
Materials you'll need
| Supply | What to get |
|---|---|
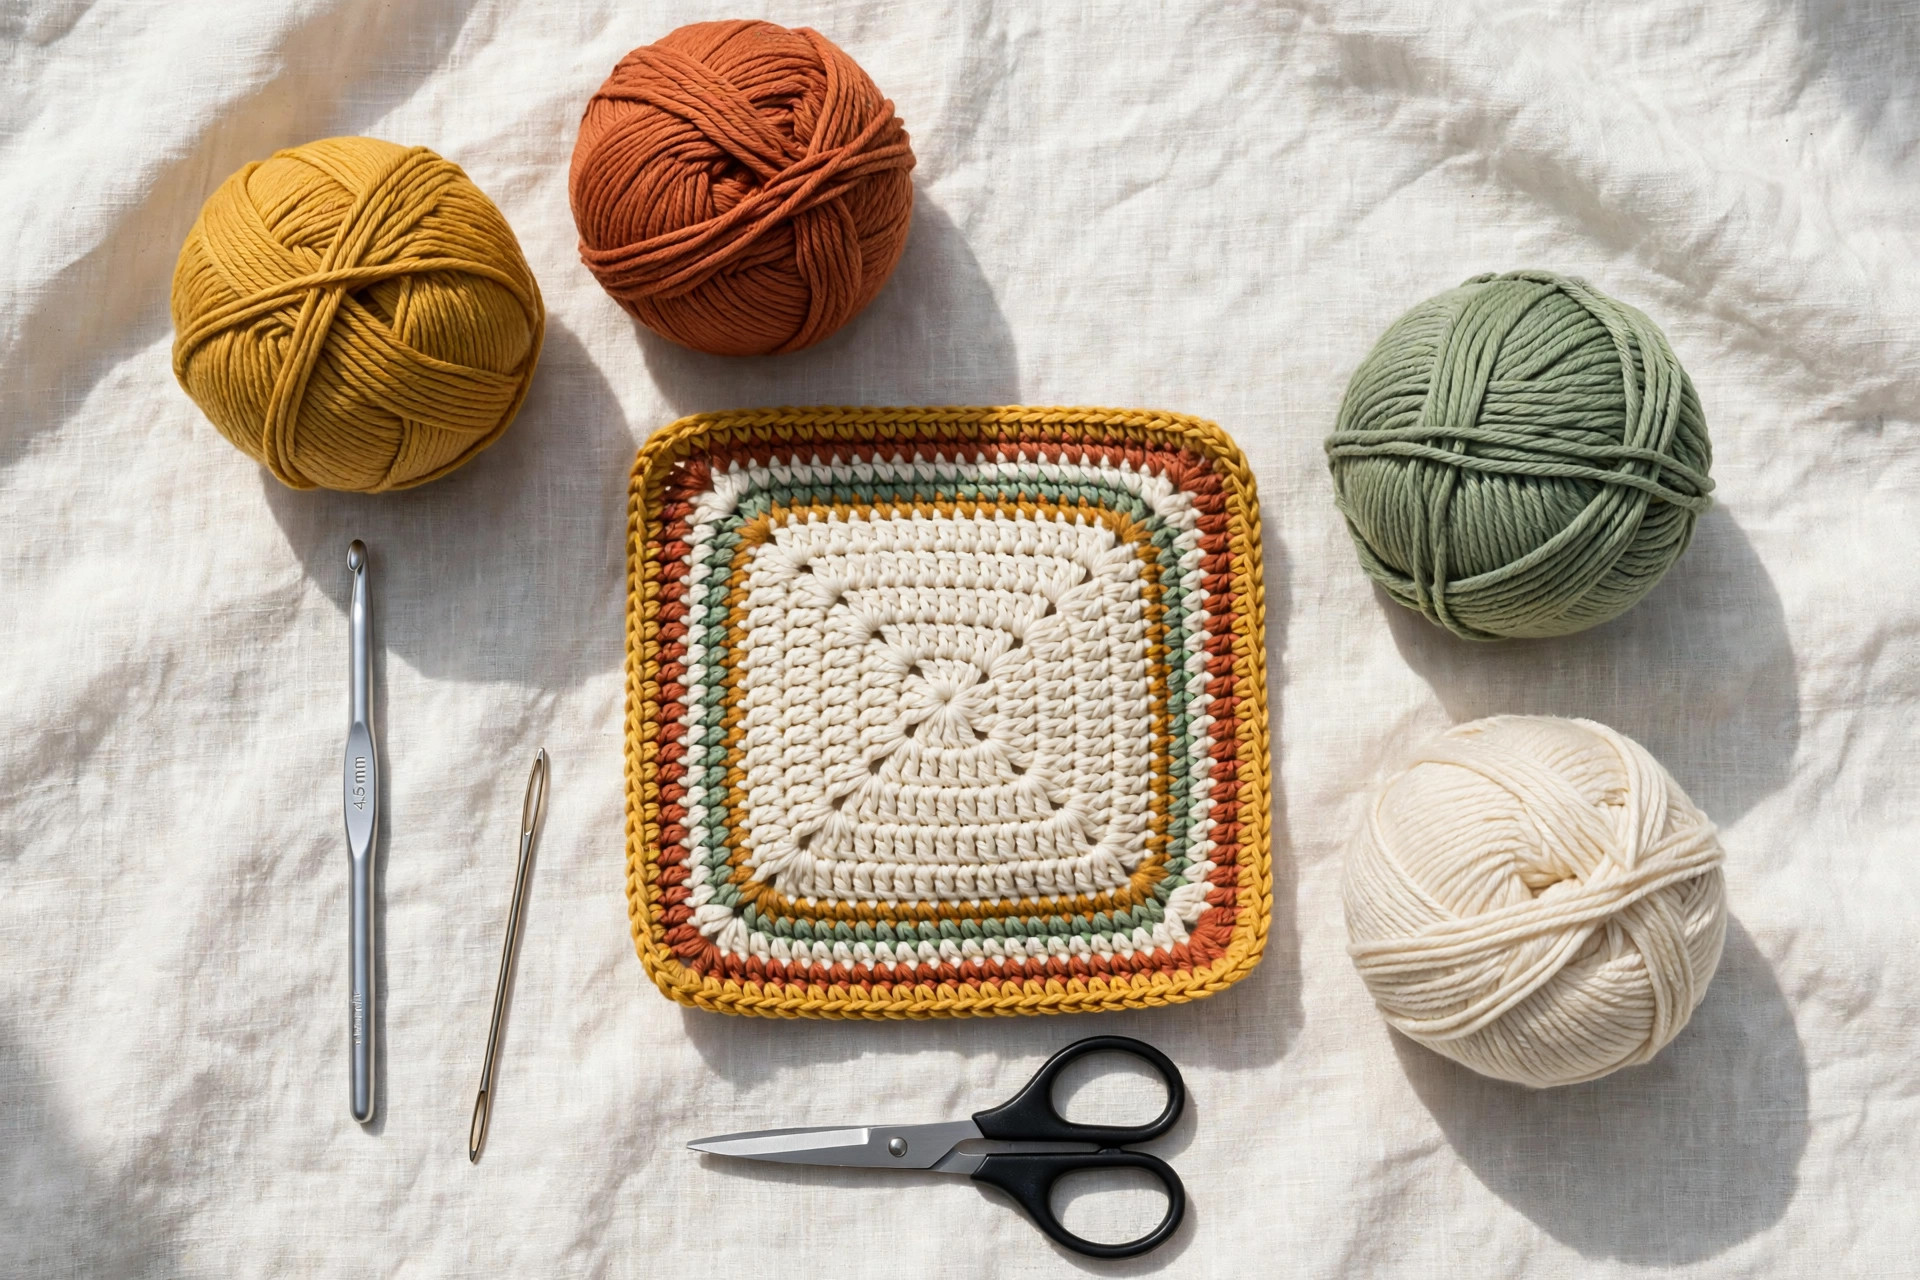
| Cotton yarn | 100 percent cotton worsted-weight (#4) yarn, such as kitchen or dishcloth cotton. Each pad needs about 80-100 yds / 73-91 m total. NEVER use acrylic, wool, or blends for hot pads: they melt or scorch |
| Crochet hook | 4.5 mm (7). A slightly smaller hook than the yarn label suggests gives a denser, more protective fabric |
| Tapestry needle | For weaving in ends and joining the double layers |
| Notions | Scissors, stitch markers for marking rounds on the round pad |
Buy kitchen cotton, not fashion cotton: yarn labeled "kitchen cotton" or "dishcloth cotton" is spun tighter and holds up to heat and repeated washing. One 120-yard skein makes one generous hot pad with yarn to spare, so three skeins in coordinating colors makes the whole collection.
A note on colors: dark and saturated colors hide cooking stains better than white. Mustard, terracotta, sage, navy, and charcoal all look gorgeous in a kitchen and forgive a tomato sauce splatter.
Size, gauge and skill level
All three designs are worked to finish at roughly the same generous size, big enough to sit under a casserole dish and easy to grab with one hand.
| Design | Finished size | Approx. time |
|---|---|---|
| Thermal stitch square | 7 x 7 in / 18 x 18 cm | About 3 hours |
| Striped square | 6.5 x 6.5 in / 16.5 x 16.5 cm | About 2.5 hours |
| Scalloped round | 6.5 in / 16.5 cm across | About 2 hours |
- Gauge: 16 sc and 19 rows = 4 in (10 cm) with a 4.5 mm hook in single crochet; 16 sts and 18 rows = 4 in (10 cm) in thermal stitch. For hot pads, exact gauge matters less than density: your fabric should feel firm with no visible holes when you hold it up to the light.
- Skill level: beginner. You should know how to chain, single crochet, and double crochet. The thermal stitch sounds intimidating but is just single crochet worked through two loops at once.
If you have never made anything beyond a chain, start with the striped square: it is pure single crochet, and the stripes make counting rows almost automatic.
Abbreviations, US terms
| Abbreviation | Meaning |
|---|---|
| ch | chain |
| sc | single crochet |
| dc | double crochet |
| sl st | slip stitch |
| inc | increase: 2 stitches in the same stitch |
| BLO | back loop only |
| st(s) | stitch(es) |
| R | round or row |
| FO | fasten off |
| [ ] | total stitch count at the end of the round or row |
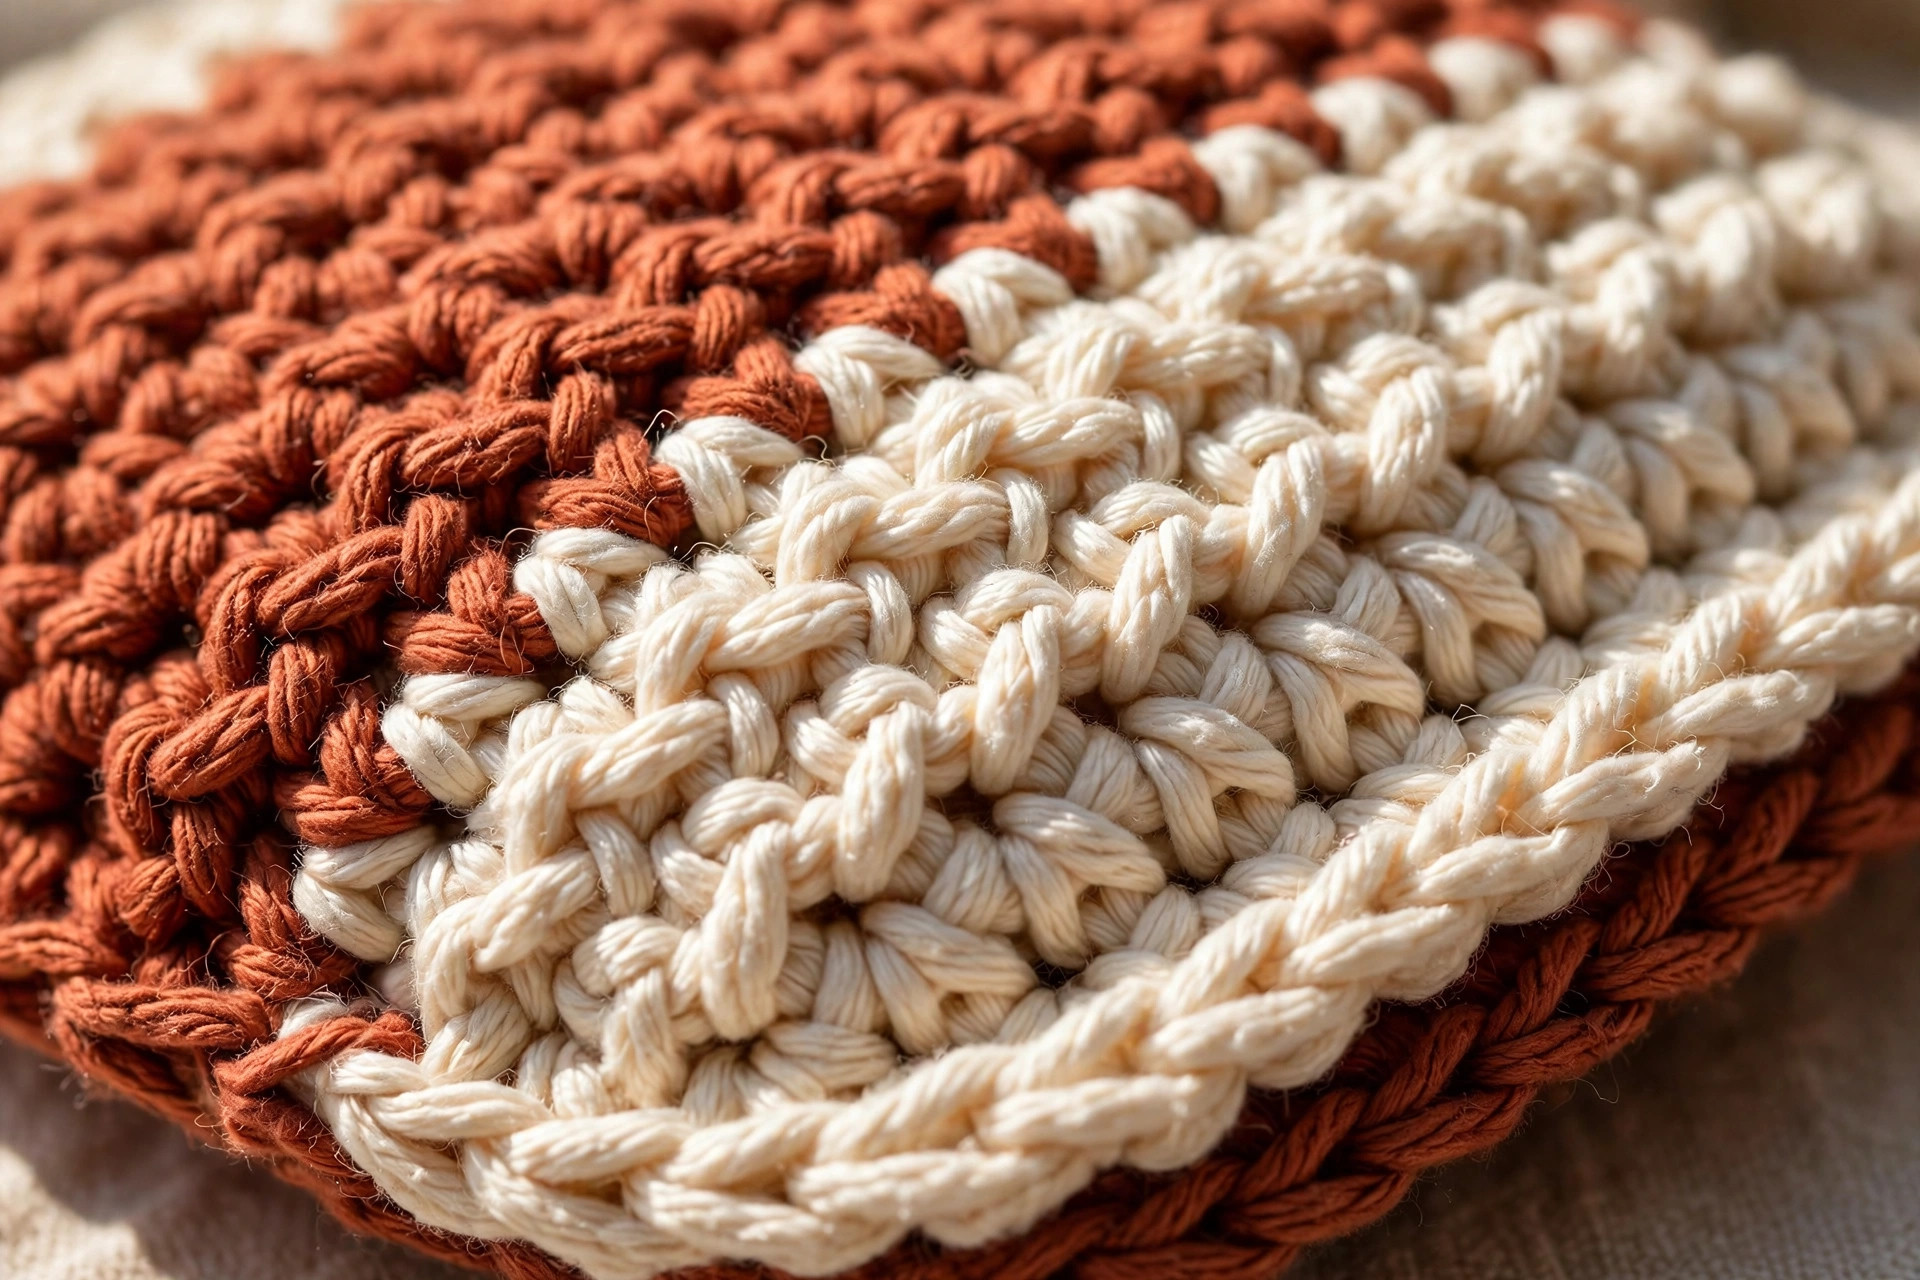
A note on the thermal stitch: after Row 2, every stitch is worked by inserting your hook through the back loop of the current row AND the unworked front loop of the row below, then completing a normal single crochet. This locks two layers together as you go. The first few stitches feel fiddly; by Row 5 your hands will know the motion.
The free crochet hot pad patterns (US terms)
Work any one design or all three: same hook, same yarn, same finishing. Instructions are written for one pad.
Design 1: Thermal stitch square
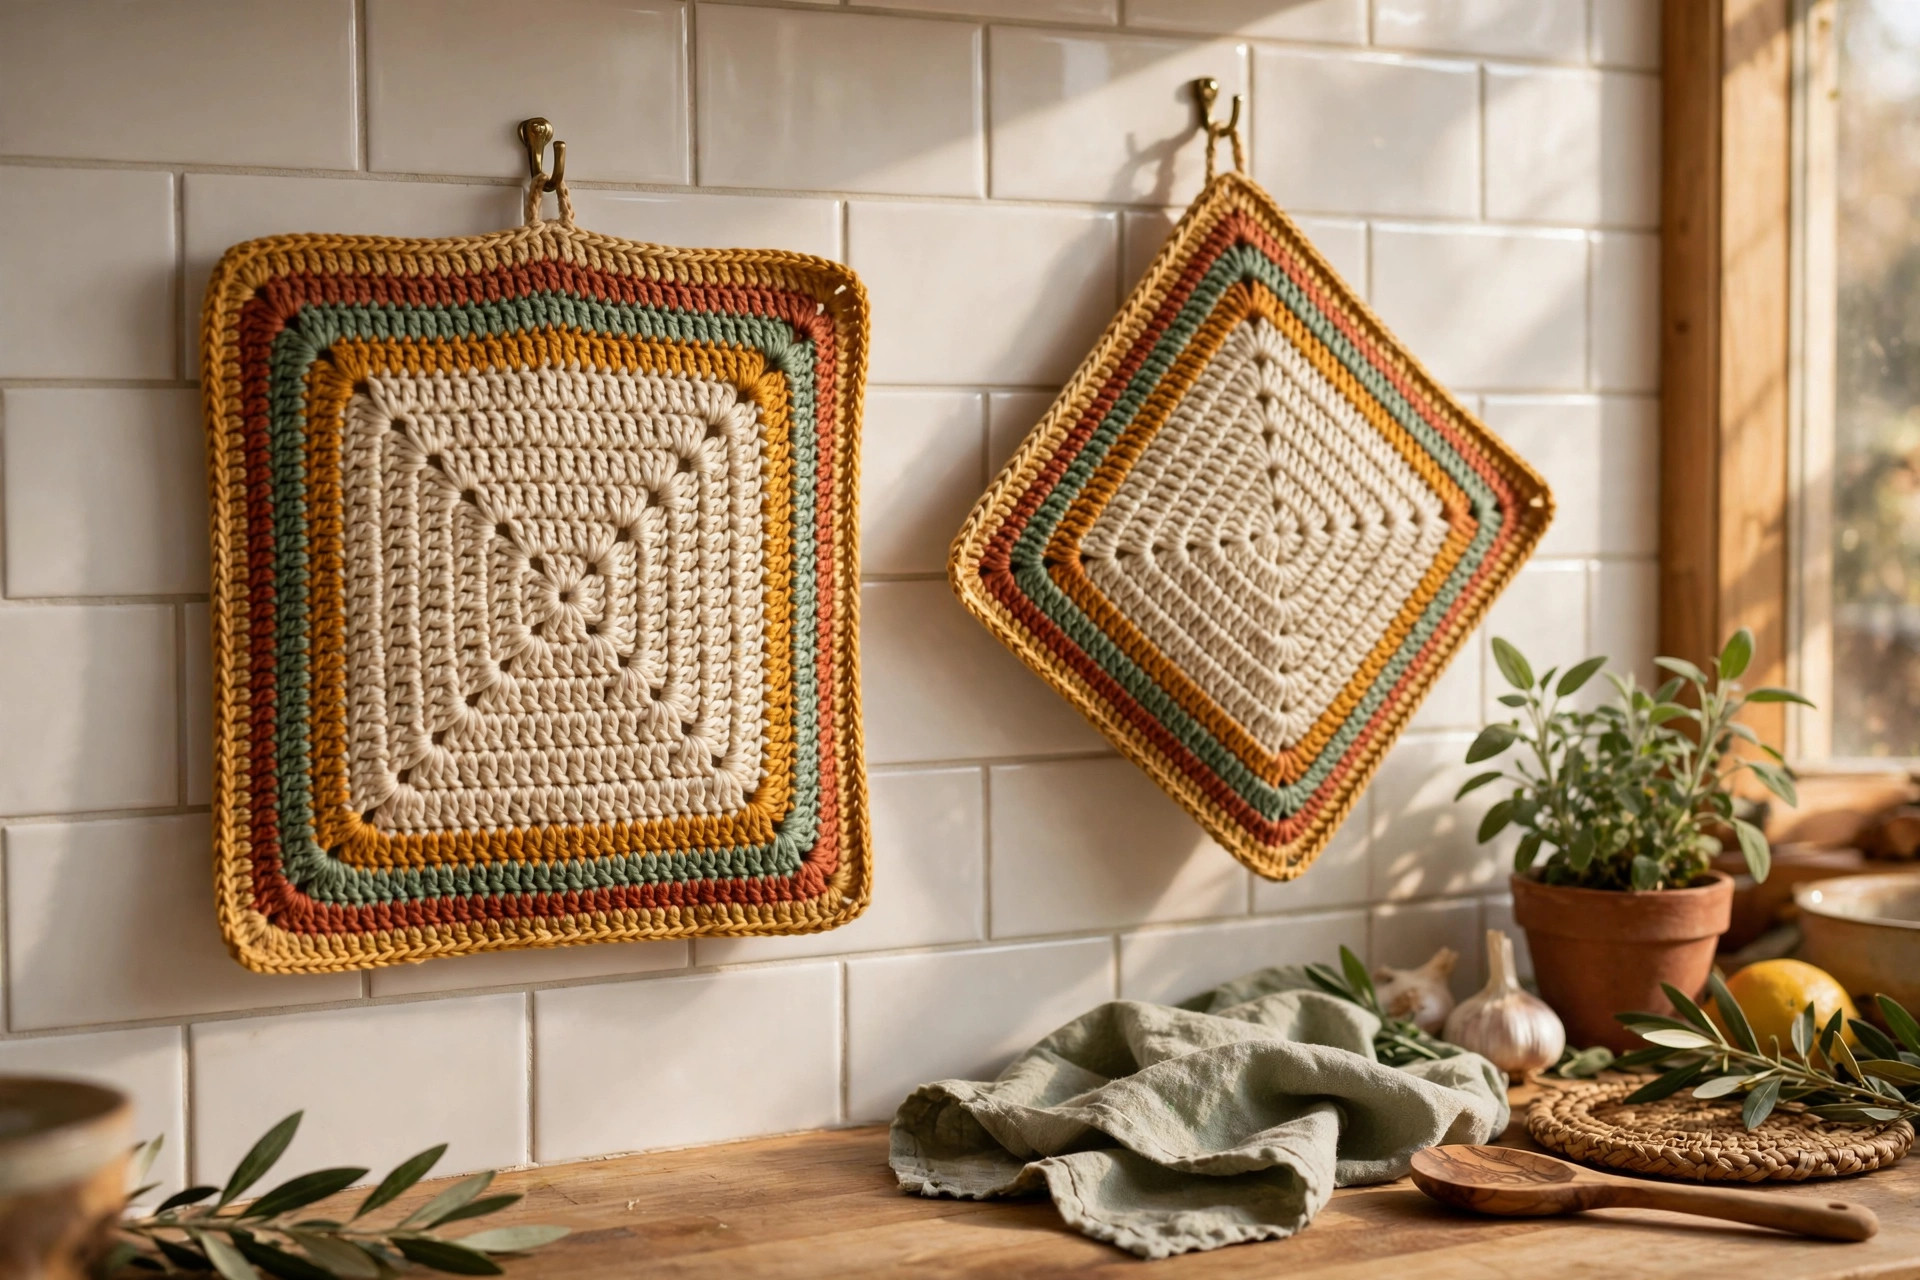
The workhorse. The thermal stitch builds a double-thick fabric in one pass, so this pad needs no sewing and no joining. It is the most protective of the three and my pick for anyone who cooks with cast iron.
With your main color, ch 32.
- R1: sc in 2nd ch from hook and in each ch across. [31]
- R2: ch 1, turn, sc in BLO of each st across. [31]
- R3: ch 1, turn. Work a thermal sc in each st across: insert hook under the BLO of the current row and through the unworked front loop of the row below, yo, pull up a loop, yo, pull through both loops. [31]
- R4-R30: repeat R3.
Your piece should now measure about 7 inches square. If it is a little short, add rows until it is square: fold it corner to corner to check.
Edging and hanging loop: ch 1, do not turn. Work sc evenly around all four sides of the square, placing 3 sc in each corner st to turn the corner neatly. When you return to the start, sl st to the first sc. For the loop: ch 14, sl st into the same corner st to form a ring, FO. Weave in the end.
Design 2: Striped square
The charmer. Two striped squares joined wrong-sides-together make a reversible pad with a tidy edge, and the stripes let you play with color. Make both squares identically.
Square (make 2): With color A, ch 26.
- R1: sc in 2nd ch from hook and in each ch across. [25]
- R2-R5: ch 1, turn, sc in each st across. [25]
- R6-R7: join color B, ch 1, turn, sc in each st across. [25]
- R8-R11: join color A, ch 1, turn, sc in each st across. [25]
- R12-R13: join color B, ch 1, turn, sc in each st across. [25]
- R14-R17: join color A, ch 1, turn, sc in each st across. [25]
- R18-R19: join color B, ch 1, turn, sc in each st across. [25]
- R20-R23: join color A, ch 1, turn, sc in each st across. [25]
- R24-R25: join color B, ch 1, turn, sc in each st across. [25]
- R26-R29: join color A, ch 1, turn, sc in each st across. [25]
- R30-R31: join color B, ch 1, turn, sc in each st across. [25]
FO the first square and weave in the ends. Do NOT fasten off the second square: you will use its working loop to join.
Joining the layers: hold the two squares with wrong sides together and the second square facing you. With the working loop of the second square, ch 1, then sc through both layers evenly around all four sides, placing 3 sc in each corner. Sl st to the first sc. For the hanging loop: ch 14, sl st into the same corner st, FO, and weave in the end.
To change colors cleanly, work the last yarn-over of the final stitch in the old color with the new color, then carry the unused color loosely up the side: the joined edge will swallow the floats.
Design 3: Scalloped round pad
The pretty one. A flat circle in double crochet with a scalloped shell edge, made twice and joined for double thickness.
Circle (make 2):
- R1: magic ring, ch 3 (counts as dc), 11 dc in ring, join with sl st to top of ch 3. [12]
- R2: ch 3, dc in same st, 2 dc in each st around, join. [24]
- R3: ch 3, (dc in next st, 2 dc in next st) around, join. [36]
- R4: ch 3, (dc in next 2 sts, 2 dc in next st) around, join. [48]
- R5: ch 3, (dc in next 3 sts, 2 dc in next st) around, join. [60]
- R6: ch 3, (dc in next 4 sts, 2 dc in next st) around, join. [72]
FO the first circle. Do NOT fasten off the second circle.
Scalloped join: hold the circles wrong sides together with the second circle facing you. With its working loop: sl st in any st through both layers, then work the scallop edge around: (skip 1 st, 5 dc in next st through both layers, skip 1 st, sc in next st through both layers) repeat around. You will make 18 scallops. Join with a sl st to the first sl st. For the hanging loop: ch 14, sl st into the same st, FO, weave in the end.
If your circle ripples, you added increases too fast: drop back to (dc in next 5, inc) on R6. If it cups like a bowl, add one plain round of dc with no increases between R5 and R6.
Finishing touches and assembly
Weave in every end with care. Hot pads get yanked, folded, and washed hard, so thread each tail through nearby stitches for at least 2 inches, change direction once, and trim close.
Tug the hanging loops into shape. The chain-14 loop can twist; roll it between your fingers to even out the twist, then give it a gentle pull so it lies flat against the pad.
Block the squares lightly. Lay each finished pad flat, mist lightly with water, pat the corners square, and let dry completely. This evens out the stitches and makes the edges behave.
Wash before first use. Kitchen cotton sometimes carries a little sizing from the mill. One trip through the washer and dryer softens the pads and lets the stitches settle into their final, densest state.
Tips and tricks
Small details that separate a good hot pad from a great one:
Cotton is non-negotiable. This bears repeating because stashes tempt us: acrylic yarn softens and melts at the temperatures a hot roasting pan carries. Wool felts and scorches. Use 100 percent cotton, every time, no exceptions.
Density beats thickness. A loosely crocheted double layer still lets heat through, while a firmly crocheted one stops it cold. If your fabric has visible gaps when held to the light, go down half a hook size.
The thermal stitch eats yarn. It is essentially two layers in one, so it uses roughly twice the yarn of plain single crochet. Do not panic if your skein seems to vanish: that is the stitch doing its job.
Keep stripe edges tidy. When carrying yarn up the side of the striped square, give the carried strand a gentle tug every few rows so it lies flat.
Mark the start of rounds on the circle. A stitch marker in the first stitch of each round saves you from the classic "where does this round end" confusion once the stitch count climbs past 60.
Make them in sets of two or four. One hot pad is useful; a matching set is a gift.
Variations to try next
One hot pad pattern is a project; three is a collection. Here is where to take it:
- Ombre set. Work the thermal stitch square in three shades of one color, changing every 10 rows, for a gorgeous gradient.
- Christmas kitchen set. Make the striped square in cranberry and cream, and the scalloped round in deep green, for hot pads that double as holiday decor. Our free crochet santa hat pattern is the perfect batch-mate project for a handmade Christmas kitchen.
- Oversized trivet. Work the scalloped circle to R8 (108 sts) for a 9-inch trivet that lives on the dining table. The same scallop math applies: 108 divided by 4 is 27 scallops.
- Kid-size pot holders. Work the striped square to R20 only for a smaller pad little helpers can manage safely.
- Scrap-buster stripes. Use up cotton odds and ends with 2-row stripes in random colors. Because the join covers the edge, even clashing colors look intentional.
Troubleshooting tips
- Heat comes through the pad. The fabric is too loose or only single-layered. Go down a hook size, and make sure both layers are present on the striped and round designs.
- The thermal stitch looks messy and loose. You are probably working into the wrong loop of the row below. Slow down for one row and watch: the hook must catch the unworked front loop left behind by the BLO row.
- The striped squares are different sizes. Count rows, not vibes: both squares need exactly 31 rows. Adjust the larger one before joining, or the edge will pucker.
- The circle ripples or cups. Rippling means too many increases; cupping means too few. Adjust R6 as described in the pattern, and always join rounds with a slip stitch rather than spiraling.
- The scalloped edge flares outward. Your joining tension is looser than the circles. Work the scallop round with a slightly tighter hand, or drop to a 4.0 mm hook for the edge only.
- Color changes leave little dots of the old color. Work the final yarn-over of the last stitch before the change in the NEW color. That single yarn-over is what shows on the next row.
- The hanging loop stretches out of shape. If your chains run loose, chain 12 instead, and work back over the chain with slip stitches for a reinforced loop.
Frequently asked questions
Are these free crochet hot pad patterns really free?
Yes, all three complete patterns above are free, with no email signup and no PDF purchase required.
What is the best yarn for crochet hot pads?
One hundred percent cotton worsted-weight yarn. Cotton resists heat, does not melt, and survives the washer and dryer. Never use acrylic, wool, or cotton blends for anything that will touch a hot dish.
How do I make a crochet hot pad actually heat proof?
Use two layers of dense cotton fabric. The thermal stitch design builds the double layer automatically; the striped and round designs join two finished pieces. If you can see through the fabric when you hold it to the light, go down a hook size.
What size should a crochet hot pad be?
About 6.5 to 7 inches square or across is ideal: large enough to sit under a standard casserole dish and easy to grip with one hand. Smaller than 6 inches gets fiddly with big pans; larger than 8 inches is really a trivet.
Can I use these patterns for potholders too?
Yes, with one tweak: potholders need a pocket for your hand. The striped square converts beautifully: join only three sides of the two squares and leave the fourth open as a hand pocket.
How do I wash crocheted hot pads?
Machine wash warm with your towels and tumble dry. Cotton hot pads get better with washing: the fibers bloom and the fabric gets denser. Skip fabric softener, which can coat the fibers over time.
Can I sell the finished hot pads I make?
Yes! You may sell finished hot pads made from these patterns in small batches (craft fairs, markets, gifts). Please credit Little Loop Finds as the pattern designer.
More free patterns to try
If your kitchen is feeling the love, keep going. The crochet dishcloths free patterns use the same kitchen cotton and make perfect companions to these hot pads, the crochet trivet patterns scale the same double-layer idea up to table size, and the crochet potholders free patterns complete the matching set. For the holidays, pair a cranberry-and-cream set with the free crochet santa hat pattern from this same batch: a handmade Christmas kitchen, done.