Free Crochet Halter Top Pattern (Easy, Breezy)
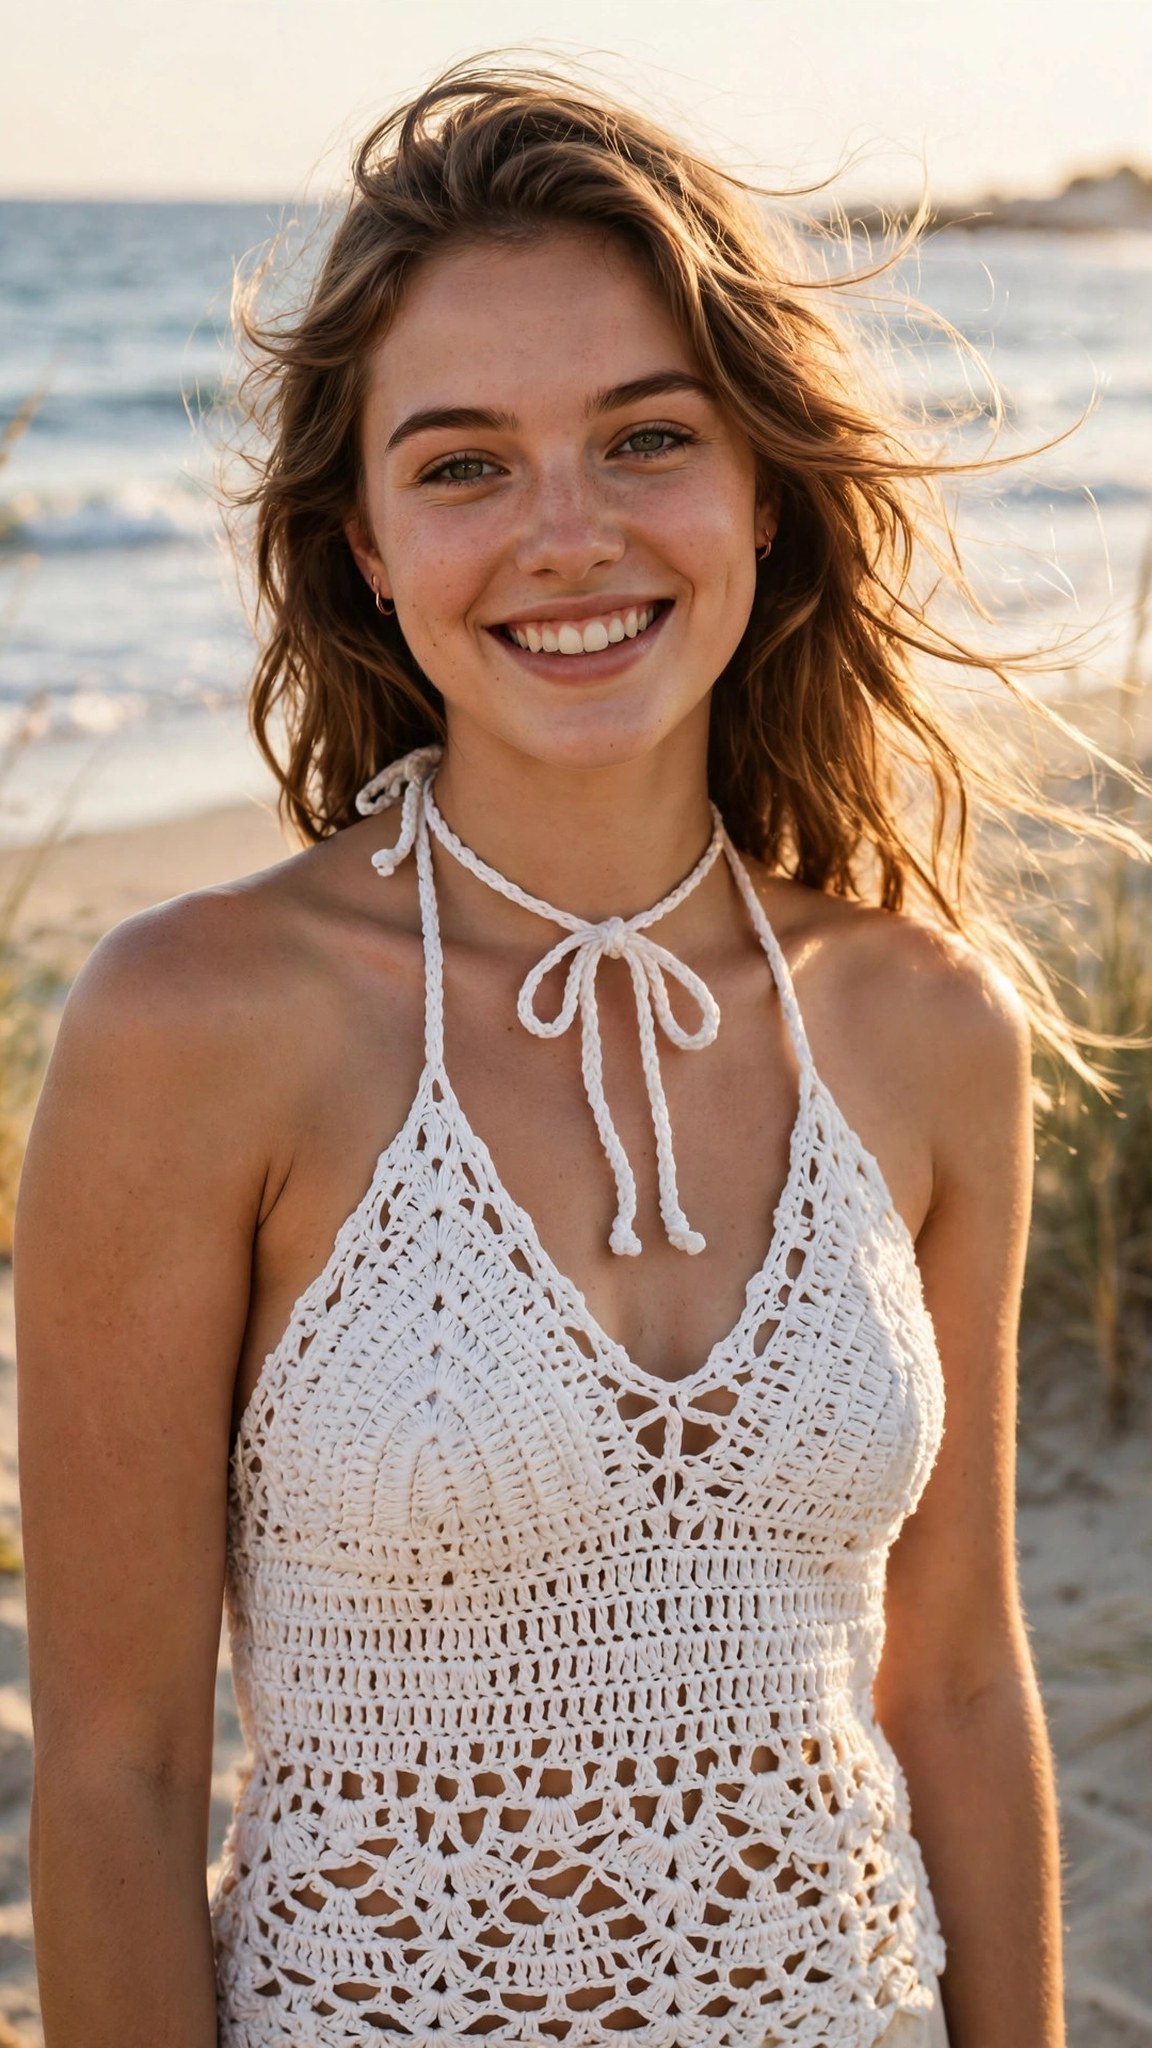
Stitch a breezy triangle halter top in five sizes with this free, beginner-friendly crochet pattern.

Garments · Crochet
- Finished size
- XS to XL, fits underbust 30 to 46 in
- Making time
- 6 to 8 hours
- Hook
- US G-6 (4.0 mm)
- Set
- Top with adjustable ties
- Skill
- Easy
In this post
- Key Takeaways
- Table of Contents
- Why You Will Love This Project
- Finished Size, Skill Level, and Time
- How to Measure Yourself
- Materials You Need
- Abbreviations (US Terms)
- Gauge
- Part 1: Crocheting the Triangle Cups
- Part 2: Joining the Cups and Working the Band
- Part 3: Ties and Edging
- Styling and Color Ideas
- Troubleshooting
- Care Instructions
- Frequently Asked Questions
Few things say summer like a handmade halter top. It is breezy, it is flattering, and it pairs with everything from denim cutoffs to a flowy maxi skirt. This free crochet halter top pattern gives you a classic triangle-cup design with adjustable ties, written in five sizes from XS to XL, so you can stitch a top that actually fits your body instead of settling for one-size-fits-most.
This is an original Little Loop Finds design. The cups are simple expanding triangles worked in double crochet, which means the stitching is rhythmic and easy to memorize after the first few rows. A neat bottom band ties the two cups together, and long tie straps at the neck and back let you adjust the fit exactly where you need it. If you can chain, double crochet, and single crochet, you have every skill this project asks for.
Most makers finish the whole top in a weekend. The cups work up quickly because each row is just one repeat, and the finishing is simple: a tidy edge of single crochet, four tie cords, and weaving in your ends. Choose a breathable cotton or cotton blend yarn and you will have a top you reach for all summer long.
Key Takeaways
- Free and original: this crochet halter top pattern is a Little Loop Finds original design, written in US terms, and completely free.
- Five sizes included: XS through XL with a simple measuring guide, so the top fits your actual underbust and cup depth.
- Beginner friendly: uses only chain, slip stitch, single crochet, and double crochet in an easy repeating triangle.
- Adjustable fit: long neck and back ties mean no fiddly closures and easy tweaks for comfort.
- Weekend project: about 6 to 8 hours of stitching, plus simple finishing.
Table of Contents
- Why You Will Love This Project
- Finished Size, Skill Level, and Time
- How to Measure Yourself
- Materials You Need
- Abbreviations (US Terms)
- Gauge
- Part 1: Crocheting the Triangle Cups
- Part 2: Joining the Cups and Working the Band
- Part 3: Ties and Edging
- Styling and Color Ideas
- Troubleshooting
- Care Instructions
- Frequently Asked Questions
Why You Will Love This Project
Store-bought halter tops come in generic sizes that fit almost nobody perfectly. When you crochet your own, you control the cup depth, the band width, and the strap length, which means the finished top sits exactly where you want it. The triangle cup shape is naturally forgiving too: the ties do the fitting work, so small differences in tension disappear once the top is on.
This design is also a fantastic first garment. Garments can feel intimidating, but a halter top is really just two triangles, a band, and some ties. There is no armhole shaping, no sleeves to set in, and no zipper to install. You get the thrill of wearing something you made, without the complexity of a sweater.
Cotton yarn makes this top genuinely wearable in heat. Unlike heavy acrylics, a light cotton or cotton blend breathes, holds its shape when you move, and softens beautifully with washing. Make one in crisp white for a vacation staple, or stitch a bold color that makes your summer photos pop.
If you enjoy quick wearables, our free crochet shrug pattern layers beautifully over this halter on cooler evenings.
Finished Size, Skill Level, and Time
- Finished sizes: XS, S, M, L, XL to fit underbust 30 to 46 inches. Cup depth grows with each size so coverage scales naturally.
- Skill level: confident beginner. You should be comfortable with chain, slip stitch, single crochet, and double crochet, plus basic increasing.
- Making time: 6 to 8 hours total, including finishing. Most makers complete one cup per sitting.
| Size | Underbust | Cup rows | Approx. yarn |
|---|---|---|---|
| XS | 30 to 32 in | 9 | 350 yards |
| S | 33 to 35 in | 11 | 400 yards |
| M | 36 to 38 in | 13 | 450 yards |
| L | 39 to 42 in | 15 | 500 yards |
| XL | 43 to 46 in | 17 | 550 yards |
How to Measure Yourself
Good fit starts with two quick measurements, and a soft tape measure is all you need.
Underbust: Wrap the tape snugly around your ribcage directly under your bust, keeping it level all the way around. Match this number to the size chart above. If you fall between sizes, size down: the ties add adjustability, and crochet stretches a little with wear.
Cup depth: Measure from the top of your shoulder, down over the fullest part of your bust, to where you want the bottom band to sit. Compare this to the cup triangle as you work. The pattern tells you how many rows each size needs, but you can add or remove rows to fine tune coverage. Trying the cup against your body as you go is the single best fitting trick for this top.
A note on stretch: cotton relaxes with wear, especially in the band. If your gauge swatch stretches a lot when tugged, consider going down a hook size for the band rows to keep them snug.
Materials You Need
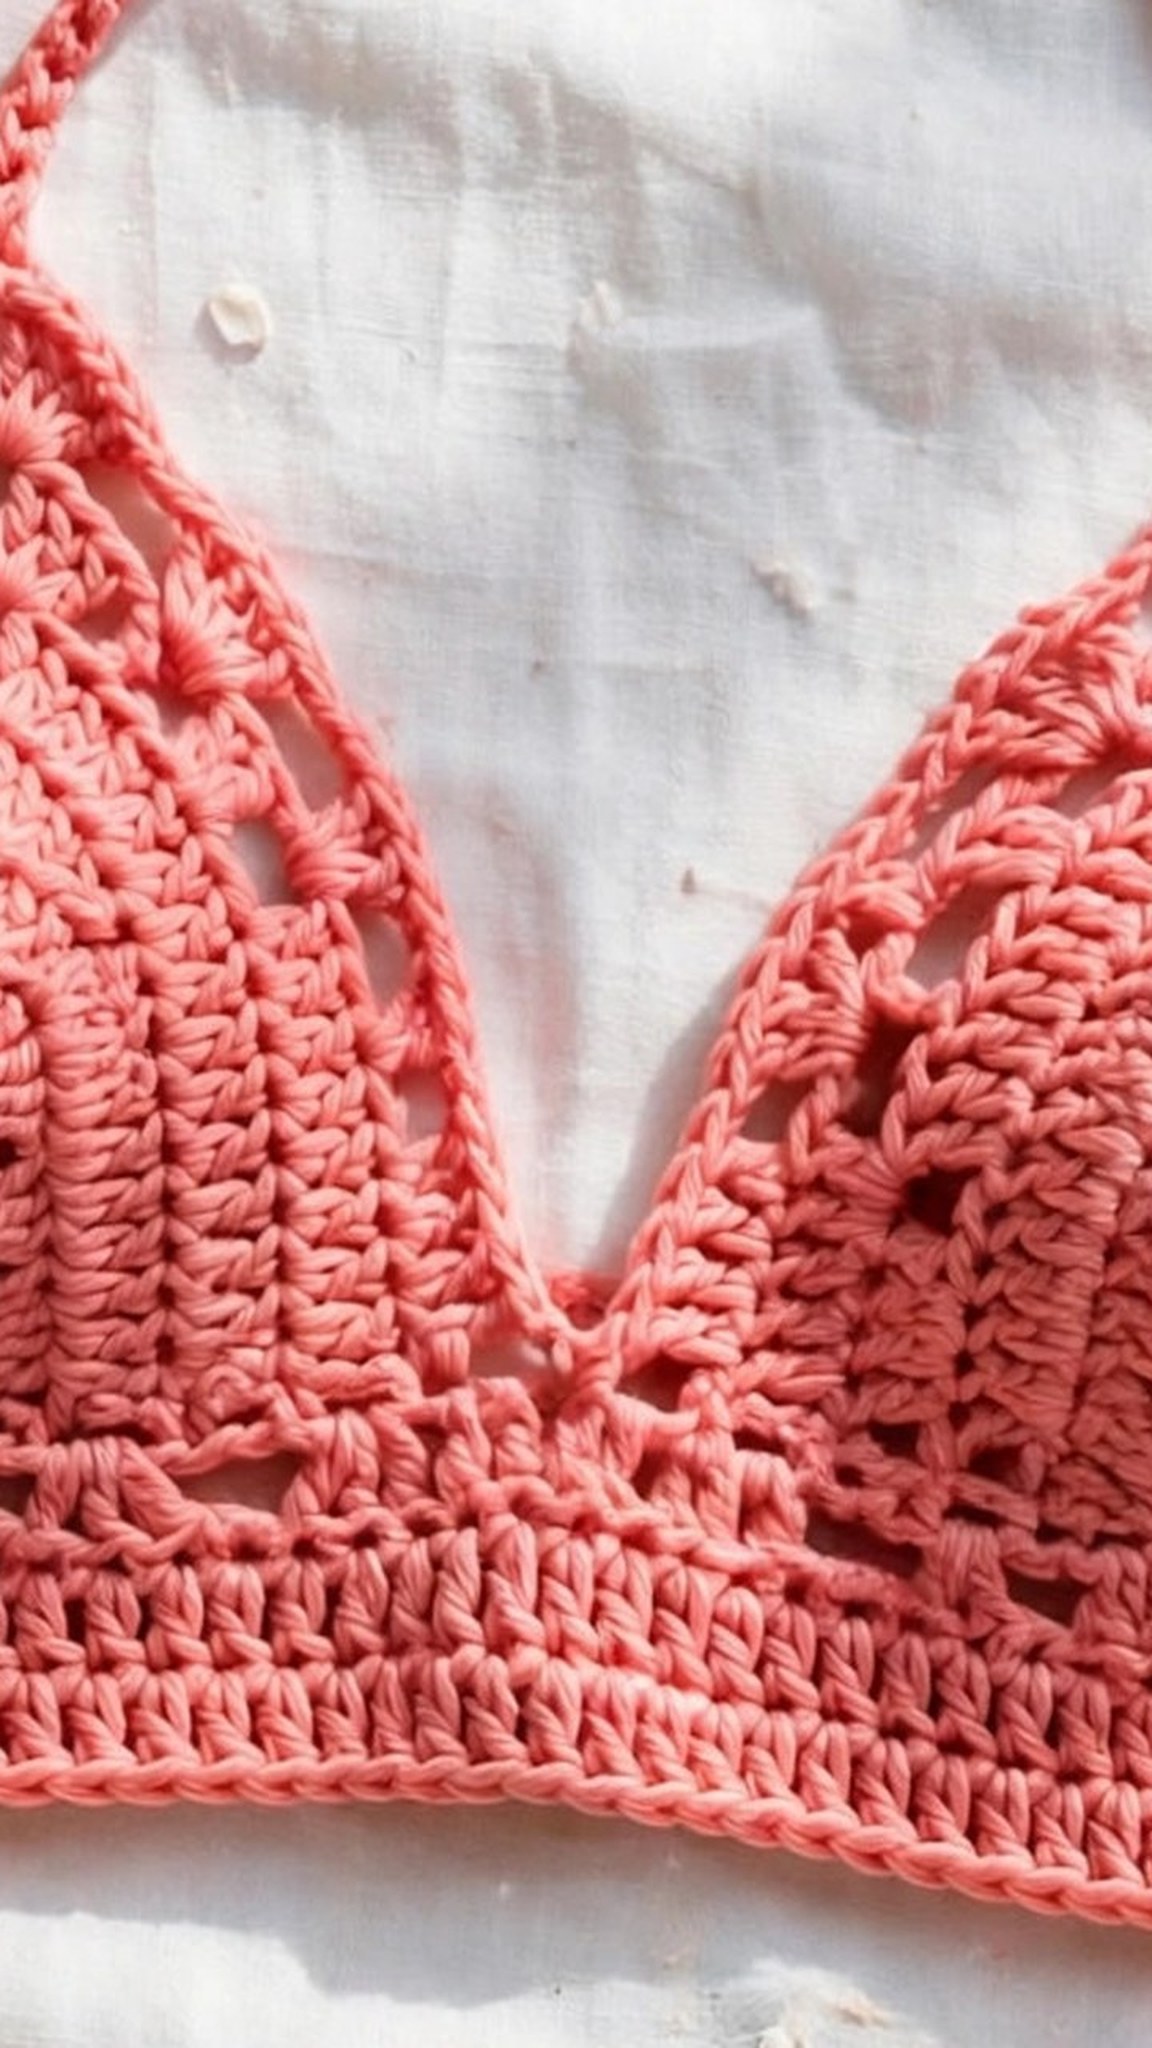
- DK weight (#3) cotton or cotton blend yarn, 350 to 550 yards depending on size (see chart). Solid colors show the stitch texture best; variegated yarns add interest without any color changes.
- US G-6 (4.0 mm) crochet hook, or the size needed to meet gauge.
- Stitch markers (2 are helpful for marking the cup points).
- Yarn needle and scissors.
- Soft tape measure for fitting as you go.
Abbreviations (US Terms)
- ch = chain
- sl st = slip stitch
- sc = single crochet
- dc = double crochet
- st(s) = stitch(es)
- sp = space
- RS = right side
- WS = wrong side
Gauge
16 dc and 9 rows = 4 inches in double crochet, blocked. Take the time to check gauge, because it controls both the cup size and the band length. Crochet a 5-inch square swatch in double crochet, measure the middle 4 inches, and adjust your hook size up or down until you match. A top is one of the few projects where gauge truly matters, and ten minutes of swatching saves hours of reworking.
Part 1: Crocheting the Triangle Cups
Each cup is a triangle that starts at a point and grows wider every row. The chain-2 spaces at the center of each row form the spine of the triangle, and increases at both edges keep the sides straight. Make two identical cups.
A note on the turning chain: the ch-3 at the start of each row counts as the first double crochet of the row throughout this pattern.
Row 1 (RS): Ch 4. In the 4th ch from the hook, work (2 dc, ch 2, 3 dc). Turn. (6 dc plus a ch-2 sp)
Place a stitch marker in the ch-2 sp so you can find the center easily on every row.
Row 2: Ch 3, dc in the same st (increase made), dc in each dc across to the ch-2 sp, (2 dc, ch 2, 2 dc) in the ch-2 sp, dc in each dc across to the last st, 2 dc in the last st (increase made). Turn. (10 dc plus a ch-2 sp)
Row 3 and beyond: Repeat Row 2. Every row adds 4 double crochets: one at each edge and two at the center spine. Keep going until your cup has the number of rows for your size: XS 9 rows, S 11 rows, M 13 rows, L 15 rows, XL 17 rows.
Check your stitch count now and then. Row 5 should have 22 dc, Row 9 should have 38 dc, and Row 13 should have 54 dc. If your count is off, the mistake is almost always a missed edge increase, which is easy to spot because the triangle edge will look stepped instead of straight.
Finishing the cups: After the final row of the second cup, fasten off, leaving a 6-inch tail for weaving in. Lay both cups flat with the points facing up. They should be mirror images of each other, with the wide bottom edges the same width.
Hold a cup up to your body before moving on. The bottom wide edge should span from the center of your chest to just past the side of your bust. If it feels skimpy, add two more rows. It is much easier to adjust now than after the band is attached.
For another breezy warm-weather make, try our crochet bralette pattern free next, which uses a similar triangle technique in a sportier style.
Part 2: Joining the Cups and Working the Band
With the cups complete, you will join them at center front and work a simple band across the bottom edges. This band anchors the top and carries the back ties.
Step 1: Lay the cups side by side with right sides up and the points facing up. The inner bottom corners should just touch at center front. Using your yarn needle and a length of yarn, whipstitch the inner edges together for about 2 inches up from the bottom corners. Knot securely on the wrong side and weave in the end. Leave the rest of the inner edges open; the slight gap at center front is part of the classic halter look.
Step 2: With the right side facing you, join your yarn with a slip stitch in the bottom outer corner of the right cup (the wearer's right). Ch 3 (counts as first dc).
Step 3: Work 1 dc in the end of each row along the bottom edge of the right cup, then continue across the bottom edge of the left cup in the same way, ending at the bottom outer corner of the left cup. You are working into the row ends, not into the stitches of the last row. Aim for a flat, even edge; if it ripples, you have too many stitches, and if it pulls in, you have too few.
Rows 2 and 3 of the band: Ch 3, turn, dc in each dc across. Turn. After Row 3, fasten off and weave in the end. The band should measure close to your underbust measurement, minus a couple of inches of negative ease so it stays put. The back ties will close the remaining gap.
Part 3: Ties and Edging
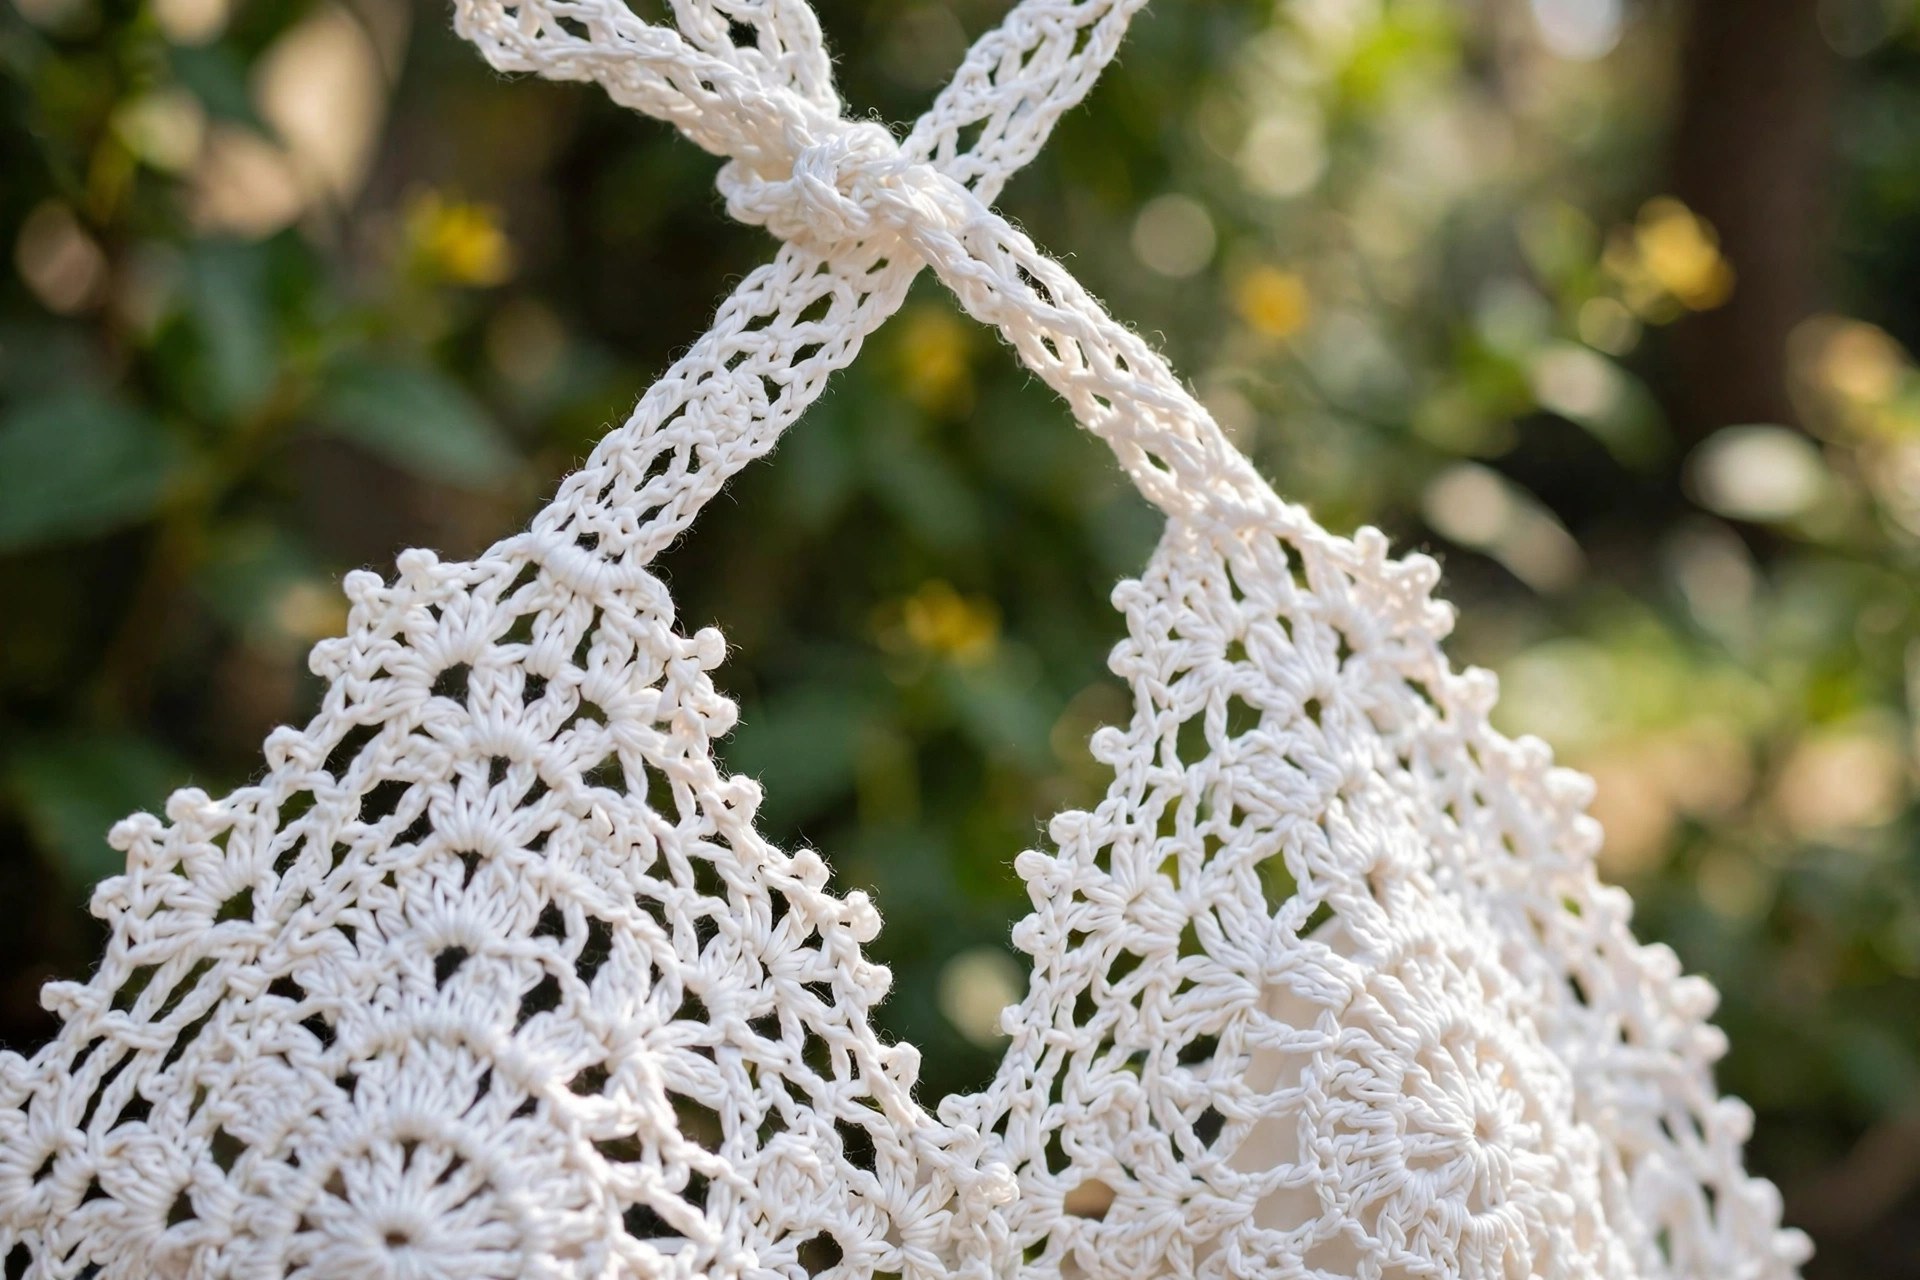
The ties are simple chains, worked tightly so they do not stretch out of shape. A firm chain makes a sturdy strap that stays tied all day.
Neck ties (make 2): Join yarn with a slip stitch at the point (top tip) of a cup. Chain 100 for sizes XS to M, or 120 for sizes L to XL. Fasten off, leaving a 4-inch tail, and knot the tail into the last chain to stop it unraveling. Repeat on the second cup. These ties go around your neck and adjust how high the cups sit.
Back ties (make 2): Join yarn at one end of the bottom band. Chain 70 for sizes XS to M, or 85 for sizes L to XL. Fasten off and knot the tail as before. Repeat at the other end of the band. These tie at your back and control the band snugness.
Cup edging: With the right side facing, join yarn at the bottom outer corner of one cup. Ch 1, then work 1 sc in each stitch and 2 sc in each ch-2 space up one side of the cup, 3 sc in the point stitch at the top, then back down the other side. Fasten off. Repeat on the second cup. This tidy edge keeps the triangles from curling and gives the top a finished, store-bought look.
Weave in every end with your yarn needle, working the tails through the backs of several stitches and changing direction once so they cannot wriggle free. Try the top on, adjust the ties, and mark your favorite tie lengths with a small stitch so you can find them again quickly.
Pair this halter with a handmade bottom half too: our free crochet swimsuit pattern uses the same cotton yarn weight, so the two projects coordinate perfectly.
Styling and Color Ideas
One pattern, endless summer looks. Here are five ways our test makers styled theirs:
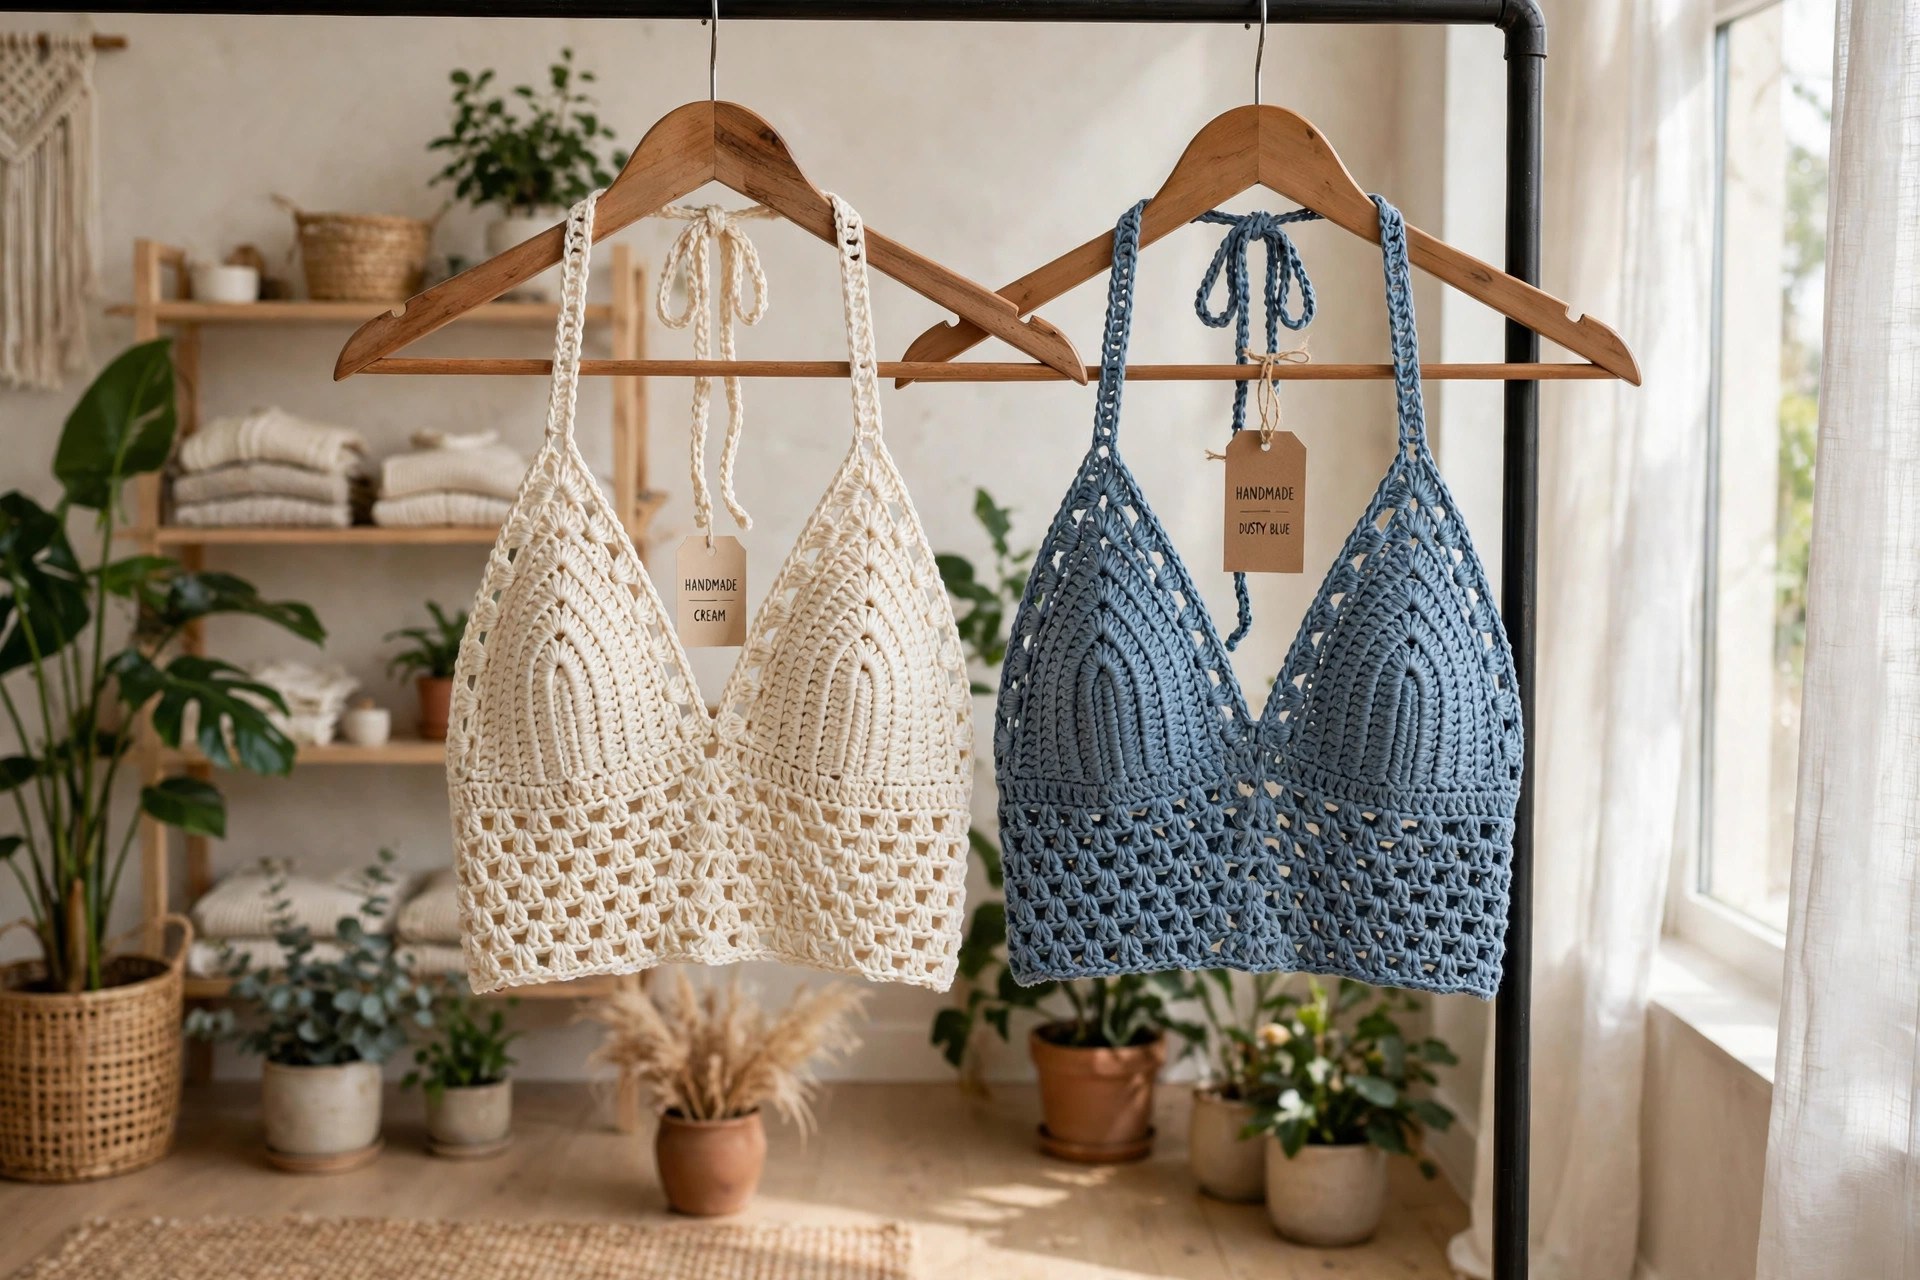
- Crisp white classic: solid white cotton, worn with denim shorts and sandals. The vacation uniform.
- Sunset stripes: work the cups in two-row stripes of coral, peach, and gold. Keep the band solid for balance.
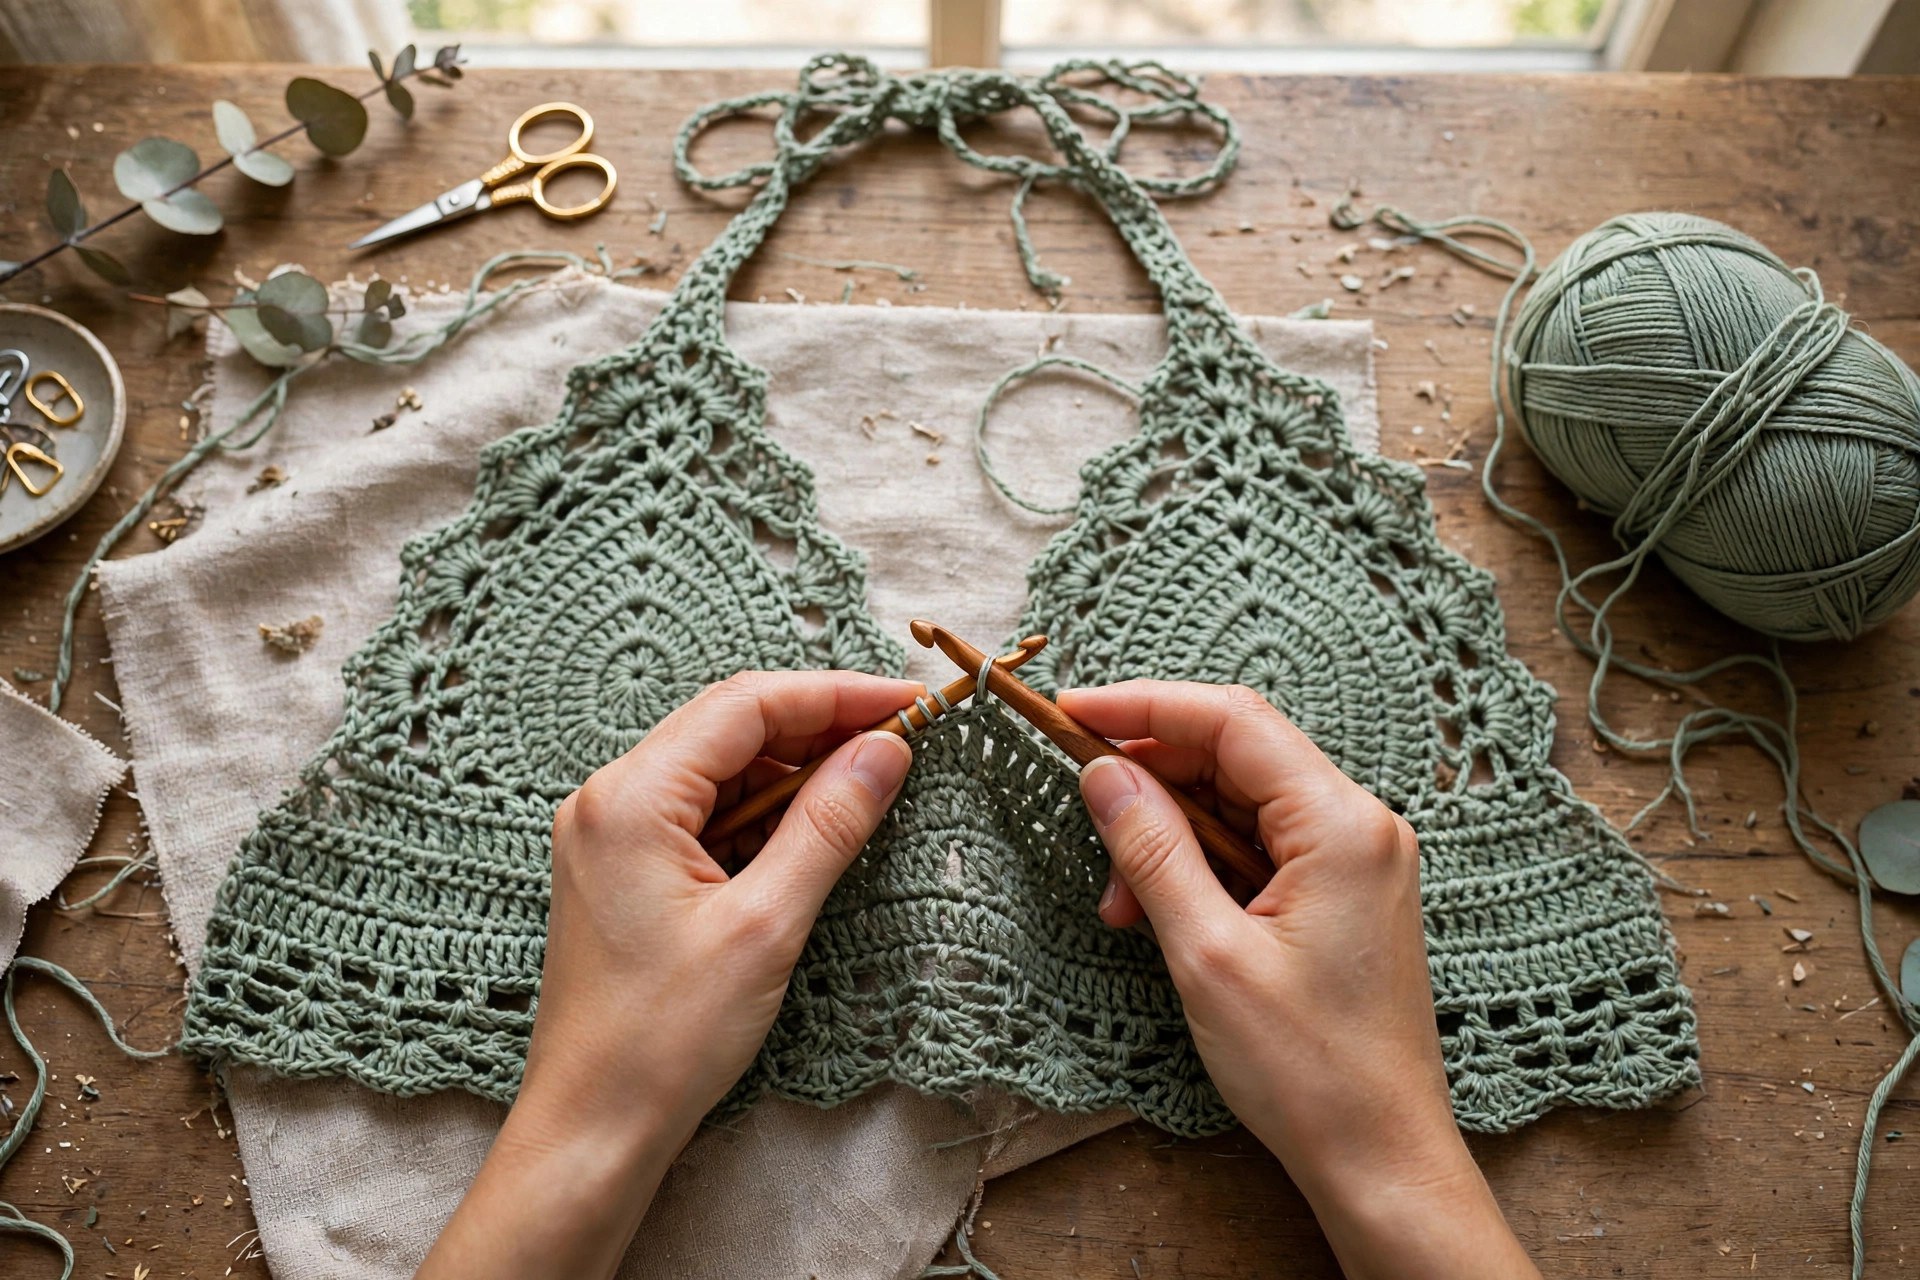
- Sage and cream: a soft sage green with a cream band and ties. Quiet, pretty, and very Pinterest.
- Black staple: solid black in a cotton blend goes from beach cover-up to evening out with a change of bottoms.
- Variegated fun: one skein of a variegated cotton does all the color work for you, and every top comes out unique.
For a full handmade outfit, layer this halter under our crochet mini skirt pattern in a matching or contrasting color.
Troubleshooting
My triangle edges look stepped instead of straight. You are missing the edge increases. Every row needs 2 dc in the first stitch and 2 dc in the last stitch. Count your stitches: each row should have exactly 4 more double crochets than the one before.
The cups are different sizes. This usually means your tension drifted between cups, often because the second cup was crocheted when you were more relaxed. Measure both cups and add rows to the smaller one until they match. Blocking evens out small differences too.
The band ripples or cups inward. The stitch count along the row ends is off. Pull back the band rows and rework, adjusting how many double crochets you place per row end until the edge lies flat. About one stitch per row end is the usual ratio.
The top feels too stretchy after wearing. Cotton relaxes, especially in the band. A cool wash and flat drying will spring it back. For your next one, try a hook one size smaller for the band rows, or work the band in single crochet for a firmer edge.
My ties untie themselves. Chains are slippery. Tie them in a bow rather than a single knot, and leave the tails a little long. A tiny dot of clear fabric glue on the final knot, hidden inside the tie, stops unraveling without showing.
Care Instructions
Hand wash your halter top in cool water with mild soap, gently squeezing rather than wringing. Roll it in a towel to press out water, then reshape and dry flat away from direct sun. Cotton softens with every wash while keeping its shape, so the top gets more comfortable over time. If the band stretches with wear, a cool wash and flat dry will bring it back. Store folded, not hung, so the ties do not pull the cups out of shape.
Frequently Asked Questions
How do I know which size to make?
Measure your underbust (around the ribcage, directly under the bust) and match it to the size chart. If you are between sizes, size down, since the ties add adjustability and crochet stretches slightly with wear. Then check the cup depth against your body as you work and add or remove rows to fine tune coverage.
Is this halter top pattern good for beginners?
Yes, with one condition: you should be comfortable with the basic stitches first. The pattern uses only chain, slip stitch, single crochet, and double crochet, and the triangle repeat is the same every row. There is no shaping beyond simple increases, which makes it an ideal first garment.
What is the best yarn for a crochet halter top?
A DK weight cotton or cotton blend is ideal. Cotton breathes in heat, holds its shape, and softens with washing. Avoid 100 percent acrylic for summer tops, since it traps heat, and skip very fuzzy yarns, which hide the clean triangle shaping.
How long does it take to crochet a halter top?
Most makers finish in 6 to 8 hours. The cups are the bulk of the work, and each one typically takes one relaxed sitting. The band, ties, and edging add about an hour of finishing.
Can I make the cups bigger for more coverage?
Absolutely. Just keep repeating the cup row until the triangle covers as much as you like, then work the band as written. Adding rows also widens the bottom edge, so check the band against your underbust measurement and adjust the tie length to match.
Will the ties stretch out?
Chains can stretch if they are worked loosely, so keep your tension firm when making the ties. Knotting the tail into the last chain stops unraveling, and tying the straps in a bow rather than a single knot keeps them secure through a full day of wear.
Can I wear this top as a swimsuit?
It works as a swim top in a pinch, but cotton gets heavy when wet and dries slowly. For actual swimming, our crochet bandana free pattern makes a cute poolside accessory instead, and you can save the halter for dry land.
Happy crocheting, and enjoy wearing a top that fits like it was made for you, because it was.