Crochet Pin Cushion Pattern (Free, 1 Hour)
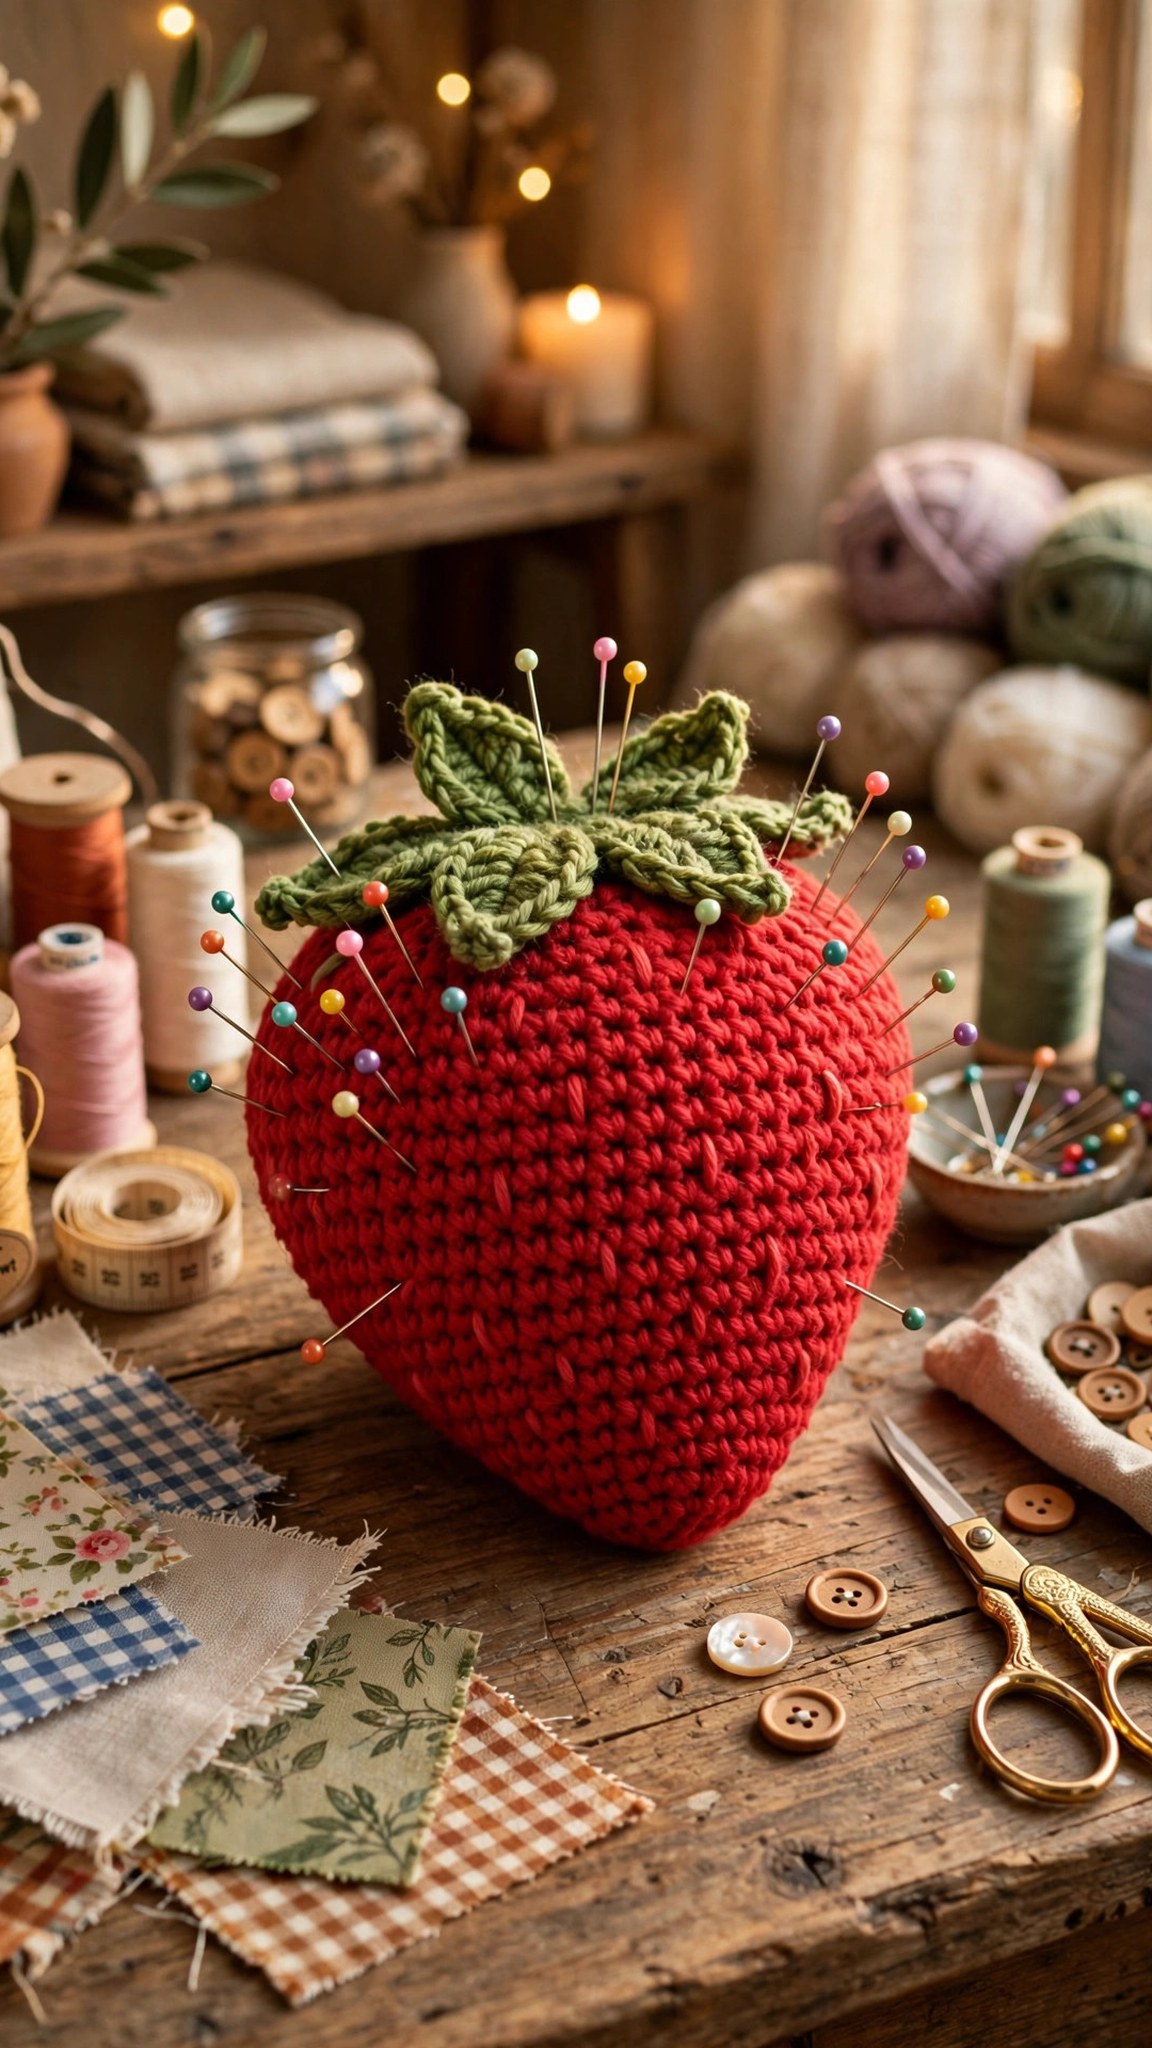
Whip up a sweet strawberry pin cushion in about an hour with this free, beginner-friendly crochet pattern.

Home Decor · Crochet
- Finished size
- About 3 in wide x 2.5 in tall
- Making time
- About 1 hour
- Hook
- US E-4 (3.5 mm)
- Set
- Cushion with leaves and stem
- Skill
- Beginner
In this post
- Key Takeaways
- Table of Contents
- Why You Will Love This Project
- Finished Size, Skill Level, and Time
- Materials You Need
- Abbreviations (US Terms)
- Part 1: Crocheting the Strawberry Body
- Part 2: The Leafy Top and Stem
- Part 3: Stuffing and Assembly
- Design Variations
- Tips for a Firm, Long-Lasting Cushion
- Troubleshooting
- Care Instructions
- Frequently Asked Questions
Every sewist needs a pin cushion, and a handmade one beats a store-bought tomato every time. This free crochet pin cushion pattern makes a sweet little strawberry, complete with a leafy green top, in about an hour from start to finish. It is the perfect quick gift, a charming desk companion, and a wonderful way to use up those half skeins cluttering your yarn basket.
This is an original Little Loop Finds design. The strawberry body is worked in simple single crochet rounds with easy increases and decreases, the leaves are tiny and quick, and the whole thing stuffs firm with just a handful of fiberfill. If you can crochet a magic ring and work single crochet in the round, you can finish this cushion in a single sitting, pins and all.
Pin cushions also make fantastic batch gifts. The pattern is fast enough to stitch a whole set in an evening, which makes it ideal for sewing group swaps, teacher gifts, stocking stuffers, and craft fair tables. Change the colors and you can turn the same basic shape into a tomato, a pumpkin, or a flower, so one pattern gives you a whole collection.
Key Takeaways
- Free and original: this crochet pin cushion pattern is a Little Loop Finds original design, written in US terms, and completely free.
- One hour project: about 45 to 60 minutes from first stitch to finished cushion, including stuffing and leaves.
- Beginner friendly: uses only magic ring, single crochet, increases, and decreases in simple rounds.
- Scrap buster: needs less than 30 yards of yarn total, perfect for leftover worsted weight skeins.
- Gift ready: fast enough to batch for swaps, stockings, and craft fairs, with easy color variations.
Table of Contents
- Why You Will Love This Project
- Finished Size, Skill Level, and Time
- Materials You Need
- Abbreviations (US Terms)
- Part 1: Crocheting the Strawberry Body
- Part 2: The Leafy Top and Stem
- Part 3: Stuffing and Assembly
- Design Variations
- Tips for a Firm, Long-Lasting Cushion
- Troubleshooting
- Care Instructions
- Frequently Asked Questions
Why You Will Love This Project
A pin cushion is one of those small tools you use every single day if you sew, and making your own turns a purely practical object into something that makes you smile. The strawberry shape is a classic for a reason: it is cute, it sits stably on a table, and its rounded top holds pins at easy grabbing angles.
This project is also a perfect confidence builder. It teaches the core amigurumi skills, working in a spiral, invisible decreases, and firm stuffing, on a project so small that mistakes cost minutes, not hours. Finish it once and you will have the skills for any small stuffed project.
And then there is the gifting math. One hour, scrap yarn, and a handful of stuffing produces a gift that looks thoughtful and handmade. Sewists are wonderfully easy to gift to: they always need another pin cushion, and they genuinely appreciate one made by hand.
If you like quick, useful makes, our crochet potholders free patterns are another one-hour win for the craft room.
Finished Size, Skill Level, and Time
- Finished size: about 3 inches wide and 2.5 inches tall, not counting the stem. Big enough to hold plenty of pins, small enough to tuck beside a sewing machine.
- Skill level: beginner. You should be comfortable with a magic ring, single crochet, increasing, and decreasing.
- Making time: 45 to 60 minutes, including stuffing, leaves, and assembly.
Materials You Need
- Worsted weight (#4) yarn in red (about 20 yards) and green (about 10 yards). Cotton or acrylic both work well; cotton gives a firmer cushion.
- US E-4 (3.5 mm) crochet hook. A slightly smaller hook than the yarn label suggests keeps the stitches tight so stuffing does not show through.
- Polyester fiberfill, a small handful.
- Yarn needle and scissors.
- Stitch marker to mark the start of each round.
- Optional: a pinch of dried lavender mixed into the stuffing for a lightly scented cushion.
Abbreviations (US Terms)
- ch = chain
- sl st = slip stitch
- sc = single crochet
- hdc = half double crochet
- dc = double crochet
- inc = increase (2 sc in the same st)
- dec = decrease (single crochet 2 together)
- st(s) = stitch(es)
Part 1: Crocheting the Strawberry Body
The body is worked in a continuous spiral. Do not join rounds; just place your stitch marker in the first stitch of each round and move it up as you go. Work with red yarn.
Round 1: Make a magic ring. Work 6 sc into the ring, pull the ring closed. (6 sts)
Round 2: Inc in each st around. (12 sts)
Round 3: (Sc in the next st, inc in the next st) 6 times. (18 sts)
Round 4: (Sc in the next 2 sts, inc in the next st) 6 times. (24 sts)
Round 5: (Sc in the next 3 sts, inc in the next st) 6 times. (30 sts)
Rounds 6 to 10: Sc in each st around. (30 sts) These five straight rounds form the plump middle of the strawberry. If you want a slightly taller berry, add one more round here.
Round 11: (Sc in the next 3 sts, dec) 6 times. (24 sts)
Round 12: (Sc in the next 2 sts, dec) 6 times. (18 sts)
Stop here and stuff the body firmly (see Part 3 for stuffing tips), then continue.
Round 13: (Sc in the next st, dec) 6 times. (12 sts)
Round 14: Dec 6 times. (6 sts)
Fasten off, leaving a 6-inch tail. Thread the tail through the front loops of the remaining 6 stitches, pull tight to close the hole, and knot securely. Weave the end into the body.
Take a moment to shape your strawberry. A real strawberry is slightly wider at the top and tapers toward the bottom, so gently press the stuffed body into that shape with your hands. The decreases you just worked already create most of this taper.
Love tiny crochet projects? Our mini amigurumi patterns free collection has more one-hour cuties in the same style.
Part 2: The Leafy Top and Stem
The leafy cap sits on the wide top of the strawberry (the end where you started, at the magic ring). Work with green yarn.
Leafy cap: Ch 2. Work 6 sc in the 2nd ch from the hook, join with a sl st to the first sc. (6 sts) Ch 1, (sc, hdc, dc, hdc, sc) all in the next st to form a pointed leaf, sl st in the next st. Repeat this leaf sequence 5 more times around, working one leaf per stitch. You will have 6 pointed leaves radiating from the center. Join with a sl st, fasten off, leaving a 10-inch tail for sewing.
Stem: Ch 6. Starting in the 2nd ch from the hook, sl st in each ch across. (5 sl sts) Fasten off, leaving a 6-inch tail.
Leaves detail: If you want fuller leaves, work a second round on the cap before the leaf points: 2 sc in each st around (12 sts), then work the 6 leaves spaced every other stitch. This gives a ruffled, lush look.
Sew the leafy cap to the top of the strawberry with the long tail, stitching through the base of each leaf and into the red rounds just below the top edge. Pull each stitch snug so the cap hugs the berry with no gaps. Then sew the stem upright in the center of the cap, anchoring it with a few extra stitches through the cap and into the stuffing below.
Part 3: Stuffing and Assembly
Stuffing is what separates a sad, lumpy cushion from a firm, professional one, so it deserves its own moment.
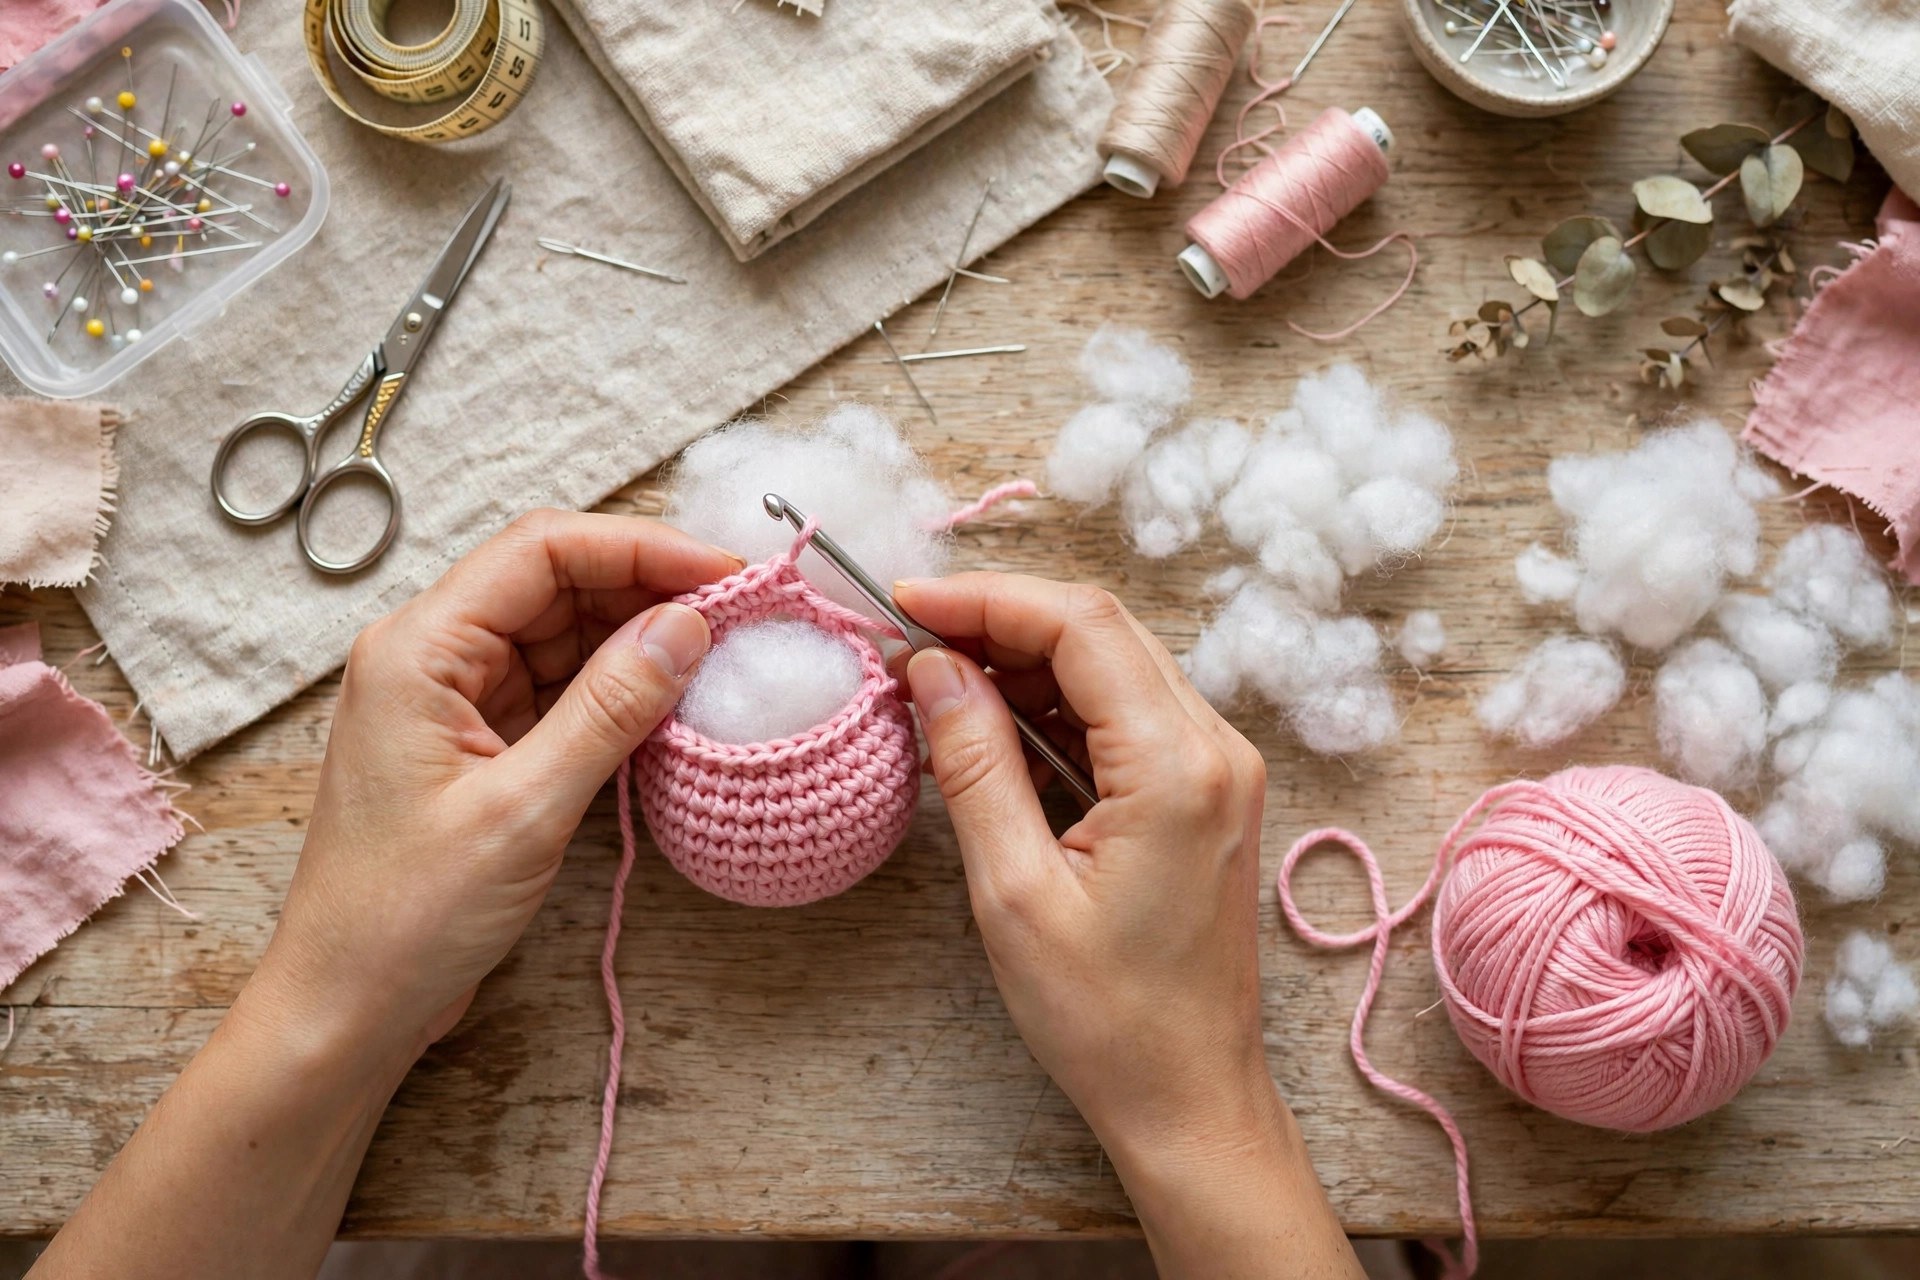
Stuff in stages. Add fiberfill after Round 12, when the opening is still wide. Push small tufts in with the eraser end of a pencil or a chopstick, working from the bottom of the berry upward. Fill it more firmly than you think you need: the stuffing compresses over time, and a pin cushion should feel solid, like a ripe apple, when you squeeze it.
Check the shape as you go. After stuffing, look at the berry from the side. Add a little more fill to any flat spots before you work the final decrease rounds. Once Round 14 is closed, you cannot easily add more.
Close neatly. The cinched top (Round 14) becomes the bottom of the cushion, so it will sit hidden against the table. Still, weave the tail through neatly and bury it inside the body so it cannot work loose.
Final shaping. Roll the finished berry gently between your palms to even out the stuffing, then press the bottom flat against the table so it sits without wobbling. Set the leaves on top and admire your work before you stick a single pin in it.
For more sewing room organizers, our crochet basket pattern free keeps notions tidy right next to your new cushion.
Design Variations
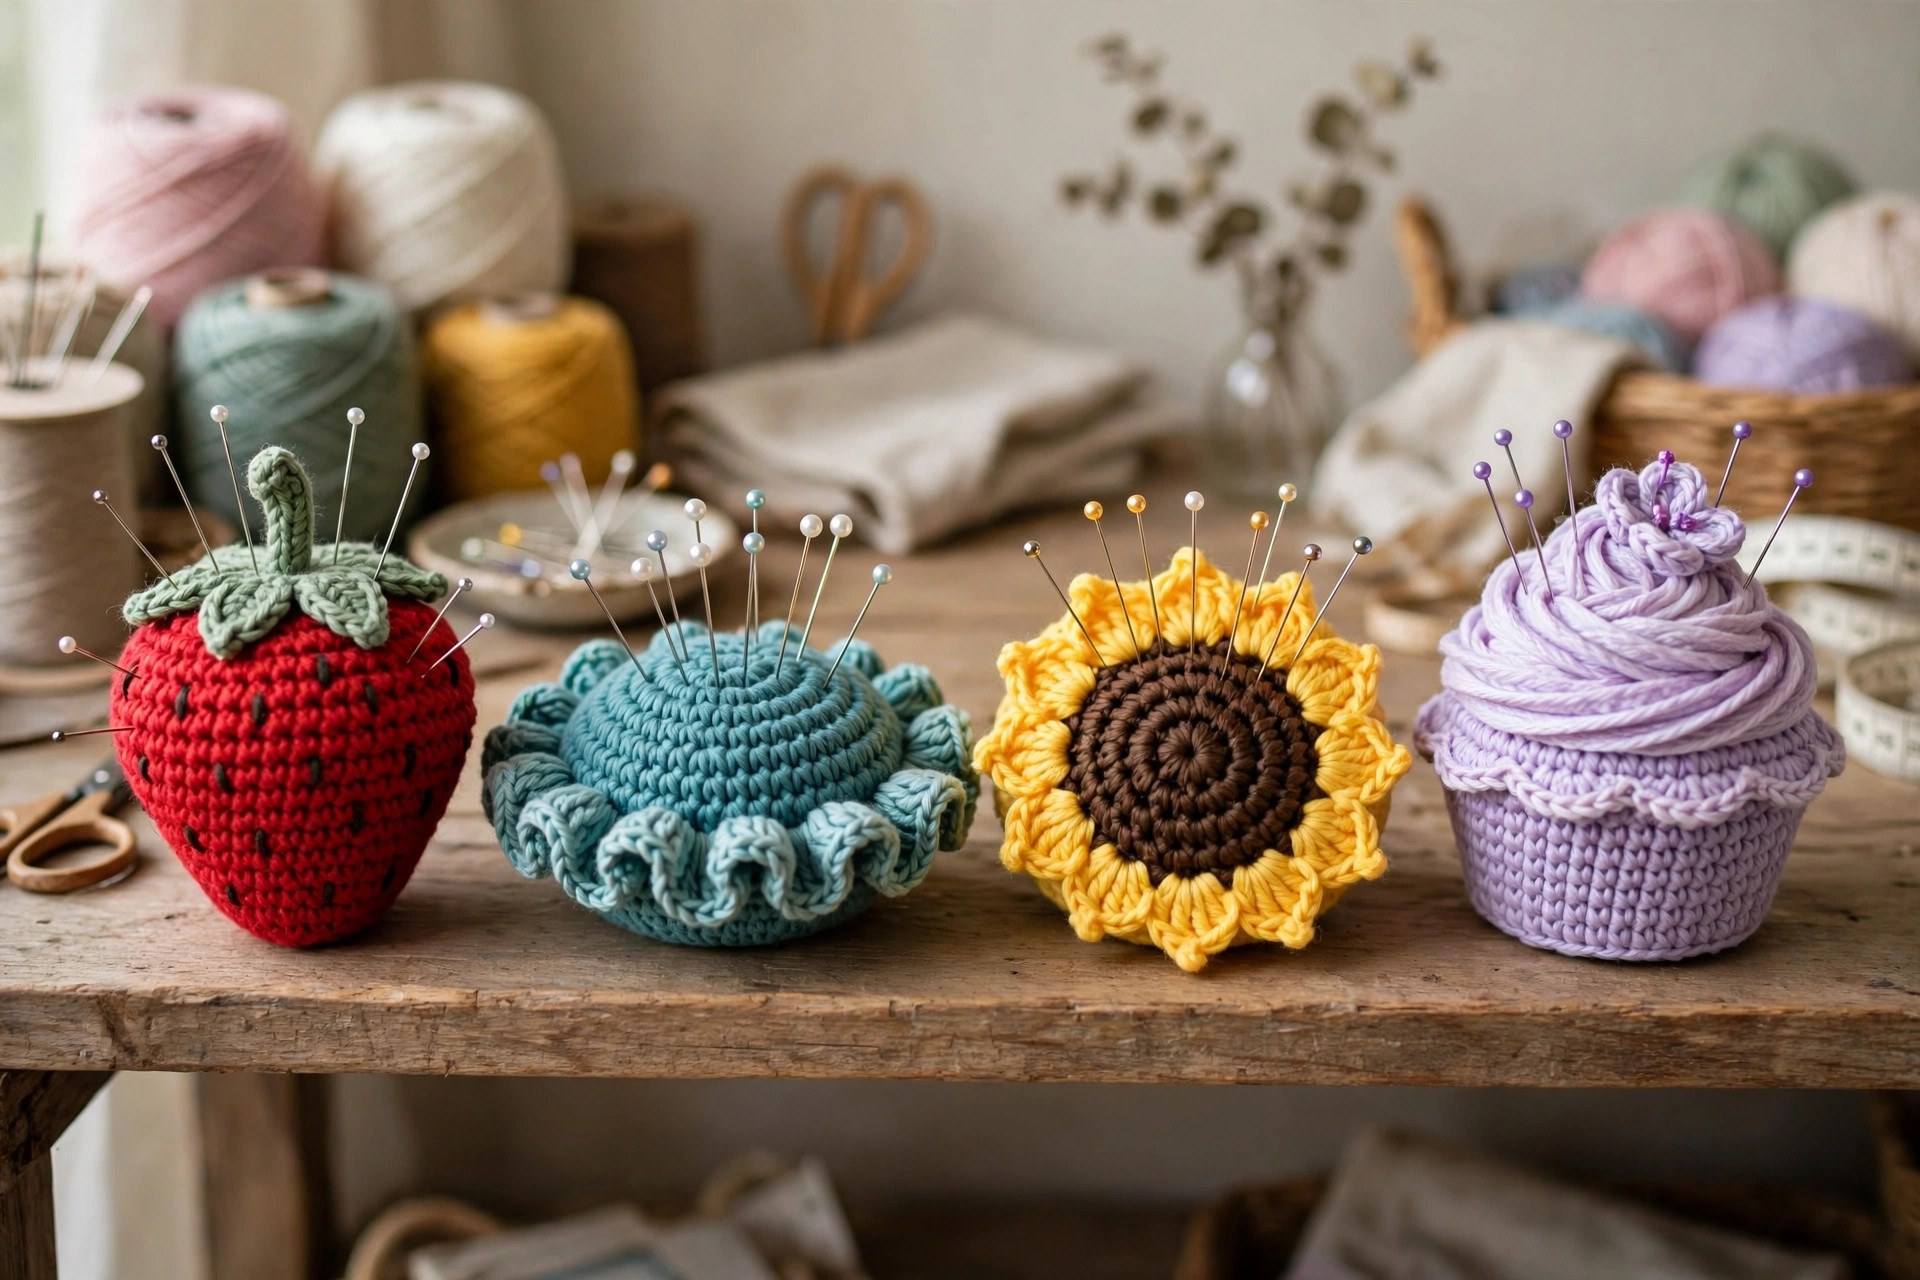
The same basic sphere becomes a whole produce stand with simple color and leaf changes.
- Classic tomato: Work the body in red and the cap in green, but skip the taper shaping and keep the body rounder by adding one extra straight round. The traditional pin cushion look.
- Pumpkin: Use orange yarn and work the body with 8 increase points instead of 6 for subtle ridges. A short brown stem and a curly green vine (a 15-chain twisted back on itself) finish it.
- Lemon: Yellow body, green leaves, and a slightly taller shape with two extra straight rounds. Cheerful on any sewing table.
- Flower cushion: Make the body in any bright color and work 8 petals instead of 6 leaves on the cap, in a contrasting shade. Pins stuck around the petals look like flower stamens.
- Cupcake cushion: Brown body for the wrapper, pink or cream top rounds for frosting (work the last 3 rounds in the frosting color with a slight ruffle), and a tiny red cherry (a 6-sc sphere) on top.
Complete a sewist's gift basket by pairing your cushion with our crochet kitchen towel pattern, another quick and useful make.
Tips for a Firm, Long-Lasting Cushion
- Hook down a size. Tight stitches are the whole secret. If you can see stuffing through the fabric, your hook is too big or your tension too loose.
- Use the invisible decrease. Instead of working through both loops, insert your hook through the front loops only of the next two stitches, yarn over, and pull through all loops. It eliminates the little gaps that standard decreases leave.
- Consider a weighted base. A flat metal washer or a few coins sewn into a scrap of fabric and tucked into the bottom before stuffing keeps the cushion from tipping when it is full of pins.
- Add emery. Tuck a small pouch of emery powder (the gritty stuff inside commercial tomato cushions) into the center of the stuffing. It sharpens pins every time you push them in and out. Wrap it in fabric first so the grit stays put.
- Refresh the leaves. If the leaves curl with handling, a quick steam from a kettle or iron held at a distance relaxes them back into shape.
- Build a gift set. Tuck the finished cushion into a small basket with our crochet chapstick holder pattern project for a thoughtful handmade gift that costs almost nothing to make.
Troubleshooting
I can see white stuffing through my stitches. Your stitches are too loose. Switch to a smaller hook (try a D-3 / 3.25 mm) and keep your tension even. You can also double up the yarn for the body rounds, though this makes a chunkier cushion.
My decreases leave visible holes. Switch to the invisible decrease described in the tips above, working through front loops only. Also check that you are decreasing in the right spots; a missed decrease leaves a gap that no technique will hide.
The cushion wobbles and will not sit flat. The bottom needs flattening. Press it firmly against the table and add a little extra stuffing to the lower rounds so the base is dense. A weighted base, described above, fixes chronic tippers.
The leafy cap gaps away from the berry. You sewed it too loosely or too far from the edge. Take it off and re-sew, placing each stitch through the base of a leaf and into the red round directly below the top edge, pulling snug as you go.
My strawberry looks like a ball, not a berry. Shape it with your hands: pinch the bottom slightly narrower and press the top a touch wider. Real strawberries taper, and a minute of hand shaping after stuffing makes all the difference.
Care Instructions
Dust your pin cushion with a dry cloth or a soft brush now and then. If it gets grubby, spot clean with a damp cloth and mild soap, then air dry completely before putting pins back in. Do not machine wash a stuffed cushion; the fiberfill clumps and the shape suffers. Keep it away from prolonged direct sun if you used bright reds, since strong sunlight fades color over time. With normal use, a well-stuffed cushion lasts for years.
Frequently Asked Questions
How long does it take to crochet a pin cushion?
About 45 to 60 minutes for most makers, including stuffing and sewing on the leaves. The body rounds are quick, and the leaves take about ten minutes. It is a genuine one-sitting project.
What is the best stuffing for a crochet pin cushion?
Polyester fiberfill is the easiest choice: cheap, washable, and widely available. Pack it firmly, more than feels natural, because it compresses with use. For a cushion that also sharpens pins, tuck a small fabric pouch of emery powder into the center of the fill.
Can beginners make this pin cushion?
Yes. The pattern uses only the magic ring, single crochet, increases, and decreases. If you have crocheted even one small amigurumi-style project, this will feel familiar. If the magic ring frustrates you, start with chain 2 and work 6 single crochets into the second chain instead.
How do I keep the stuffing from showing through?
Use a hook one size smaller than your yarn label suggests and keep your tension snug. The invisible decrease (front loops only) also prevents the small holes that standard decreases leave. Cotton yarn in a tight gauge gives the cleanest finish.
What other shapes can I make with this pattern?
The same sphere pattern becomes a tomato, pumpkin, lemon, flower, or cupcake with simple color changes and leaf swaps, all described in the variations section above. Once you know the increase and decrease rhythm, designing your own takes minutes.
Is this a good craft fair item?
Excellent. It is fast, cheap to make, and appeals to the huge sewing and quilting audience. Price to reflect your hour of work plus materials, display a few color variations together, and keep a dish of them near your checkout area as an impulse buy.
Can I add a wrist strap to wear it while sewing?
Yes, and it is a lovely upgrade. Chain 40, slip stitch back along the chain to make a sturdy cord, and sew both ends securely to the bottom of the cushion before closing. Test the join with a firm tug before trusting it with your pins.
Happy crocheting, and may your pins always be exactly where you left them.