Crochet Filet Butterfly Pattern (Free Chart)
Draw a butterfly in lace with this free filet crochet chart, using only chains and double crochet.

Home Decor · Crochet
- Finished size
- 8 in square in thread; 11 in in DK cotton
- Making time
- 4 to 6 hours per square
- Hook
- US 8 steel (1.5 mm)
- Set
- Square, border, and joining guide
- Skill
- Easy
In this post
- Key Takeaways
- Table of Contents
- Why You Will Love This Butterfly Square
- Finished Size, Skill Level, and Time
- Materials You Need
- Abbreviations (US Terms)
- How to Read the Filet Chart
- The Butterfly Chart
- Row by Row Instructions
- Adding the Border
- Joining Squares Into a Blanket
- Color and Yarn Variations
- Troubleshooting Filet Crochet
- Care Instructions
- Display Ideas
- Frequently Asked Questions
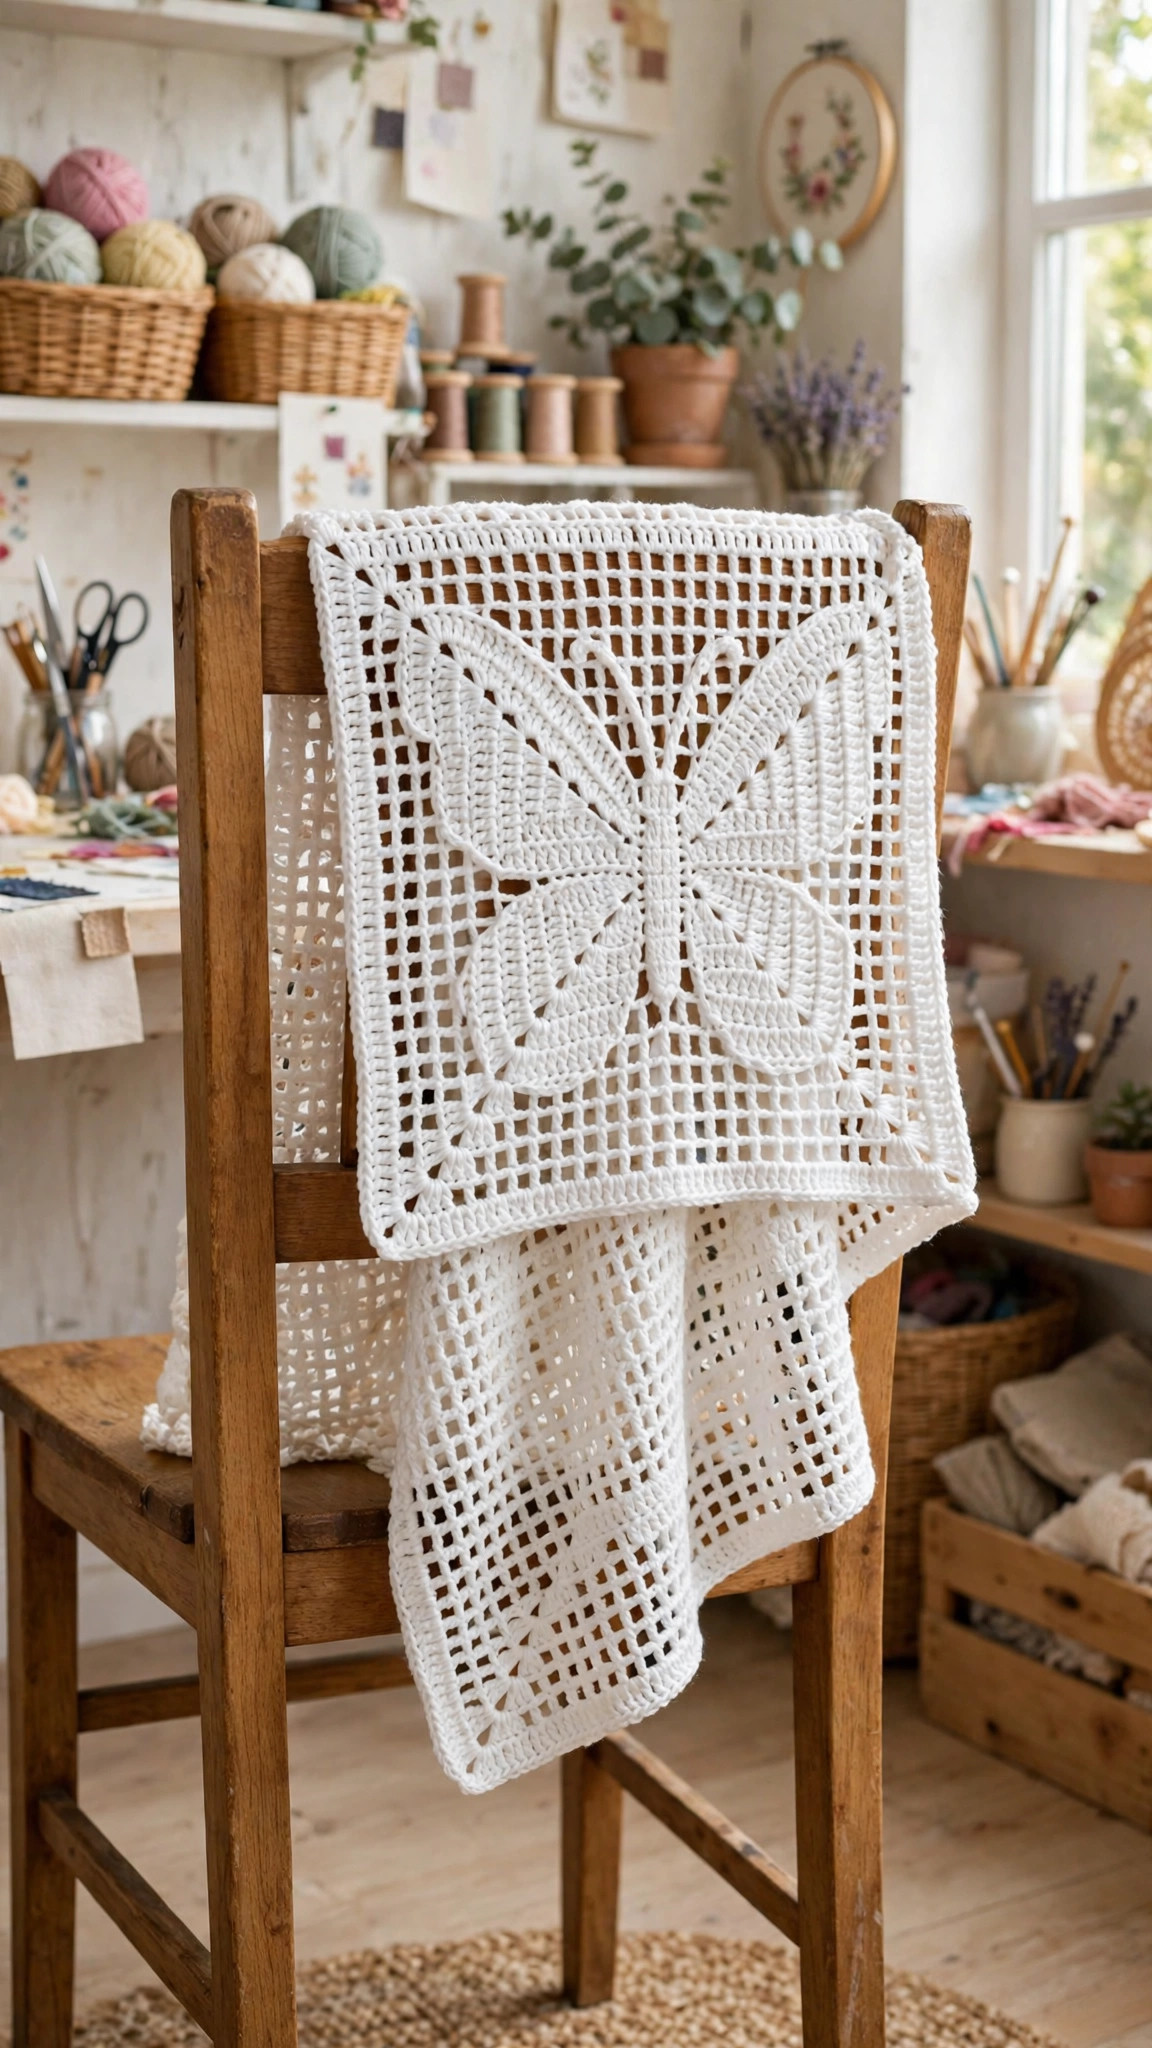
There is a special kind of magic in filet crochet. With nothing but solid blocks and open mesh, you can draw a picture in thread, and this free crochet filet butterfly pattern might be the prettiest picture you ever stitch. A graceful butterfly spreads its wings across a 23 by 23 block grid, worked in classic filet technique with a full chart included. Whether you make a single square to frame as wall art or join a dozen into a baby blanket, the result looks like vintage lace with a fresh, modern heart.
This is an original Little Loop Finds design, written in US terms and completely free. Filet crochet sounds fancy, but it uses only chains and double crochet stitches, so if you can work a straight row of dc, you already know enough to start. The chart does the drawing for you: each filled block is a cluster of double crochets, each open block is a little window of chain space, and together they form the butterfly. Most makers finish one square in an evening or two, and the repetitive rhythm is wonderfully relaxing once you find your flow.
Butterfly squares are endlessly useful. Frame one in a hoop for instant nursery art, join four into a table topper, or keep stitching until you have a full throw. They make thoughtful gifts for spring birthdays, baby showers, and anyone who loves handmade lace. Change the thread color and the whole mood shifts, from crisp white heirloom to soft sage, blush, or even a bold jewel tone for a modern statement piece.
Key Takeaways
- Free original chart: this crochet filet butterfly pattern is a Little Loop Finds original, with a full 23 by 23 block chart included, written in US terms.
- Only two stitches: filet crochet uses just chains and double crochet, so confident beginners can succeed.
- One square, many projects: frame a single square, join four for a pillow front, or make a full blanket.
- Evening project: one square takes about 4 to 6 hours of relaxed stitching.
- Portable and tidy: one ball of thread, one small hook, no stuffing or seaming until the joining stage.
Table of Contents
- Why You Will Love This Butterfly Square
- Finished Size, Skill Level, and Time
- Materials You Need
- Abbreviations (US Terms)
- How to Read the Filet Chart
- The Butterfly Chart
- Row by Row Instructions
- Adding the Border
- Joining Squares Into a Blanket
- Color and Yarn Variations
- Troubleshooting Filet Crochet
- Care Instructions
- Display Ideas
- Frequently Asked Questions
Why You Will Love This Butterfly Square
Filet crochet is one of the oldest lace techniques in the craft, and it is having a well deserved comeback. The beauty of it is the contrast: dense little blocks of double crochet set against airy open spaces, so the butterfly seems to float on the mesh. From across the room it reads as elegant lace; up close, you see the clever geometry that makes the picture appear.
This project is also a fantastic skill builder. You will practice keeping your edges straight, counting blocks instead of stitches, and reading a chart, all skills that transfer to every filet project you try next. If you already enjoy lace style makes, you will feel right at home with our crochet doily patterns, which use the same love of open, airy fabric.
Another reason makers adore this square is how giftable it is. A single finished square, lightly blocked and slipped into a frame, looks like a boutique purchase. A set of four joined edge to edge becomes a table topper or a pillow front. And because each square is identical, a blanket grows without any new learning curve: just repeat your favorite square until you love the size.
Finished Size, Skill Level, and Time
- Finished size: one square measures about 8 inches across in size 10 crochet thread with a 1.5 mm steel hook, or about 11 inches across in DK weight cotton with a 4.0 mm hook. Four squares joined make a 16 to 22 inch panel, perfect for a pillow front or wall hanging.
- Skill level: advanced beginner to easy. You should be comfortable with chain and double crochet, and happy to count as you go.
- Making time: 4 to 6 hours per square in thread, 3 to 4 hours per square in DK cotton, plus blocking time.
Materials You Need
- Size 10 crochet thread (about 120 yards per square) in white, ecru, or your chosen color. Mercerized cotton thread gives the crispest stitch definition.
- Steel crochet hook, 1.5 mm (US 8). For a larger, softer square, substitute DK weight cotton yarn (about 90 yards per square) and a US G-6 (4.0 mm) hook.
- Yarn needle for weaving in ends.
- Rust proof pins and a blocking mat or towel.
- Scissors and a stitch marker (optional, handy for marking the center block).
- For a blanket: multiply the per square yardage by your square count, plus one extra ball for joining and the border.
Abbreviations (US Terms)
- ch = chain
- dc = double crochet
- sl st = slip stitch
- st(s) = stitch(es)
- RS = right side
- WS = wrong side
- filled block = 4 dc worked into the block space (the dc at the shared edge counts for both neighboring blocks)
- open block = ch 2, skip 2 sts, dc in next st
How to Read the Filet Chart
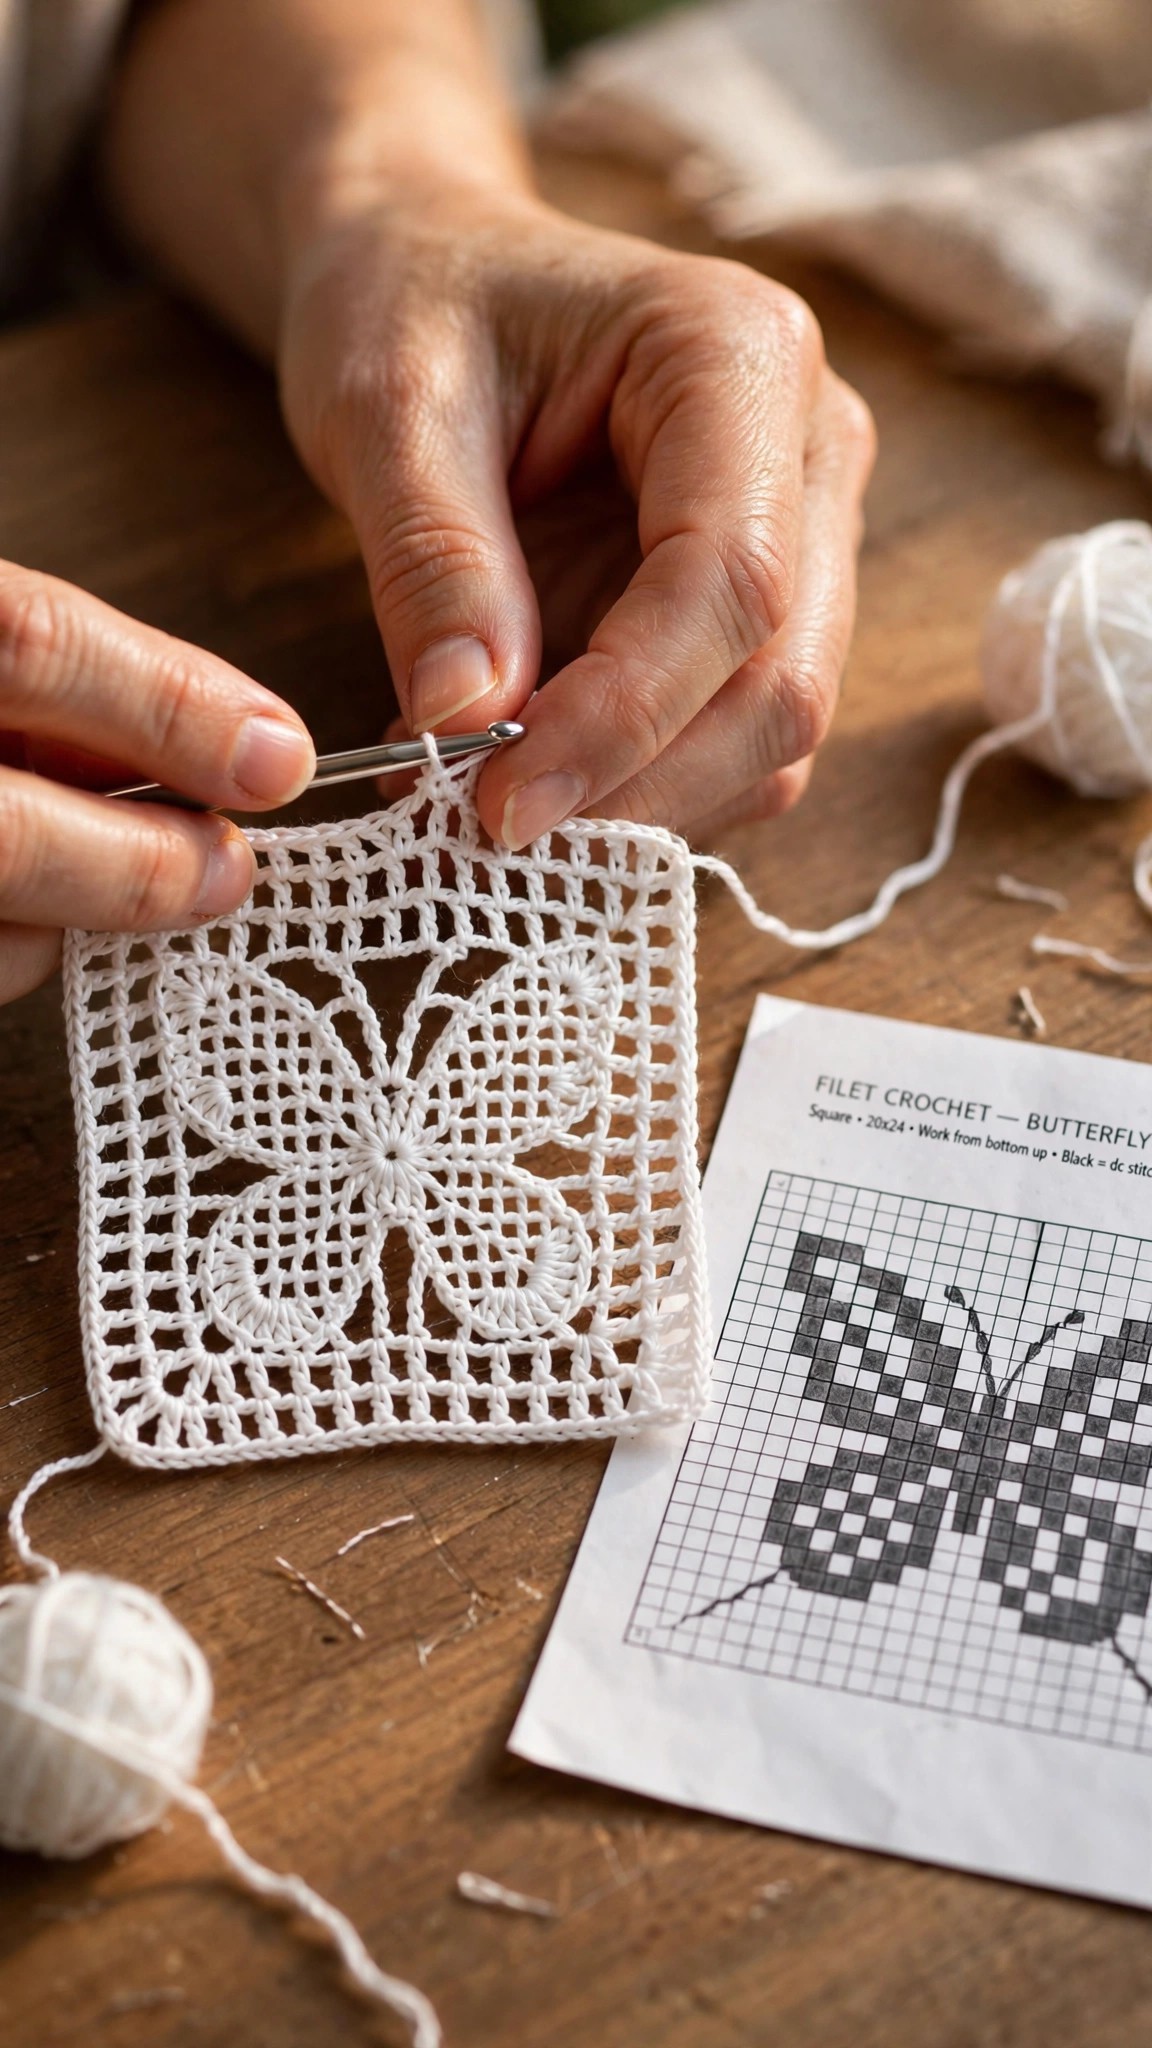
Filet crochet is read like a grid. Each square on the chart is one block. A filled block (marked X below) is worked as solid double crochet. An open block (marked with a dot) is worked as chain 2, skip 2, double crochet, which leaves a little window.
Read right side rows from right to left, and wrong side rows from left to right, just like the direction your hook actually travels. Odd numbered rows are RS rows, even numbered rows are WS rows. It helps to mark the center block of the foundation row with a stitch marker so you can check your symmetry as you go: the butterfly is perfectly mirrored left to right, so if one side looks different from the other, you will catch the mistake early.
Foundation: chain 70 (that is 3 chains per block times 23 blocks, plus 1 turning chain equivalent). Row 1 is worked into the chain: dc in the 4th chain from the hook (counts as the first dc of the first block), then follow the chart. Each new block after the first is made with 2 chains and 1 dc for an open block, or 3 dc for a filled block, remembering that the last dc of one block is the first dc of the next.
Turning: chain 3 at the start of every row (counts as the first dc of the first block).
The Butterfly Chart
The chart is 23 blocks wide and 23 rows tall. X means a filled block, a dot means an open block. Row 1 is the bottom of the butterfly.
`` Row 23: ..........XXX.......... Row 22: ..........XXX.......... Row 21: .........XXXXX......... Row 20: ........XXXXXXX........ Row 19: .......XXXXXXXXX....... Row 18: ......XXXXXXXXXXX...... Row 17: .....XXXXXXXXXXXXX..... Row 16: ....XXXXXXXXXXXXXXX.... Row 15: .....XXXX.XXX.XXXX..... Row 14: ......XX.XXXXX.XX...... Row 13: .........XXXXX......... Row 12: .........XXXXX......... Row 11: ........XXXXXXX........ Row 10: .......XXXXXXXXX....... Row 9: ......XXXXXXXXXXX...... Row 8: .....XXXXXXXXXXXXX..... Row 7: ....XXXXXXXXXXXXXXX.... Row 6: ...XXXXXXXXXXXXXXXXX... Row 5: ..XXXXXXXXX.XXXXXXXXX.. Row 4: ..XXXXXXXX...XXXXXXXX.. Row 3: .XXXXXXX.......XXXXXXX. Row 2: .XXXXX...........XXXXX. Row 1: ..XXX.............XXX.. ``
Take a moment to see the butterfly in the grid: the wide upper wings sweep across rows 1 through 10, the slim body runs down the center from row 11 to row 23, and the smaller lower wings open out at rows 14 through 20. If you squint at the chart, the shape pops right out.
Row by Row Instructions
Worked in US terms. "Open" means an open mesh block, "filled" means a solid dc block. Count your blocks at the end of every row: each row has 23 blocks.
- Foundation: Ch 70.
- Row 1 (RS): Dc in 4th ch from hook and in each of next 2 ch (first block filled), then work the chart right to left: 2 open, 3 filled, 13 open, 3 filled, 2 open. Turn. (23 blocks)
- Row 2 (WS): Ch 3, work the chart left to right: 1 open, 5 filled, 11 open, 5 filled, 1 open. Turn.
- Row 3 (RS): 1 open, 7 filled, 7 open, 7 filled, 1 open. Turn.
- Row 4 (WS): 2 open, 8 filled, 3 open, 8 filled, 2 open. Turn.
- Row 5 (RS): 2 open, 9 filled, 1 open, 9 filled, 2 open. Turn.
- Row 6 (WS): 3 open, 17 filled, 3 open. Turn.
- Row 7 (RS): 4 open, 15 filled, 4 open. Turn.
- Row 8 (WS): 5 open, 13 filled, 5 open. Turn.
- Row 9 (RS): 6 open, 11 filled, 6 open. Turn.
- Row 10 (WS): 7 open, 9 filled, 7 open. Turn.
- Row 11 (RS): 8 open, 7 filled, 8 open. Turn.
- Row 12 (WS): 9 open, 5 filled, 9 open. Turn.
- Row 13 (RS): 9 open, 5 filled, 9 open. Turn.
- Row 14 (WS): 6 open, 2 filled, 1 open, 5 filled, 1 open, 2 filled, 6 open. Turn.
- Row 15 (RS): 5 open, 4 filled, 1 open, 3 filled, 1 open, 4 filled, 5 open. Turn.
- Row 16 (WS): 4 open, 15 filled, 4 open. Turn.
- Row 17 (RS): 5 open, 13 filled, 5 open. Turn.
- Row 18 (WS): 6 open, 11 filled, 6 open. Turn.
- Row 19 (RS): 7 open, 9 filled, 7 open. Turn.
- Row 20 (WS): 8 open, 7 filled, 8 open. Turn.
- Row 21 (RS): 9 open, 5 filled, 9 open. Turn.
- Row 22 (WS): 10 open, 3 filled, 10 open. Turn.
- Row 23 (RS): 10 open, 3 filled, 10 open. Fasten off, leaving a 6 inch tail.
Check your work after row 5: the upper wings should already show as two solid patches growing toward the center. If your filled blocks drift off the chart, frog back now rather than later, since filet mistakes compound quickly.
Adding the Border
A simple border frames the butterfly and gives you a clean edge for joining.
- Round 1: Join thread in any corner block. Ch 1, sc in same st, sc evenly around the square working 2 sc into the side of each dc row and 1 sc into each ch space along the top and bottom, plus 3 sc in each corner. Join with sl st to first sc.
- Round 2: Ch 3 (counts as dc), dc in each sc around, working 3 dc in each corner st. Join with sl st.
- Round 3: Ch 1, sc in each dc around with 3 sc in each corner. Fasten off and weave in ends.
The border also fixes minor edge waviness, which is normal in filet work. If your square curls slightly, do not worry: blocking will flatten it completely.
Joining Squares Into a Blanket
Lay your blocked squares out and decide the arrangement before you join anything. For a baby blanket, a 4 by 5 arrangement of 20 squares makes a generous 32 by 40 inch throw in thread size, or about 44 by 55 inches in DK cotton. Rotate every other square 90 degrees for a patchwork feel, or keep them all facing the same way for a formal, mirrored look.
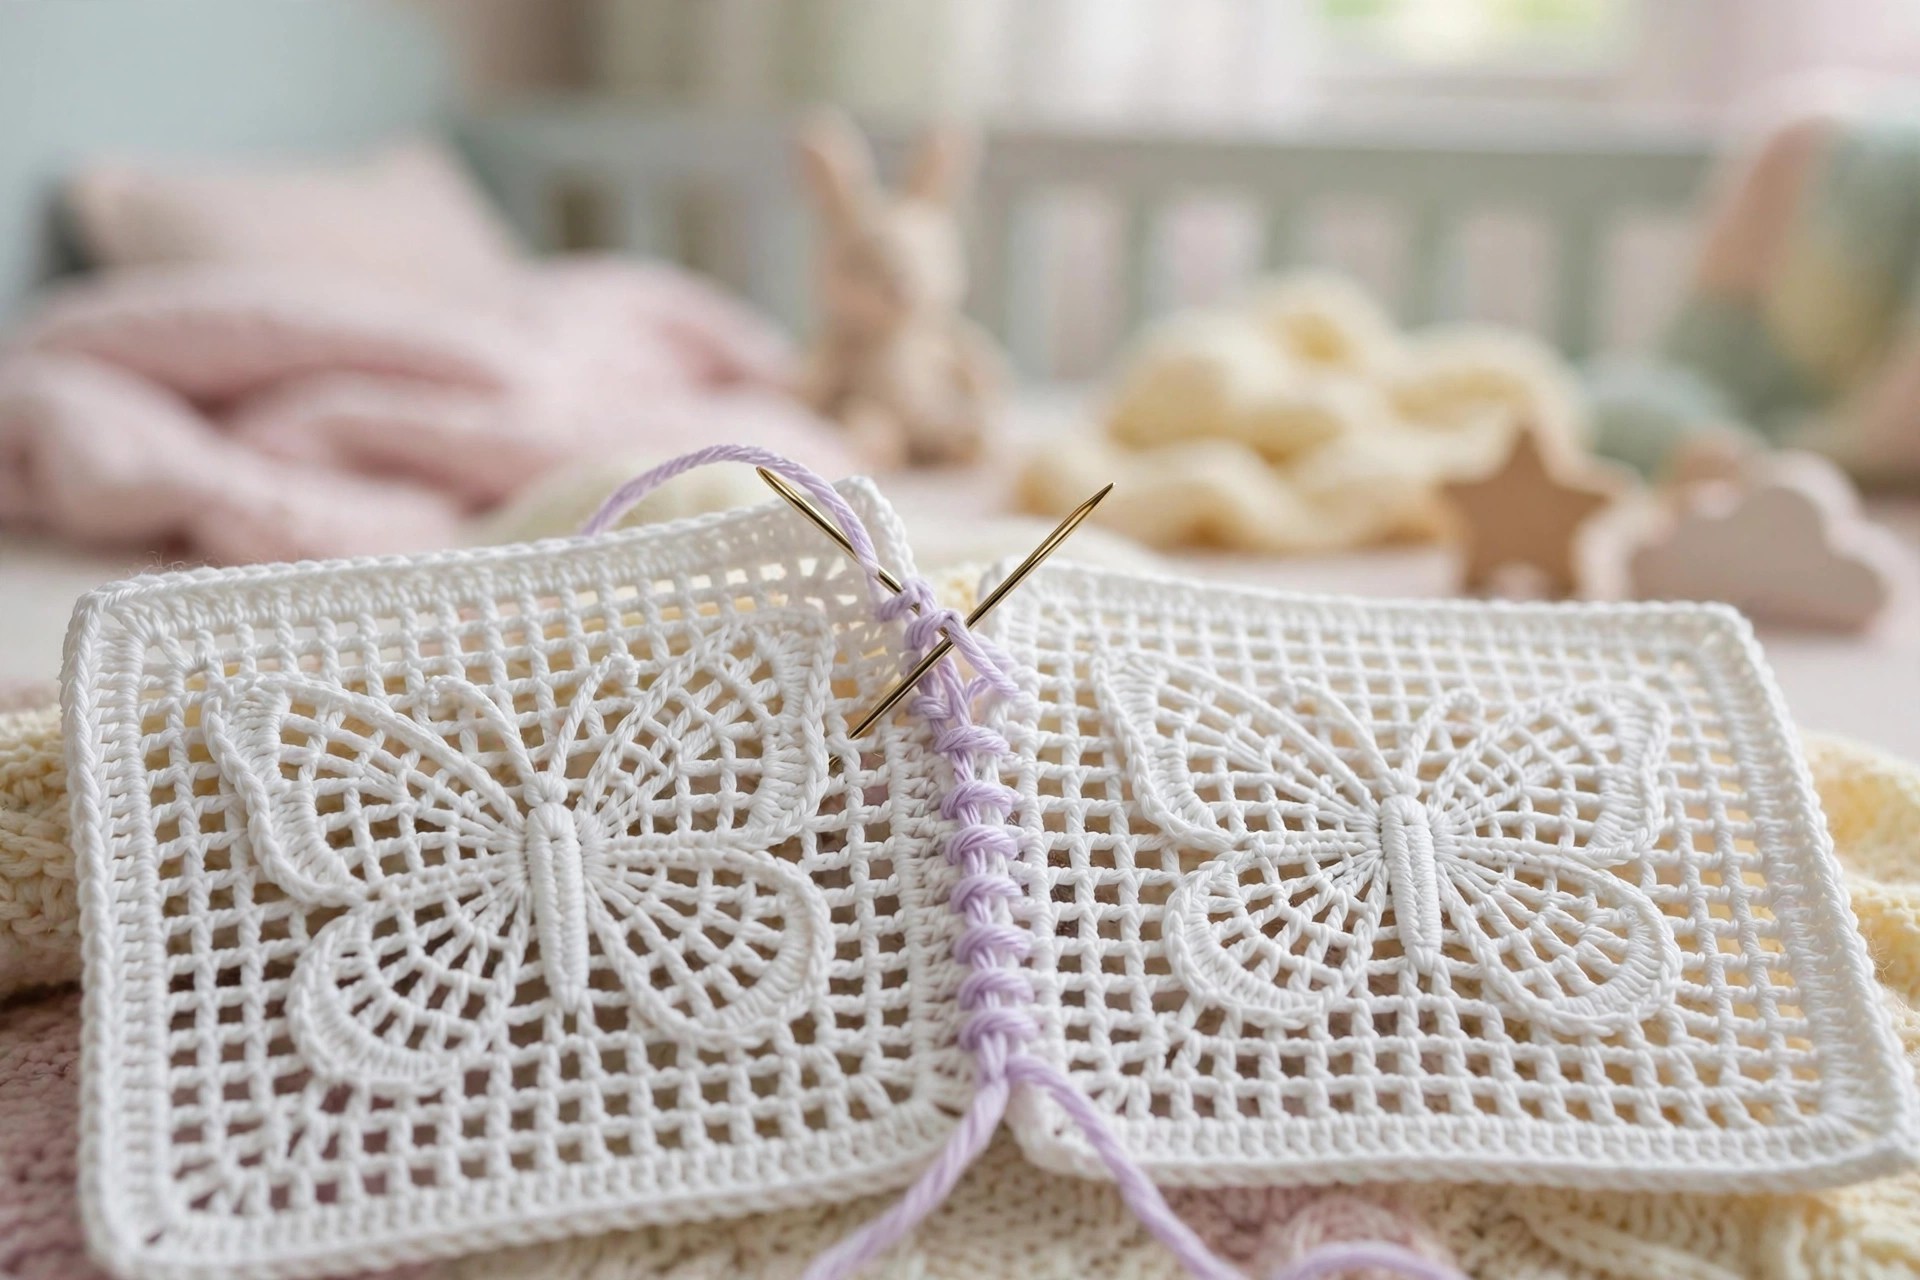
Join with a yarn needle and the same thread using a whipstitch through the back loops of the border stitches. Work loosely so the seam stays flat and flexible. If you prefer a crocheted join, single crochet the squares together through the back loops for a subtle raised ridge that frames each butterfly beautifully. Makers who love motif blankets will also enjoy our autumn acorn granny square pattern, which joins up the same way.
Finish a blanket with two extra rounds of the border pattern worked around the whole joined piece, adding a corner chain 2 space at each corner on the dc round so the corners stay square.
Color and Yarn Variations
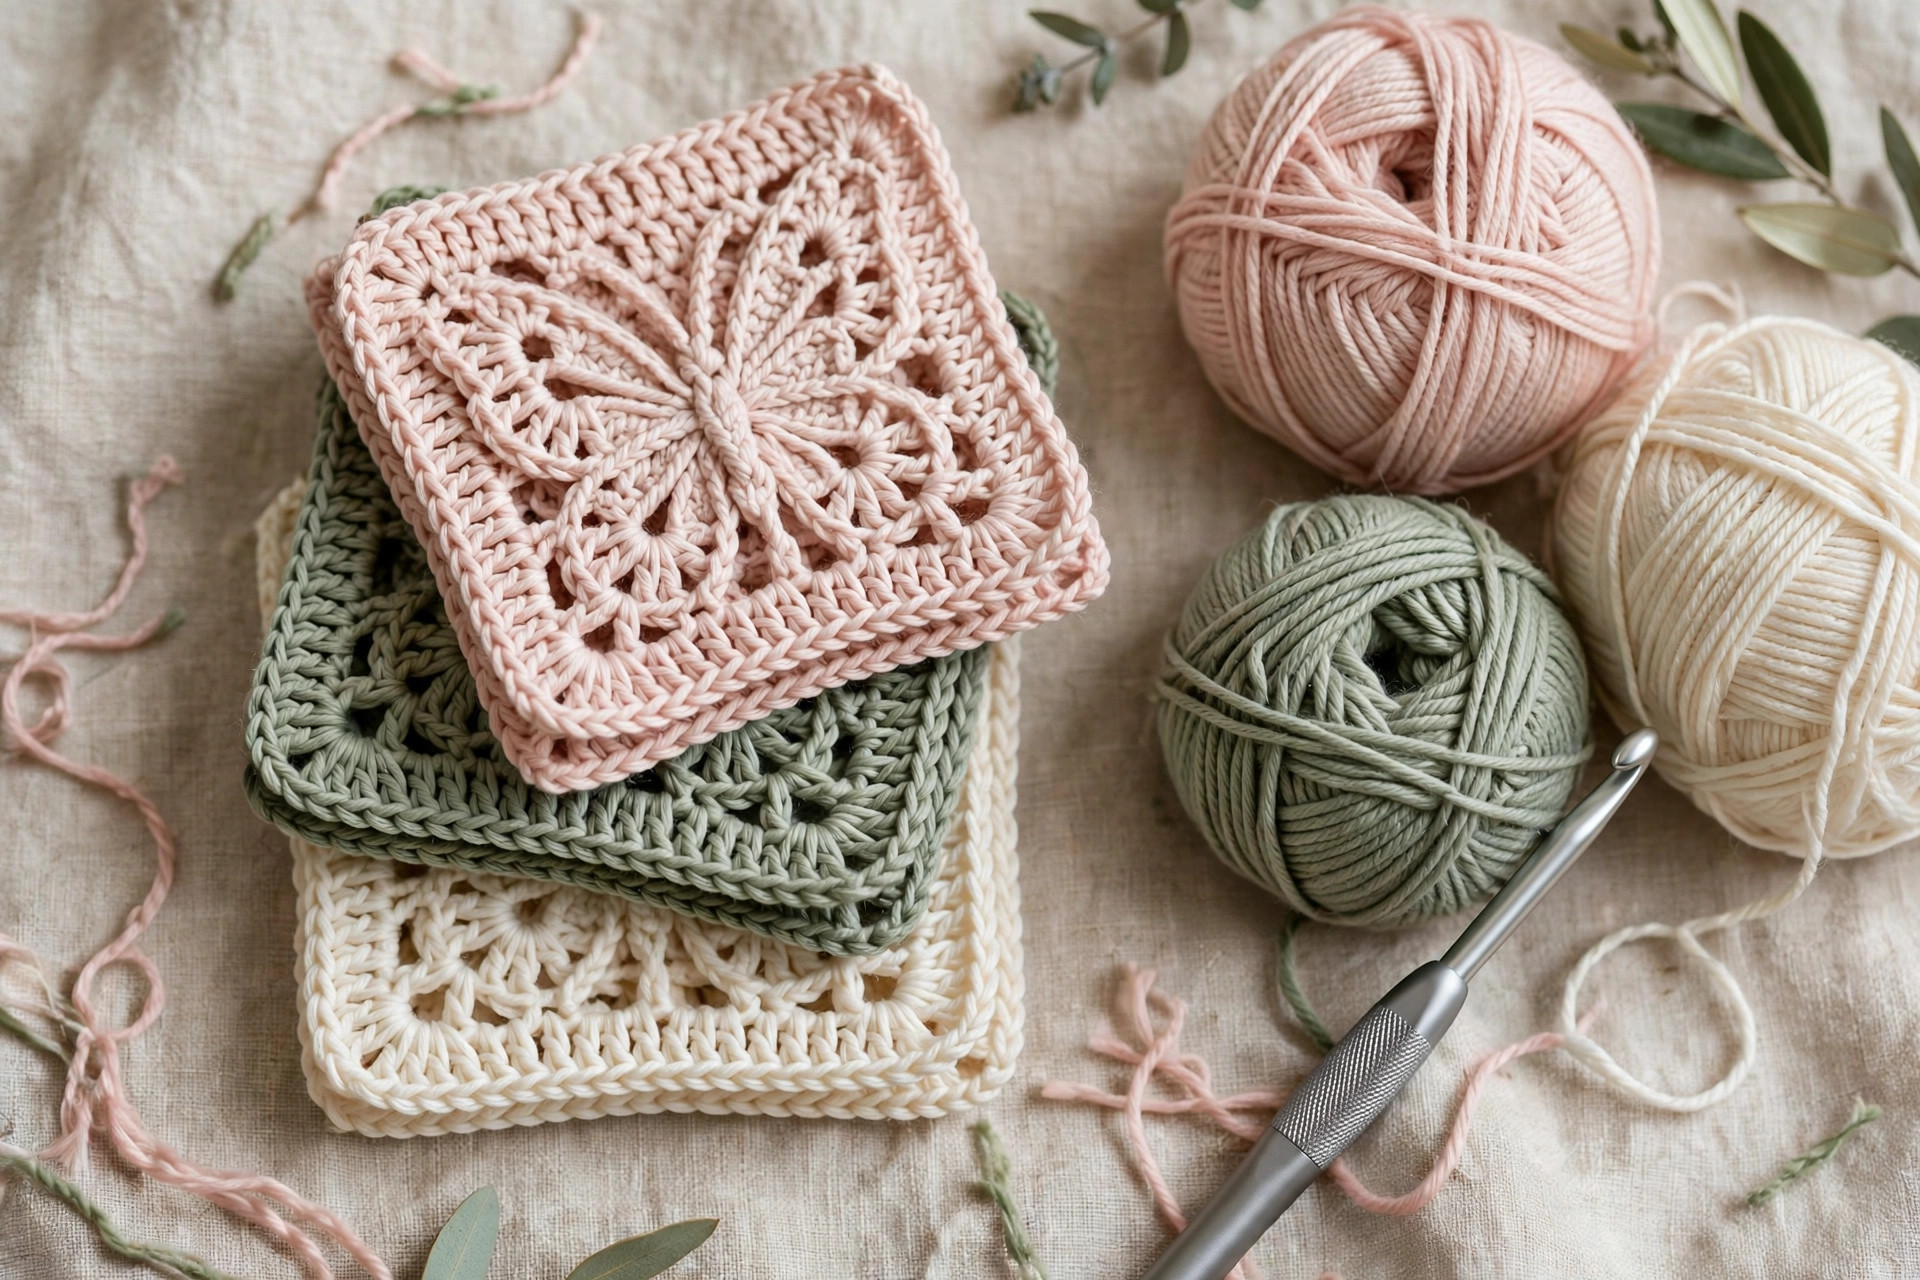
White or ecru thread is the classic heirloom choice, but this butterfly loves color. Try a soft sage green for a nursery, blush pink for a spring gift, or a variegated thread that shifts gently across the wings. Variegated thread is especially fun in filet: the color changes land in the filled blocks and make the butterfly look hand painted.
For a modern look, work the square in a deep jewel tone like teal or plum and mount it on a white mat inside a floating frame. The contrast makes the mesh pattern glow. If you like bold color play in openwork, take a peek at our crochet stained glass pattern, which uses color in a completely different but equally striking way.
Yarn weight changes everything. Thread gives you crisp lace; DK cotton gives you a soft, drapey square that works beautifully in blankets; and a fluffy sport weight makes a cozy, slightly rustic version. Just keep your hook matched to the yarn and check that your square stays roughly square as you work.
Troubleshooting Filet Crochet
My edges are wavy. This is the most common filet issue and it is almost always tension. The chain spaces pull tighter than the filled blocks. Try going up half a hook size, and consciously loosen your chain 2 spaces. Blocking fixes mild waviness completely.
I keep losing count. Place a stitch marker every 5 blocks along the foundation row, and count blocks, not stitches, at the end of each row. A row should always have exactly 23 blocks. If it does not, the mistake is in the row you just finished, so check it before moving on.
My butterfly looks lopsided. Compare the left and right halves of the row you just worked. Because the design is mirrored, any asymmetry jumps out. Mark the center block (block 12) with a contrasting thread so you can see the mirror point at a glance.
The mesh holes look uneven. Chain spaces worked too tightly close up the windows. Work your ch 2 with a relaxed hand, and avoid yanking the yarn after each double crochet. Consistency matters more than tightness in filet.
My square is curling. Some curl is normal before blocking. If it is severe, your foundation chain may be tighter than your rows. Use a hook one size larger for the foundation chain only.
Care Instructions
Hand wash finished pieces in cool water with a gentle detergent, press out the water in a towel (never wring lace), and pin back into shape to dry. Thread pieces can be lightly starched for extra crispness if they will be displayed rather than handled. Store folded with acid free tissue rather than hanging, which can stretch the mesh over time. For a bigger cozy project that gets the same gentle treatment, see our chunky yarn crochet blanket patterns.
Display Ideas
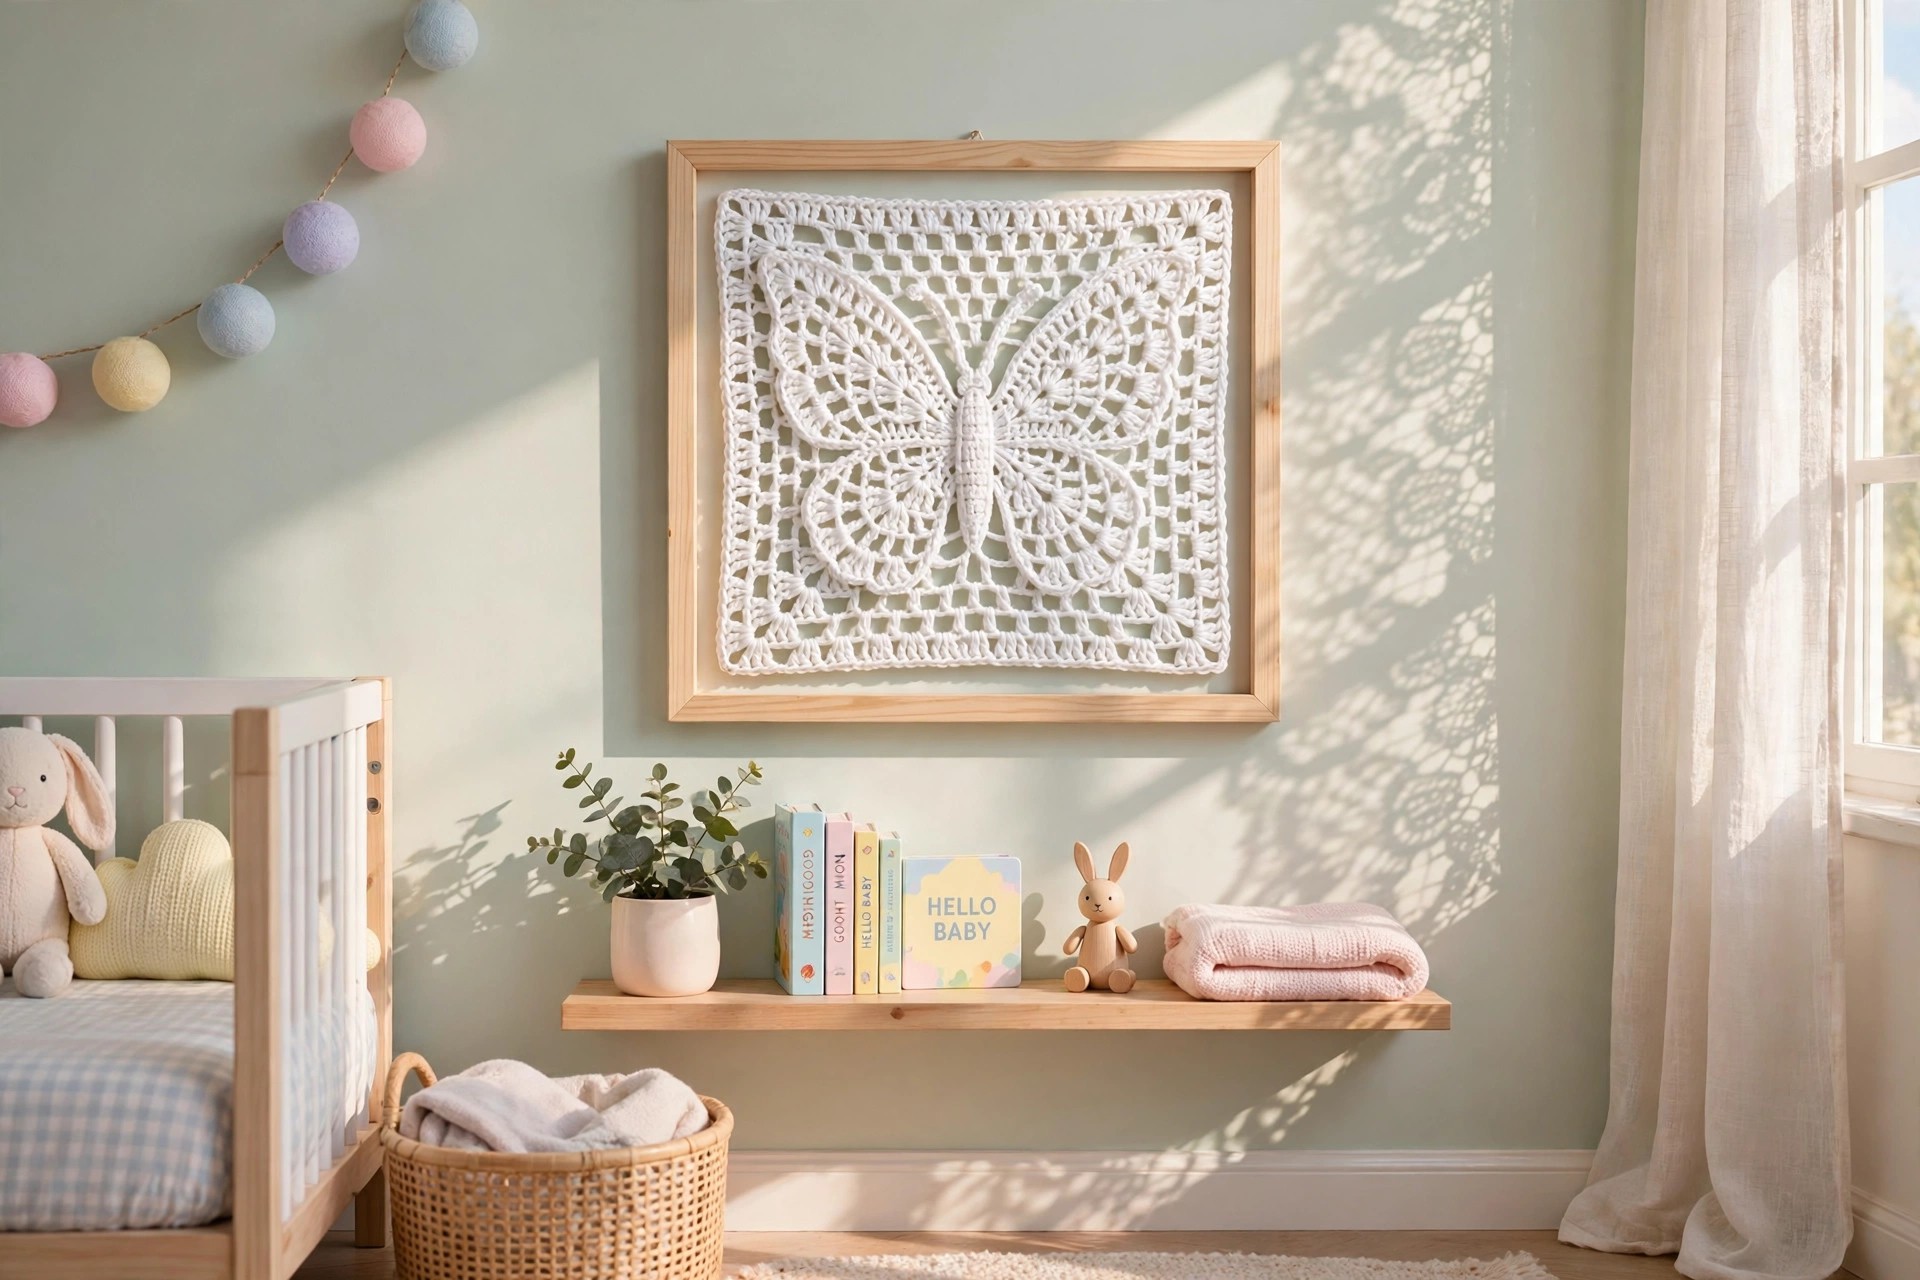
A single square in a 10 inch embroidery hoop is the fastest finish and looks adorable in a nursery or craft room. For a more polished look, block the square, mount it on a fabric covered board, and frame it. Four squares joined make a striking table centerpiece, and a full blanket folded over a sofa arm shows off the butterfly repeat beautifully. These also make sweet handmade gifts alongside small stitched angels from our free crochet angel patterns for a thoughtful handmade gift set.
Frequently Asked Questions
Is filet crochet hard for beginners?
Not at all, as long as you are comfortable with chains and double crochet. Filet is more about counting and following a chart than about tricky stitches. This butterfly is a great first filet project because the chart is symmetrical, so mistakes are easy to spot.
What is the difference between a filled block and an open block?
A filled block is solid double crochet stitches that form the dark areas of the picture, while an open block is a chain space window that forms the light background. Together they draw the butterfly image.
Can I make this square with regular yarn instead of thread?
Yes. DK or worsted weight cotton works well with a matching hook. Your square will be larger and softer, which is ideal for blankets. The chart does not change, only the finished size.
How do I keep my filet edges straight?
Count 23 blocks at the end of every row, keep your turning chains consistent, and do not pull the first stitch of the row too tight. Blocking at the end straightens minor waviness.
How many squares do I need for a baby blanket?
Twenty squares in a 4 by 5 layout makes a generous baby blanket. In size 10 thread that is about 32 by 40 inches; in DK cotton it is closer to 44 by 55 inches.
Can I sell finished items made from this pattern?
Yes. You are welcome to sell finished squares and blankets made from this original Little Loop Finds pattern. Please credit Little Loop Finds as the designer and do not redistribute the chart or instructions themselves.
Why does my butterfly look upside down?
Row 1 is the bottom of the design, with the wide upper wings, and row 23 is the top where the body tapers. If you started from the top of the chart instead of the bottom, just flip the square: filet looks the same from either direction once blocked.