Free Crochet Gingerbread Man Pattern: Cute Ornament
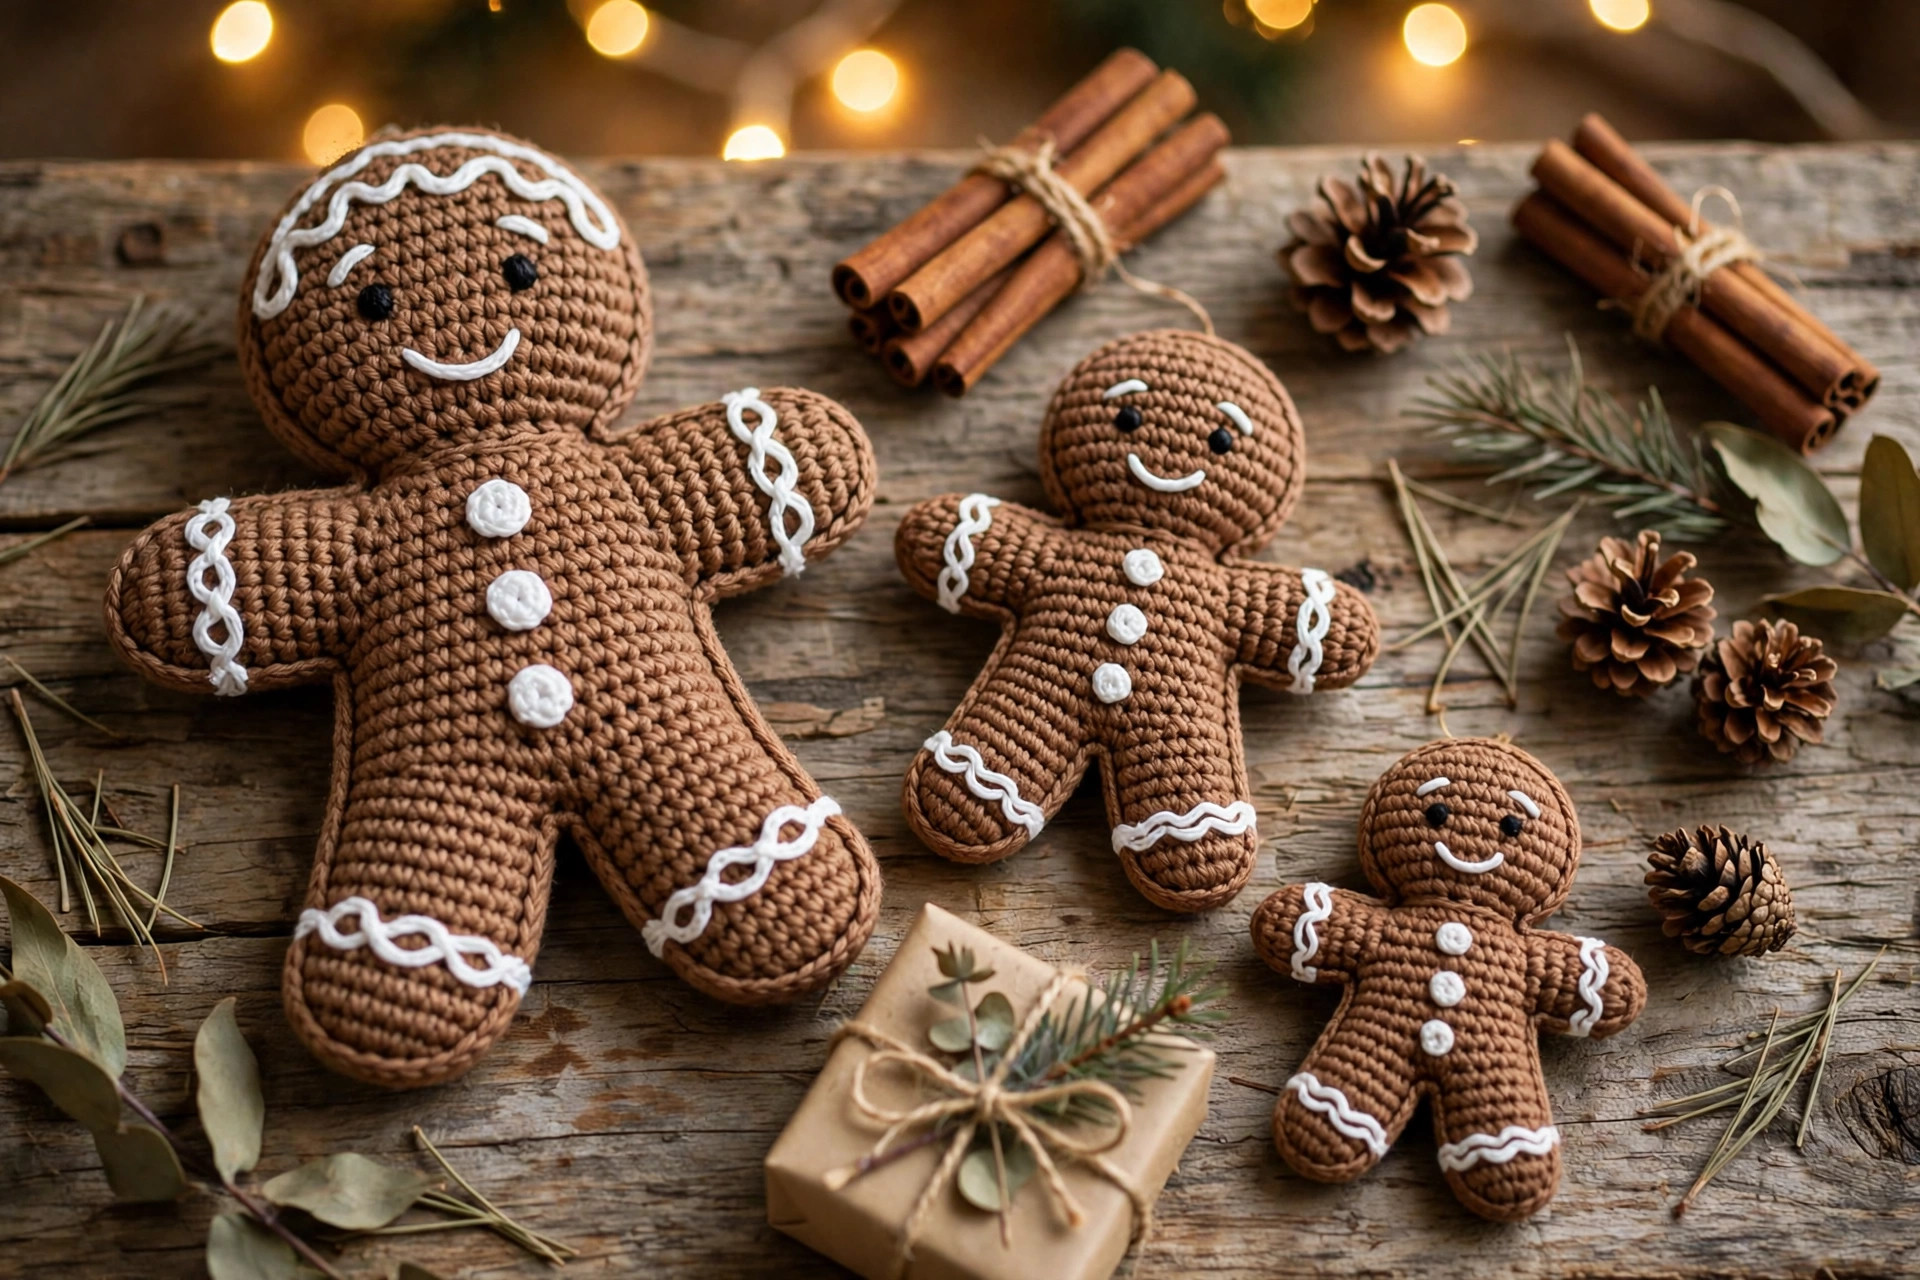
A sweet amigurumi gingerbread man with piped icing swirls, gumdrop buttons and a smiling face: original design, US terms, ornament or plush.


Amigurumi · Crochet
- Finished size
- About 5.5 in tall
- Making time
- About 2 hours
- Hook
- 3.5 mm, worsted yarn
- Set
- Ornament or plush
- Skill
- Easy
In this post
- Table of contents
- Why you'll love this gingerbread man crochet pattern
- Materials you'll need
- Size, gauge and skill level
- Abbreviations, US terms
- The gingerbread man crochet pattern (US terms)
- Finishing touches and assembly
- Tips and tricks
- Variations to try next
- Troubleshooting tips
- Frequently asked questions
- More free patterns to try
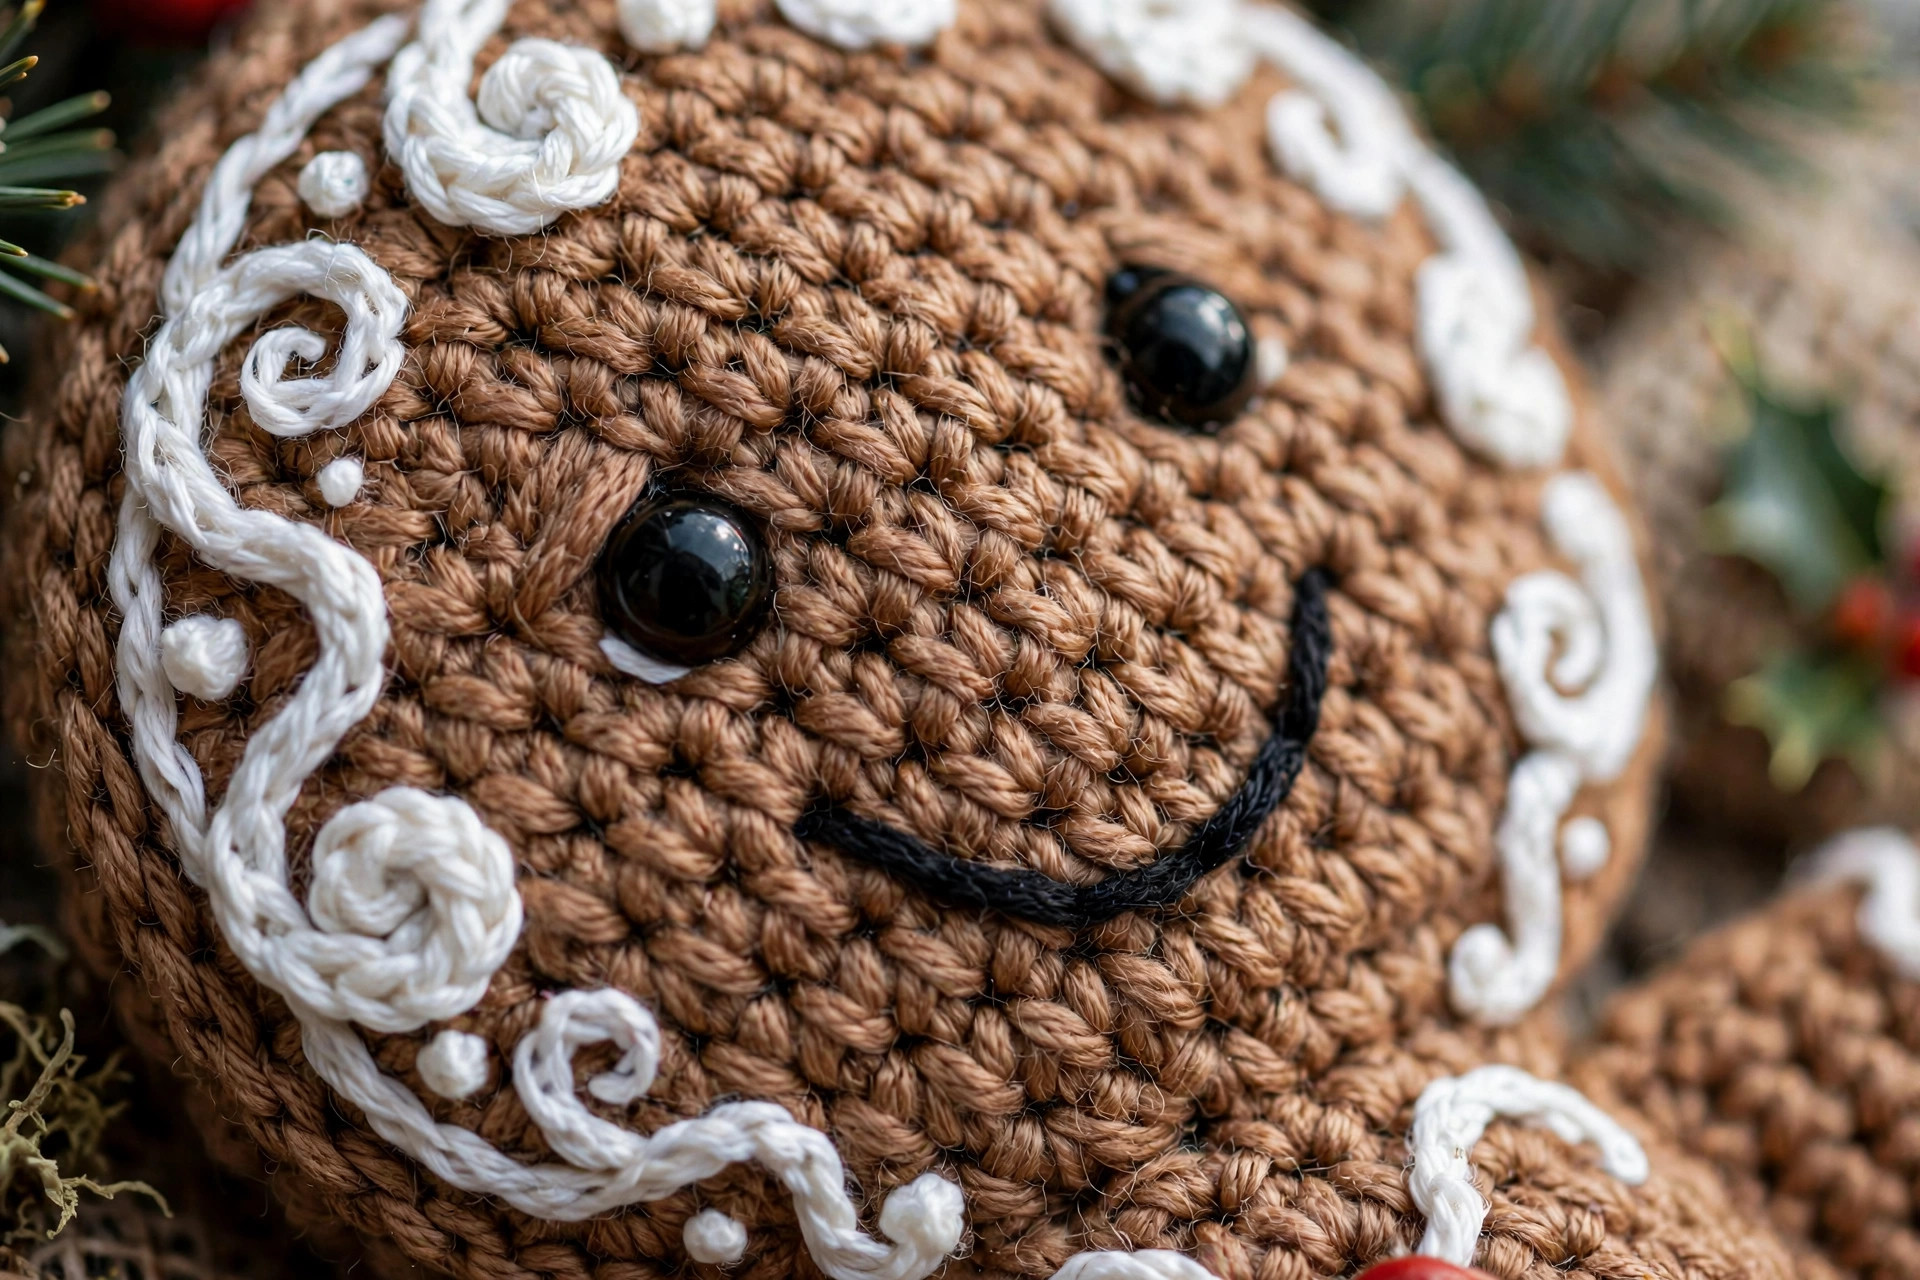
Every Christmas tree needs a gingerbread man, and this one will never go stale. This free crochet gingerbread man pattern makes a sweet little amigurumi cookie man, complete with piped white icing swirls, colorful gumdrop buttons, a smiling face, and rosy cheeks. Hang him on the tree as an ornament, or skip the hanging loop and keep him as a pocket-sized plush for little hands.
This is an original design worked in simple single crochet in the round, the classic amigurumi method: start with a magic ring, increase to the widest point, work even, then decrease and stuff. The head, body, arms, and legs are made separately and sewn together, which sounds like a lot of pieces but each one takes only minutes. The icing details are worked as surface slip stitches, so there is no embroidery skill required beyond a simple smile.
If you have made even one amigurumi before, you can finish him in an evening. If not, he is a wonderful first project: the shapes are forgiving and the icing covers small wobbles.
Table of contents
- Why you'll love this gingerbread man crochet pattern
- Materials you'll need
- Size, gauge and skill level
- Abbreviations, US terms
- The gingerbread man crochet pattern (US terms)
- Finishing touches and assembly
- Tips and tricks
- Variations to try next
- Troubleshooting tips
- Frequently asked questions
- More free patterns to try
Why you'll love this gingerbread man crochet pattern
Real gingerbread men are delicious for about a week. A crocheted one lasts for every Christmas you will ever have. He does not crumble in the ornament box, his icing never smudges, and he is soft enough for toddlers to carry around the house all December without anyone worrying about breakage.
The design hits all the classic cookie notes: the warm gingerbread brown, the wavy white icing piped across his head and down his tummy, three bright gumdrop buttons, and a cheerful smile with rosy cheeks. He looks convincingly like the cookie, but better, because he will not tempt anyone into taking a bite out of his arm.
He is also a production-friendly make. Each piece is small and quick, the whole man takes about two hours, and the pattern is easy to memorize after the first one. Make a batch in different button colors for the tree, tuck one into a Christmas stocking, or attach a batch to a garland. If you are building a handmade holiday collection, our free crochet Santa pattern makes the perfect companion piece, and the crochet ornaments patterns collection has plenty more tree-worthy ideas.
Materials you'll need
| Supply | What to get |
|---|---|
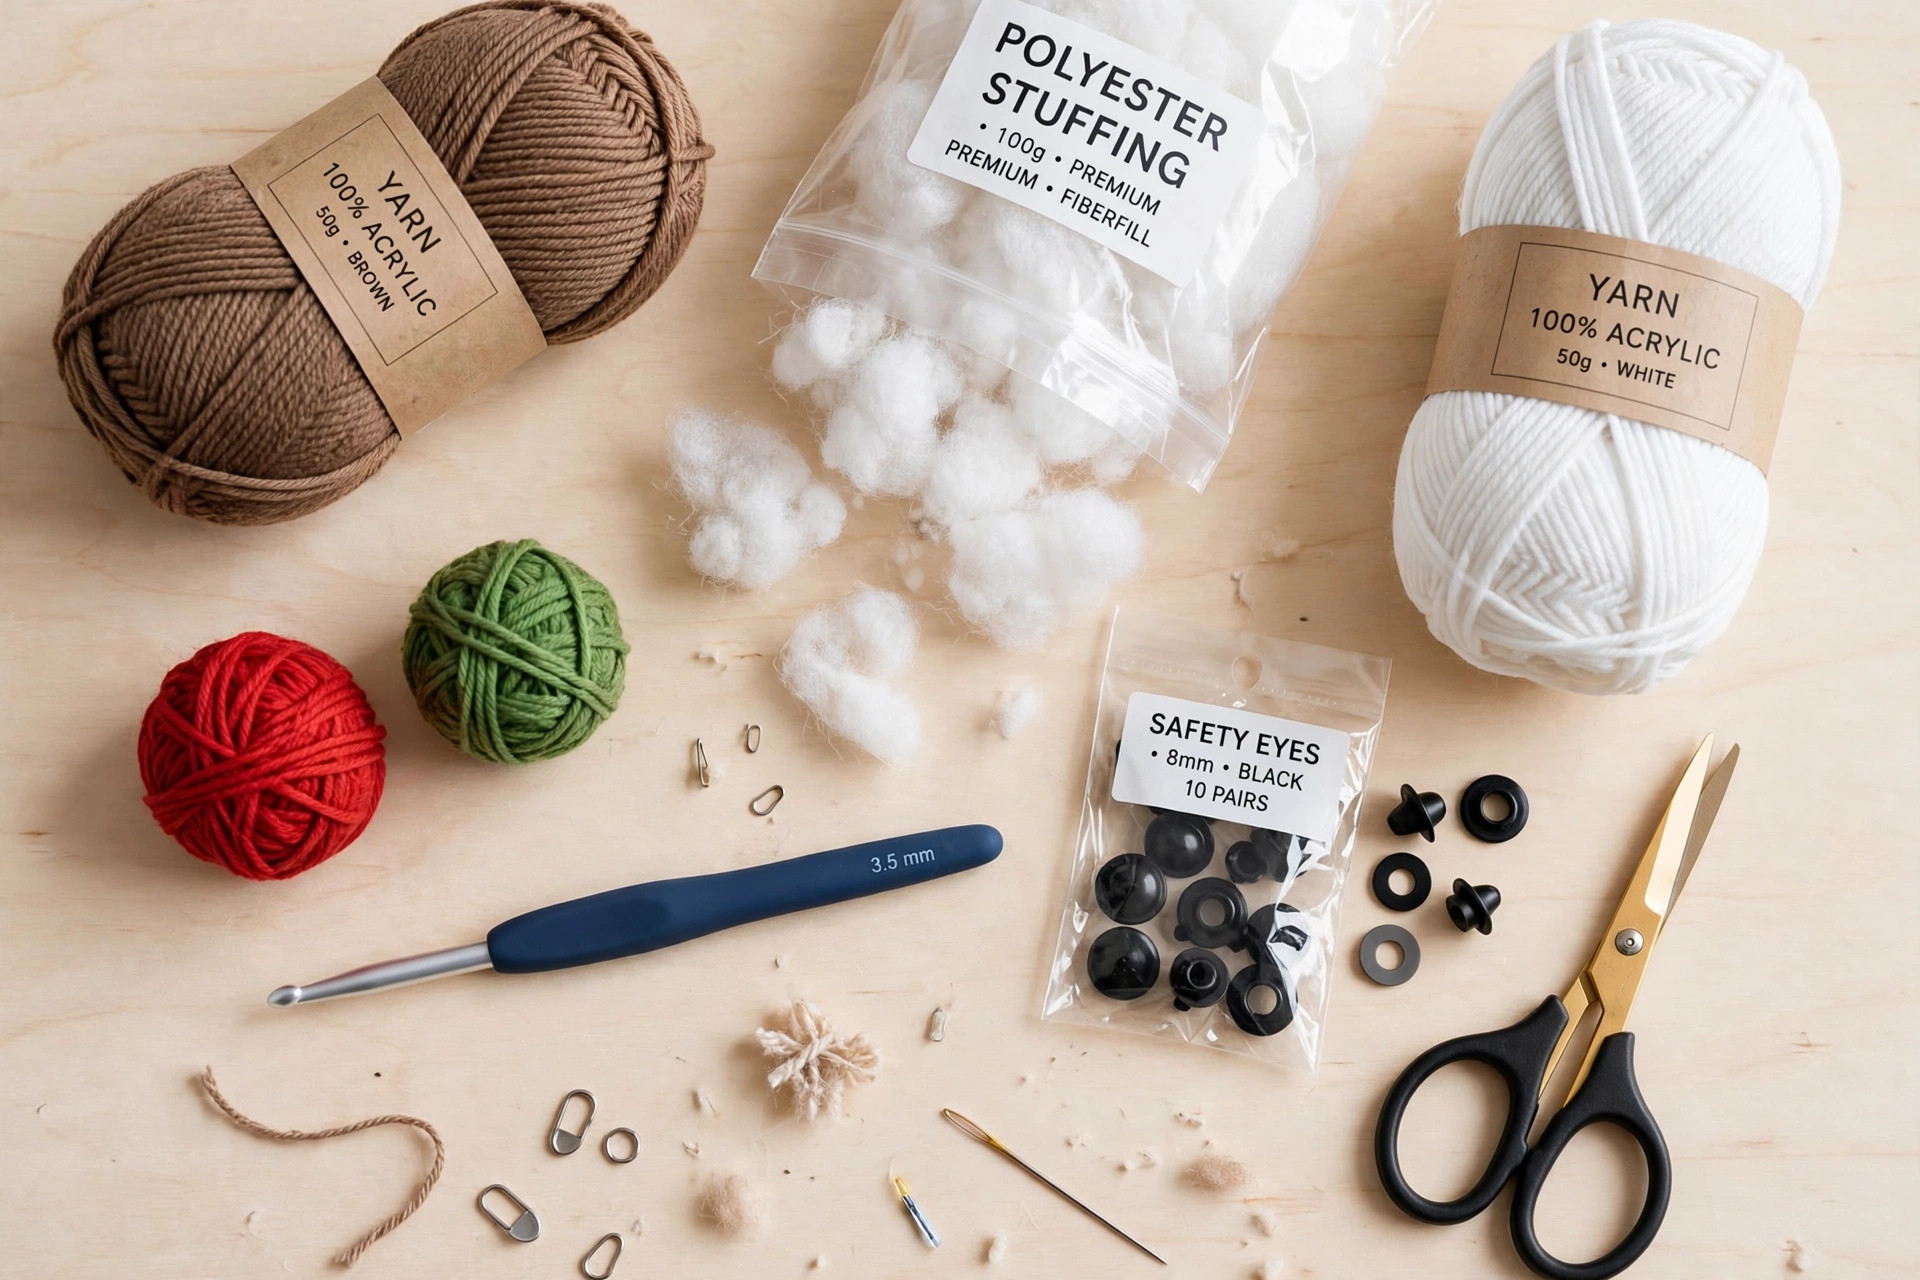
| Brown yarn | Worsted-weight (#4) yarn in gingerbread brown, about 60 yds / 55 m |
| White yarn | Worsted-weight (#4) yarn in white, about 20 yds / 18 m, for the icing details |
| Accent yarns | Small amounts of red and green worsted yarn for the gumdrop buttons; tiny amounts of pink and dark brown or black for the cheeks and smile |
| Crochet hook | 3.5 mm (E) |
| Safety eyes | Two 8 mm black safety eyes (or embroider the eyes with dark yarn for children under 3) |
| Stuffing | Polyester fiberfill, a small handful |
| Tapestry needle | For sewing pieces together and weaving in ends |
| Notions | Scissors, stitch markers |
Pick a warm, medium brown for the cookie: think baked gingerbread, not chocolate. A smooth acrylic shows the icing details best and keeps its shape in the ornament box year after year. For the icing, use a bright white rather than cream: the contrast against the brown is what makes him read as a decorated cookie. If this gingerbread man is for a small child, skip the safety eyes and embroider all the facial features instead.
A note on the hook: 3.5 mm with worsted yarn gives a tight amigurumi fabric that the stuffing cannot peek through. If you can see daylight between your stitches, drop to a 3.25 mm hook.
Size, gauge and skill level
All pieces are worked in continuous spiral rounds: do not join at the end of each round, just keep crocheting into the next stitch, and move your stitch marker up each round. The bracketed number at the end of each round is the total stitch count.
- Finished size: about 5.5 in (14 cm) tall and 3.5 in (9 cm) wide, not counting the hanging loop. He fits perfectly in the palm of your hand.
- Gauge: not critical for amigurumi. What matters is that your fabric is tight enough that the stuffing does not show through. If it does, go down a hook size.
- Skill level: easy. You should know how to work a magic ring, single crochet, increase, and decrease (invisible decrease recommended). The icing is worked as simple surface slip stitches, explained below.
Stuff as you go: it is much easier to fill the head and body firmly before the openings get small than to poke stuffing through a tiny hole at the end.
Abbreviations, US terms
| Abbreviation | Meaning |
|---|---|
| MR | magic ring |
| ch | chain |
| sc | single crochet |
| inc | increase: 2 sc in the same stitch |
| dec | invisible decrease: single crochet 2 together through front loops |
| BLO | back loop only |
| sl st | slip stitch |
| st(s) | stitch(es) |
| R | round |
| FO | fasten off |
| [ ] | total stitch count at the end of the round |
A note on surface slip stitches: the icing is worked on the surface of the finished pieces. Insert your hook under a stitch on the surface, yarn over with the white yarn, pull up a loop, then insert the hook under the next stitch along your icing line, yarn over, and pull through both loops. It feels like embroidery with a crochet hook, and it makes a lovely raised piped-icing line.
The gingerbread man crochet pattern (US terms)
Make all pieces in brown yarn unless stated otherwise. Stuff pieces firmly as you go.
Head
- R1: MR 6. [6]
- R2: inc in each st around. [12]
- R3: (sc, inc) x6. [18]
- R4: (2 sc, inc) x6. [24]
- R5: (3 sc, inc) x6. [30]
- R6: (4 sc, inc) x6. [36]
- R7-R13: sc in each st around. [36]
- R14: (4 sc, dec) x6. [30]
- R15: (3 sc, dec) x6. [24]
Pause here: insert the safety eyes between R10 and R11, about 8 stitches apart, and secure the washers on the inside. Begin stuffing the head firmly.
- R16: (2 sc, dec) x6. [18]
- R17: (sc, dec) x6. [12]
- R18: dec x6. [6]
FO, thread the tail through the remaining stitches, cinch closed, and weave in the end. Finish stuffing through the neck opening before you close it fully: the head should feel firm and round, like a cookie, not squishy.
Body
- R1: MR 6. [6]
- R2: inc in each st around. [12]
- R3: (sc, inc) x6. [18]
- R4: (2 sc, inc) x6. [24]
- R5: (3 sc, inc) x6. [30]
- R6-R11: sc in each st around. [30]
- R12: (3 sc, dec) x6. [24]
- R13-R14: sc in each st around. [24]
- R15: (2 sc, dec) x6. [18]
Stuff the body firmly, shaping it into a rounded tummy.
- R16: (sc, dec) x6. [12]
- R17: dec x6. [6]
FO, cinch closed, and weave in the end.
Arms (make 2)
- R1: MR 6. [6]
- R2: (sc, inc) x3. [9]
- R3-R9: sc in each st around. [9]
Stuff the arm lightly: just a pinch of fiberfill so it holds its shape without going stiff. Flatten the open end and work 4 sc through both layers to close it. FO, leaving a long tail for sewing.
Legs (make 2)
- R1: MR 6. [6]
- R2: inc in each st around. [12]
- R3: (sc, inc) x6. [18]
- R4-R10: sc in each st around. [18]
- R11: (sc, dec) x6. [12]
Stuff firmly.
- R12: dec x6. [6]
FO, cinch closed, and weave in the end. The legs are short and round, like little cookie stubs.
Gumdrop buttons (make 3)
Work in red, green, red (or any festive order you like).
- R1: MR 6. [6]
- R2: working in BLO, inc in each st around. [12]
- R3: sc in each st around. [12]
FO, leaving a long tail. The back-loop round makes the edge pop up into a little dome, just like a gumdrop. Do not stuff: sew them on flat.
Finishing touches and assembly
Work in this order: sew first, decorate second, so the icing never gets in the way of a needle.
Sew the legs to the body. Pin the legs to the bottom of the body, spacing them evenly left and right, with the leg openings (R12) against the body's R1-R3 area. Sew around each leg with small whipstitches, going through the leg stitches and into the body. He should stand (or at least sit) on his own when you are done.
Sew the arms to the body. Position the arms at the sides of the body, around R8-R9, angled very slightly downward like a cheerful cookie pose. Sew the flattened top edge of each arm to the body with several whipstitches. Tug gently to check they are secure: little hands will pull on these.
Sew the head to the body. Center the head on top of the body (the body's cinched R17 end). Sew around the join with whipstitches, taking a stitch in the head, then a stitch in the body, all the way around twice for strength. The head is the heaviest piece, so do not skimp here.
Add the gumdrop buttons. Sew the three buttons in a vertical line down the center front of the body, spacing them evenly. Use the long tails and sew through the button's R3 edge into the body, going around twice.

Pipe the icing. With white yarn and your hook, work surface slip stitches:
- Head: a wavy zigzag line across the top of the head (around R3-R4), like piped hair. Make 5-6 zigzags.
- Body: a wavy line down the center front, weaving between the gumdrop buttons.
- Arms and legs: a small zigzag cuff near the end of each limb.
Keep the lines loose and playful: real piped icing is never perfectly even.
Embroider the face. With dark brown or black yarn, embroider a smile: a gentle curve about 5 stitches wide, centered below the eyes. With pink yarn, add a cheek on each side: three or four small straight stitches in a tiny circle, or a French knot. Step back and check the face before you knot off: moving a smile half a stitch can change his whole expression.
Add the hanging loop (optional). For an ornament: ch 24 with brown yarn, sl st into the first ch to form a ring, FO, and sew the ring securely to the top of the head. For a plush, skip this step entirely.
Final check. Give him a gentle squeeze all over to distribute the stuffing evenly, trim any stray tails, and fluff the icing lines with your fingers so they sit nicely on the surface.
Tips and tricks
Use the invisible decrease. The standard sc2tog leaves a small bump; the invisible decrease (through front loops only) disappears into the fabric. On a small amigurumi like this, the difference is very visible, especially on the head.
Stuff in layers. Add a little fiberfill, press it into the corners with the back of your hook or a chopstick, then add more. Pieces stuffed in one big lump end up lumpy. Firm, even stuffing is what makes amigurumi look professional.
Pin before you sew. Amigurumi assembly goes wrong when pieces drift mid-sewing. Pin the legs, arms, and head in place with sewing pins (or spare tapestry needles) and look at him from the front, side, and top before you sew a single stitch.
Keep the icing lines shallow. When working surface slip stitches, catch only the top of the surface stitches, not deep into the stuffing. Deep bites pucker the fabric and make the icing line sink.
Mark the face placement first. Before attaching the safety eyes permanently, press them into the head without the washers and look at the face. Eyes placed one round too high give a surprised look; one round too low looks sleepy. R10-R11 is the sweet spot, but trust your eyes over the pattern.
Variations to try next
One gingerbread man is adorable. A whole cookie tray is irresistible:
- Gingerbread garland. Skip the hanging loops, make five or six in alternating button colors, and string them on a long chain of brown yarn with a tapestry needle. Our Christmas spiral ornaments pattern makes gorgeous spacers between the cookies.
- Mrs. Gingerbread. Add a white surface-slip-stitch bow on top of the head and swap the smile for embroidered eyelashes. A tiny red bow tie (two small triangles sewn together) works for Mr. Gingerbread too.
- Mini cookie ornaments. Follow the pattern with a 2.75 mm hook and fingering yarn for a 3.5-inch version that is perfect for a small tree or a gift tag. Everything scales down beautifully.
- Gingerbread couple gift set. Make two and present them in a small cellophane bag with a ribbon, like real cookies. Pair with our crochet Christmas coasters for a complete cocoa-night gift.
- Gnome crossover. Borrow the tall hat idea from our crochet gnomes patterns and give your gingerbread man a pointy striped hat instead of icing hair. Unexpected and very cute.
Troubleshooting tips
- The stuffing shows through the stitches. Your tension is too loose for amigurumi. Go down a hook size, or work with a tighter grip. This is the single most common amigurumi issue and the fix is always a smaller hook.
- The head wobbles on the body. You sewed around only once, or the neck join is too small. Sew around the join a second time, taking deeper bites into both pieces, and add a pinch more stuffing to the neck area for support.
- The icing lines look sunken. You pulled the surface slip stitches too tight or caught too much fabric. Work them loosely, catching only the surface, and let the white yarn relax into a raised line.
- The safety eyes are crooked. The washers lock permanently, so always test placement first. If one is already locked in wrong, you can gently pry the washer off with a flat tool and reposition, but it is better to check twice before clicking.
- The arms stick out sideways. You sewed the flattened ends perpendicular to the body. Angle the arm ends slightly downward before sewing, and sew the full flattened edge, not just the corner.
- The magic ring keeps opening. Weave the starting tail through the first-round stitches twice in opposite directions before trimming. A dab of fabric glue on the inside knot is extra insurance for ornaments that will be handled a lot.
Frequently asked questions
Is this free crochet gingerbread man pattern really free?
Yes, the complete pattern above is free, with no email signup and no PDF purchase required.
What skill level is this gingerbread man pattern?
Easy. If you can single crochet in the round, increase, and decrease, you have every skill this pattern needs. The icing is just surface slip stitches, which are explained step by step above.
How long does it take to crochet the gingerbread man?
About 2 hours: roughly 30 minutes for the head, 25 minutes for the body, 20 minutes for the arms and legs, and 45 minutes for assembly, icing, and the face.
How much yarn do I need?
About 60 yards of brown worsted yarn, 20 yards of white for the icing, and small scraps of red, green, pink, and dark brown or black. One skein of brown makes at least two gingerbread men.
Is he safe for small children?
As written with safety eyes, he is best for ages 3 and up. For babies and toddlers, embroider the eyes with dark yarn instead of using safety eyes, sew every piece on extra firmly, and skip the hanging loop (or sew it very securely).
Can I make him bigger?
Yes. Use bulky yarn with a 5.0 mm hook and follow the exact same instructions for a gingerbread man about 8 inches tall. You will need roughly twice the yarn and stuffing.
Can I sell finished gingerbread men made from this pattern?
Yes! You may sell finished gingerbread men made from this pattern in small batches (craft fairs, markets, gifts). Please credit Little Loop Finds as the pattern designer.
More free patterns to try
If this little cookie was fun, the holiday workshop continues. Our mini amigurumi patterns collection is full of quick small projects in the same style, and the crochet ornaments roundup has tree decorations for every skill level. For the full Christmas morning scene, pair him with our free crochet Santa pattern: Santa and the gingerbread man look perfect side by side on the mantle.