Free Crochet Dinosaur Pattern: Cute Amigurumi Dino
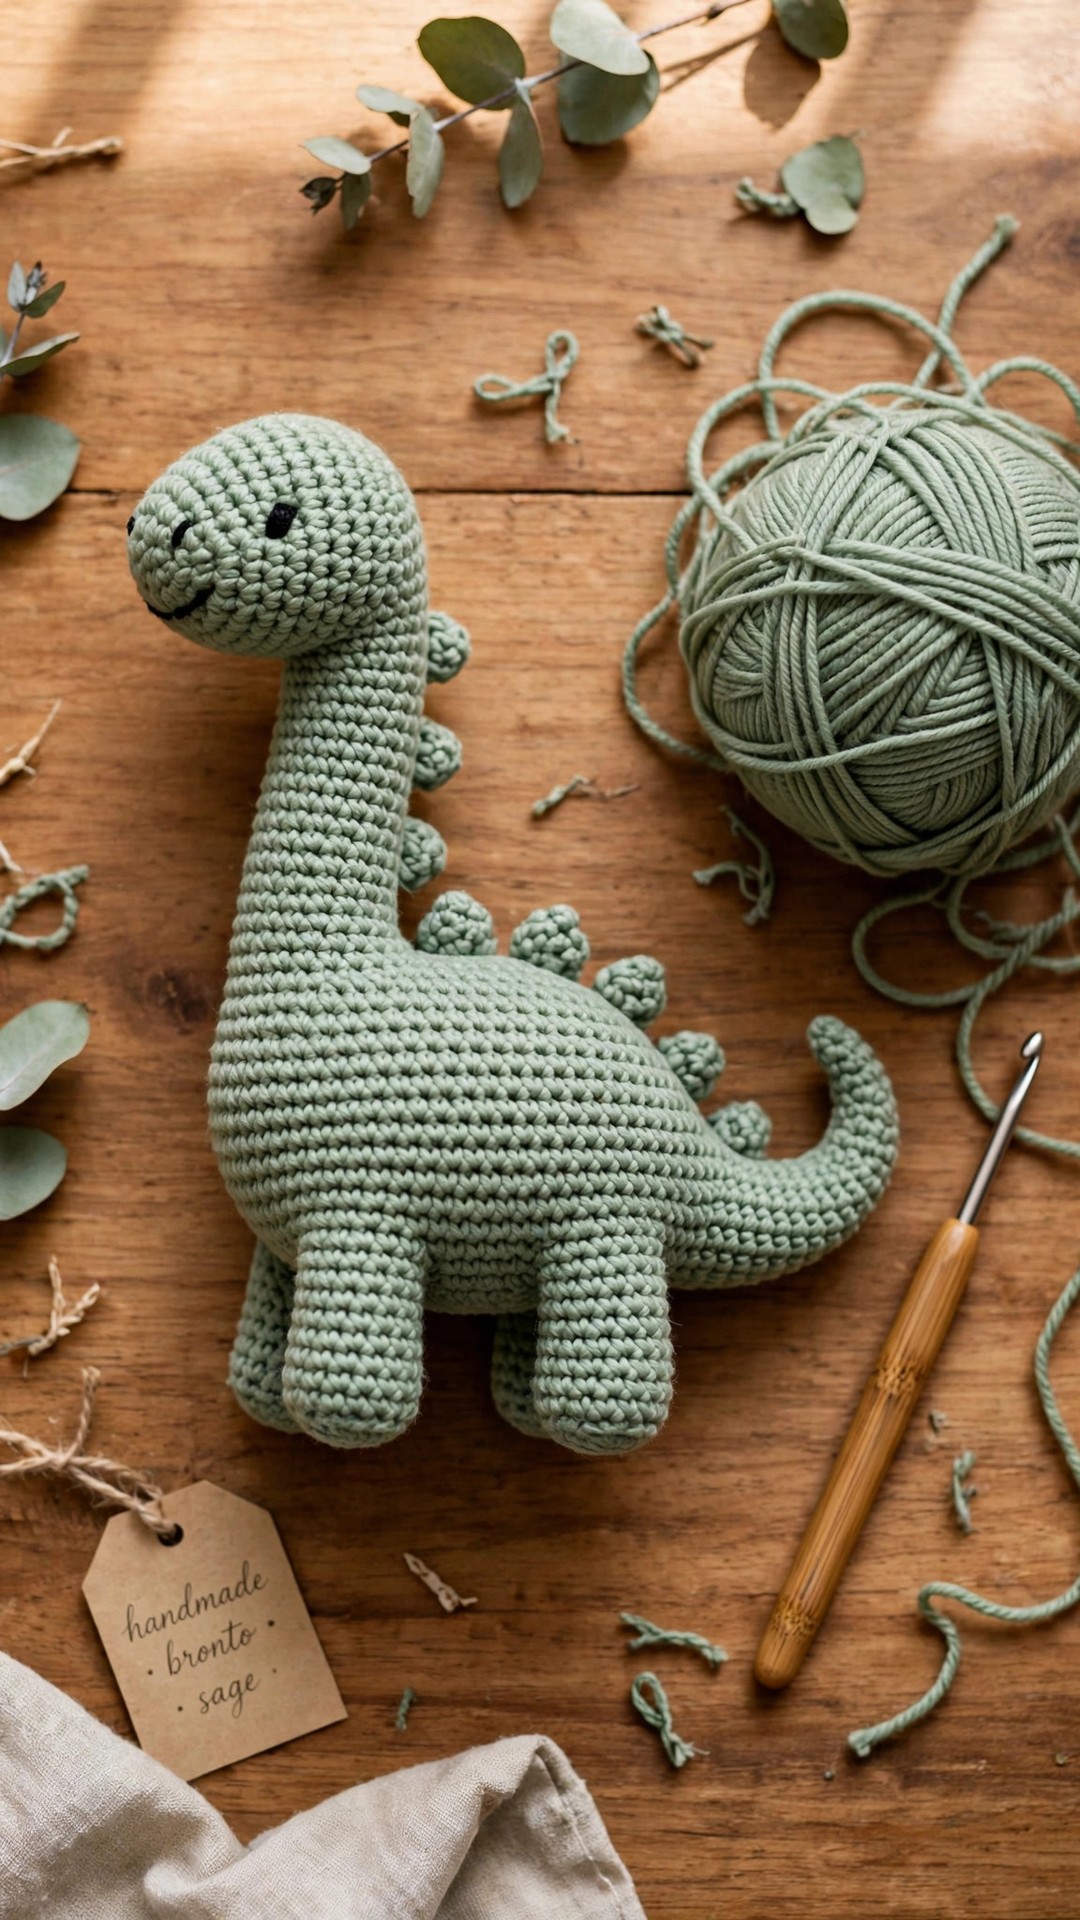
A cute amigurumi brontosaurus with a long neck, soft back spikes, and a cream belly patch: original design, US terms, easy shaping, and baby-safe face options.

Amigurumi · Crochet
- Finished size
- About 10 in long
- Making time
- About 7 hours
- Hook
- 3.5 mm, worsted yarn
- Pieces
- Body, head, neck, tail
- Skill
- Easy
In this post
- Table of contents
- Why you'll love this crochet dinosaur pattern
- Materials you'll need
- Size, gauge and skill level
- Abbreviations, US terms
- The crochet dinosaur pattern (US terms)
- Finishing touches and assembly
- Tips and tricks
- Variations to try next
- Troubleshooting tips
- Frequently asked questions
- More free patterns to try
This free crochet dinosaur pattern makes a sweet, chunky brontosaurus with a long curvy neck, a row of friendly back spikes, and a cream belly patch: all worked in simple single crochet rounds, all from an original Little Loop Finds design.
Kids call it a dino, collectors call it amigurumi, and gift givers call it the easiest win of the season. The finished dinosaur measures about 10 inches long and 8 inches tall, big enough to hug and small enough to ride in a backpack.
This pattern is written in US terms for confident beginners. If you can work a magic ring, increase, and decrease, you can make this dinosaur today.
Table of contents
- Why you'll love this crochet dinosaur pattern
- Materials you'll need
- Size, gauge and skill level
- Abbreviations, US terms
- The crochet dinosaur pattern (US terms)
- Finishing touches and assembly
- Tips and tricks
- Variations to try next
- Troubleshooting tips
- Frequently asked questions
- More free patterns to try
Why you'll love this crochet dinosaur pattern
Dinosaurs are the rare toy theme that works for every age. Toddlers love the stompy shape, school kids love anything prehistoric, and adults keep amigurumi dinosaurs on their desks with zero shame. This particular dino lands in the sweet spot: chunky enough to look impressive, simple enough that a second one takes half the time of the first.
The long neck, belly patch, and little triangle spikes do all the personality work: no fiddly wire, no plastic parts except optional safety eyes.
If amigurumi reptiles are your thing, our crochet lizard pattern free uses the same long-tail shaping in a different animal, and the crochet dragon pattern free is the natural next project once this dino has a friend.
Materials you'll need
- Worsted weight (#4) acrylic yarn: about 140 yds of green (body, head, neck, tail, legs, spikes), 40 yds of cream (belly patch). A soft acrylic holds the stuffing shape best and survives toy-box duty.
- Crochet hook: 3.5 mm (E-4). Amigurumi needs a hook smaller than the yarn label suggests so the fabric is dense.
- Polyester fiberfill: about 3 oz. Pull it apart into wisps before stuffing so it fills evenly.
- Safety eyes: 10 mm, one pair. For a baby gift, skip these and embroider the eyes instead (see the finishing section).
- Stitch marker: a locking marker or a scrap of contrasting yarn.
- Tapestry needle: for sewing pieces and weaving in ends.
- Scissors.
- Optional: pink embroidery floss for cheeks, a tape measure to check size.
Size, gauge and skill level
Finished size: about 10 inches long from snout to tail tip, and about 8 inches tall at the top of the head. The body alone is roughly 7 inches long and 4.5 inches wide.
Gauge: not critical for a toy, but aim for dense fabric. Worked in the round with a 3.5 mm hook, 4 inches should measure about 22 single crochet stitches across. If you can see daylight through your stitches, go down half a hook size.
Skill level: easy. The pattern uses only single crochet, increases, decreases, and half double crochet (for the spikes). You will need to know the magic ring and how to sew pieces together, both of which are explained below.
Time: about 7 hours total. Roughly 3.5 hours for the body, head, and neck, 2 hours for the legs, tail, spikes, and belly patch, and 1.5 hours for stuffing, assembly, and the face.
Abbreviations, US terms
All instructions use US crochet terms:
- ch : chain
- sc : single crochet
- hdc : half double crochet
- dc : double crochet
- inc : increase (2 sc in the same stitch)
- dec : decrease (single crochet 2 together; the invisible decrease through front loops only is recommended)
- BLO : back loop only
- st(s) : stitch(es)
- MR : magic ring
- [ ] : stitch count at the end of the round
Work in continuous spirals unless a row says otherwise. Move your stitch marker up at the start of every round so you never lose your place.
Magic ring refresher: wrap the yarn twice around your finger, pull up a loop, chain 1, then work the stated stitches into the ring and pull the tail to close. If the magic ring frustrates you, chain 2 and work round 1 into the second chain from the hook instead.
Invisible decrease: insert the hook through the front loop only of the next two stitches, yarn over, pull through both front loops (2 loops on hook), yarn over, pull through both. It closes the gap that a standard decrease leaves behind, which matters on a toy that will be squeezed.
The crochet dinosaur pattern (US terms)
Work every piece with the 3.5 mm hook. Stuff each piece firmly as you go, adding the filling in small pinches so it distributes evenly. A chopstick or the blunt end of a pencil helps push stuffing into the neck and tail.
Body
Use green.
- R1: 6 sc in MR [6]
- R2: inc in each st around [12]
- R3: (sc, inc) x6 [18]
- R4: (2 sc, inc) x6 [24]
- R5: (3 sc, inc) x6 [30]
- R6: (4 sc, inc) x6 [36]
- R7: (5 sc, inc) x6 [42]
- R8: (6 sc, inc) x6 [48]
- R9-R16: sc in each st around [48] (8 rounds)
- R17: (6 sc, dec) x6 [42]
- R18: sc in each st around [42]
- R19: (5 sc, dec) x6 [36]
- R20: sc in each st around [36]
- R21: (4 sc, dec) x6 [30]
- R22: sc in each st around [30]
- R23: (3 sc, dec) x6 [24]
- R24: sc in each st around [24]
- R25: (2 sc, dec) x6 [18]
- R26: (sc, dec) x6 [12]
- R27: dec x6 [6]
Begin stuffing at R20 and keep adding as the opening narrows. Fasten off, thread the tail through the front loops of the last 6 stitches, pull tight, and weave the end inside. Set the body aside with the R1 end (the tail side) pointing away from you: the narrower end is the rear, the wider end is the chest where the neck will attach.
Head
Use green.
- R1: 6 sc in MR [6]
- R2: inc in each st around [12]
- R3: (sc, inc) x6 [18]
- R4: (2 sc, inc) x6 [24]
- R5: (3 sc, inc) x6 [30]
- R6-R10: sc in each st around [30] (5 rounds)
- R11: (3 sc, dec) x6 [24]
- R12: (2 sc, dec) x6 [18]
- R13: (sc, dec) x6 [12]
- R14: dec x6 [6]
Stuff firmly, especially the front of the snout, so the face keeps its round shape. Fasten off and close the same way as the body. The head should feel like a firm tennis ball: if it dents when you poke it, add more filling.
Neck
Use green. This is the piece that gives the dino its long-neck silhouette.
- R1: 6 sc in MR [6]
- R2: inc in each st around [12]
- R3: (sc, inc) x6 [18]
- R4-R14: sc in each st around [18] (11 rounds)
- R15: (4 sc, dec) x3 [15]
- R16-R18: sc in each st around [15] (3 rounds)
Stuff the neck lightly: firm enough to stand up, soft enough to curve slightly forward for that friendly brontosaurus lean. Fasten off, leaving a 12-inch tail for sewing the neck to the body.
Tail
Use green. The tail tapers from the body outward, so the increases below are written from the tip toward the base: you will crochet the narrow tip first and widen as you go.
- R1: 4 sc in MR [4]
- R2: sc in each st around [4]
- R3: (sc, inc) x2 [6]
- R4: sc in each st around [6]
- R5: (2 sc, inc) x2 [8]
- R6-R8: sc in each st around [8] (3 rounds)
- R9: (3 sc, inc) x2 [10]
- R10-R11: sc in each st around [10] (2 rounds)
Stuff the base half lightly and leave the tip unstuffed so it drapes naturally. Fasten off, leaving a 10-inch tail for sewing.
Legs (make 4)
Use green.
- R1: 6 sc in MR [6]
- R2: inc in each st around [12]
- R3: (sc, inc) x6 [18]
- R4: BLO sc in each st around [18]
- R5-R6: sc in each st around [18] (2 rounds)
- R7: (4 sc, dec) x3 [15]
- R8: sc in each st around [15]
- R9: (3 sc, dec) x3 [12]
- R10: sc in each st around [12]
The back-loop-only round (R4) creates a crisp edge where the foot meets the leg, which helps the dino stand. Stuff each leg firmly, fasten off, and leave a 10-inch tail for sewing.
Belly patch
Use cream. This oval patch sits on the chest and tummy.
- Ch 9.
- R1: 2 sc in 2nd ch from hook, 6 sc, 3 sc in last ch; working down the other side of the chain: 6 sc, inc in last st [20]
- R2: inc x2, 6 sc, inc x3, 6 sc, inc x2 [27]
- R3: (sc, inc) x2, 6 sc, (sc, inc) x3, 6 sc, (sc, inc) x2 [34]
- R4: sc in each st around [34]
Slip stitch to the first stitch, fasten off, and leave a long tail for sewing. Do not stuff the patch: it lies flat against the body. Give it a light press with your fingers so the edges sit smooth.
Back spikes (make 6)
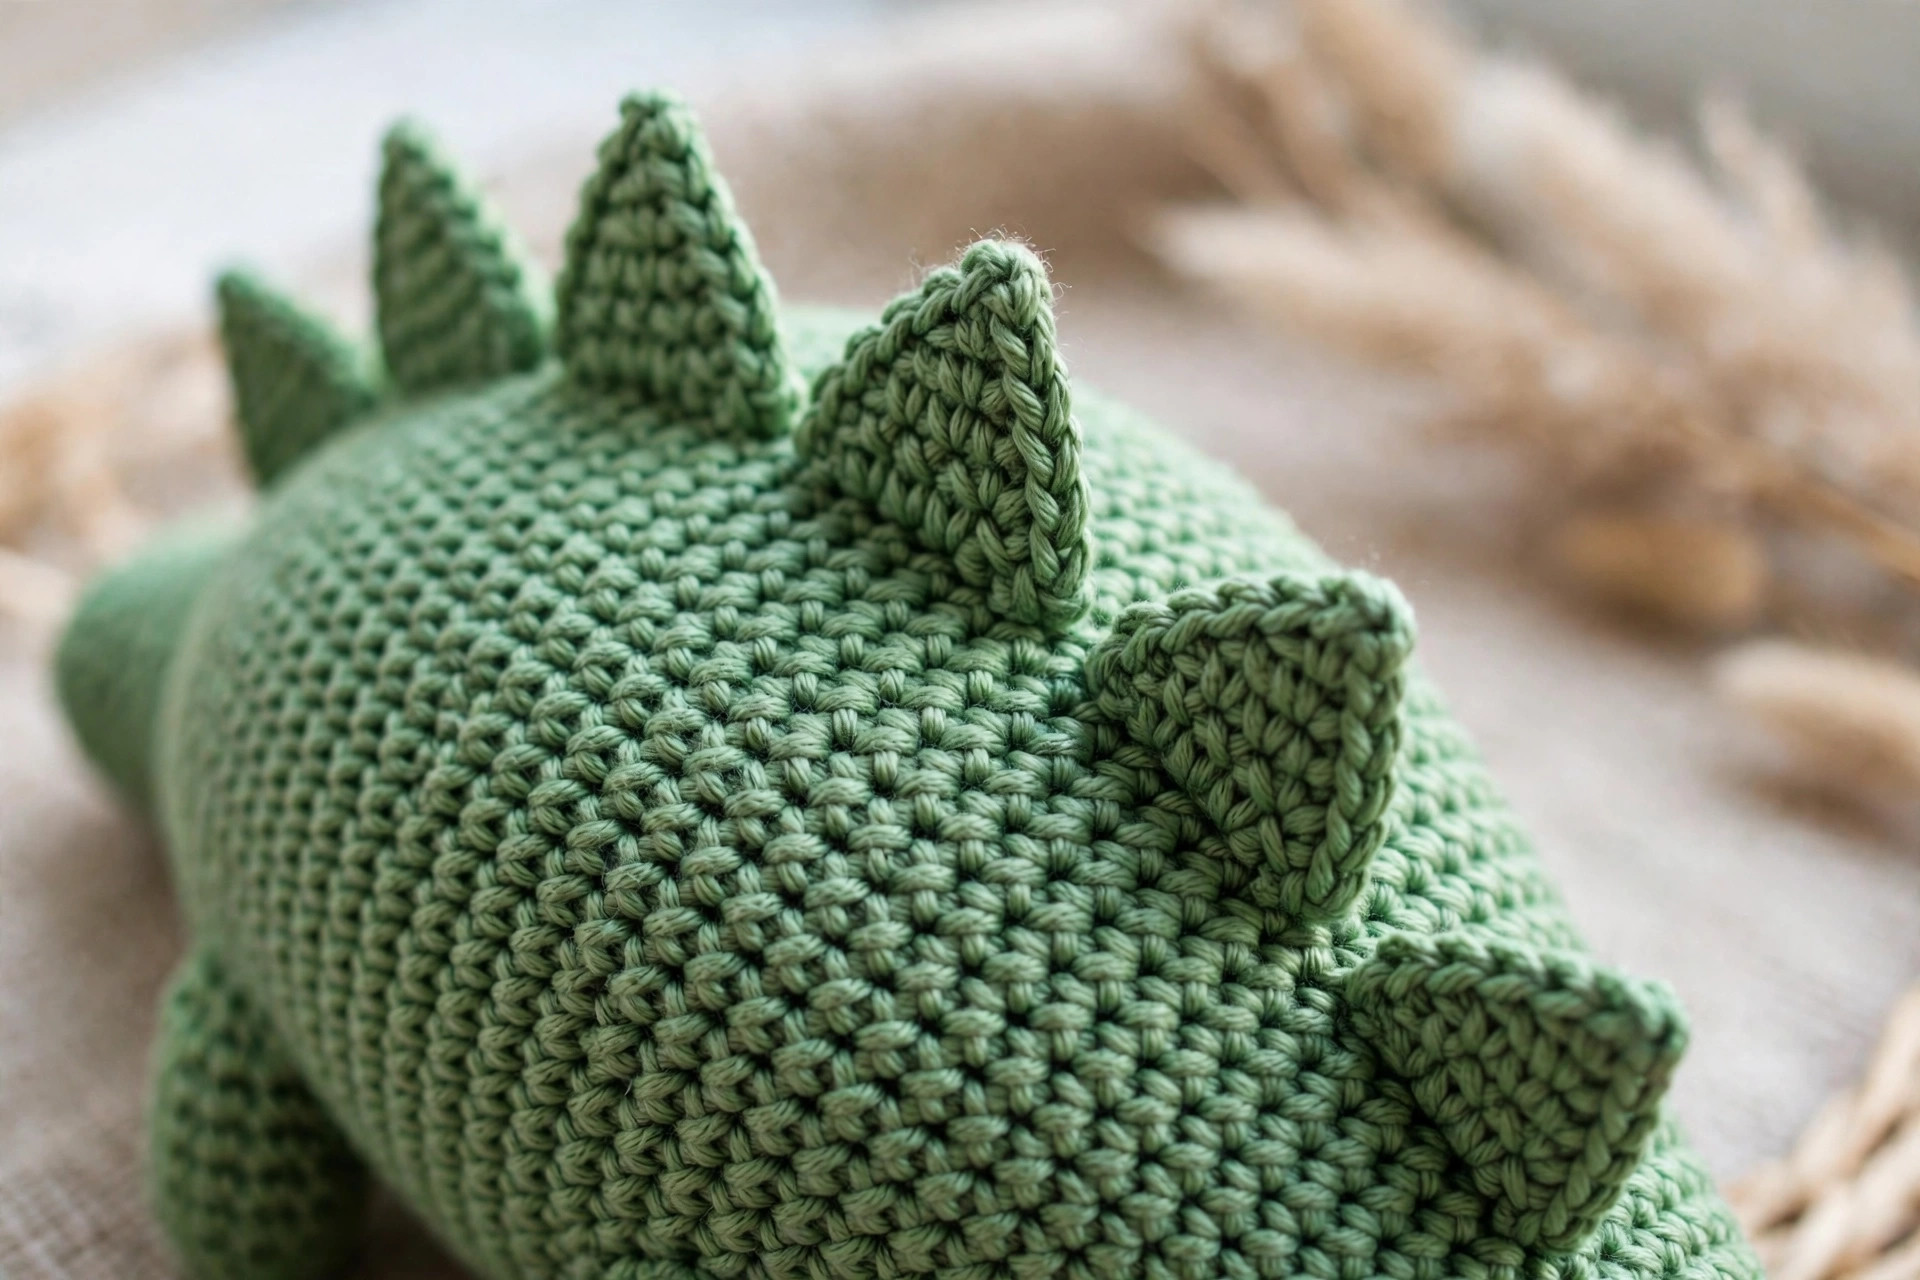
Use green. These little triangles run down the spine from the head to the tail.
- Ch 2.
- Row 1: 2 sc in 2nd ch from hook, ch 1, turn [2]
- Row 2: 2 sc in each st, ch 1, turn [4]
- Row 3: sc in each st across, ch 1, turn [4]
- Row 4: dec x2, ch 1, turn [2]
- Row 5: dec [1]
Fasten off, leaving an 8-inch tail for sewing each spike. The spikes should be about 1.5 inches tall. If yours curl, that is normal: they relax flat once sewn down.
Finishing touches and assembly
Lay out every piece before you sew a single stitch. This is the step that separates a charming dinosaur from a lopsided one.
Attach the neck to the body. Pin the wide end of the neck to the top front of the body, tilted slightly forward so the dino gazes ahead rather than straight up. Sew around the full circle with the long tail, then sew around once more for strength: this joint carries the head's weight.
Attach the head to the neck. Center the head on top of the neck's narrow end and pin it. Sew around the join with green yarn, catching stitches from both pieces. The seam should disappear into the rounds.
Attach the tail. Pin the wide end of the tail to the rear of the body, angled slightly downward. Sew around the base. The tail should touch the surface the dino sits on: that tripod of tail plus back legs is what lets it stand.
Attach the legs. Pin two legs near the chest and two near the rear, sew each around its full circle, then set the dino down and shuffle the legs until it sits level before knotting off.
Sew on the belly patch. Center the cream oval on the chest and lower front of the body. Pin it, then whipstitch around the edge with the cream tail, keeping your stitches small and even. The patch should lie flat with no puckering.
Sew on the spikes. Starting just behind the head, space the six spikes evenly along the spine down to where the tail begins. Pin all six first, step back, and check the spacing looks even from the side. Sew each spike through its base with two or three small stitches: they should stand upright on their own.
The face. For an embroidered, baby-safe face, use dark yarn: make each eye a small vertical satin stitch between R7 and R8 of the head, about 7 stitches apart, add a tiny curved smile with 3 small stitches, and stitch two small pink cheek blushes just below and outside each eye. If you prefer safety eyes, insert the 10 mm pair in the same position before the head is sewn to the neck.
Weave in all ends. Push every tail deep into the stuffed pieces with your tapestry needle so nothing works loose in little hands.
Tips and tricks
Stuff as you go. Amigurumi pieces close down to tiny openings: add fiberfill every few rounds so it stays even.
Mark the first stitch of every round. A spiral has no visible joins, so move a locking marker up each round: two seconds of habit that prevents an hour of frogging.
Keep your tension snug. If your stitches look gappy, switch to a 3.25 mm hook rather than fighting your natural tension.
Sew with the piece tails. Every piece ends with a long tail in its own color: matching yarn makes the seams nearly invisible. Do not trim them before assembly.
Pin everything before sewing. Straight pins (or safety pins, which will not poke you mid-sew) let you audition the whole dinosaur before committing. Photograph the pinned dino from the front and side: the camera catches lopsidedness your eyes forgive.
Variations to try next
One pattern, a whole prehistoric herd:
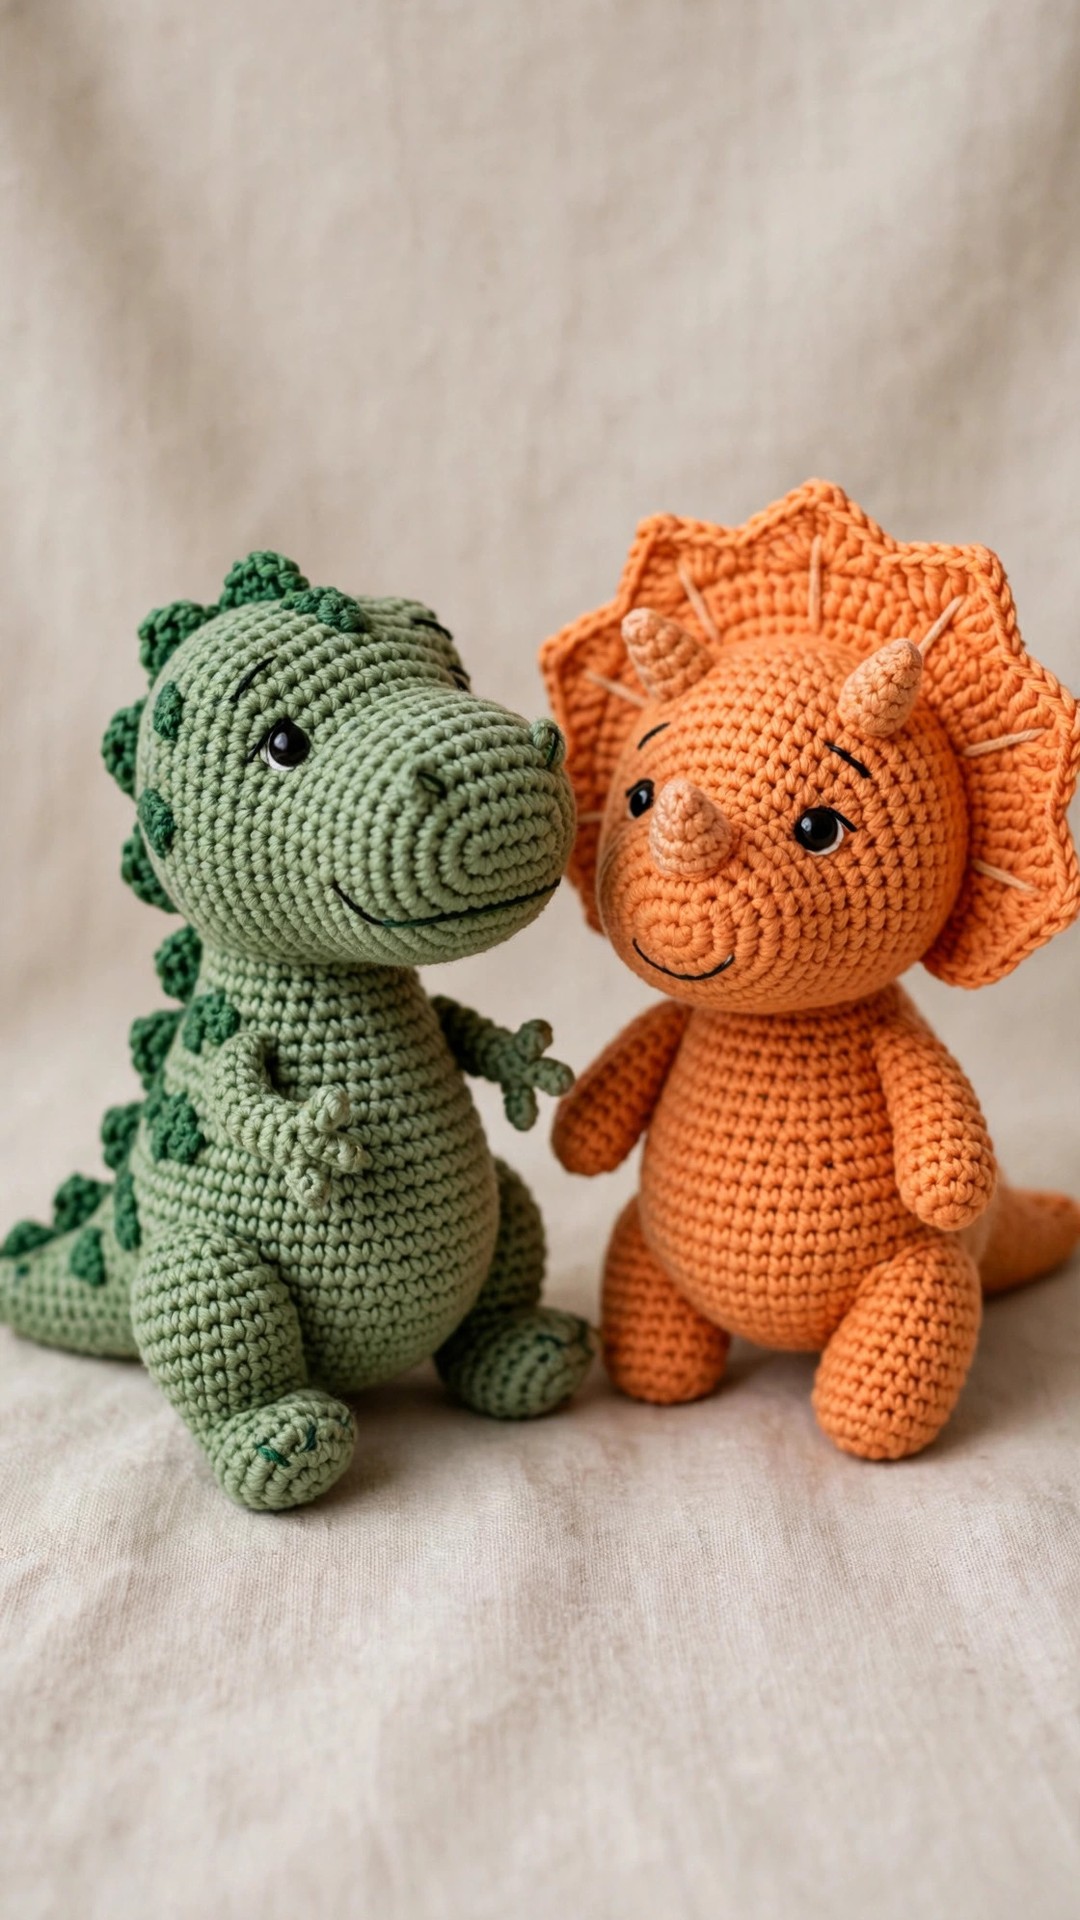
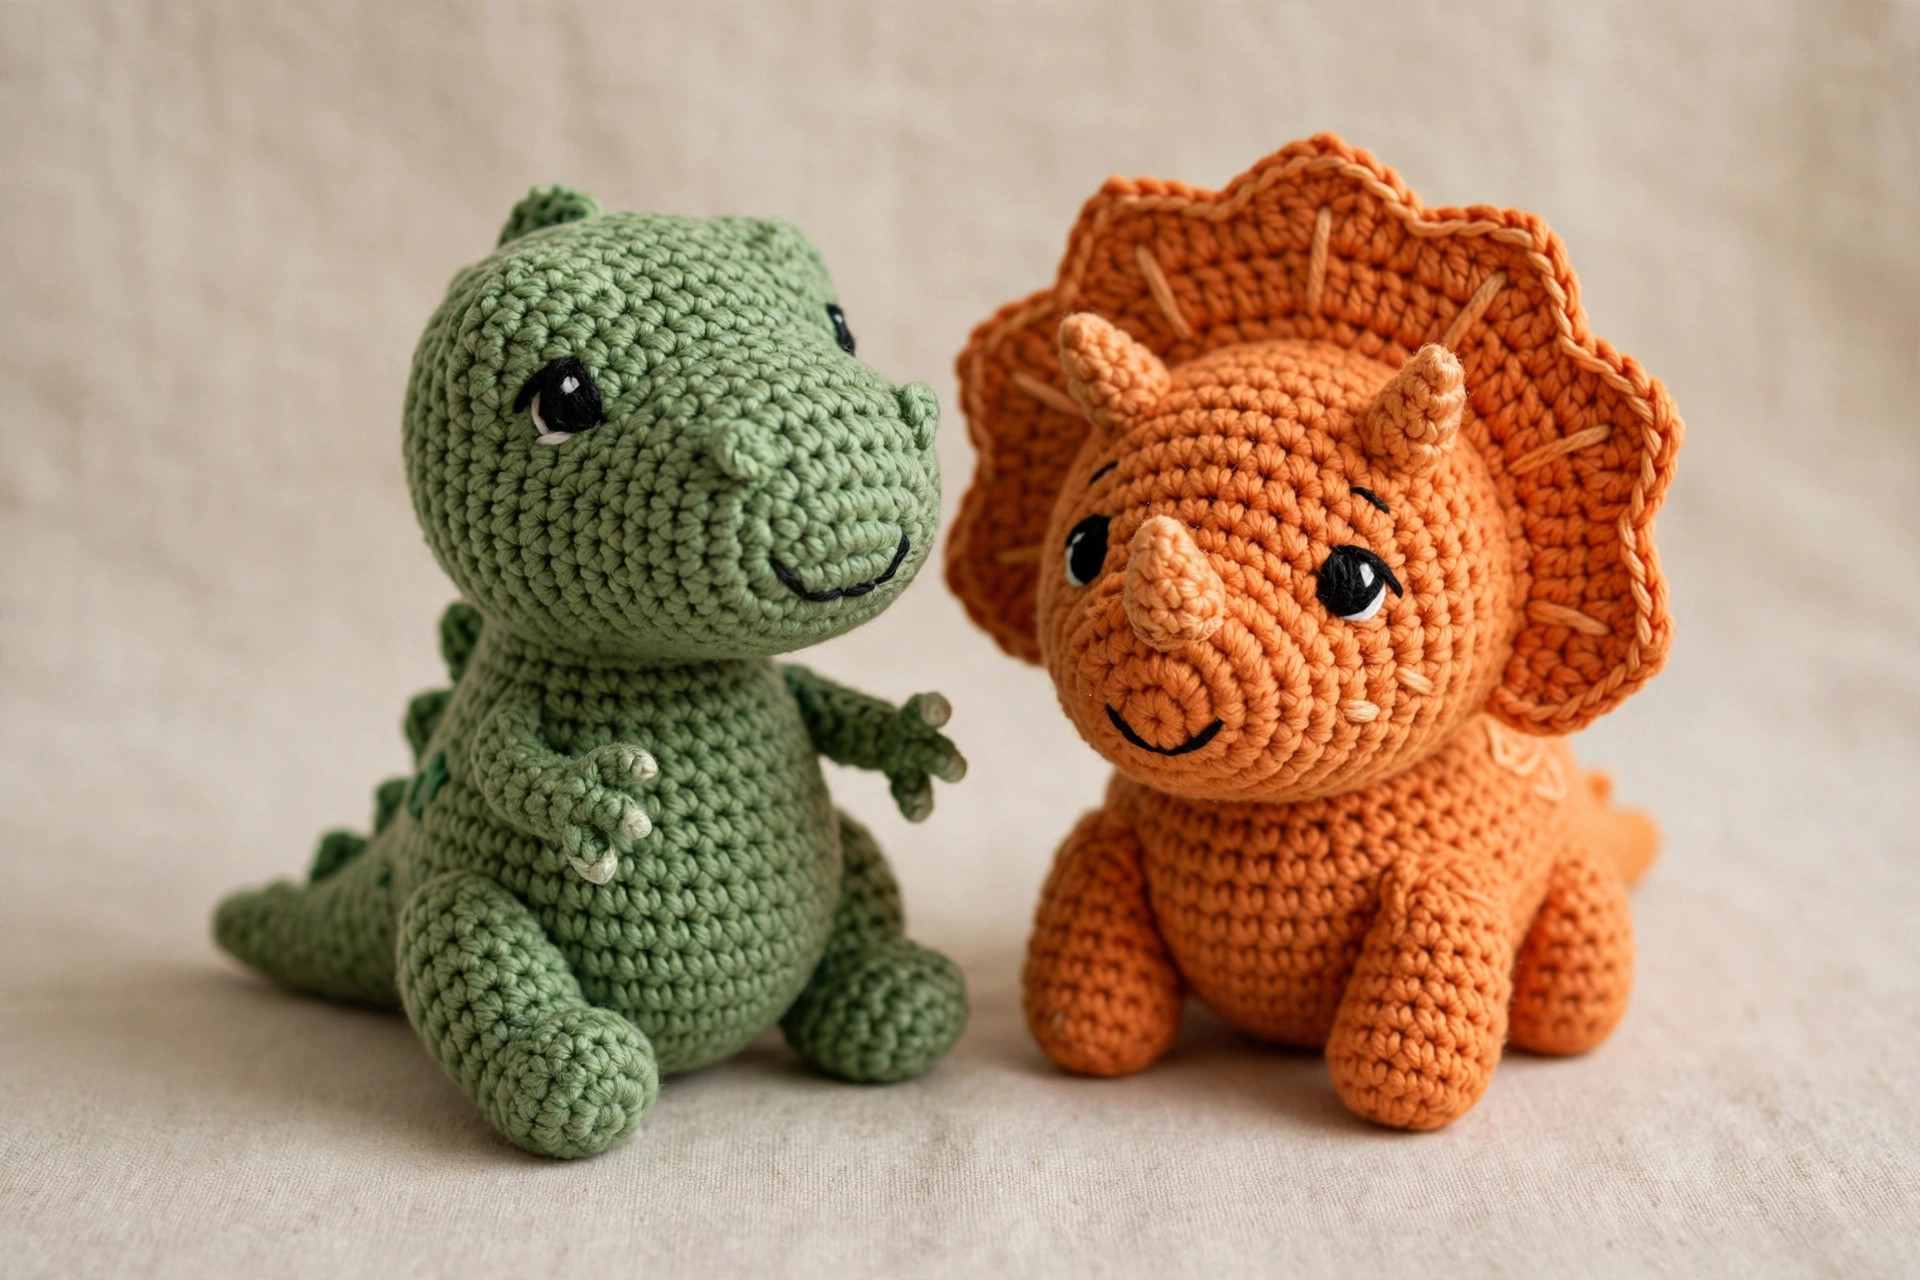
- Triceratops. Follow the pattern as written, then add three small cream horns: two above the eyes and one on the snout, each worked like a mini spike (stop at Row 3 of the spike pattern). Stitch a cream ruff: a half-circle of double crochet around the back of the head.
- Stegosaurus. Double the spike count to twelve and make each one slightly larger by adding one extra increase row. Sew them in two staggered rows down the back like plates.
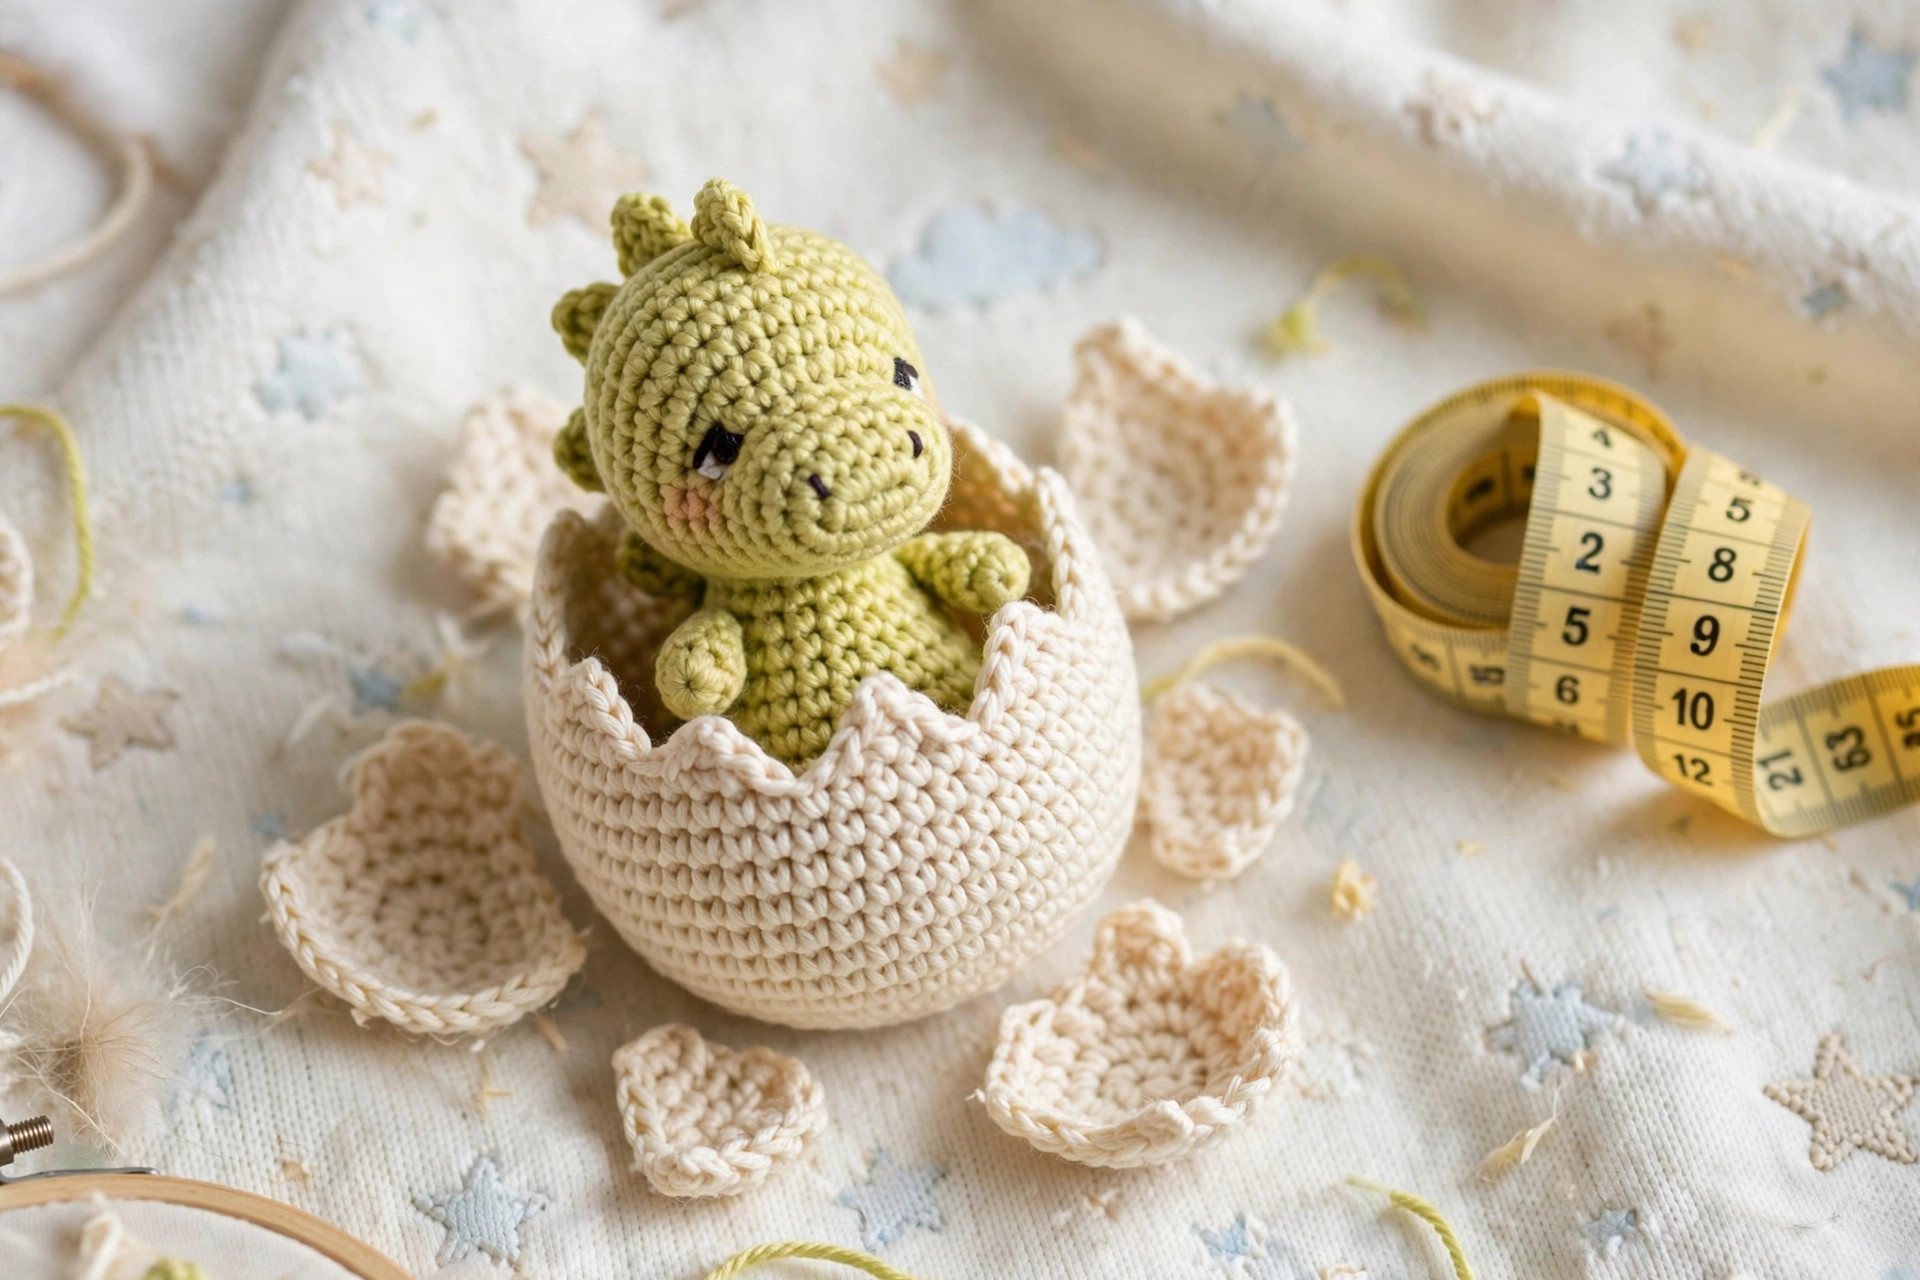
- Baby dino in an egg. Work the body at a smaller gauge (3.0 mm hook, DK yarn), skip the neck and legs, and nest the round body inside a cream crocheted egg cup: two bowl-shaped pieces sewn together at the base. Our mini amigurumi patterns free collection has more tiny-scale ideas.
- Keychain dino. Work the whole pattern in DK yarn with a 3.0 mm hook for a palm-sized version, sew a split ring to the top of the head, and clip it to a backpack. Kids' party favors, sorted.
- Dino rattle. Before closing the body, slip a small plastic rattle insert (sold for baby toys) inside the stuffing. The embroidered face keeps it fully baby-safe, and it becomes a shower gift people remember.
Troubleshooting tips
- I can see stuffing through the stitches. Your fabric is too loose. Switch to a hook half a size smaller and keep your tension snug. Rework the piece: extra filling never fixes gappy fabric.
- My spikes curl instead of standing up. They need blocking. Pin each spike flat, hover steam over it, let it cool completely, then sew it on. Two tiny stitches through the base (not one) also hold them upright.
- The neck looks too long or too short. Rounds 4 through 14 of the neck are the adjustable part: work fewer rounds for a stubby baby dino or add two more for an extra-dramatic long neck. Keep the increase and decrease rounds the same.
Frequently asked questions
Is this free crochet dinosaur pattern really free?
Yes, the complete pattern above is free, with no email signup and no PDF purchase required. Bookmark the page or print it for your project bag.
What skill level is this dinosaur pattern?
Easy. If you can work a magic ring, single crochet in the round, increase, and decrease, you have every skill this pattern needs. The assembly is fully mapped in the finishing section, with pinning tips that make it hard to go wrong.
How long does it take to crochet the dinosaur?
About 7 hours total: roughly 3.5 hours for the body, head, and neck, 2 hours for the smaller pieces, and 1.5 hours for assembly and the face. Most makers finish it over a weekend.
How much yarn do I need?
About 140 yds of green and 40 yds of cream worsted. One skein of each is plenty, with leftovers for a mini version.
Is this dinosaur safe for babies?
With an embroidered face and no safety eyes, yes: it becomes a fully soft toy with no small parts. Skip the safety eyes for any child under three, embroider the eyes as described in the pattern, and it is nursery-ready. Always check that every piece is sewn on securely before gifting.
Can I make the dinosaur bigger?
Yes, without changing a stitch count. Bulky (#5) yarn with a 5.5 mm hook and 14 mm safety eyes makes a 14-inch dinosaur. Keep your tension tight so the stuffing stays hidden, and add an extra round or two to the neck if the proportions look stubby at the larger scale.
Can I sell the finished dinosaurs I make?
Yes! You may sell finished dinosaurs made from this pattern in small batches (craft fairs, markets, gifts). Please credit Little Loop Finds as the pattern designer.
More free patterns to try
If this dino stomped straight into your heart, the prehistoric shelf keeps growing. Our gummy bear crochet pattern uses the same plump-body shaping in a squishy candy character, and the crochet dinosaur hat pattern turns the spike idea into wearable form for the little dino fan in your life. For a full amigurumi menagerie, the mini amigurumi patterns free collection is waiting with palm-sized friends.