Free Crochet Angel Patterns (Topper + Ornament)
Crochet a classic angel tree topper and a matching hanging ornament with these two free, beginner friendly patterns.

Home Decor · Crochet
- Finished size
- 8 in topper, 4 in ornament
- Making time
- 1 to 4 hours each
- Hook
- US H-8 (5.0 mm)
- Set
- Topper + ornament patterns
- Skill
- Easy
In this post
- Key Takeaways
- Table of Contents
- Why You Will Love These Angels
- Finished Size, Skill Level, and Time
- Materials You Need
- Abbreviations (US Terms)
- Design Notes: How the Two Angels Relate
- Pattern A: Angel Tree Topper
- Pattern B: Hanging Angel Ornament
- Stiffening and Blocking Options
- Color Variations
- Troubleshooting
- Display and Gifting Ideas
- Care Instructions
- Frequently Asked Questions
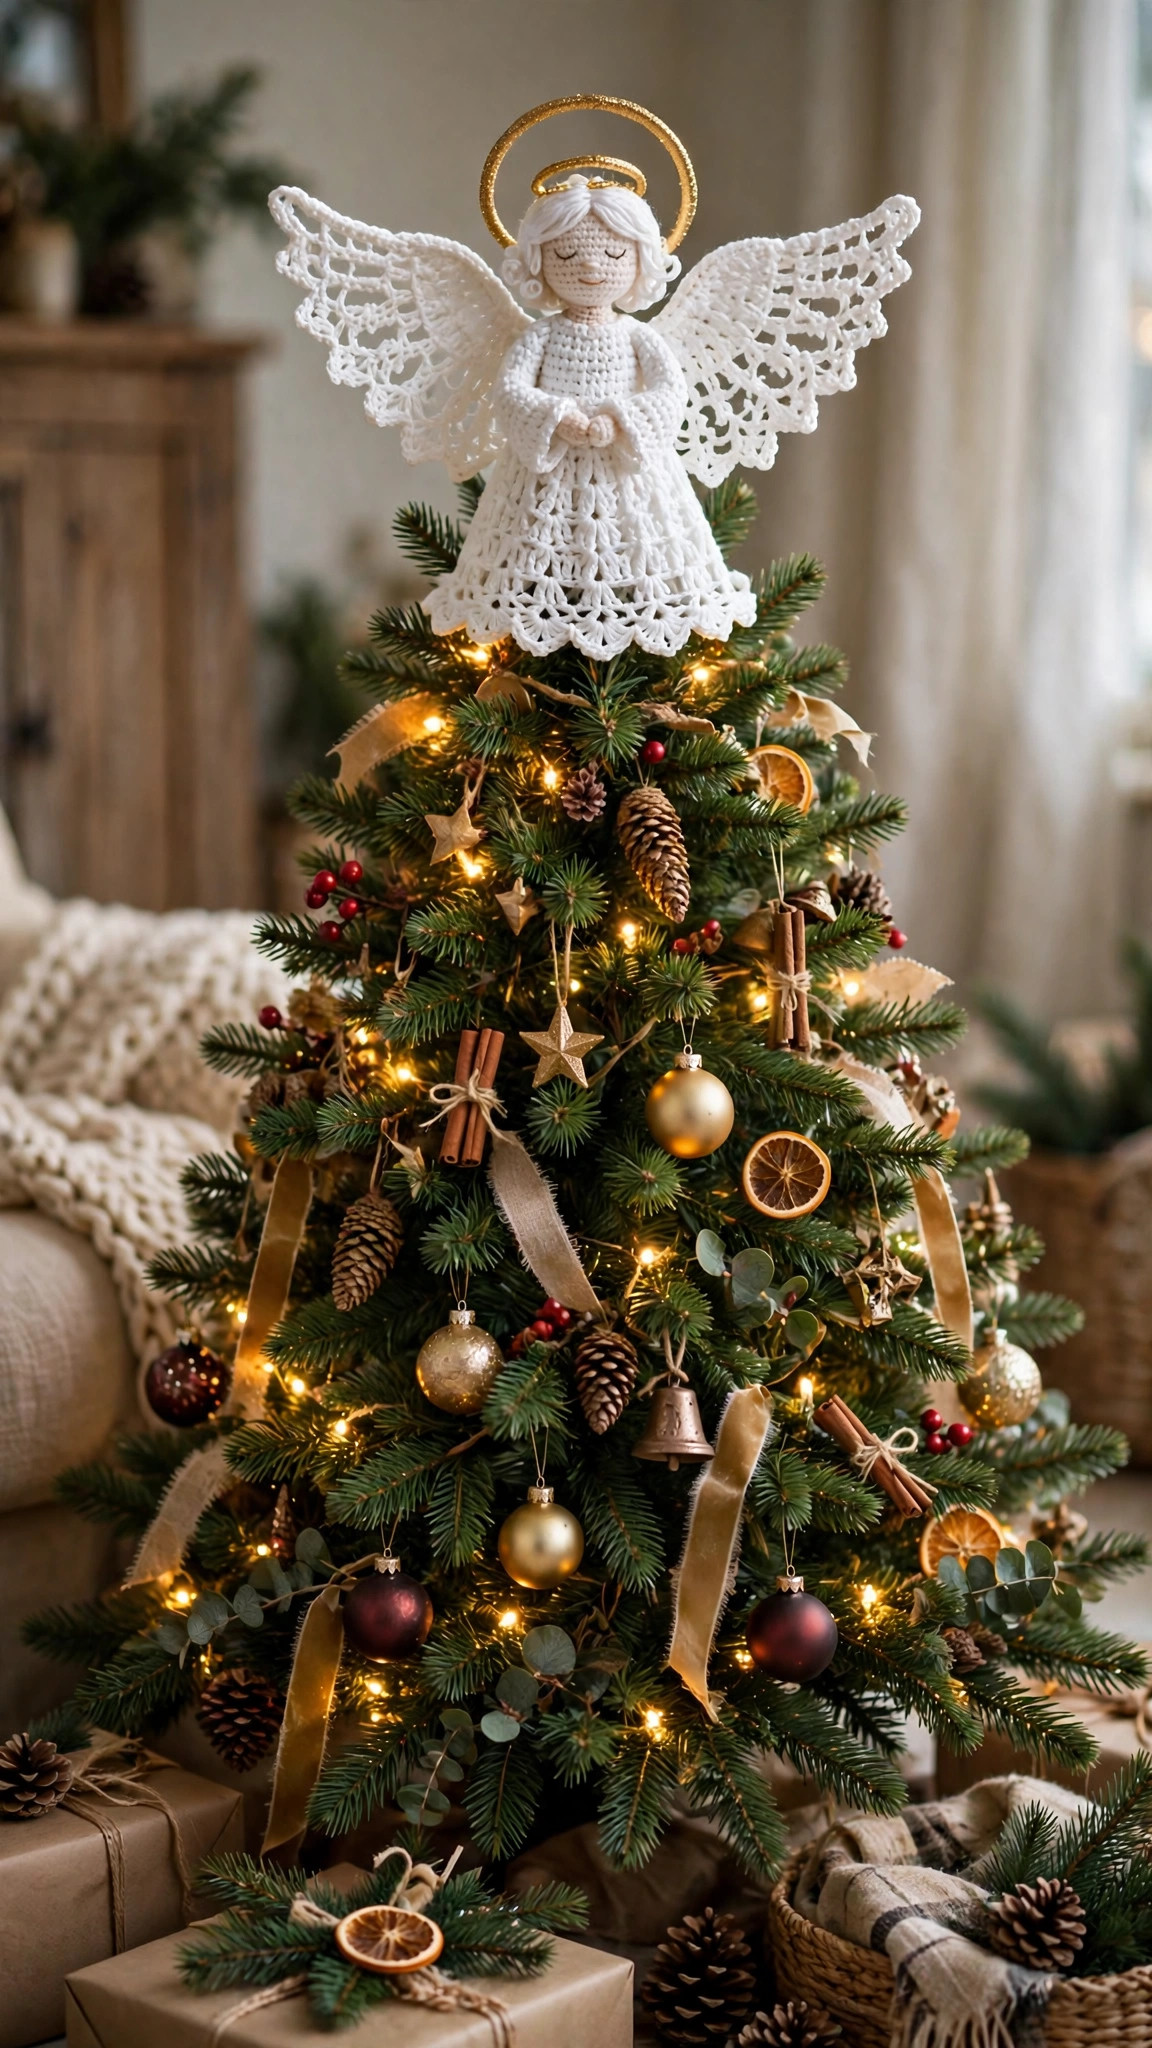
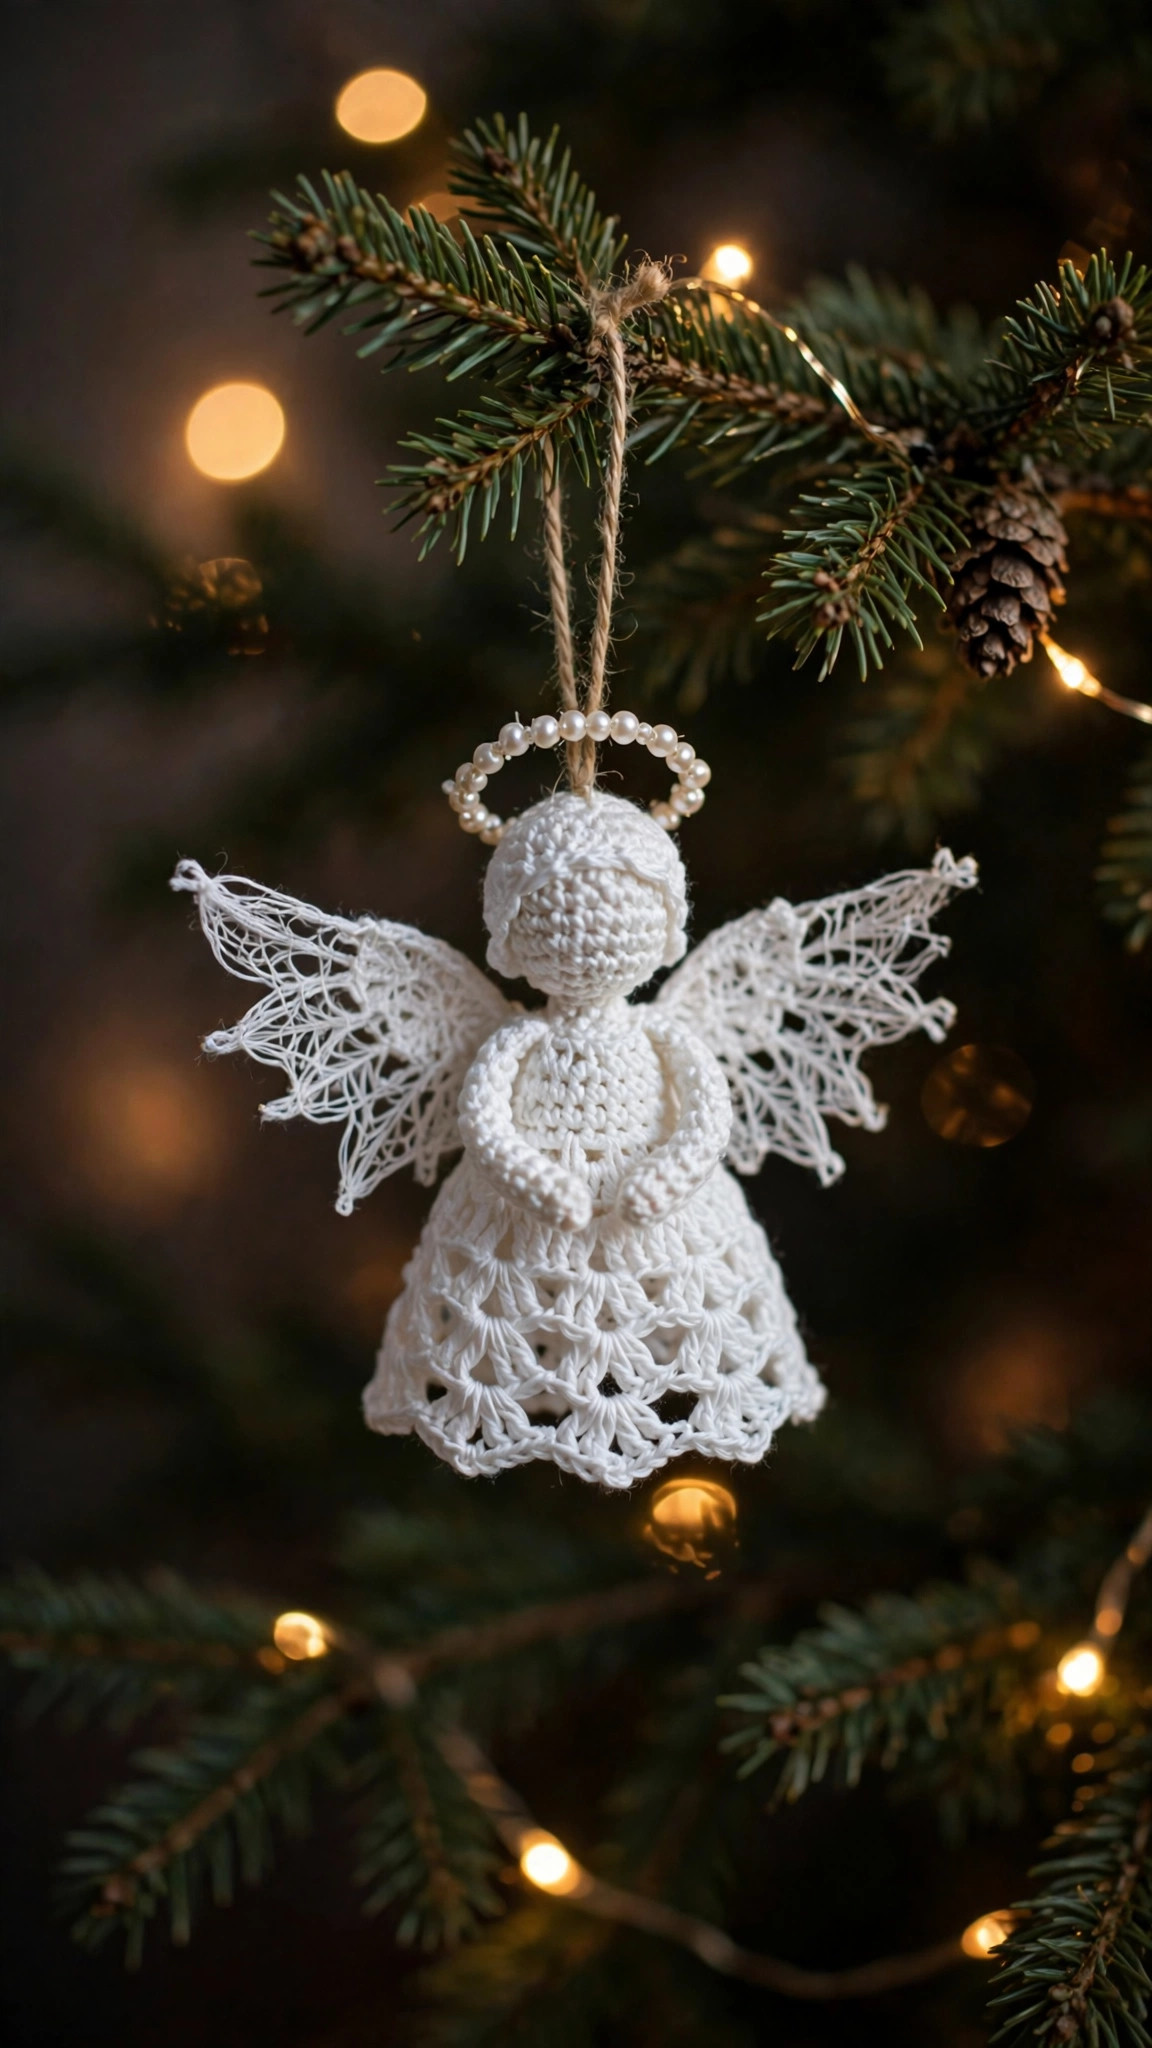
Few handmade decorations carry as much meaning as a crocheted angel. This post gives you two free crochet angel patterns in one place: an elegant angel tree topper that crowns your Christmas tree, and a delicate hanging angel ornament for branches, windows, and gifts. Both are original Little Loop Finds designs, written in US terms, and both work up with simple stitches you already know.
The tree topper is the star of the show. With its lacy shell edged dress, feathered wings, and golden halo, it looks like the heirloom angels sold in holiday boutiques, except you made it yourself in an evening or two. The ornament is its little sibling: quicker, smaller, and perfect for batch making. Stitch a dozen in white and gold for a coordinated tree, or mix cream, blush, and sage for a softer modern palette.
Angels are beloved holiday gifts, and both patterns are ideal stash busters that use minimal yarn. Let's make something heavenly.
Key Takeaways
- Two free patterns in one post: a crochet angel tree topper and a hanging angel ornament, both original Little Loop Finds designs in US terms.
- Beginner friendly: both angels use only basic stitches (sc, dc, chains, picots) with clear round by round instructions.
- Quick to make: the ornament takes about 1 to 2 hours; the tree topper takes 3 to 4 hours.
- Stash friendly: each angel uses small amounts of white or cream yarn plus a touch of gold.
- Gift ready: angels are beloved holiday gifts, memorial keepsakes, and bazaar best sellers.
Table of Contents
- Why You Will Love These Angels
- Finished Size, Skill Level, and Time
- Materials You Need
- Abbreviations (US Terms)
- Design Notes: How the Two Angels Relate
- Pattern A: Angel Tree Topper
- Pattern B: Hanging Angel Ornament
- Stiffening and Blocking Options
- Color Variations
- Troubleshooting
- Display and Gifting Ideas
- Care Instructions
- Frequently Asked Questions
Why You Will Love These Angels
A tree topper is the most seen decoration in your home every December, which makes it the most rewarding thing to handmade. Store bought toppers all look alike, but a crocheted angel has texture, softness, and the unmistakable character of something made stitch by stitch. Guests notice it. Kids ask about it. And years from now it becomes the decoration everyone remembers, the one that goes up first and comes down last.
The ornament earns its place differently: through quantity. One angel ornament is sweet; twelve matching angels across a tree are stunning. Because each one takes barely an hour or two, you can build a whole coordinated set in a week of evenings. They also make exceptional gift toppers. Tie one to a wrapped present instead of a bow and the recipient gets two gifts in one.
If you can double crochet in the round, you can make these angels, and the finished pieces look far more intricate than the effort involved.
If you love handmade Christmas decor, our crochet ornaments free patterns collection has even more designs to mix and match with these angels.
Finished Size, Skill Level, and Time
Angel tree topper:
- Finished size: about 8 inches tall with a 4 inch wide dress base.
- Skill level: advanced beginner. You should know chain, slip stitch, single crochet, and double crochet.
- Making time: 3 to 4 hours.
Hanging angel ornament:
- Finished size: about 4 inches tall, not including the hanging loop.
- Skill level: confident beginner.
- Making time: 1 to 2 hours.
Materials You Need
For the tree topper:
- Worsted weight (#4) yarn in white or cream, about 90 yards.
- Worsted weight (#4) yarn in gold or metallic gold, about 15 yards, for the halo.
- US H-8 (5.0 mm) crochet hook.
- Yarn needle and scissors.
- Small amount of polyester fiberfill for the head.
- Optional: fabric stiffener or spray starch for a crisp dress.
For the ornament (per angel):
- DK or light worsted yarn in white, cream, or soft color, about 35 yards.
- Gold yarn or metallic thread, about 8 yards, for the halo.
- US G-6 (4.0 mm) crochet hook.
- Yarn needle and scissors.
- Tiny amount of fiberfill for the head.
Abbreviations (US Terms)
- ch = chain
- sc = single crochet
- dc = double crochet
- inc = increase (2 stitches in the same stitch)
- dec = decrease (single crochet 2 together)
- sl st = slip stitch
- st(s) = stitch(es)
- sp = space
- rep = repeat
- MR = magic ring
Design Notes: How the Two Angels Relate
Both angels share the same construction: a cone shaped dress worked top down, a small round head, flat picot edged wings, and a simple gold halo ring. Learn the topper and the ornament will feel instantly familiar, just smaller and quicker.
The dress is worked in joined rounds rather than a spiral, which gives a clean vertical seam line at the back. The turning chain for double crochet rounds does not count as a stitch; always work the first stitch of the round into the same stitch as the join. This keeps the stitch counts exact and the cone symmetrical.
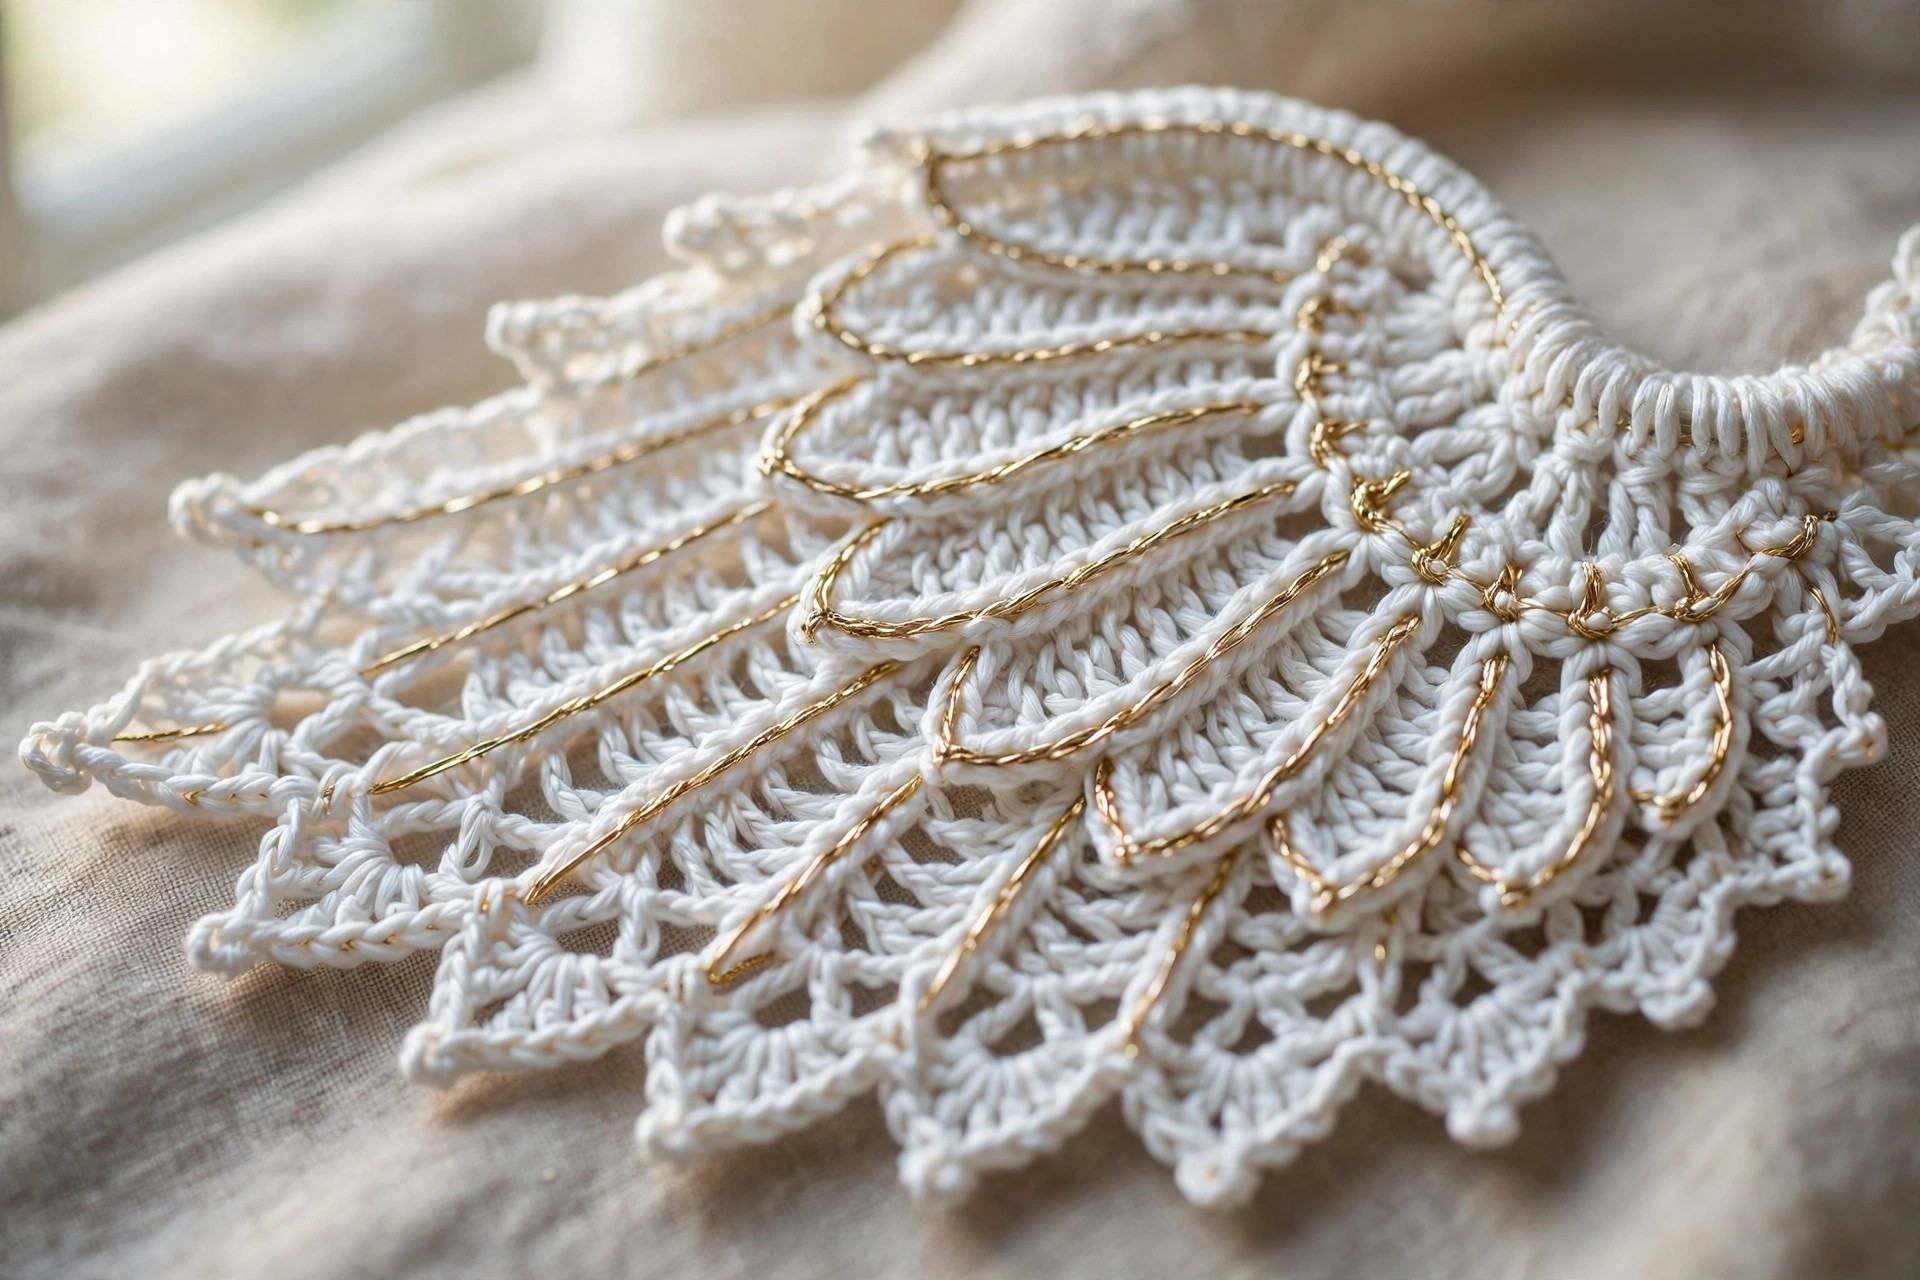
The wings are worked flat in rows and get their feathery look from a picot edge on the final row. Do not skip blocking or stiffening the wings; flat wings are what separate a crisp angel from a floppy one. More on stiffening below.
Pattern A: Angel Tree Topper
Dress (worked top down in joined rounds):
Round 1: 6 sc in a MR, sl st to the first sc to join. (6 sts)
Round 2: Ch 2 (does not count as a stitch), dc inc in each st around, sl st to join. (12 sts)
Round 3: Ch 2, (dc in the next st, dc inc in the next st) rep 6 times, join. (18 sts)
Round 4: Ch 2, (dc in the next 2 sts, dc inc in the next st) rep 6 times, join. (24 sts)
Round 5: Ch 2, (dc in the next 3 sts, dc inc in the next st) rep 6 times, join. (30 sts)
Round 6: Ch 2, (dc in the next 4 sts, dc inc in the next st) rep 6 times, join. (36 sts)
Round 7: Ch 2, (dc in the next 5 sts, dc inc in the next st) rep 6 times, join. (42 sts)
Round 8 (lace row): Ch 1, *sc in the next st, ch 2, skip the next st; rep from * around, sl st to the first sc to join. (21 ch-2 spaces)
Round 9 (shell edge): Sl st into the first ch-2 sp, ch 3 (counts as dc), 2 dc in the same sp, *3 dc in the next ch-2 sp; rep from * around, sl st to the top of the beginning ch-3 to join. (63 dc)
Fasten off and weave in the end. The dress should measure about 4 inches tall with a softly flared shell edge.
Head:
Round 1: 6 sc in a MR. (6 sts)
Round 2: Inc in each st around. (12 sts)
Round 3: (Sc in the next st, inc in the next st) rep 6 times. (18 sts)
Rounds 4 to 5: Sc in each st around. (18 sts)
Round 6: (Sc in the next st, dec) rep 6 times. (12 sts)
Stuff the head lightly with fiberfill, keeping it round and firm.
Round 7: Dec in each st around. (6 sts)
Fasten off, weave the tail through the front loops of the final 6 stitches, pull to close, and knot.
Wings (make 2):
Foundation: Ch 15.
Row 1: Dc in the 4th ch from the hook and in each ch across. Turn. (12 dc)
Row 2: Ch 3 (counts as dc), dc in each st across. Turn. (12 dc)
Row 3 (feather edge): Ch 1, sc in the first st, *ch 3, sl st in the 2nd ch from the hook to form a picot, skip the next st, sc in the next st; rep from * 5 times, sc in the last st.
Fasten off, leaving a 10 inch tail on each wing for sewing.
Arms (make 2):
Ch 10, sc in the 2nd ch from the hook and in each ch across. (9 sc)
Fasten off, leaving a 6 inch tail for sewing.
Halo:
With gold yarn, ch 20, sl st to the first ch to form a ring. Fasten off, leaving a 6 inch tail. For the halo stem, ch 6 in gold, fasten off with a 4 inch tail at each end.
Assembly:
Step 1: Sew the head to the top center of the dress, stitching through the bottom of the head and the top round of the dress. Go around twice for a secure join.
Step 2: Position the wings on the back of the dress just below the head, angled slightly outward like an open book. Sew each wing along its straight top edge using the long tails.
Step 3: Sew one arm to each side of the dress at about Round 3 height, angling them slightly downward. Weave in all ends.
Step 4: Sew the halo stem vertically to the back of the head, then sew the gold ring to the top of the stem so the halo floats just above the head.
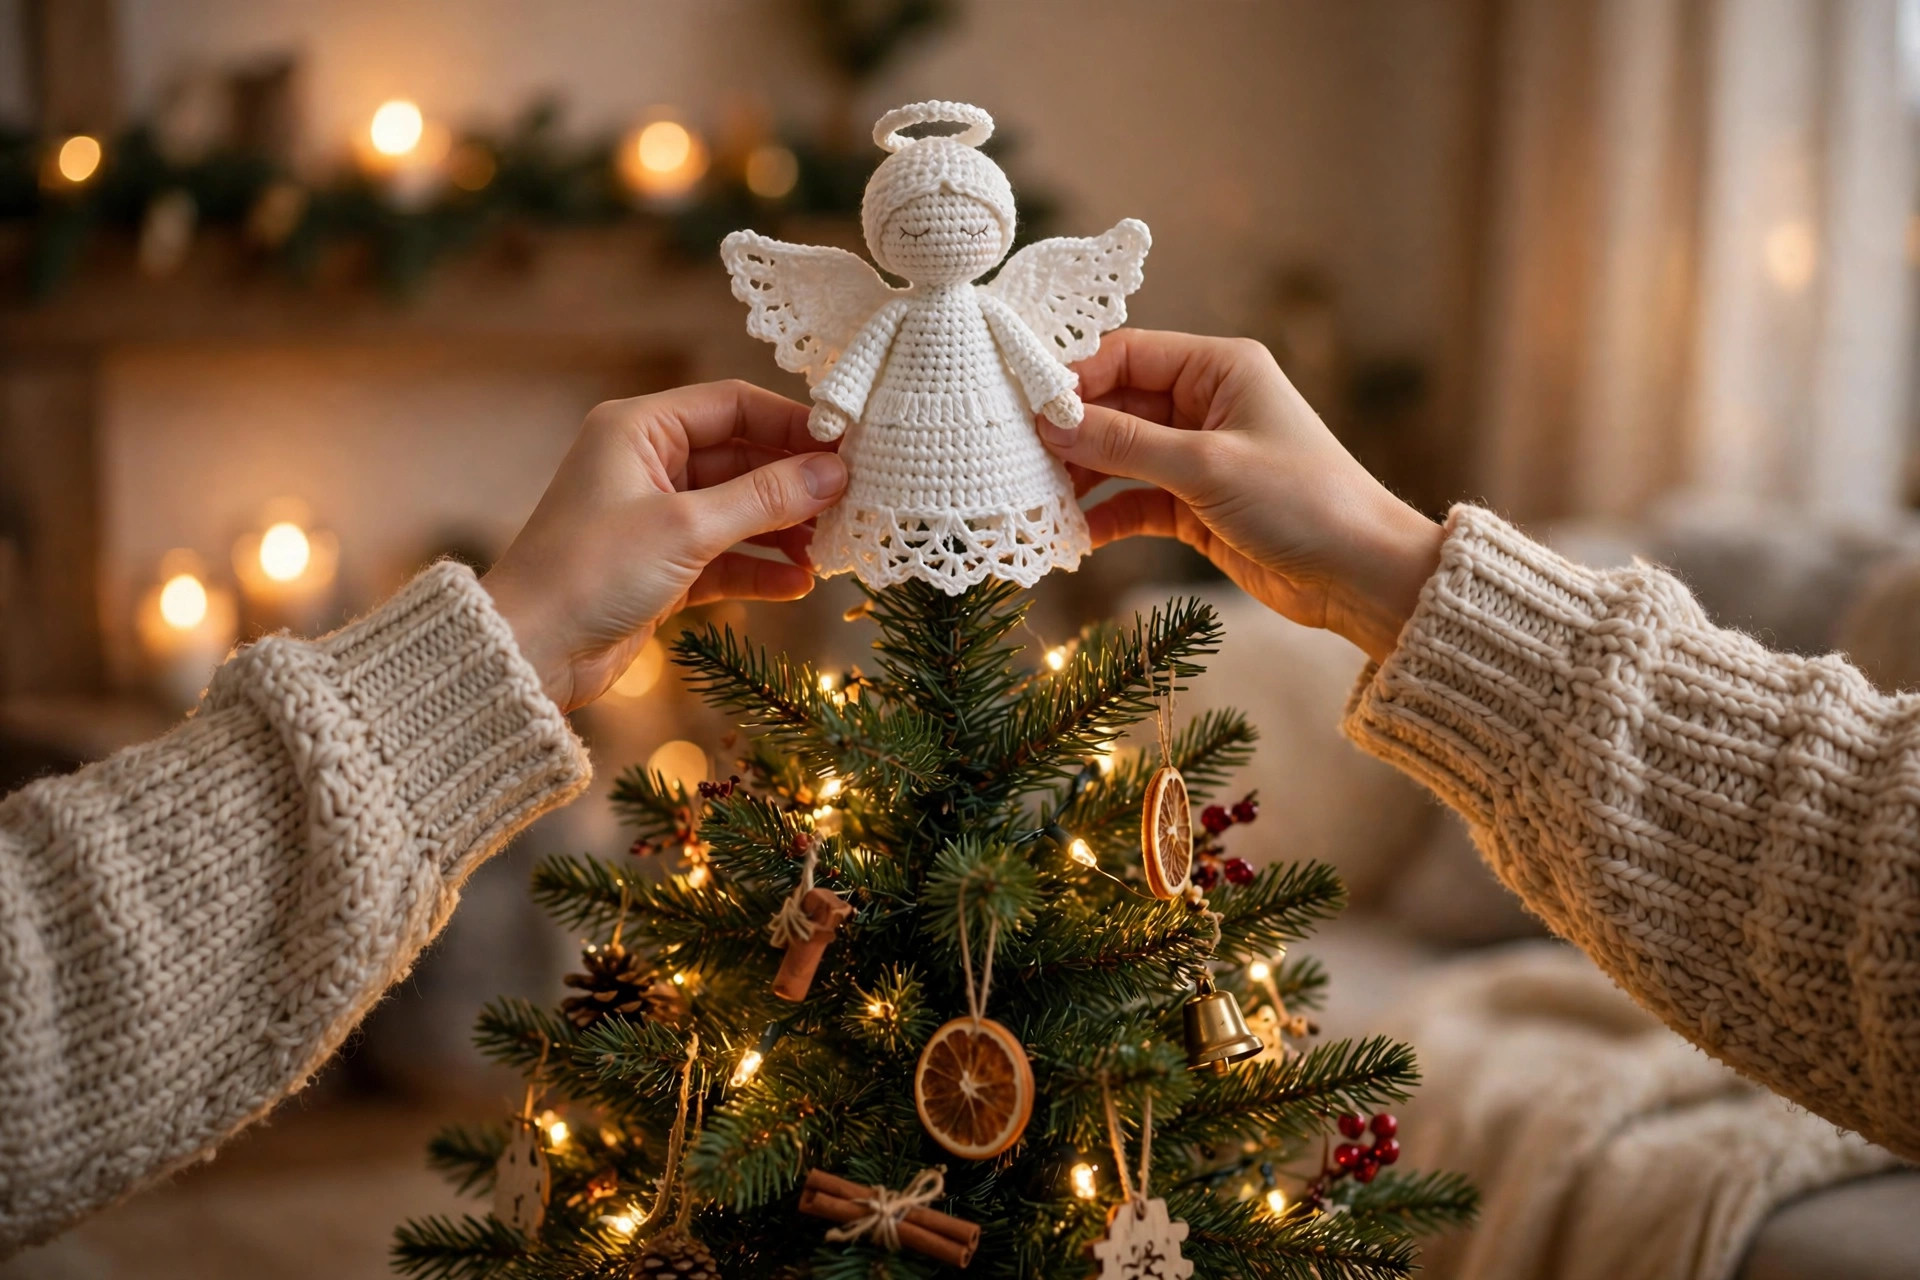
Step 5: To mount the topper, the dress cone slips directly over the top branch of the tree. For extra stability, tie a short length of yarn from the inside top of the dress to the tree branch.
For a coordinating garland to hang nearby, our christmas spiral ornaments crochet pattern uses the same white and gold palette beautifully.
Pattern B: Hanging Angel Ornament
This little angel uses the same construction as the topper, scaled down and simplified. It is the perfect first angel if you are short on time, and the perfect tenth angel when you are making a full set.
Dress (joined rounds):
Round 1: 6 sc in a MR, sl st to join. (6 sts)
Round 2: Ch 2 (does not count as a stitch), dc inc in each st around, join. (12 sts)
Round 3: Ch 2, (dc in the next st, dc inc in the next st) rep 6 times, join. (18 sts)
Round 4: Ch 2, (dc in the next 2 sts, dc inc in the next st) rep 6 times, join. (24 sts)
Round 5: Ch 1, sc in each st around, join. (24 sts)
Round 6 (scalloped edge): Ch 1, *(sc in the next 2 sts, 3 dc in the next st); rep from * around, sl st to join. (8 shells)
Fasten off and weave in the end.
Head:
Round 1: 6 sc in a MR. (6 sts)
Round 2: Inc in each st around. (12 sts)
Rounds 3 to 4: Sc in each st around. (12 sts)
Round 5: Dec in each st around. (6 sts)
Stuff lightly, fasten off, and close the same way as the topper head.
Wings (make 2):
Foundation: Ch 10.
Row 1: Dc in the 4th ch from the hook and in each ch across. Turn. (7 dc)
Row 2: Ch 1, sc in the first st, *ch 3, sl st in the 2nd ch from the hook to form a picot, skip the next st, sc in the next st; rep from * 3 times.
Fasten off, leaving a 6 inch tail for sewing.
Halo and hanger:
With gold yarn, ch 14 and sl st to the first ch to form a ring. Do not fasten off. Ch 25 more for the hanging loop, then sl st into the top of the head area where the loop will attach, or simply fasten off and sew the loop to the top of the head later. The single piece gives you a halo ring with a long tail that becomes the hanger.
Assembly:
Sew the head to the top of the dress, attach the wings to the back angled outward, and sew the halo ring flat to the top of the head with the hanging loop extending upward. Weave in all ends. The whole ornament should take little more than an hour once you have made one.
Stiffening and Blocking Options
A little stiffness transforms these angels from soft to sculptural. You have three good options, depending on the look you want and the materials on hand.
Spray starch is the gentlest choice and my recommendation for the ornament. Pin the angel flat, mist lightly with spray starch, shape the wings outward, and let it dry completely. One coat gives a soft hold; two coats give a crisp finish.
Fabric stiffener (the brush on kind sold in craft stores) gives the firmest result and is ideal for the tree topper dress, which needs to hold its cone shape on the tree. Dilute it by half for a natural look, brush it onto the dress and wings, shape over a small cone or bottle while damp, and let it dry overnight.
Whichever method you choose, always test on a swatch first, and never stiffen before you are completely happy with the assembly, because repositioning after stiffening is difficult.
Color Variations
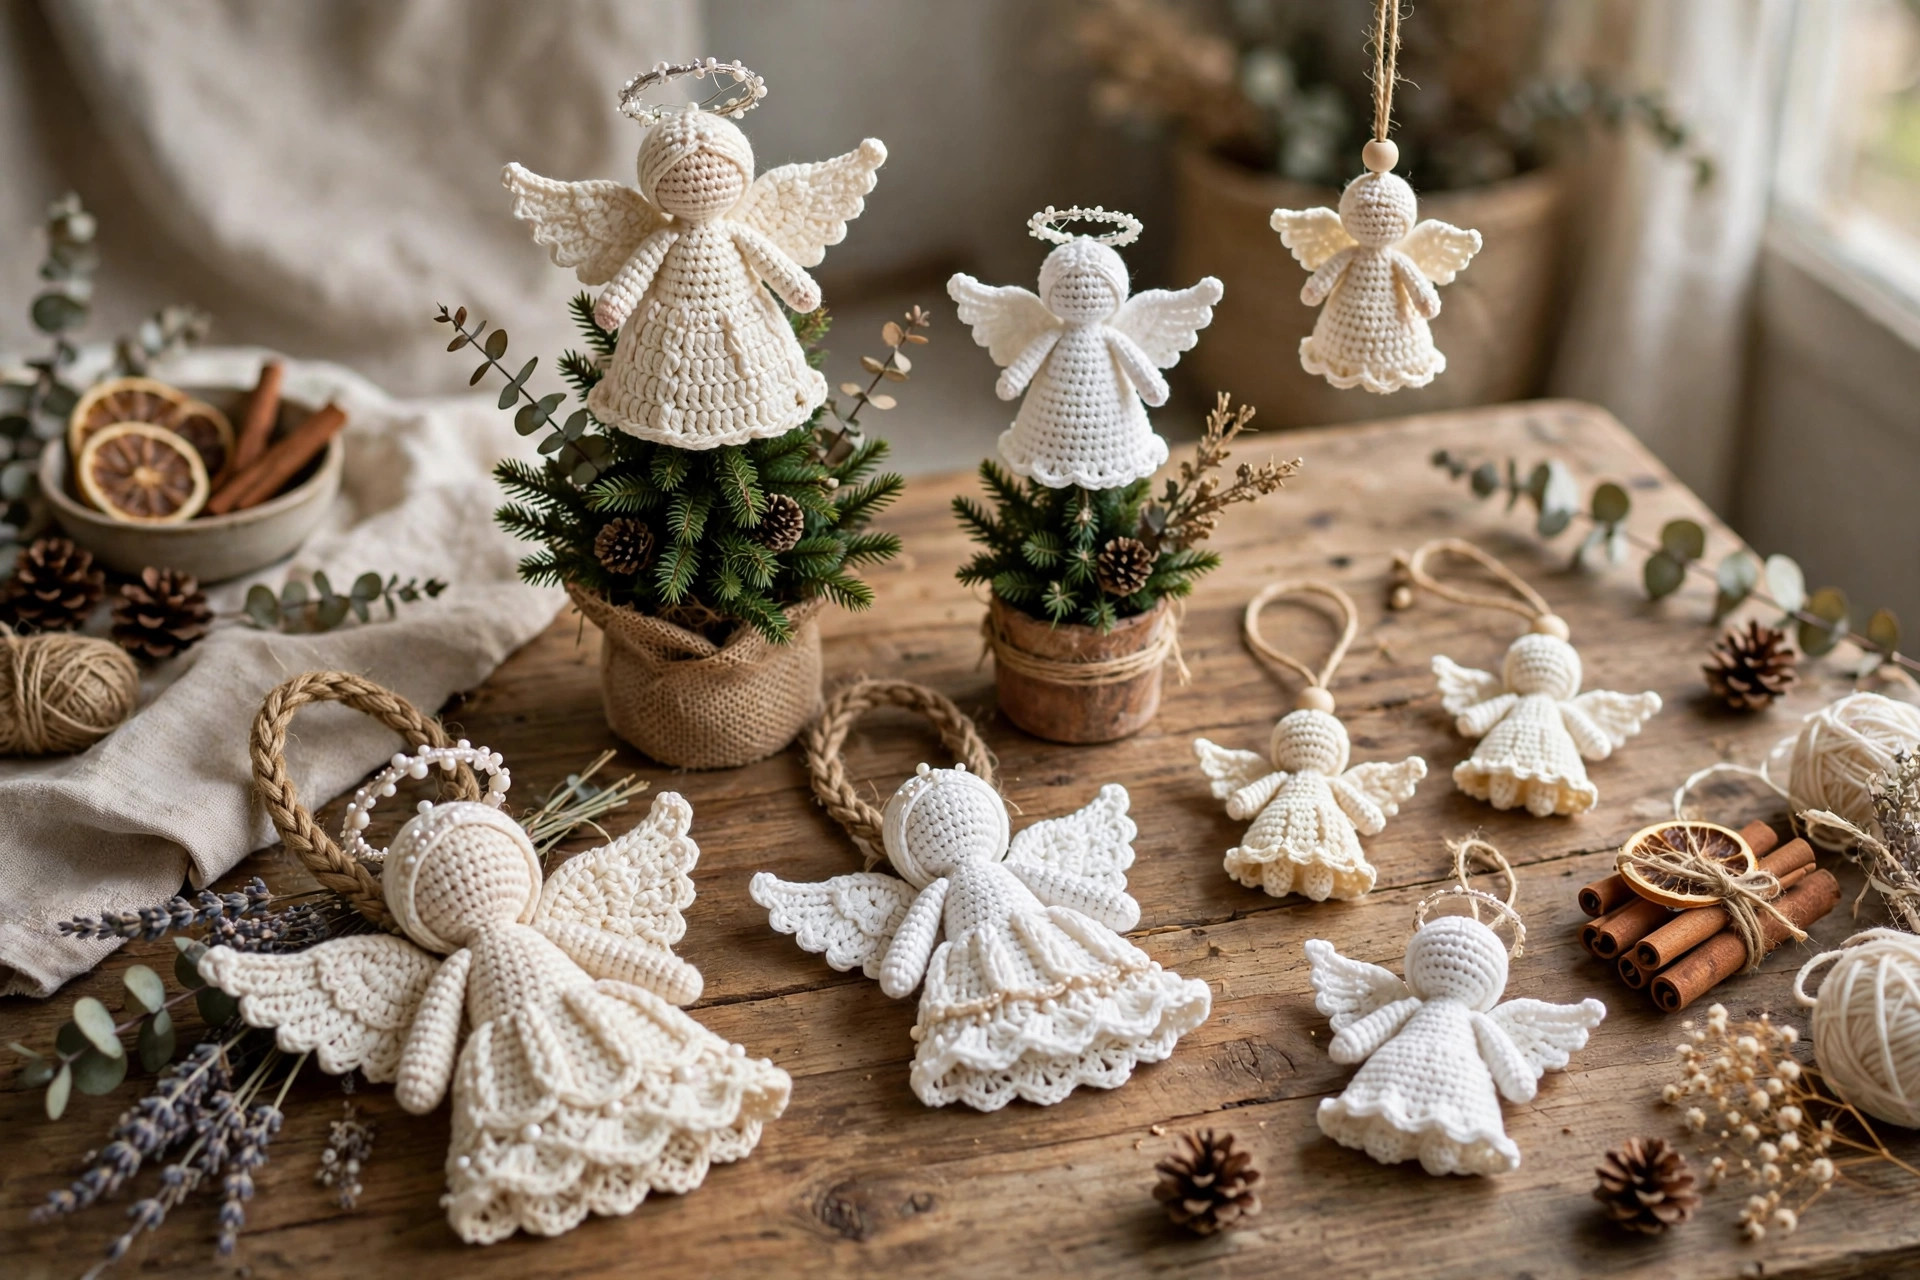
White and gold is timeless, but angels welcome creativity. An all cream angel looks antique and elegant, especially with a slightly darker gold halo. Blush pink or soft sage dresses give a modern nursery feel, perfect for a baby's first Christmas. For a rustic tree, try a natural unbleached cotton with a jute twine halo and hanger.
A white dress with a metallic halo and metallic picot edges on the wings gives you all of the sparkle with none of the struggle of working full metallic yarn, which can be splitty and hard on the hands.
Troubleshooting
My dress cone is wavy instead of smooth. This usually means the increase rounds were worked too loosely or the stitch counts drifted. Count your stitches at the end of every increase round; catching a 43 instead of a 42 early saves the whole piece. A slightly wavy dress still looks fine after stiffening, so do not frog unless the wave is dramatic.
The head wobbles on the dress. The head needs a wide, secure attachment. Sew through the bottom of the head and into at least two rounds of the dress top, going around the join twice. If it still wobbles, add a small rolled piece of fiberfill inside the top of the dress as a neck support before sewing.
My wings curl instead of lying flat. Wing curl comes from tight tension on the foundation chain. Work the chain loosely, or go up half a hook size for the wings only. Blocking solves most remaining curl: pin the wings flat while damp and let them dry completely.
The halo will not stay upright. Sew the halo stem firmly to the back of the head with several stitches, and make the stem short. A long stem acts like a lever and flops over. For the ornament, sewing the halo flat against the head is the most durable choice.
Display and Gifting Ideas
The tree topper belongs at the very top of the tree, slipped over the uppermost branch. Style the rest of the tree in matching white and gold, then scatter the small ornaments throughout the branches for a designer coordinated look. A tree dressed this way photographs beautifully and looks far more expensive than its yarn cost.
The ornaments shine beyond the tree. Hang them in windows with fishing line so they catch the light, tie one to each place setting at Christmas dinner, or use them as gift toppers instead of bows. A set of six matching ornaments in a small box makes a thoughtful hostess gift, and individually wrapped angels sell well at church bazaars and craft fairs.
If you enjoy small holiday makes, our crochet christmas stocking pattern pairs wonderfully with these angels for a full handmade mantel.
Care Instructions
Dust your angels gently with a soft brush before storing them each year. If one needs washing, hand wash in cool water, reshape while damp, and air dry flat, then reapply stiffener afterward. Store angels in individual tissue wraps inside a sturdy box so the wings never crush.
Frequently Asked Questions
Are these angel patterns really free?
Yes. Both the tree topper and the ornament patterns in this post are free original Little Loop Finds designs. You can make as many as you like for personal use and gifts.
I have never made amigurumi. Can I still make the angels?
Absolutely. These angels are much simpler than typical amigurumi: the dress is a basic cone, the head is a small sphere, and the wings are flat pieces. If you can double crochet in the round, you have every skill you need.
How do I make the angel stand up on the tree?
The topper dress is a cone that slips over the top tree branch. For thin artificial tree tops, tie a short length of yarn from inside the dress top to the branch, or add a small piece of floral wire inside the dress before stiffening for extra grip.
Can I use thread instead of yarn for a lacier angel?
Yes, and it is beautiful. Use size 10 crochet thread with a 1.5 mm steel hook and follow the ornament pattern as written for a delicate 2.5 inch angel. You must stiffen thread angels firmly, as the fine fabric will not hold its shape otherwise.
What is the difference between your crochet angel and the fabric angel ornament on this site?
Our celestial fabric angel ornament pattern is a no sew fabric craft, while the angels in this post are fully crocheted with hook and yarn. They make a lovely pair: hang one of each on the same tree for mixed texture interest.
Can I sell finished angels made from these patterns?
Yes. You may sell finished angels in small batches at markets or in your own shop. Please credit Little Loop Finds as the designer, and do not sell or redistribute the written patterns themselves.
For more quick Christmas makes, browse our crochet christmas coasters free patterns, which use the same festive palette and stash friendly yardage.