Crochet Dice Pouch Pattern (Drawstring, Free)
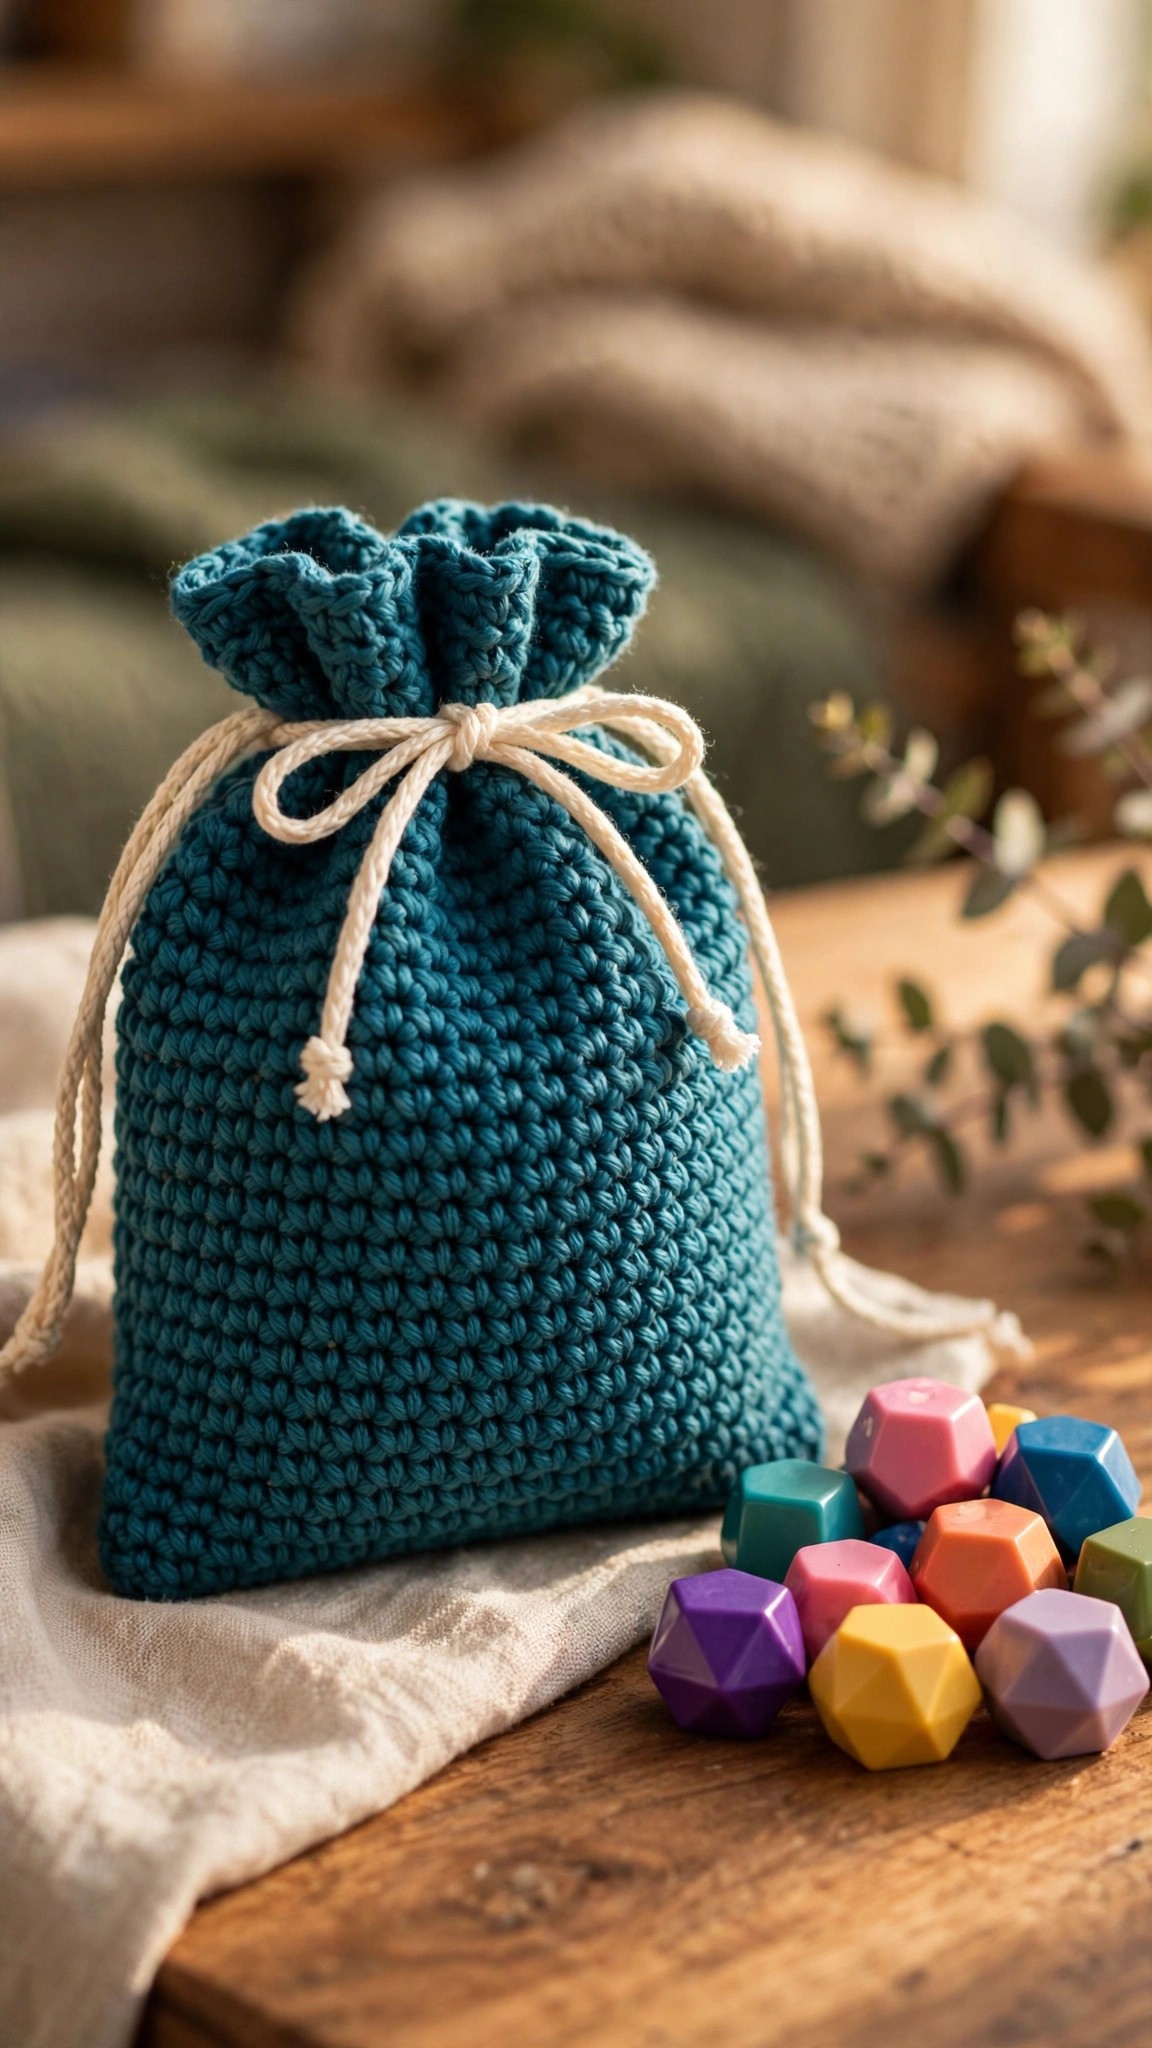
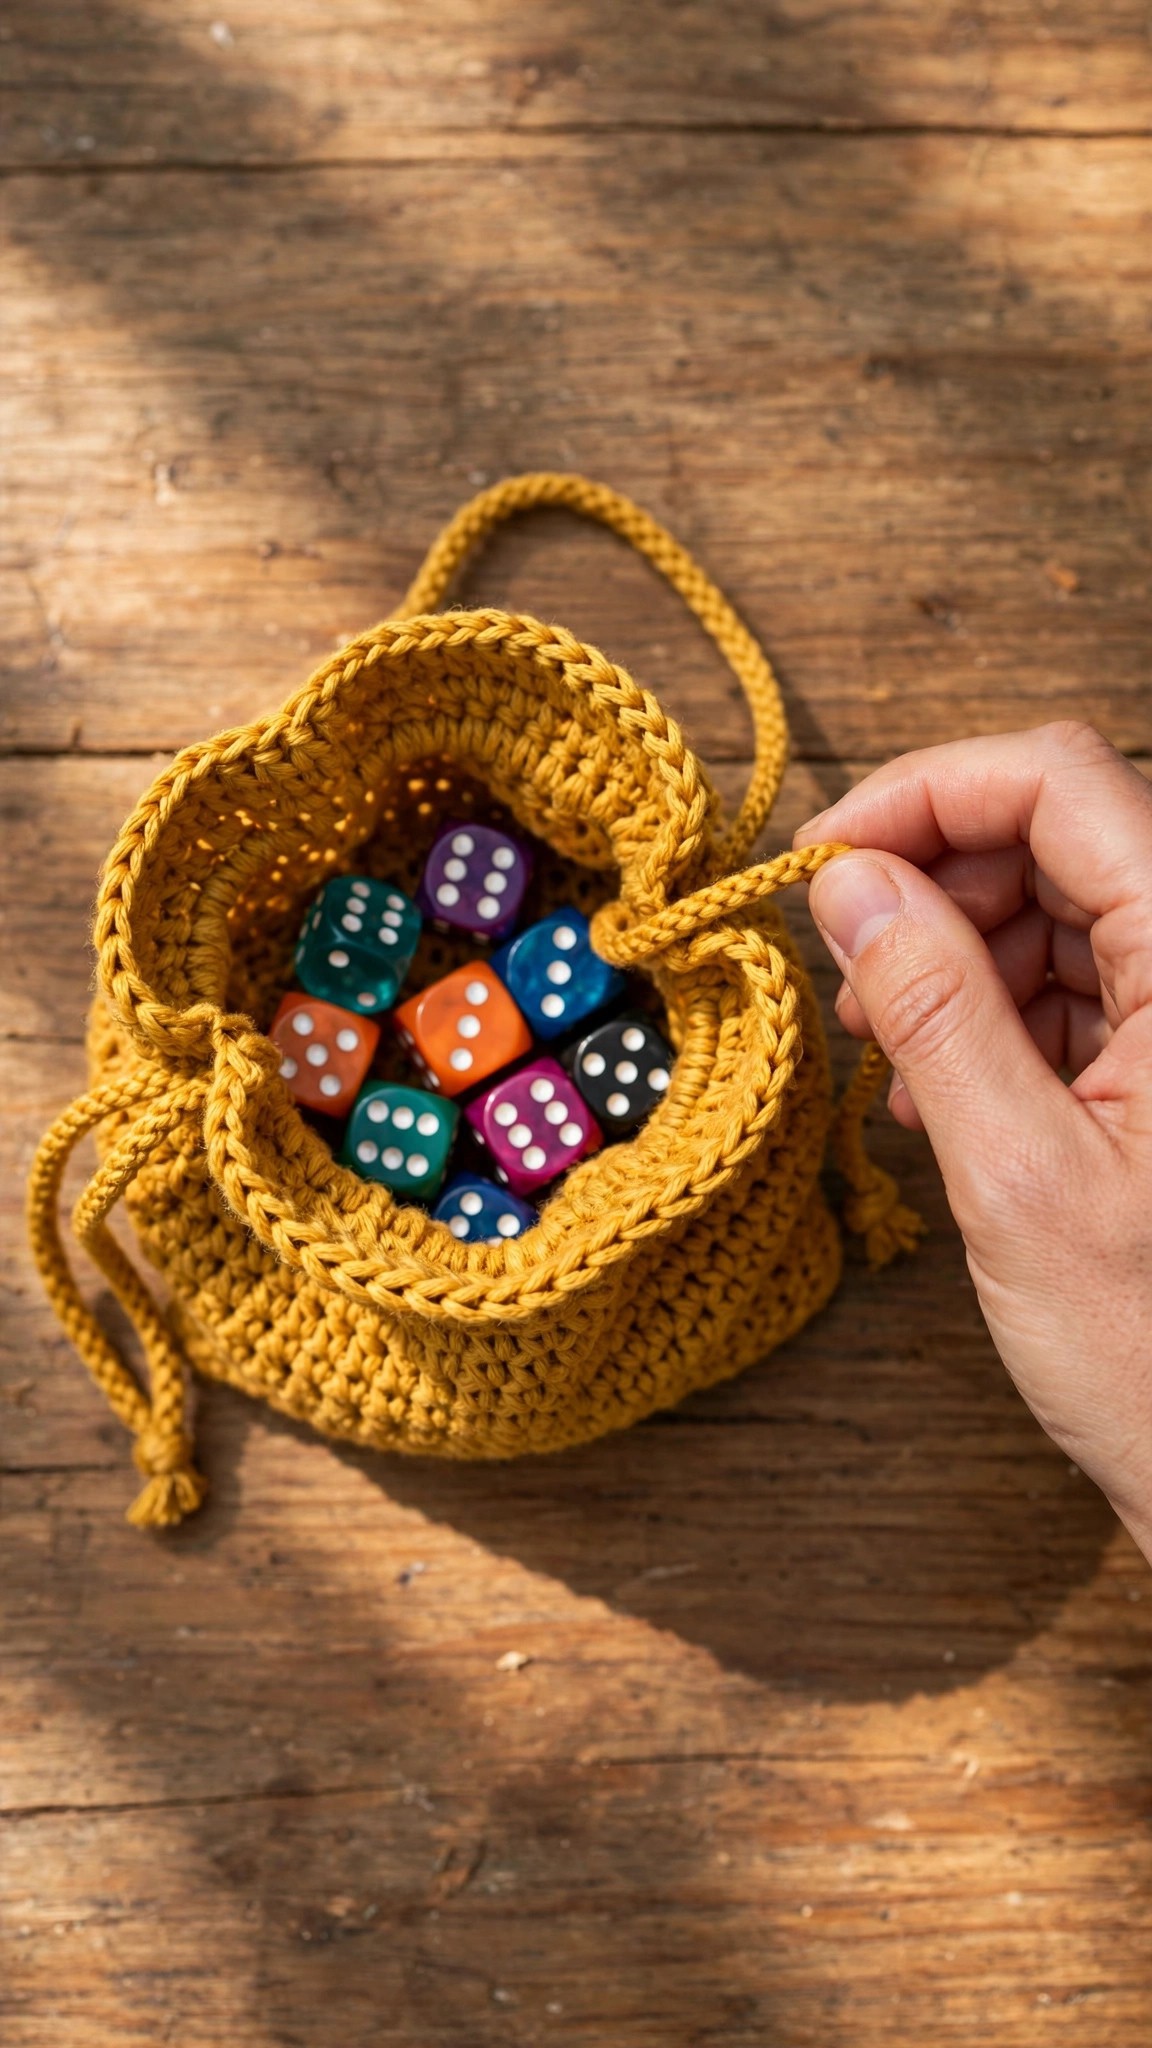
Stitch a sturdy one-piece drawstring pouch that swallows a full dice set, finished with a braided cord and eyelet row.

Accessories · Crochet
- Finished size
- 3.5 in tall x 3 in wide
- Making time
- 2 to 3 hours
- Hook
- US H-8 (5.0 mm)
- Set
- Pouch, eyelet row and cord guide
- Skill
- Beginner
In this post
- Key Takeaways
- Table of Contents
- Why You Will Love This Dice Pouch
- Finished Size, Skill Level, and Time
- Materials You Need
- Abbreviations (US Terms)
- Part 1: The Pouch Base
- Part 2: The Pouch Body
- Part 3: The Eyelet Row and Top Edge
- Part 4: The Braided Drawstring
- Assembly and Finishing
- Variations: Make It Yours
- Troubleshooting
- Care Instructions
- Frequently Asked Questions
Every tabletop gamer knows the tragedy of the loose dice bag: dice rolling under the couch, the good D20 nowhere to be found, a sad sandwich bag doing emergency duty. This free crochet dice pouch pattern fixes all of that in one cozy evening. It makes a sturdy little drawstring pouch that cinches tight, swallows a full polyhedral set with room to spare, and looks genuinely cute sitting next to your character sheet.
This is an original Little Loop Finds design, written in US terms and completely free. The pouch is worked in one piece from the base up, so there are no seams to split and nothing to sew except the drawstring ends. The eyelet row is built right into the pattern, which means the cord threads through real crocheted holes instead of gaps you have to poke yourself. If you can work a magic ring and single crochet in the round, you already know everything this pattern asks for.
And it is not just for dice. This pouch is the perfect size for stitch markers, beads, earbuds, coins, or any small treasures that wander around the bottom of a bag. Make one in your party colors, make a set as gifts for your whole game group, or raid your stash and let each pouch be a surprise.
Key Takeaways
- Free original pattern: this crochet dice pouch pattern is a Little Loop Finds original design, written in US terms, and completely free.
- One piece, no seams: the pouch body is worked bottom up in continuous rounds, so nothing splits or unravels.
- Built in eyelet row: the drawstring threads through real crocheted eyelets, no poking or forcing needed.
- Quick make: about 2 to 3 hours from first stitch to cinched cord, a perfect evening project.
- Giftable and stash friendly: needs less than one skein of worsted weight yarn and works in any color.
Table of Contents
- Why You Will Love This Dice Pouch
- Finished Size, Skill Level, and Time
- Materials You Need
- Abbreviations (US Terms)
- Part 1: The Pouch Base
- Part 2: The Pouch Body
- Part 3: The Eyelet Row and Top Edge
- Part 4: The Braided Drawstring
- Assembly and Finishing
- Variations: Make It Yours
- Troubleshooting
- Care Instructions
- Frequently Asked Questions
Why You Will Love This Dice Pouch
The humble dice pouch is one of those projects that gets used every single week. Most crochet accessories are pretty; this one is pretty and genuinely useful. The single crochet fabric is dense enough that sharp dice corners do not poke through, the base is worked flat so the pouch stands up on its own when open, and the drawstring closure keeps everything contained in a backpack or dice tray. It is the rare two hour project that earns a permanent spot on the game table.
It is also an ideal first in the round project. New crocheters sometimes find amigurumi intimidating because of the shaping, but a pouch is forgiving: a slightly wobbly increase round just disappears into the base, and the body is straight rounds with zero shaping. If you have been eyeing bigger projects, this is a confidence building warm up that ends with something you will actually use. For another small, quick accessory to practice on, try our crochet chapstick holder pattern, which uses the same in the round basics in miniature.
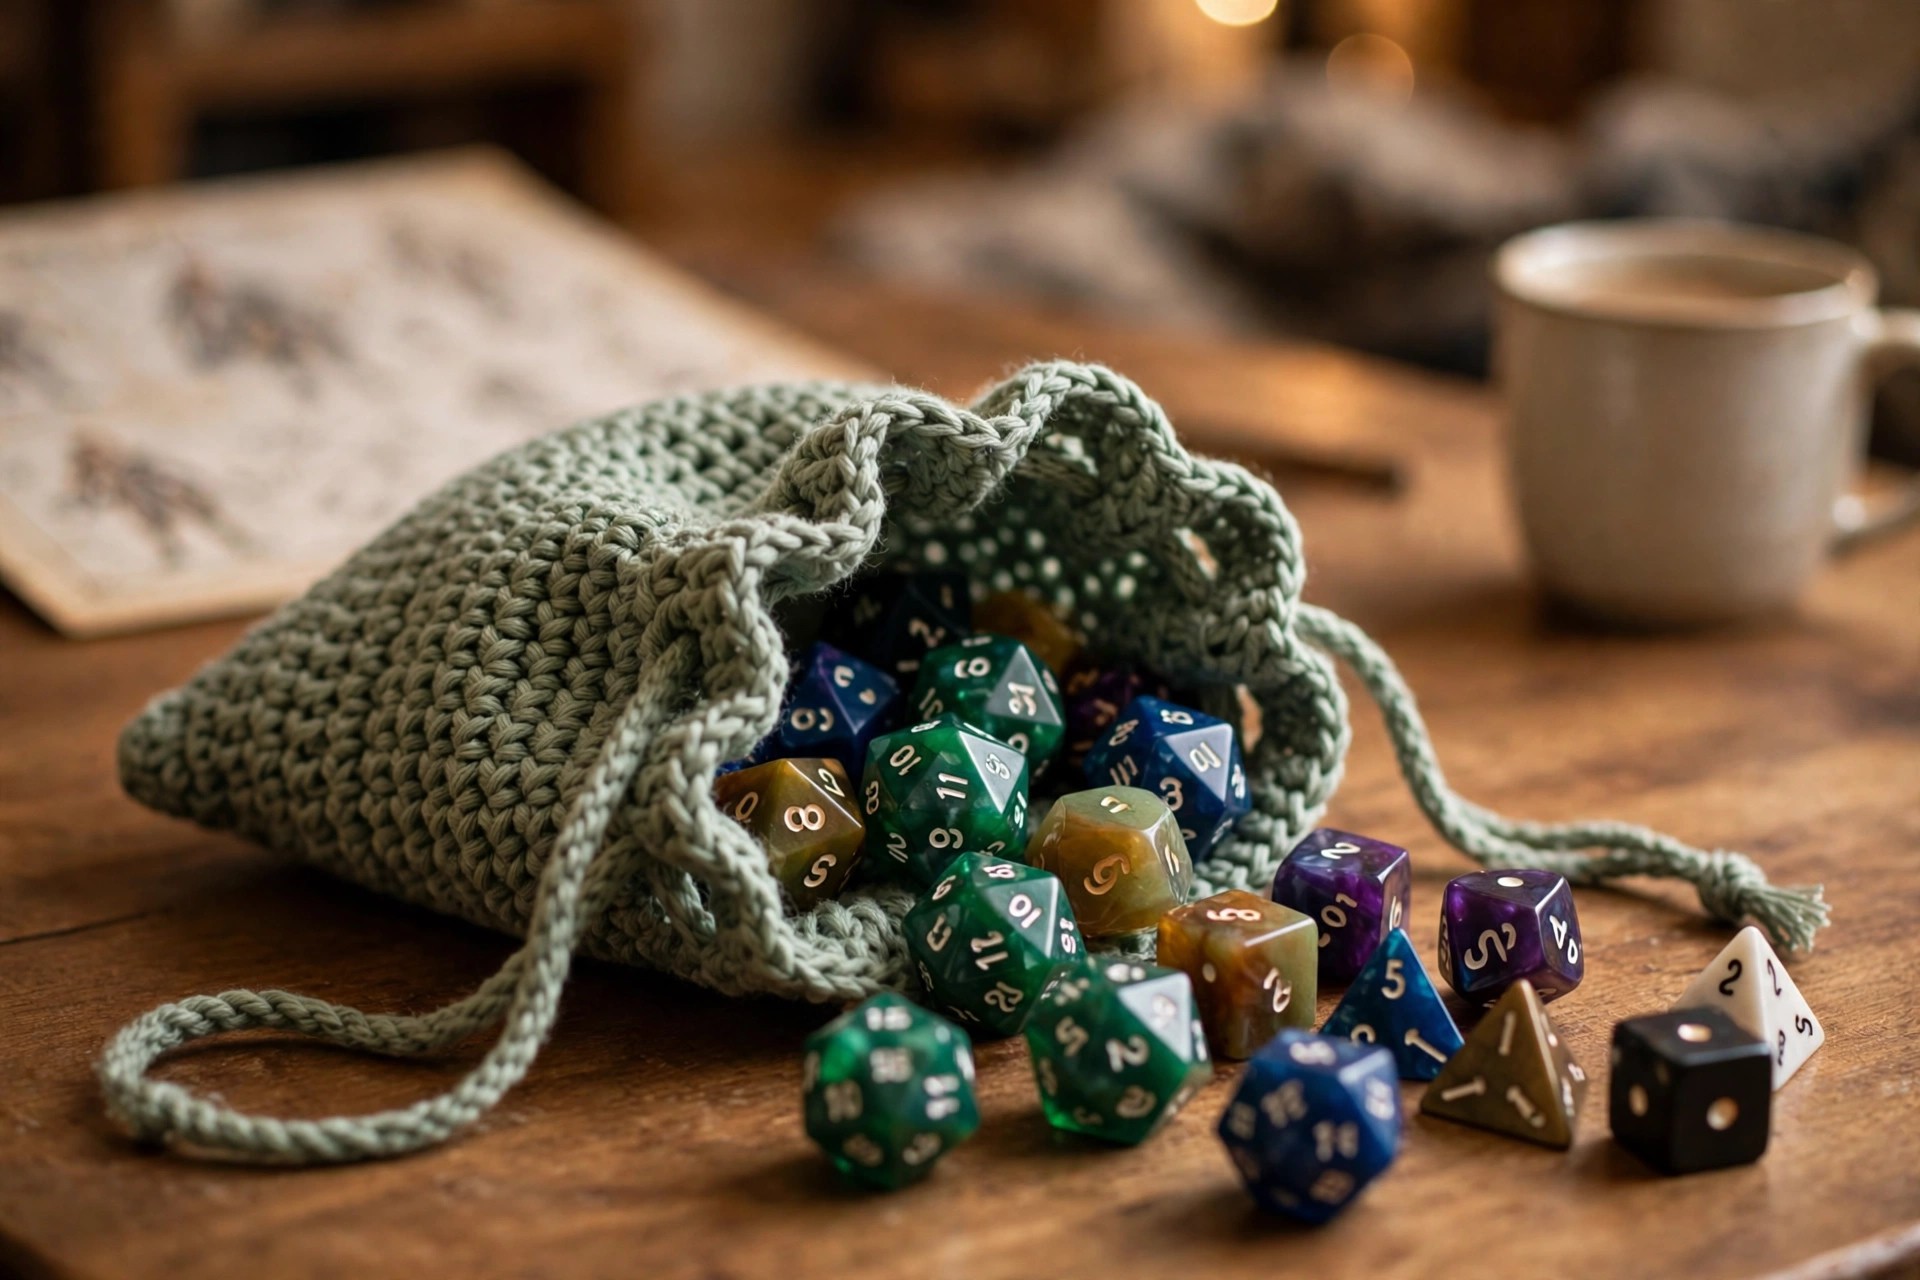
Gamers will appreciate the practical details. The pouch holds a standard 7 piece polyhedral set comfortably, with space for extra D6s or a second set if you hoard dice like most of us do. The braided cord is chunkier than a plain chain, so it does not cut into your fingers when you yank it shut mid game. And because it is your own handmade pouch, nobody at the table will walk off with your dice by accident, which is honestly half the battle.
Finished Size, Skill Level, and Time
- Finished size: about 3.5 inches tall and 3 inches wide at the base, in worsted weight yarn with a 5.0 mm hook. The pouch comfortably holds a full 7 piece polyhedral dice set plus extras.
- Skill level: beginner. You should know the magic ring (or chain 4 ring), single crochet, and how to work in continuous rounds. The eyelet row and braided cord are both explained step by step.
- Making time: 2 to 3 hours total, including the drawstring. Most of that is pleasant, repetitive rounds.
Materials You Need
- Worsted weight (#4) yarn: about 80 yards for the pouch. A solid color shows off the texture best; a variegated yarn hides stitch wobbles beautifully.
- US H-8 (5.0 mm) crochet hook.
- A small amount of contrasting yarn for the drawstring (or use the same yarn).
- Yarn needle and scissors.
- Stitch marker for marking round beginnings.
Yarn choice matters more than usual here because the pouch has a job to do. Cotton or a cotton blend gives the sturdiest fabric and the crispest stitch definition, and it holds its shape when the pouch is full. Acrylic works too and is softer in the hand, but it stretches a little more over time. Avoid very fuzzy or novelty yarns for your first pouch, since the eyelet row needs to be easy to find when you thread the cord.
Abbreviations (US Terms)
- MR = magic ring
- ch = chain
- sc = single crochet
- inc = increase (2 sc in same st)
- sl st = slip stitch
- st(s) = stitch(es)
- BLO = back loop only
- sk = skip
- FO = fasten off
Part 1: The Pouch Base
Worked in continuous rounds. Place a stitch marker in the first stitch of each round and move it up as you go.
- Round 1: MR 8 sc. (8)
- Round 2: Inc in each st around. (16)
- Round 3: (Sc in next st, inc) 8 times. (24)
- Round 4: (Sc in next 2 sts, inc) 8 times. (32)
The base should measure about 3 inches across and lie flat. If it cups upward, your tension is tight, which is actually fine for a pouch base, it just means the base will be slightly bowl shaped. If it ruffles like a potato chip, frog back and loosen up a touch.
- Round 5: Working in BLO, sc in each st around. (32)
That back loop round is the secret to a pouch that stands up. It creates a crisp corner where the flat base turns into the walls, like the folded edge of a paper bag. From here on, the walls go straight up.
Part 2: The Pouch Body
- Rounds 6 to 16: Sc in each st around. (32) Work 11 rounds even.
This is the meditative part. Eleven rounds of plain single crochet, perfect for game night chatter or a podcast. Check your stitch count every few rounds, it is easy to drift by one when you are relaxed. The body should measure about 2.5 inches tall at this point.
If you want stripes, change colors at the start of any round in this section. Carry the unused color up the inside if the stripes are close together, or cut and weave in the ends for widely spaced stripes. Two rounds of a contrast color near the top edge look especially sharp.
Part 3: The Eyelet Row and Top Edge
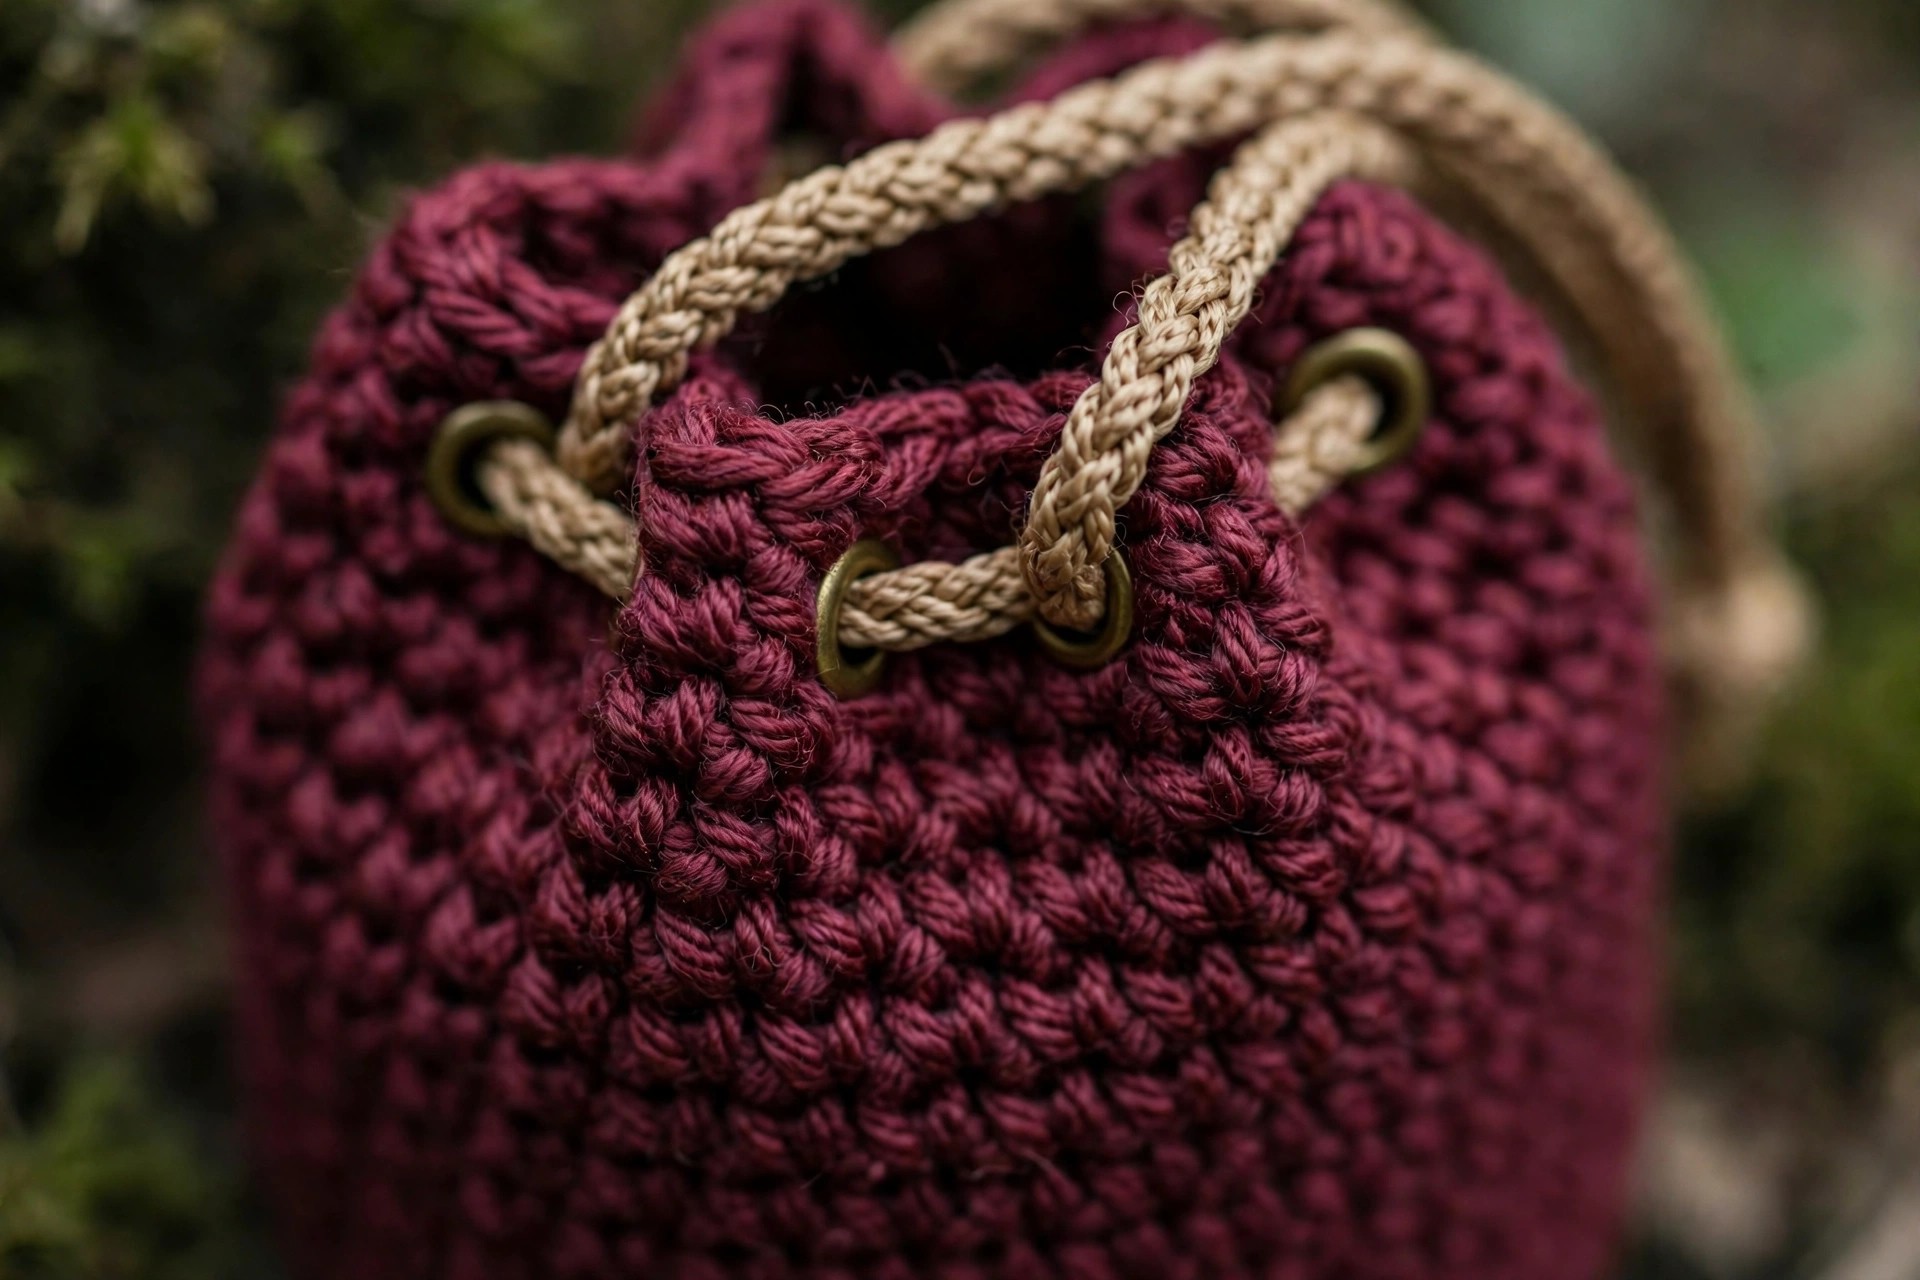
- Round 17 (eyelet row): (Ch 1, sk 1 st, sc in next 3 sts) 8 times. (24 sc + 8 ch-1 spaces)
Each chain 1 space is one eyelet, and the skipped stitch below it is what makes the hole. You should have 8 evenly spaced holes marching around the pouch. Do not worry if they look small right now; the cord will open them up.
- Round 18: Sc in each st and each ch-1 space around. (32)
- Round 19: Sc in each st around. (32)
- Round 20: Sl st in each st around. (32) FO and weave in the end.
That final slip stitch round gives the top edge a clean, finished roll instead of a raw crochet edge. If your edge wants to flare outward, work round 19 in BLO to pull it in slightly.
Part 4: The Braided Drawstring
A braided cord is stronger and prettier than a plain crocheted chain, and it takes about ten minutes. Cut 3 strands of yarn, each 60 inches long. Knot them together at one end, anchor the knot under something heavy (a book works), and braid tightly to the end. Knot the far end, then trim the tails to about 1 inch and leave them as little tassels, or wrap each end with a bit of matching yarn for a tidy finish.
Thread the cord through the eyelets: start at any eyelet, weave in and out around the pouch, and come back out through the same eyelet you started at. Pull both ends to cinch the pouch shut. Tie the two cord ends together in an overhand knot so the cord cannot pull out, and you are done. For a fancier closure, thread two cords in opposite directions so you can pull from both sides, like a real ditty bag.
Assembly and Finishing
There is almost nothing to assemble, which is the beauty of a one piece pouch. Weave in the starting tail from the magic ring on the inside of the base, pulling it snug so the center hole closes completely. Weave in the final tail along the top edge. Give the pouch a gentle steam or a quick hand wash and lay it flat to dry so the base sits perfectly flat, then load it with dice and admire your work.
Want to dress it up? A tiny charm on the drawstring ends looks adorable, and our crochet bag charm patterns has several that fit a gaming theme. A star applique sewn to the front turns it into a proper wizard pouch, and the appliques in our crochet star pattern are exactly the right size.
Variations: Make It Yours
- The jumbo dice vault: add two more increase rounds to the base (40, then 48 stitches) and 4 more body rounds. It holds multiple full sets, which every dice goblin needs.
- The mini trinket pouch: stop the base at round 3 (24 stitches) and work 8 body rounds. Perfect for a single special D20, a ring, or stitch markers.
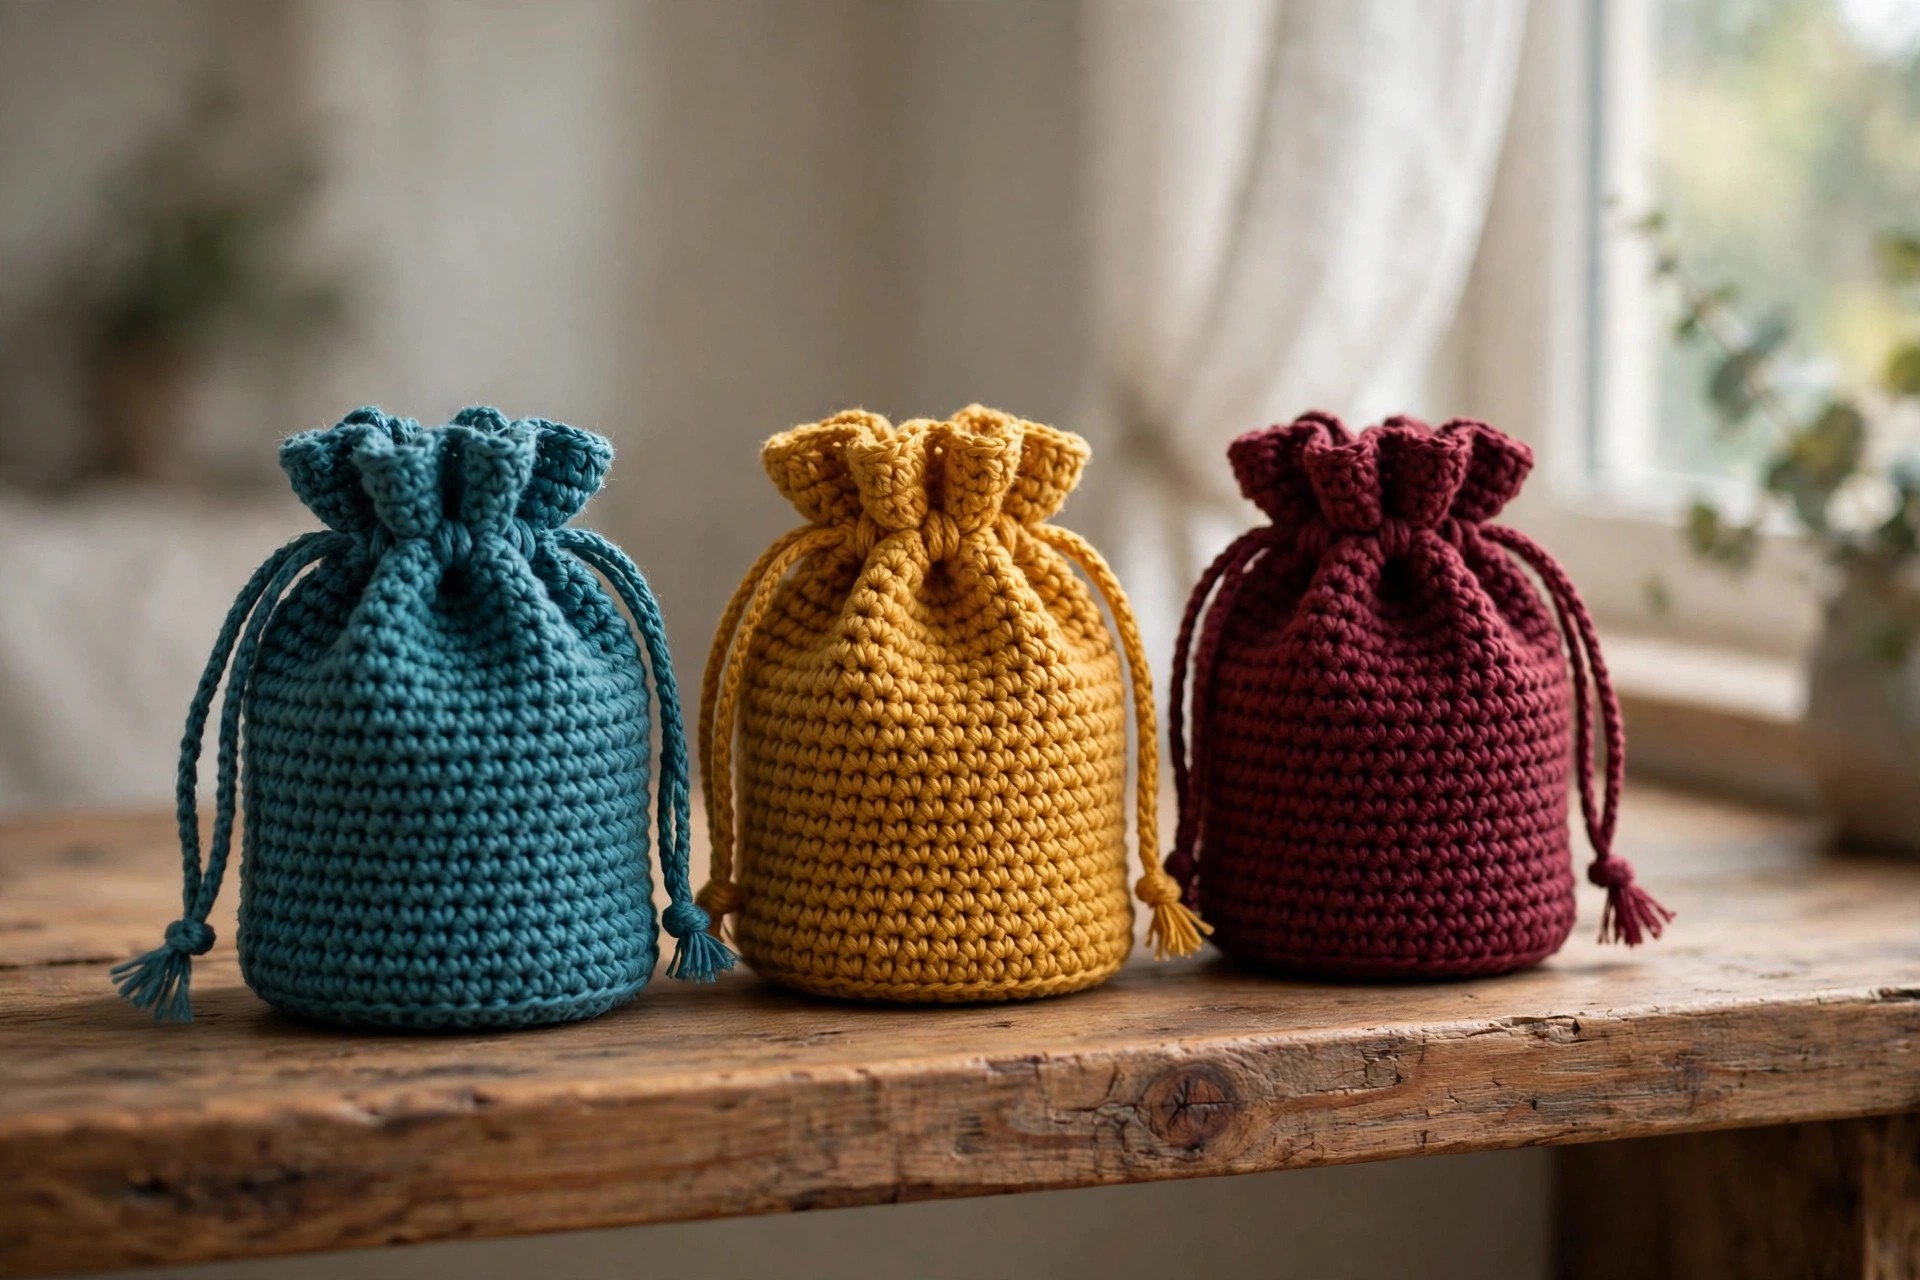
- Striped party colors: alternate two colors every 2 rounds through the body for a candy stripe pouch. Great for using up leftover skein ends.
- Leather cord upgrade: replace the braided yarn cord with a leather or waxed cotton cord for a rugged adventurer look.
- Felted pouch: work the pouch in 100 percent wool one size larger, then felt it in hot water for a dense, structured finish that stands up like a little bucket.
If small bags are your thing, our makeup bag crochet pattern is the natural next project, same one piece logic, just bigger. And for more quick accessories in this series, check out the crochet headphone cover pattern, another beginner friendly make with a practical payoff.
Troubleshooting
My eyelets disappeared. This usually means round 18 was worked too tightly, swallowing the chain spaces. Work round 18 loosely, and poke each eyelet open with your hook before threading the cord. If they are truly gone, you can thread the cord by weaving it over and under the stitches of round 17 instead.
The pouch leans to one side. Uneven tension in the body rounds is the usual cause. The fix is boring but effective: count your stitches. If you have 32 in every round, the lean is just tension, and a wash and reshape will straighten it.
The drawstring cord is too short. You need at least 1.5 times the pouch circumference plus 12 inches for the knots and pull. For the standard size, 60 inch strands are generous. If yours came up short, braid a second cord and knot them together, or just enjoy a shorter pull.
Dice poke through the stitches. Your hook is too big for your yarn, leaving gaps. Drop down a hook size for a denser fabric. The pouch should feel firm, almost stiff, before the cord goes in.
The base will not lie flat. A cupped base is fine and even desirable, it helps the pouch stand. A ruffled base means too many increases, so check that round 4 really has 32 stitches, not 34 or 36.
Care Instructions
Hand wash the pouch in cool water with mild soap, squeeze gently (do not wring), and reshape while damp. Lay flat to dry. Acrylic pouches can go in a mesh laundry bag on a gentle machine cycle, but the braided cord may fuzz, so hand washing is still kinder. If the cord stretches out over time, just rebraid a fresh one, it takes ten minutes and makes the pouch feel brand new.
Frequently Asked Questions
How many dice does this crochet dice pouch hold?
The standard size comfortably holds a full 7 piece polyhedral set (D4, D6, D8, two D10s, D12, D20) with room for several extra D6s. If you carry multiple sets, make the jumbo variation with a 48 stitch base.
Can beginners really make this dice pouch pattern?
Yes. The whole pouch is single crochet in the round with basic increases. The only slightly new skill is the eyelet row, which is just chains and skipped stitches, and the braided cord needs no crochet at all. Most beginners finish their first pouch in an afternoon.
What is the best yarn for a crochet dice pouch?
Worsted weight cotton or a cotton blend gives the sturdiest result and holds its shape when full. Acrylic is softer and cheaper and works fine, but it stretches a little more over time. Use a hook one size smaller than the yarn label suggests for dense, dice proof fabric.
How do I keep the drawstring from pulling all the way out?
After threading the cord through the eyelets, tie the two ends together in a firm overhand knot. The knot is bigger than the eyelets, so the cord can slide to cinch and loosen but can never escape. A dab of clear fabric glue on the knot keeps it from working loose.
Can I make this pouch without a magic ring?
Absolutely. Chain 4, slip stitch to form a ring, then work round 1's 8 single crochets into the ring. Pull the tail to close the center hole as much as possible and weave it in securely.
How do I resize the dice pouch pattern?
Change the base rounds. Each additional increase round adds 8 stitches to the circumference. Keep the eyelet row math simple by keeping the total a multiple of 4, since the eyelet repeat is 4 stitches. Add or remove body rounds to change the height.
Is this pattern free for commercial use?
The pattern instructions are free for your personal use, and you may sell finished pouches you make from it. Please credit Little Loop Finds as the designer and do not redistribute the pattern text itself.