Makeup bag crochet pattern: zippered cosmetic pouch
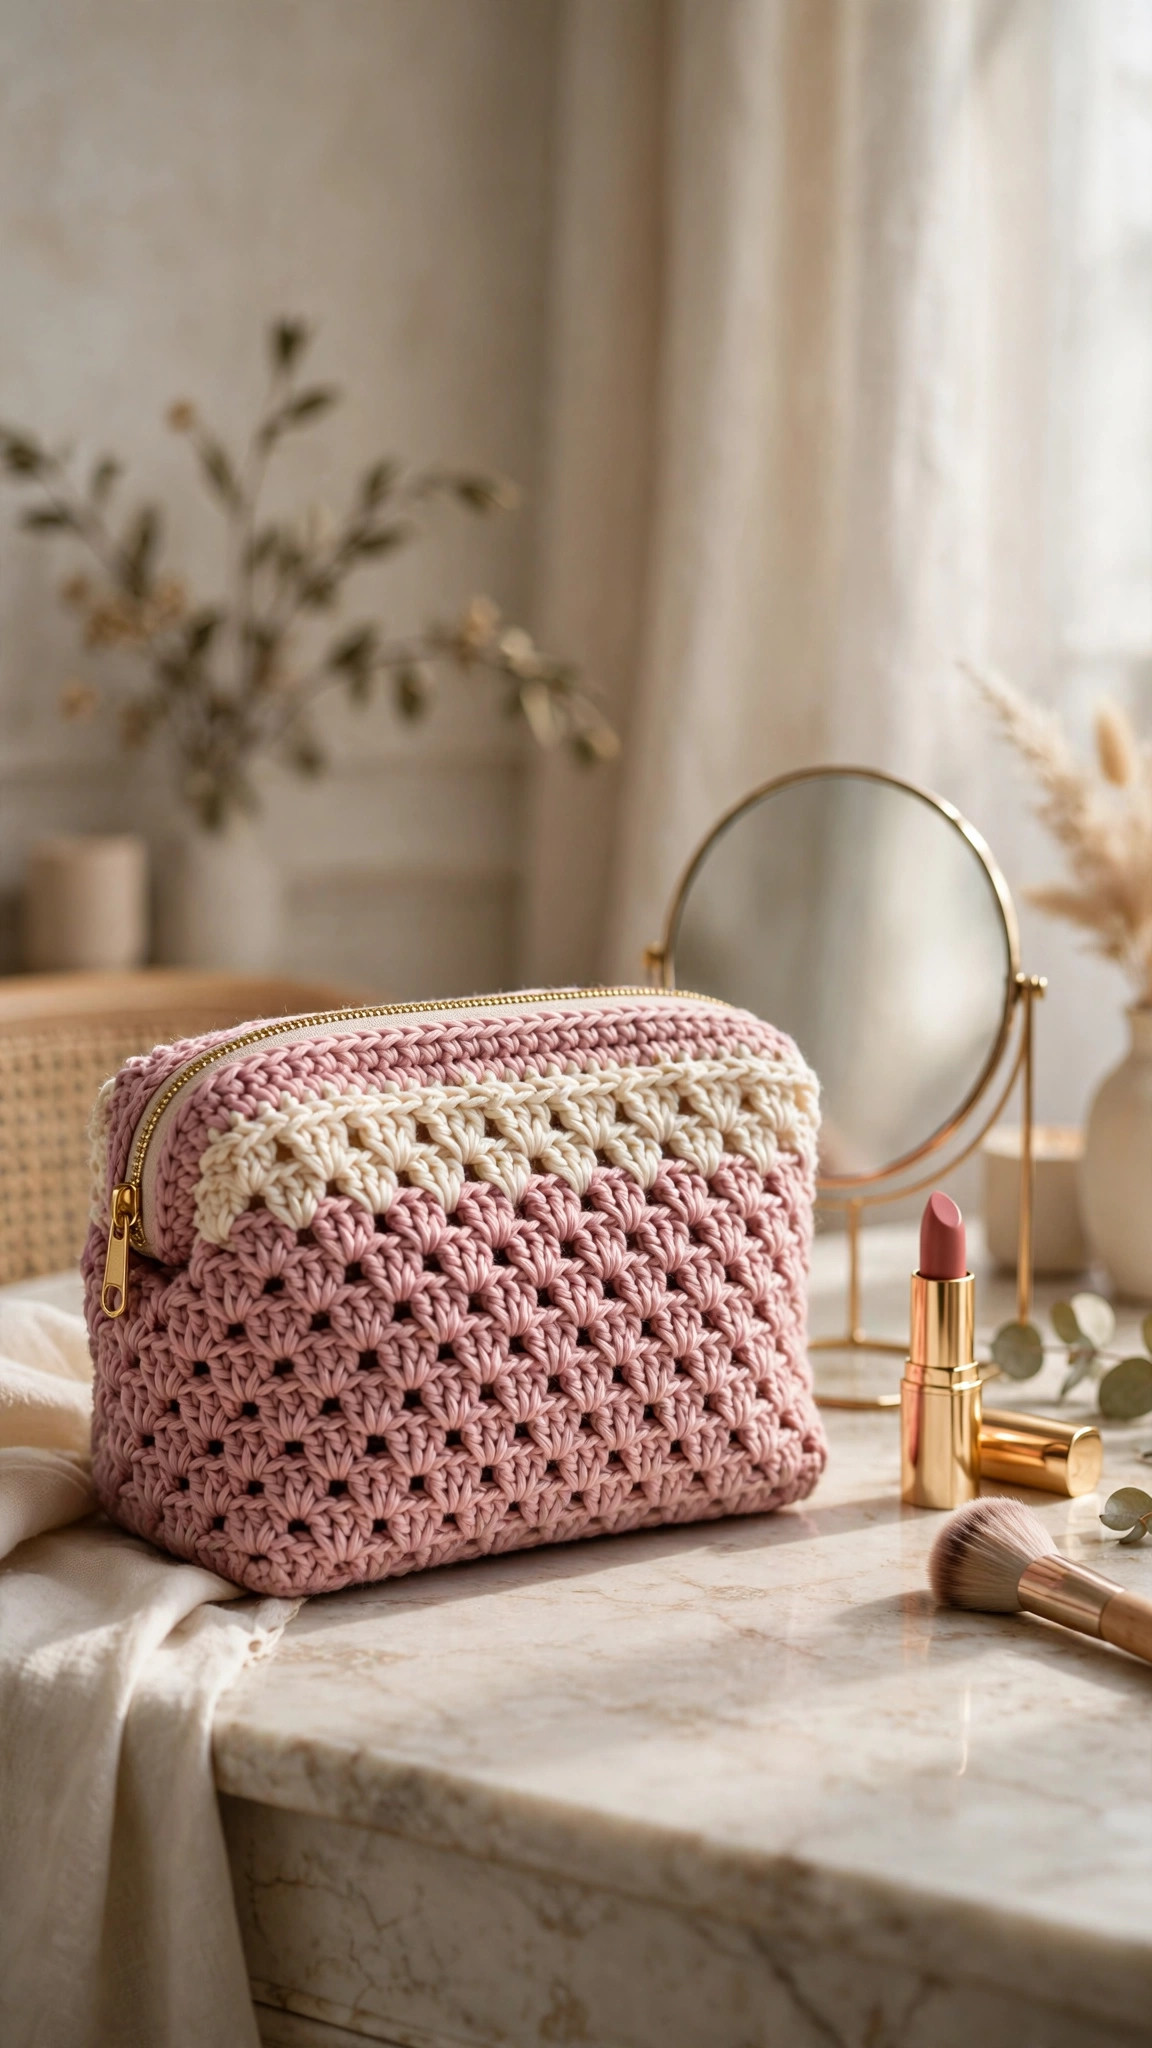
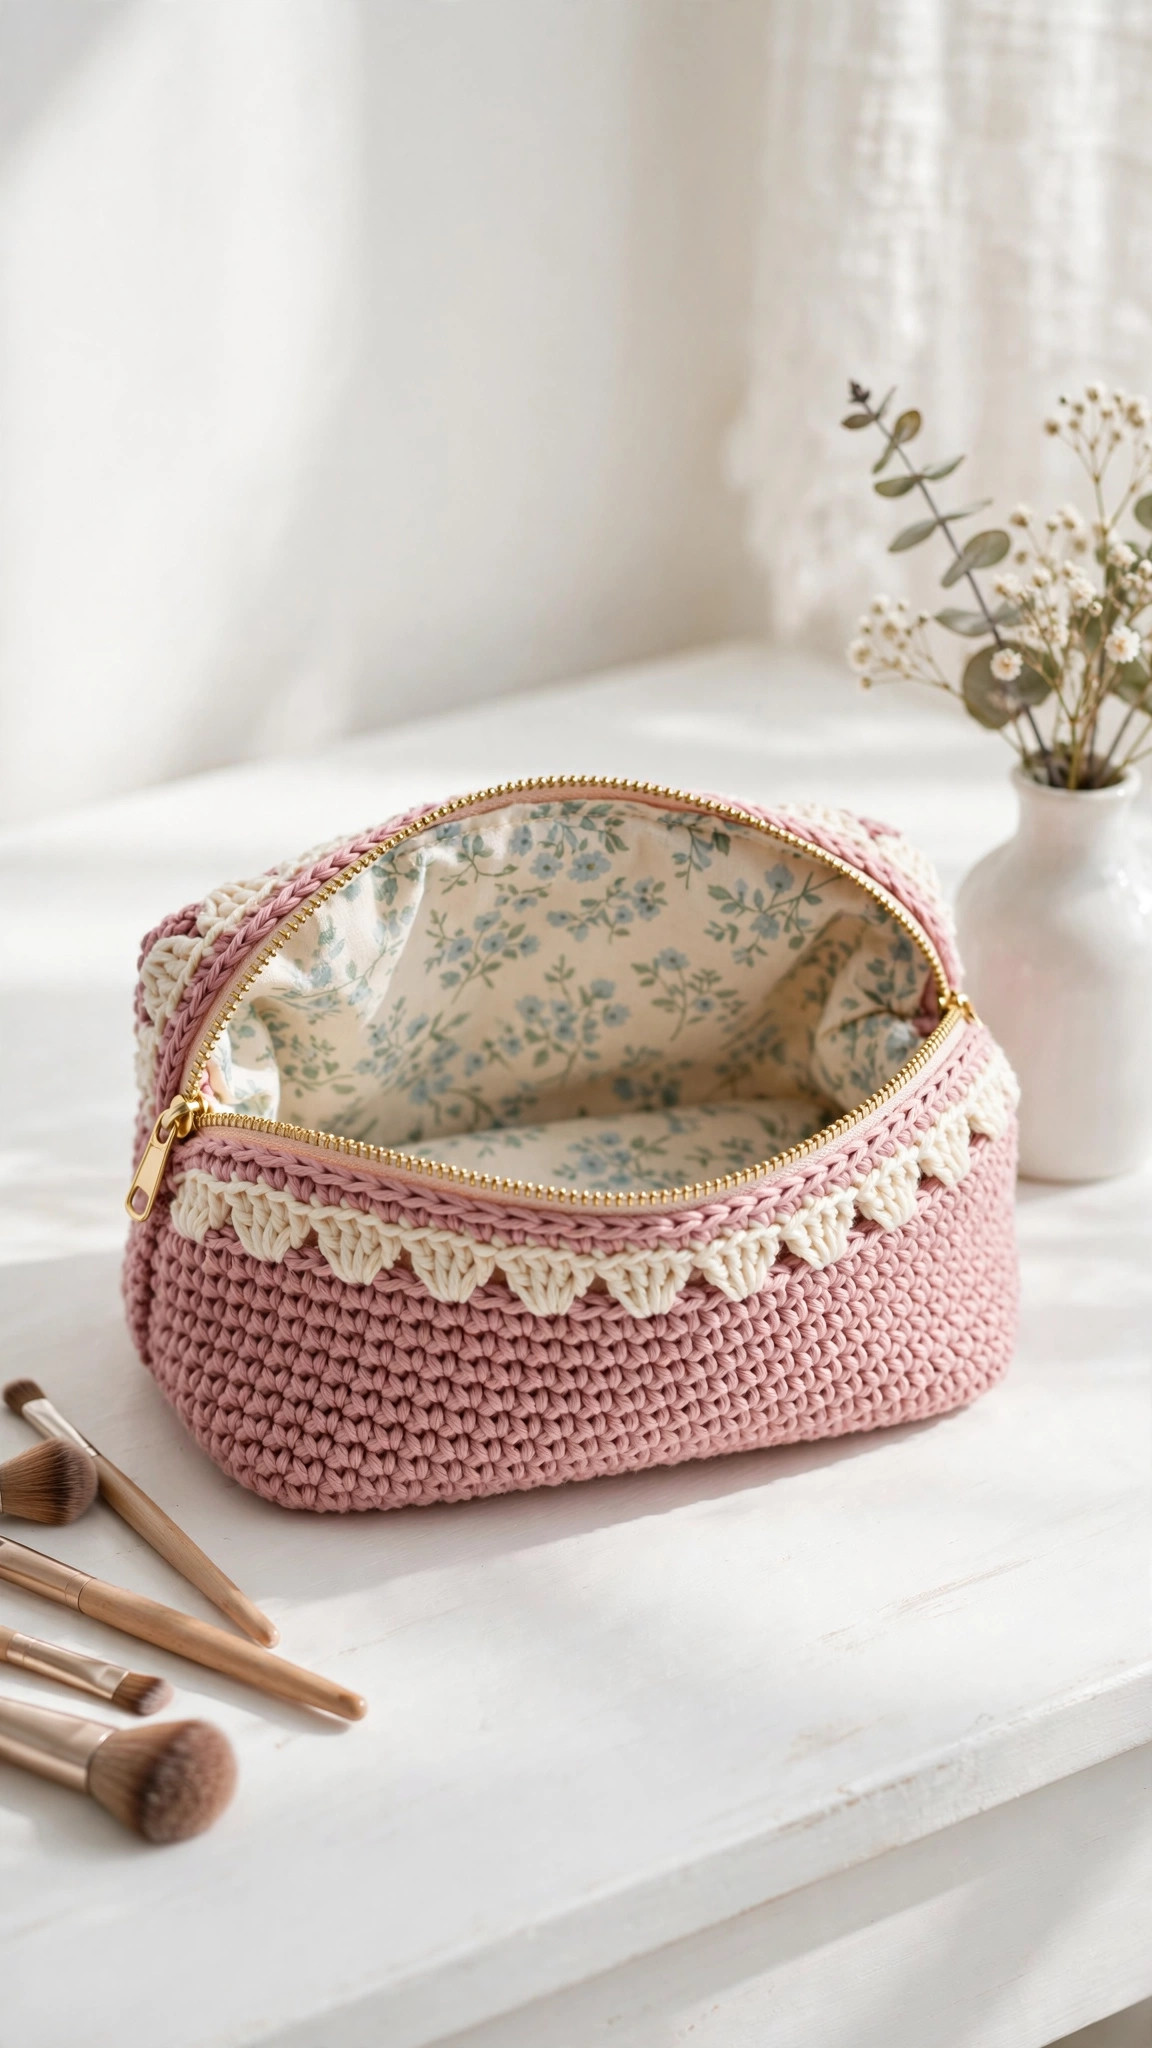
A zippered cosmetic pouch in dusty pink and cream cotton yarn, fabric lined, with a shell stitch border, worked flat in about three hours.

Accessories · Crochet
- Finished size
- 8 in wide (standard)
- Making time
- About 3 hours
- Hook
- 4.0 mm, DK cotton yarn
- Set
- 3 colours, zippered pouch
- Skill
- Easy
In this post
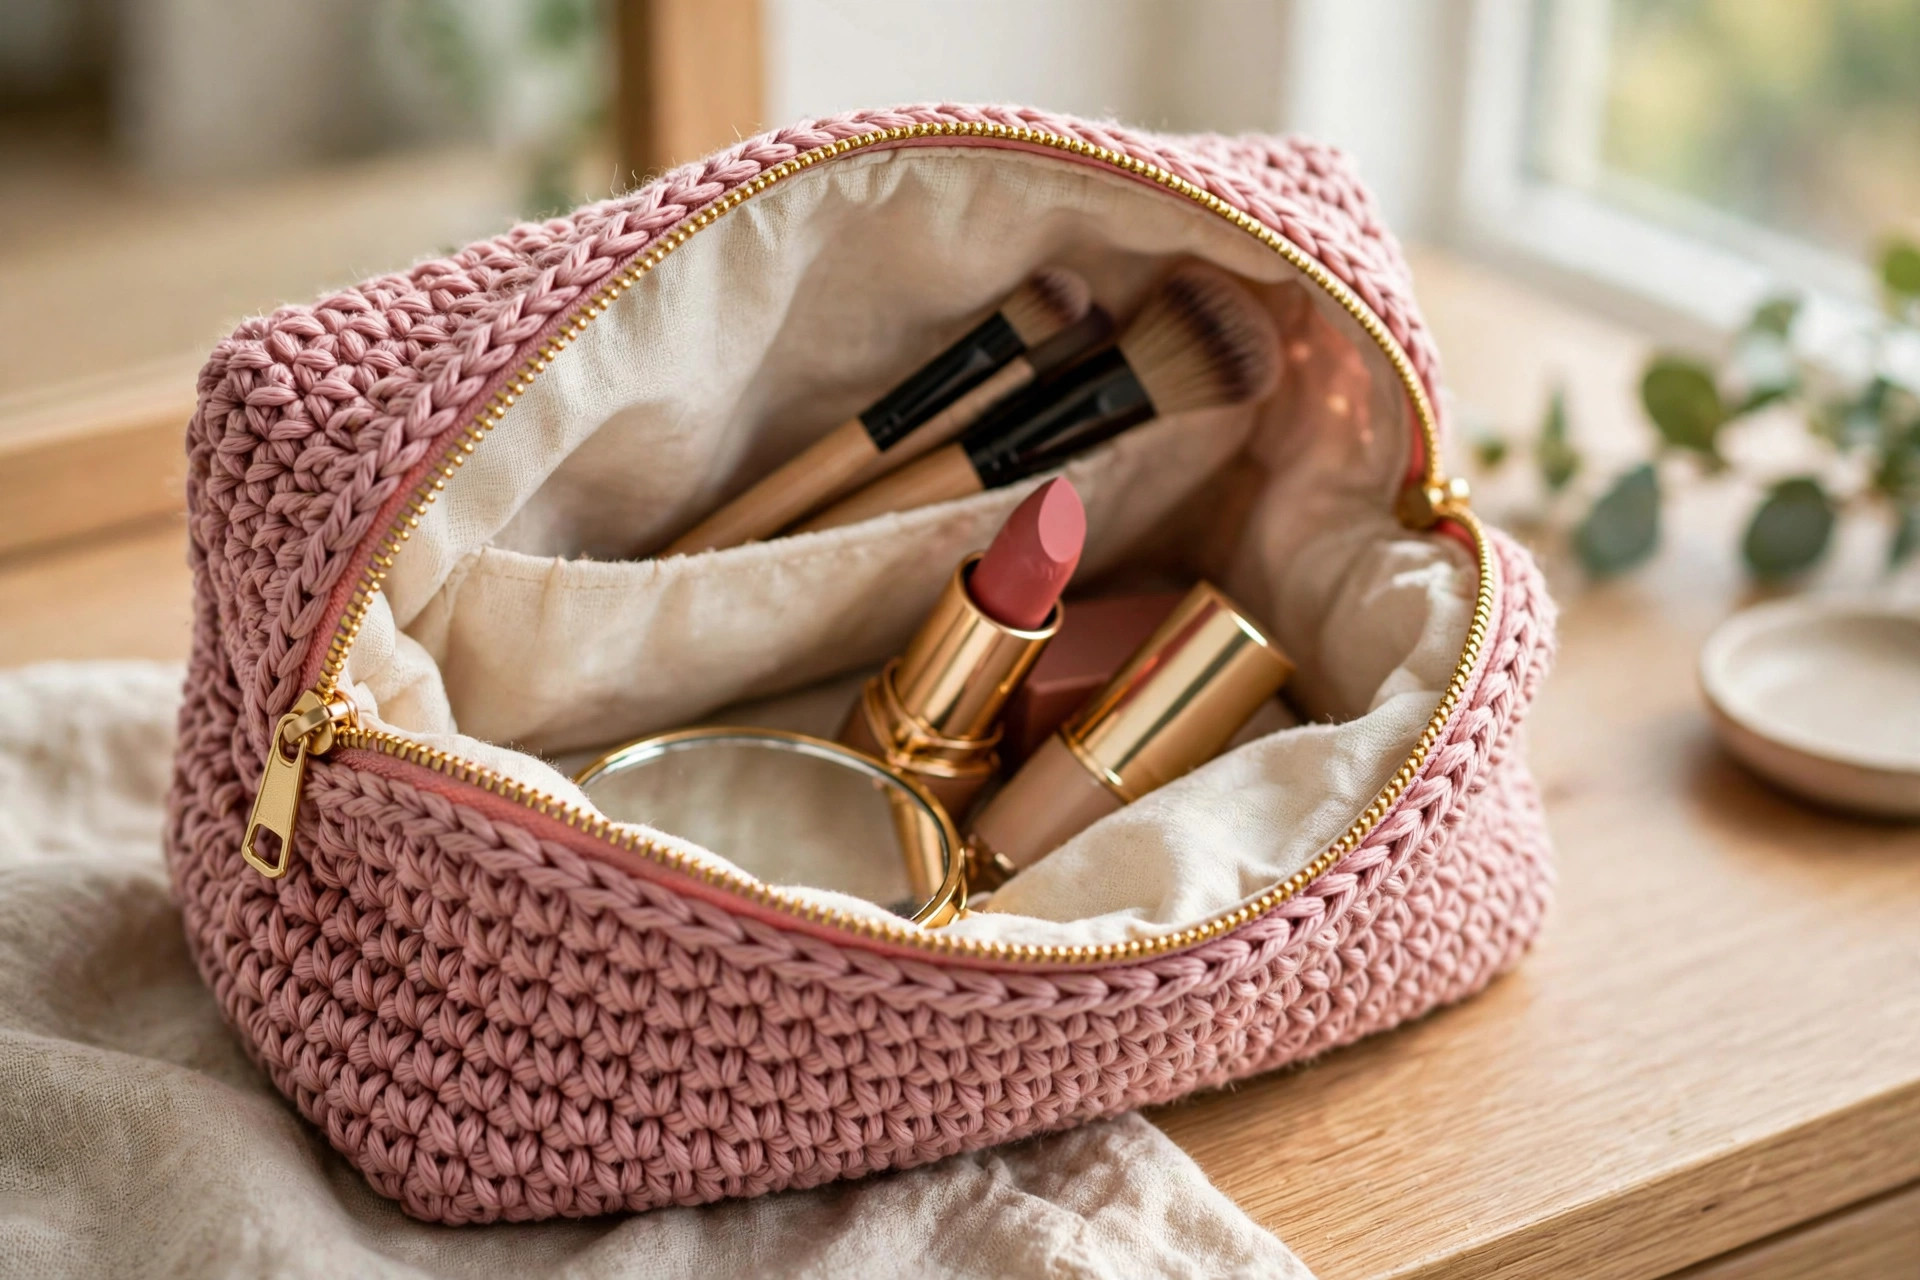
If you have been looking for a makeup bag crochet pattern that is pretty, practical, and actually holds your makeup, this zippered pouch is the one. It is worked in dusty pink cotton yarn with a cream shell stitch border, lined with fabric so nothing pokes through, and closed with a proper zipper, so your lipsticks and brushes stay put. The whole bag takes about three hours and uses less than one ball of yarn.
Why you'll love this makeup bag crochet pattern
Most crochet makeup bags fall into one of two traps: they are either so open and floppy that everything falls out, or so stiff and boxy that they will not fit in a handbag. This pattern dodges both. The bag is worked flat in dense single crochet, which gives it a firm feel, and the zipper across the top keeps everything inside, while the shell stitch border adds a soft, pretty edge. The fabric lining is the quiet hero: it stops pencils and brushes poking through the stitches, and it keeps powder and spills off the yarn.
The construction is simple and forgiving. You crochet one flat rectangle, fold it in half, and sew up the sides, so there is no shaping to keep track of and no rounds to count. The zipper is sewn in by hand with a few neat stitches, which sounds harder than it is: the zipper tape gives you a straight edge to follow. And because the bag uses only about 130 yards of yarn, you can make one from a single ball of cotton left over from a washcloth project.
It is also the perfect gift and market make. A makeup bag in a pretty colour, filled with a lip balm and a hand cream, is a useful handmade gift people actually keep, and it sells beautifully at craft fairs next to scrunchies and pouches. If you like small accessory makes, our crochet scrunchies patterns free are the natural next project: same cotton yarn, same one-evening speed, for the hair instead of the handbag. And the crochet pencil case pattern uses the same zipper technique in a longer, narrower pouch.
Materials you'll need
| Supply | What to get |
|---|---|
| Yarn (A) | DK-weight (#3) cotton yarn in dusty pink, about 130 yds / 119 m |
| Yarn (B) | DK-weight (#3) cotton yarn in cream, about 20 yds / 18 m |
| Crochet hook | 4.0 mm (G-6) |
| Zipper | 9 in (23 cm) zipper in a matching colour, with a metal or plastic pull |
| Lining fabric | One piece of cotton fabric, 10 in x 8 in (25 cm x 20 cm) |
| Tapestry needle | For weaving in ends and sewing the lining |
| Sewing needle and thread | Matching thread for the zipper and lining |
| Notions | Scissors, stitch markers, pins |
| Optional | Small button or tassel for the zipper pull |
A soft DK-weight cotton yarn is the best pick here: it has a neat stitch definition that shows off the shell border, it holds its shape, and it washes well, which matters for a bag that lives next to makeup. Acrylic DK works too, but it is stretchier, so the bag may slowly grow wider in your handbag. Avoid fluffy or eyelash yarn for a makeup bag: it hides the shell border completely and sheds into your makeup.
Yarn amounts by size (approximate): Standard — 130 yds pink, 20 yds cream. Large — 170 yds pink, 25 yds cream. Mini — 90 yds pink, 15 yds cream. One 50 g ball of pink makes one standard bag with yarn to spare.
A note on zippers: buy the zipper before you start, and choose one a little longer than the top of your bag, because you can always trim a zipper that is too long, but you cannot stretch one that is too short. A 9 in zipper suits the standard bag; a 7 in zipper suits the mini, and an 11 in zipper suits the large.
Size, gauge and skill level
The bag is worked flat in rows, then folded and sewn. Use a stitch marker in the first stitch of every row until the pattern feels familiar.
| Size | Finished size | Zipper length | Fits | Yarn (pink) |
|---|---|---|---|---|
| Mini | 6 in x 4 in / 15 cm x 10 cm | 7 in / 18 cm | Lip balm, hair ties, small mirror | 90 yds |
| Standard | 8 in x 5 in / 20 cm x 13 cm | 9 in / 23 cm | Lipsticks, brushes, compact, mirror | 130 yds |
| Large | 10 in x 6 in / 25 cm x 15 cm | 11 in / 28 cm | Full makeup kit, brushes, palette | 170 yds |
- Finished size (standard): about 8 in (20 cm) wide and 5 in (13 cm) tall, with a flat base about 2 in (5 cm) deep.
- Gauge: 18 sc and 20 rows = 4 in (10 cm) with a 4.0 mm hook. A bag that is too loose will not hold its shape, so your stitches should be tight and even.
- Skill level: easy. You should know how to chain, single crochet, double crochet, and slip stitch. The whole bag is worked flat in rows, with a shell stitch border of five double crochets in one stitch.
If you have never sewn a zipper before, this is the perfect first project: the zipper tape is straight, the crochet gives you a firm edge to sew to, and the lining hides every stitch you are not proud of. If the zipper feels intimidating, pin it in place first and sew it with small running stitches.
Abbreviations — US terms
| Abbreviation | Meaning |
|---|---|
| ch | chain |
| sc | single crochet |
| dc | double crochet |
| sl st | slip stitch |
| st(s) | stitch(es) |
| RS | right side |
| WS | wrong side |
| FO | fasten off |
| [ ] | total stitch count at the end of the row |
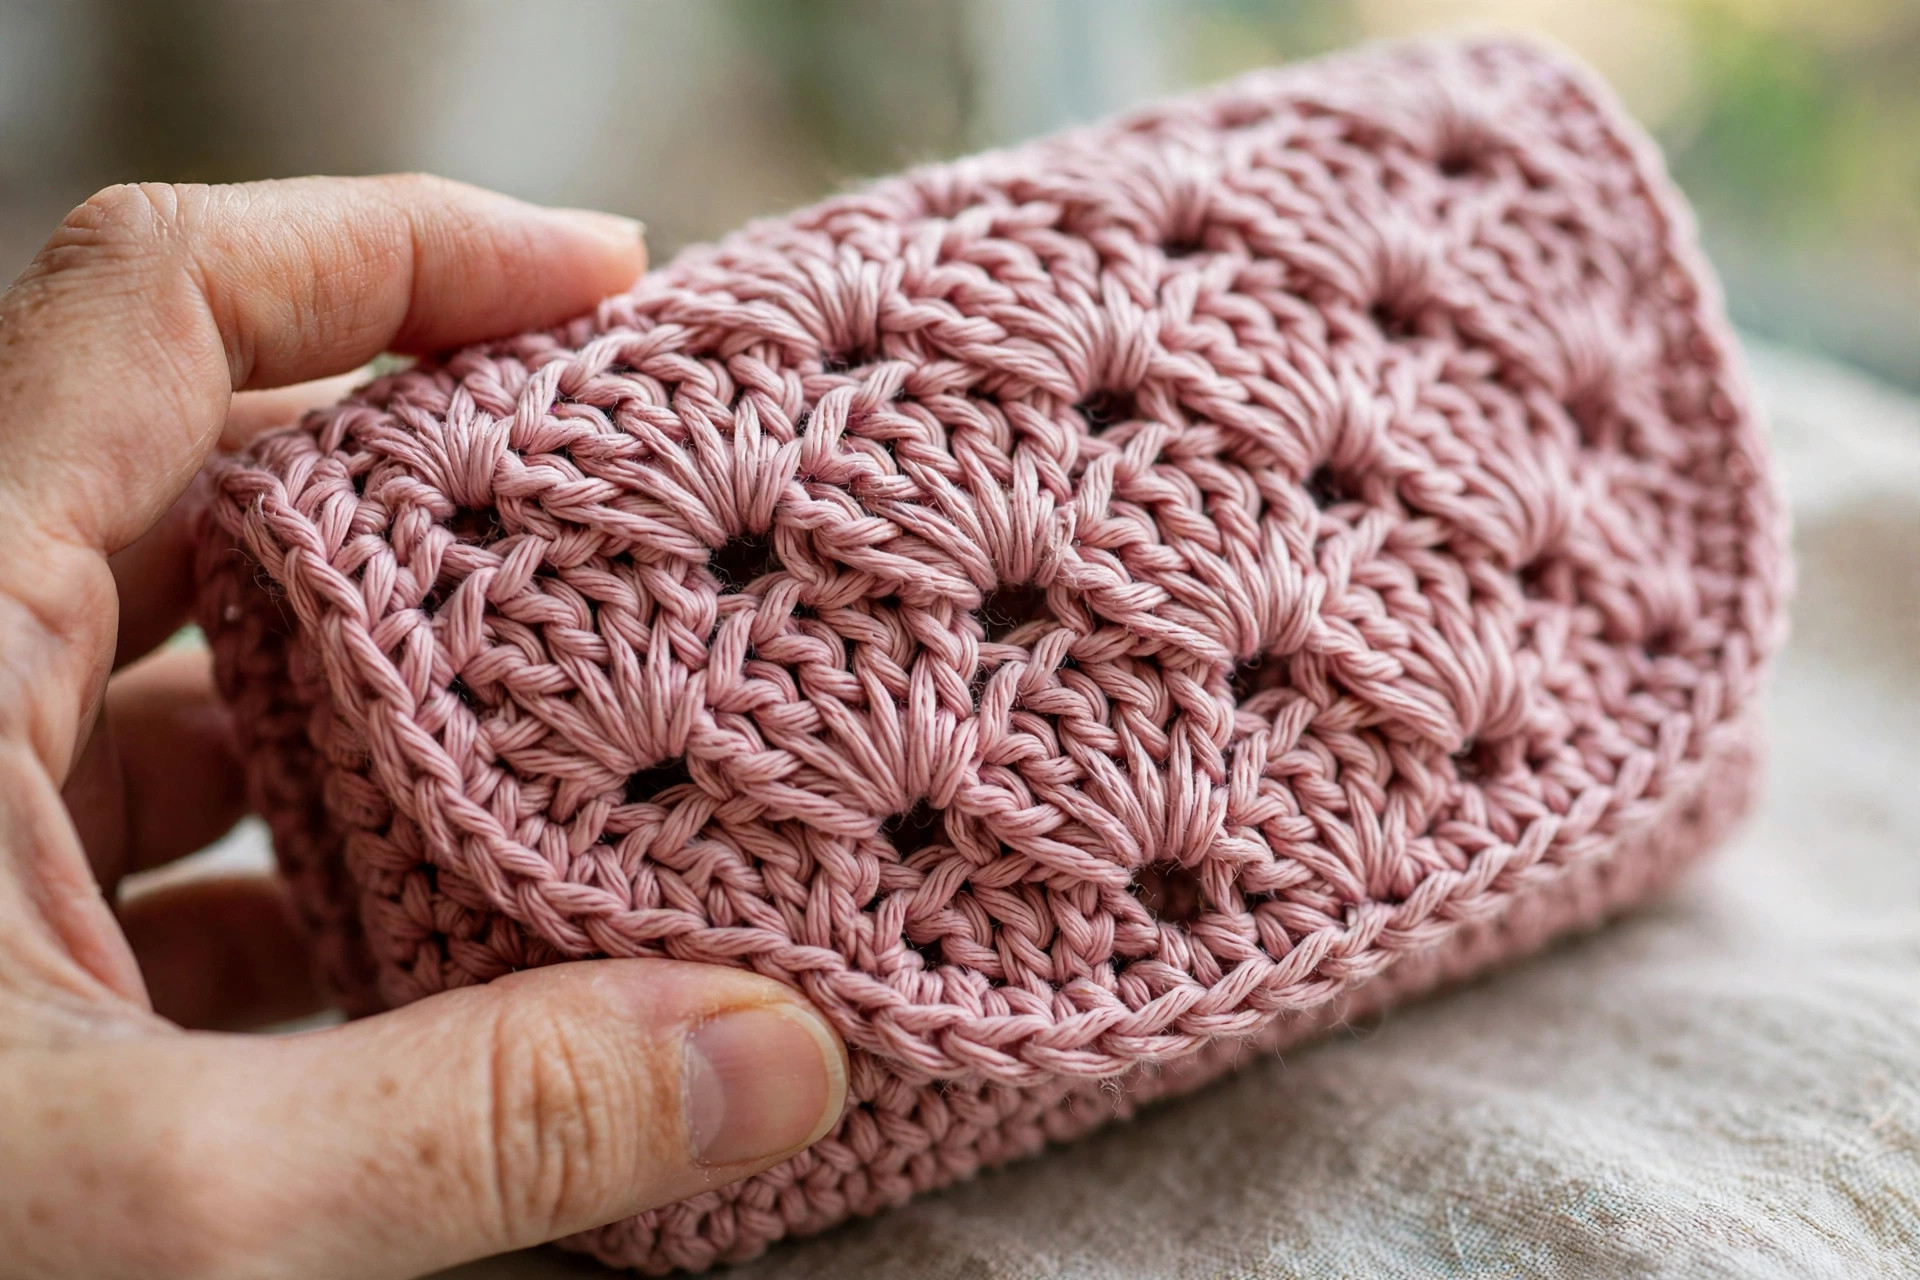
A note on the shell stitch: the border is worked in shells of five double crochets in one stitch, with a single crochet between the shells. Work the shells loosely: if you pull the double crochets tight, the edge will pucker.
The pattern (US terms)
Work the bag flat in rows in single crochet. Instructions below are for the standard size, with mini and large in brackets: mini (standard, large). Turn at the end of every row.
Dusty pink bag — the classic
With color A (dusty pink) and a 4.0 mm hook, start with the foundation chain.
- Row 1: ch 37 (45, 53), sc in 2nd ch from hook and in each ch across. [36 (44, 52)]
- Rows 2 to 24 (28, 32): ch 1, turn, sc in each st across. [36 (44, 52)]
The rectangle should measure about 8 in (20 cm) wide and 10 in (25 cm) tall for the standard size: it will be folded in half, so the finished bag is 8 in wide and 5 in tall. If your rectangle looks short, add two more rows; if it looks long, stop two rows early.
- Border round 1: do not fasten off. Ch 1, turn, and work sc evenly around all four sides of the rectangle, working 2 sc in each corner, join with sl st to first sc.
Working a single crochet border around the rectangle neaten the edges and gives you a firm, even edge to sew the zipper and the lining to. Do not skip it, even if the rectangle already looks neat.
- Border round 2 (shell edge): change to color B (cream). Ch 1, sc in first st, *skip 2 sts, 5 dc in next st, skip 2 sts, sc in next st; rep from * along the top edge only, where the zipper will sit below the shells. Join with sl st and fasten off.
The shell edge runs along the top of the bag only, like a pretty ruffle above the zipper. If the shells do not divide evenly across the top, work the last shell with only 1 skipped stitch on each side instead of 2.
Cream bag — the two-tone version
With color B (cream) and a 4.0 mm hook, work the same rectangle, but change colour every six rows: six rows of cream, six rows of dusty pink, and so on. Carry the unused colour loosely up the side edge instead of fastening off each time. The two-tone bag uses about 65 yds of each colour for the standard size.
Work the border in the colour you finished with, and the shell edge in the other colour, so the edge contrasts with the body. The two-tone version is the prettiest of the three on a vanity, and the best way to use up two half balls of cotton. If you like easy colour play in accessories, the crochet scrunchies patterns free use the same stripe rhythm in a different make.
Sage green bag — the large
With color A in sage green and a 4.0 mm hook, work the large size: 53 starting chains, 32 rows, and the same border and shell edge. The large bag is the right size for a full makeup kit, or for a travel bag that holds brushes, a palette, and a cleanser.
Sewing the sides
Fold the rectangle in half, wrong sides together, so the top edges meet and the shell border sits at the top. Pin the two side edges together, then sew each side closed with the tapestry needle and the same yarn, using a whip stitch through both layers, from the bottom corner up to the top. Work the stitches close together, about one stitch per row end, so no gaps are left.
Turn the bag right side out and check the corners: they should be neat and square. If a corner pokes out oddly, push it into shape with the blunt end of the crochet hook.
Sewing in the zipper
Open the zipper and pin one side of the zipper tape to the inside of the top edge of the bag, right side of the tape facing the inside of the bag, with the top of the tape just below the shell border. Sew it in place with the sewing needle and matching thread, using small running stitches close to the teeth, working from one end of the zipper to the other. Then pin and sew the other side of the zipper tape to the other top edge in exactly the same way.
Close the zipper and check it: it should run smoothly from one end to the other without catching on the crochet. If it catches, the tape is sewn too close to the teeth: unpick a few stitches and sew it a millimetre further away. If the zipper is longer than the bag, trim the extra tape, fold the cut end under, and sew it down so the pull cannot run off the end.
Sewing in the lining
Cut the lining fabric to the size of the bag, plus half an inch all round for the seam allowance. Fold the fabric in half, right sides together, and sew the two side edges and the bottom with the sewing machine or by hand. Turn the lining right side out and press the top edge under by half an inch.
Slip the lining inside the bag, wrong side of the lining against the wrong side of the crochet, and pin the folded top edge of the lining to the inside of the bag, just below the zipper tape. Sew it in place with small slip stitches all the way around, catching only the crochet stitches on the inside so no stitches show on the outside. The lining should sit smoothly without bunching: if it bunches, the lining is too big, so take it out and trim a little off the sides.
Finishing the bag
Fasten off, leaving a 6 in tail. Weave the tail into the wrong side of the bag for at least 2 in, working it through the base of the stitches near the seam so it cannot wriggle out. Trim the tail flush and the end will disappear inside the seam. Then try the bag: fill it with your makeup, zip it closed, and put it in your handbag. It should sit neatly and hold its shape.
If you like a little extra sparkle, thread a small tassel or a wooden bead onto the zipper pull, or sew a small button to the shell border at the centre front. A tassel makes the zipper easier to find in a dark handbag.
Finishing touches
Block it lightly. Lay the bag flat on a towel, straighten the sides so the bag sits square, and mist it lightly with water. Let it dry completely before you fill it. Blocking evens out the stitches and sets the shell border so it lies flat.
Three cute variations to try next
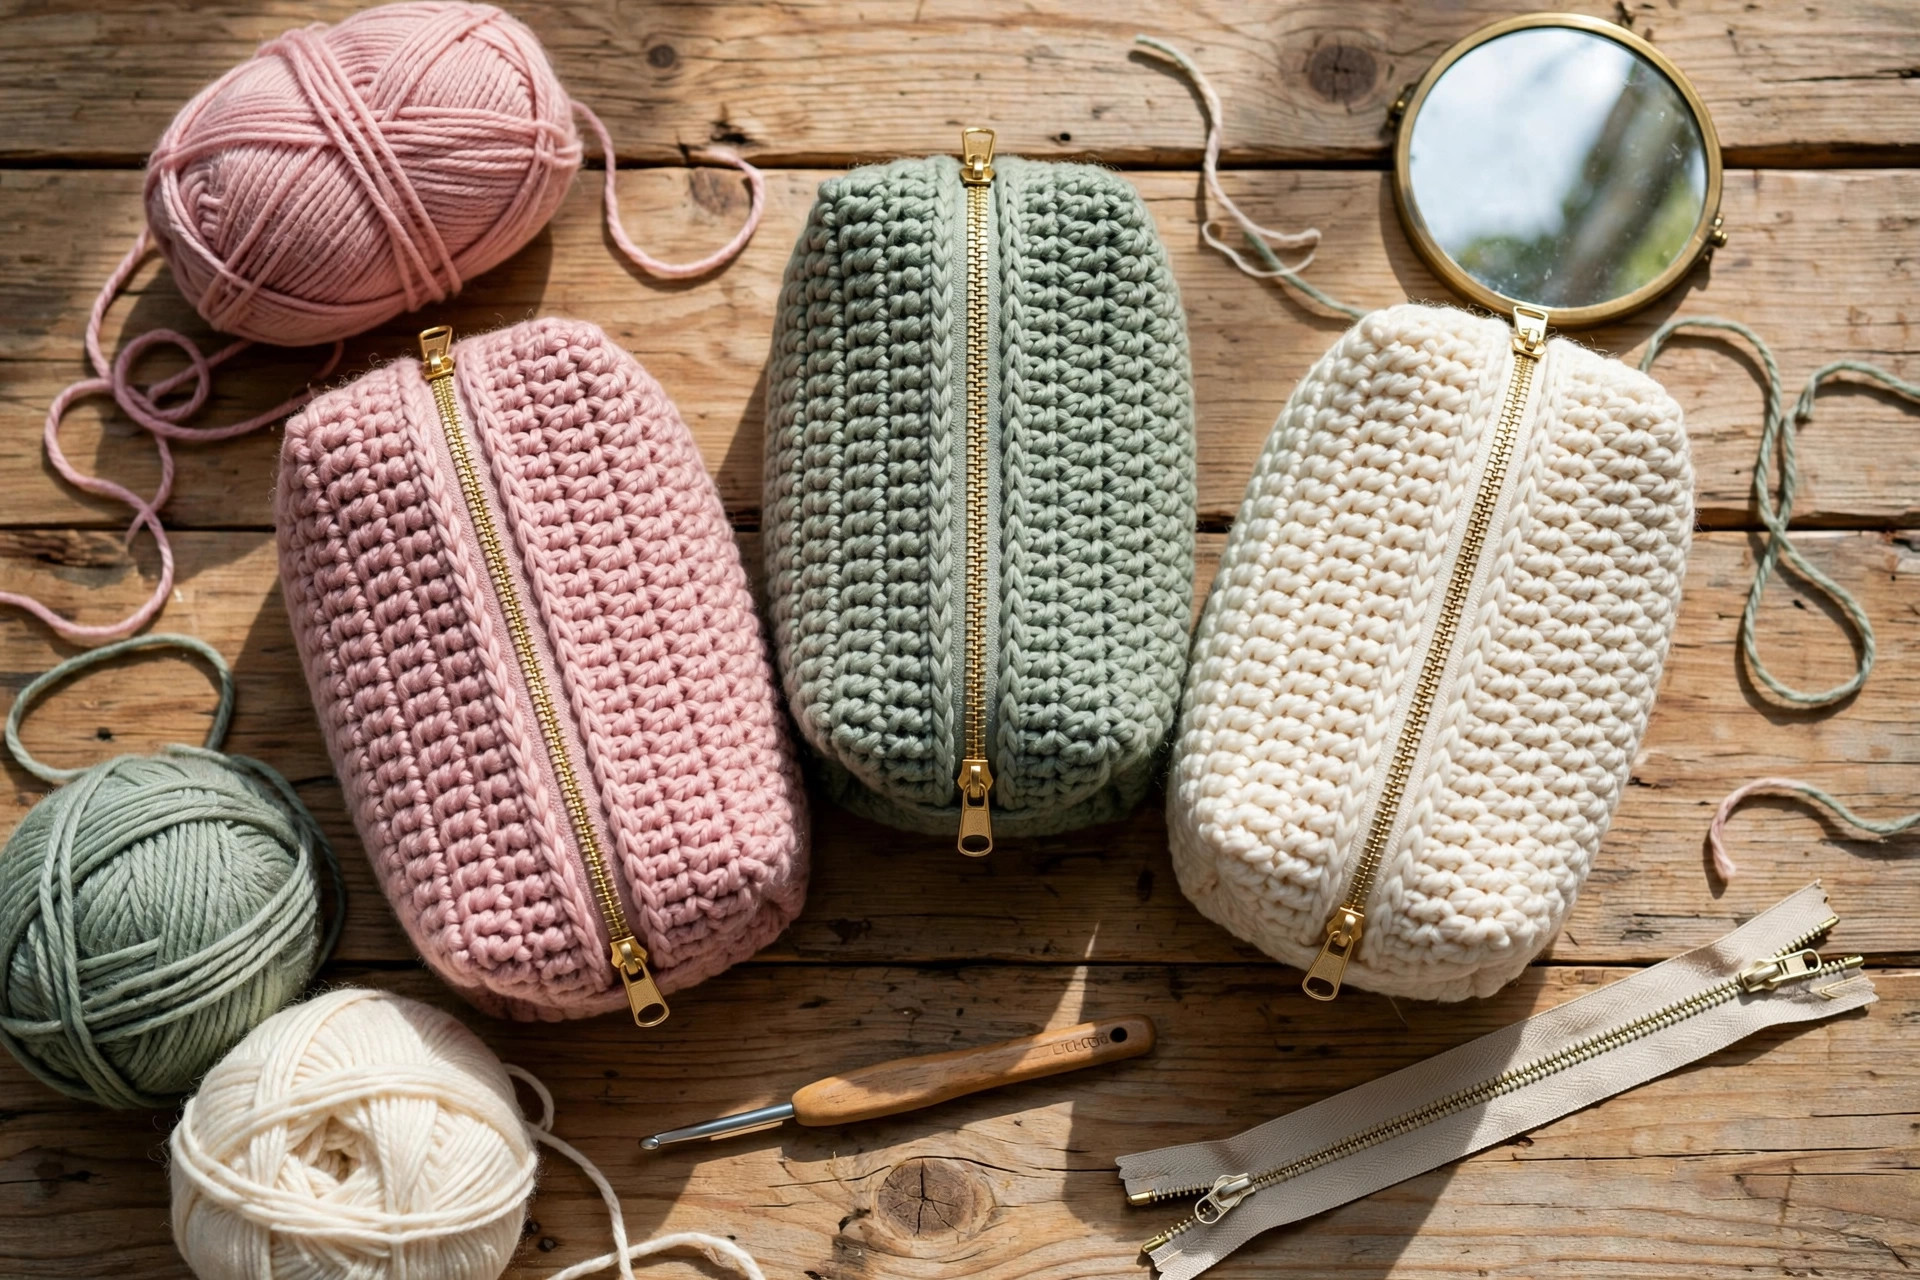
Once you have made one makeup bag, the same rectangle makes a whole set of pouches:
- The pencil case. Use the same pattern but work the rectangle longer and narrower: 60 chains and 14 rows for the standard hook, which makes a slim pouch that fits pencils, pens, and crochet hooks. Sew in the zipper exactly the same way, and skip the lining if the case is for pencils. If you like long pouches, the crochet pencil case pattern is the same idea.
- The phone pouch. Work the mini size, 6 in wide and 4 in tall, in a single colour with no shell border, and add a wrist strap: chain 30, slip stitch back along the chain, and sew one end to the top corner of the bag. For more small pouches, our crochet phone case pattern free uses the same zipper technique in a different shape.
- The travel set. Make the large bag in sage green and a matching mini bag in cream, tied together with ribbon for a travel set: the large bag holds the makeup, the mini holds the hair ties and lip balms. A matching set looks thoughtful and takes no extra planning, because the colours are already chosen. If you like bag projects, the free crochet bag patterns are the next make: same cotton yarn, same useful speed, for the market instead of the vanity.
And if this bag gave you the pouch bug, the crochet hobo bag pattern free is the next make: same cotton yarn, same one-evening speed, in a bigger bag.
Troubleshooting tips
- Your bag is too floppy and will not hold its shape. Your stitches are too loose, or the yarn is too soft. Go down half a hook size, and use cotton yarn rather than acrylic.
- The zipper catches on the crochet. The zipper tape is sewn too close to the teeth. Unpick a few stitches where it catches and sew the tape a millimetre further away.
- The lining bunches inside the bag. The lining is too big for the bag. Take it out, trim a little off the sides and the bottom, and sew it again.
- The shell border puckers. You pulled the double crochets too tight. Work the shells with a relaxed tension, and if the edge still pulls in, use a hook half a size larger.
- The sides gape open. Your whip stitches are too far apart. Sew the sides again with the stitches closer together, about one stitch per row end.
- The bag is too small for your makeup. Measure your tallest item before you start: the standard bag is 5 in tall, so a tall foundation bottle will not fit. Make the large size instead.
Frequently asked questions
Is this makeup bag crochet pattern really free?
Yes, the complete pattern above is free, no email signup, no PDF purchase required.
What skill level is this makeup bag pattern?
Easy. If you can chain, single crochet, double crochet, and slip stitch, you have every skill this pattern needs. The whole bag is worked flat in rows.
How long does it take to make a crochet makeup bag?
About 3 hours for the standard size: roughly 1 hour for the crocheted rectangle and border, 30 minutes to sew the sides, 30 minutes to sew in the zipper, and 30 minutes to sew in the lining and finish. The mini takes about 2 hours, and the large about 4.
How much yarn do I need?
About 130 yds of dusty pink and 20 yds of cream DK-weight cotton yarn for the standard size.
Can I wash a crochet makeup bag?
Yes, but take the makeup out first. Hand wash in cool water with a little gentle soap, squeeze out the water without wringing, reshape the bag while it is damp, and lay flat to dry. Do not put the bag in the washing machine: the zipper can catch and the lining can bunch.
Can I sell the finished makeup bags I make?
Yes! You may sell finished makeup bags made from this pattern in small batches (craft fairs, markets, gifts). Please credit Little Loop Finds as the pattern designer with a link back to this page.
More free patterns to try
If this makeup bag was fun, keep the hook moving. The crochet pencil case pattern uses the same zipper technique, the crochet phone case pattern free is the next small pouch, and the free crochet bag patterns are the next useful project.