Free Crochet Christening Gown Pattern
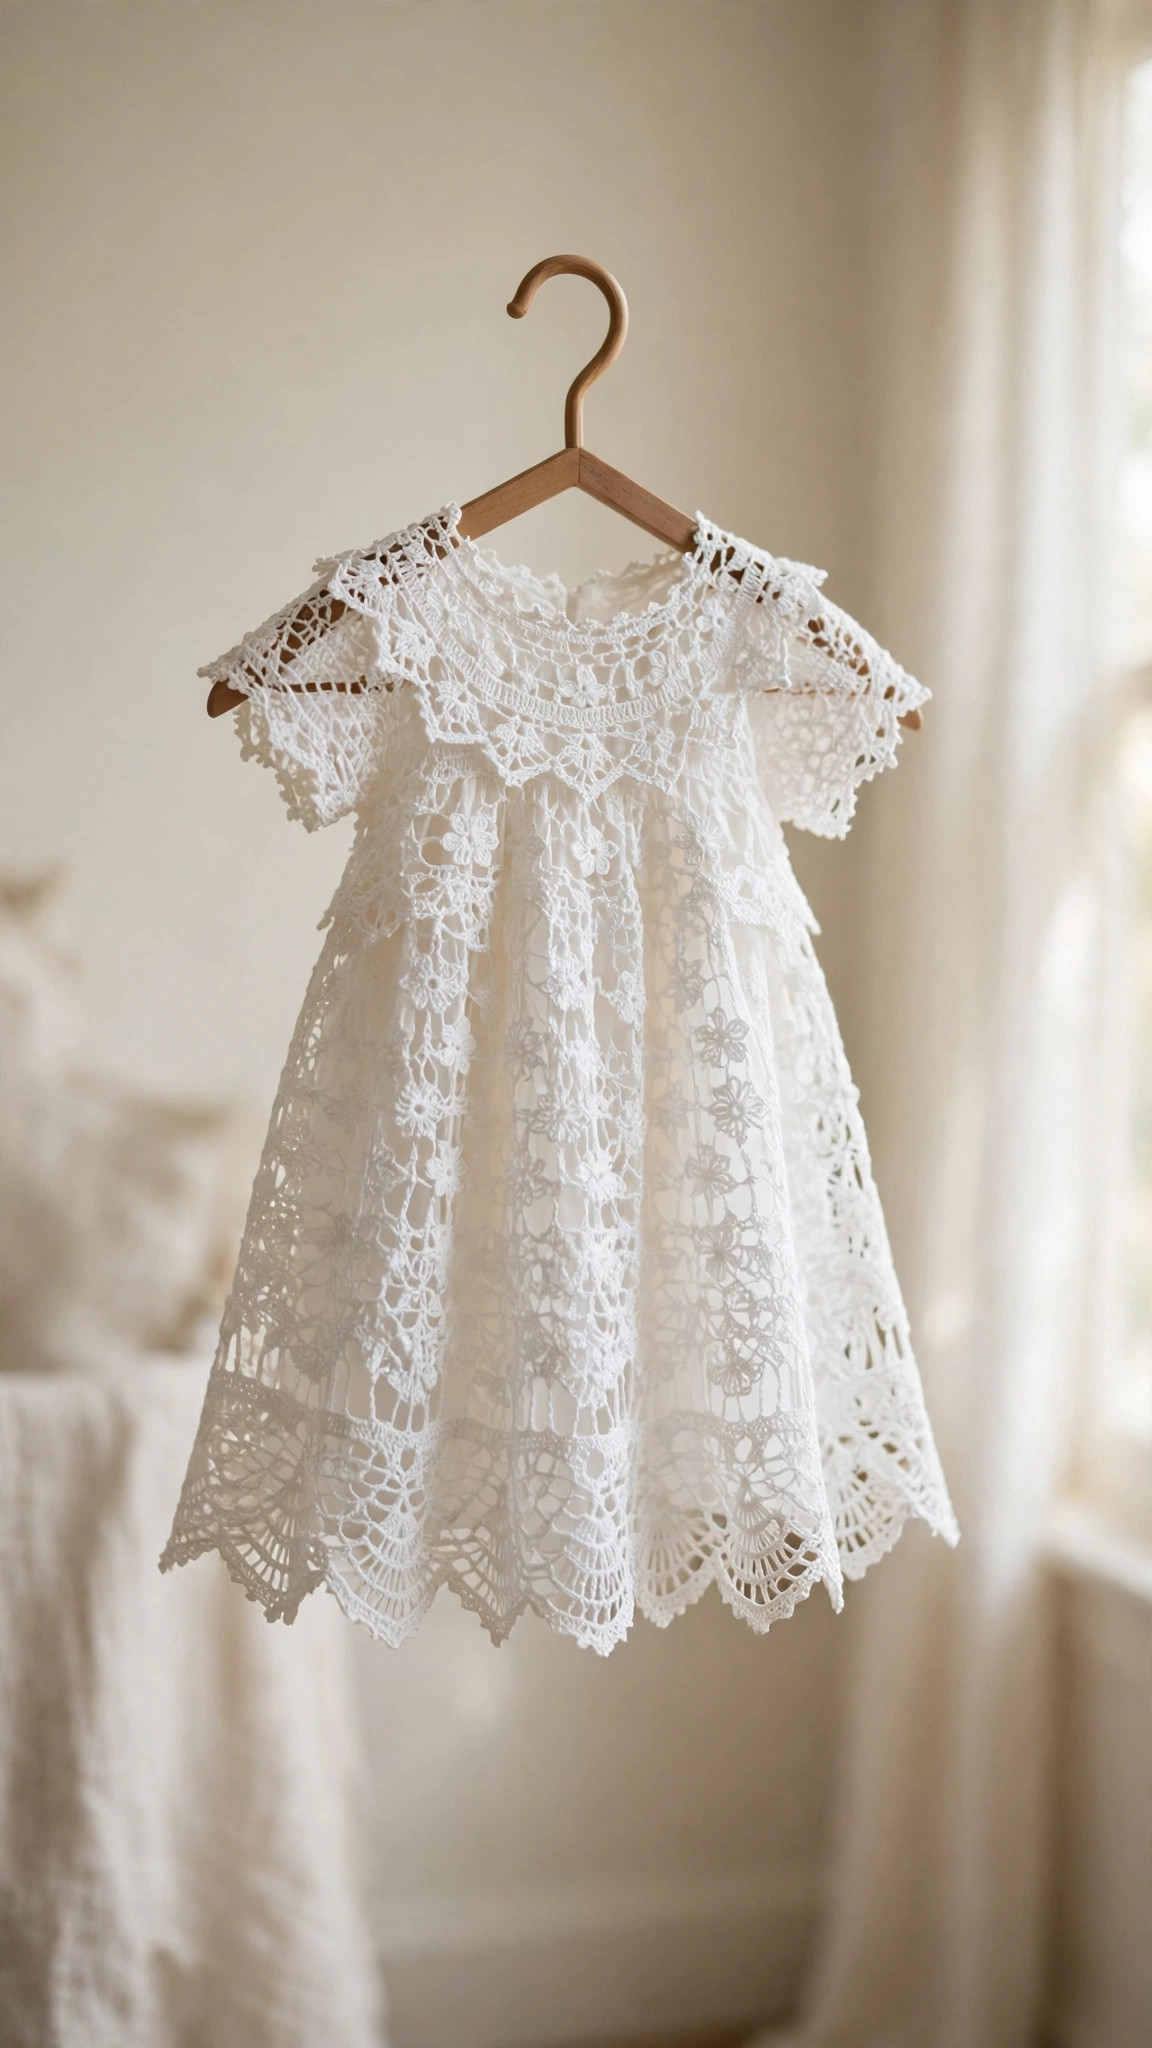
Crochet a delicate heirloom christening gown with this free pattern: lacy shell skirt, pearl button back, and scalloped edging.

Baby & Kids · Crochet
- Finished size
- Newborn 0-3 mo, 20 in long
- Making time
- 20 to 30 hours
- Hook
- US E-4 (3.5 mm)
- Set
- Gown pattern + finishing guide
- Skill
- Intermediate
In this post
- Key Takeaways
- Table of Contents
- Why a Handmade Christening Gown Becomes an Heirloom
- Finished Size, Skill Level, and Time
- Materials You Need
- Abbreviations (US Terms)
- Gauge and Sizing Notes
- The Design: How This Gown Is Built
- Pattern: Yoke and Bodice
- Pattern: Lace Shell Skirt
- Pattern: Sleeves and Edging
- Pattern: Back Placket and Pearl Buttons
- Blocking for That Crisp Heirloom Look
- Variations to Try
- Troubleshooting
- Care and Heirloom Storage
- Frequently Asked Questions
Some projects are just projects, and some become family history. A crocheted christening gown is firmly in the second category. It is the garment in the photographs that get framed, the one folded in tissue paper and passed from one generation to the next, the one that makes grandparents tear up before the ceremony even starts. If you have ever wanted to create that kind of keepsake with your own hands, this free crochet christening gown pattern is your starting point.
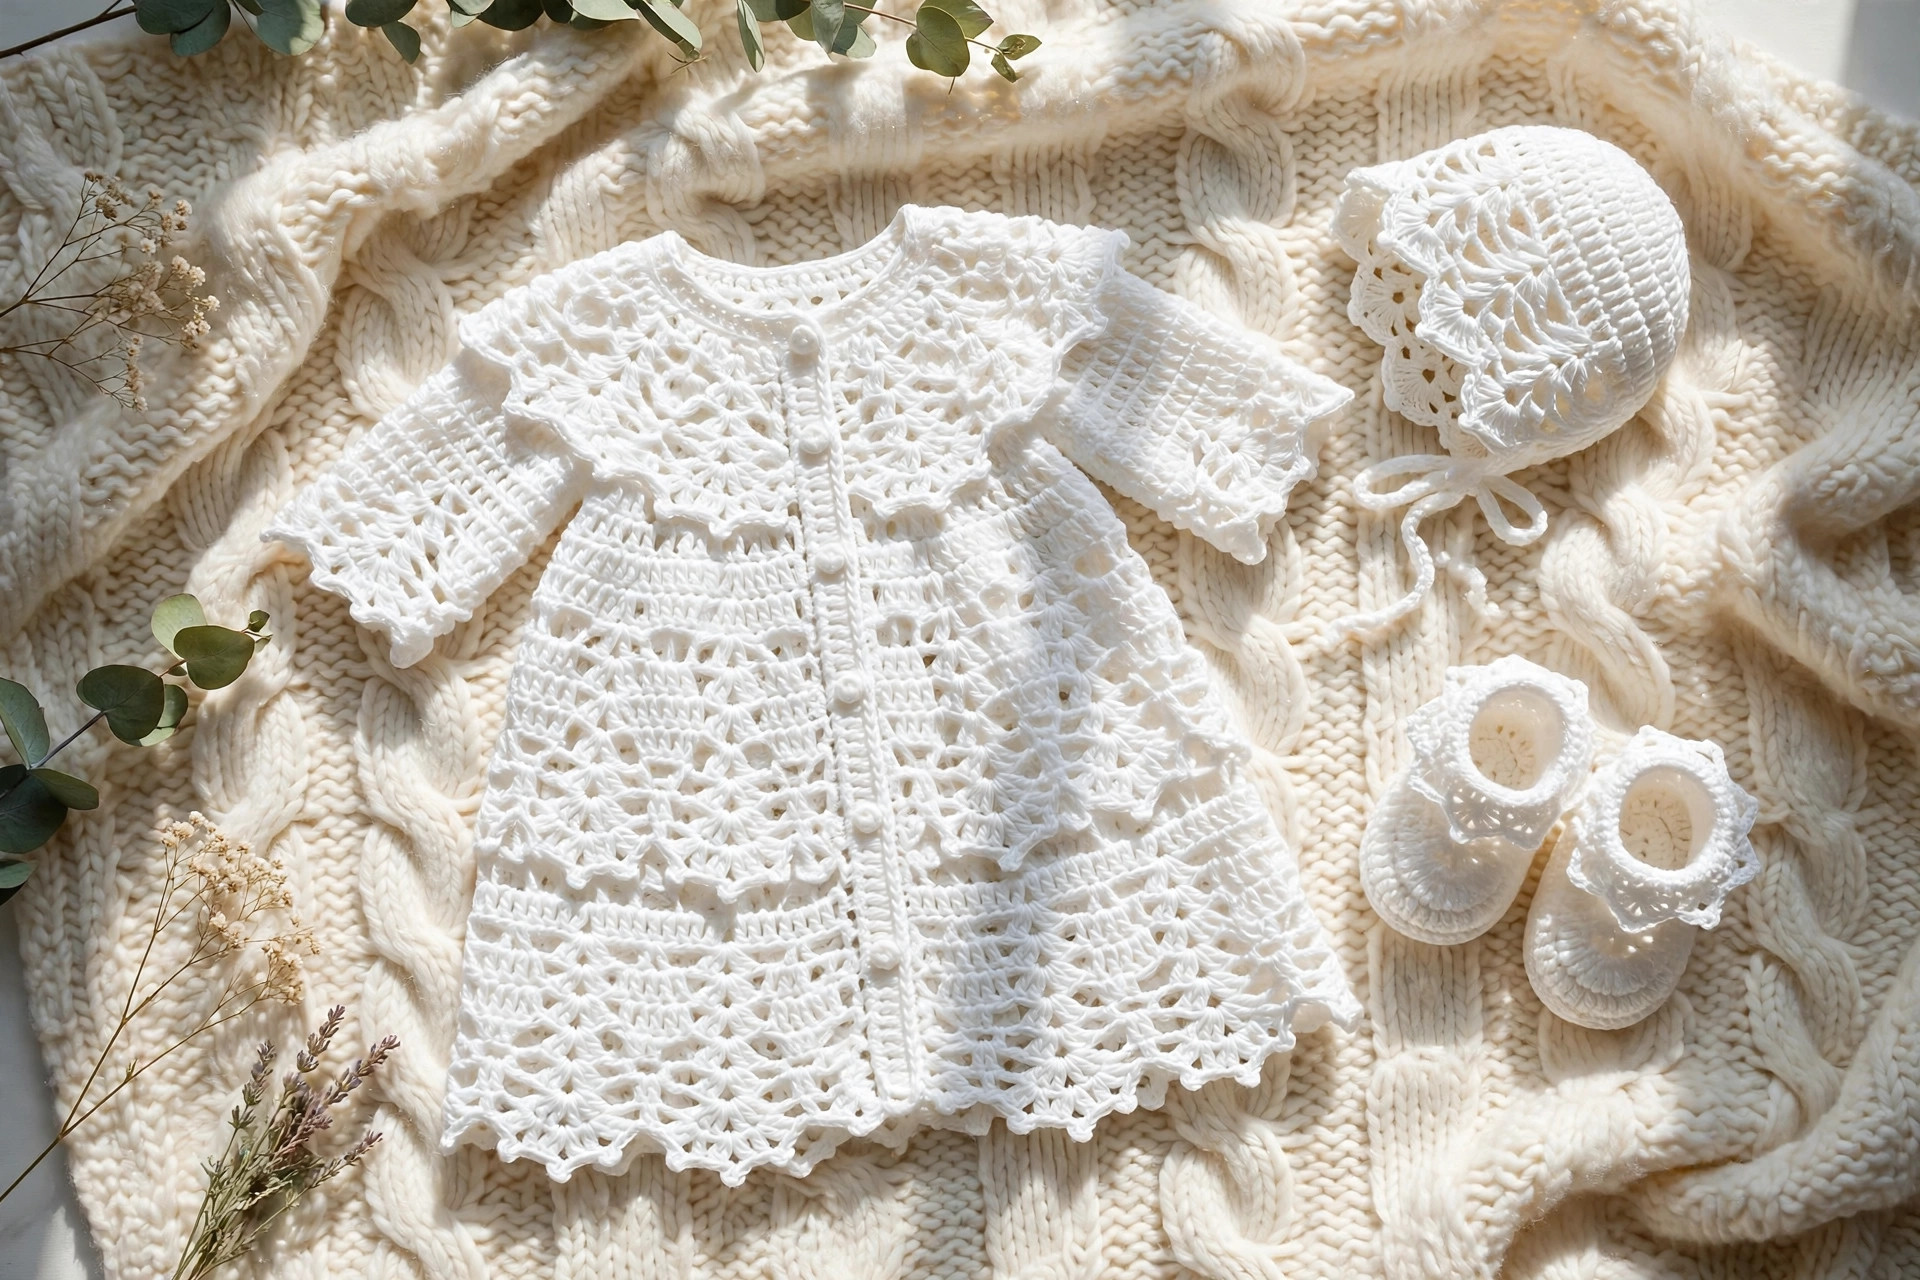
This is an original Little Loop Finds design, written in US crochet terms, and it is completely free. The gown is worked top down with a classic raglan yoke, so there is no seaming at the shoulders and you can check the fit as you go. The bodice is worked in smooth half double crochet, and then the skirt opens into row after row of lacy shells that flare into a soft silhouette. A scalloped picot edging finishes the hem and the short puff sleeves, and the back closes with tiny pearl buttons.
Do not let the delicate look fool you. If you can work half double crochet, double crochet, and chains, you can make this gown. The shell pattern is a simple two row repeat, and the whole garment is built from increases you can count easily. Take it one section at a time, and in about three weekends of relaxed evening stitching you will have a christening gown worth keeping for a hundred years.
Key Takeaways
- A complete free pattern: yoke, lace shell skirt, puff sleeves, back placket, and finishing, all in US terms.
- Top down and seamless: the raglan yoke means no shoulder seams and easy fitting as you work.
- Beginner friendly lace: the skirt uses a simple two row shell repeat, no charts required.
- Heirloom details included: scalloped picot edging, pearl button back closure, and blocking instructions.
- Newborn size: designed to fit 0 to 3 months, with notes for adjusting the length.
Table of Contents
- Why a Handmade Christening Gown Becomes an Heirloom
- Finished Size, Skill Level, and Time
- Materials You Need
- Abbreviations (US Terms)
- Gauge and Sizing Notes
- The Design: How This Gown Is Built
- Pattern: Yoke and Bodice
- Pattern: Lace Shell Skirt
- Pattern: Sleeves and Edging
- Pattern: Back Placket and Pearl Buttons
- Blocking for That Crisp Heirloom Look
- Variations to Try
- Troubleshooting
- Care and Heirloom Storage
- Frequently Asked Questions
Why a Handmade Christening Gown Becomes an Heirloom
Christening gowns occupy a special place in family life because they are worn once, photographed forever, and kept always. Unlike everyday baby clothes that get outgrown and passed along, the christening gown usually goes straight from the ceremony into a keepsake box. That is exactly why making one by hand matters so much. Every stitch carries intention, and years later someone will hold that gown and know who made it.
Crochet is particularly suited to christening gowns because it creates the open, lacy fabric that reads as traditional and precious without requiring advanced lace knitting skills. The shells in this pattern mimic the scalloped edges of vintage gowns, and cotton yarn gives a soft matte finish that photographs beautifully. White or ivory keeps the classic look, but the palest blush or blue works too.
If you are building a full layette to go with the gown, pair it with our baby bonnet pattern and tiny footwear from our infant shoes pattern. For everyday wear after the ceremony, our baby dress pattern uses similar construction in a sturdier version.
Finished Size, Skill Level, and Time
This pattern is written for newborn size, fitting approximately 0 to 3 months.
- Chest: 16 inches
- Yoke depth (neck to underarm): 4.5 inches
- Total length (shoulder to hem): 20 inches
- Sleeve length: 2.5 inches
Skill level: Confident beginner to intermediate. You should be comfortable with chains, half double crochet, double crochet, and working in rows.
Time: Expect 20 to 30 hours at a relaxed pace. Most makers finish in two to three weeks of evening sessions.
Materials You Need
| Material | Details |
|---|---|
| Yarn | #3 light (DK) weight cotton or cotton blend, 700 to 800 yards in white or ivory |
| Hook | US E-4 (3.5 mm) |
| Buttons | 3 small pearl buttons, about 0.5 inch |
| Notions | 4 stitch markers, yarn needle, scissors, pins for blocking |
| Optional | 1 yard of narrow satin ribbon for a waist sash |
Choose a smooth cotton or cotton blend with good stitch definition. Mercerized cotton gives the crispest lace and the brightest white, which suits an heirloom piece. Avoid fuzzy or textured yarns for this project, since they hide the shell pattern that makes the gown special. If you want a softer hand feel for a sensitive newborn, a cotton and bamboo blend is a lovely compromise.
Abbreviations (US Terms)
| Abbreviation | Meaning |
|---|---|
| ch | chain |
| sl st | slip stitch |
| sc | single crochet |
| hdc | half double crochet |
| dc | double crochet |
| st(s) | stitch(es) |
| sp | space |
| rep | repeat |
| RS | right side |
| WS | wrong side |
| pm | place marker |
Special stitch, Shell: 5 dc worked into the same stitch or space. In this pattern, shells are always separated by skipped stitches and anchored with a single crochet, which keeps the lace open and even.
Gauge and Sizing Notes
Gauge: 20 hdc and 14 rows = 4 inches in half double crochet with US E-4 (3.5 mm) hook, blocked. Check your gauge, because even a small difference multiplies across the wide skirt. If your swatch is too large, go down a hook size; if too small, go up.
A note on the open back: the back of the gown is left open from the neckline to the waist so the garment slips easily over a newborn's head. The placket instructions below close it with pearl buttons after dressing, so the finished gown looks fully closed in photographs.
Length adjustments: to make a longer gown, simply work more repeats of the two shell rows before the edging. Each two row repeat adds about 1.25 inches. For a shorter gown, work fewer repeats. The stitch counts do not change, so length is the easiest customization in this pattern.
The Design: How This Gown Is Built
Understanding the construction before you pick up the hook makes the whole project smoother. The gown has four parts.
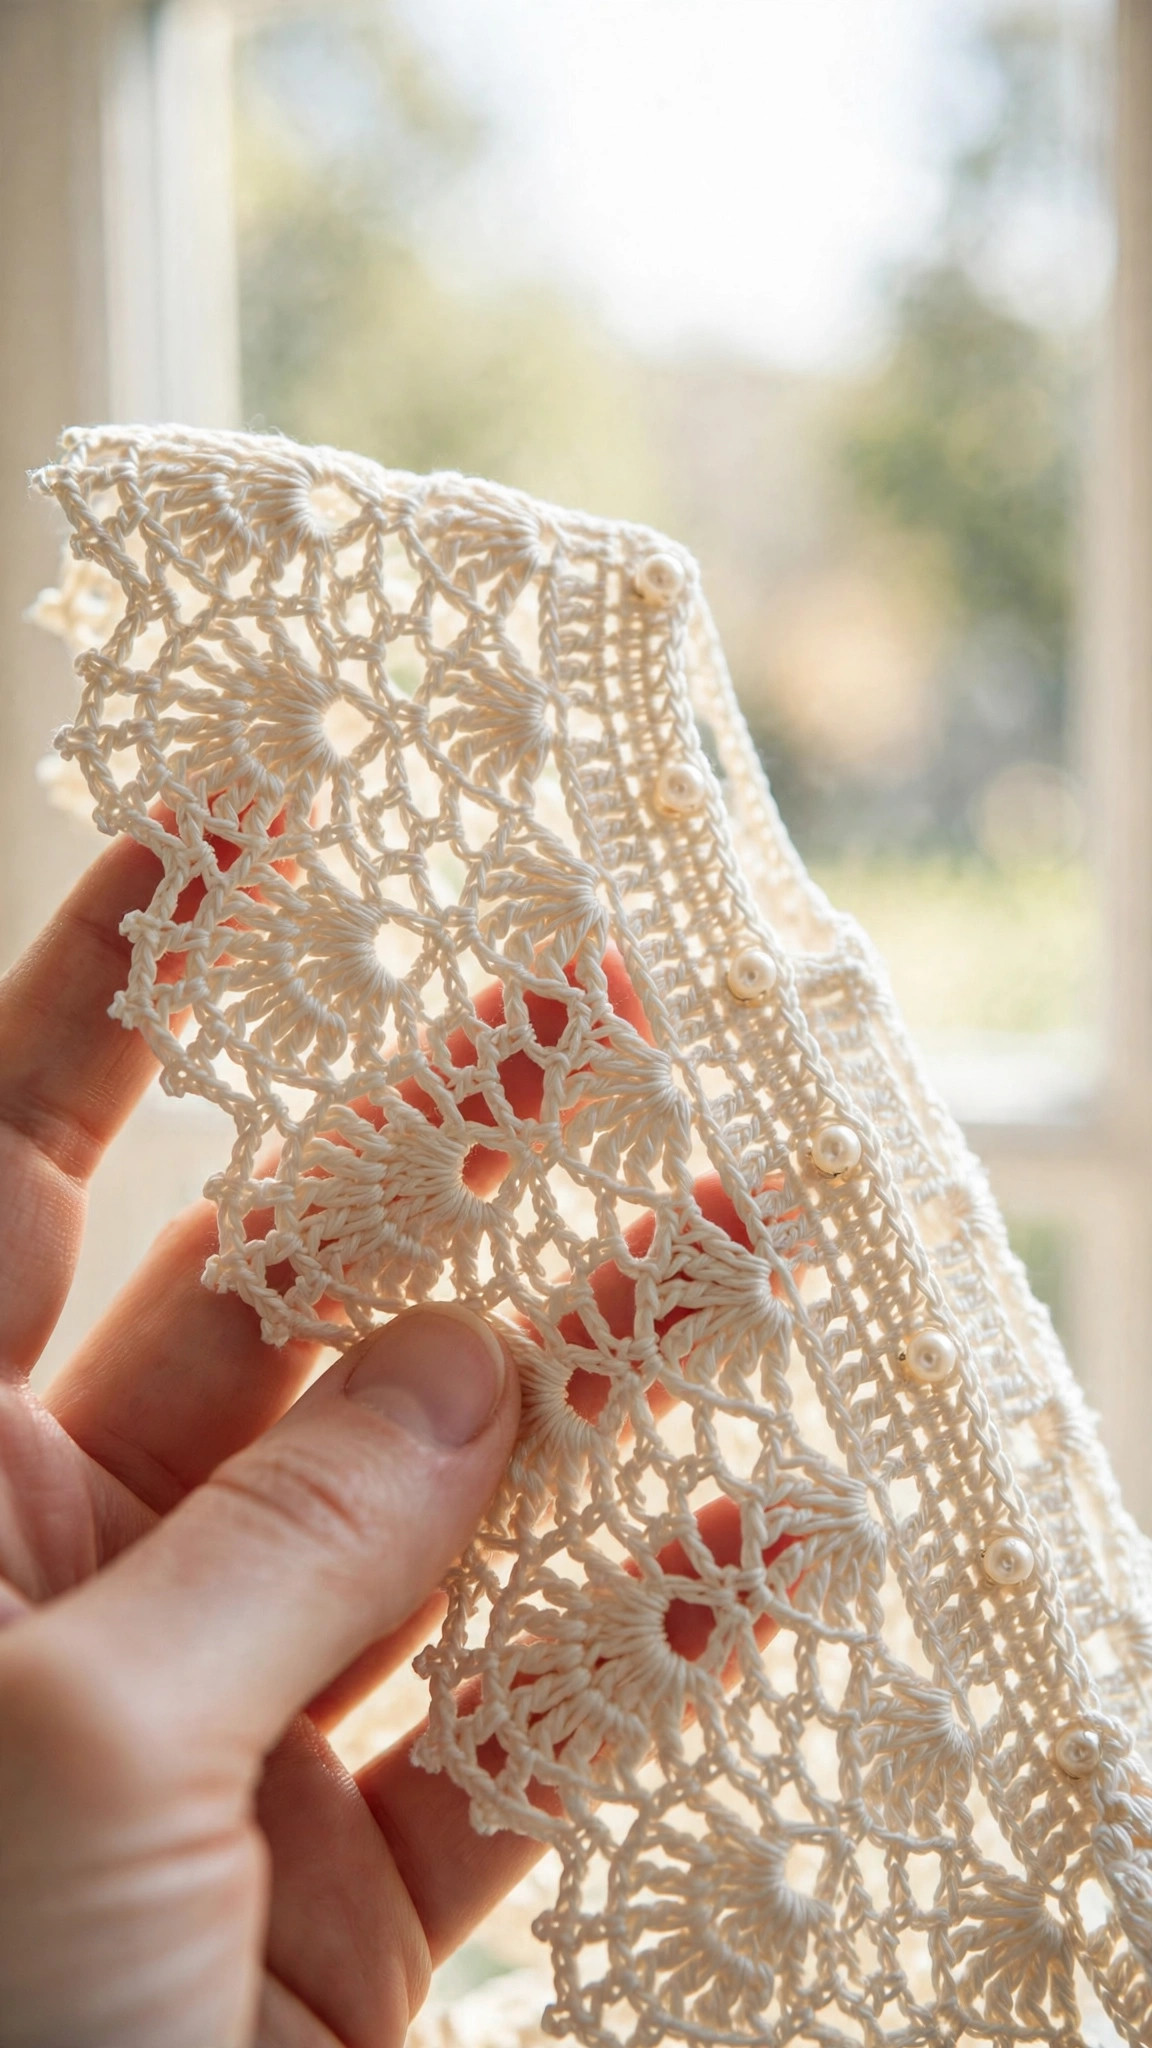
The yoke is worked flat in rows from the neckline down, with four raglan increase points that shape the shoulders. Markers sit at the four corners so you always know where the increases go. After the yoke is deep enough, the sleeve stitches are skipped and the body is joined into one piece at the underarms.
The bodice is a short section of plain half double crochet below the yoke. It gives the gown a smooth fitted section at the chest before the lace begins, which is the classic christening gown silhouette.
The skirt is where the magic happens. It starts with a row of double crochet, then shifts into the shell pattern, a two row repeat worked until the skirt reaches your desired length. The shells naturally flare outward, creating fullness without any shaping math.
The sleeves are short and puffy, worked in the round directly onto the armholes left by the yoke division. A picot edging finishes them to match the hem.
Pattern: Yoke and Bodice
Worked flat in rows. Turn at the end of every row. The ch 1 at the start of hdc rows does not count as a stitch.
Foundation: Ch 68.
Row 1 (RS): Hdc in 2nd ch from hook and in each ch across. (67 hdc) Turn.
Row 2 (raglan setup): Hdc 10 (left front), pm, (hdc, ch 1, hdc) in next st (first corner made), pm, hdc 12 (sleeve), pm, (hdc, ch 1, hdc) in next st (second corner), pm, hdc 19 (back), pm, (hdc, ch 1, hdc) in next st (third corner), pm, hdc 12 (sleeve), pm, (hdc, ch 1, hdc) in next st (fourth corner), pm, hdc 10 (right front). (75 sts counting each ch-1 sp as one) Turn.
Rows 3 to 9: Ch 1, hdc in each st and ch-1 sp across; at each marked corner work (hdc, ch 1, hdc) in the ch-1 sp, moving markers up as you go. Each row adds 8 sts. After Row 9 you will have 131 sts. The yoke should measure about 4.5 inches deep. If yours is shorter, work one more increase row; if longer, skip ahead to the division row.
Row 10 (divide for body and sleeves): Ch 1, hdc across left front sts to first marker, ch 4, skip all sleeve sts to next marker, hdc across back sts to next marker, ch 4, skip all sleeve sts to next marker, hdc across right front sts. Remove markers. (17 + 4 + 33 + 4 + 17 = 75 hdc) Turn.
Row 11: Ch 1, hdc in each st and ch across, working 2 hdc in the 2nd ch of each ch-4 underarm space and 2 hdc in the final st of the row. (78 hdc) Turn.
Rows 12 to 14: Ch 1, hdc in each st across. (78 hdc) Turn. You now have a little bodice with open armholes on each side. The skirt continues downward from here, and the sleeves are added later.
Pattern: Lace Shell Skirt
The skirt is worked downward from the bodice in rows. Turn at the end of every row. The ch 3 at the start of a dc row counts as the first dc.
Skirt Row 1: Ch 3 (counts as dc), dc in each st across. (78 dc) Turn.
Skirt Row 2 (shell row): Ch 1, sc in first st, *skip 2 sts, 5 dc in next st (shell made), skip 2 sts, sc in next st; rep from * across. (13 shells) Turn.
Skirt Row 3: Ch 5 (counts as dc and ch 2), *sc in center (3rd) dc of next shell, ch 2, dc in next sc, ch 2; rep from * across, ending with dc in last sc instead of ch 2. Turn.
Skirt Row 4: Ch 3 (counts as dc), 2 dc in first ch-2 sp, *sc in next sc, 5 dc in next ch-2 sp (shell made); rep from * across, ending with 3 dc in last ch-2 sp. Turn.
Skirt Rows 5 to 16: Repeat Skirt Rows 3 and 4 six more times. The skirt will flare gently as the shells stack. After Row 16 the skirt measures about 12 inches from the bodice join.
Adjusting length: for a longer gown, repeat Rows 3 and 4 extra times before moving to the edging. Each two row repeat adds about 1.25 inches. For a shorter gown, stop after Row 12 or 14 and go straight to the edging.
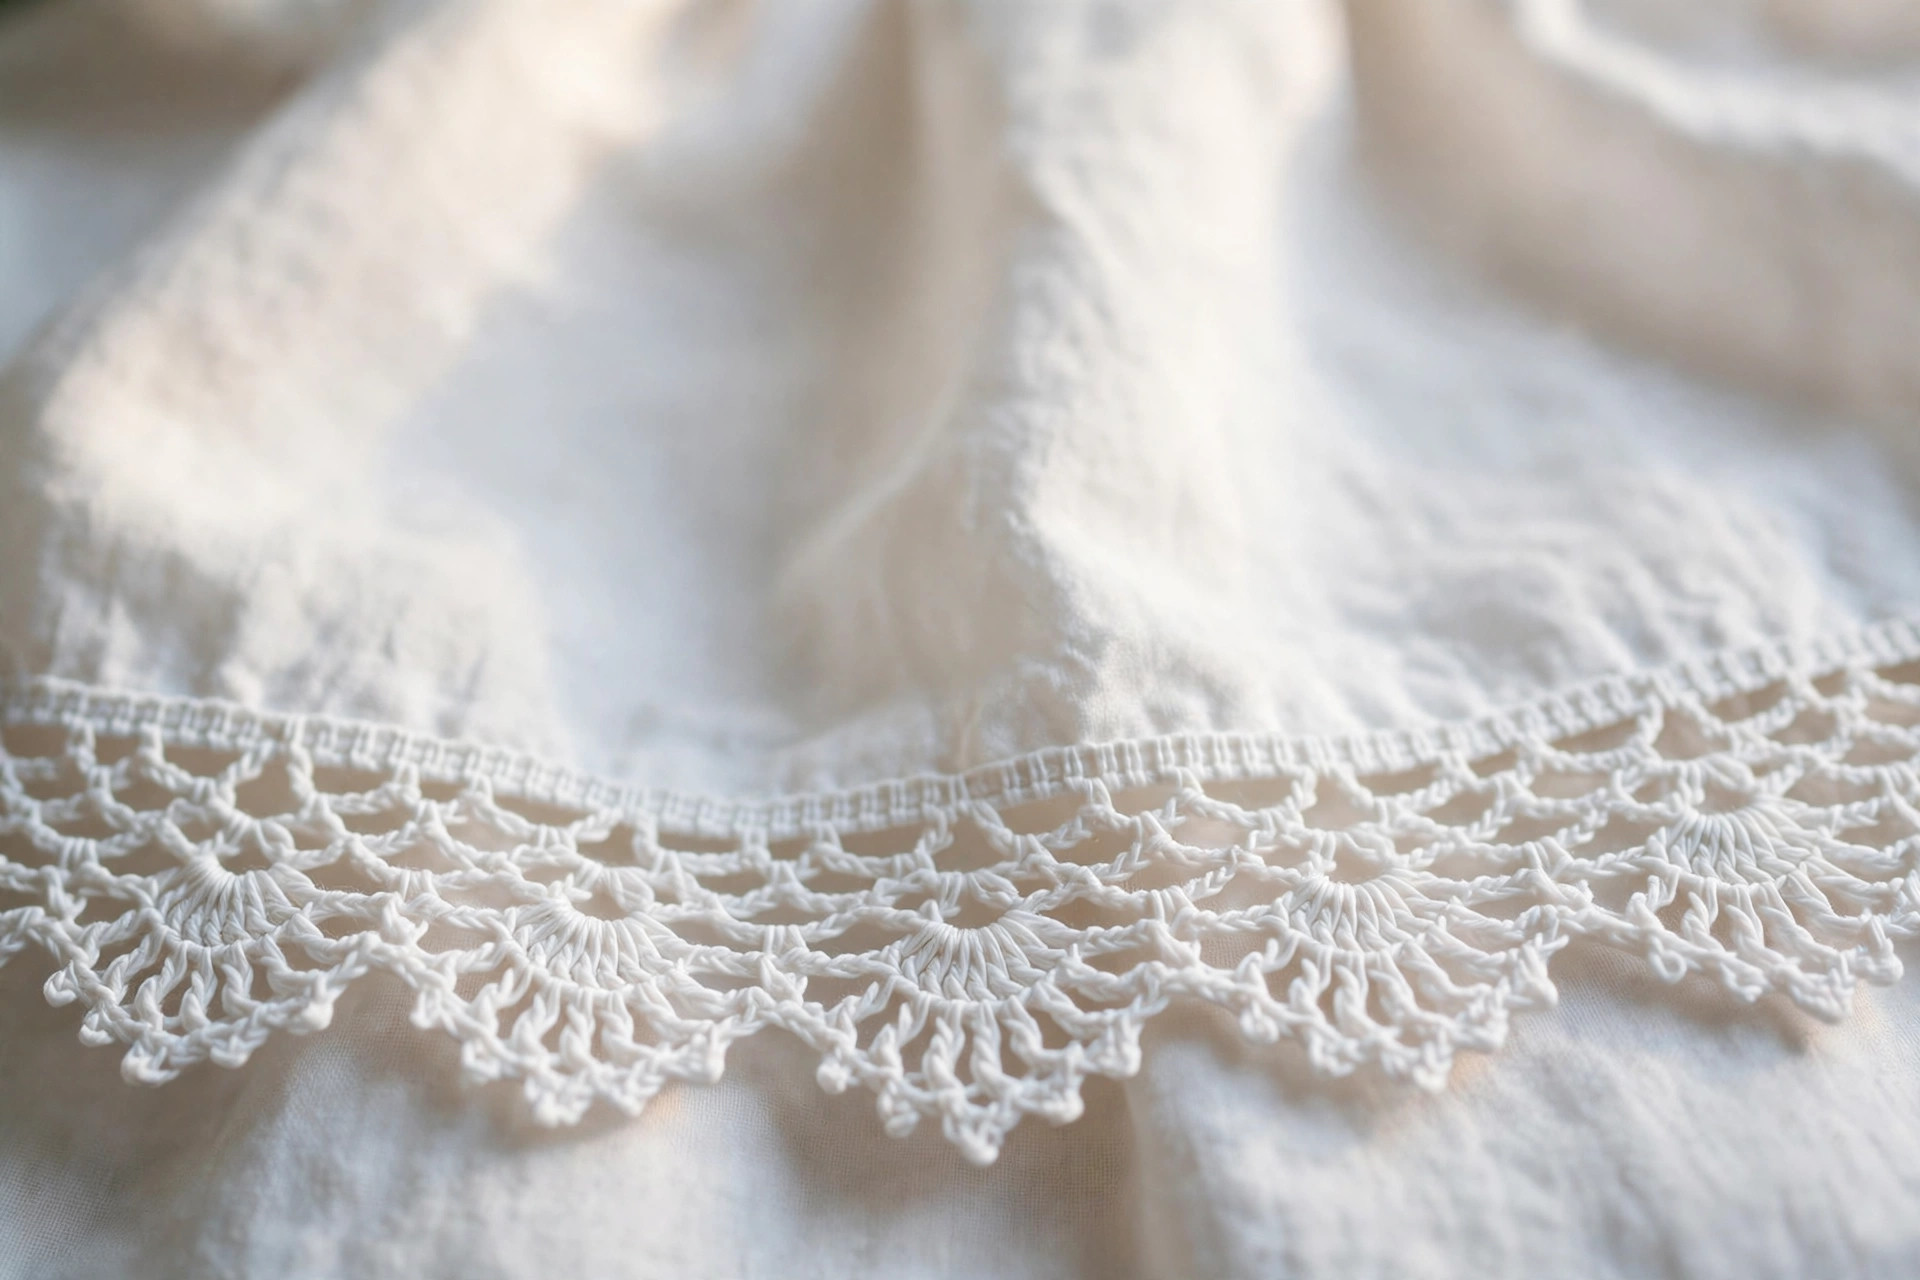
Skirt Edging (scalloped picot row): Ch 1, *sc in next ch-2 sp, ch 3, sl st in 3rd ch from hook (picot made), 2 dc in same ch-2 sp, sc in next sc; rep from * across, ending with sc in last st. Fasten off and weave in the end.
Pattern: Sleeves and Edging
The sleeves are worked in the round onto the armholes, starting at the underarm. Join yarn with a sl st in the center chain of the underarm ch-4 space.
Sleeve Round 1: Ch 1, sc in joining st, *skip 2 sts, 5 dc in next st (shell made), skip 2 sts, sc in next st; rep from * around the armhole. You should fit 5 shells; if the last repeat does not land evenly, adjust by skipping 1 st instead of 2 once. Join with sl st to first sc. (5 shells)
Sleeve Round 2: Ch 1, sc in each st around, working 1 sc in each dc and 1 sc in each sc. Join with sl st. Fasten off.
Sleeve Edging: Join yarn in any st. *Sc in next st, ch 3, sl st in 3rd ch from hook (picot made), skip 1 st; rep from * around. Join with sl st and fasten off. Repeat for the second sleeve.
The picot edging on the sleeves mirrors the hem edging, which ties the whole gown together visually.
Pattern: Back Placket and Pearl Buttons
The back opening runs from the neckline down to the waist (through the yoke and bodice). Work the placket as follows.
Left back edge (button side): With RS facing, join yarn at the bottom of the opening. Ch 1, work 2 rows of sc evenly up the edge, placing about 3 sc per 2 rows of the yoke and bodice. Fasten off. Sew the 3 pearl buttons evenly spaced along this edge.
Right back edge (buttonhole side): With RS facing, join yarn at the top of the opening. Ch 1, sc evenly down the edge to match the left side. Buttonhole row: Ch 1, sc in first 2 sts, *ch 6, skip 4 sts, sc in next 6 sts; rep from * twice more to make 3 button loops, sc to end. Work one more row of sc, working 6 sc into each ch-6 loop. Fasten off and weave in ends.
Try each button through its loop and adjust loop placement if any button feels too tight. The loops will relax slightly with wear.
Blocking for That Crisp Heirloom Look
Blocking transforms this gown from pretty to breathtaking, so do not skip it. You will need rust proof pins, a blocking mat or clean towels, and a spray bottle of water. Soak the finished gown in cool water with a drop of gentle soap for 15 minutes, then press out the water in a towel. Never wring crocheted lace.
Lay the gown flat with the front facing up. Pin the neckline into a smooth curve first, then pin the bodice flat. Gently stretch the skirt outward so each shell lies flat and the scalloped edge forms even points, pinning every shell point. Pin the sleeves flat with the picot edges fanned out. Mist lightly with water and let dry completely, at least 24 hours.
The shells will open up and the lace will look far more defined after blocking. This is the step that gives boutique christening gowns their crisp, sculptural quality.
Variations to Try
Satin ribbon sash: thread a narrow ivory satin ribbon through the double crochet row at the waist (Skirt Row 1) and tie it in a bow at the back.
Longer heirloom length: work 20 shell rows instead of 16 for a dramatic full length gown. Add one extra ball of yarn.
Lace edging upgrade: our lace edgings collection has wider trims you can substitute for the picot hem on a second gown.
Matching set: a tiny bonnet and booties turn the gown into a complete gift set. Use the same yarn so the whites match exactly.
Troubleshooting
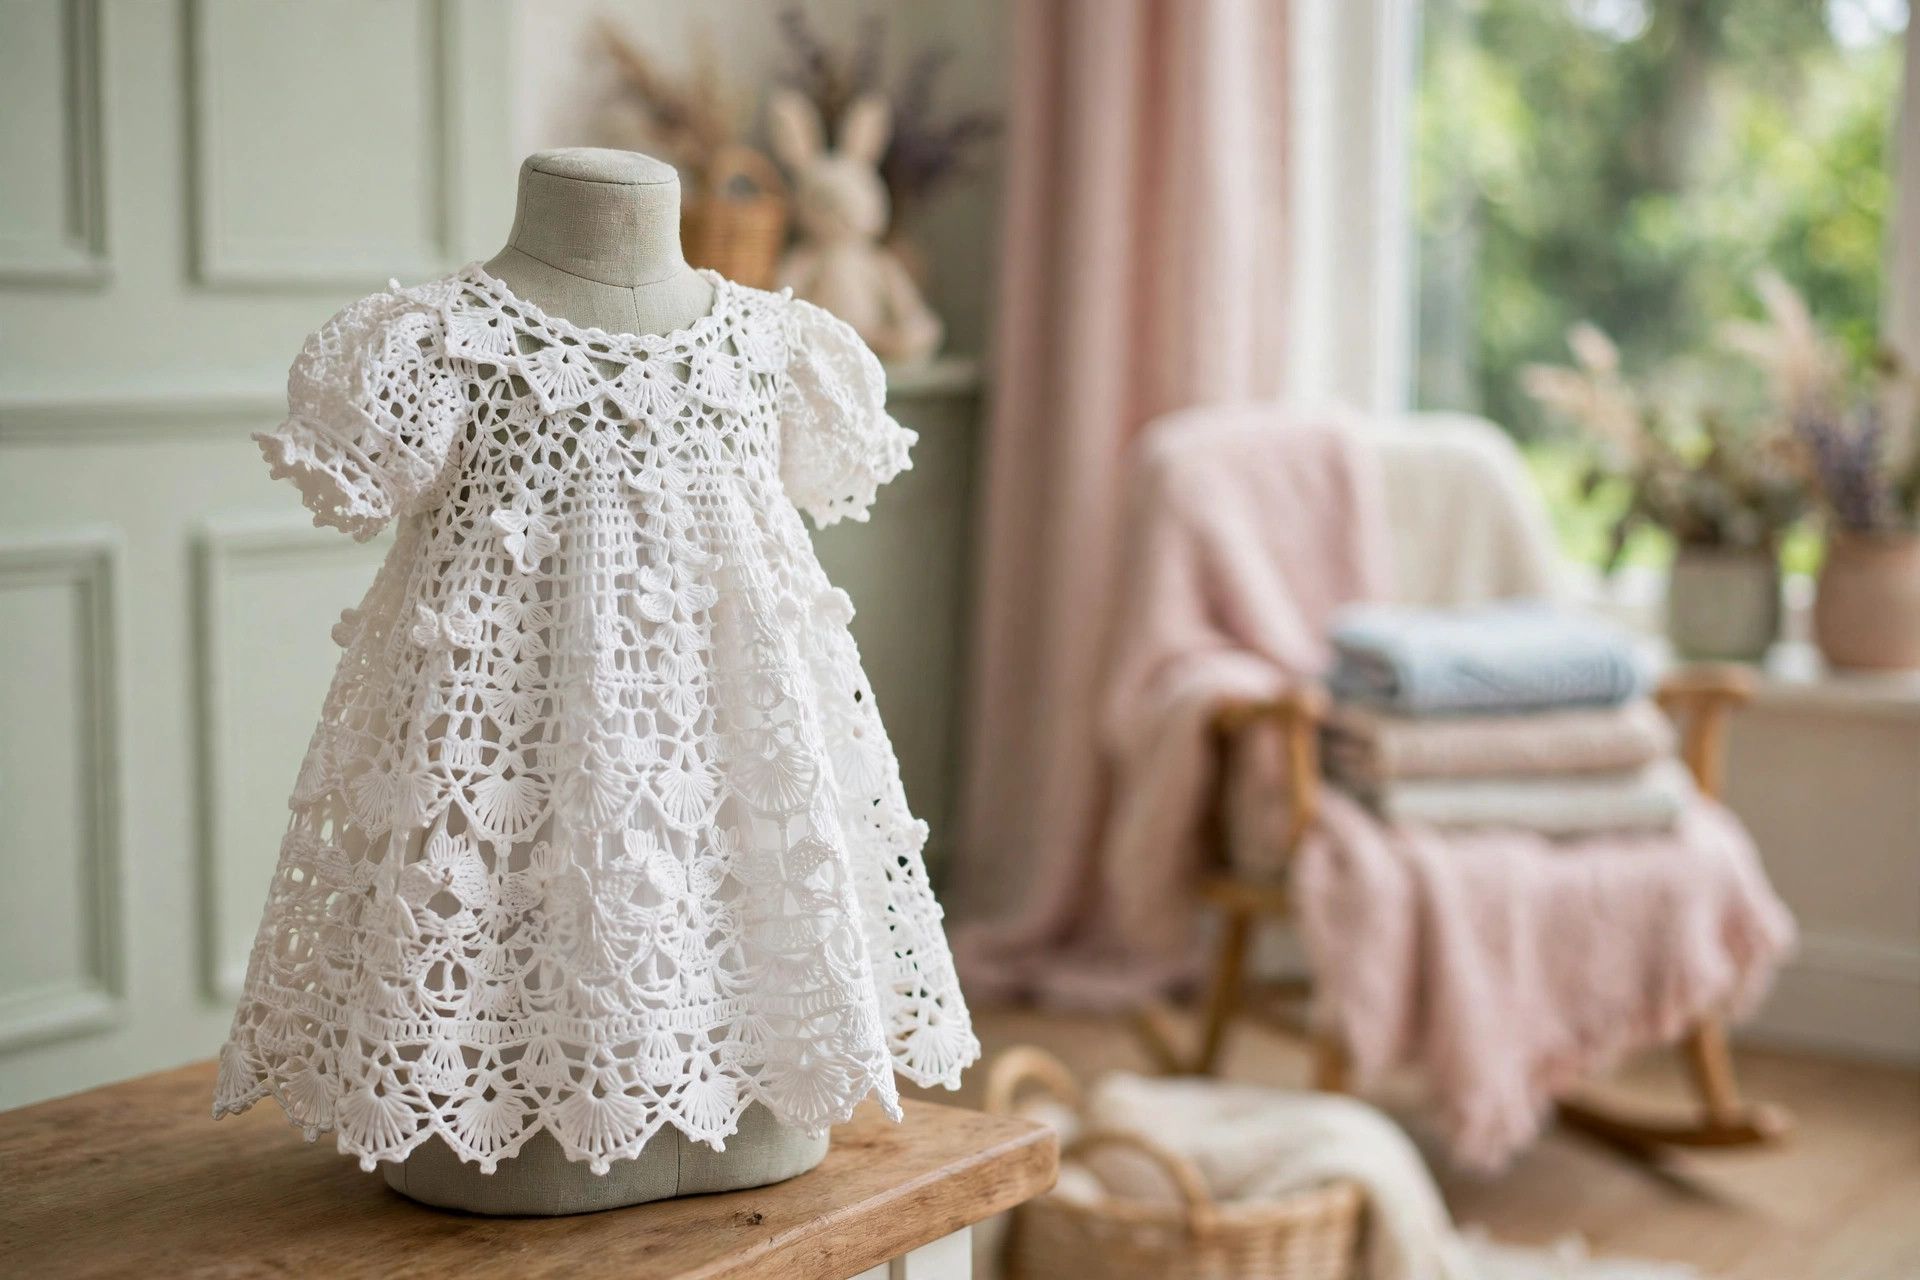
My shells are curling instead of lying flat. This is normal before blocking. The shells will relax and open once the gown is washed and pinned out. If curling is severe, check that you are not working your double crochets too tightly.
The neckline is too tight to fit over the head. The open back should solve this, but if the neck still resists, work Row 1 with a hook one size larger, or add 4 chains to the foundation and adjust each front by 2 stitches.
My stitch count is off after the raglan setup. Count the groups between markers: 10, 3, 12, 3, 19, 3, 12, 3, 10. The most common mistake is working the corner increase into the wrong stitch. Frog back to Row 2 and re-place your markers.
The skirt flares more on one side. Uneven tension is the usual cause. Try to keep your double crochets relaxed in the shell rows, and let blocking even out minor differences.
The pearl buttons pull the placket. Interface the button band with a narrow strip of fusible interfacing on the wrong side before sewing the buttons, or switch to lighter buttons.
Care and Heirloom Storage
Hand wash in cool water with a gentle soap made for delicates, and never use bleach on an heirloom piece. Press out water in a towel and dry flat, reshaping the shells with your fingers. Store the gown wrapped in acid free tissue paper in a breathable cotton bag, never in plastic, which traps moisture and yellows white cotton over time.
Frequently Asked Questions
Is this christening gown pattern really free?
Yes. The complete pattern, yoke, bodice, lace shell skirt, sleeves, placket, and finishing instructions, is free in this post. There is no PDF to buy and no email signup required.
What size does the gown fit?
Newborn, approximately 0 to 3 months, with a 16 inch chest and 20 inch total length. Length is easy to adjust with extra shell row repeats.
Can I make this gown in acrylic yarn?
You can. Choose a soft #3 light weight acrylic and check your gauge carefully. Cotton gives a crisper heirloom look, but a soft acrylic is kinder to sensitive newborn skin and easier to care for.
I am a beginner. Is this pattern too advanced for me?
If you can chain, half double crochet, and double crochet, you can make this gown. The shell pattern is a two row repeat written out row by row. Take it one section at a time.
How long does the gown take to crochet?
Most makers finish in 20 to 30 hours, about two or three weeks of relaxed evening stitching. The skirt is the longest section, but the repeat is rhythmic and pleasant.
Can I sell finished gowns made from this pattern?
Yes, you may sell finished gowns you crochet from this original Little Loop Finds design. Please credit Little Loop Finds as the pattern source. The pattern text itself may not be copied or resold.
How is this different from a crochet baby dress?
A christening gown is longer, lacier, and designed as a once worn keepsake, while a baby dress is shorter and made for everyday wear. If you want a practical dress for after the ceremony, our frock patterns are the perfect follow up project using the same basic skills.