Crochet Frog Pattern (Free, Amigurumi)
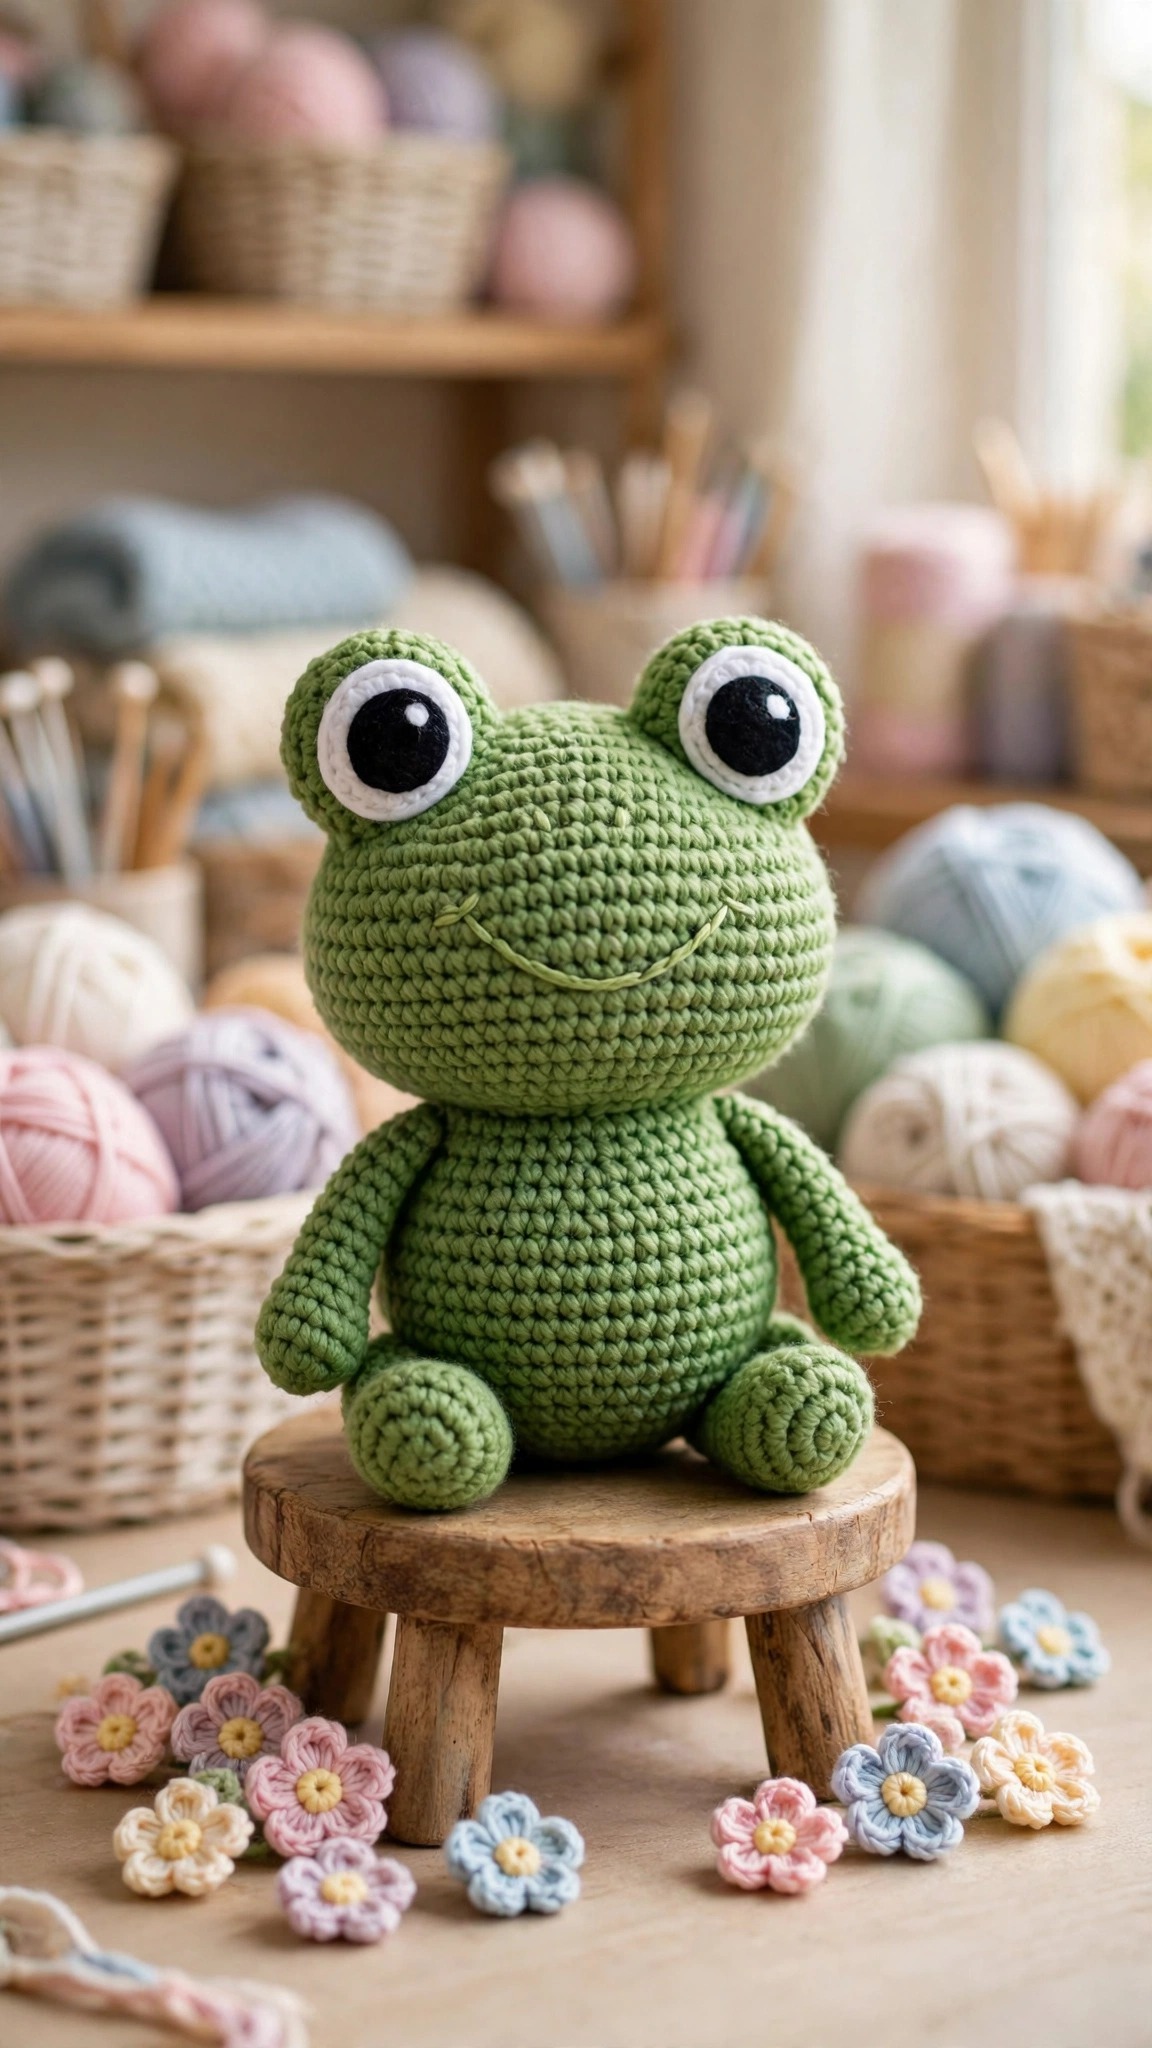
Stitch a cute amigurumi frog plush with oversized cartoon eyes and a sweet stitched smile, free original pattern in US terms.

Amigurumi · Crochet
- Finished size
- 6 in tall sitting
- Making time
- 4 to 6 hours
- Hook
- US E-4 (3.5 mm)
- Set
- Frog, eye bumps, belly and face guide
- Skill
- Easy
In this post
- Key Takeaways
- Table of Contents
- Why You Will Love This Crochet Frog
- Finished Size, Skill Level, and Time
- Materials You Need
- Abbreviations (US Terms)
- Part 1: Crocheting the Head
- Part 2: Crocheting the Body
- Part 3: Legs and Feet
- Part 4: The Big Cartoon Eyes
- Part 5: Belly Patch and Smile
- Assembly
- Variations: Make It Yours
- Troubleshooting Amigurumi
- Care Instructions
- Frequently Asked Questions
Some frogs are slimy. This one is made of yarn, and he is here to steal your heart. This free crochet frog pattern walks you through an original amigurumi frog plush with oversized cartoon eyes, chubby cheeks, and a sweet stitched smile, and the whole project works up in a single weekend.
This is a Little Loop Finds original design, written in US terms and completely free. The frog is built from simple single crochet spheres and ovals, so the techniques stay friendly while the finished plush looks like it came from a boutique toy shop. Big eyes do most of the cute-work here, which means your stitching does not need to be perfect for the result to be adorable.
Frogs are one of the most searched amigurumi animals for a reason. They photograph beautifully, they make fantastic gifts for kids and frog obsessed adults alike, and a little green frog fits every season, from spring nursery decor to a quirky desk buddy. Stitch one in classic green, or scroll to the variations section for a teal frog with a golden crown, a pink cherry blossom frog, and a sleepy frog with closed embroidered eyes.
Key Takeaways
- Free original pattern: this crochet frog pattern is a Little Loop Finds original amigurumi design, written in US terms, and completely free.
- Beginner friendly: uses only single crochet, increases, decreases, and simple embroidery.
- Quick weekend make: about 4 to 6 hours of stitching plus assembly.
- Signature big eyes: oversized cartoon eyes on top of the head give instant cute factor with very little effort.
- Stash friendly: needs less than one skein of green worsted weight yarn plus small amounts of cream and black.
Table of Contents
- Why You Will Love This Crochet Frog
- Finished Size, Skill Level, and Time
- Materials You Need
- Abbreviations (US Terms)
- Part 1: Crocheting the Head
- Part 2: Crocheting the Body
- Part 3: Legs and Feet
- Part 4: The Big Cartoon Eyes
- Part 5: Belly Patch and Smile
- Assembly
- Variations: Make It Yours
- Troubleshooting Amigurumi
- Care Instructions
- Frequently Asked Questions
Why You Will Love This Crochet Frog
There are hundreds of frog patterns floating around the internet, so here is why this one deserves your hook time. First, the proportions are engineered for maximum cute: a round head that is slightly wider than the body, eyes mounted high and wide like a real frog, and stubby little legs that make him sit up on his own. Get those three things right and the frog basically styles himself.
Second, the pattern is genuinely beginner friendly without being boring. You will practice the magic ring, even increases and decreases, working in continuous rounds, and simple surface embroidery, all skills that transfer directly to every amigurumi you make after this. If you have never made a stuffed toy before, browse our easy beginner crochet patterns first for a warm up, then come back and hop in.
Third, frogs are gift gold. Toddlers love them, teens put them on their desks, and adults who claim they do not like stuffed animals will absolutely keep a frog on their bookshelf. He is small enough to ship in a padded mailer, quick enough to make as a last minute gift, and charming enough that people assume you bought him at a craft fair.
Finished Size, Skill Level, and Time
- Finished size: about 6 inches tall sitting, 4.5 inches wide, in worsted weight yarn with a 3.5 mm hook. Using DK yarn and a 3.0 mm hook makes a 4.5 inch pocket frog.
- Skill level: confident beginner. You should be comfortable with single crochet in the round, increasing, and decreasing. The face is simple straight stitch embroidery.
- Making time: 4 to 6 hours of crocheting, plus about 30 minutes for the face and assembly.
Materials You Need
- Worsted weight (#4) yarn: about 90 yards of frog green, 25 yards of cream for the belly patch, and a small amount of black for the smile.
- US E-4 (3.5 mm) crochet hook. Go down a hook size from the yarn label so the stuffing does not peek through.
- Polyester fiberfill stuffing.
- Yarn needle, scissors, and a stitch marker.
- Two 10 mm black safety eyes (optional; the pattern includes an embroidered eye option that is safer for babies and toddlers).
- Small amount of white yarn or felt for the eye whites if you want extra cartoon pop.
Abbreviations (US Terms)
- ch: chain
- sc: single crochet
- inc: increase (2 sc in the same stitch)
- dec: decrease (single crochet 2 together)
- sl st: slip stitch
- st(s): stitch(es)
- MR: magic ring
- [ ] xN: repeat the instructions in brackets N times
Work in continuous rounds unless stated otherwise. Mark the first stitch of each round with a stitch marker and move it up as you go.
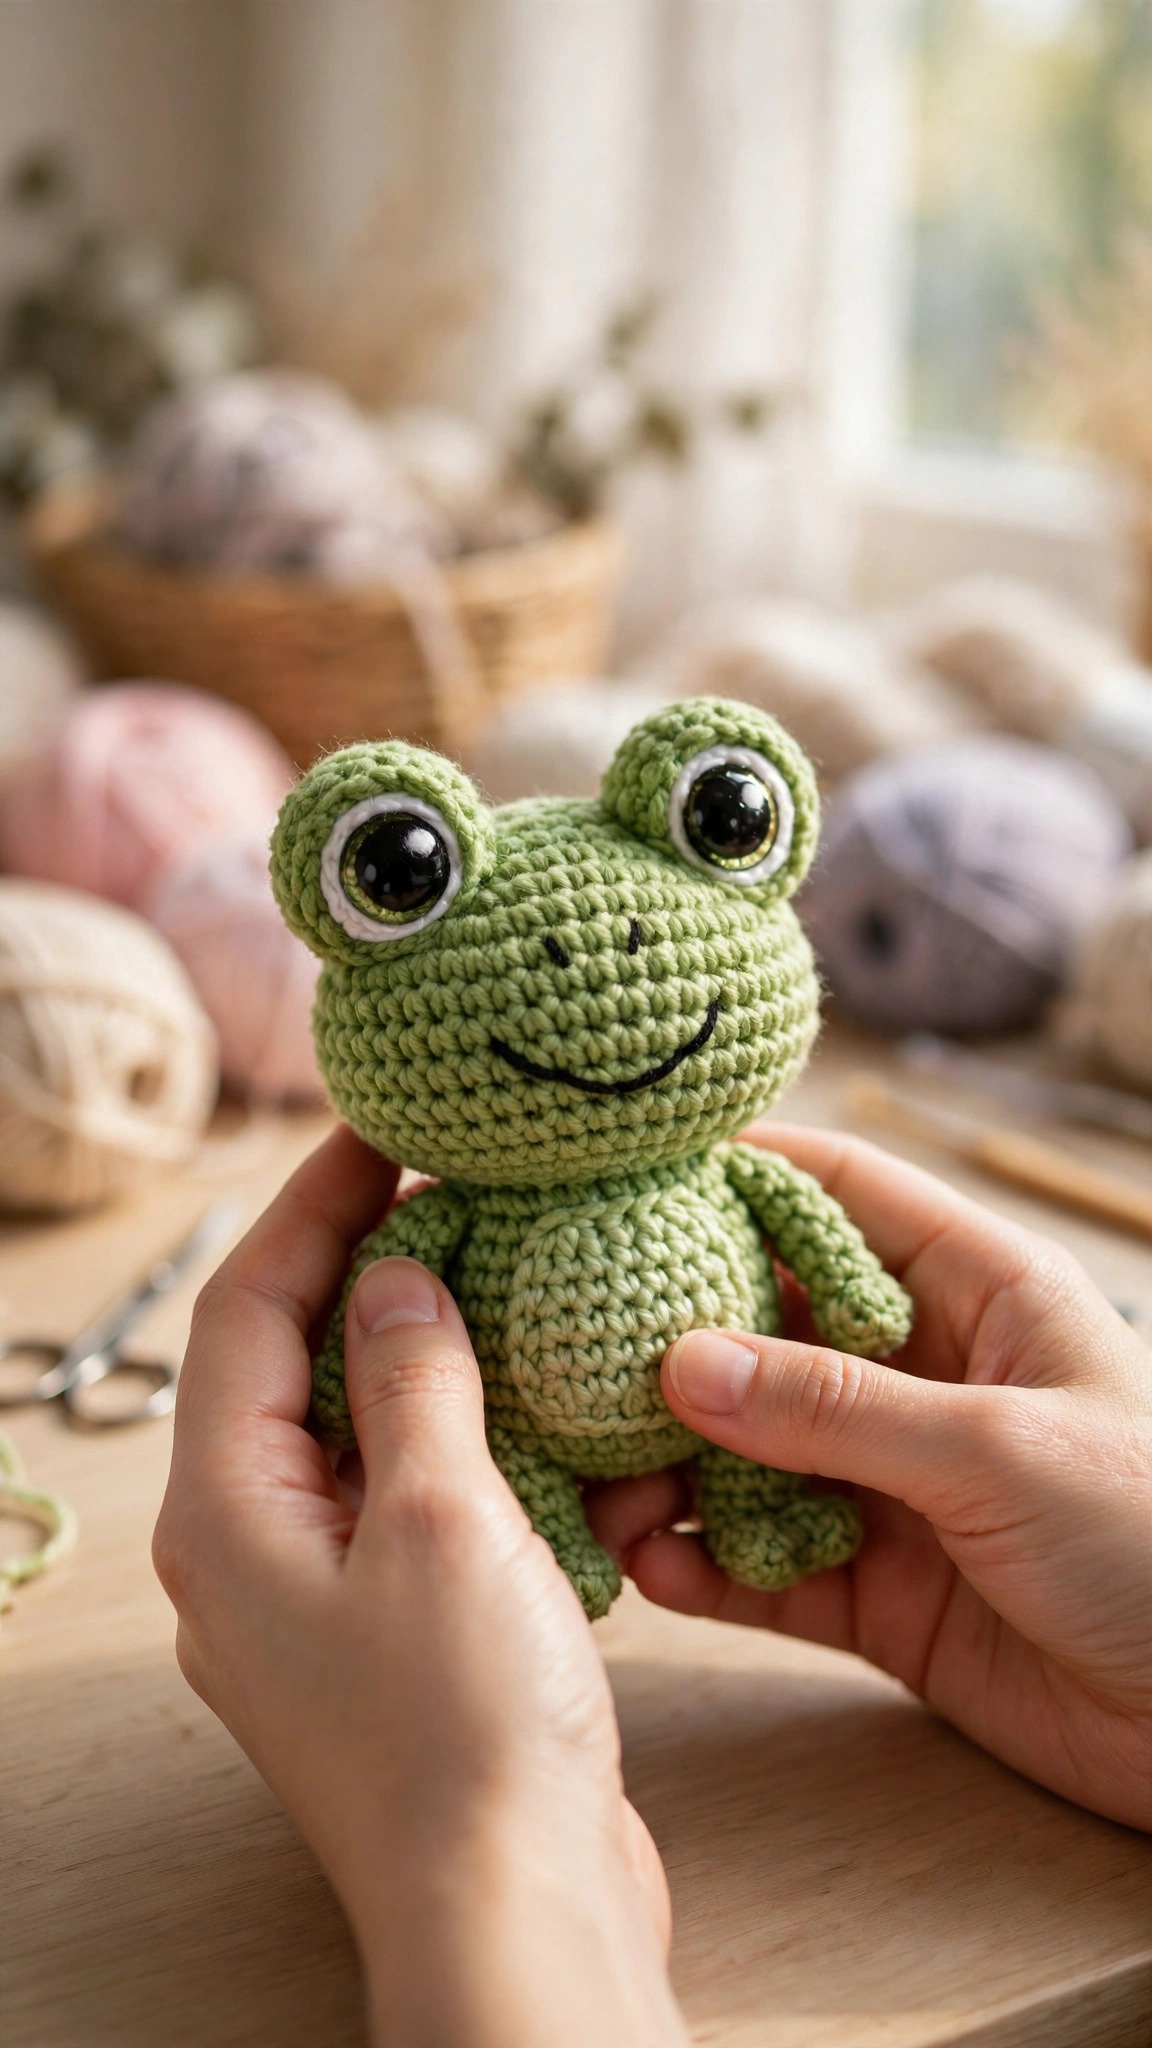
Part 1: Crocheting the Head
The head is a simple sphere worked from the top down. Keep your tension even and stuff firmly as you close, because a well stuffed head is what makes the eyes sit proudly on top.
Head (green):
- Round 1: MR, 6 sc. (6)
- Round 2: inc in each st around. (12)
- Round 3: [sc, inc] x6. (18)
- Round 4: [2 sc, inc] x6. (24)
- Round 5: [3 sc, inc] x6. (30)
- Round 6: [4 sc, inc] x6. (36)
- Rounds 7 to 12: sc in each st around. (36) Work 6 rounds even here for a nice round head.
- Round 13: [4 sc, dec] x6. (30)
- Round 14: [3 sc, dec] x6. (24)
- Round 15: [2 sc, dec] x6. (18) Begin stuffing the head firmly.
- Round 16: [sc, dec] x6. (12)
- Round 17: dec x6. (6)
Fasten off, weave the tail through the front loops of the last 6 stitches, pull tight, and hide the tail inside the head. If you are using the embroidered eye option, now is a good time to mark eye positions with pins, but do not attach the eyes yet. They go on the separate eye bumps in Part 4, not directly on the head.
Tip: Count your stitches at the end of every increase round. One missed increase in Round 5 will haunt you for the rest of the sphere, and it is much easier to fix now than after stuffing.
Part 2: Crocheting the Body
The body is a slightly squat sphere that the head sits on. Work it the same way, just a touch shorter so the frog reads as chubby rather than tall.
Body (green):
- Round 1: MR, 6 sc. (6)
- Round 2: inc in each st around. (12)
- Round 3: [sc, inc] x6. (18)
- Round 4: [2 sc, inc] x6. (24)
- Round 5: [3 sc, inc] x6. (30)
- Rounds 6 to 10: sc in each st around. (30) Work 5 rounds even.
- Round 11: [3 sc, dec] x6. (24)
- Round 12: [2 sc, dec] x6. (18)
- Round 13: [sc, dec] x6. (12)
Stuff the body firmly, then fasten off leaving a long tail for sewing the head to the body later. Set the body aside.
Part 3: Legs and Feet
Frogs need their signature chunky back legs. The hind legs are made as little rounded thighs that stick out to the sides, and the front legs are simple stubby arms.
Hind legs, make 2 (green):
- Round 1: MR, 6 sc. (6)
- Round 2: inc in each st around. (12)
- Rounds 3 and 4: sc in each st around. (12)
- Round 5: [sc, dec] x4. (8)
- Round 6: sc in each st around. (8)
Stuff lightly so the legs keep their shape but stay squishy, then fasten off leaving a long tail for sewing.
Front legs, make 2 (green):
- Round 1: MR, 6 sc. (6)
- Round 2: [2 sc, inc] x2. (8)
- Rounds 3 to 6: sc in each st around. (8)
Stuff lightly and fasten off leaving a long tail for sewing. These little arms will be sewn slightly forward on the body so the frog looks like he is ready for a hug.
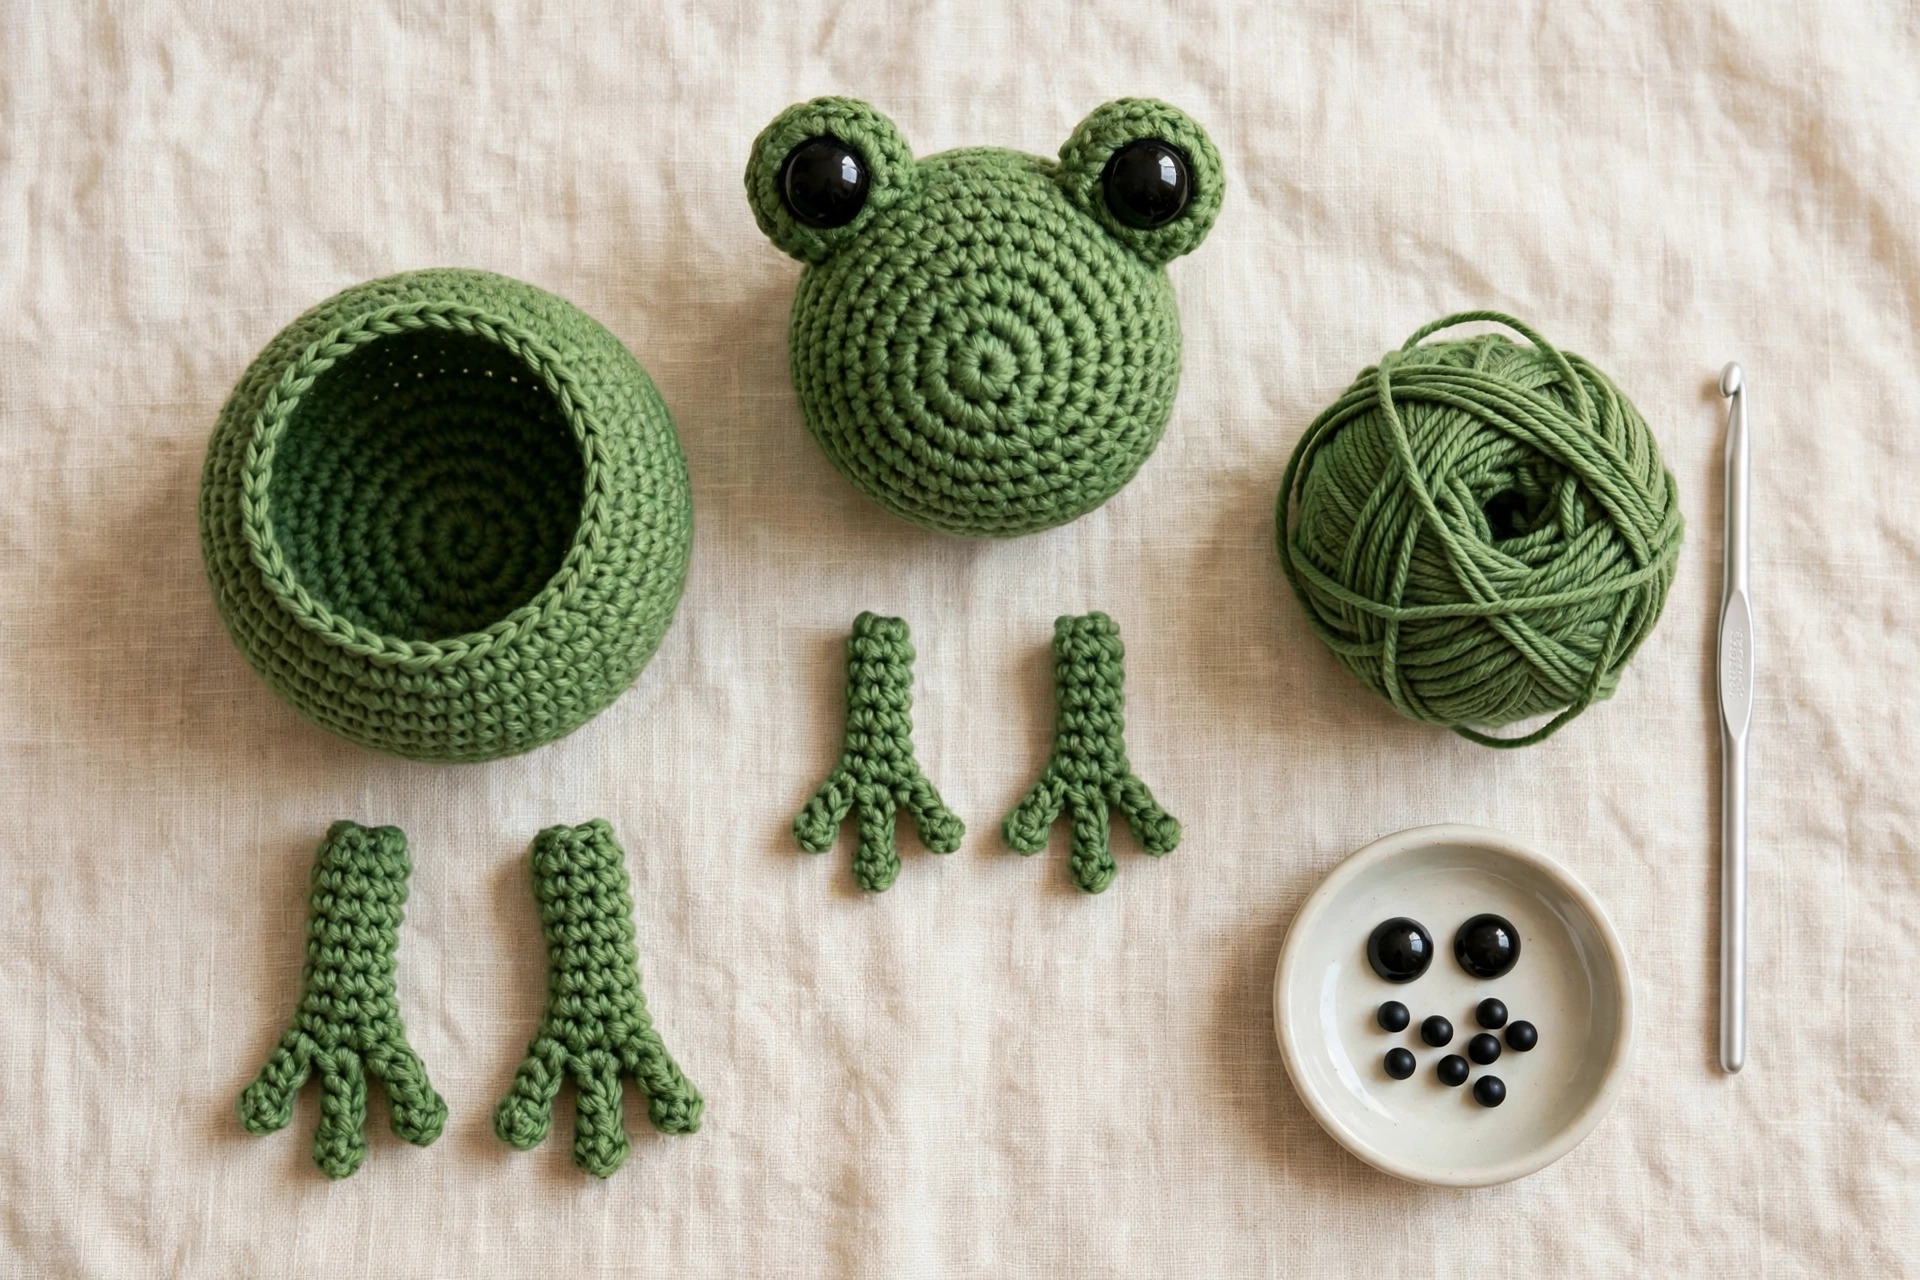
Part 4: The Big Cartoon Eyes
Here is the secret to the whole frog: the eyes sit on raised bumps on top of the head, exactly like a real frog. This placement is what takes the plush from generic to unmistakably froggy.
Eye bumps, make 2 (green):
- Round 1: MR, 6 sc. (6)
- Round 2: inc in each st around. (12)
- Round 3: sc in each st around. (12)
- Round 4: [2 sc, dec] x3. (9)
If you are using safety eyes, insert a 10 mm eye through the center top of each bump now, before stuffing. If you prefer the embroidered option, skip the safety eyes entirely. Stuff each bump lightly and fasten off leaving a long tail for sewing. For extra cartoon pop, crochet a tiny white circle (MR, 6 sc, inc around to 12, one round even) and sew it under each bump as an eye white.
Eye placement: Pin the bumps on top of the head, about 8 stitches apart, slightly toward the front. Try them in a few positions and look at the frog from the front before you commit. Eyes set wide apart read as cute and dopey. Eyes set close together read as alert and clever. There is no wrong answer, just different personalities.
Part 5: Belly Patch and Smile
The cream belly patch is a simple oval that adds contrast and makes the frog look extra huggable. The smile is three straight stitches of black yarn, and it is easier than it looks.
Belly patch (cream):
- Round 1: ch 8, sc in the 2nd ch from the hook, sc in the next 5 ch, 3 sc in the last ch. Continuing down the other side of the chain: sc in the next 5 ch, 2 sc in the last ch. (16)
- Round 2: inc, sc 5, inc x3, sc 5, inc x2. (22)
- Round 3: sc, inc, sc 5, [sc, inc] x3, sc 5, [sc, inc] x2. (28)
Sl st to the first st and fasten off leaving a long tail for sewing. Pin the oval to the front of the body and sew it on with small whipstitches just inside the edge.
Smile: Thread black yarn on your yarn needle. On the head, stitch a wide shallow curve for the mouth, about 6 stitches wide, centered under the eyes. Add two tiny vertical stitches at the corners for a cheerful grin. Keep the stitches loose enough to sit on the surface without puckering the fabric. If this is your first time embroidering a face, sketch the smile with pins first and step back to check the symmetry.
Assembly
Pin everything before you sew anything. This is the golden rule of amigurumi, and it saves more frogs than any other tip in this pattern.
- Sew the head to the body using the long tail from the body, stitching through both layers all the way around. Add a little extra stuffing at the neck join if there is a wobble.
- Sew the eye bumps to the top of the head with the tails from Part 4.
- Sew the hind legs to the lower sides of the body, angled slightly outward so the frog can sit. The bottoms of the legs should be level with the bottom of the body so he sits flat.
- Sew the front legs to the upper sides of the body, angled slightly forward.
- Weave in all remaining tails. Give the frog a gentle squeeze to settle the stuffing, fluff the belly patch, and adjust the eyes one last time.
Step back and admire your frog. He is done, and he is adorable.
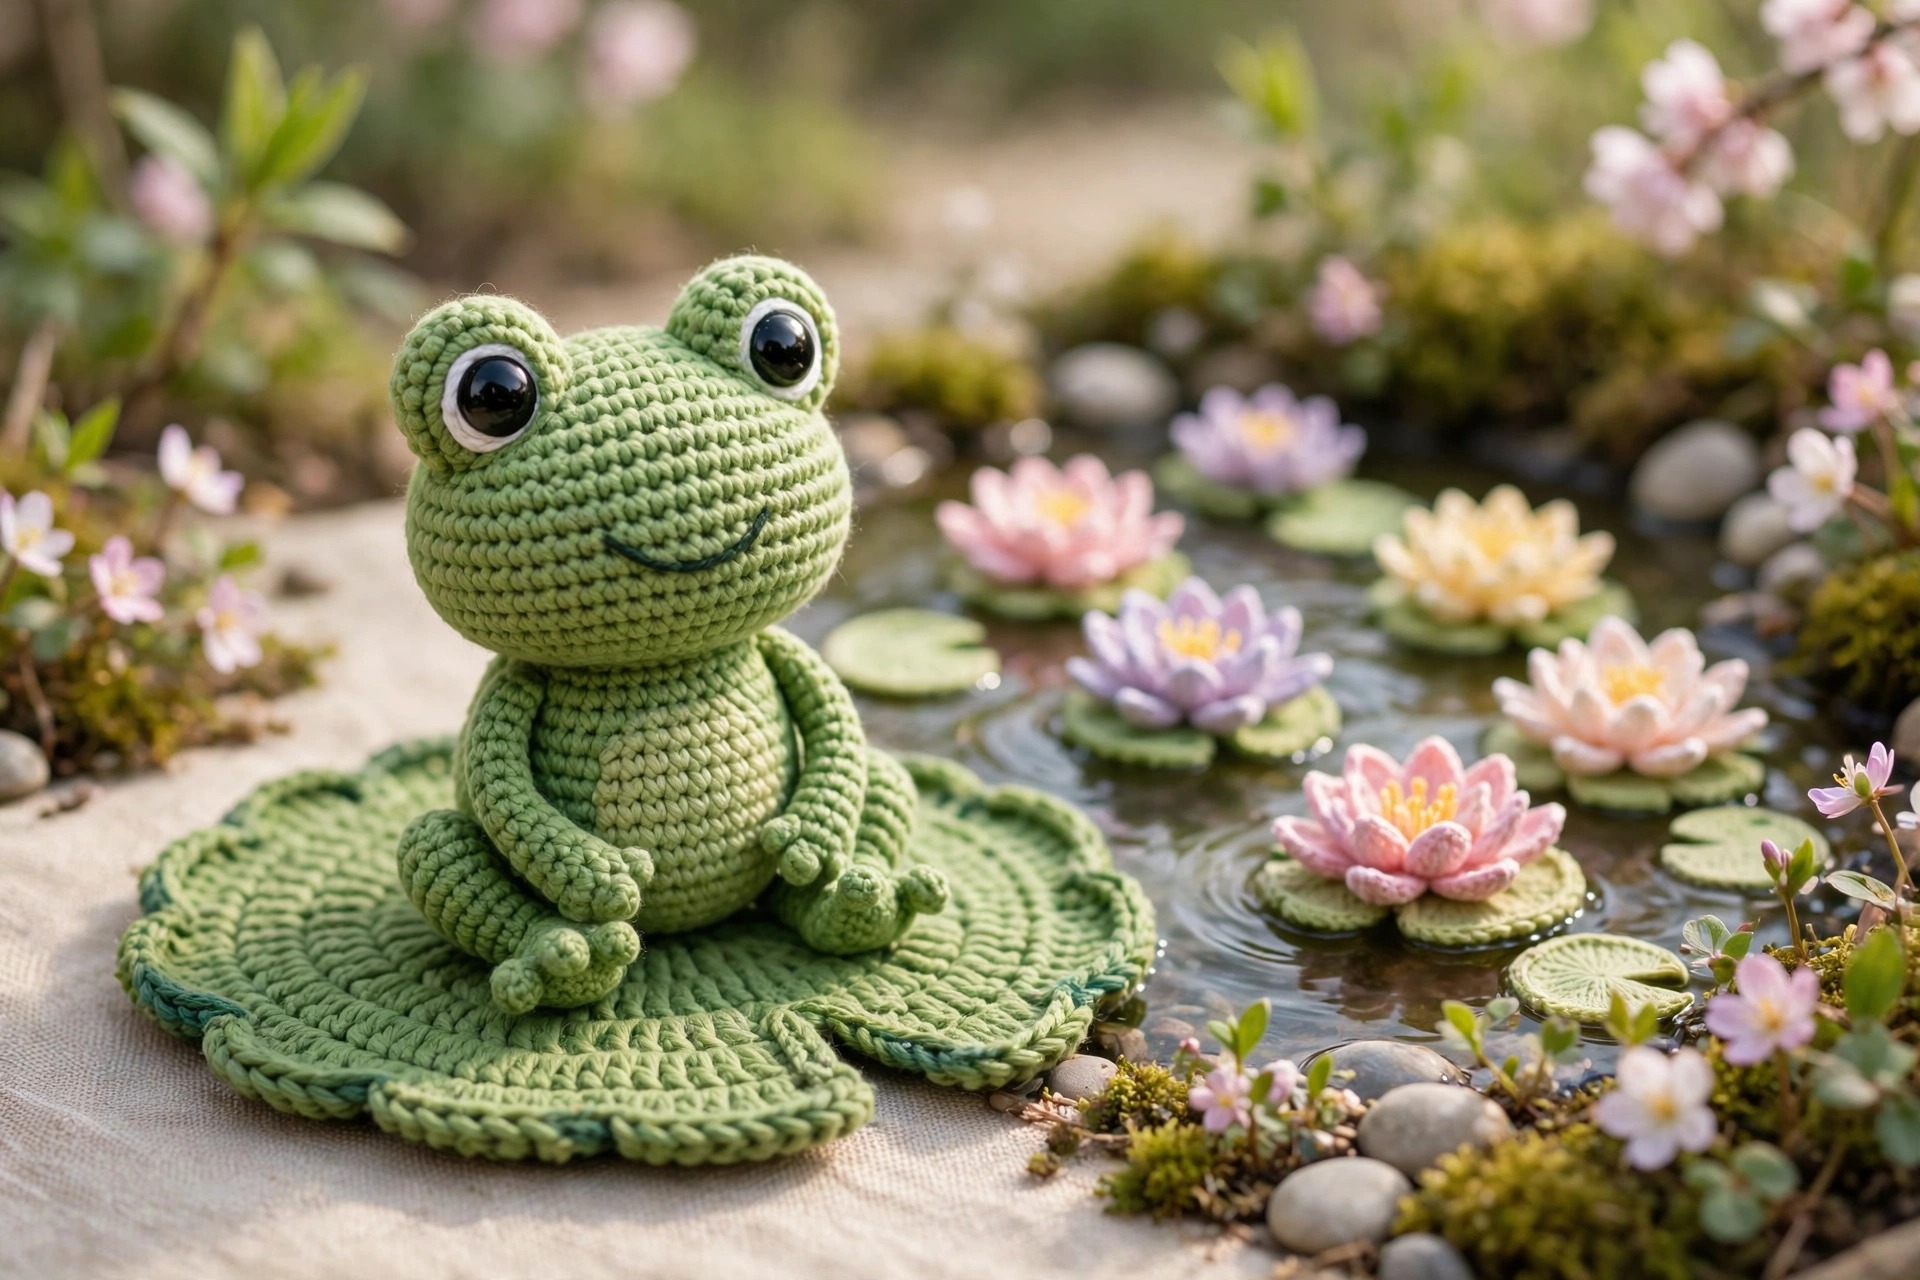
Variations: Make It Yours
Once you have the basic frog down, the variations are endless. Here are five reader favorites to get you started.
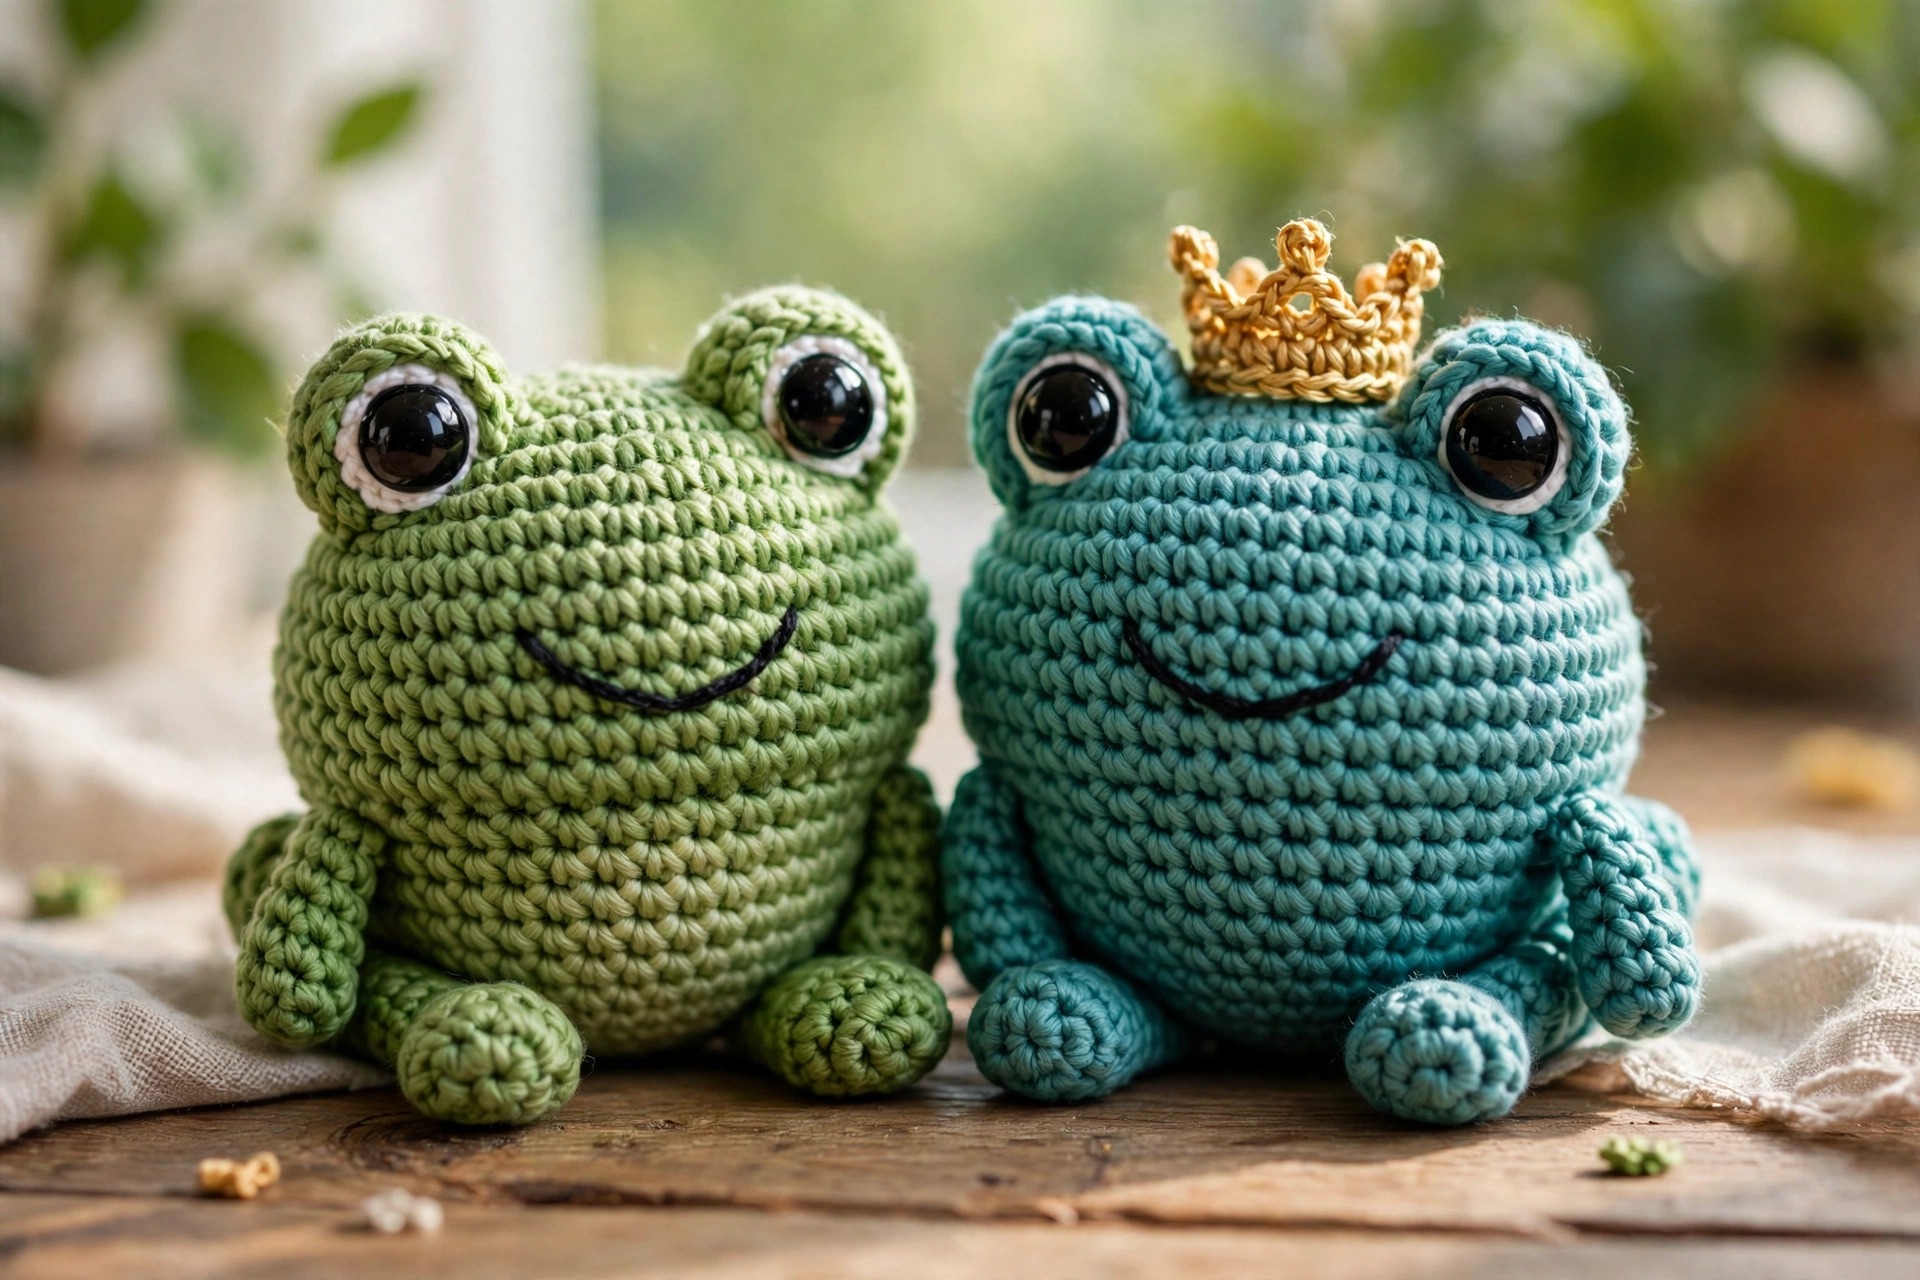
- Teal frog with a golden crown: Work the whole frog in teal or turquoise yarn, then add a tiny crown. For the crown, ch 18, join, and work [sc, ch 3, sl st in the next st] around for points. It turns your frog into a storybook prince.
- Cherry blossom frog: Make the frog in soft pink and add tiny crocheted cherry blossoms on the head. Pair it with our crochet turtle patterns for a pastel pond crew.
- Sleepy frog: Skip the safety eyes and embroider closed eyes instead, two gentle curved lines with three tiny lashes each. Perfect for nursery decor.
- Big brother frog: Use bulky yarn and a 5.5 mm hook with the exact same stitch counts for a jumbo frog that is about 9 inches tall. Great floor cushion for a kid's room.
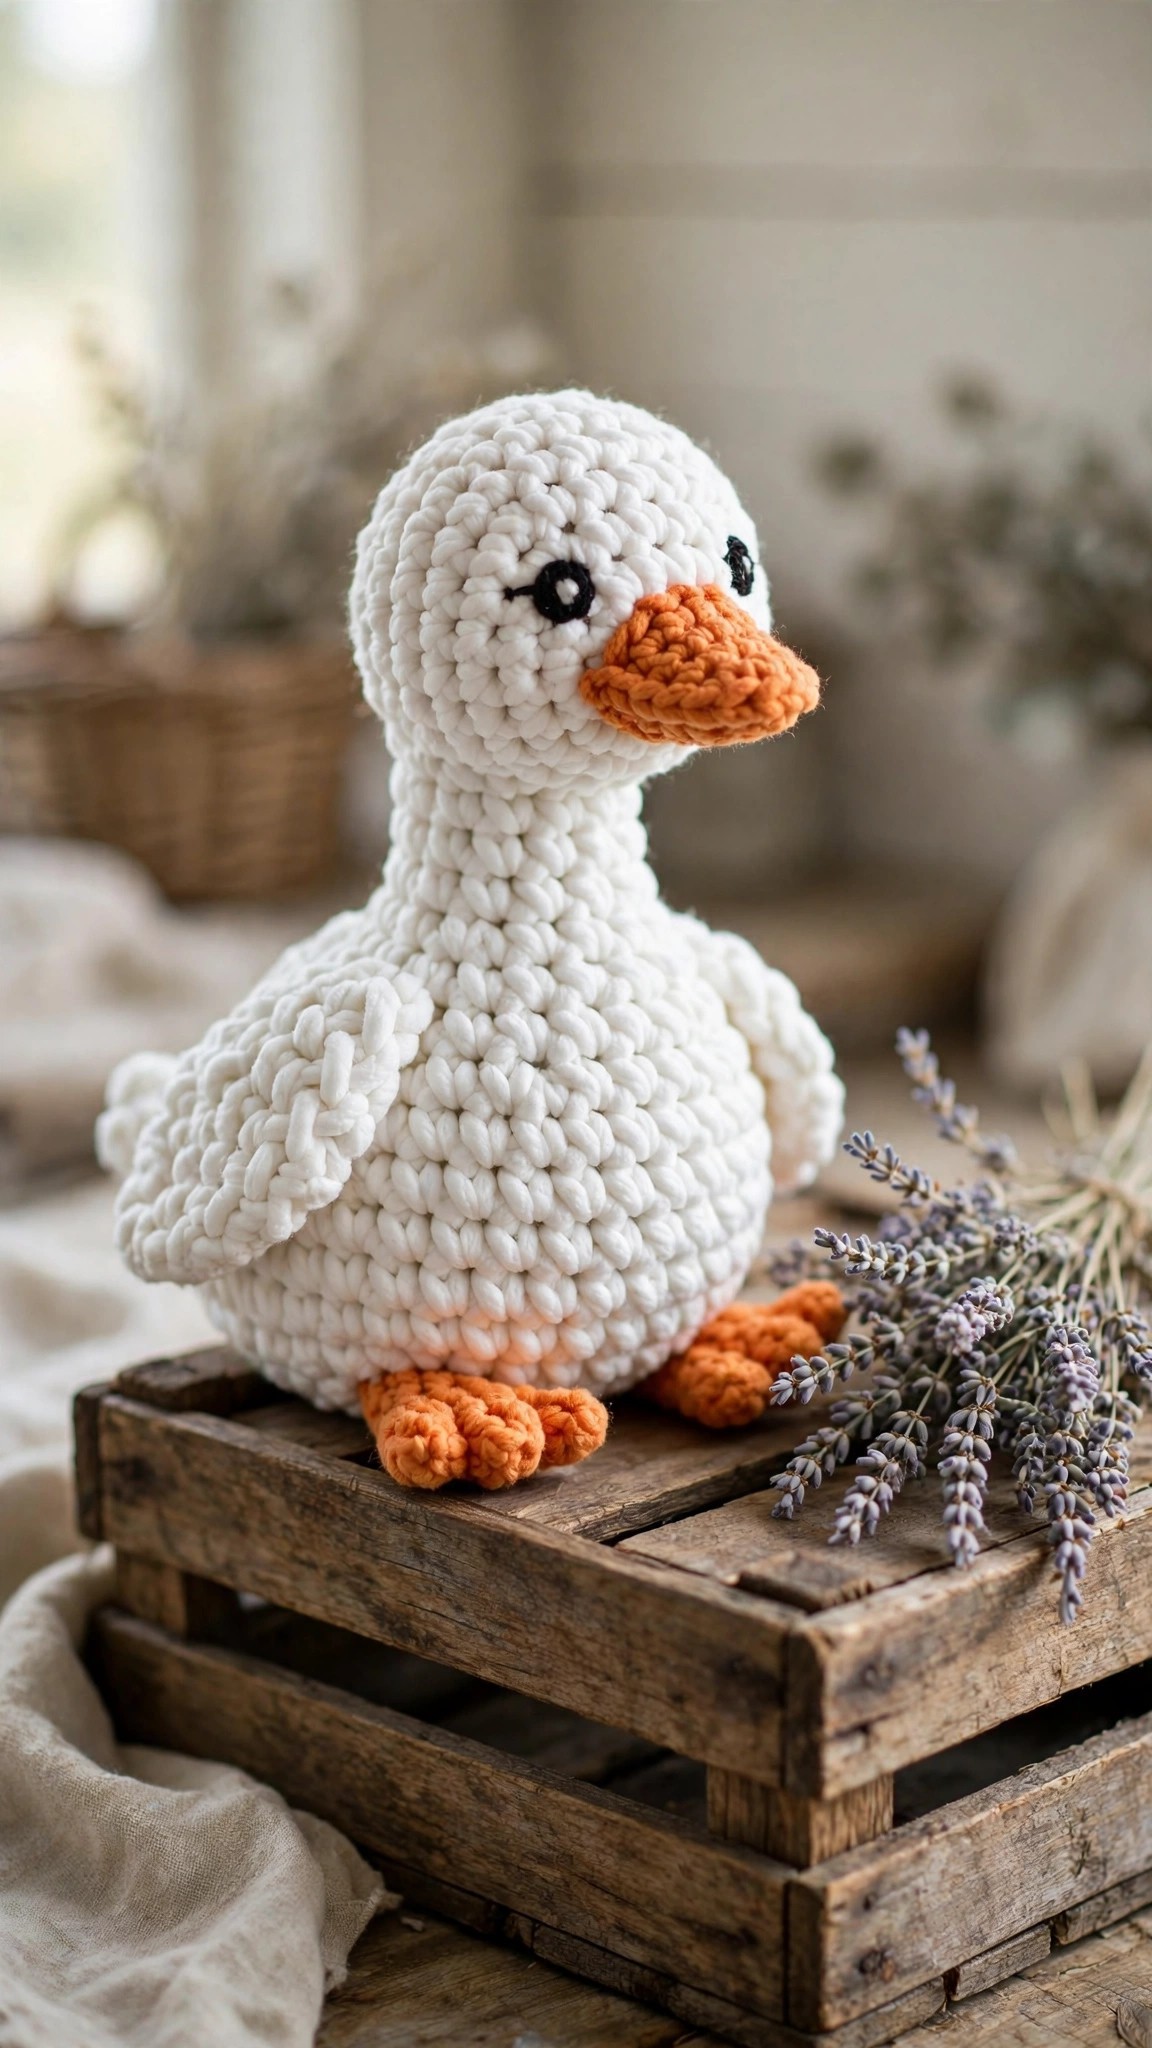
- Pond buddy set: Make the frog in green and add our free crochet duck pattern in yellow for a pond themed gift set that kids go wild for.
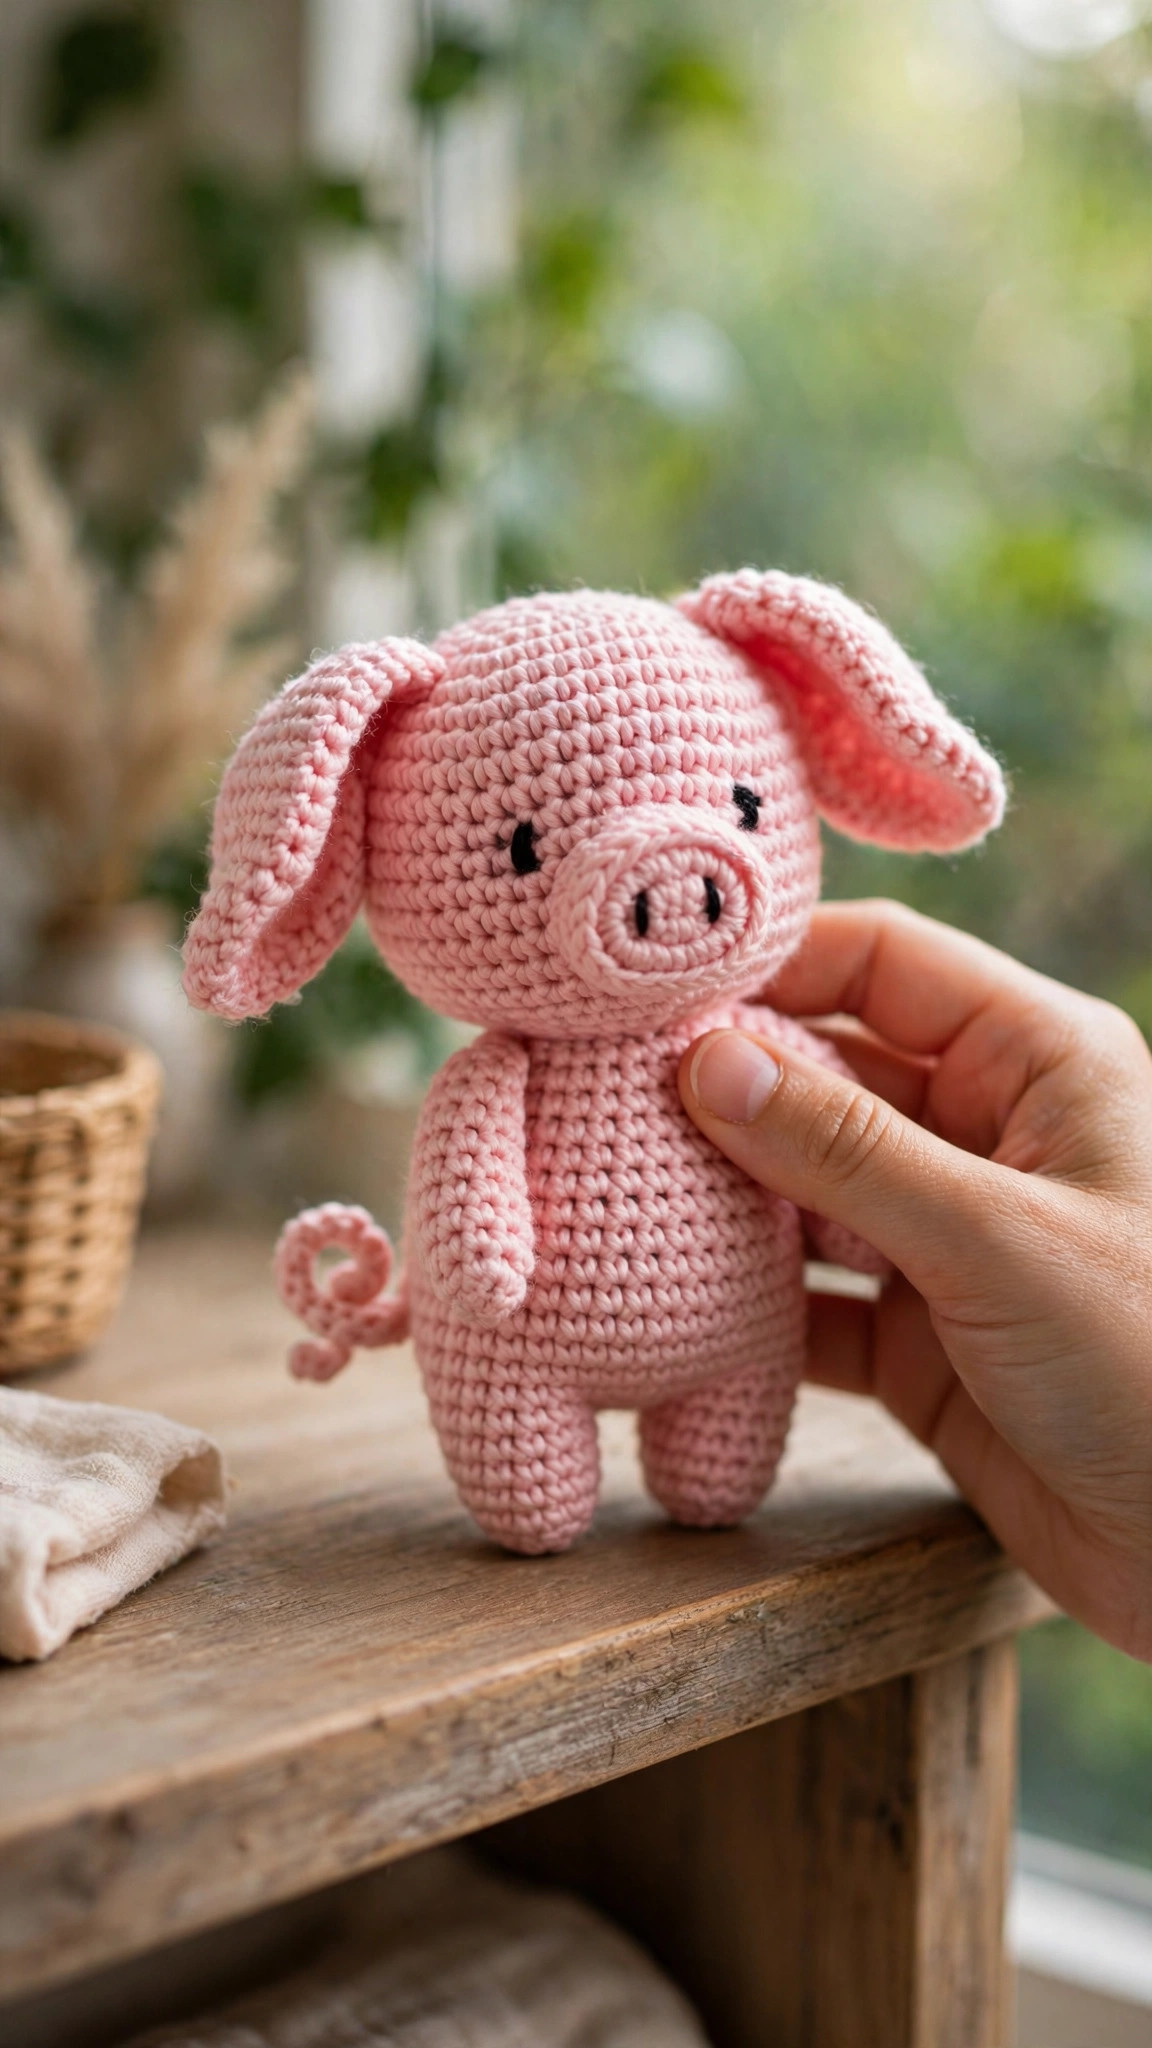
For even more small animal patterns in the same style, our crochet piglet pattern from this same collection uses the same beginner friendly construction.
Troubleshooting Amigurumi
- My frog will not sit up. The hind legs are probably sewn too high or too far back. Reposition them lower and slightly forward, and make sure the bottom of each leg is level with the bottom of the body.
- Stuffing is showing through the stitches. Your hook is too big for the yarn, or your tension is loose. Go down a hook size on the next frog. For this one, ease a little extra stuffing away from the thin spots and it will look fine.
- The head wobbles on the body. Add a small roll of stuffing at the neck join before sewing, and take your sewing stitches through both layers deeply. A wobbly head almost always means shallow stitches.
- My decreases look bumpy. Use invisible decreases (work through the front loops only) for the smoothest finish. It takes a little practice but transforms the look of the whole plush.
- The eyes look lopsided. This is why we pin first. Pull the pins, reposition, and look at the frog from directly in front at eye level. Frogs are forgiving, and slightly uneven eyes just add character.
- The magic ring keeps coming undone. Weave the tail through the ring twice and knot it before trimming. If magic rings frustrate you, our how to crochet a magic ring tutorial walks through it stitch by stitch.
Care Instructions
Spot clean with a damp cloth and mild soap, then air dry. If the frog needs a deeper clean, hand wash in cool water, squeeze gently without wringing, reshape while damp, and dry flat. Keep away from high heat. With safety eyes, this frog is best for ages 3 and up. For babies and toddlers, use the embroidered eye option and skip small detachable parts entirely.
Frequently Asked Questions
Is this crochet frog pattern really free?
Yes. This is an original Little Loop Finds design and the complete pattern is free right here on this page. You can make and sell finished frogs from it. Please do not redistribute the written pattern itself.
What skill level is this frog pattern?
Confident beginner. If you can single crochet in the round, increase, and decrease, you can make this frog. The face is simple embroidery, and every part is a basic sphere or oval.
How big is the finished frog?
About 6 inches tall sitting in worsted weight yarn with a 3.5 mm hook. Switch to DK yarn and a 3.0 mm hook for a 4.5 inch pocket frog, or bulky yarn and a 5.5 mm hook for a 9 inch jumbo.
Can I use safety eyes for a baby gift?
Safety eyes are called safe because they lock in place, but any small part can be a hazard for babies who chew toys. For children under 3, embroider the eyes and smile with yarn instead. It is just as cute and completely worry free.
Why are my frog's eyes on bumps instead of flat on the head?
Real frogs have eyes on top of their heads, and copying that anatomy is what makes a crocheted frog instantly recognizable. The bumps take five minutes each and they are the single biggest upgrade to the finished look.
How do I make the frog sit up straight?
Sew the hind legs low on the body with their bottoms level with the body's base, and stuff the body firmly. If he still tips, add a small flat circle of felt under the base as a hidden stabilizer.
Can I sell frogs made from this pattern?
Yes, finished frogs made from this original pattern may be sold in small batches, at craft fairs, or in your own shop. Credit to Little Loop Finds is appreciated but not required.