Crochet Witch Hat Pattern Free: Child & Adult
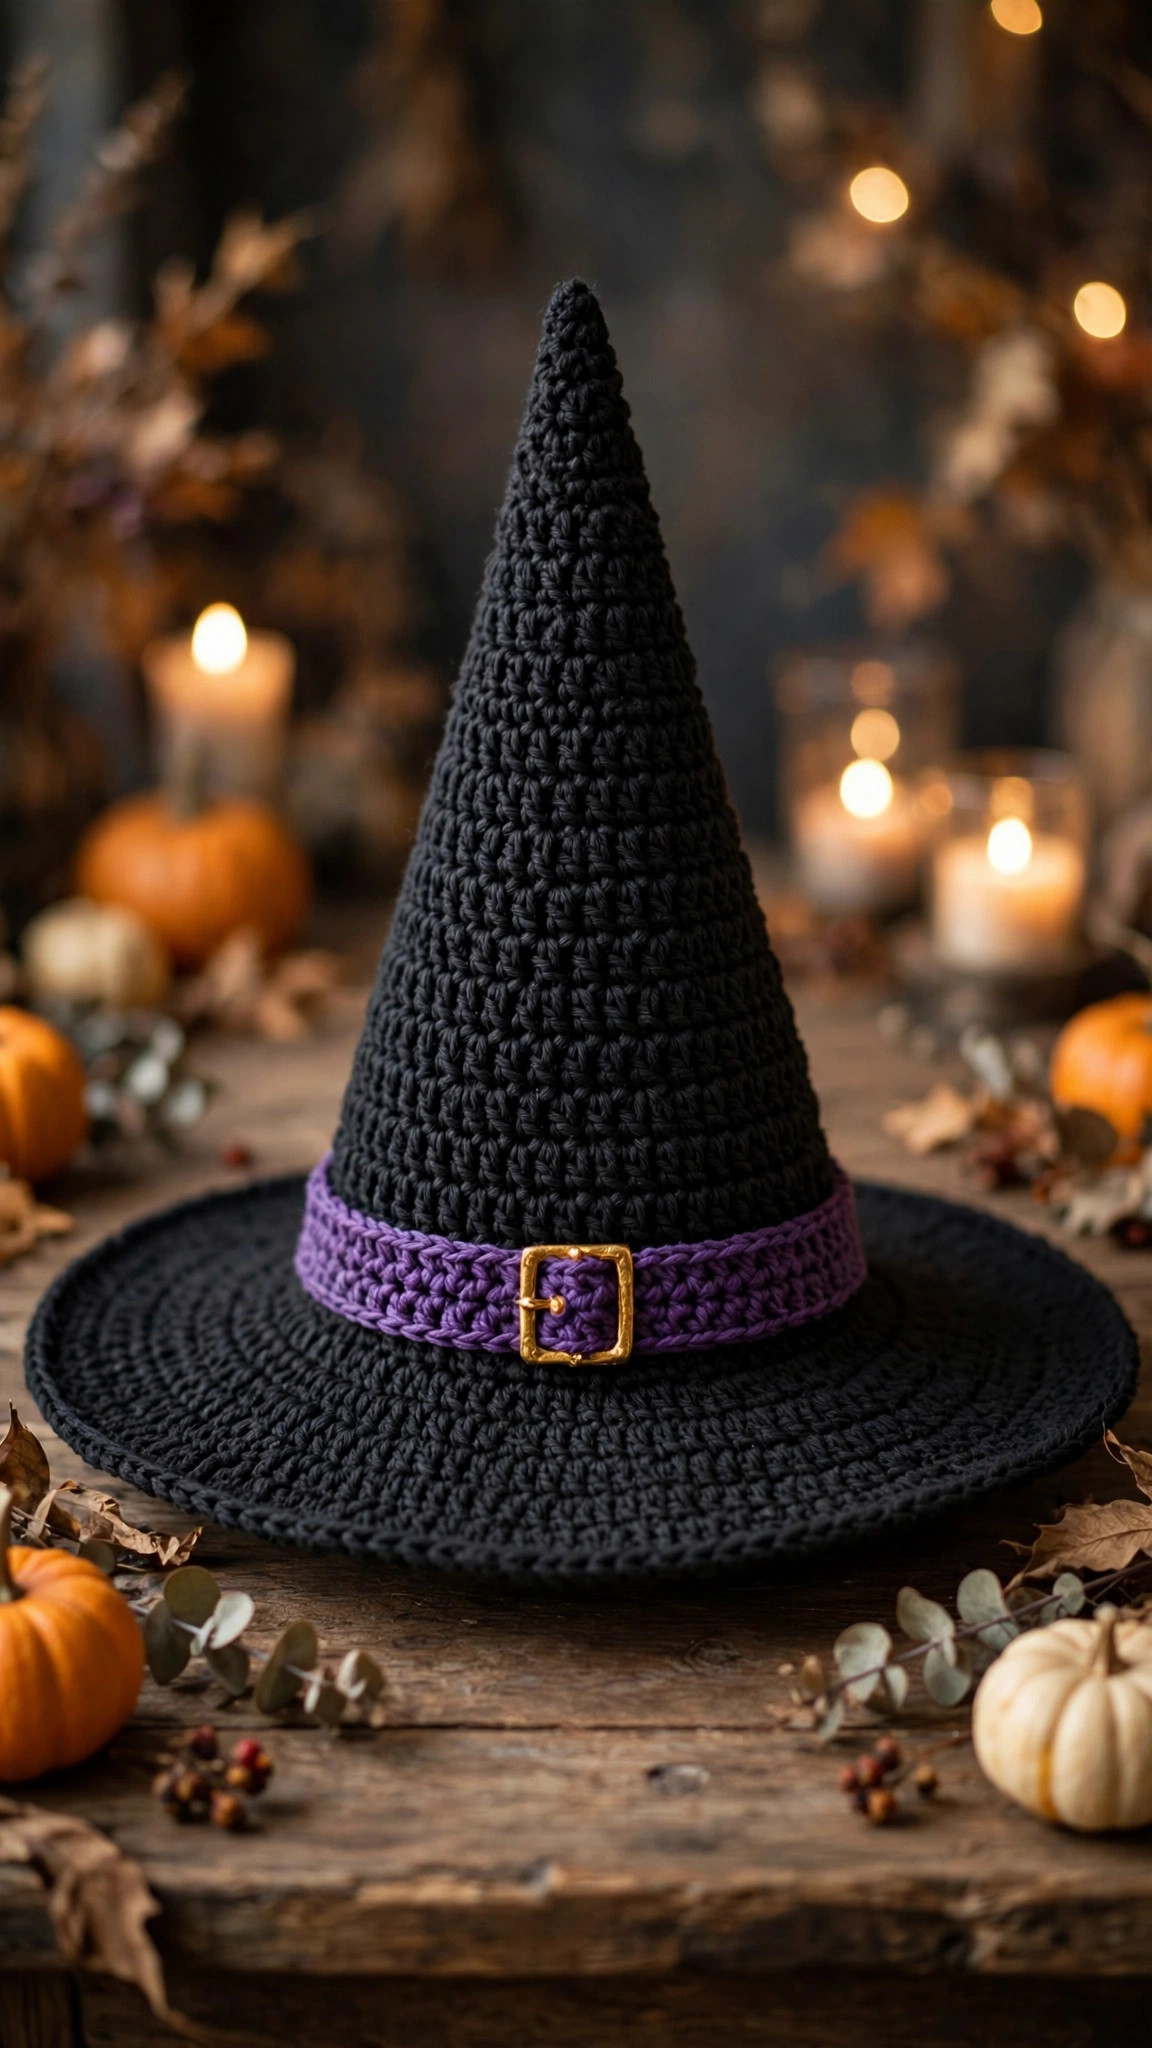
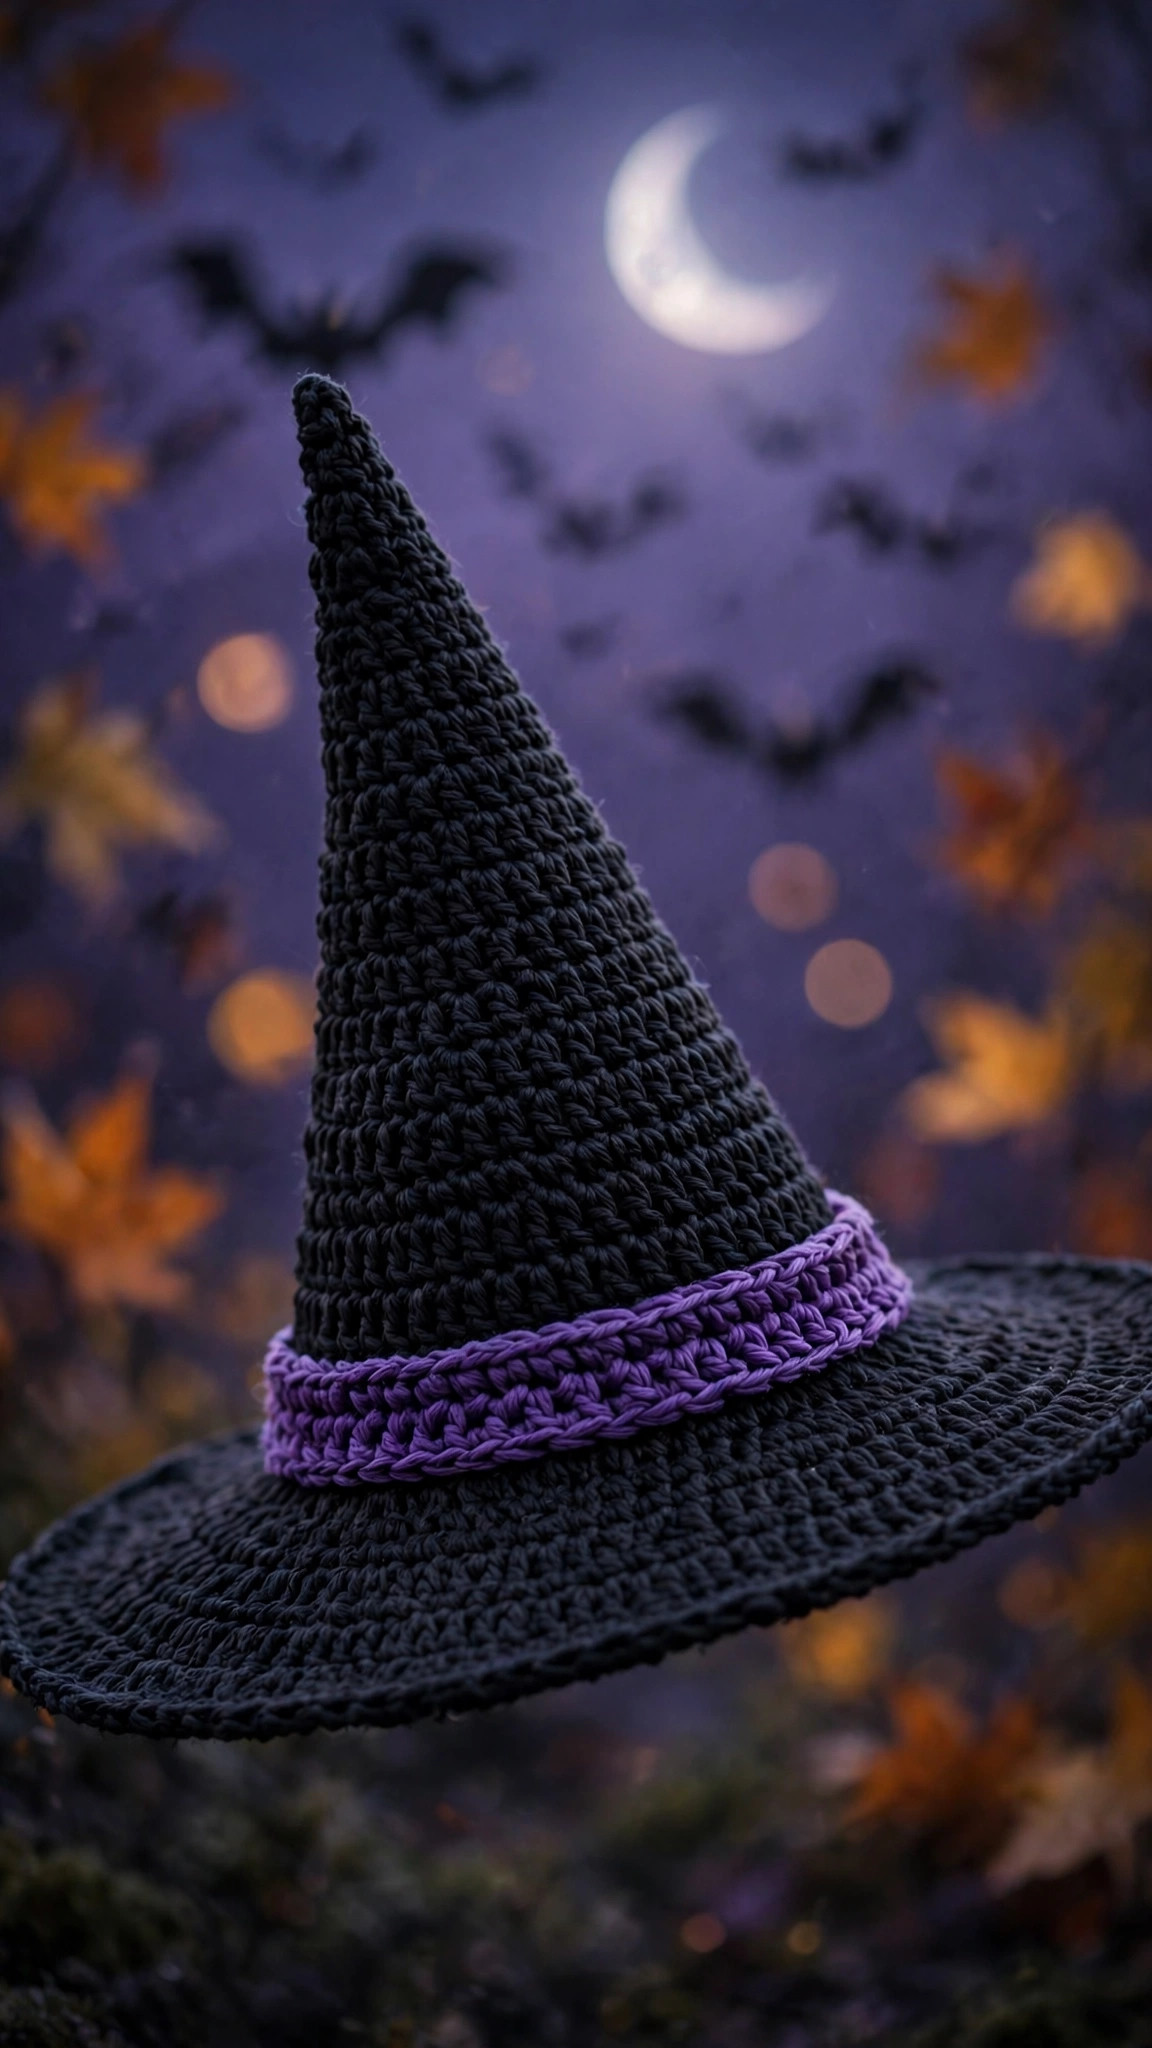
The hat that makes the costume: a tall pointed witch hat worked top-down in one spiral of single crochet, with a slow-grown cone, a purple band, a tiny gold buckle and a wide flat brim — written round by round in child and adult sizes with every stitch count included.

Halloween · Crochet
- Finished size
- Child & adult; adult 15 in tall
- Making time
- About 5-7 hours
- Hook
- 5 mm, worsted-weight yarn
- Pieces
- Cone, band, brim & buckle
- Skill
- Easy
In this post
Every Halloween costume has one piece that does all the work, and for a witch it is the hat. A tall, sharp point, a wide brim that holds its line, a band with a little buckle — get the hat right and a plain black dress becomes a costume. This crochet witch hat pattern free in child and adult sizes gives you exactly that hat, handmade, for a couple of balls of yarn.
The design is simpler than it looks. The whole hat is worked top-down in single crochet rounds, in one continuous spiral. The cone grows slowly — six evenly spaced increases every fourth round — which creates that classic long, elegant point instead of a party-hat triangle. Then the brim switches to fast increases, six in every round, so it flares out flat. A purple band and a tiny two-piece buckle finish it off.
This original Little Loop Finds design is written out round by round, with a stitch count at every step. Child fits heads about 19 to 21 inches; adult fits 22 to 23.5 inches and stands about 15 inches tall. If you can make a magic ring and a single crochet, you can make this hat over a few evenings.
Contents
- Why you'll love this witch hat
- Materials you'll need
- Size, gauge and skill level
- Abbreviations — US terms
- The pattern (US terms)
- Finishing and shaping your witch hat
- Tips for a point that stands up
- FAQ
- What to crochet next
Why you'll love this witch hat
The shaping is one repeated idea, not a chart: every increase round adds exactly six stitches, spaced evenly, then you get three plain rounds to relax into. After two increase rounds you have understood the whole cone. There is no fiddly shaping at the tip and no chart to decode.
It is genuinely wearable, not a photo prop. The opening is sized from real head circumferences, and the brim is wide enough to read unmistakably as a witch hat without drooping into your eyes. Make matching hats for a parent-and-child costume or a whole trick-or-treat crew.
It also pairs beautifully with the rest of a handmade Halloween. Team it with the reversible flip-face witch cat as your witch's familiar — one side sweet, one side spooky — and your costume corner is basically done. It customises endlessly, too: swap the band colour, add a tulle veil, pin on a felt moon, or stitch on a tiny spider.
Materials you'll need
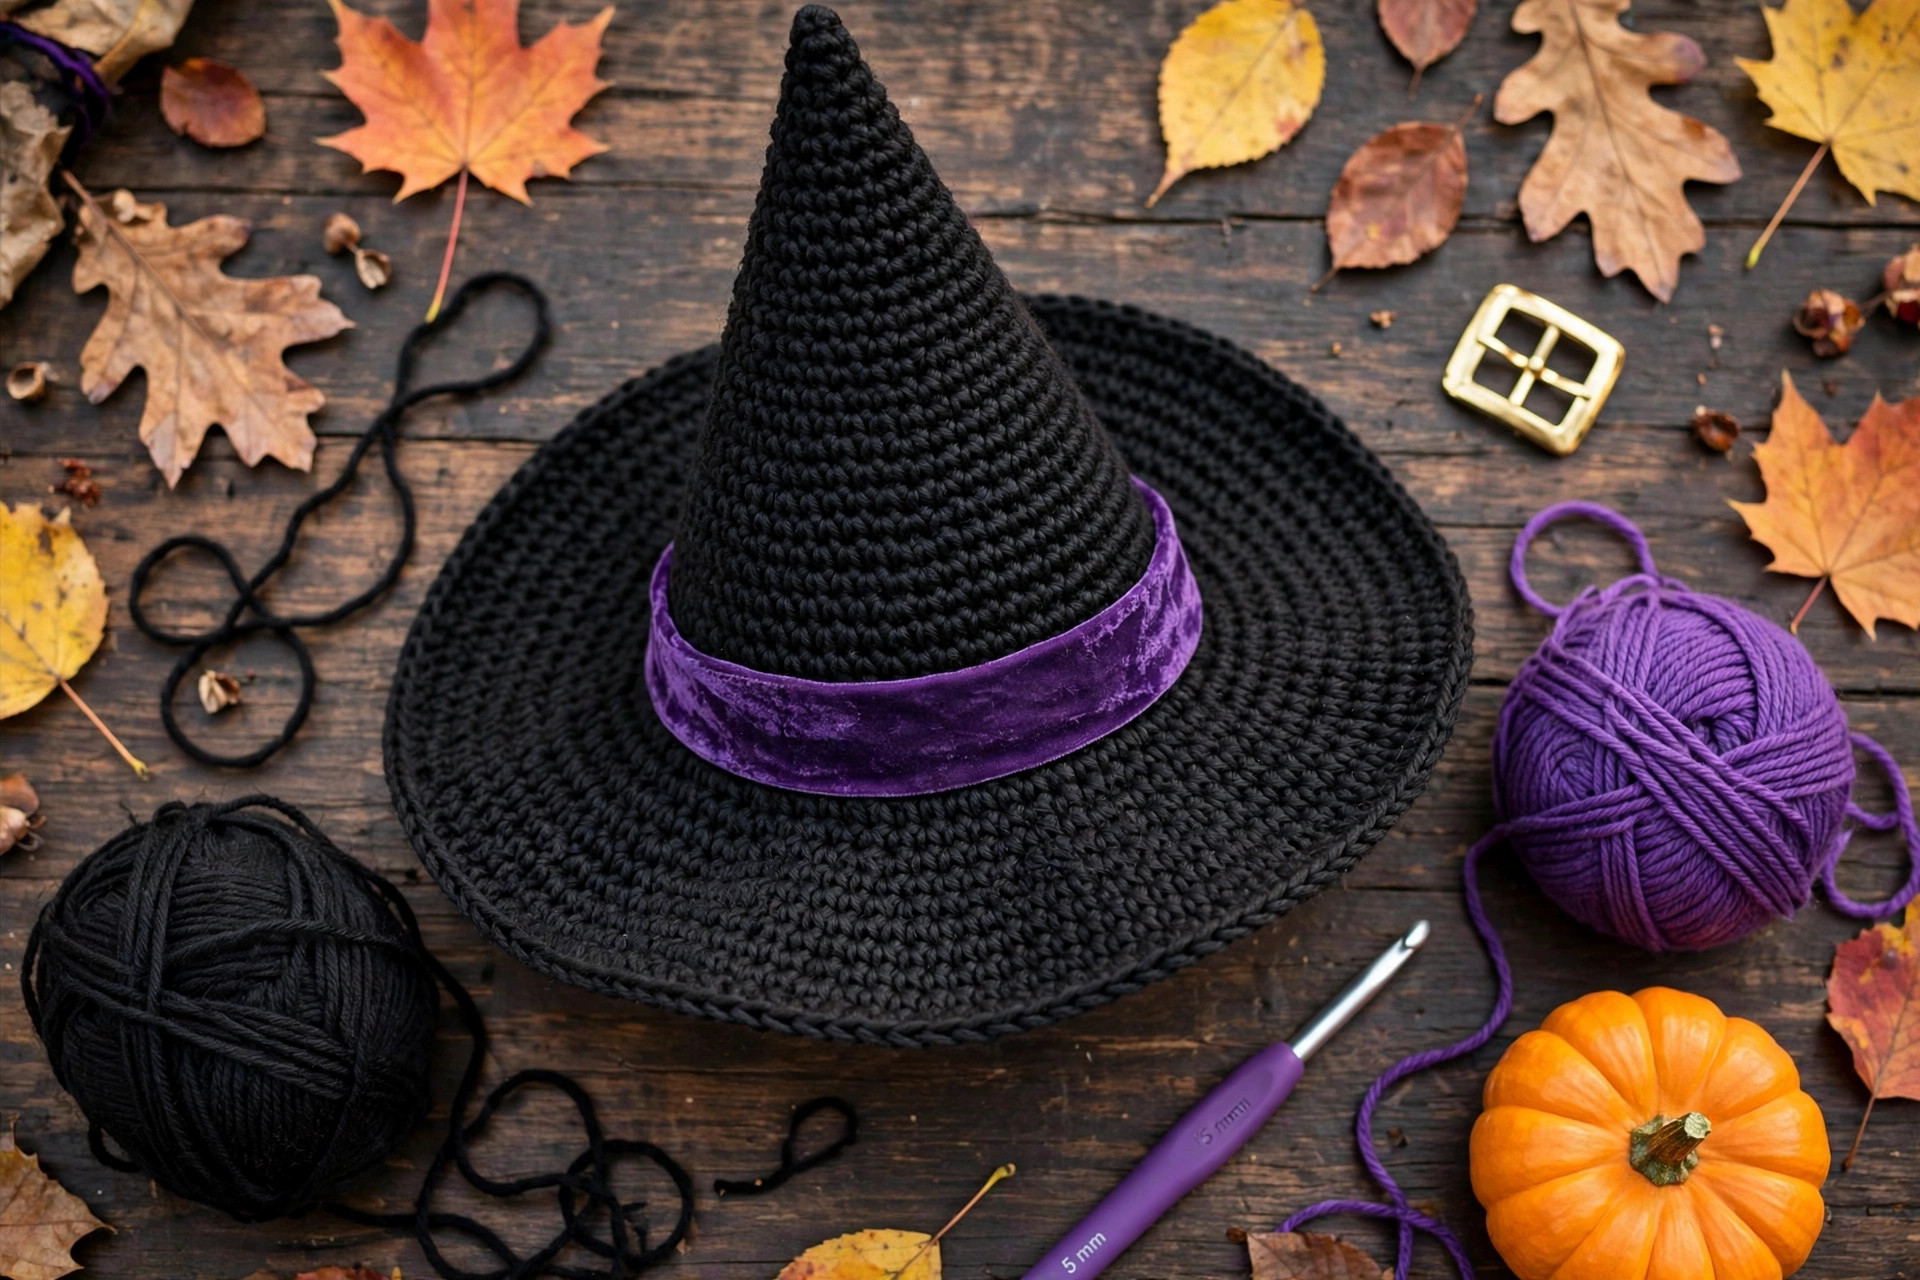
Choose a smooth, tightly plied black worsted acrylic or acrylic-wool blend with good stitch definition. Fluffy or drapey yarns make a floppy cone; standard acrylic is ideal — firm, light and inexpensive.
| Supply | What to get |
|---|---|
| Black yarn | Worsted (category 4), approx. 240 yd (child) / 340 yd (adult) — 2 balls |
| Purple yarn | Worsted, approx. 25 yd (child) / 35 yd (adult), for the band |
| Gold yarn | Small worsted scrap in gold or mustard yellow, for the buckle |
| Hook | 5 mm (US H-8) crochet hook |
| Notions | Stitch marker, yarn needle, scissors |
| Measuring | Tape measure |
| Optional | Fabric stiffener or diluted PVA; craft wire for a firmer brim |
Buy all the black yarn at the start, from one dye lot if you can — black varies between lots, and a shade shift halfway up the cone shows.
Size, gauge and skill level
Skill level: Easy. You need a magic ring, single crochet in a spiral, increasing with 2 single crochet in one stitch, a colour change, and sewing on one small piece.
Finished sizes: Instructions are written as Child (Adult) throughout. Where one number appears, it applies to both sizes.
| Size | To fit head | Hat height | Brim diameter |
|---|---|---|---|
| Child | 19–21 in / 48–53 cm | About 12.5 in / 32 cm | About 12.25 in / 31 cm |
| Adult | 22–23.5 in / 56–60 cm | About 15 in / 38 cm | About 14.25 in / 36 cm |
Measure around the head at forehead level, over the ears, where a hat band sits. The finished openings measure about 19.25 in / 49 cm (child) and 22.5 in / 57 cm (adult) — a touch smaller than the head, because single crochet stretches. Between sizes, work the larger size and add a ribbon tie inside the band.
Gauge: 15 single crochet stitches and 16 rounds = 4 inches / 10 cm, with a 5 mm hook, worked in a spiral. Swatch in the round if you can; spiral gauge differs from flat rows. Too many stitches per 4 inches means a small, firm hat: go up to a 5.5 mm hook. Too few means loose, floppy fabric: drop to a 4.5 mm hook.
Abbreviations — US terms
US terms throughout. (UK note: a US single crochet is a UK double crochet.)
| Abbreviation | Meaning |
|---|---|
| ch | chain |
| sc | single crochet |
| inc | increase — work 2 sc in the same stitch |
| sl st | slip stitch |
| st(s) | stitch(es) |
| Rnd | round |
How the spiral works: The hat is worked in a continuous spiral — no joining, no turning. Move your stitch marker up at the start of each round. The shorthand (sc 5, inc) ×6 means: work 1 sc in each of the next 5 stitches, then 2 sc in the next stitch, repeated 6 times. Every repeat adds exactly one stitch. Counts are given for every round block.
Colour changes: Work the last stitch of the old colour until two loops remain on the hook, then finish it with the new colour. Keep the spiral start point at the back, where any colour jog hides.
The pattern (US terms)
Before you start: how the shaping works
The cone is built on one four-round cycle: one increase round, then three plain rounds, adding 6 stitches each cycle. From 6 stitches at the tip, the child size needs 11 increase rounds to reach 72 stitches; the adult needs 13 to reach 84. The cone climbs about an inch for every inch it widens — the classic tall witch silhouette. The brim uses the same +6 idea in every round, so the fabric spreads flat instead of climbing.
Step 1: The cone — both sizes together
Use black yarn throughout Step 1.
R1: 6 sc into a magic ring, pulled snugly closed. (6 sts)
R2–4: Sc each. (6 sts) Keep tension firm — a tight tip is a sharp tip.
R5: (sc 1, inc) ×6 — 12 sts · R6–8: sc each — 12 sts
R9: (sc 2, inc) ×6 — 18 sts · R10–12: sc each — 18 sts
R13: (sc 3, inc) ×6 — 24 sts · R14–16: sc each — 24 sts
R17: (sc 4, inc) ×6 — 30 sts · R18–20: sc each — 30 sts
R21: (sc 5, inc) ×6 — 36 sts · R22–24: sc each — 36 sts
R25: (sc 6, inc) ×6 — 42 sts · R26–28: sc each — 42 sts
R29: (sc 7, inc) ×6 — 48 sts · R30–32: sc each — 48 sts
R33: (sc 8, inc) ×6 — 54 sts · R34–36: sc each — 54 sts
R37: (sc 9, inc) ×6 — 60 sts · R38–40: sc each — 60 sts
R41: (sc 10, inc) ×6 — 66 sts · R42–44: sc each — 66 sts
R45: (sc 11, inc) ×6 — 72 sts
Child size: Cone finished — 72 stitches, 45 rounds, about 11.25 inches / 28.5 cm tall. Go to Step 2, the band.
Adult size only — keep going:
R46–48: Sc each. (72 sts) R49: (sc 12, inc) ×6 — 78 sts R50–52: Sc each. (78 sts) R53: (sc 13, inc) ×6 — 84 sts
The adult cone is finished at 84 stitches, 53 rounds, about 13.25 inches / 33.5 cm tall. Fit check now, before the band: the opening should measure about 22.5 inches / 57 cm around and pull on snugly. Hats from our free crochet hat pattern collection use the same measure-first approach.
Step 2: The band
Change to purple at the start of the next round. The band is plain rounds over the cone's last stitches — no increases, no decreases — keeping your marker in place.
Child: 5 rounds of sc in purple, 72 sts every round (hat Rnds 46–50). Adult: 7 rounds of sc in purple, 84 sts every round (hat Rnds 54–60).
Total height is now about 12.5 inches / 32 cm (child) or 15 inches / 38 cm (adult). Try the cone on: it will look like a tall, brimless party hat — that is correct. If it feels tight, the brim will not loosen it; your fix is in the Tips section. At the end of the last band round, change back to black for the brim.
Step 3: The brim
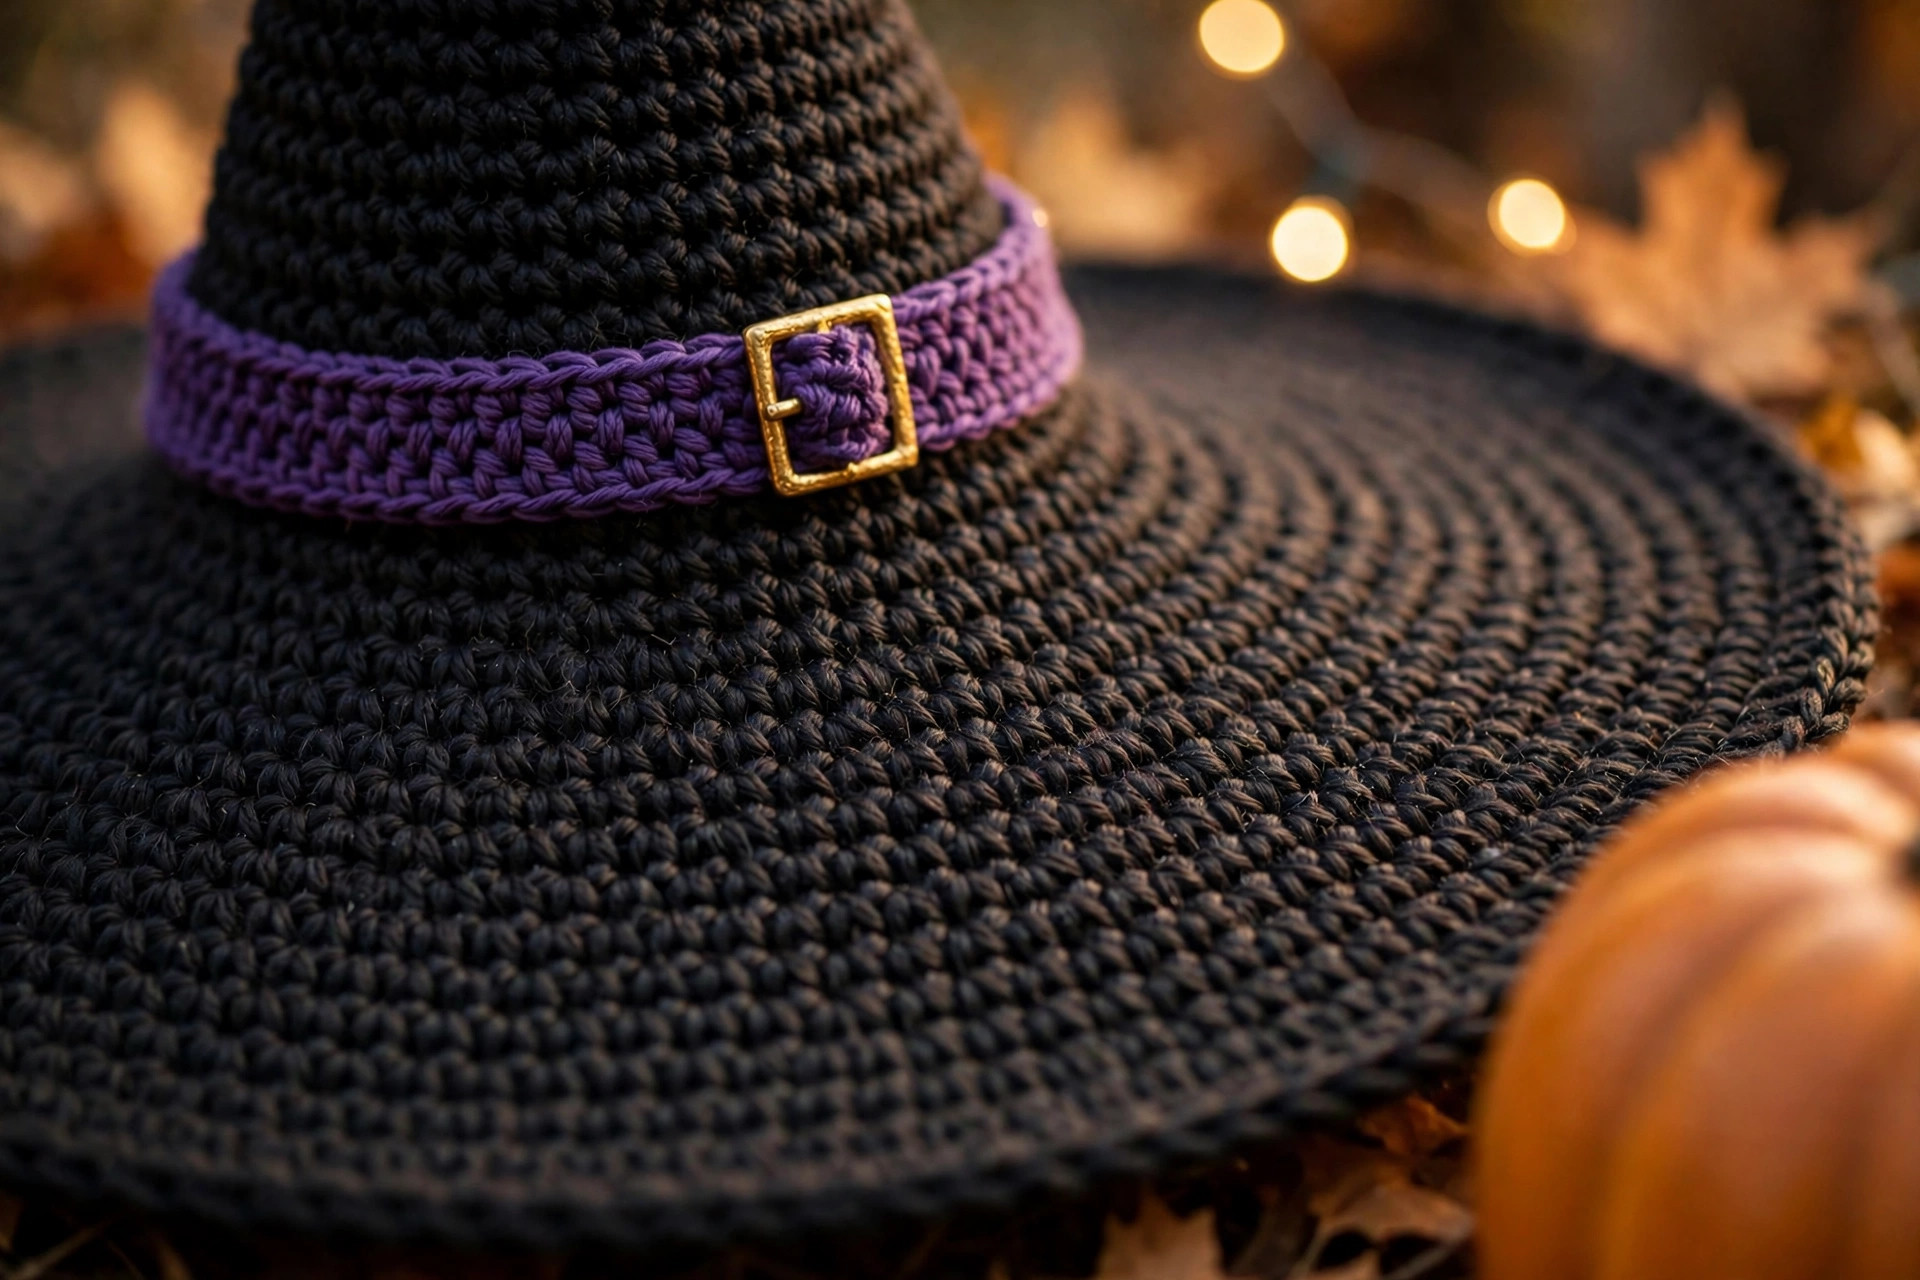
Use black yarn. The brim works outward from the last band round, increasing in every round — six per round, evenly spaced, with no plain rounds between. That faster growth turns the fabric from a tube into a flat disc. The sc count between increases grows by one every round; count carefully.
Adult brim — starting from 84 sts:
- R1: (sc 13, inc) ×6 — 90 sts
- R2: (sc 14, inc) ×6 — 96 sts
- R3: (sc 15, inc) ×6 — 102 sts
- R4: (sc 16, inc) ×6 — 108 sts
- R5: (sc 17, inc) ×6 — 114 sts
- R6: (sc 18, inc) ×6 — 120 sts
- R7: (sc 19, inc) ×6 — 126 sts
- R8: (sc 20, inc) ×6 — 132 sts
- R9: (sc 21, inc) ×6 — 138 sts
- R10: (sc 22, inc) ×6 — 144 sts
- R11: (sc 23, inc) ×6 — 150 sts
- R12: (sc 24, inc) ×6 — 156 sts
- R13: (sc 25, inc) ×6 — 162 sts
- R14: (sc 26, inc) ×6 — 168 sts
- R15: Sc each. (168 sts) Sl st to next st, fasten off, weave end along underside.
Child brim — starting from 72 sts:
- R1: (sc 11, inc) ×6 — 78 sts
- R2: (sc 12, inc) ×6 — 84 sts
- R3: (sc 13, inc) ×6 — 90 sts
- R4: (sc 14, inc) ×6 — 96 sts
- R5: (sc 15, inc) ×6 — 102 sts
- R6: (sc 16, inc) ×6 — 108 sts
- R7: (sc 17, inc) ×6 — 114 sts
- R8: (sc 18, inc) ×6 — 120 sts
- R9: (sc 19, inc) ×6 — 126 sts
- R10: (sc 20, inc) ×6 — 132 sts
- R11: (sc 21, inc) ×6 — 138 sts
- R12: (sc 22, inc) ×6 — 144 sts
- R13: Sc each. (144 sts) Sl st to next st, fasten off, weave end along underside.
The finished brim measures about 14.25 inches / 36 cm across (adult) or 12.25 inches / 31 cm (child) and should lie almost flat. A gentle wave presses out in finishing. A strong ruffle means extra increases crept in; a cupped, bowl shape means some were missed — check the last two rounds first.
Step 4: The buckle (optional)
The buckle is a faux buckle: a small gold square with a smaller black square sewn on top — it reads as a frame from any normal distance.
Gold square: Ch 9. Row 1: sc in 2nd ch from hook and in each ch across, turn. (8 sc) Rows 2–8: ch 1 (does not count), sc in each st, turn. (8 sc) Fasten off, leaving a 12-inch sewing tail. The square is about 2 inches / 5 cm across.
Black centre: Ch 5. Row 1: sc in 2nd ch from hook and in each ch across, turn. (4 sc) Rows 2–4: ch 1, sc in each st, turn. (4 sc) Fasten off, weave in ends.
Centre the black square on the gold one and sew it down at each corner. Sew the buckle to the front of the band, directly opposite your start marker, stitching just inside the gold edges so the stitches hide.
Finishing and shaping your witch hat
Weave in the magic-ring tail especially well — back and forth through the tip stitches three times before trimming, because the tip gets handled most. Other ends disappear along the inside of the band rounds.
Now shape the hat; this step is the difference between a crochet hat and a witch hat. Lay the brim flat, smooth it outward from the band with your palms, and pin it to a blocking mat or folded towel if it curls. Stand the cone up and shape the point with your fingers, aiming for straight or very slightly curved. A deliberate gentle bend near the tip is a beloved witchy look — decide it now.
For a firmer finish, paint or spray fabric stiffener — or PVA glue diluted half and half with water — onto the underside of the brim and the inside of the lower cone. Shape and leave to dry overnight, the cone stuffed loosely with a rolled towel. For a really crisp edge, thread thin craft wire through the stitches of the final plain brim round before stiffening, twisting the ends together at the back. Store a stiffened hat on a hook or shelf, never folded.

Tips for a point that stands up
Density is everything. A witch hat flops because the fabric is too soft, not because the pattern is wrong. If your swatch feels drapey, go down a hook size before starting — a tighter gauge beats a droopy cone, and stiffening only helps fabric that nearly stands on its own.
Offset your increases if you see corners. Six increases landing in the same six positions every cycle can give the cone subtle flat sides, like a hexagon. Shift the next increase round a few stitches along — a couple of extra plain stitches before the first repeat — and the cone turns round again.
Check the fit at the band, not at the brim. If the band feels tight after Step 2, go back to the cone and add one more increase cycle, which adds 6 stitches — about 1.6 inches / 4 cm of circumference — and about an inch of height. Too loose? Drop the last cycle. The brim still works from any band count: divide by 6, subtract 1, and that is the sc count for Brim Rnd 1.
Mind your marker. In a black spiral, losing the round start is easy and miserable. Use a bright locking marker, move it every round, and count every increase round out loud. Work the cone in good light, over a pale cushion — black yarn in the evening is the final boss of crochet eyesight.
Plan the whole costume. Plain acrylic survives being taken off and sat on at parties, and re-shapes with a quick steam. If your Halloween leans cold instead, our crochet earflap hat keeps ears warm on its own — or wear the witch hat for photos and swap.
FAQ
Is this witch hat suitable for beginners?
Yes, for a confident beginner. The only stitches are single crochet, increases, a slip stitch and a little flat work for the buckle. The challenge is length, not difficulty — the adult cone is 53 rounds, worked in four-round cycles you can tick off as you go.
How long does a crochet witch hat take?
About 5 to 7 hours for the adult size and 4 to 5 hours for the child size — usually three or four evenings. The band and brim together take about an hour.
How much yarn do I need?
About 340 yards of black worsted for adult and 240 yards for child — roughly two standard 100 g balls either way. The purple band takes 25 to 35 yards; the buckle is a scrap.
My point keeps flopping over. What can I do?
Three fixes, in order. First, check the fabric: soft and drapey means your gauge is too loose, and a smaller hook on a fresh start is the real cure. Second, stiffen the finished hat as described in Finishing. Third, embrace a soft bend near the tip, shaped the same way every time: intentional and very storybook.
Can I make a size in between child and adult?
Yes — the pattern is built in 6-stitch steps. Each extra cone cycle adds 6 stitches (about 1.6 inches / 4 cm of head room) and about 1 inch / 2.5 cm of height. A teen size, for example, is the child cone plus one extra cycle to 78 stitches, with 6 band rounds and a brim started from 78 stitches.
Can I wash the finished hat?
Hand wash in cool water, roll in a towel, then reshape the cone over a rolled towel and dry the brim flat. If you stiffened the hat or added wire, spot clean only — soaking softens most stiffeners. Never hang a wet witch hat by its point.
What to crochet next
The hat is done — now build the rest of your handmade Halloween:
- Summon a see-through friend with this crochet ghost to haunt the mantelpiece.
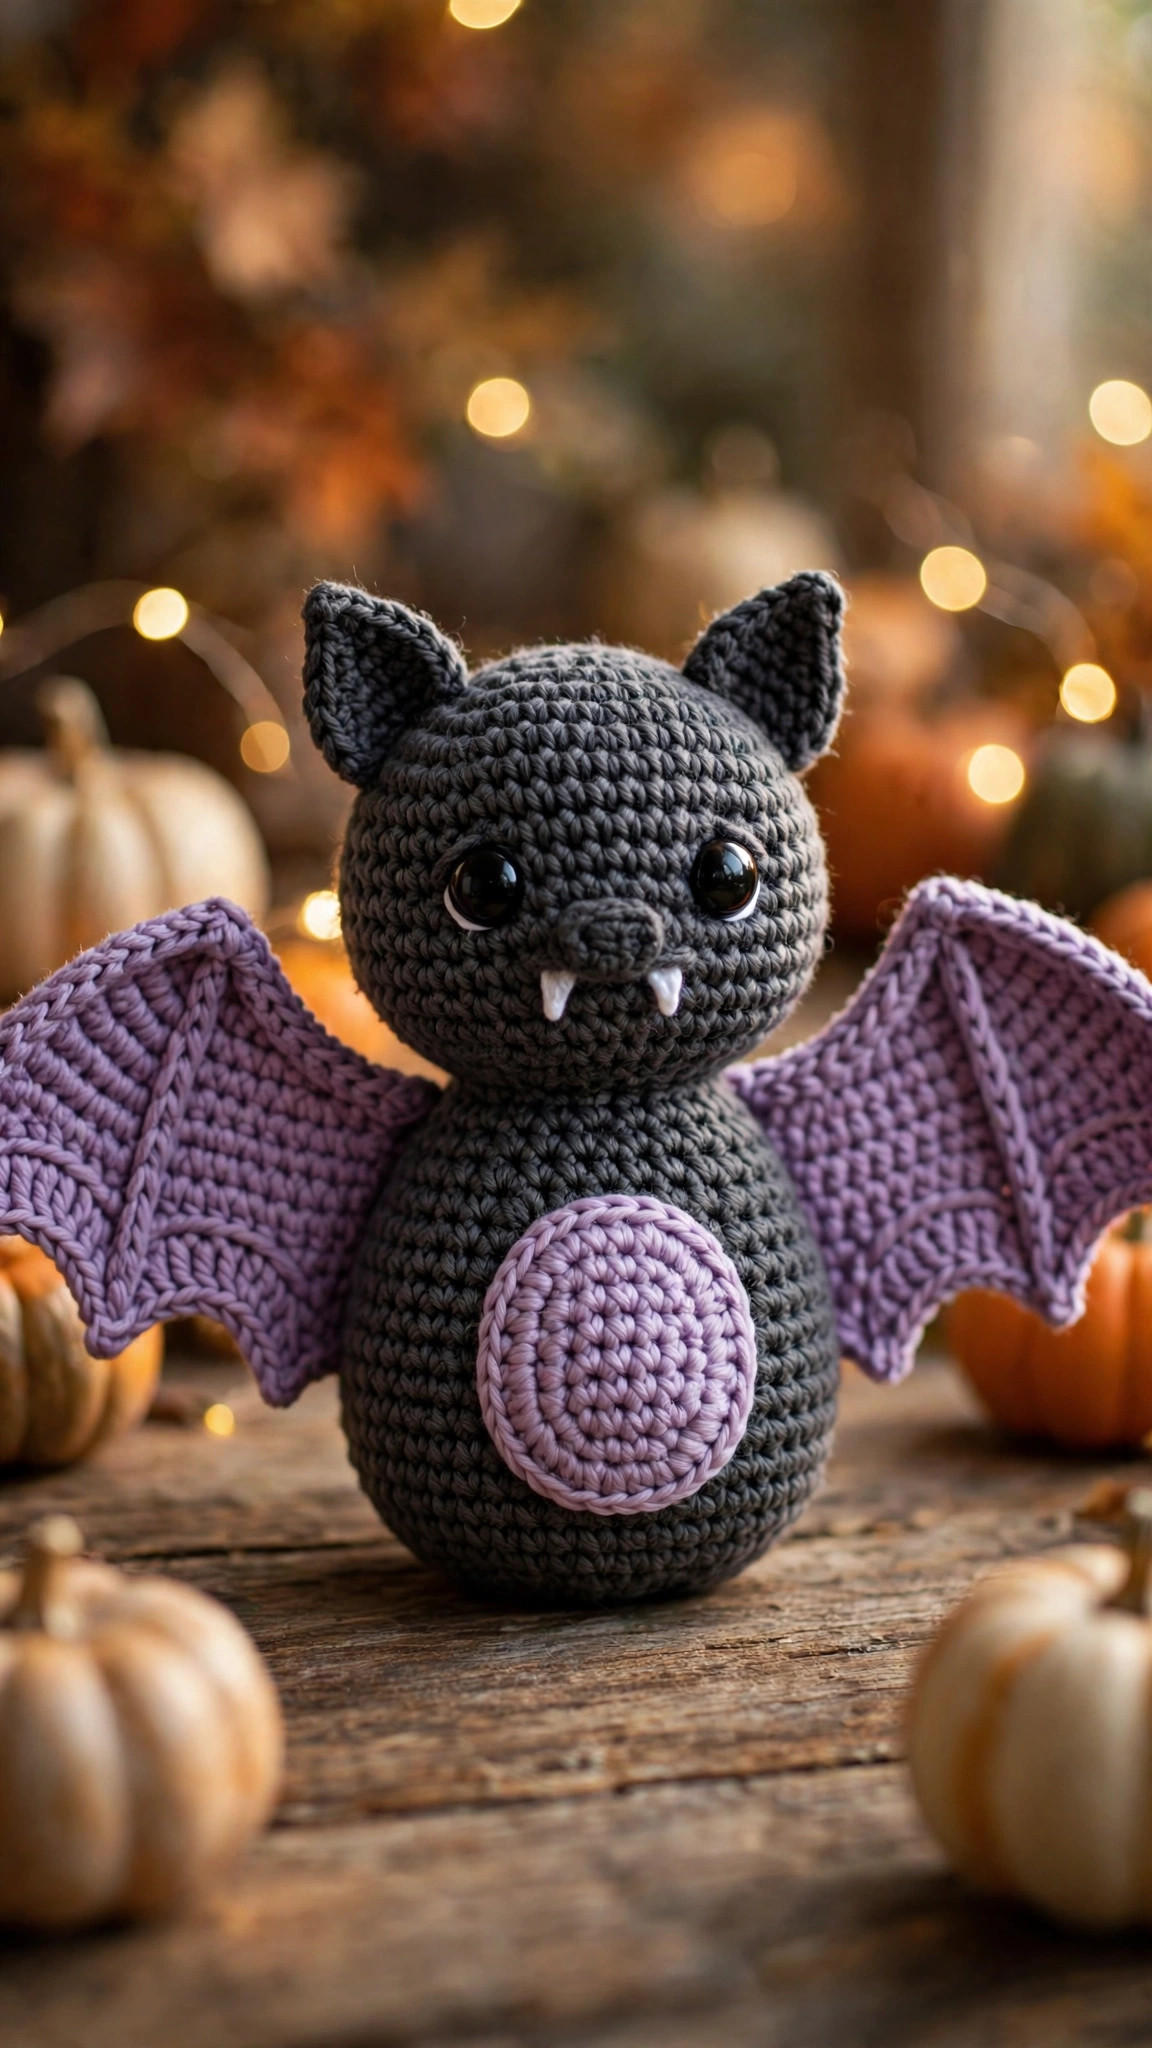
- Add a little night flyer with the crochet bat — perfect pinned to the hat band.
- Drape doorways with a crochet spider web for instant haunted-house atmosphere.
Happy crocheting — may your point be tall and your brim be flat!
The box below contains an Etsy link. If you buy through it, we may earn a small commission at no extra cost to you. Learn more.
No time to make one?
Short on time? Find handmade crochet witch hats from independent makers on Etsy.
Browse on Etsy (opens Etsy in a new tab)