Crochet Spider Web Pattern: Easy Halloween Web
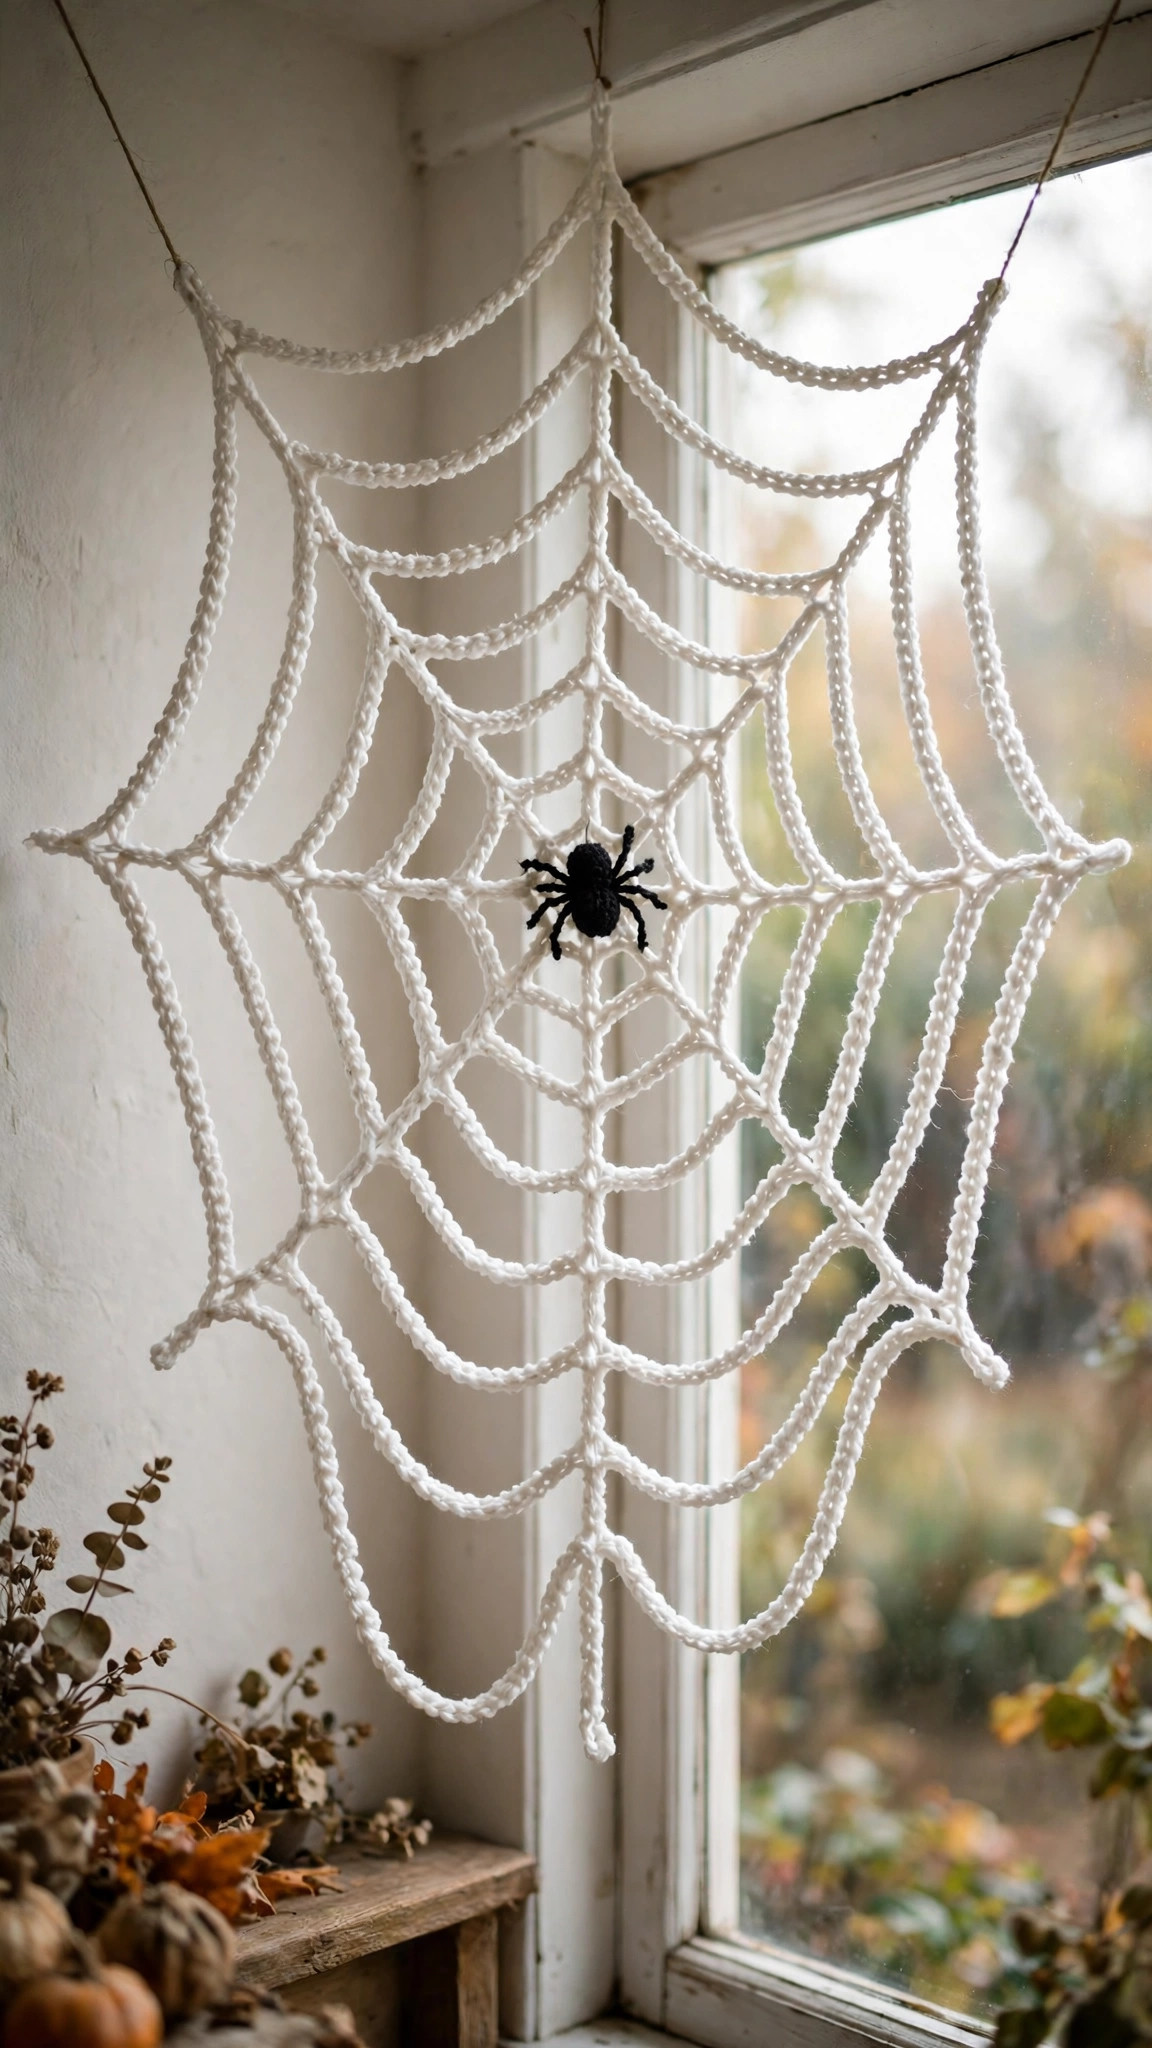
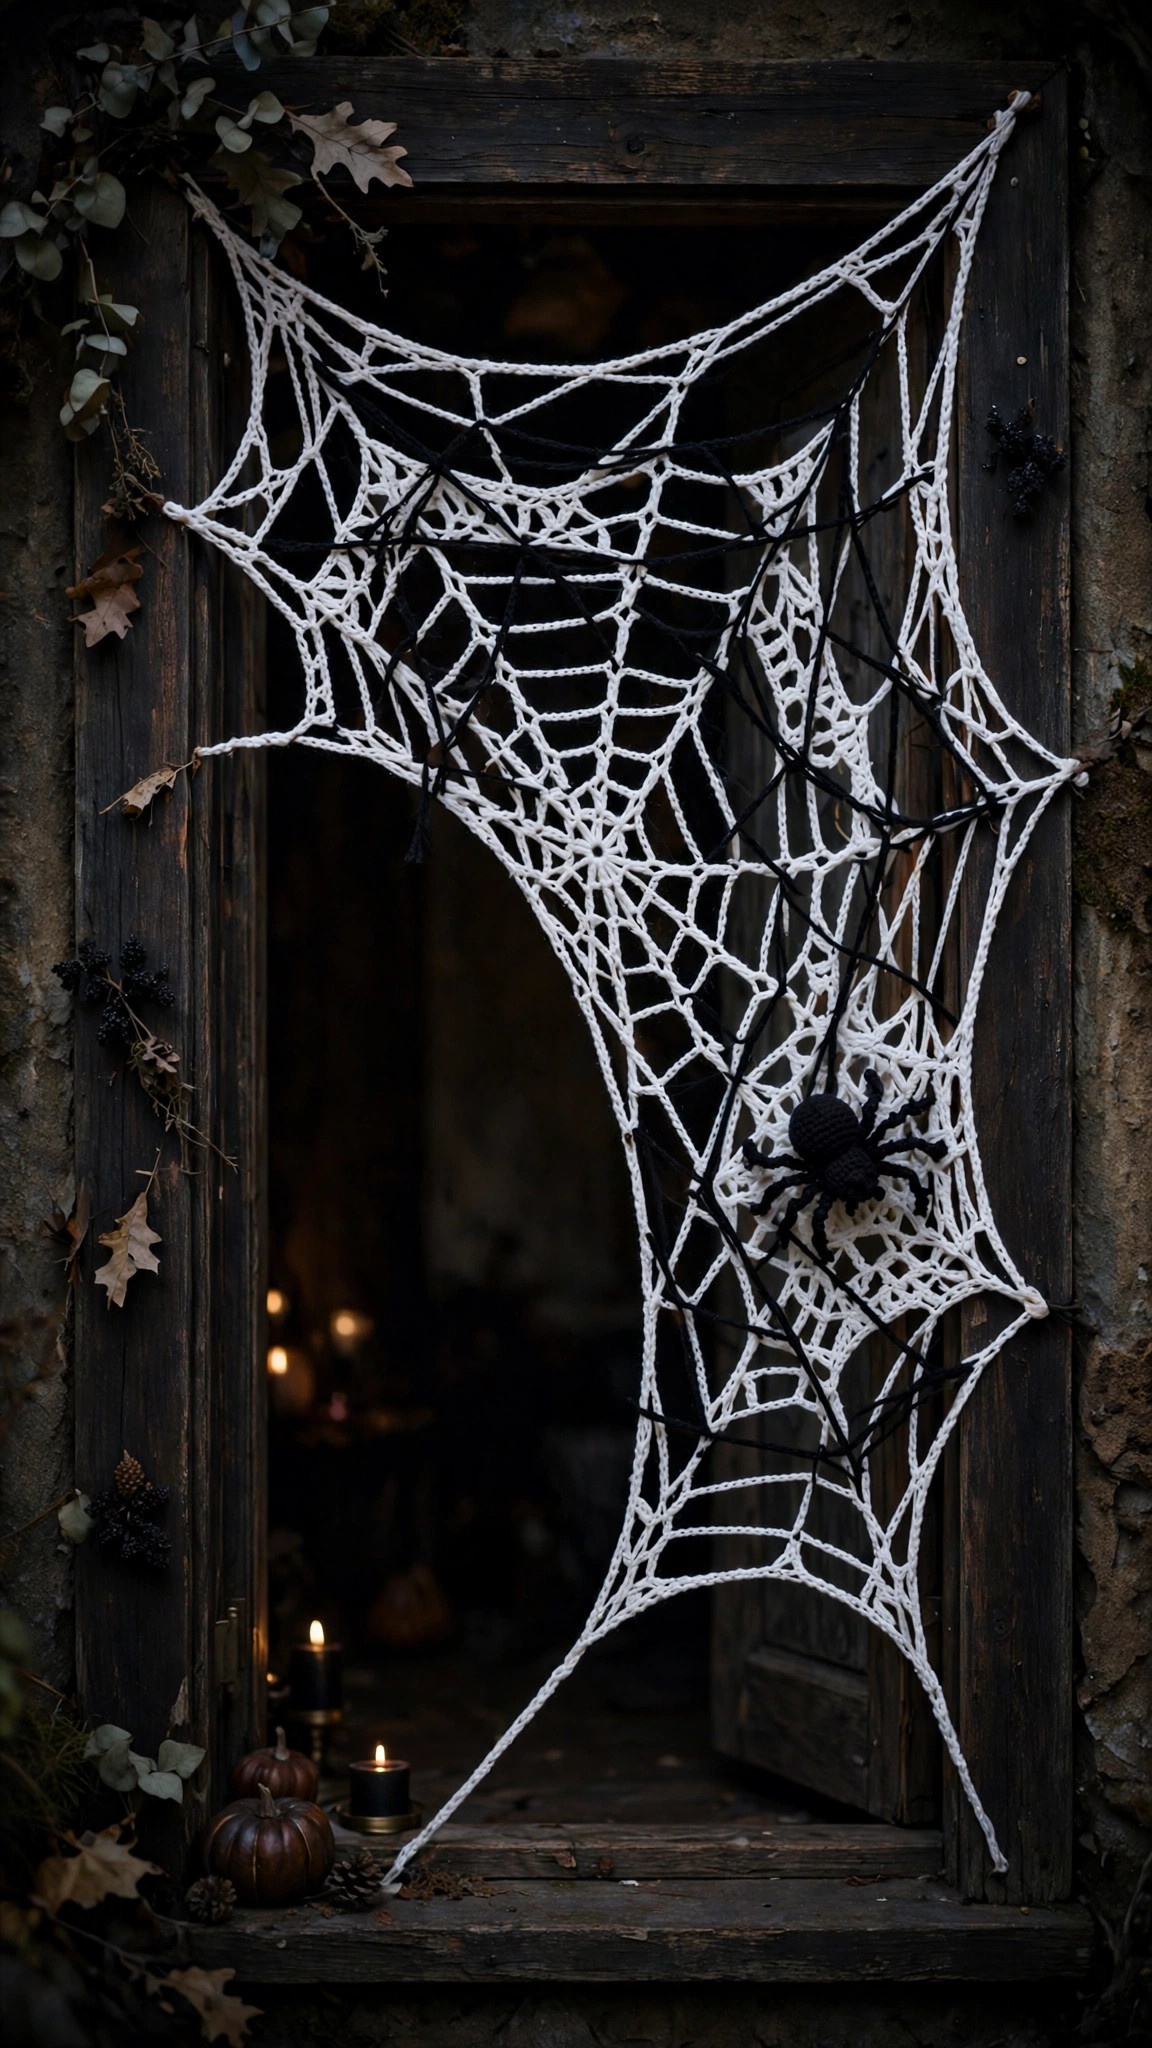
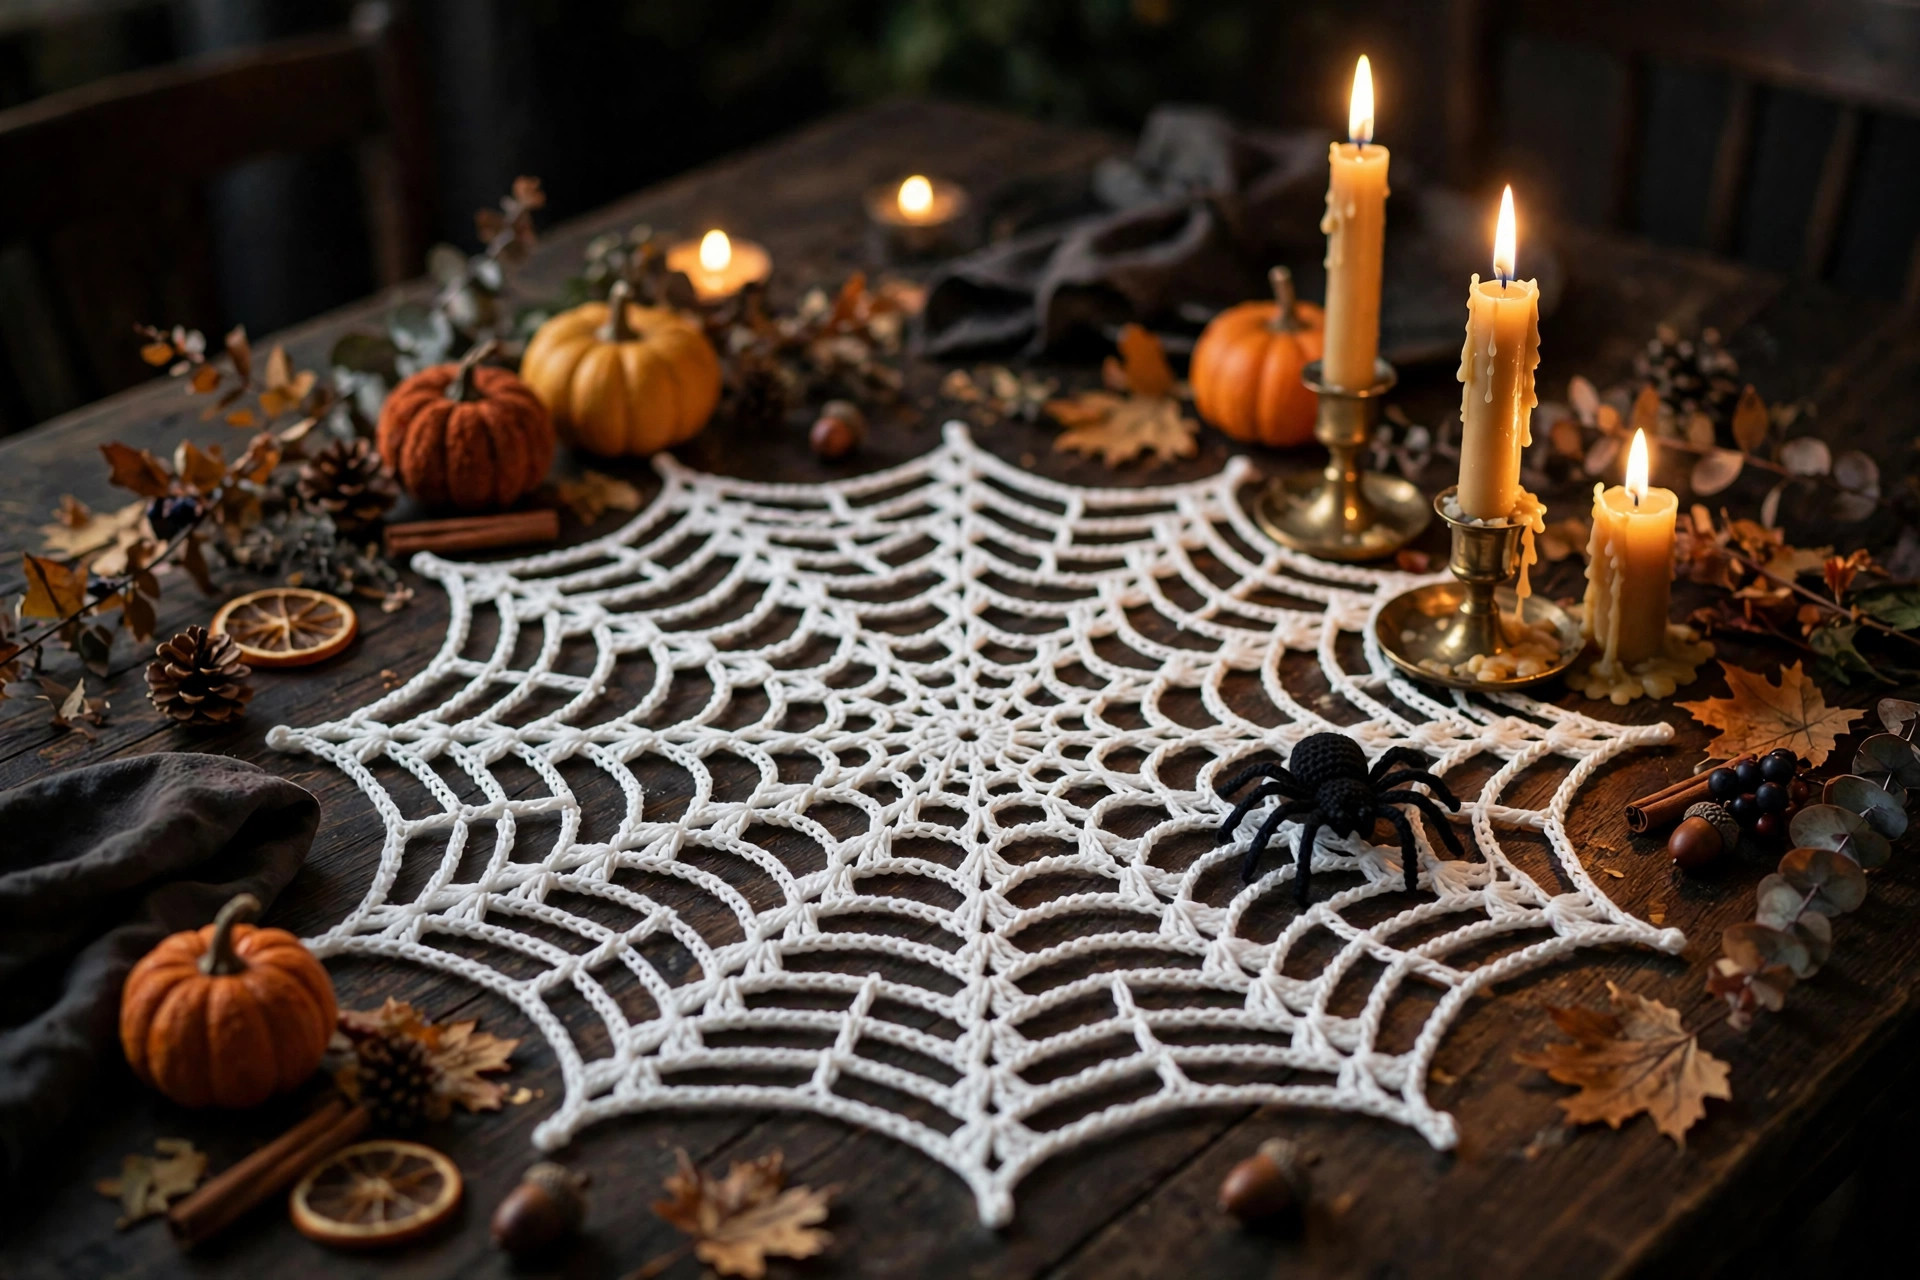
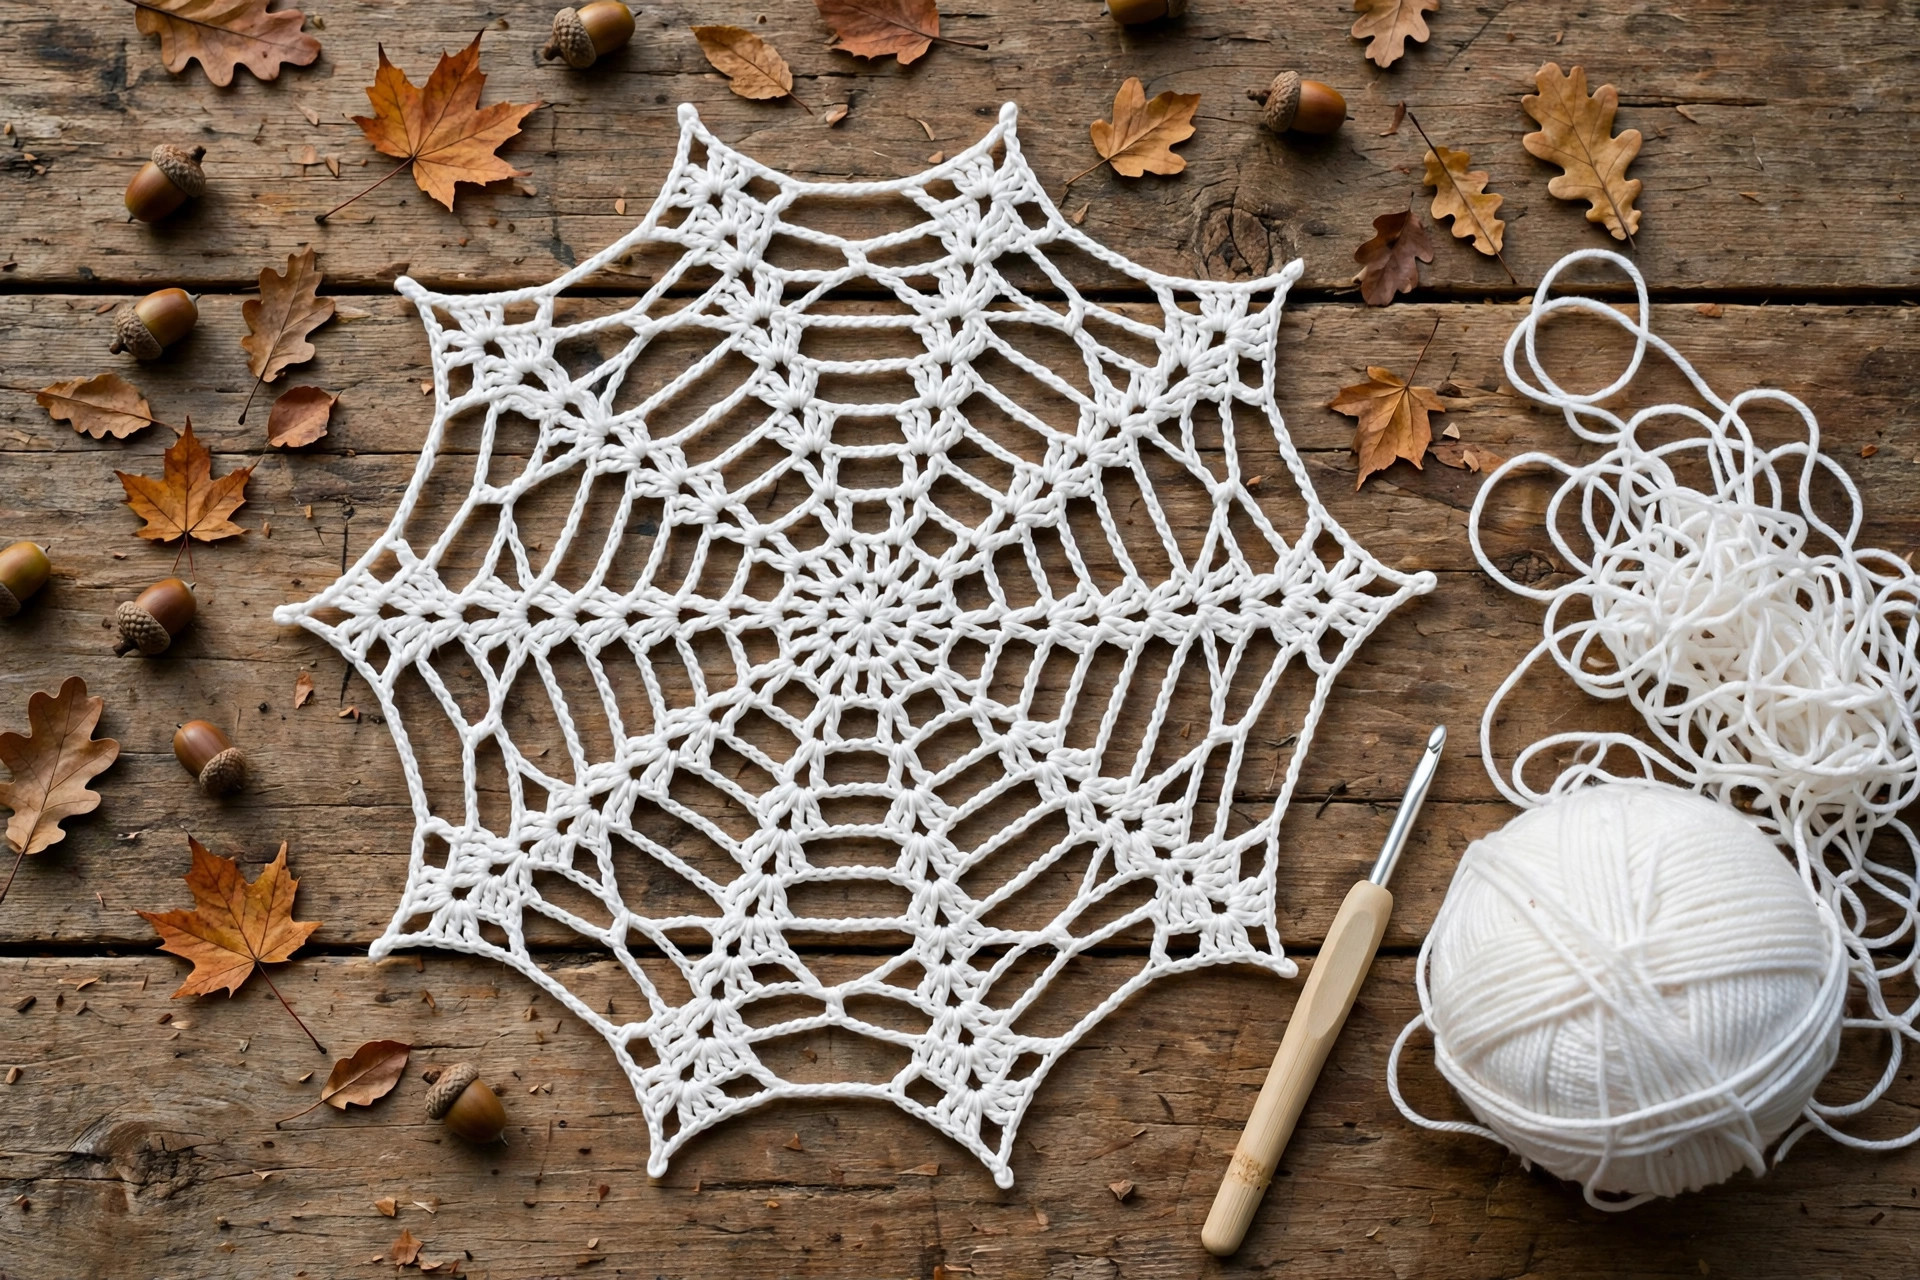
A flat crochet spider web worked in rounds from a centre ring — eight spokes, concentric chain arcs that sag just like the real thing, and an optional tiny amigurumi spider to sit on top. Hang it in a window, lay it as a table centrepiece, or shrink it into coasters.

Halloween · Crochet
- Finished size
- About 30 cm / 12 in across
- Making time
- About 1.5–2 hours
- Hook
- 4 mm, cotton DK yarn
- Rounds
- 9 rounds + optional spider
- Skill
- Beginner
In this post
Forget the flimsy plastic webs that tangle in the box and end up in the bin by November. This crochet spider web pattern gives you a proper handmade web — flat, lacy and beautifully saggy in all the right places — to hang in a window, drape in a corner, lay flat as a table centrepiece, or shrink down into a spooky coaster set. It is worked in simple rounds from the centre out, so after the first two rounds the rest is pure relaxing repetition.
The secret is the construction. Eight sturdy spokes radiate from a tiny centre ring, and the web itself is nothing more than chains joined to those spokes with single crochet. Because each arc is deliberately a little longer than the distance it spans, it dips and sags exactly like a real web — no complicated lace, no chart, just counting to eight.
And because a web deserves a resident, there is an optional tiny spider at the end: a small black ball body, a smaller head and eight bendy legs. Sit him in the middle, dangle him below the web, or leave the web empty and mysterious.
Contents
- Why you'll love this crochet spider web pattern
- Materials you'll need
- Size, gauge and skill level
- Abbreviations — US terms
- The pattern (US terms)
- Finishing, blocking and hanging
- Tips for a realistic, saggy web
- FAQ
- What to crochet next
Why you'll love this crochet spider web pattern
First, it is fast. The chains do the travelling for you, so the web grows by leaps on every round. One evening in front of a film and you will have a finished 30 cm web, blocked and ready to hang the next morning.
Second, it is honest beginner crochet. If you can make a magic ring, chain and work a single crochet, you already know every stitch in the web — and with only eight spokes per round, a wrong count shows up within seconds.
Third, it is endlessly adaptable. In white cotton it reads as a classic frosty web; in black it turns dramatic against a pale wall; in grey it looks startlingly realistic. Make it smaller for coasters, or bigger for a door backdrop.
Finally, it costs almost nothing — one 50 g ball of cotton makes the full-size web with yarn to spare. It sits beautifully alongside a classic crochet doily — a doily's spooky cousin, with the same centre-out construction but far less counting.
Materials you'll need
| Supply | What to get |
|---|---|
| Main yarn | Cotton DK or light worsted yarn in white, off-white, grey or black, about 40–50 g (roughly 90–110 m / 100–120 yd) |
| Spider yarn | Cotton or acrylic yarn in black, about 10 g, plus a tiny scrap of white for the eyes |
| Crochet hook | 4 mm (G-6) |
| Notions | Tapestry needle, scissors, stitch marker (optional) |
| For blocking | Rustproof pins and a board, towel or foam mat |
| Optional | Fishing line or twine for hanging; 8 black pipe cleaners for bendy spider legs; a pinch of stuffing for the spider |
Yarn choice genuinely matters here. Cotton is best: it holds its shape, blocks crisply, shows every chain clearly and does not stretch under its own weight when hung. Acrylic works flat on a table, but hung vertically it can slowly stretch and lose its sag. Avoid fluffy yarns — the halo blurs the openwork. You will not need the whole ball, so this is a brilliant use for leftover cotton.
Size, gauge and skill level
- Finished size: about 30 cm (12 in) across after blocking, in DK/light worsted cotton with a 4 mm hook. Unblocked, expect roughly 26–27 cm (about 10.5 in).
- Gauge: not critical, but as a guide, Rounds 1–3 should measure about 7 cm (2.75 in) across. If your web is much smaller, your chains are probably tight — relax them rather than changing hooks, because loose chains create the sag.
- Skill level: beginner. The web uses only chain, single crochet and slip stitch. The optional spider adds simple increases and decreases, explained round by round.
- Making time: about 1.5–2 hours for the web, plus about 20 minutes for the spider and 15 minutes for pinning out to block.
Scaling the web: each extra round adds roughly 4–5 cm (about 1.75 in) to the diameter. Stop after Round 6 for an 18–20 cm web, or continue to Round 11 or 12 for a dramatic 40 cm statement web.
Abbreviations — US terms
| Abbreviation | Meaning |
|---|---|
| MR | magic ring (adjustable ring) |
| ch | chain |
| sc | single crochet |
| sl st | slip stitch |
| st(s) | stitch(es) |
| sp | space (the chain arc from the previous round) |
| rep | repeat |
| FO | fasten off |
Counting: this pattern lives or dies by the number eight — 8 centre stitches, 8 spokes and 8 chain arcs in every round. Count your arcs after each round; it takes five seconds.
Tension: work your chains loosely and evenly. Tight chains make short, straight arcs like a wagon wheel; loose chains make long arcs that dip in the middle — and that dip is the whole illusion.
The pattern (US terms)
Work the web flat, in joined rounds. Do not turn your work. The single crochets are the anchors that sit on the spokes; the chains are the web that sags between them.
How the web is built
The centre ring is the hub. Round 2 builds the eight spokes — eight single crochets separated by short chains. From Round 3 on, every round is the same: single crochet into the single crochet below, then chain across to the next spoke, letting the arc hang loose. Each round the chains grow by 2 and the sag deepens.
The web
Round 1 — the hub: MR, ch 1 (does not count as a stitch), 8 sc into the ring. Pull the tail to close the ring snugly, then sl st to the first sc to join. (8 sc)
Check the ring is fully closed — a real web has a tiny, tight hub, and yours should too.
Round 2 — setting the spokes: Ch 1, sc in the same st. Ch 4, sc in the next st. Rep from * to * 6 more times. Ch 4, sl st to the first sc to join. (8 sc, 8 ch-4 arcs)
You now have a tiny octagon: eight single crochets joined by eight short arcs. Those single crochets are the roots of your eight spokes — count eight arcs before you continue.
Round 3: Ch 1, sc in the same st. Ch 6, sc in the next sc of Round 2, skipping right over the ch-4 arc. Rep from * to * 6 more times. Ch 6, sl st to the first sc to join. (8 sc, 8 ch-6 arcs)
Note: you never work into the chain arcs — only into the single crochets, which stack round after round to form eight straight spoke lines. The chains simply span the gaps.
Round 4: Ch 1, sc in the same st. Ch 8, sc in the next sc. Rep from * to * 6 more times. Ch 8, sl st to the first sc to join. (8 sc, 8 ch-8 arcs)
Round 5: Ch 1, sc in the same st. Ch 10, sc in the next sc. Rep from * to * 6 more times. Ch 10, sl st to the first sc to join. (8 sc, 8 ch-10 arcs)
By now the arcs should be bowing noticeably inward. If they look straight and tight, your chains are too tight — undo the last round and work them looser. Blocking improves sag, but it cannot invent it.
Round 6: Ch 1, sc in the same st. Ch 12, sc in the next sc. Rep from * to * 6 more times. Ch 12, sl st to the first sc to join. (8 sc, 8 ch-12 arcs)
Round 7: Ch 1, sc in the same st. Ch 14, sc in the next sc. Rep from * to * 6 more times. Ch 14, sl st to the first sc to join. (8 sc, 8 ch-14 arcs)
Round 8: Ch 1, sc in the same st. Ch 16, sc in the next sc. Rep from * to * 6 more times. Ch 16, sl st to the first sc to join. (8 sc, 8 ch-16 arcs)
Round 9 — the outer edge: Ch 1, sc in the same st. Ch 18, sc in the next sc. Rep from * to * 6 more times. Ch 18, sl st to the first sc to join. (8 sc, 8 ch-18 arcs)
FO, leaving a tail of about 20 cm (8 in). Weave it in along a spoke — or leave it long and use it as a hanging tie.
Stitch summary: every round from Round 2 to Round 9 has exactly 8 sc and 8 chain arcs. Chains per arc: Round 2 — 4, Round 3 — 6, Round 4 — 8, Round 5 — 10, Round 6 — 12, Round 7 — 14, Round 8 — 16, Round 9 — 18. The final round is 8 sc plus 8 × 18 = 144 chain stitches across the arcs.
Sturdier outer edge (optional): for a web that will be handled a lot, add an anchor round before fastening off: 9 sc evenly across each ch-18 arc (about one sc in every second chain), then sc in the spoke sc, repeat around. This firms the rim but reduces sag slightly, so use it for flat table webs, not hanging ones.
Coaster variation
Work Rounds 1–5 only, then the anchor round across the ch-10 arcs (5 sc per arc, sc in each spoke sc). Block firmly flat for a web of about 11–12 cm (4.5 in) — perfect under a mug, and a set of four in white, grey and black makes a brilliant gift.
The spider (optional)
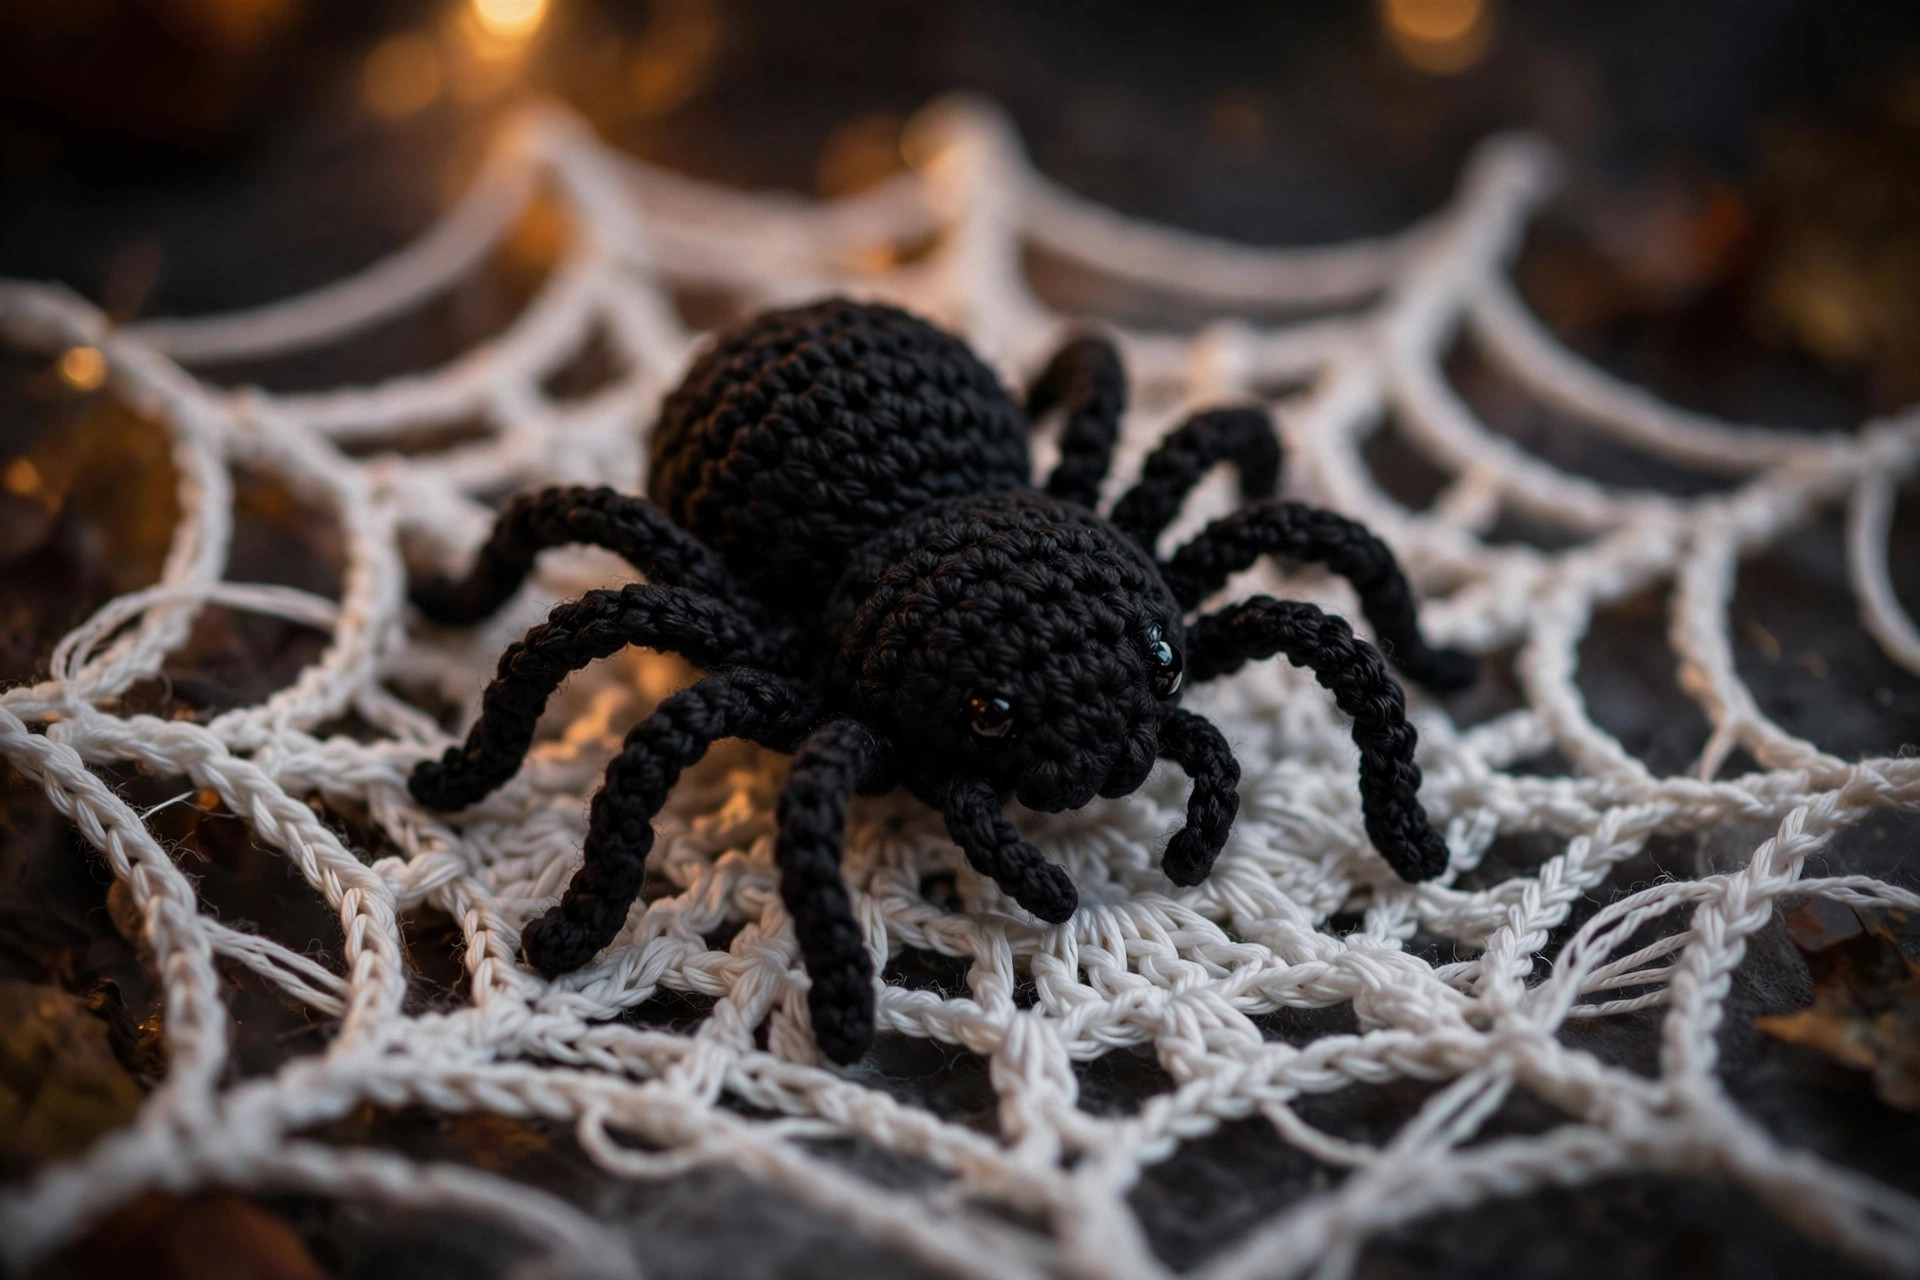
The spider is a tiny two-ball amigurumi. Work in continuous spirals and mark the first stitch of each round. Use black yarn and a 4 mm hook, or a 3.5 mm hook if your tension is loose.
Body — black
- R1: MR, 6 sc (6)
- R2: 2 sc in each st around (12)
- R3: [sc, 2 sc in next st] × 6 (18)
- R4–R5: sc in each st around (18) — 2 rounds even
- R6: [sc, sc2tog] × 6 (12)
- Start stuffing now, firmly, while the opening is wide.
- R7: sc2tog × 6 (6)
- FO, thread the tail through the front loops of the last 6 stitches, pull tight to close, and leave a long tail for sewing the head on.
Sc2tog = single crochet decrease: pull up a loop in each of the next 2 stitches, yarn over and pull through all three loops.
Head — black
- R1: MR, 6 sc (6)
- R2: [sc, 2 sc in next st] × 3 (9)
- R3: sc in each st around (9)
- R4: [sc, sc2tog] × 3 (6)
- Stuff very lightly — just a pinch — then FO, leaving a long tail.
Sew the head to the front of the body so the two balls sit together like a figure of eight. With white yarn, embroider two tiny eyes: two small vertical stitches, two stitches apart. Real spiders have eight eyes, so add six tiny dots around them if you are feeling mischievous.
Legs — make 8, in yarn or pipe cleaners
Yarn legs (washable, child-friendly): for each leg, ch 9, sl st in the second ch from the hook and in each ch back to the start (8 sl sts). FO, leaving a tail for sewing. The chain curls slightly as you work — that bend is the knee of the leg. Sew four legs to each side of the body, along R3–R5, angling the front pair forwards and the back pair backwards.
Pipe-cleaner legs (bendy, poseable): cut four black pipe cleaners in half for eight pieces. Push each into the side of the body and secure with a few stitches or a dab of glue. Bend each leg down in the middle, then down again at the tip, for the classic two-bend shape. Note: wire ends make this version unsuitable for small children.
Attaching the spider
Stitch the spider to the web with a few hidden stitches through the hub or along a spoke. Or tie him to the lowest arc with black yarn or fishing line, so he dangles and spins below it — the dangling spider gets the biggest reaction, every time.
Finishing, blocking and hanging
Do not skip the blocking. It stretches the arcs to full size, evens the sag, sets the spokes straight and takes the web from about 26 cm to its full 30 cm.
How to block: soak the web in lukewarm water for ten minutes, then press it in a folded towel — never wring it. Pin out each of the eight spoke points at the outer edge, pulling each spoke line straight and spacing the points evenly, like a clock face. The arcs must dip inwards, not stretch flat. Leave pinned until completely dry, at least overnight.
Stiffening — do you need it? For a flat table web, no. For a hanging web, light stiffening helps it hold its shape all season. Spray starch misted on while pinned is gentlest and washes out; diluted white craft glue (one part glue to one part water, brushed on while pinned) holds firmer.
Hanging ideas: tie clear fishing line to three or four outer spoke points and gather the lines above, so the web floats level in a window — wonderful from outside at dusk. Or stretch it across a doorway corner, lay it under a bowl of sweets, drape it over an LED lampshade, or frame a black web under glass.
Tips for a realistic, saggy web
- Loose chains are everything. If your arcs are straight, your chains are tight. Work the chain rounds slowly and let each chain form tall and relaxed.
- Keep the spoke stitches tight. Work the single crochets snugly. Tight anchors on loose arcs make the sag look deliberate and spidery, not baggy.
- Do not work into the arcs. A stitch midway along a chain splits one graceful arc into two stiff ones. Trust the single span — real webs are single threads.
- Count to eight, then count again. Every error in this pattern is a missing-or-extra-spoke error, caught by one five-second arc count per round.
- Mix your shades. White with a final round in pale grey, or a grey web with a white hub, has a depth one flat colour cannot match.
- Add a dew drop or two. Sew a tiny clear bead at two or three points along the arcs after blocking — in window light they glitter like dew, and visitors lean in, which is when they spot the spider.
- Pair your web with friends. Hang it above a mantel strung with a crochet garland and the display looks planned, not improvised.
FAQ
Is this spider web pattern suitable for beginners?
Yes — it is one of the friendliest first lace-style projects you can try. The web uses only chain, single crochet and slip stitch, in joined rounds with just eight repeats. The optional spider is a gentle introduction to amigurumi ball shaping.
How big is the finished web, and can I make it bigger?
About 30 cm (12 in) across, in DK or light worsted cotton with a 4 mm hook. To go bigger, add Round 10 with ch-20 arcs and Round 11 with ch-22 arcs, always 8 sc and 8 arcs — each extra round adds roughly 4–5 cm. For a coaster, stop at Round 5 or 6 and add the anchor round.
Why are my arcs straight instead of saggy?
Almost always, tight chains. The chain count per round is deliberately generous for the distance between spokes, so a relaxed chain must dip. If yours are straight, undo the last round and work the chains looser and taller, or use a 4.5 mm hook for the chains.
Can I use acrylic yarn instead of cotton?
Yes, and for a flat table centrepiece it works well. For a hanging web, cotton is strongly recommended: it blocks crisply and holds its shape, while acrylic stretches gradually under its own weight.
How do I wash and store the web?
Hand wash in lukewarm water with mild detergent, press dry in a towel, and re-pin to shape while damp. Store flat between tissue paper, or rolled loosely around a cardboard tube — never folded, as folds set creases in the arcs.
Can I sell webs made from this pattern?
Yes, you may sell finished webs and spiders you have made yourself, at craft fairs, markets and online, in small batches. Please credit Little Loop Finds as the designer with a link back to this pattern. The pattern text and photographs may not be copied, redistributed or sold.
What to crochet next
Your web needs company. Complete the haunted-house set below.
Happy crocheting — if your web makes a visitor step back before realising it is yarn, you did it right.
The box below contains an Etsy link. If you buy through it, we may earn a small commission at no extra cost to you. Learn more.
No time to make one?
Short on time? Find handmade crochet spider webs and Halloween decor from independent makers on Etsy.
Browse on Etsy (opens Etsy in a new tab)