Jellyfish Crochet Pattern (Free Amigurumi)
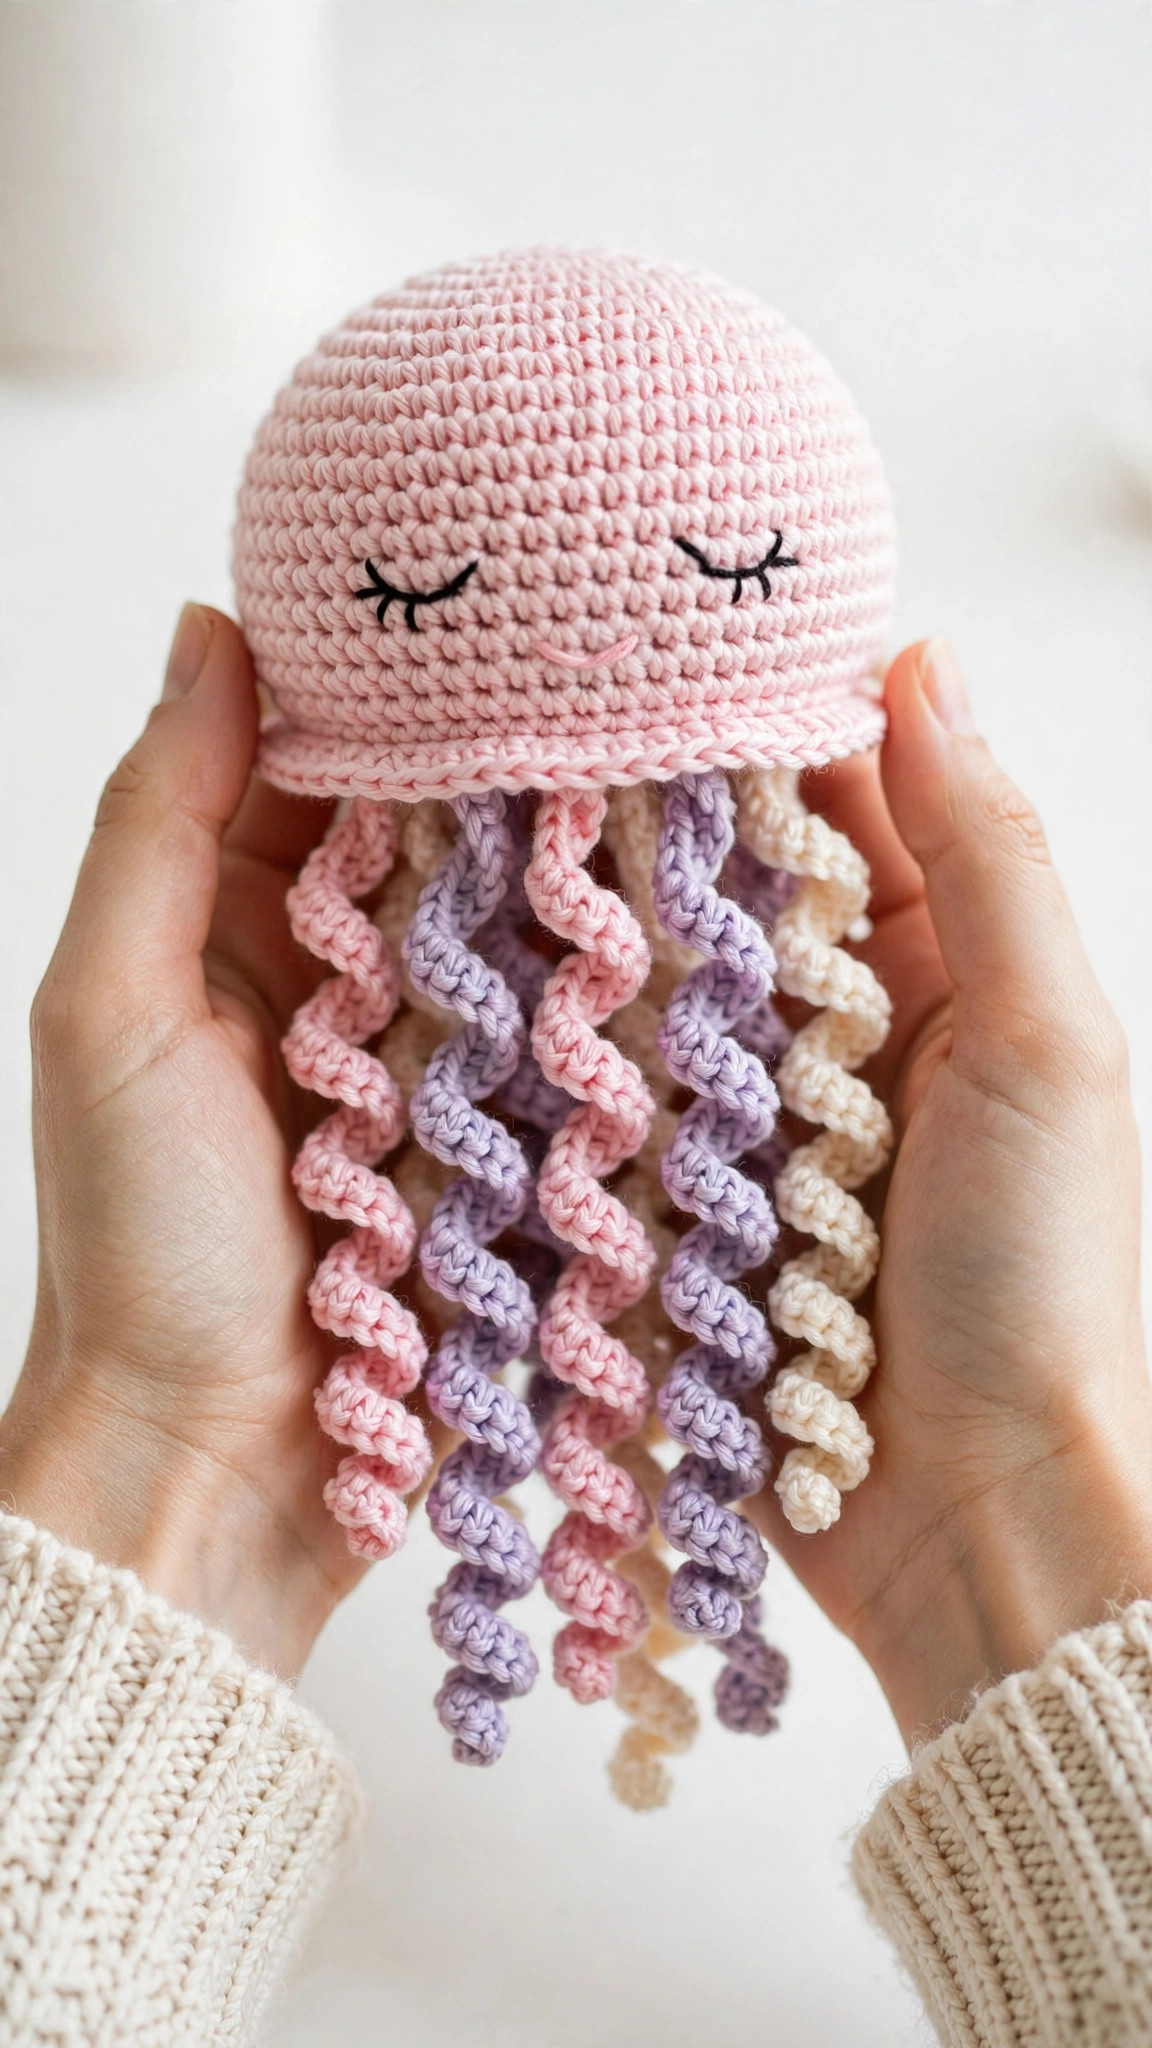
Stitch a sweet jellyfish amigurumi with a domed body, a ruffled edge, and curly tentacles, then gift it or hang it in a nursery.

Patterns · Crochet
- Finished size
- 5 in tall, 7 in tentacles
- Making time
- About 2 hours
- Hook
- US E-4 (3.5 mm)
- Set
- Dome, ruffle, tentacles
- Skill
- Easy
In this post
- Key Takeaways
- Table of Contents
- Why You Will Love This Jellyfish
- Finished Size, Skill Level, and Time
- Materials You Need
- Abbreviations (US Terms)
- Gauge and Sizing Notes
- Part 1: The Dome
- Part 2: The Ruffle Edge and the Face
- Part 3: Curly Tentacles and Finishing
- Variations: Colors, Sizes, and Uses
- Troubleshooting Jellyfish That Lean or Lose Their Curl
- Care Instructions
- Frequently Asked Questions
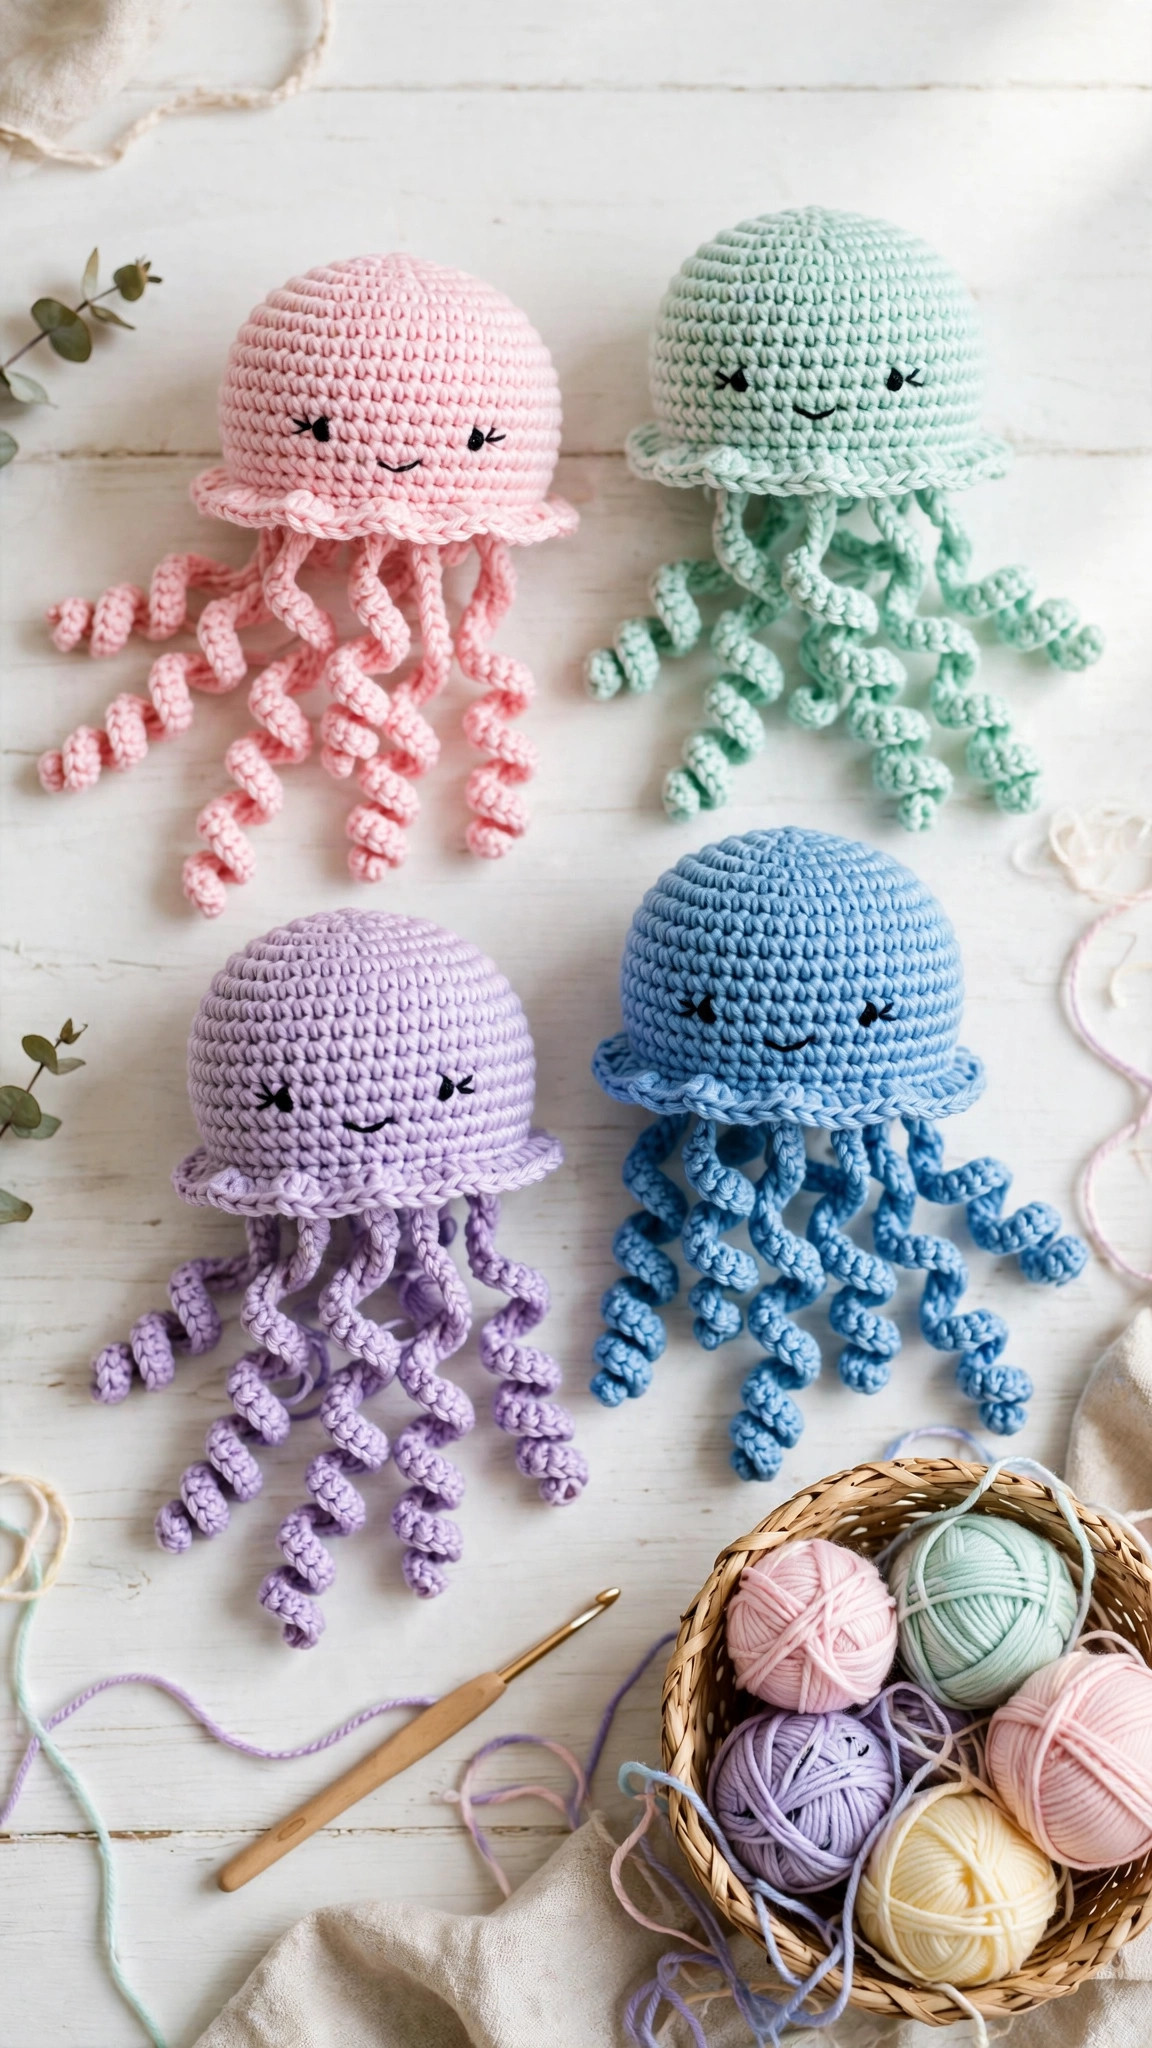
A crochet jellyfish is one of the sweetest amigurumi you can make. A domed body, a pair of sleepy eyes, and a tangle of curly tentacles that bounce when you pick it up, all in a project you can finish in a single evening. This free jellyfish crochet pattern walks you through every round, so your jellyfish comes out round, soft, and ready for a gift basket.
This is an original Little Loop Finds design, written in US terms and completely free. The dome is simple single crochet rounds with a stitch count at the end of every round, the ruffle edge is one easy scallop round, and the tentacles are chains worked back with extra stitches, which is what makes them curl. If you can single crochet and increase, you can crochet this jellyfish.
This post is about one specific jellyfish amigurumi, a domed body with curly tentacles and a ruffled skirt edge. For a smaller sea creature first, our mini octopus crochet pattern uses the same dome shaping in a quicker make.
Key Takeaways
- Free original pattern: this jellyfish crochet pattern is a Little Loop Finds original design, written in US terms, and completely free.
- A dome, a ruffle, and curls: a round single crochet dome, one scalloped ruffle edge, and curly tentacles that shape themselves.
- Beginner friendly amigurumi: simple stitches with a stitch count at the end of every round, and the tentacle curl explained step by step.
- One evening project: about 2 hours from the first stitch to the last woven end.
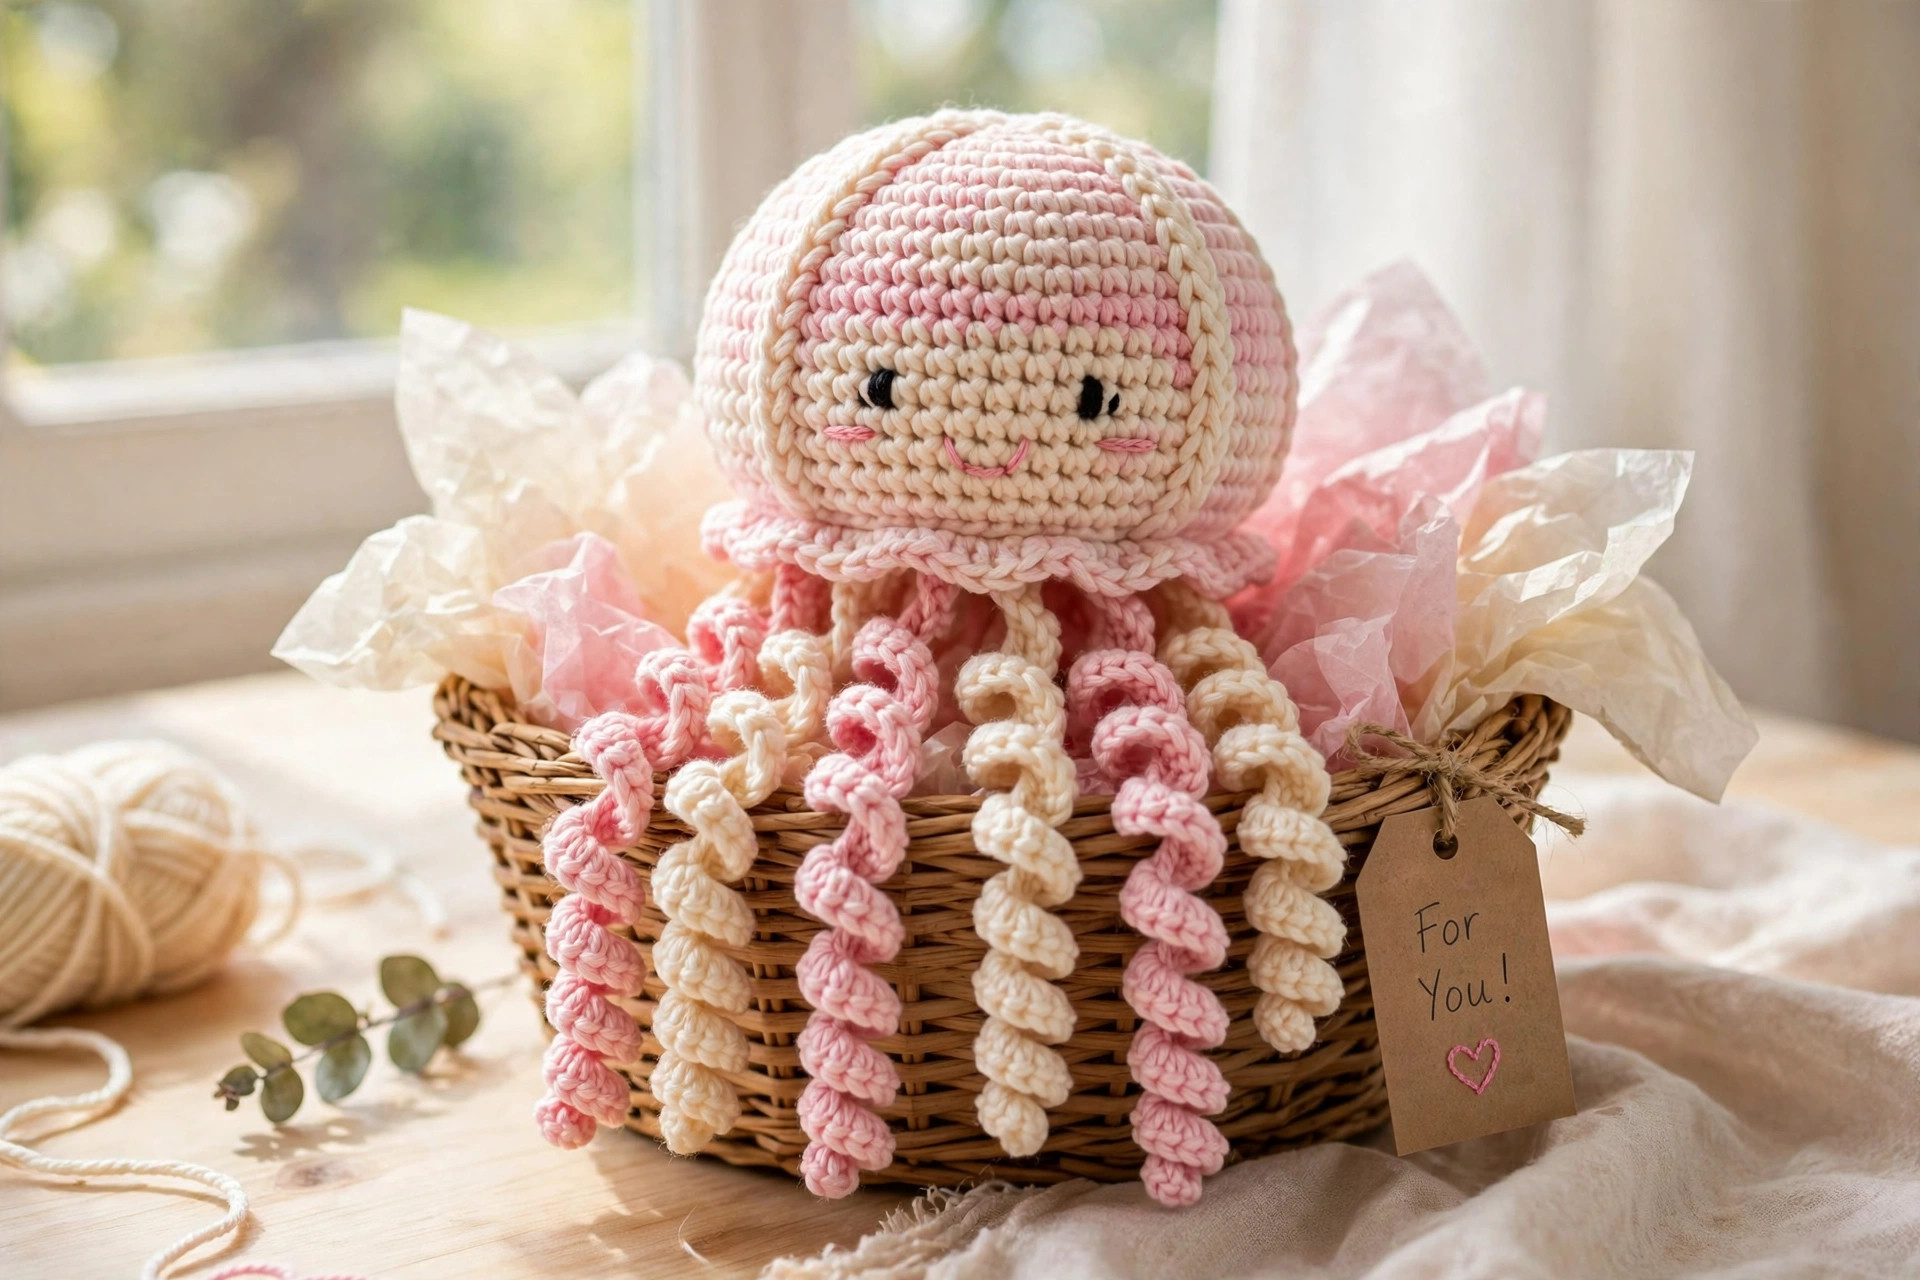
- Perfect for gifts and nurseries: a soft, squishy jellyfish that works as a baby shower gift, a nursery mobile charm, or a cheerful desk friend.
Table of Contents
- Why You Will Love This Jellyfish
- Finished Size, Skill Level, and Time
- Materials You Need
- Abbreviations (US Terms)
- Gauge and Sizing Notes
- Part 1: The Dome
- Part 2: The Ruffle Edge and the Face
- Part 3: Curly Tentacles and Finishing
- Variations: Colors, Sizes, and Uses
- Troubleshooting Jellyfish That Lean or Lose Their Curl
- Care Instructions
- Frequently Asked Questions
Why You Will Love This Jellyfish
There is something about a jellyfish that makes people smile, and a crochet jellyfish does the same thing in yarn. The dome is round, the tentacles curl like ribbons, and the whole thing suits a nursery shelf or a beach themed bedroom. It is the kind of amigurumi you make once and then cannot stop making, because each one is quick and slightly different depending on the colors you choose.
A jellyfish is also a wonderful way to use up leftover yarn. The dome needs only a small amount of one color, and the tentacles are perfect for stash odds and ends, a few yards each of pink, lavender, cream, or whatever you have on hand.
If you are new to amigurumi, this jellyfish is a lovely first sea creature to learn. It teaches you the magic ring, the even increase rhythm that makes a round dome, the decrease rhythm that closes it, and the chain trick that makes a tentacle curl.
Finished Size, Skill Level, and Time
- Finished size: about 5 inches tall from the top of the dome to the ruffle edge, with tentacles about 7 inches long, in DK weight yarn, with notes for a small 3.5 inch version and a large 7 inch version.
- Skill level: Easy. You need a magic ring, chains, slip stitches, single crochet, double crochet, increases, and decreases. The tentacle curl is just two single crochets in each chain.
- Time: about 2 hours in total: roughly 45 minutes for the dome, 15 minutes for the ruffle edge and face, and about 1 hour for the tentacles, which repeat the same simple curl eight times.
Materials You Need
| Item | What to get |
|---|---|
| Yarn, dome | DK weight (size 3) yarn in pastel pink, about 60 yards |
| Yarn, ruffle | DK weight (size 3) yarn in cream, about 15 yards |
| Yarn, tentacles | DK weight (size 3) yarn in 3 to 4 colors like pink, lavender, cream, and mint, about 15 yards each |
| Hook | US E-4 (3.5 mm), or the size that gives you tight stitches with no stuffing showing through |
| Eyes | 10 mm safety eyes, one pair, with washers |
| Stuffing | Polyester fiberfill, a small handful |
| Notions | Tapestry needle, scissors, stitch markers, black embroidery floss for the smile |
DK weight yarn is the best choice for a jellyfish amigurumi because it shows crisp stitch definition and the tentacles curl neatly without flopping. Worsted weight yarn works too, and it makes a slightly larger jellyfish, about 7 inches tall with 9 inch tentacles.
Use 10 mm safety eyes for the standard size, and move up or down a size if you make a smaller or larger jellyfish. If the jellyfish is for a baby under three, skip the safety eyes and embroider the eyes with black yarn instead.
Abbreviations (US Terms)
- ch = chain
- sl st = slip stitch
- sc = single crochet
- dc = double crochet
- inc = increase (2 sc in the same stitch)
- dec = decrease (sc 2 together)
- st(s) = stitch(es)
- rnd(s) = round(s)
- rep = repeat
- sk = skip
- MR = magic ring
- BLO = back loop only
Gauge and Sizing Notes
Gauge for amigurumi is about keeping the stuffing hidden, not about hitting an exact number. Work the first 4 rounds of the dome and look at the fabric. You should not be able to see through the stitches, and the dome should feel firm when you squeeze it. If you can see gaps, go down a hook size. If the stitches are so tight that your hand aches, go up half a hook size.
To make a smaller jellyfish, stop the increases at Rnd 6, work 3 plain rounds instead of 5, and start the decreases from 36 stitches, for a piece about 3.5 inches tall. To make a larger jellyfish, add one more increase round after Rnd 8 for 54 stitches, work 6 plain rounds, and follow the same decrease rhythm, for a piece about 7 inches tall.
Part 1: The Dome
The jellyfish begins at the very top of the dome and grows outward in even rounds. Work in a continuous spiral without joining, and place a stitch marker in the first stitch of each round. The increase rhythm is simple: add 6 stitches on every increase round, one more plain stitch between increases each time, until the dome is 48 stitches around.
Dome Rounds
With the dome color, MR.
- Rnd 1: 6 sc in MR. (6 sc)
- Rnd 2: inc in each st around. (12 sc)
- Rnd 3: (sc in next st, inc in next st) rep 6 times. (18 sc)
- Rnd 4: (sc in next 2 sts, inc in next st) rep 6 times. (24 sc)
- Rnd 5: (sc in next 3 sts, inc in next st) rep 6 times. (30 sc)
- Rnd 6: (sc in next 4 sts, inc in next st) rep 6 times. (36 sc)
- Rnd 7: (sc in next 5 sts, inc in next st) rep 6 times. (42 sc)
- Rnd 8: (sc in next 6 sts, inc in next st) rep 6 times. (48 sc)
- Rnds 9 to 13: sc in each st around. (48 sc)
The dome should now look like a little bowl, about 3.5 inches across. Pull the magic ring tail firmly so no hole shows at the very top. If the dome looks flat instead of rounded, check that you worked exactly 6 increases on each round.
Closing the Dome
The dome closes with the same even rhythm in reverse, taking 6 stitches away on every decrease round. Stuff the dome firmly as you work the decreases.
- Rnd 14: (sc in next 6 sts, dec) rep 6 times. (42 sc)
- Rnd 15: (sc in next 5 sts, dec) rep 6 times. (36 sc)
- Rnd 16: (sc in next 4 sts, dec) rep 6 times. (30 sc)
- Rnd 17: (sc in next 3 sts, dec) rep 6 times. (24 sc)
- Rnd 18: (sc in next 2 sts, dec) rep 6 times. (18 sc)
- Rnd 19: (sc in next st, dec) rep 6 times. (12 sc)
- Rnd 20: dec 6 times. (6 sc)
Stuff the dome before Rnd 18, adding small pinches of fiberfill. Add a little more after Rnd 19, while the opening is still wide enough for your finger. Fasten off after Rnd 20, leaving a long tail, and use the tapestry needle to weave the tail through the front loops of the last 6 stitches, pull tight to close the hole, and weave in the end inside the dome.
Part 2: The Ruffle Edge and the Face
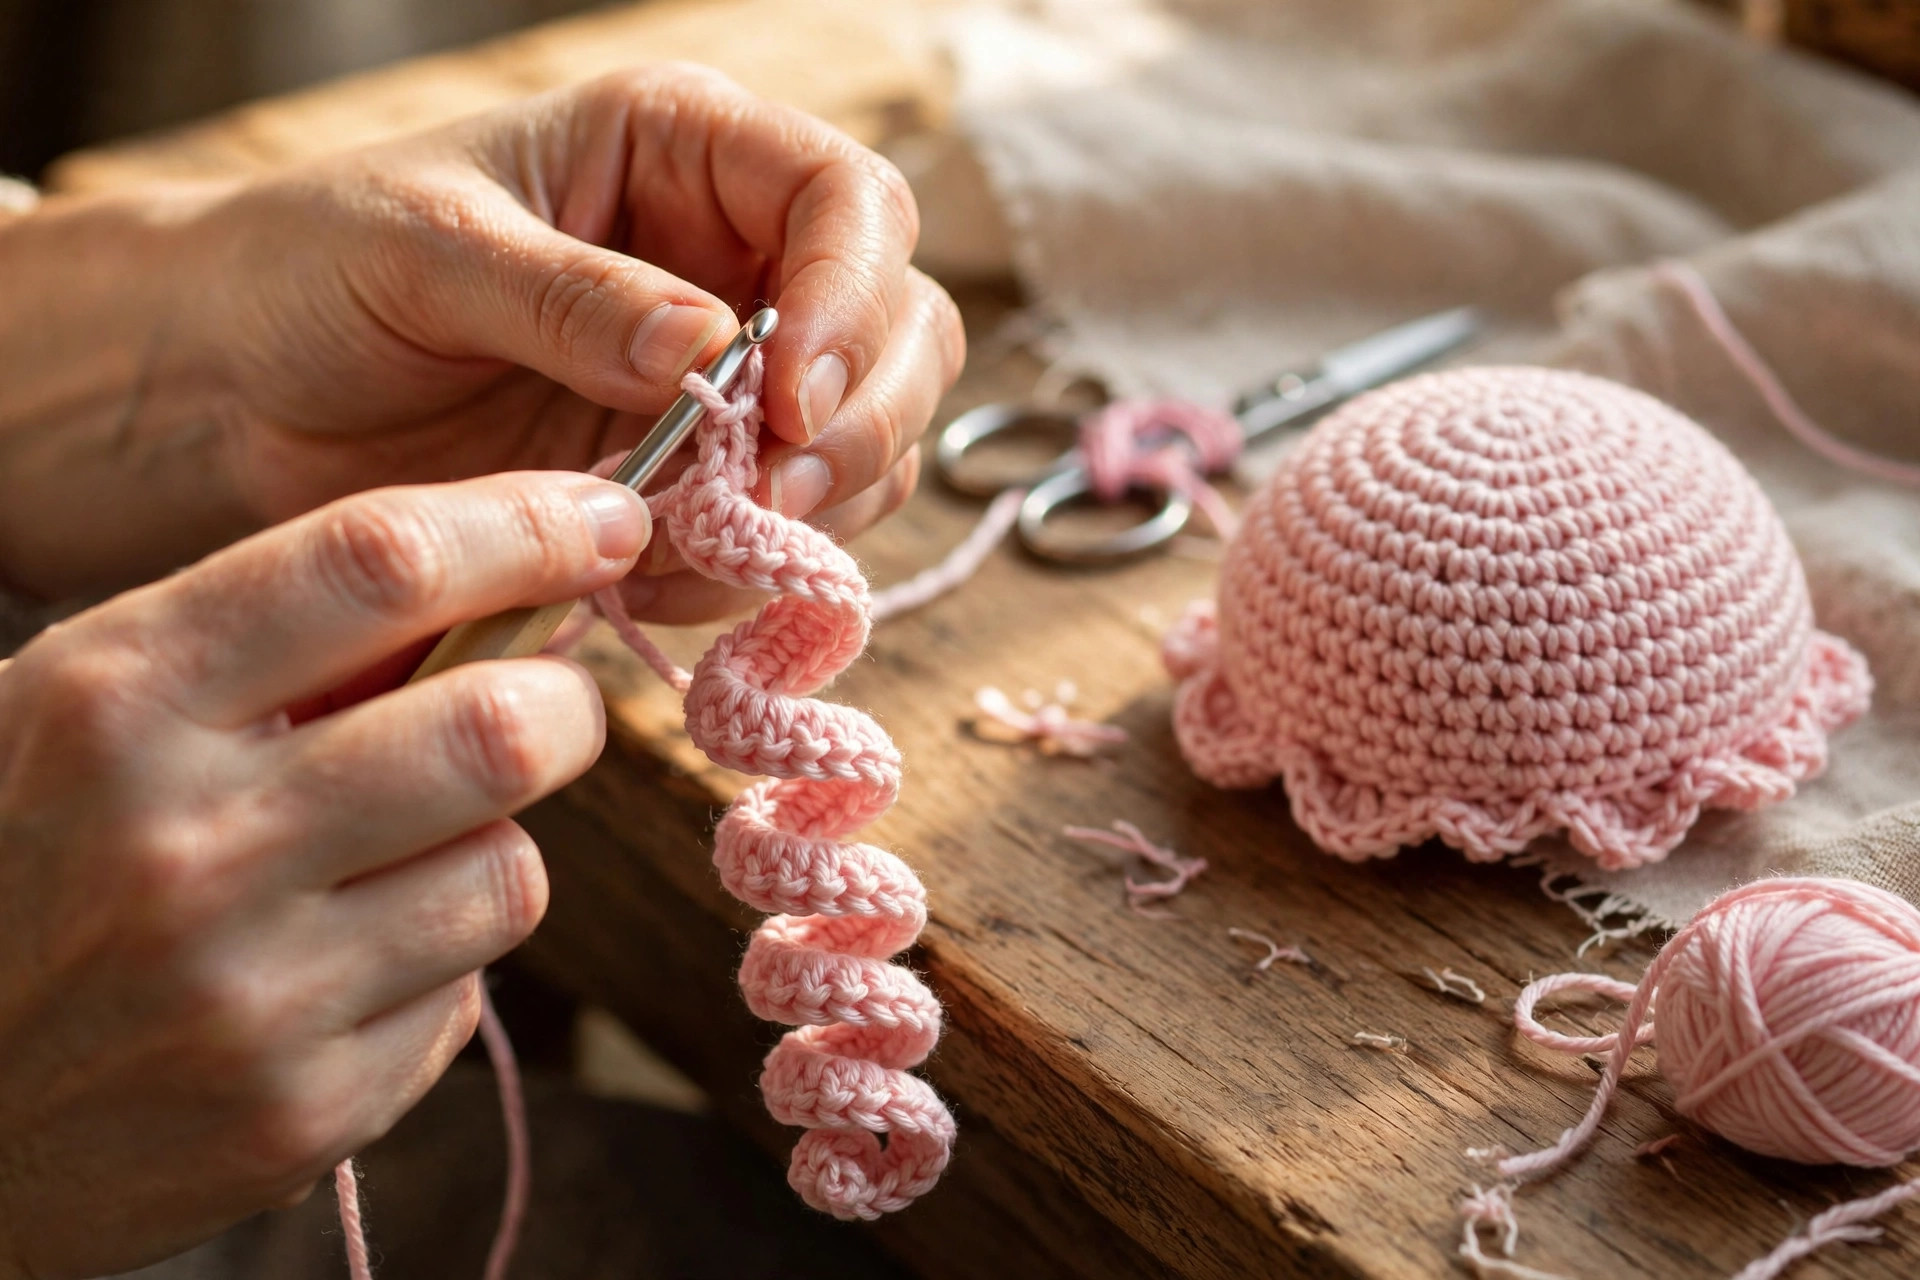
The ruffle edge is what turns a plain dome into a jellyfish. It is a single scallop round worked into the stitches of Rnd 17, around the lower part of the dome, in a contrast color. The face is two safety eyes and one small embroidered smile, placed low on the dome.
Ruffle Edge
Hold the dome upside down, with the closed bottom facing you. Join the cream yarn with a sl st in any st of Rnd 17.
- Ruffle Rnd: ch 1, (sc in next st, ch 2, 2 dc in same st, sk 1 st) rep around. Join with a sl st to the first sc. Fasten off and weave in the end. (12 scallops)
Each scallop is a little fan of stitches that flares out from the dome, and twelve of them all the way around make a soft frilly skirt, like the edge of a real jellyfish bell. If a scallop looks cramped, work the chain 2 a little looser on the next one. The ruffle should sit flat against the dome, so give it a gentle press with your fingers when you finish.
The Face
Place the safety eyes between Rnds 10 and 11 of the dome, about 8 stitches apart, just above the ruffle edge. Push the posts through from the outside, then press the washers on firmly from the inside before you close the dome. If the jellyfish is for a baby, embroider two small French knots in black yarn in the same spots instead.
For the smile, thread black embroidery floss on a tapestry needle and work a small curved stitch just below the eyes, about 3 stitches wide. Keep the curve shallow, so the jellyfish looks content. A tiny blush of pink yarn, two short straight stitches on each cheek, is optional.
Part 3: Curly Tentacles and Finishing
The tentacles are the best part of this jellyfish, and they are also the easiest. A tentacle is a chain worked back with two single crochets in every chain, and the extra stitches force the chain to curl into a spiral. You make eight long tentacles and four shorter oral arms, then attach them around the closed bottom of the dome.
Long Curly Tentacles
Make 8, using a different color for each one if you like, or alternating two colors.
- Ch 31. Work 2 sc in the 2nd ch from the hook and in each ch across. (60 sc)
- Sl st in the first ch to anchor the tentacle, fasten off, and leave a long tail for attaching.
Each tentacle should curl into a tight spiral about 7 inches long when you let it hang. If a tentacle stays mostly straight, you worked only one stitch per chain by mistake, so count the stitches and make sure there are two in every chain. If a tentacle knots on itself, your stitches are too tight, so work them a little looser.
Short Oral Arms
Make 4, in the ruffle color or a matching tentacle color.
- Ch 16. Work 3 sc in the 2nd ch from the hook and in each ch across. (45 sc)
- Sl st in the first ch to anchor, fasten off, and leave a long tail for attaching.
The oral arms use three stitches per chain instead of two, so they curl even tighter than the long tentacles. They should be about 3 inches long when they hang, and they sit in the middle of the tentacle ring.
Attaching the Tentacles
Turn the dome upside down so the closed bottom faces you. Thread a tentacle tail on the tapestry needle and sew the base of the tentacle into the closed bottom, pulling it snug so the tentacle hangs from the dome. Attach the eight long tentacles in a ring around the edge of the bottom, spacing them evenly, then attach the four short oral arms in the middle of the ring. Knot each tail to a neighboring tail inside the dome, or weave the tails through the bottom stitches and trim the excess.
Give the jellyfish a final shape check. The dome should be round, the ruffle should sit flat, and the tentacles should hang in a loose ring with the shorter arms in the center. If a tentacle points sideways, tug its base gently and re-seat it. Your jellyfish is finished and ready to float.
Variations: Colors, Sizes, and Uses
- Ocean blue jellyfish: a deep blue dome with white and pale blue tentacles. Our crochet octopus plush pattern makes a matching sea creature.
- Rainbow jellyfish: work each tentacle in a different rainbow color, with a white dome and a cream ruffle. Our free crochet dolphin pattern is another cheerful sea friend.
- Glow in the dark jellyfish: use glow in the dark yarn for the tentacles, so the jellyfish glows softly on a nightstand.
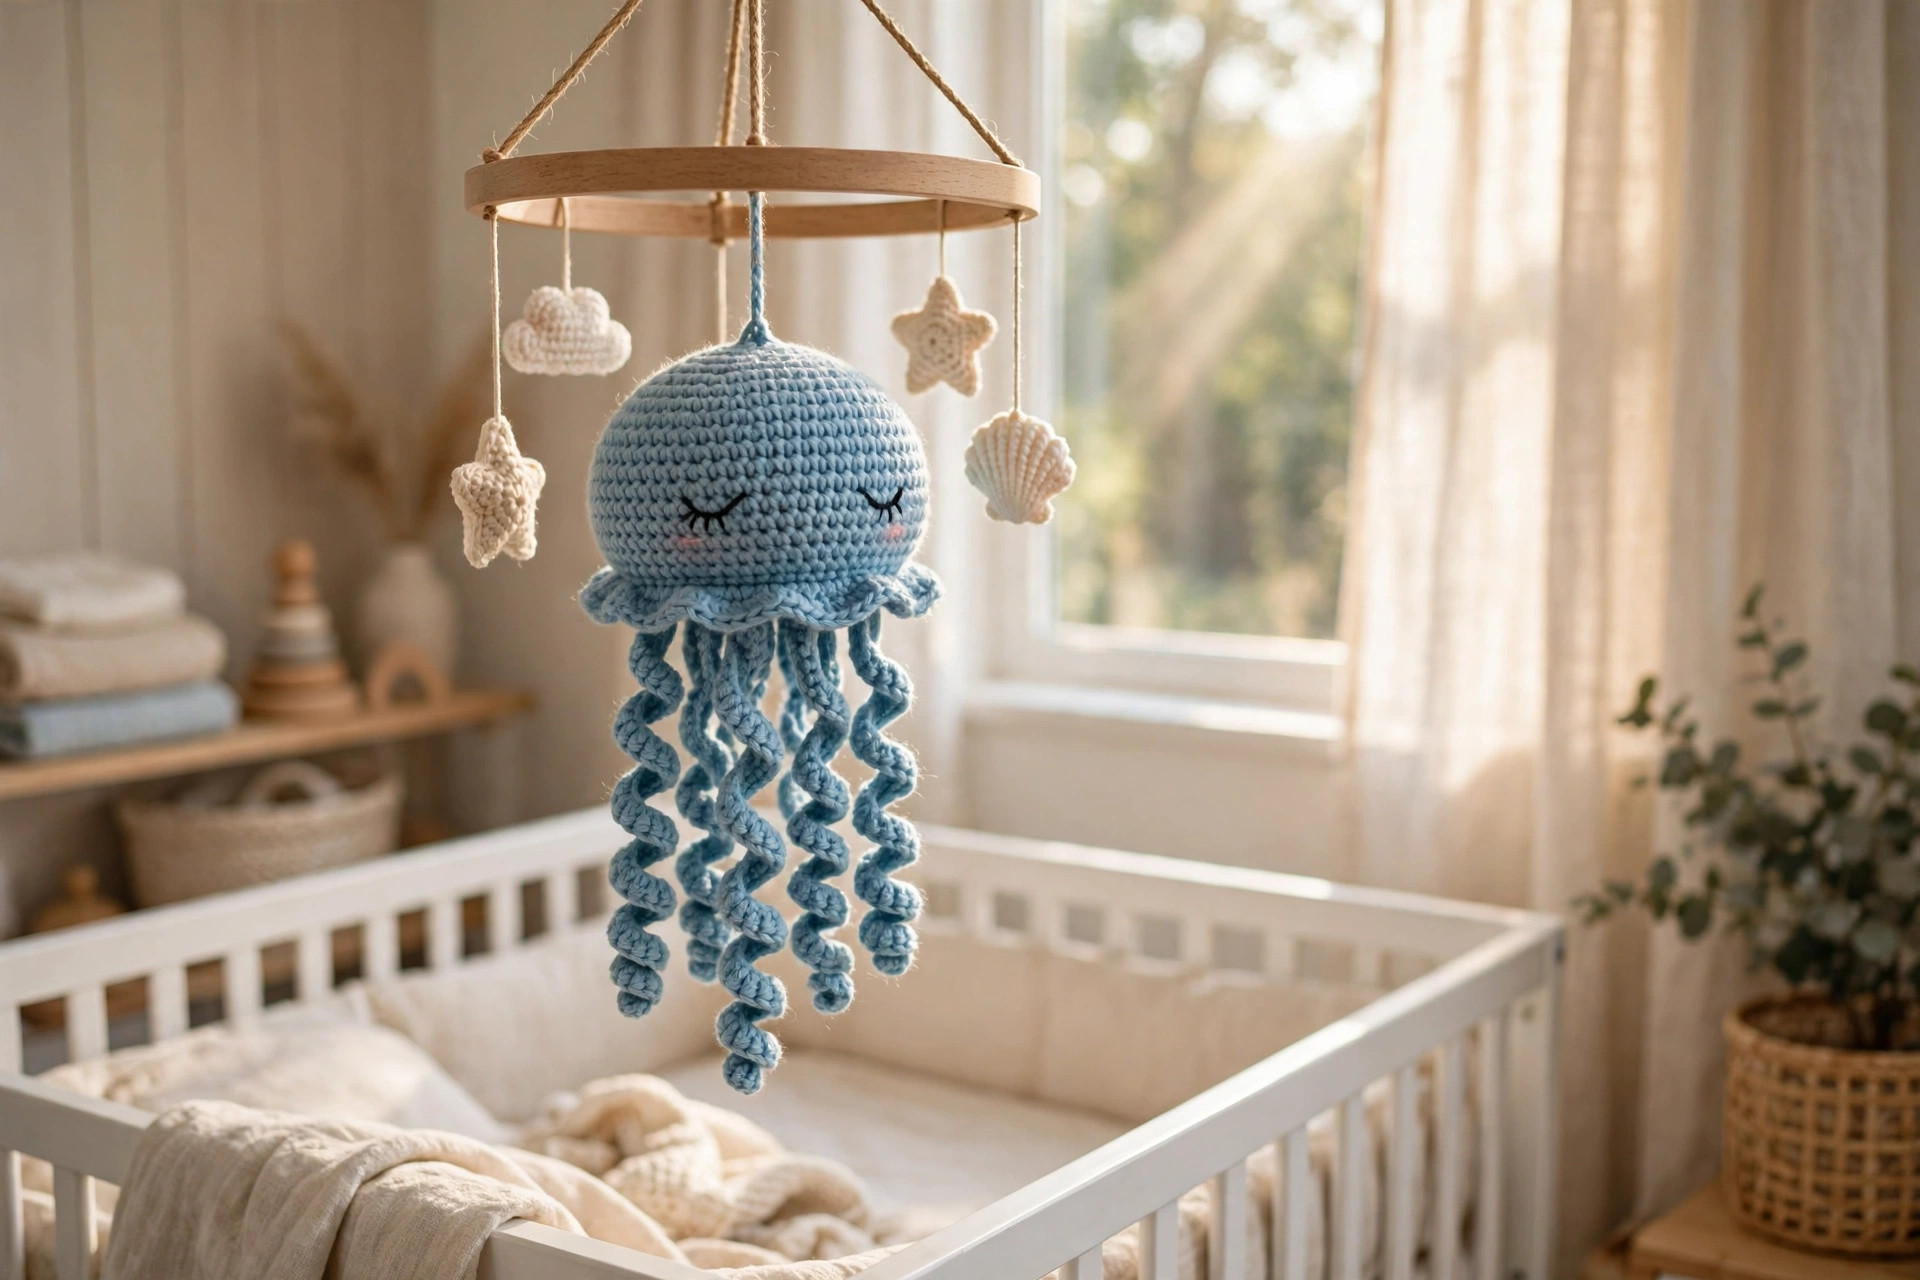
- Jellyfish mobile: make three small jellyfish in matching colors and hang them from a wooden hoop with ribbon. Our crochet turtle patterns add a slow friend to the same mobile.
- Keychain jellyfish: make the small version and add a keyring to the top of the dome. The crochet hammerhead shark pattern makes a fun ocean keychain set.
- Jellyfish garland: make five small jellyfish in a row of colors and string them on a cord. The temperature snake crochet pattern is another long and colorful project.
If you enjoyed the curly tentacle trick, try another sea creature next, in the same yarn.
Troubleshooting Jellyfish That Lean or Lose Their Curl
- My dome leans to one side. The increases are uneven. Check that you worked exactly 6 increases on each round.
- My dome is flat on top, not round. The first rounds are too loose. Go down a hook size, and pull the magic ring tail firmly.
- My tentacles will not curl. You worked one stitch per chain instead of two. A chain of 31 should give you 60 single crochets, and two stitches in every chain is what forces the curl.
- My tentacles curl too tightly and knot. Your stitches are too tight. Work the tentacle with a looser hand, or go up half a hook size for the tentacles only.
- My ruffle edge sticks straight out. The scallops are too tall. Work the chain 2 a little looser.
- My stuffing shows through the stitches. Your hook is too big for the yarn. Go down a hook size, and add the stuffing in small pinches.
Care Instructions
Hand wash a crochet jellyfish in cool water with mild soap, squeeze gently, and lay it flat to dry so the dome keeps its shape and the tentacles keep their curl. Do not put a jellyfish in the dryer on high heat, because the tentacles can tangle. If the tentacles lose their curl after washing, re-curl them by wrapping each one gently around your finger while it is still damp. Keep finished jellyfish out of direct sunlight, so the colors stay bright, and store them where the tentacles can hang freely.
Frequently Asked Questions
Is this jellyfish crochet pattern good for beginners?
Yes, it is a great first amigurumi. You need to know chains, single crochet, increases, and decreases, and the tentacle curl is explained step by step. Every round ends with a stitch count, and one jellyfish takes about 2 hours.
What yarn is best for a crochet jellyfish?
DK weight yarn is the best choice, because it shows crisp stitch definition, the dome holds its shape, and the tentacles curl neatly. Worsted weight yarn works too, and it makes a slightly larger jellyfish, about 7 inches tall. Avoid fuzzy yarns, because they hide the stitch definition.
How big is the finished jellyfish?
About 5 inches tall from the top of the dome to the ruffle edge, with tentacles about 7 inches long, in DK weight yarn with a 3.5 mm hook. Stop the increases at Rnd 6 for a small version, or add one more increase round after Rnd 8 for a large version.
How many tentacles does the jellyfish have?
Eight long curly tentacles and four shorter oral arms, twelve in total. The long tentacles are chains of 31 worked back with two single crochets in each chain, and the short arms are chains of 16 worked back with three in each chain.
Can I make this jellyfish for a baby?
Yes, with one change. Skip the safety eyes and embroider the eyes with black yarn instead, so there is nothing small that could come loose. Use soft, washable yarn and check the tentacles are sewn on firmly.
Why do my tentacles look straight instead of curly?
A tentacle curls because you work more stitches than the chain has room for, so two single crochets in every chain is the key. If you worked one stitch per chain, the tentacle stays straight, so work it again with two stitches in each chain.
Can I sell items made from this pattern?
Yes, you may sell finished jellyfish made from this free pattern, with credit to Little Loop Finds. Please do not sell or republish the pattern text itself.
Happy stitching, and may your jellyfish drift gently wherever it goes.