Crochet Wallet Free Pattern (Bifold Card Wallet)
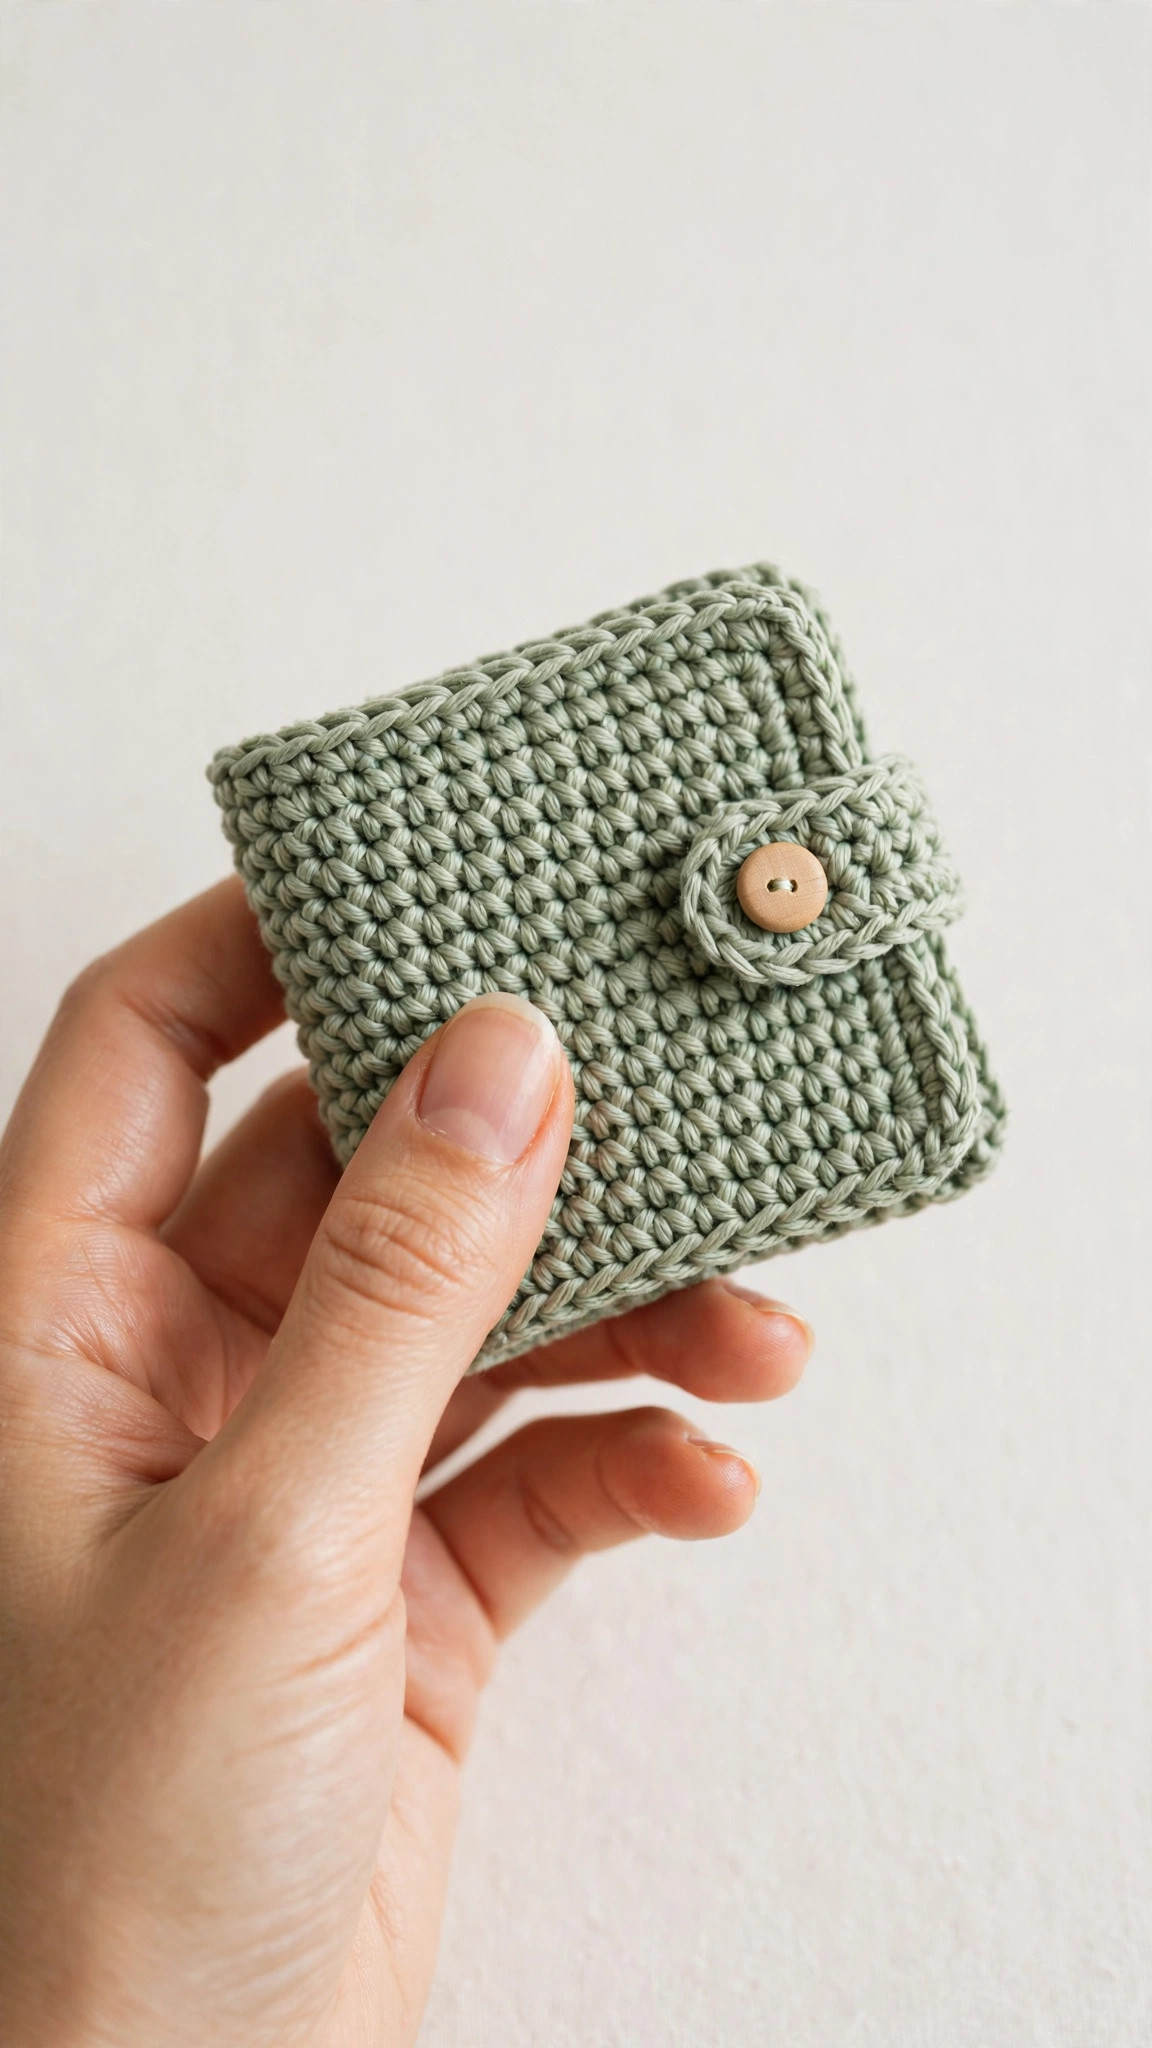
Crochet a slim bifold card wallet with four card slots, a cash pocket, and a snap closure in about three hours, then carry it in your smallest purse or jacket pocket.

Patterns · Crochet
- Finished size
- 4 in wide, 3.5 in tall
- Making time
- 3 hours
- Hook
- US G-6 (4.0 mm)
- Set
- Wallet, slots
- Skill
- Beginner
In this post
- Key Takeaways
- Table of Contents
- Why You Will Love This Crochet Wallet
- Finished Size, Skill Level, and Time
- Materials You Need
- Abbreviations (US Terms)
- Gauge and Sizing Notes
- Part 1: The Wallet Body
- Part 2: The Card Slots and Cash Pocket
- Part 3: Assembly, Snap Closure, and Border
- Variations: Colors, Sizes, and Uses
- Troubleshooting a Wallet That Does Not Close
- Care Instructions
- Frequently Asked Questions
A small crochet wallet is the kind of project that makes you smile every time you open your bag. This free crochet wallet pattern makes a slim bifold card wallet with four card slots, a small pocket for folded cash, and a snap closure that keeps everything safe. It is worked in sturdy single crochet, it fits in a jacket pocket or the smallest purse, and it uses less than one ball of yarn.
This is an original Little Loop Finds design, written in US terms and completely free. The wallet is worked flat in rows, the card slots are worked as part of the lining panels, and the whole thing folds in half and closes with a sew on snap. There is no zipper to sew in and no lining fabric to cut.
A quick note on scope: this post is about one specific crochet wallet, a bifold card wallet made to hold cards and a few folded notes. It is not a coin purse, which is a small rounded pouch for loose change. If you want a little pouch for coins, our crochet coin purse pattern is the one to make. This wallet is for cards first, with a pocket for cash, and it stays flat and slim on purpose.
Key Takeaways
- Free original pattern: a Little Loop Finds original design, written in US terms, and completely free.
- A bifold card wallet: four card slots, a pocket for folded cash, and a snap closure.
- Slim and flat: about 4 inches wide by 3.5 inches tall when folded, and it fits in a jacket pocket.
- Quick weekend project: about 3 hours from the first chain to the finished snap.
- Stash friendly: less than one ball of cotton yarn, plus a sew on snap.
Table of Contents
- Why You Will Love This Crochet Wallet
- Finished Size, Skill Level, and Time
- Materials You Need
- Abbreviations (US Terms)
- Gauge and Sizing Notes
- Part 1: The Wallet Body
- Part 2: The Card Slots and Cash Pocket
- Part 3: Assembly, Snap Closure, and Border
- Variations: Colors, Sizes, and Uses
- Troubleshooting a Wallet That Does Not Close
- Care Instructions
- Frequently Asked Questions
Why You Will Love This Crochet Wallet
A handmade wallet is useful every single day, which is more than you can say for most crochet projects. This one holds four cards, a little folded cash, and maybe a loyalty card tucked behind the slots, and it still slides into a jacket pocket without a bulge.
A crochet wallet is also a perfect small gift. It works up in one evening, it uses yarn you probably already have, and it is easy to make in the recipient's favorite color. Make one for yourself first to learn the construction, then make a few more as birthday gifts, stocking stuffers, or market stall items.
The construction is simple on purpose. There is no zipper, no lining, and no fiddly hardware beyond one sew on snap. If you can chain, single crochet, and slip stitch, you can make this wallet.
Finished Size, Skill Level, and Time
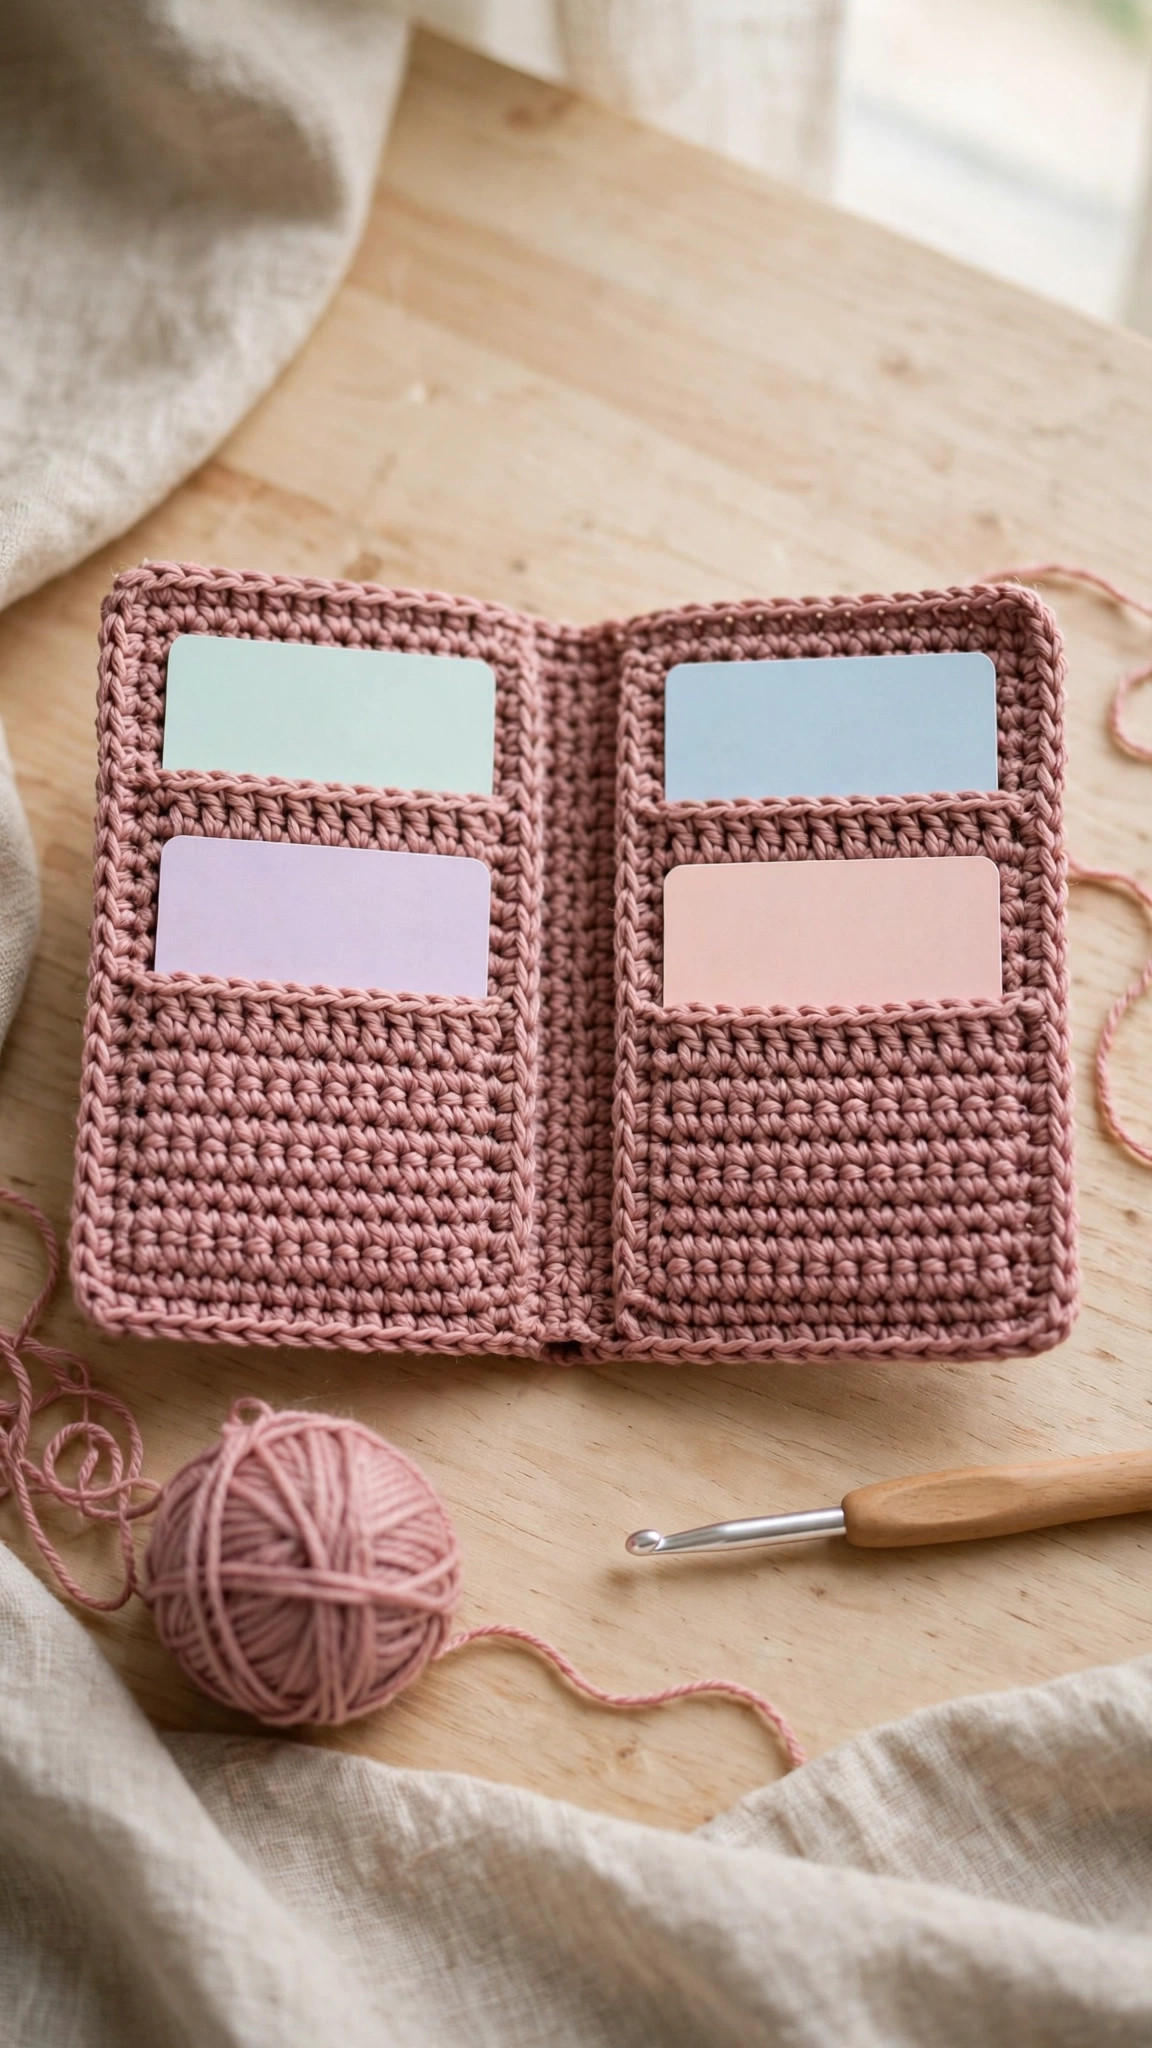
- Finished size: 4 inches wide by 3.5 inches tall when folded closed, and 8 inches wide by 3.5 inches tall when open flat. Each card slot holds a standard credit card, which is 3.375 inches wide by 2.125 inches tall.
- Skill level: Beginner. You need a foundation chain, single crochet, half double crochet, slip stitch, and simple hand sewing.
- Time: about 3 hours per wallet: 1 hour for the wallet body, 45 minutes for the card slots and cash pocket, and 1 hour and 15 minutes for assembly, the snap, and the border.
Materials You Need
| Item | What to get |
|---|---|
| Yarn, main color | DK weight (size 3) cotton yarn in sage green, 100 yards |
| Yarn, contrast color | DK weight (size 3) cotton yarn in cream, 30 yards, optional |
| Hook | US G-6 (4.0 mm), or the size that gives you the gauge below |
| Notions | Tapestry needle, scissors, tape measure, stitch markers, pins, 1 sew on snap (size 14 mm) |
Cotton yarn is the best choice for a crochet wallet because it is firm, it does not stretch out of shape the way acrylic can, and it holds the card slots snug around your cards. A smooth DK weight cotton works up into a neat, dense fabric that still folds easily in the middle. Avoid very fuzzy yarns, because they make the card slots thick and the cards hard to slide in and out. Avoid chunky yarn too, because it makes a wallet that is too thick to fold flat.
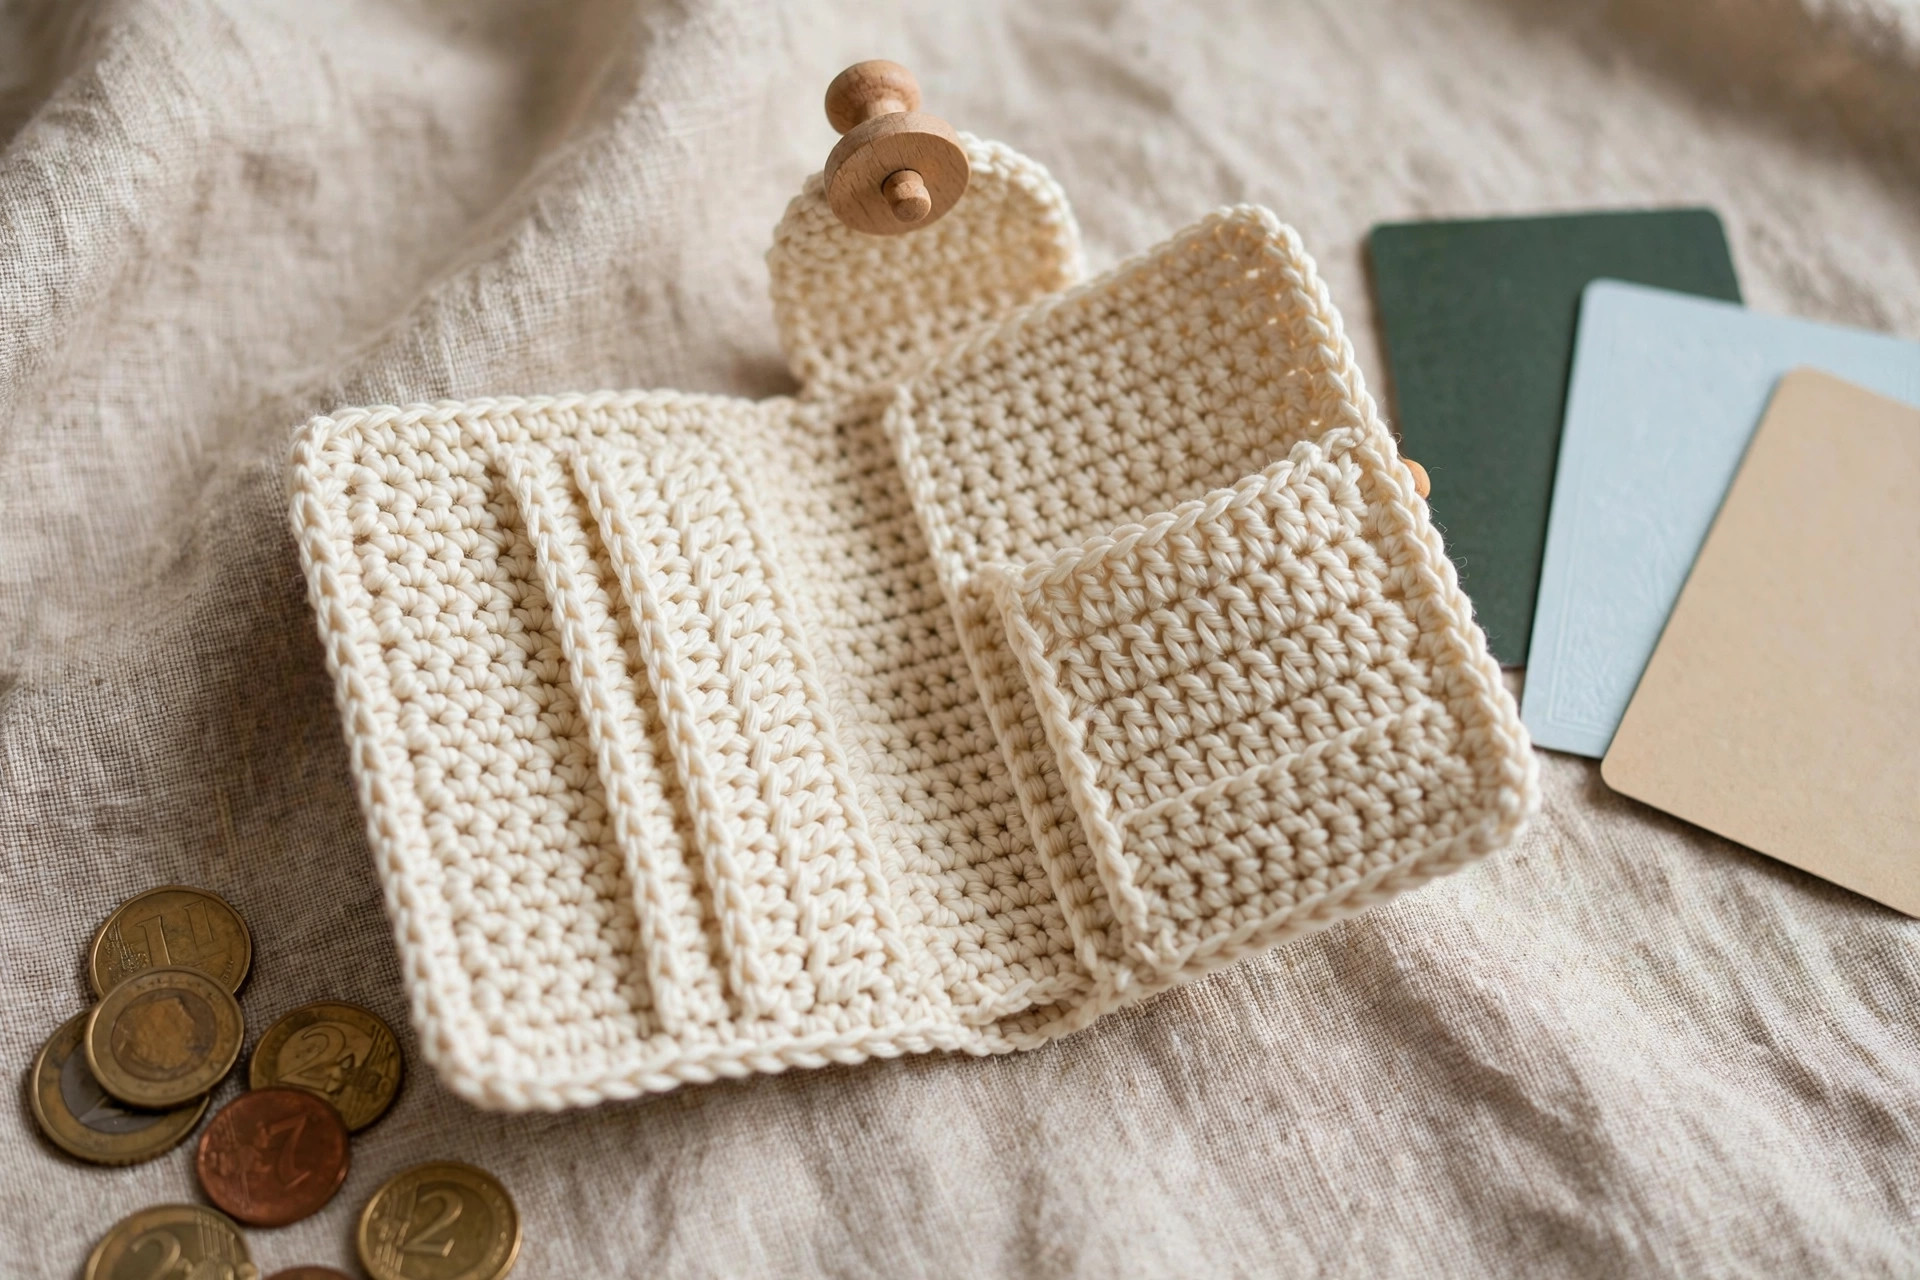
A sew on snap is the simplest closure for this wallet. It is flat, it is strong, and it does not add bulk the way a magnetic clasp or a button with a loop can. Pick a snap in a color that matches your yarn, or in a soft brass or nickel finish that looks good against any color.
Abbreviations (US Terms)
- ch = chain
- sl st = slip stitch
- sc = single crochet
- hdc = half double crochet
- dc = double crochet
- sc2tog = single crochet 2 together (work 2 sc as one stitch, decreasing by 1 stitch)
- st(s) = stitch(es)
- rep = repeat
- RS = right side
- WS = wrong side
Gauge and Sizing Notes
Gauge matters on a wallet more than on a scarf or a blanket, because the card slots have to fit real cards. Work a swatch of 16 sc stitches and 18 rows in the main color. It should be about 4 inches wide and 4 inches tall. If it is wider, go down a hook size. If it is narrower, go up a hook size.
Measure a real card before you start, because a standard credit card is 3.375 inches wide. Each card slot in this pattern is 16 stitches wide, which is 4 inches at gauge, so a card slides in with a little room and stays put. If your gauge is loose, your cards will be floppy in the slots. If your gauge is tight, the cards will be hard to push in. Count your stitches at the end of every row on the body panel, because the body sets the size of everything else.
Part 1: The Wallet Body
The wallet body is one long rectangle that folds in half to make the bifold shape. Work it flat in rows of single crochet, and keep your edges straight by counting every row. The middle of the rectangle is the fold, and the two ends become the outer edges of the wallet.
The Body Panel
With the main color, ch 33.
- Row 1: sc in the 2nd ch from the hook and in each ch across. (32 sc)
- Rows 2 to 28: ch 1, turn, sc in each st across. (32 sc)
Fasten off, leaving a long tail for seaming. The body panel should be about 8 inches wide and 7 inches tall. Fold it in half so the short edges meet, and check that the two halves line up exactly. The fold line is between rows 14 and 15, and it should sit flat without puckering.
The Fold Line
The fold needs to bend easily, so work one row of slip stitches along the fold line before you add the card slots. With the right side facing you, join the main color at the left edge of row 14, and work 1 sl st in each st across the row. This row of slip stitches is slightly tighter than the single crochet around it, and it makes a clean hinge that the wallet folds on every time. Do not skip this step, because without it the fold can drift and the wallet can look lopsided after a few weeks of use.
Press the fold gently with your fingers. The crease should be sharp and straight. Lay the folded wallet flat and check that the top edges meet and the corners are square.
Part 2: The Card Slots and Cash Pocket
The card slots are narrow rectangles sewn onto the inside of the wallet, two on each half. They are worked separately and then stitched down on three sides, leaving the top edge open so a card slides in. The cash pocket is a wider rectangle on one side, sewn down on three sides with the top edge open for folded notes.
The Card Slots (make 4)
With the main color, ch 17.
- Row 1: sc in the 2nd ch from the hook and in each ch across. (16 sc)
- Rows 2 to 6: ch 1, turn, sc in each st across. (16 sc)
Fasten off, leaving a long tail for sewing. Each card slot should be about 4 inches wide and 1.5 inches tall. Make all four slots the same way, and lay them side by side to check that they match.
Sewing the Card Slots in Place
Open the body panel flat with the wrong side facing up. This is the inside of the wallet. Pin two card slots to the left half and two to the right half, with the bottom edge of each lower slot about 0.5 inch up from the bottom edge of the body, and the upper slot sitting about 0.25 inch above the lower one so the cards overlap slightly like steps.
Sew each slot down along the bottom edge and the two side edges with the long tail, using a whipstitch that catches the back of the single crochet stitches. Leave the top edge of every slot completely open. Stitch twice around the bottom corners of each slot, because cards push against those corners every time you slide one in or out. Slide a real card into each slot as you finish it, and check that it goes in smoothly and stays put when you turn the wallet upside down.
The Cash Pocket (make 1)
With the main color, ch 25.
- Row 1: sc in the 2nd ch from the hook and in each ch across. (24 sc)
- Rows 2 to 12: ch 1, turn, sc in each st across. (24 sc)
Fasten off, leaving a long tail for sewing. The cash pocket should be about 6 inches wide and 3 inches tall. Pin it to the inside of the right half of the wallet, behind the card slots on that side, with the bottom edge about 0.5 inch up from the bottom edge of the body. Sew it down along the bottom edge and the two side edges, leaving the top edge open.
Part 3: Assembly, Snap Closure, and Border
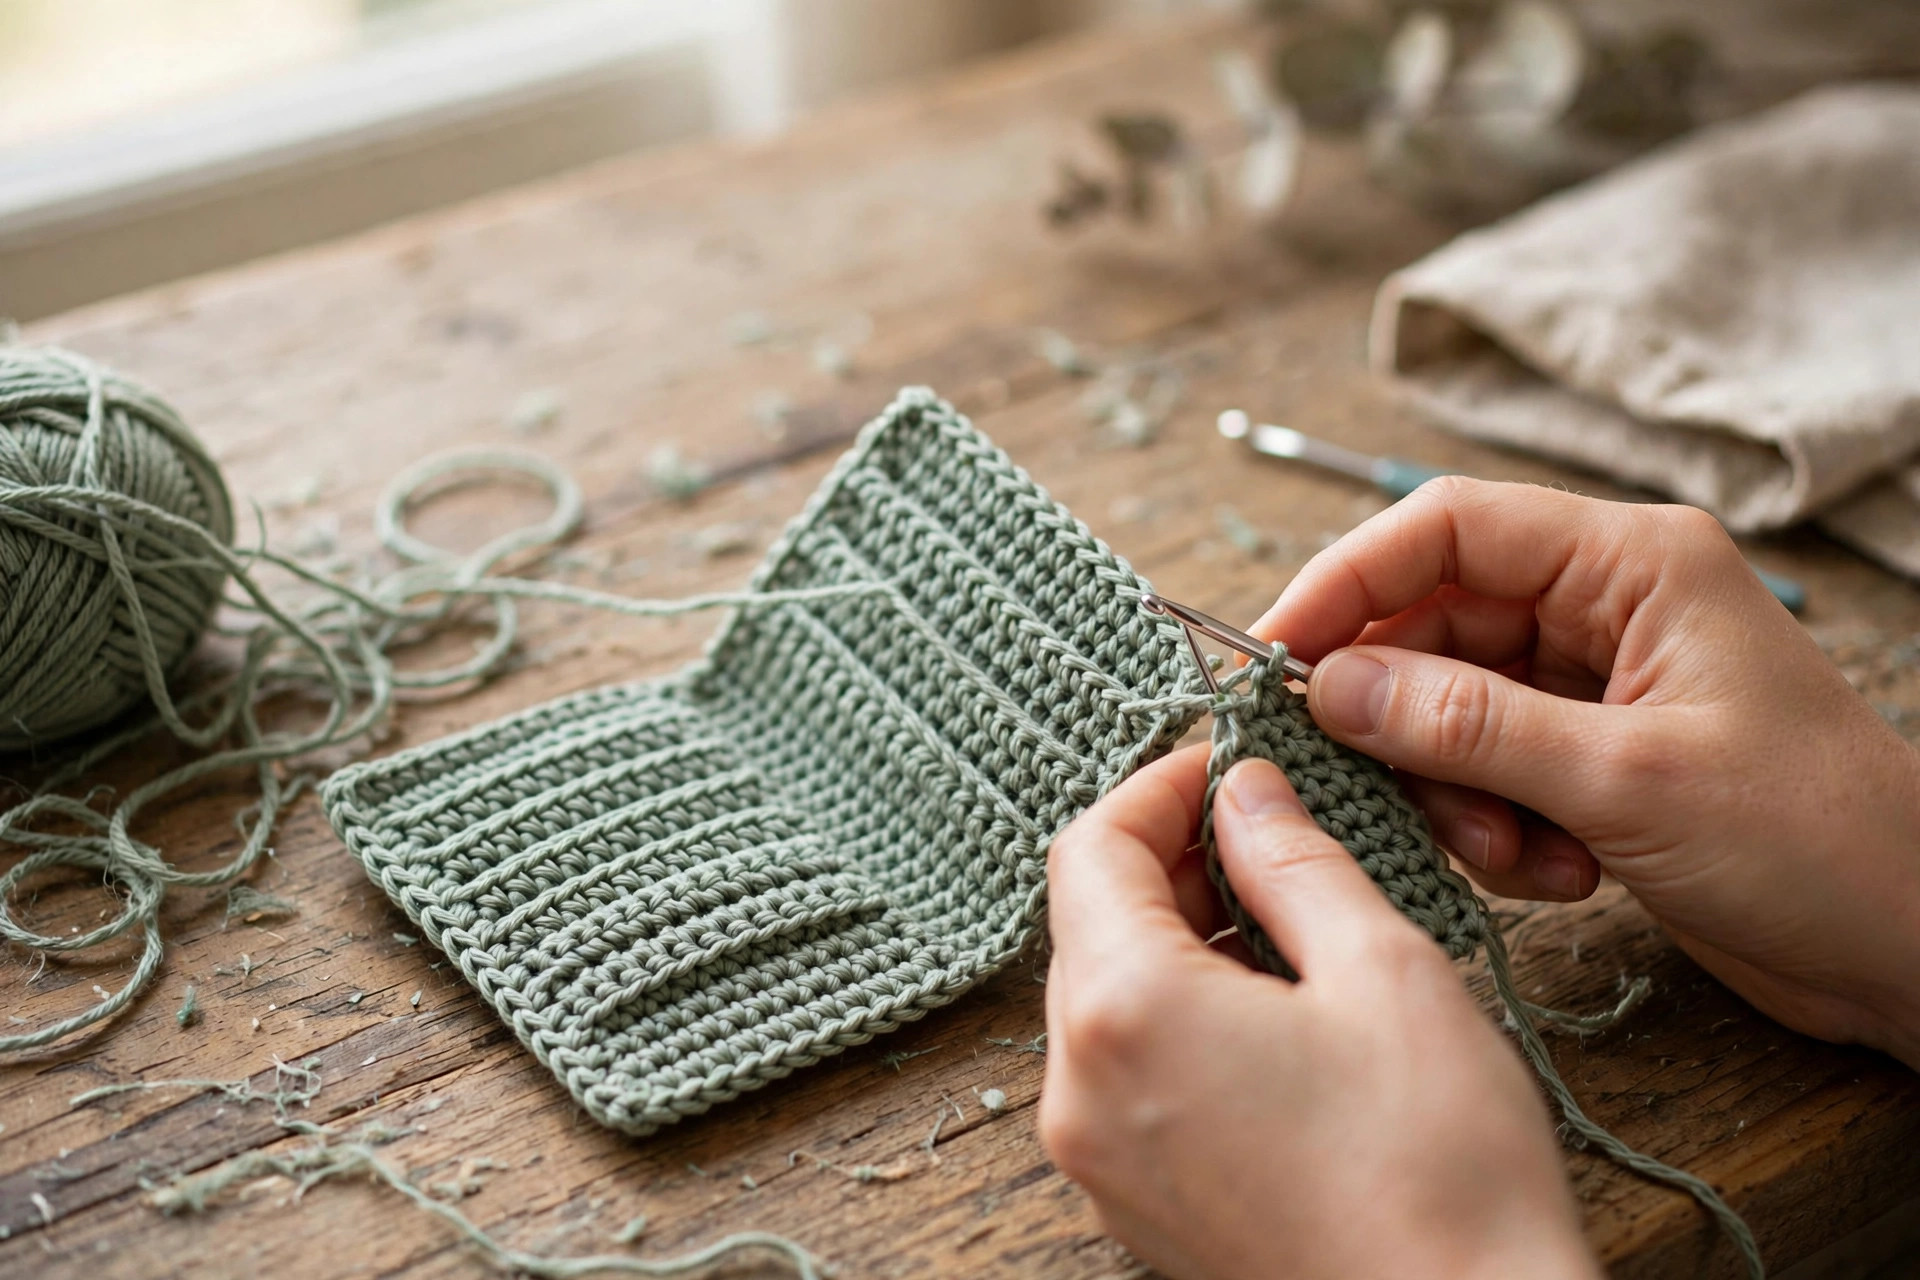
This is the part where flat pieces become a wallet. Work slowly here, because the seaming and the snap are what people see and touch every day. A neat border and a snap that sits straight are what make a handmade wallet look shop bought.
Folding and Seaming the Edges
Fold the body panel in half along the slip stitch fold line, with the wrong sides together and the card slots on the inside. Pin the two layers together along the top edge and the bottom edge, matching the corners exactly. With the main color and the long tail from the body panel, whipstitch the top edge closed from the fold to the outer edge, then do the same along the bottom edge. Leave the outer short edge open, because that is where your hand goes in to reach the cards and the cash pocket.
The Snap Closure
The snap has two halves, a stud half and a socket half, and each half has a small ring with holes for sewing. Place the socket half on the inside of the front flap, centered about 0.5 inch down from the top edge and 2 inches in from the side. Sew it in place through the holes in the ring, going through the fabric several times with a doubled thread and knotting firmly on the inside.
Close the wallet and mark the matching spot on the back panel with a pin. Sew the stud half on that spot, on the outside of the back panel, with the same firm stitching. Snap the wallet closed and check that the two halves meet squarely and the wallet lies flat. If the snap pulls to one side, move it a stitch or two and try again.
The Border
With the main color, join the yarn at the fold end of the top edge of the closed wallet.
- Round 1: ch 1, work 1 sc in each st around the whole outside edge of the wallet, working 3 sc in each corner, and 1 sc in each row end along the open edge. Join with a sl st to the first sc.
- Round 2: ch 1, sc in each st around, working 3 sc in each corner st. Join with a sl st to the first sc.
Fasten off and weave in the ends. The border firms up the edges, covers the seam stitches, and gives the wallet a finished look. It also adds a little stiffness, which helps the wallet keep its shape in a bag. If you want a contrast border, work round 2 in the contrast color. Our crochet backpack pattern uses the same two round border to finish its flap, if you want a bigger project in the same style.
Variations: Colors, Sizes, and Uses
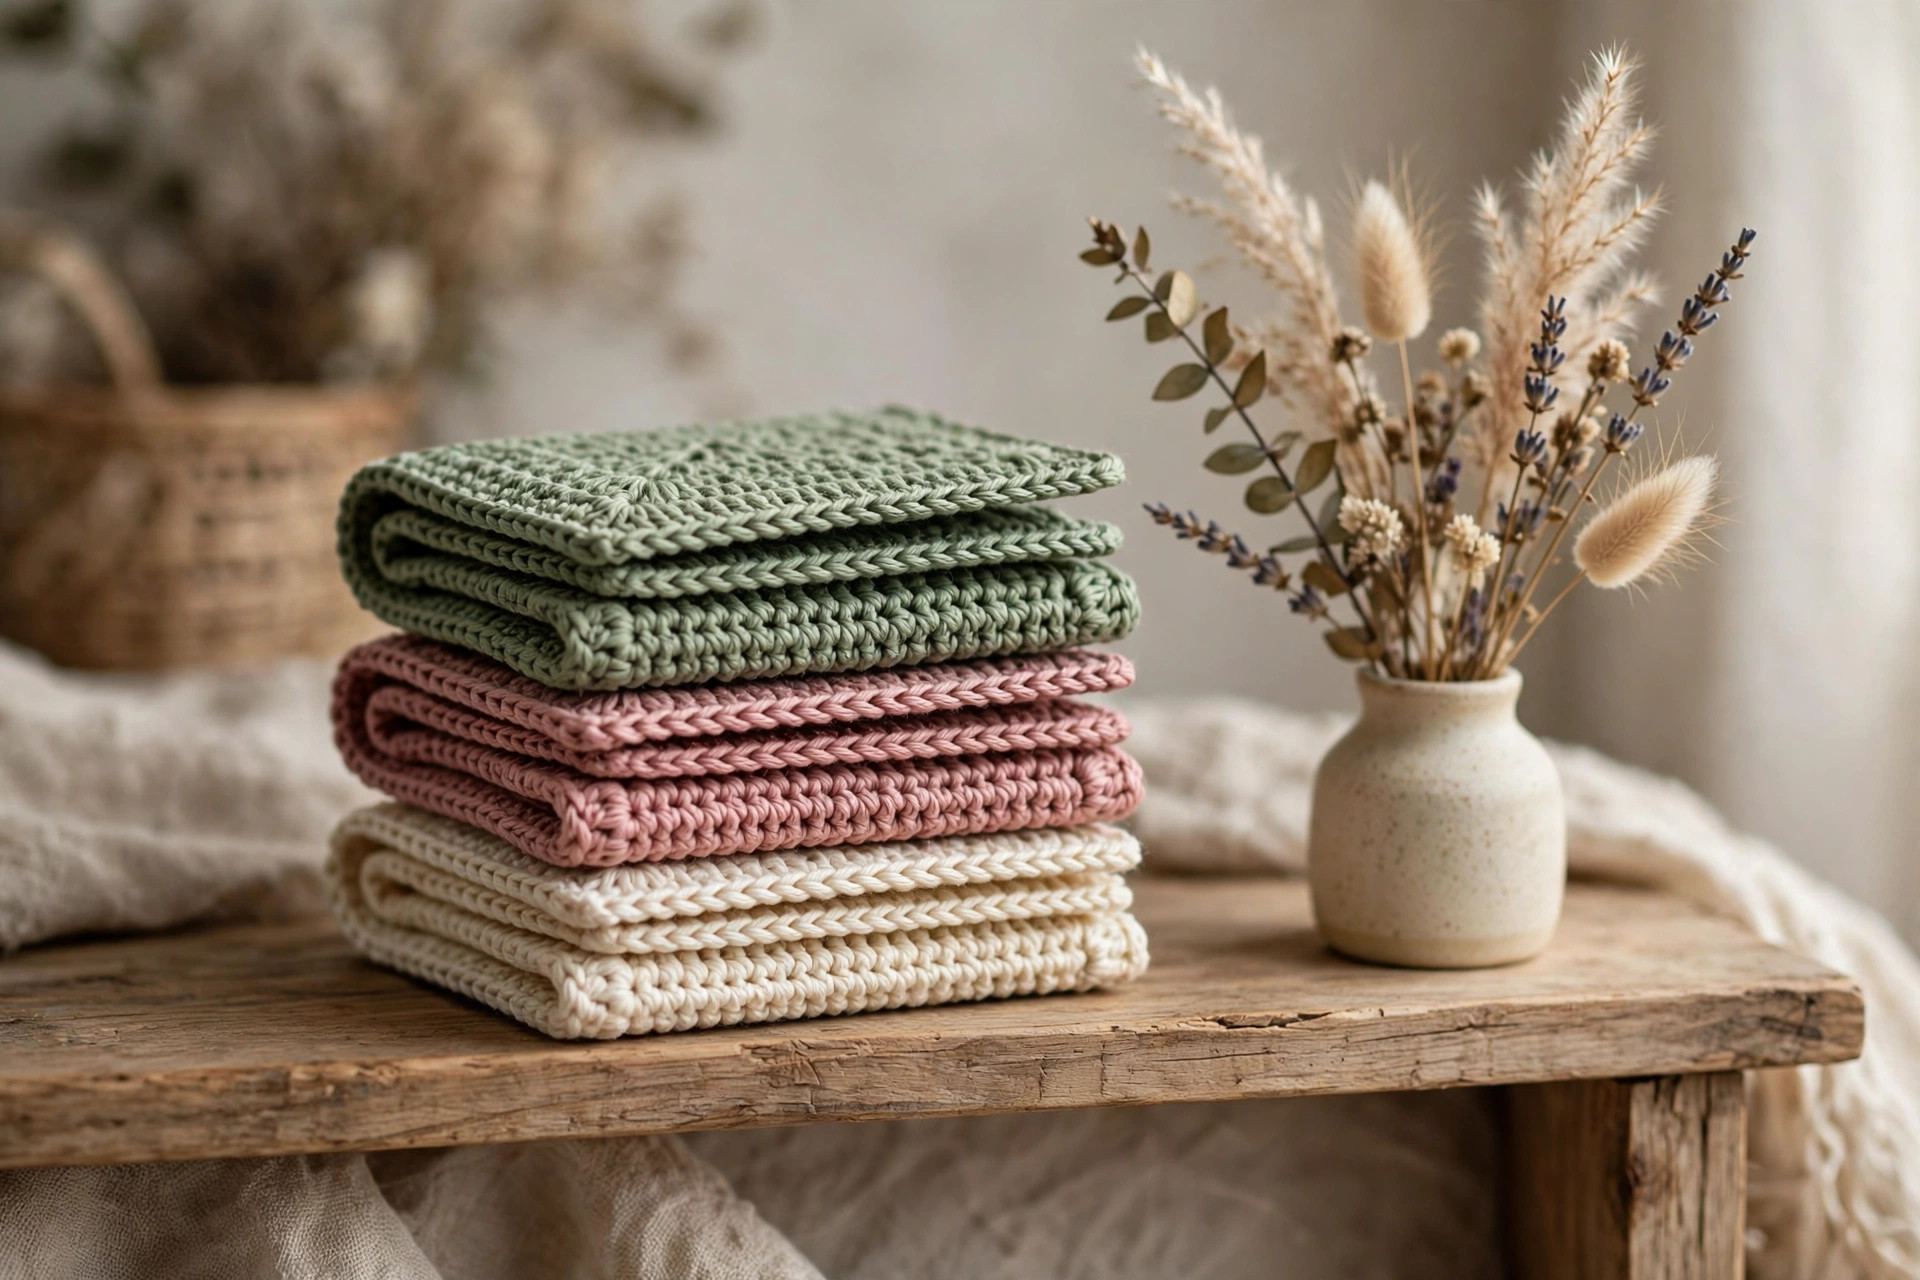
- Classic sage wallet: work the whole wallet in sage green with a cream border for a calm everyday look.
- Dusty rose gift wallet: make the body in dusty rose and the card slots in cream, with a brass snap for a soft vintage feel. Our crochet pencil case pattern makes a matching gift in the same colors.
- Mini card holder: stop the body panel at row 20 instead of row 28 for a shorter wallet that holds cards only, with no cash pocket.
- Extra slim travel wallet: work the body in a single color with no contrast border, and skip the cash pocket, for a wallet that is barely thicker than the cards inside it.
- Market stall set: make three wallets in sage, rose, and cream, and display them open so shoppers can see the card slots. A matching crochet parasol pattern makes a lovely summer stall display beside them.
Troubleshooting a Wallet That Does Not Close
- My wallet will not fold flat. The fold line is missing or the slip stitch row was skipped. Work the slip stitch row along row 14 and press the crease firmly.
- My cards fall out of the slots. Your gauge is too loose, or the slots are too wide. Measure your swatch again and go down a hook size before you restart the slots.
- My cards are hard to push in. Your gauge is too tight, or the slots are sewn down too close to the top edge. Go up a hook size, or leave a little more room at the top of each slot.
- My snap does not line up. One half was sewn on before the wallet was folded and marked. Close the wallet, mark the spot with a pin, and move the stud half to match.
- My wallet is lopsided when closed. The two halves of the body panel are different lengths. Count the rows on each side of the fold, because both halves should have 14 rows.
Care Instructions
Hand wash a crochet wallet in cool water with a mild detergent, and press the water out gently without wringing. Take the cards out first, and reshape the wallet while it is damp. Lay it flat on a clean towel and let it dry fully away from direct heat. Do not put a crochet wallet in the washing machine, because the agitation can stretch the card slots and loosen the snap stitching.
Frequently Asked Questions
Is this crochet wallet pattern good for beginners?
Yes, it is a good beginner project. You need a foundation chain, single crochet, half double crochet, and slip stitch, plus a little hand sewing for the card slots and the snap. One wallet takes about 3 hours.
How many cards does the wallet hold?
The wallet holds four cards, one in each card slot, plus folded cash in the cash pocket. You can also tuck a loyalty card or a folded receipt behind the card slots on either side.
Will a standard credit card fit in the slots?
Yes, each card slot is 16 stitches wide, which is 4 inches at the pattern gauge, and a standard credit card is 3.375 inches wide. The card slides in with a little room and stays put when you turn the wallet upside down.
What yarn is best for a crochet wallet?
DK weight cotton yarn is the best choice, because it is firm, it does not stretch out of shape, and it holds the card slots snug. Sage, dusty rose, and cream are classic wallet colors that go with everything.
Can I use a button instead of a snap?
Yes, sew a small flat button to the back panel and work a chain loop of 10 chains on the front flap. The loop should fit snugly over the button so the wallet stays closed in your bag but opens easily with one hand.
Can I sell wallets made from this pattern?
Yes, you may sell finished wallets made from this free pattern, with credit to Little Loop Finds. Do not sell or republish the pattern text itself. A wallet in a neutral color with a matching crochet belt pattern makes a lovely gift set for a market stall.
Happy stitching, and may your little wallet carry your cards safely on every trip out.