Crochet Snake Pattern (Cute Curled Amigurumi, Free)
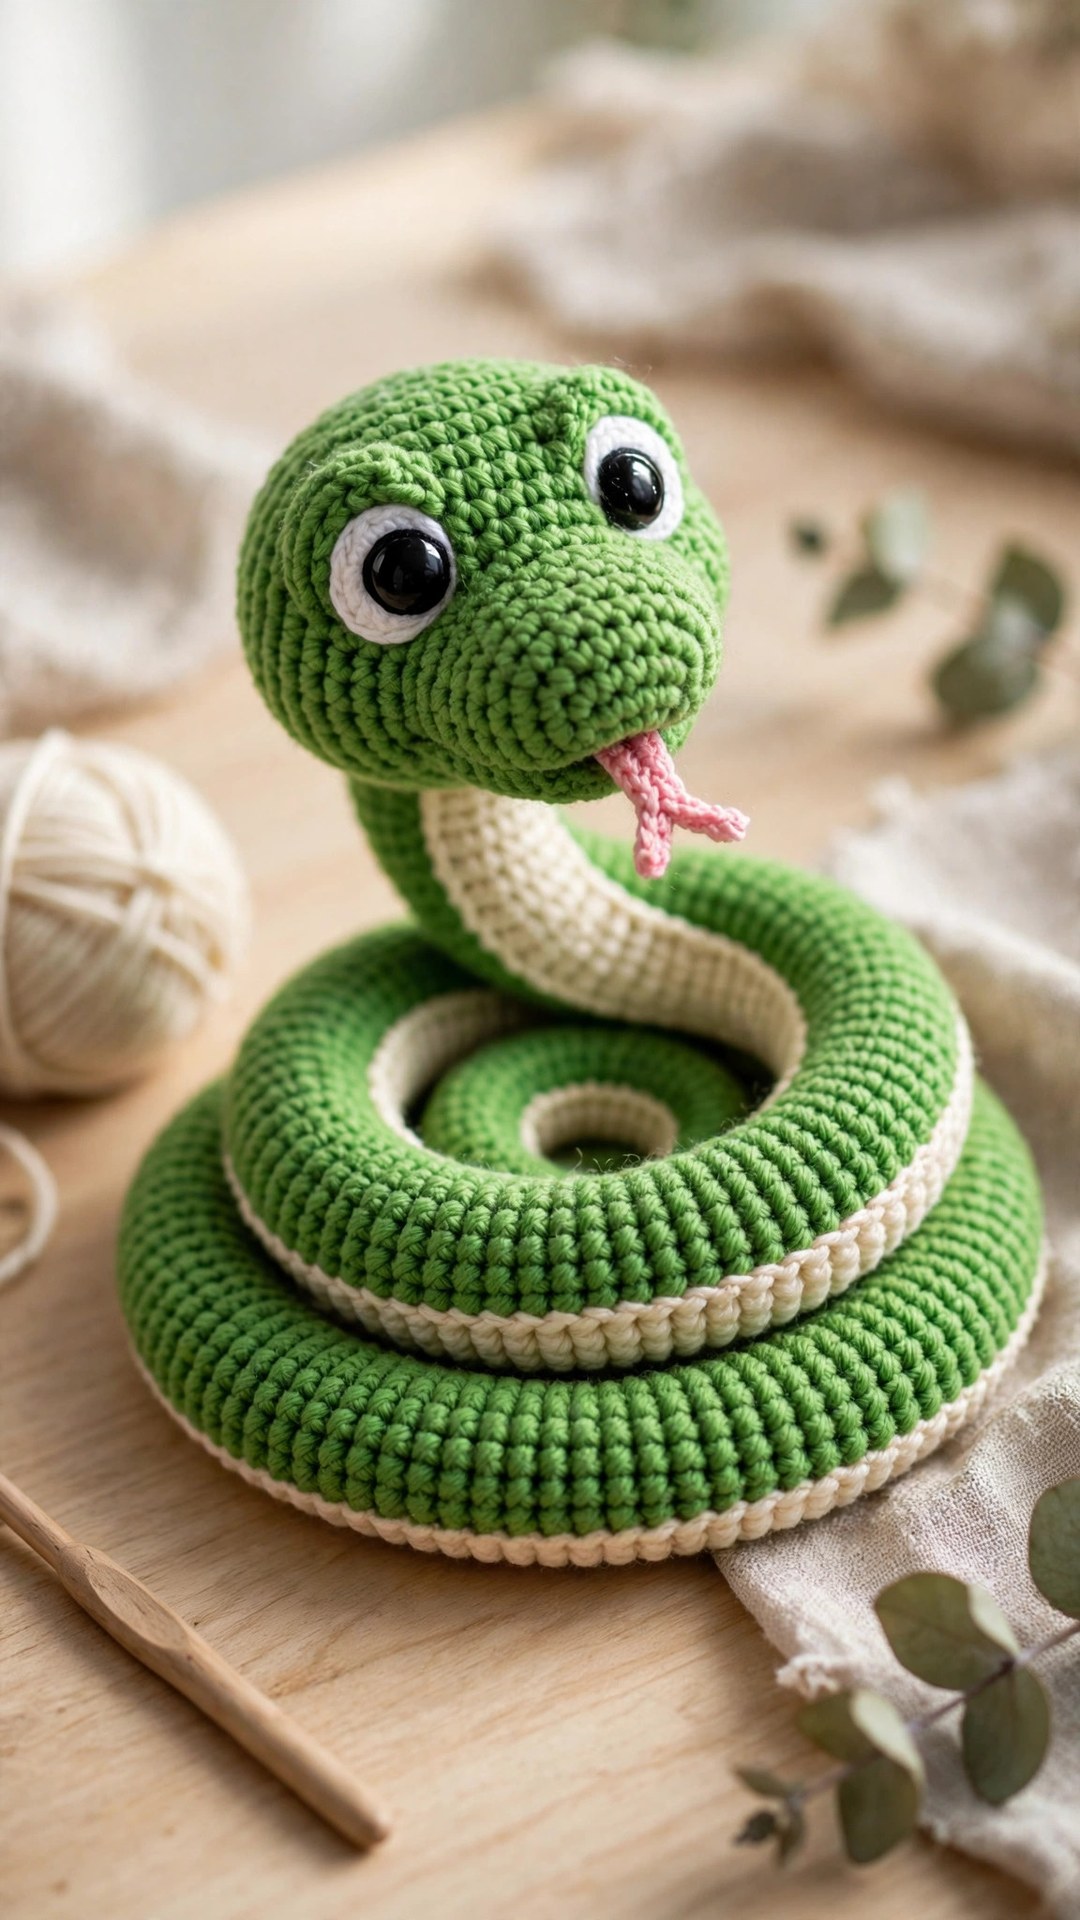
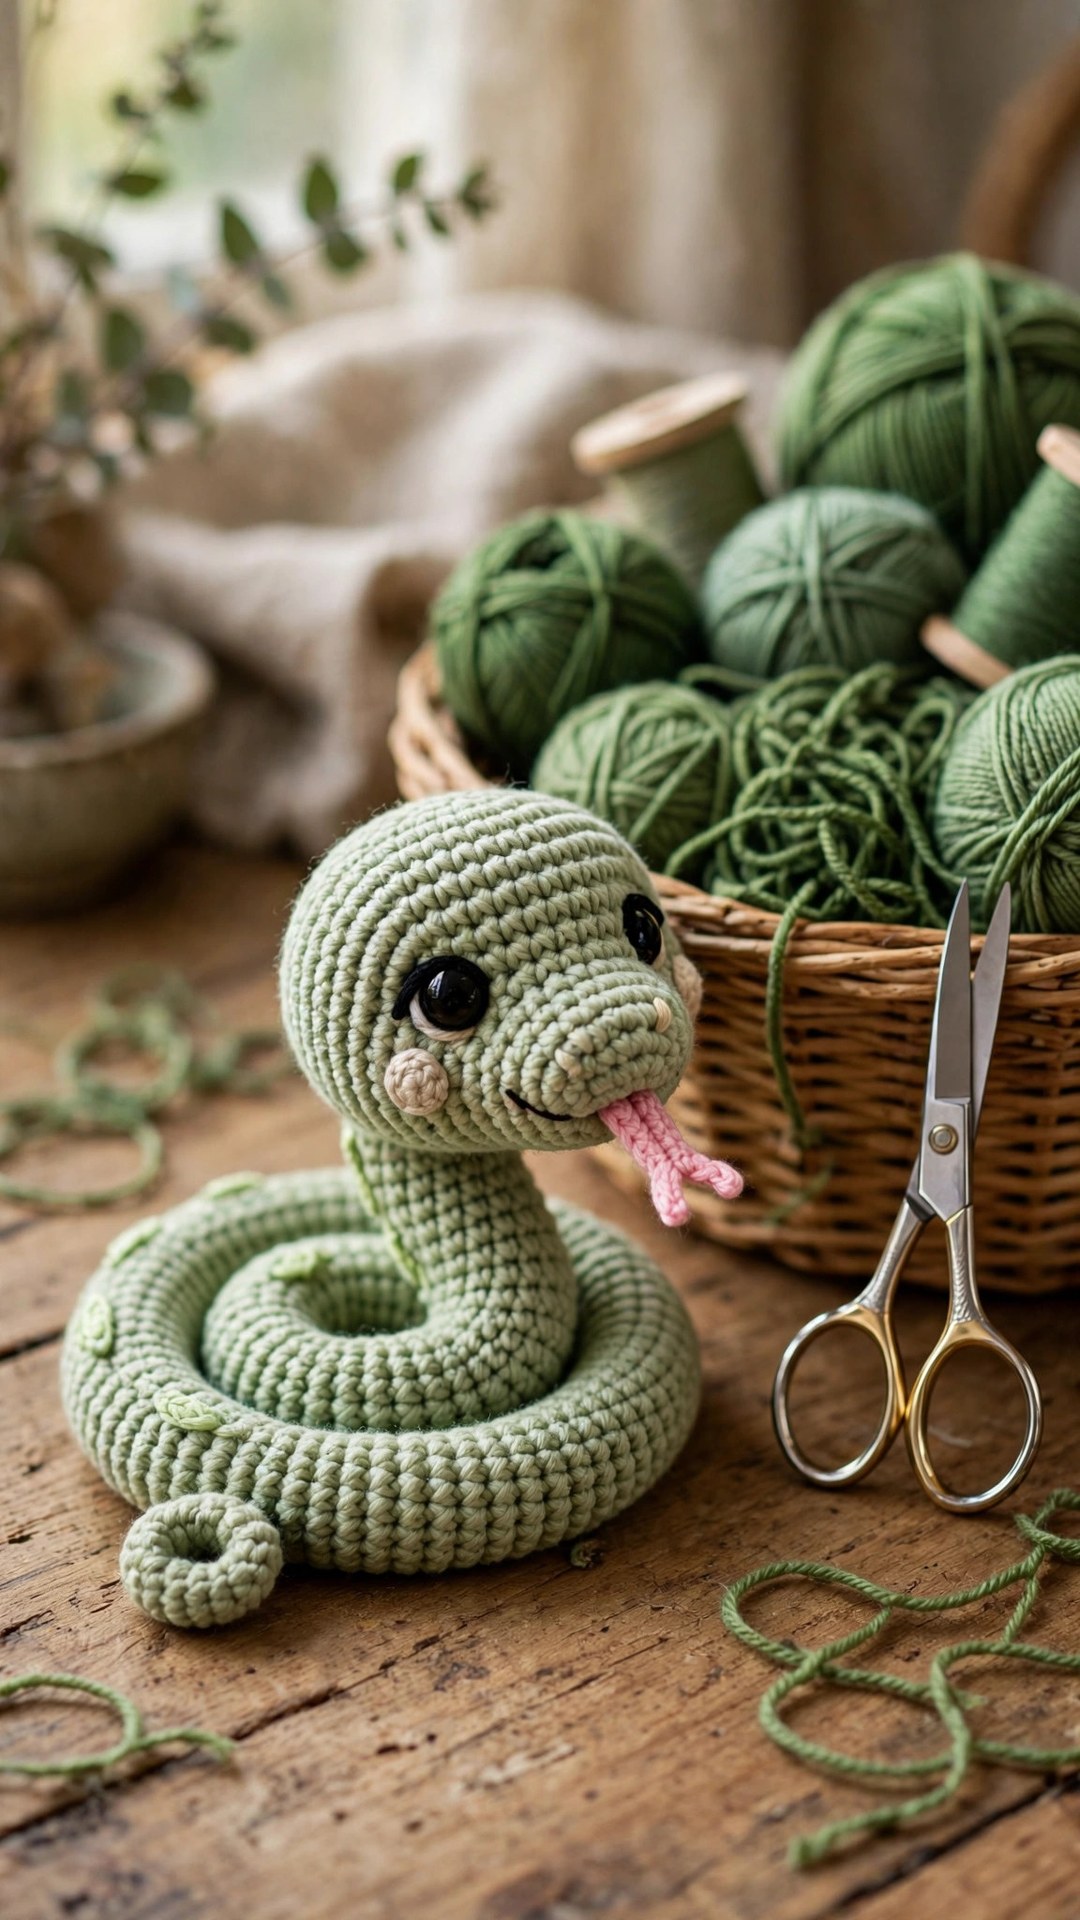
Stitch a cute curled amigurumi snake with big friendly eyes, a forked tongue, and a body that coils into a neat spiral.

Amigurumi · Crochet
- Finished size
- 24 in long, 6 in coil
- Making time
- 3 to 4 hours
- Hook
- US G-6 (4.0 mm)
- Set
- Body, head, eyes and tongue
- Skill
- Easy
In this post
- Key Takeaways
- Table of Contents
- Why You Will Love This Crochet Snake
- Finished Size, Skill Level, and Time
- Materials You Need
- Abbreviations (US Terms)
- Gauge and Sizing Notes
- Part 1: The Body, Tail to Head
- Part 2: Head Details, Eyes, and Tongue
- Part 3: Curling, Assembly, and Finishing
- Variations: Colors, Sizes, and Stripes
- Troubleshooting Snakes That Won't Coil
- Care Instructions
- Frequently Asked Questions
There is something delightful about a snake you can cuddle. No scales to worry about, no sudden slithering under the sofa, and absolutely no reason to scream when it shows up on the bed. This free crochet snake pattern makes a cute curled amigurumi snake with a friendly smile, big round eyes, and a body that coils into a neat little spiral all on its own. It sits happily on a shelf, wraps around a plant pot, or curls up in a childs arms like a soft, squiggly friend.
This is an original Little Loop Finds design, written in US terms and completely free. The snake is worked in one long piece from the tail to the head, with simple increases and decreases doing all the shaping, so there is no complicated colorwork and no fiddly assembly. A bit of clever stuffing and a wire-free curling trick give the body its signature coil, and the forked tongue and belly stripe are optional extras you can add or skip. If you can work a magic ring, single crochet, and increases, you can make this snake.
A quick note on scope: this post is about a cute curled amigurumi snake, a soft toy that coils into a spiral. It is not a temperature snake, the long blanket style project where each row records the daily weather, and it is not a flat snake applique. If you want a long straight snake for a draft stopper or a blanket, you will find links to other animal friends below.
Key Takeaways
- Free original pattern: this crochet snake pattern is a Little Loop Finds original design, written in US terms, and completely free.
- Cute curled amigurumi: a friendly coiled snake with big eyes, a smile, and a forked tongue, not a scary realistic snake.
- One piece body: the whole snake is worked from tail to head in one piece, so assembly is just the eyes, tongue, and belly stripe.
- Weekend project: about 3 to 4 hours from first stitch to finished coil, including the face details.
- Endlessly giftable: make one in every color for birthdays, baby showers, and reptile loving kids and adults.
Table of Contents
- Why You Will Love This Crochet Snake
- Finished Size, Skill Level, and Time
- Materials You Need
- Abbreviations (US Terms)
- Gauge and Sizing Notes
- Part 1: The Body, Tail to Head
- Part 2: Head Details, Eyes, and Tongue
- Part 3: Curling, Assembly, and Finishing
- Variations: Colors, Sizes, and Stripes
- Troubleshooting Snakes That Won't Coil
- Care Instructions
- Frequently Asked Questions
Why You Will Love This Crochet Snake
A crochet snake is the perfect pet for someone who loves reptiles but not the feeding schedule. It never needs a heat lamp, it never escapes its tank, and it is always happy to be picked up. Kids love it because it wraps around a wrist like a bracelet, and adults love it because it looks just as good draped over a bookshelf as it does sitting in a toy basket.
This design is also a wonderful stash buster with a purpose. One skein of worsted weight yarn makes the whole snake, and the stripes are the perfect excuse to use up those half skeins hiding at the bottom of your yarn basket. The body is simple enough to work while watching a show, but the shaping keeps it interesting, and the face at the end is pure joy.
Finished Size, Skill Level, and Time
- Finished size: about 24 inches long when stretched out, coiling into a spiral about 6 inches across, in worsted weight yarn. The head is about 2.5 inches wide.
- Skill level: Easy. You need a magic ring, chains, slip stitches, single crochet, half double crochet, and simple increases and decreases.
- Time: about 3 to 4 hours total: roughly 2 hours for the body, 30 minutes for the head details, and 30 minutes for curling and finishing.
Materials You Need
| Item | What to get |
|---|---|
| Yarn, main color | Worsted weight (medium 4) acrylic or cotton in bright green, about 150 yards |
| Yarn, belly color | Small amount of cream or pale yellow worsted weight yarn, about 40 yards |
| Yarn, accents | Small amounts of black (eyes or embroidery), pink or red (tongue), and a stripe color of your choice |
| Hook | US G-6 (4.0 mm), or the size that gives you a firm fabric with your yarn |
| Stuffing | Polyester fiberfill, a generous handful |
| Notions | Tapestry needle, scissors, stitch markers, pins for assembly |
| Optional | 12 mm safety eyes (or black yarn for embroidered eyes), pipe cleaner for a posable body |
Acrylic yarn is a great choice here because it is soft, washable, and comes in every bright color a snake could want. Cotton gives crisper stitch definition and a slightly heavier snake that holds its coil beautifully. Whichever you choose, work with a hook one size smaller than you normally would for that yarn, because a firm fabric keeps the stuffing hidden and the body smooth.
Abbreviations (US Terms)
- ch = chain
- sl st = slip stitch
- sc = single crochet
- hdc = half double crochet
- dc = double crochet
- inc = increase (2 sc in the same stitch)
- dec = decrease (sc 2 together)
- BLO = back loop only
- FLO = front loop only
- st(s) = stitch(es)
- rnd(s) = round(s)
- rep = repeat
- MR = magic ring
Gauge and Sizing Notes
Gauge for this snake is more about firmness than exact numbers. Work 4 inches of single crochet in the round and check that you cannot easily see stuffing through the fabric. If you can, go down a hook size.
To make a shorter snake, simply stop the body repeats a few rounds earlier. To make a longer snake, add more rounds of plain single crochet in the middle section before the head increases. The head width matters more than the length: the head should be about twice as wide as the body, so it reads clearly as a snake head and not just a fat tail.
Part 1: The Body, Tail to Head
The body is worked in one continuous piece from the tail tip to the head, in rounds, without joining. Use a stitch marker to mark the first stitch of each round, and move it up as you go. Stuff the body lightly as you work, a little at a time, so the stuffing stays even and the body stays smooth. Do not overstuff: a snake that is too firm will not curl nicely at the end.
Tail Tip
With green yarn, MR, ch 1.
- Rnd 1: 4 sc in MR. (4 sts)
- Rnd 2: sc around. (4 sts)
- Rnd 3: (sc, inc) rep around. (6 sts)
- Rnd 4: sc around. (6 sts)
- Rnd 5: (2 sc, inc) rep around. (8 sts)
- Rnd 6: sc around. (8 sts)
- Rnd 7: (3 sc, inc) rep around. (10 sts)
- Rnd 8: sc around. (10 sts)
Main Body
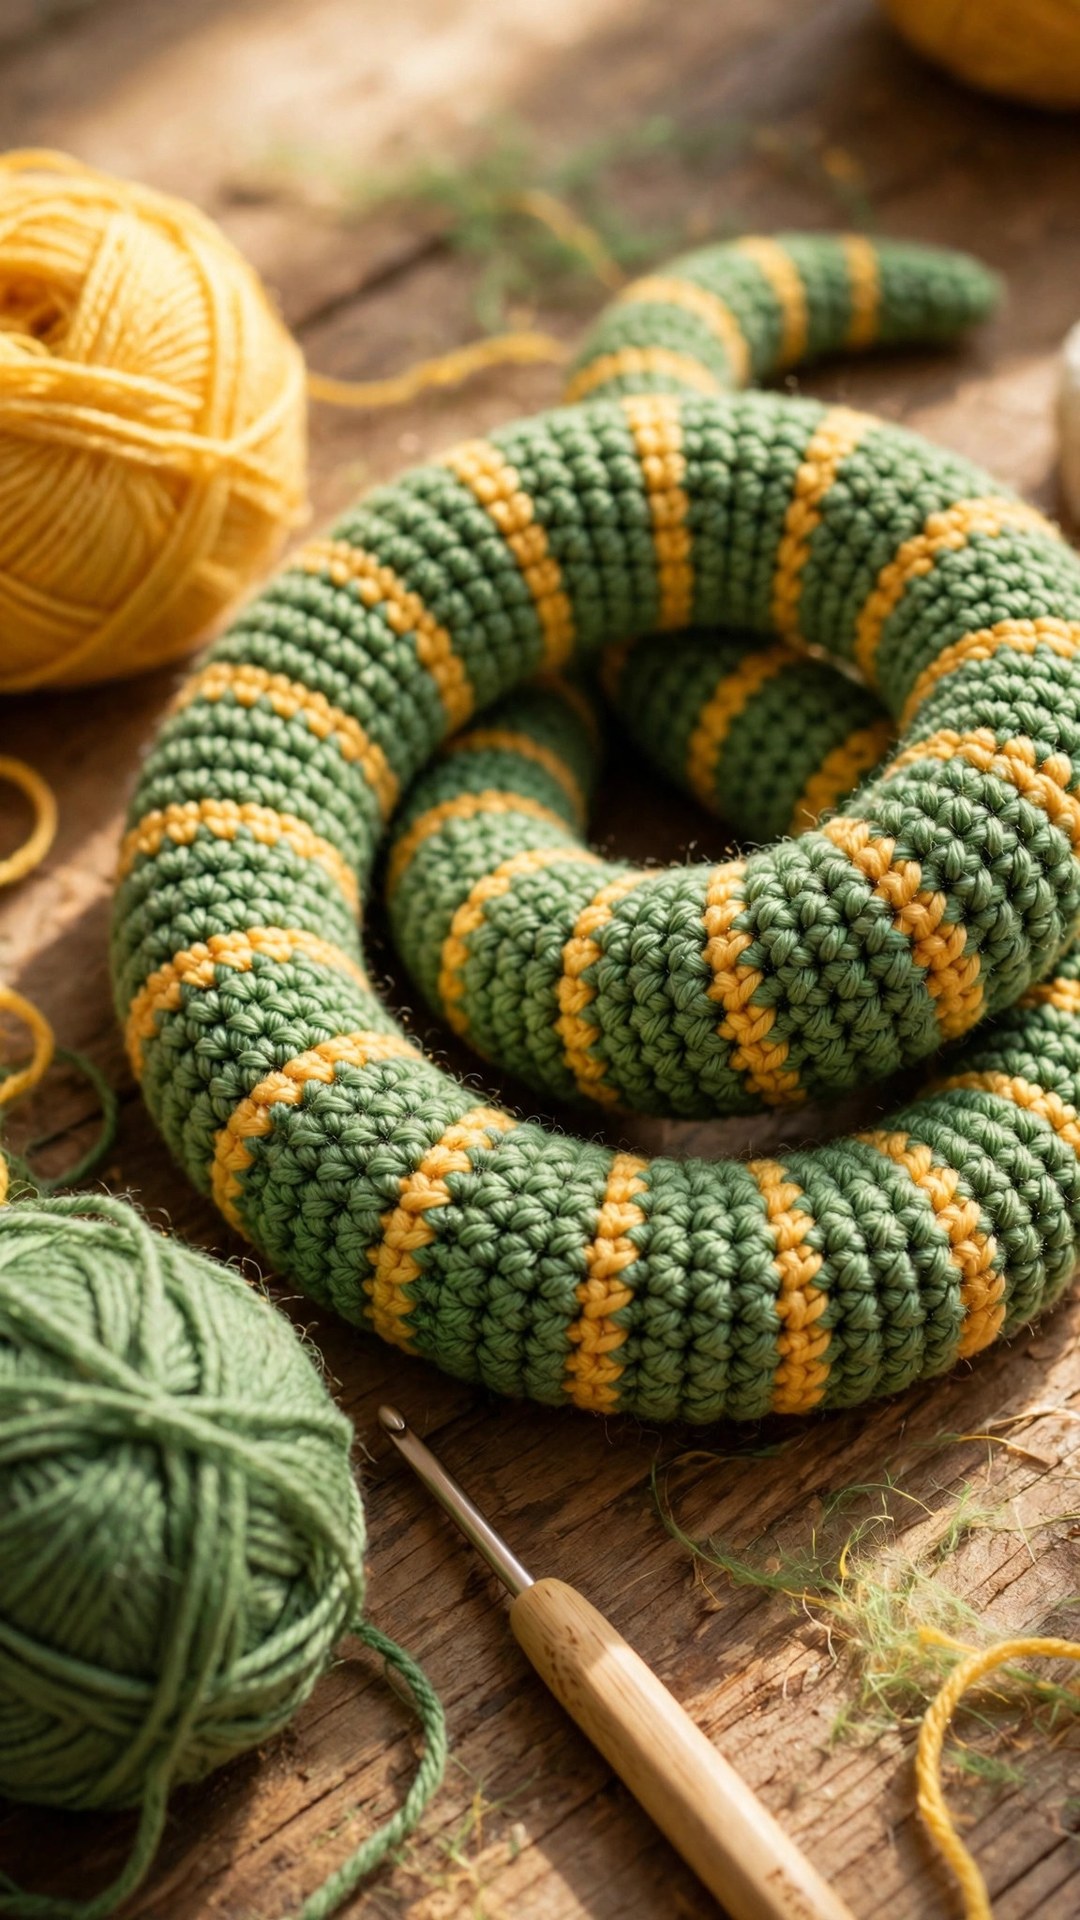
Continue with green yarn, working in continuous rounds. For a striped snake, change to your stripe color every 6 rounds.
- Rnd 9: (4 sc, inc) rep around. (12 sts)
- Rnd 10: sc around. (12 sts)
- Rnd 11: (5 sc, inc) rep around. (14 sts)
- Rnds 12 to 14: sc around. (14 sts)
- Rnd 15: (6 sc, inc) rep around. (16 sts)
- Rnds 16 to 18: sc around. (16 sts)
- Rnd 19: (7 sc, inc) rep around. (18 sts)
- Rnds 20 to 24: sc around. (18 sts)
- Rnd 25: (8 sc, inc) rep around. (20 sts)
- Rnds 26 to 40: sc around. (20 sts) This long straight section is the heart of your snake. Stuff lightly every few rounds, pressing the stuffing toward the sides so the center stays soft and bendable.
- Rnd 41: (9 sc, inc) rep around. (22 sts)
- Rnds 42 to 46: sc around. (22 sts)
- Rnd 47: (10 sc, inc) rep around. (24 sts)
- Rnds 48 to 52: sc around. (24 sts)
Head
The head is worked as a gentle widening, then a shaping that gives the snake its friendly flat face. Keep stuffing lightly as you go, but leave the very front of the head a little soft so you can shape the smile later.
- Rnd 53: (3 sc, inc) rep around. (30 sts)
- Rnd 54: (4 sc, inc) rep around. (36 sts)
- Rnds 55 to 58: sc around. (36 sts)
- Rnd 59: (4 sc, dec) rep around. (30 sts)
- Rnd 60: sc around. (30 sts)
- Rnd 61: (3 sc, dec) rep around. (24 sts)
- Rnd 62: (2 sc, dec) rep around. (18 sts) Stuff the head firmly now, shaping it into a soft rounded triangle with your fingers, wider at the back and gently tapered at the front.
- Rnd 63: (sc, dec) rep around. (12 sts)
- Rnd 64: dec around. (6 sts) Fasten off and close the opening with a tapestry needle, weaving through the front loops and pulling gently. The seam should sit at the very front of the snout, where the mouth will go.
Part 2: Head Details, Eyes, and Tongue
The face is what turns a green tube into a character, so take your time here and pin everything before you sew.
Belly Stripe
The belly stripe runs along the underside of the snake from just behind the head to the tail tip. It is the single detail that makes the snake look finished, and it is much easier than it sounds.
With cream or pale yellow yarn, chain a length slightly longer than your snake, then work 1 row of sc in each chain, fasten off, and leave a long tail. Pin the strip along the belly, starting just behind the head, and sew it down with small whip stitches on both long edges, easing it gently around the curves. The stripe should sit flat and follow the body, not pull it straight.
Eyes
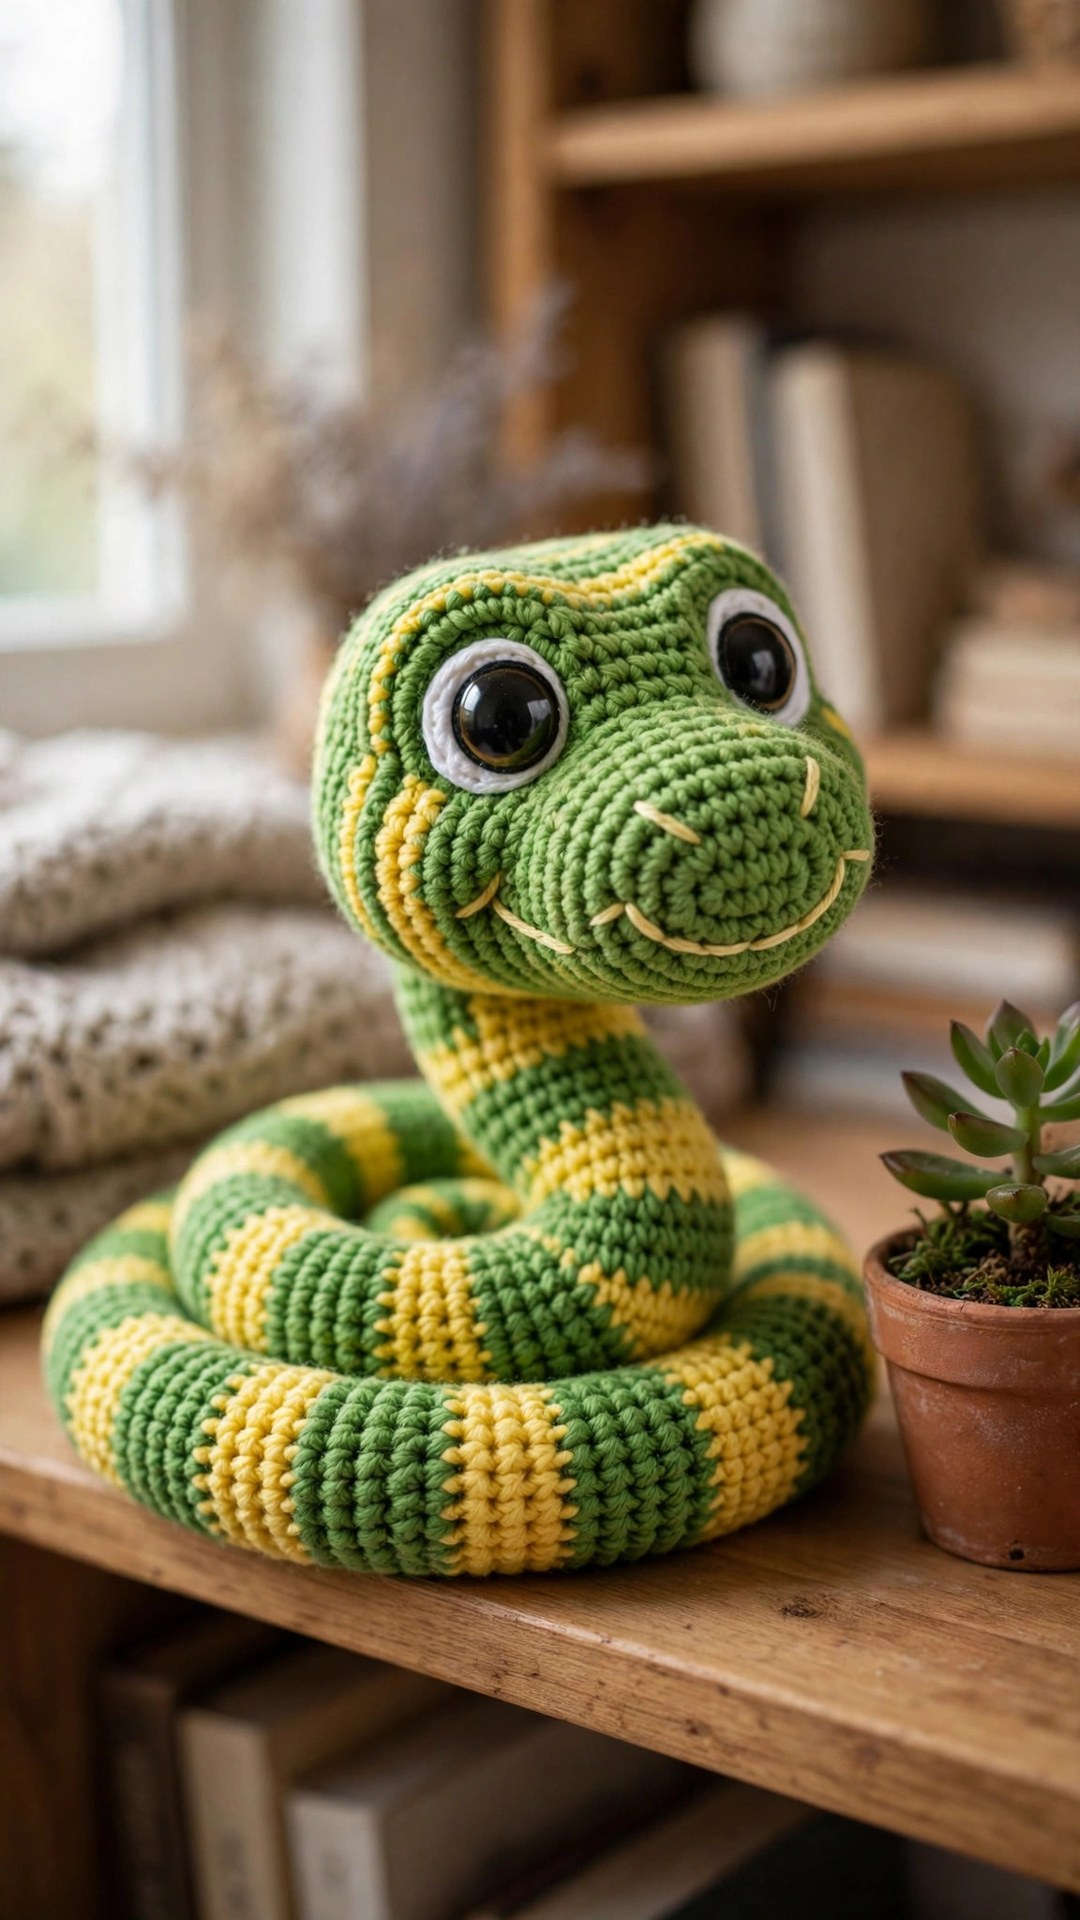
If you are using safety eyes, insert 12 mm eyes on either side of the head, about 4 rounds back from the snout and 6 stitches apart, before you stuff the head fully, so the washers sit inside. If the snake is for a child under three, embroider the eyes instead: with black yarn, make a French knot or a small satin stitch circle on each side of the head, and add a tiny white highlight stitch to each one. The highlight is the secret to a friendly face, so do not skip it.
Add a smile with black yarn: bring the needle out at the center of the snout, make a small curved stitch to one side, then mirror it on the other side, so the mouth curves upward. Keep the smile small and high on the face, because a low wide smile can make the snake look worried instead of cheerful.
Forked Tongue
With pink or red yarn, ch 8, then sl st back along the chain to the start, fasten off, and make a second identical piece. Hold the two pieces together at the base, sew them to the center of the snout just below the smile, and let the two forks splay slightly apart. Trim the ends to the same length, keeping the tongue about half an inch long.
Part 3: Curling, Assembly, and Finishing
The curl is the whole point of this snake, and it is easier than it looks. Shape the coil while the stuffing is still slightly soft, then let the snake rest in its curled position overnight.
- Lay the finished snake flat on a table and gently bend the tail into a loose spiral, working from the tail toward the head, letting each loop sit on top of the one before it.
- Place the head on top of the coil, facing outward, so the face is visible from the front.
- If you want a snake that holds its pose, insert a pipe cleaner through the body before you close the tail, bending it to follow the coil. This is optional, and skip it for toys for very small children.
- Sew the tail tip to the underside of the body where it touches, using green yarn and a few hidden stitches, so the coil holds its shape without looking sewn.
- Weave in all ends, then fluff the body gently with your fingers, pressing the stuffing outward so the coil is even and smooth.
For display, a curled snake looks wonderful wrapped around a plant pot, draped over a stack of books, or coiled on a nursery shelf. A crochet lizard pattern makes a perfect reptile shelf companion, and a crochet frog pattern beside it turns the shelf into a tiny pond scene.
Variations: Colors, Sizes, and Stripes
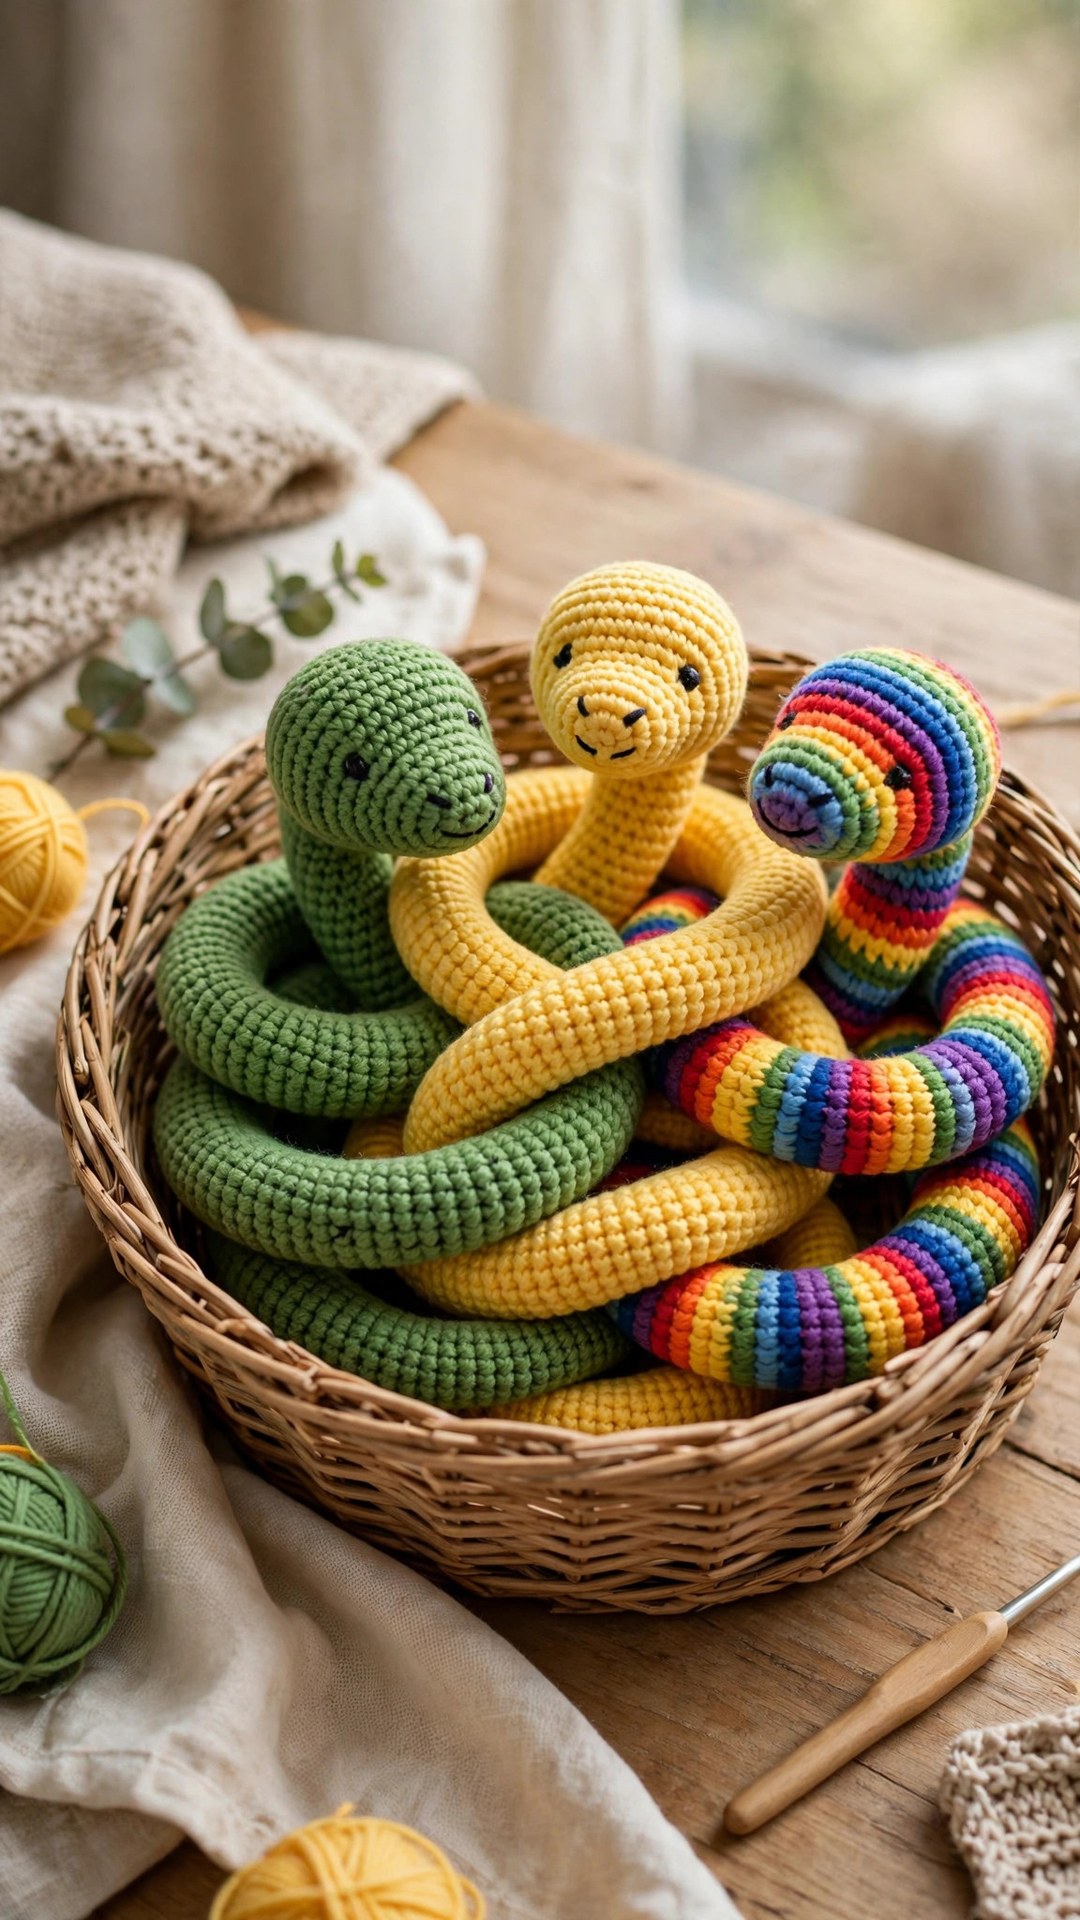
- Classic garden snake: work the pattern as written in bright green with a cream belly and a yellow stripe every 6 rounds.
- Rainbow snake: change color every 4 rounds through the rainbow, with a white belly, for a birthday gift that steals the show.
- Coral snake look: alternate bands of red, yellow, and black, keeping the bands narrow and even.
- Baby snake: stop the body at Rnd 30 and work the head as written for a pocket sized snake about 12 inches long, perfect for a stroller toy.
- Giant snake: use chunky yarn and a 6.0 mm hook for a snake closer to 36 inches long, ideal for draping over a bed or a reading chair.
If you fall in love with scaly friends, a crochet dragon pattern is the natural next project, with wings and a spiky back, and a crochet turtle pattern is a calmer companion for the same shelf.
Troubleshooting Snakes That Won't Coil
- My snake will not stay curled. This is almost always overstuffing. Remove a little fiberfill from the middle section, reshape the coil, and sew the tail tip to the body.
- The head looks too small. Check that you worked the head increases fully to 36 stitches. If the head still looks small, add an extra increase round before Rnd 55, working (5 sc, inc) around for 42 stitches, then continue as written.
- The tail tip looks blunt. Unpick back to Rnd 3 and increase more slowly, adding a plain round between each increase round so the point forms gradually.
- I can see stuffing through the stitches. Go down a hook size for your next snake.
- The belly stripe puckers. You sewed it too tightly. Unpick one edge, ease the strip along the curve with pins, and sew again with looser stitches.
- The eyes look wonky. Mark both eye positions with pins first, step back, check from the front, and only then insert or embroider them.
Care Instructions
Hand wash your snake in cool water with a mild soap, gently squeezing, never wringing or twisting, which can stretch the coil out of shape. Rinse well, roll it in a clean towel to remove excess water, then lay it flat and reshape the coil while it dries. Do not machine wash a snake with safety eyes or a pipe cleaner inside, and do not put it in the dryer.
Frequently Asked Questions
Is this crochet snake pattern good for beginners?
Yes, it is a great second or third amigurumi project. You should be comfortable with a magic ring, single crochet, and increases and decreases. The body is just one long piece of simple rounds, and the face is simple embroidery.
How long is the finished snake?
About 24 inches long when stretched out, coiling into a spiral about 6 inches across, in worsted weight yarn with a 4.0 mm hook. Chunky yarn and a larger hook give a snake closer to 36 inches, while DK yarn and a smaller hook give a pocket snake around 14 inches long.
Can I make this snake without safety eyes?
Absolutely, and you should if the snake is for a child under three. Embroider the eyes with black yarn instead, using a French knot or a small satin stitch circle, and add a tiny white highlight stitch to each eye.
Does the snake hold its coil on its own?
Yes, when the body is stuffed lightly and the tail tip is sewn to the underside of the body. If your snake keeps uncoiling, remove a little stuffing from the middle section and let it rest in its curled position overnight.
Is this the same as a temperature snake?
No. A temperature snake is a long blanket style project where each row records the daily weather, usually worked in a year of daily rows. This pattern is a cute curled amigurumi toy snake, a soft toy that coils into a spiral, and it is a completely different project.
Can I sell snakes made from this pattern?
Yes, you may sell finished snakes made from this free pattern, with credit to Little Loop Finds. Please do not sell, share, or republish the pattern text itself, and do not claim this original design as your own.
What yarn is best for a crochet snake?
Worsted weight acrylic is the easiest choice: soft, washable, and available in every bright color. Cotton gives crisper stitch definition and a heavier snake that holds its coil well. Either way, use a hook one size smaller than usual so the fabric is firm and the stuffing stays hidden.
Happy stitching, and may your snake be cute, curly, and completely harmless.
And if your shelf needs one more scaly friend, an axolotl crochet pattern makes a lovely companion, while a dumpster fire crochet pattern adds a little humor to the same display.


