Dumpster Fire Crochet Pattern (Funny Amigurumi, Free)
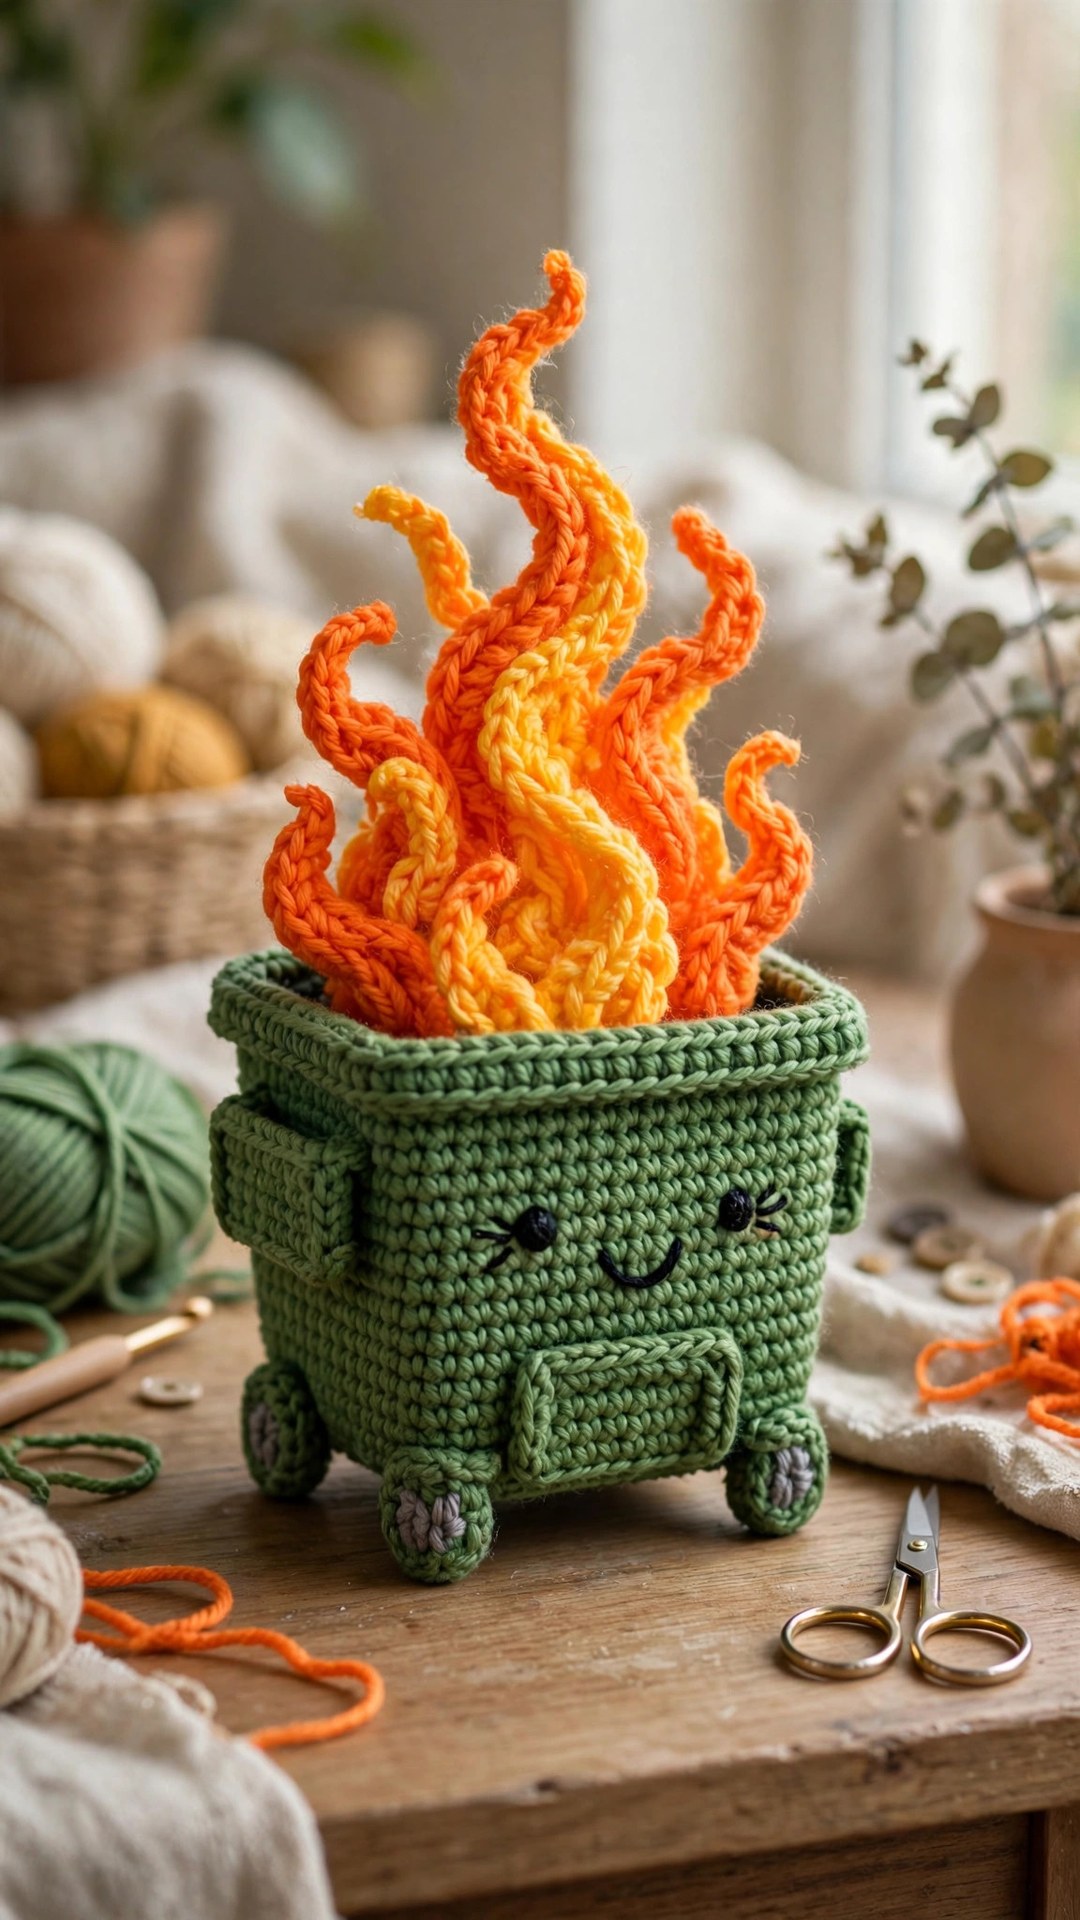
Stitch a funny little dumpster fire with cheerful flames, a wobbly lid, and a face that says everything is fine.

Amigurumi · Crochet
- Finished size
- 6 in tall, 5 in wide
- Making time
- 3 to 4 hours
- Hook
- US H-8 (5.0 mm)
- Set
- Dumpster, lid, wheels, flames
- Skill
- Easy
In this post
- Key Takeaways
- Table of Contents
- Why You Will Love This Dumpster Fire
- Finished Size, Skill Level, and Time
- Materials You Need
- Abbreviations (US Terms)
- Gauge and Sizing Notes
- Part 1: The Dumpster Body
- Part 2: Lid, Wheels, and Flames
- Part 3: Face, Assembly, and Finishing
- Variations: Colors, Sizes, and Gift Ideas
- Troubleshooting Dumpsters That Wobble
- Care Instructions
- Frequently Asked Questions
Some days deserve a trophy, and some days deserve a tiny crochet dumpster fire. This free dumpster fire crochet pattern makes a funny little amigurumi dumpster with cheerful orange flames, a wobbly lid, and a face that says "everything is fine" while the whole thing is clearly on fire. It is the perfect gift for a coworker surviving a chaotic week, a friend who laughs at disaster, or anyone who needs a desk buddy with a sense of humor.
This is an original Little Loop Finds design, written in US terms and completely free. The dumpster is a simple rectangle worked in rows and joined into a box, the flames are easy scalloped pieces you can make in three sizes, and the whole thing comes together with basic sewing. If you can work single crochet, increases, and a magic ring, you can make this dumpster fire. It is light, playful, and impossible to take seriously, which is exactly the point.
A quick note on scope: this post is about a funny novelty amigurumi dumpster fire, a humorous gift pattern kept light and playful. It is not a realistic fire safety project and not a roundup of disaster memes. If you want a serious home decor piece or a different funny amigurumi, you will find links to them below.
Key Takeaways
- Free original pattern: this dumpster fire crochet pattern is a Little Loop Finds original design, written in US terms, and completely free.
- Funny novelty gift: a cheerful little dumpster on fire, perfect for coworkers, friends, and anyone having a chaotic week.
- Simple boxy build: the dumpster is a rectangle joined into a box, and the flames are easy scalloped pieces in three sizes.
- Quick weekend project: about 3 to 4 hours from first stitch to finished flames, including the face details.
- Endlessly giftable: make one in classic green, or go wild with pink, purple, or rainbow flames for birthdays and white elephant gifts.
Table of Contents
- Why You Will Love This Dumpster Fire
- Finished Size, Skill Level, and Time
- Materials You Need
- Abbreviations (US Terms)
- Gauge and Sizing Notes
- Part 1: The Dumpster Body
- Part 2: Lid, Wheels, and Flames
- Part 3: Face, Assembly, and Finishing
- Variations: Colors, Sizes, and Gift Ideas
- Troubleshooting Dumpsters That Wobble
- Care Instructions
- Frequently Asked Questions
Why You Will Love This Dumpster Fire
A crochet dumpster fire is the rare gift that makes people laugh before they even read the card. It sits on a desk and says what everyone is thinking on a bad Monday, but it says it with a smile and soft yarn, so nobody can take offense. It is also a wonderful conversation piece: put one on a meeting room table and watch the whole room relax a little.
This design is also a great stash buster with a purpose. One skein of green worsted weight yarn makes the whole dumpster, and the flames are the perfect excuse to use up those small balls of orange, yellow, and red hiding at the bottom of your yarn basket. The body is simple rows of single crochet, the flames are quick and repetitive, and the face at the end is pure joy.
Finished Size, Skill Level, and Time
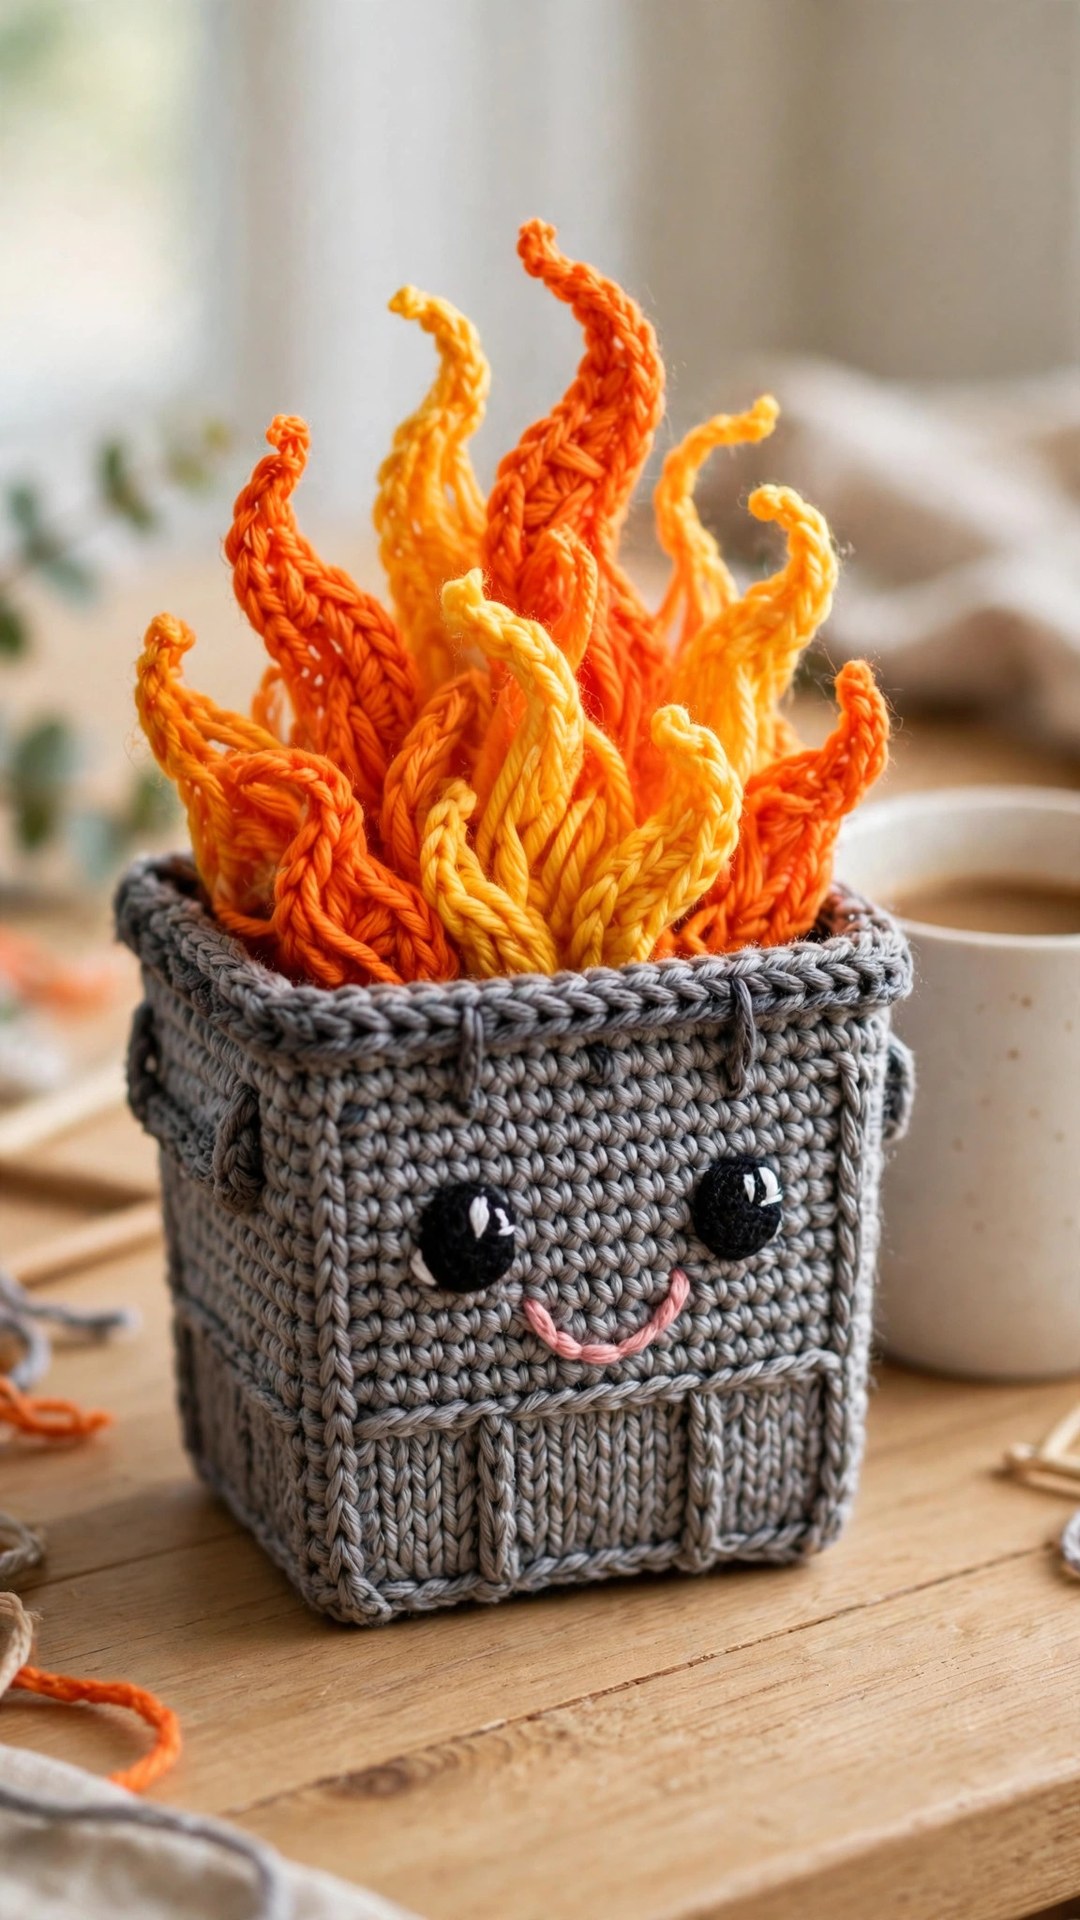
- Finished size: about 6 inches tall (including the flames) and 5 inches wide, in worsted weight yarn. The dumpster body is about 4 inches tall and 5 inches wide.
- Skill level: Easy. You need chains, slip stitches, single crochet, half double crochet, and double crochet, plus simple increases and decreases.
- Time: about 3 to 4 hours total: roughly 1 hour for the dumpster body, 1 hour for the lid, wheels, and flames, and 30 minutes for the face and assembly.
Materials You Need
| Item | What to get |
|---|---|
| Yarn, main color | Worsted weight (medium 4) acrylic or cotton in dumpster green, about 120 yards |
| Yarn, flame colors | Small amounts of red, orange, and yellow worsted weight yarn, about 20 yards each |
| Yarn, accents | Small amounts of dark gray or black (lid, wheels, and details) and white (eyes) |
| Hook | US H-8 (5.0 mm), or the size that gives you a firm fabric with your yarn |
| Stuffing | Polyester fiberfill, a generous handful |
| Notions | Tapestry needle, scissors, stitch markers, pins for assembly |
| Optional | 10 mm safety eyes (or black yarn for embroidered eyes), a small piece of cardboard for the base |
Acrylic yarn is a great choice here because it is sturdy, washable, and comes in every bright color a dumpster fire could want. Cotton gives crisper stitch definition and a slightly heavier dumpster that sits solidly on a desk. Whichever you choose, work with a hook one size smaller than you normally would for that yarn, because a firm fabric keeps the box shape crisp and the stuffing hidden.
Abbreviations (US Terms)
- ch = chain
- sl st = slip stitch
- sc = single crochet
- hdc = half double crochet
- dc = double crochet
- inc = increase (2 sc in the same stitch)
- dec = decrease (sc 2 together)
- BLO = back loop only
- FLO = front loop only
- st(s) = stitch(es)
- rnd(s) = round(s)
- rep = repeat
- MR = magic ring
Gauge and Sizing Notes
Gauge for this dumpster is more about firmness than exact numbers. Work 4 inches of single crochet and check that you cannot easily see stuffing through the fabric. If you can, go down a hook size.
To make a smaller dumpster, simply work fewer rows on each panel and use smaller flames. To make a larger one, add more rows to each panel and make the flames taller. The proportions matter more than the exact size: the dumpster should be a little wider than it is tall, and the flames should rise about half the height of the body again.
Part 1: The Dumpster Body
The dumpster body is a simple rectangle worked flat in rows, then joined into a box. Work each panel separately, then sew them together, so the corners stay crisp.
Front and Back Panels (make 2)
With green yarn, ch 21.
- Row 1: sc in 2nd ch from hook and in each ch across. (20 sts) Ch 1, turn.
- Rows 2 to 14: sc in each st across. (20 sts) Ch 1, turn at the end of each row.
- Fasten off, leaving a long tail on one panel for sewing.
Each panel should measure about 5 inches wide and 4 inches tall. If yours is much smaller, go up a hook size; if it is much larger, go down a hook size. The two panels must match, so count your rows carefully and block them lightly if one is slightly off.
Side Panels (make 2)
With green yarn, ch 13.
- Row 1: sc in 2nd ch from hook and in each ch across. (12 sts) Ch 1, turn.
- Rows 2 to 14: sc in each st across. (12 sts) Ch 1, turn at the end of each row.
- Fasten off, leaving a long tail on one panel for sewing.
Bottom Panel (make 1)
With green yarn, ch 21.
- Row 1: sc in 2nd ch from hook and in each ch across. (20 sts) Ch 1, turn.
- Rows 2 to 9: sc in each st across. (20 sts) Ch 1, turn at the end of each row.
- Fasten off, leaving a tail for sewing.
Joining the Box
Pin the four side panels together with the right sides facing out, forming a rectangle, and sew the vertical seams with green yarn and a tapestry needle, using whip stitches. Then sew the bottom panel to the lower edges, working all the way around. Before you close the last side, slip a piece of cardboard cut to fit inside the bottom, so the dumpster sits flat and does not sag. Stuff the body lightly, just enough to hold the box shape, and leave the top open for the flames.
Part 2: Lid, Wheels, and Flames
Lid
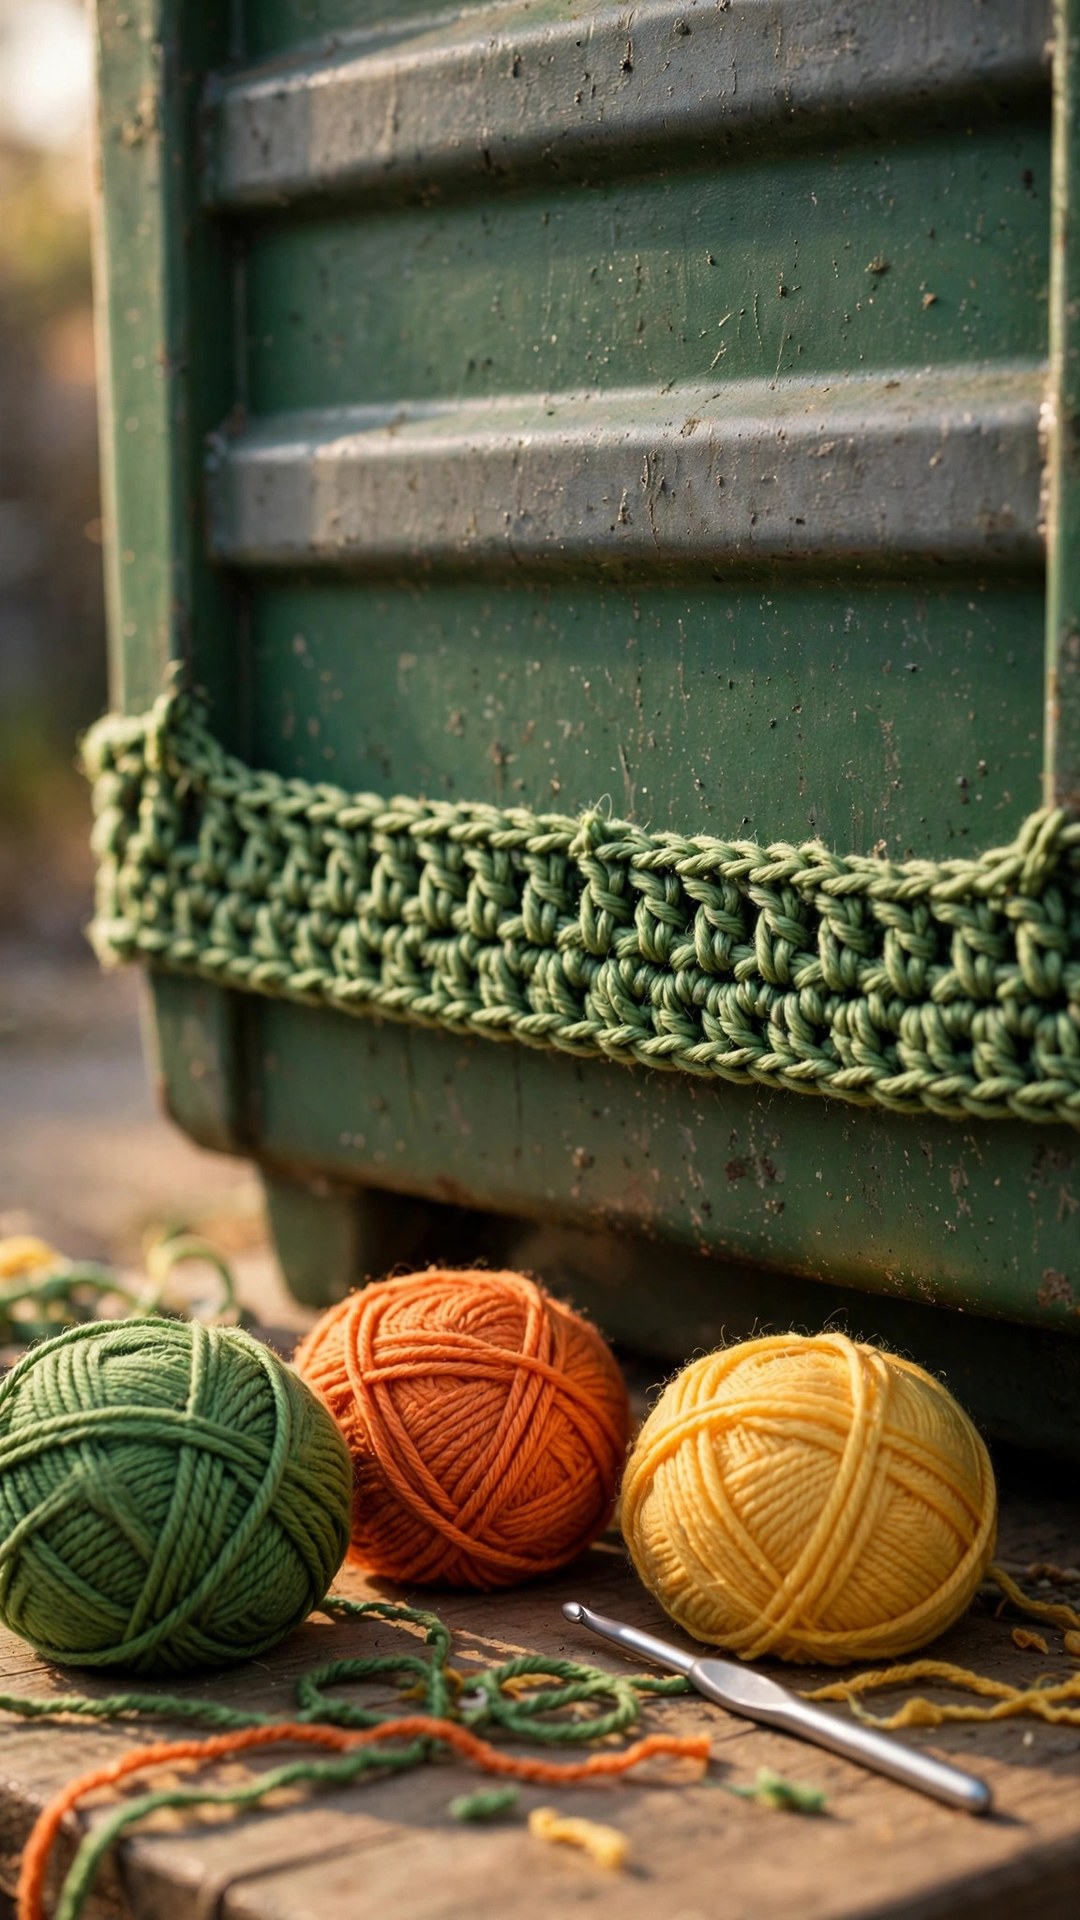
The lid is a flat rectangle, slightly larger than the top of the dumpster, worked in rows with a raised rim so it sits on top instead of sliding off.
With dark gray yarn, ch 23.
- Row 1: sc in 2nd ch from hook and in each ch across. (22 sts) Ch 1, turn.
- Rows 2 to 12: sc in each st across. (22 sts) Ch 1, turn at the end of each row.
- Row 13: in BLO, sc in each st across, then work sc evenly around all four edges, placing 3 sc in each corner. (about 68 sts around) Fasten off, leaving a tail.
The BLO row creates a crisp edge that helps the lid sit neatly on the dumpster. Do not sew the lid down: a loose lid that can be lifted and tilted is half the joke, and it lets the flames peek out from underneath.
Wheels (make 4)
With black yarn, MR, ch 1.
- Rnd 1: 6 sc in MR. (6 sts)
- Rnd 2: inc in each st around. (12 sts)
- Rnd 3: sc around. (12 sts) Fasten off, leaving a tail. Flatten each wheel into a disc and sew one to each bottom corner of the dumpster, two on the front and two on the back, so the dumpster looks ready to roll away from its own problems.
Flames (make 5: 2 large, 2 medium, 1 small)
Flames are the star of this project, so make them in three sizes and mix the colors. Each flame is worked flat in rows, with a pointed top made from a simple decrease.
Large flame (make 2, one in red, one in orange):
With your flame color, ch 9.
- Row 1: sc in 2nd ch from hook and in each ch across. (8 sts) Ch 1, turn.
- Rows 2 to 4: sc in each st across. (8 sts) Ch 1, turn.
- Row 5: dec, 4 sc, dec. (6 sts) Ch 1, turn.
- Row 6: sc in each st across. (6 sts) Ch 1, turn.
- Row 7: dec, 2 sc, dec. (4 sts) Ch 1, turn.
- Row 8: dec twice. (2 sts) Ch 1, turn.
- Row 9: dec. (1 st) Fasten off, leaving a tail.
Medium flame (make 2, one in orange, one in yellow): work as for the large flame, but start with ch 7 and work rows 2 to 3 plain, then decrease the same way, ending with 1 stitch.
Small flame (make 1, in yellow): work as for the large flame, but start with ch 5 and work row 2 plain, then decrease the same way, ending with 1 stitch.
Layer the flames when you sew them in: put the red large flame at the back, the orange large flame in front of it, the medium flames in front of those, and the small yellow flame right at the front center. Overlapping them like this gives the fire depth.
Part 3: Face, Assembly, and Finishing
The face is what turns a burning box into a character, so take your time and pin everything before you sew.
- Stuff the dumpster body lightly and place the flames inside the open top, arranging them from tallest at the back to shortest at the front. Sew the base of each flame to the inside rim of the dumpster with matching yarn, so they stand upright and lean slightly outward.
- Set the lid on top at a jaunty angle, tilted to one side, so the flames escape from underneath it. Sew one corner of the lid to the dumpster rim with a few hidden stitches, so it stays tilted but does not fall off.
- Sew the four wheels to the bottom corners of the dumpster, checking that the dumpster sits level on a table.
- Add the face to the front panel: if you are using safety eyes, insert 10 mm eyes about 2 inches apart and 1 inch down from the top edge. If the dumpster is for a child under three, embroider the eyes instead with black yarn, using a French knot or a small satin stitch circle, and add a tiny white highlight stitch to each eye.
- Add a smile with black yarn: bring the needle out at the center of the front panel, make a small curved stitch to one side, then mirror it on the other side, so the mouth curves upward. Keep the smile small and calm, because a relaxed smile on a burning dumpster is the whole joke.
- Weave in all ends, then fluff the flames gently with your fingers, pulling the tips slightly apart so the fire looks lively.
For display, a dumpster fire looks wonderful on a desk, a bookshelf, or a meeting room table. A crochet pickle pattern makes a perfect silly shelf companion, and a crochet mushroom hat pattern beside it turns the shelf into a full comedy corner.
Variations: Colors, Sizes, and Gift Ideas
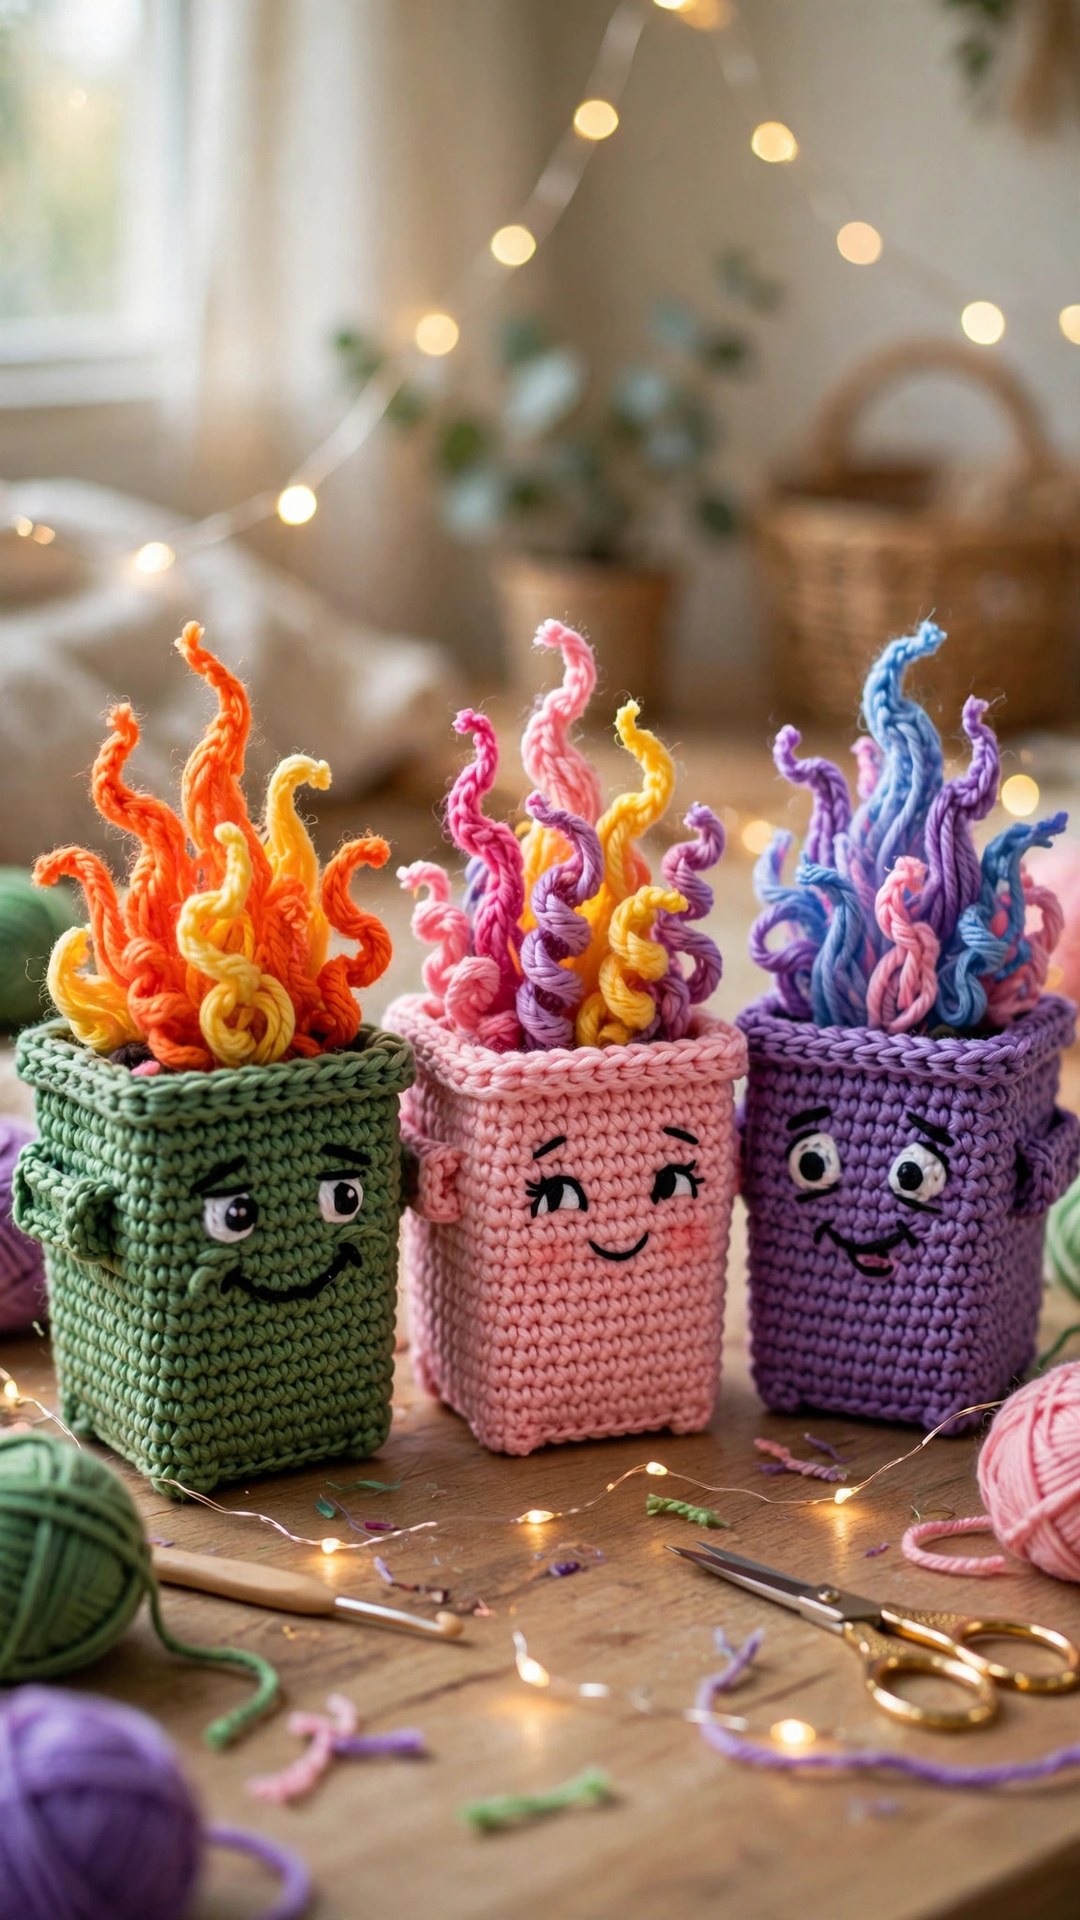
- Classic green dumpster: work the pattern as written in dumpster green with red, orange, and yellow flames.
- Pink dumpster: use hot pink for the body and pastel flames for a birthday gift that is impossible to ignore.
- Rainbow flames: work each flame in a different bright color, with a black dumpster, for a pride parade or party gift.
- Mini dumpster: work the panels with half the rows and use only three small flames for a pocket sized fire about 3 inches tall, perfect for a keychain or a rearview mirror.
- Giant desk dumpster: use chunky yarn and a 6.0 mm hook for a dumpster closer to 9 inches tall, ideal for an office white elephant gift.
If you fall in love with funny amigurumi, a free clown crochet pattern is the natural next project, with a big smile and a silly hat, and a crochet ghost pattern is a sweet, spooky companion for the same shelf.
Troubleshooting Dumpsters That Wobble
- My dumpster leans to one side. This is almost always an uneven seam. Check that all four side panels have the same number of rows, unpick the short side, and sew it again. A few stitches at the seam makes a big difference at the top.
- The lid keeps sliding off. Sew one corner of the lid to the dumpster rim with a few hidden stitches, and keep the lid tilted.
- The flames flop over. Sew the base of each flame to the inside rim with at least three anchor points, and layer them so they support each other.
- The box sags in the middle. You probably skipped the cardboard base. Cut a piece to fit inside the bottom panel and slip it in before you close the last side, or add one now through the open top.
- I can see stuffing through the stitches. Go down a hook size for your next dumpster.
- The face looks worried instead of calm. The smile is probably too low and too wide. Unpick it and sew a smaller smile higher on the front panel.
Care Instructions
Dust your dumpster fire with a soft dry cloth or a gentle vacuum on a low setting. If it gets grubby, spot clean with a damp cloth and a tiny amount of mild soap, then let it air dry completely. Do not machine wash a dumpster with safety eyes or a cardboard base inside, and do not put it in the dryer.
Frequently Asked Questions
Is this dumpster fire crochet pattern good for beginners?
Yes, it is a great second or third project. You should be comfortable with chains, single crochet, and simple increases and decreases. The dumpster is just flat panels sewn into a box, and the flames are simple rows with decreases.
How big is the finished dumpster fire?
About 6 inches tall including the flames, and about 5 inches wide, in worsted weight yarn with a 5.0 mm hook. Chunky yarn and a larger hook give a dumpster closer to 9 inches tall, while DK yarn and a smaller hook give a pocket fire around 3 inches tall.
Can I make this dumpster fire without safety eyes?
Absolutely, and you should if the dumpster is for a child under three. Embroider the eyes with black yarn instead, using a French knot or a small satin stitch circle, and add a tiny white highlight stitch to each eye. Embroidered eyes are just as cute and completely safe for babies.
Does the lid come off?
Yes, the lid is meant to sit loose on top at a jaunty angle, with one corner lightly sewn to the rim so it stays tilted but does not fall off. You can lift it to peek at the flames inside, which is half the fun.
Can I sell dumpster fires made from this pattern?
Yes, you may sell finished dumpster fires made from this free pattern, with credit to Little Loop Finds. Please do not sell, share, or republish the pattern text itself, and do not claim this original design as your own.
What yarn is best for a dumpster fire?
Worsted weight acrylic is the easiest choice: sturdy, washable, and available in every bright color. Cotton gives crisper stitch definition and a heavier dumpster that sits solidly on a desk. Either way, use a hook one size smaller than usual so the fabric is firm and the box holds its shape.
Is this pattern really free?
Yes, this dumpster fire crochet pattern is completely free, and it is an original Little Loop Finds design written in US terms. You can make as many as you like for gifts or for sale as finished items, with credit to Little Loop Finds.
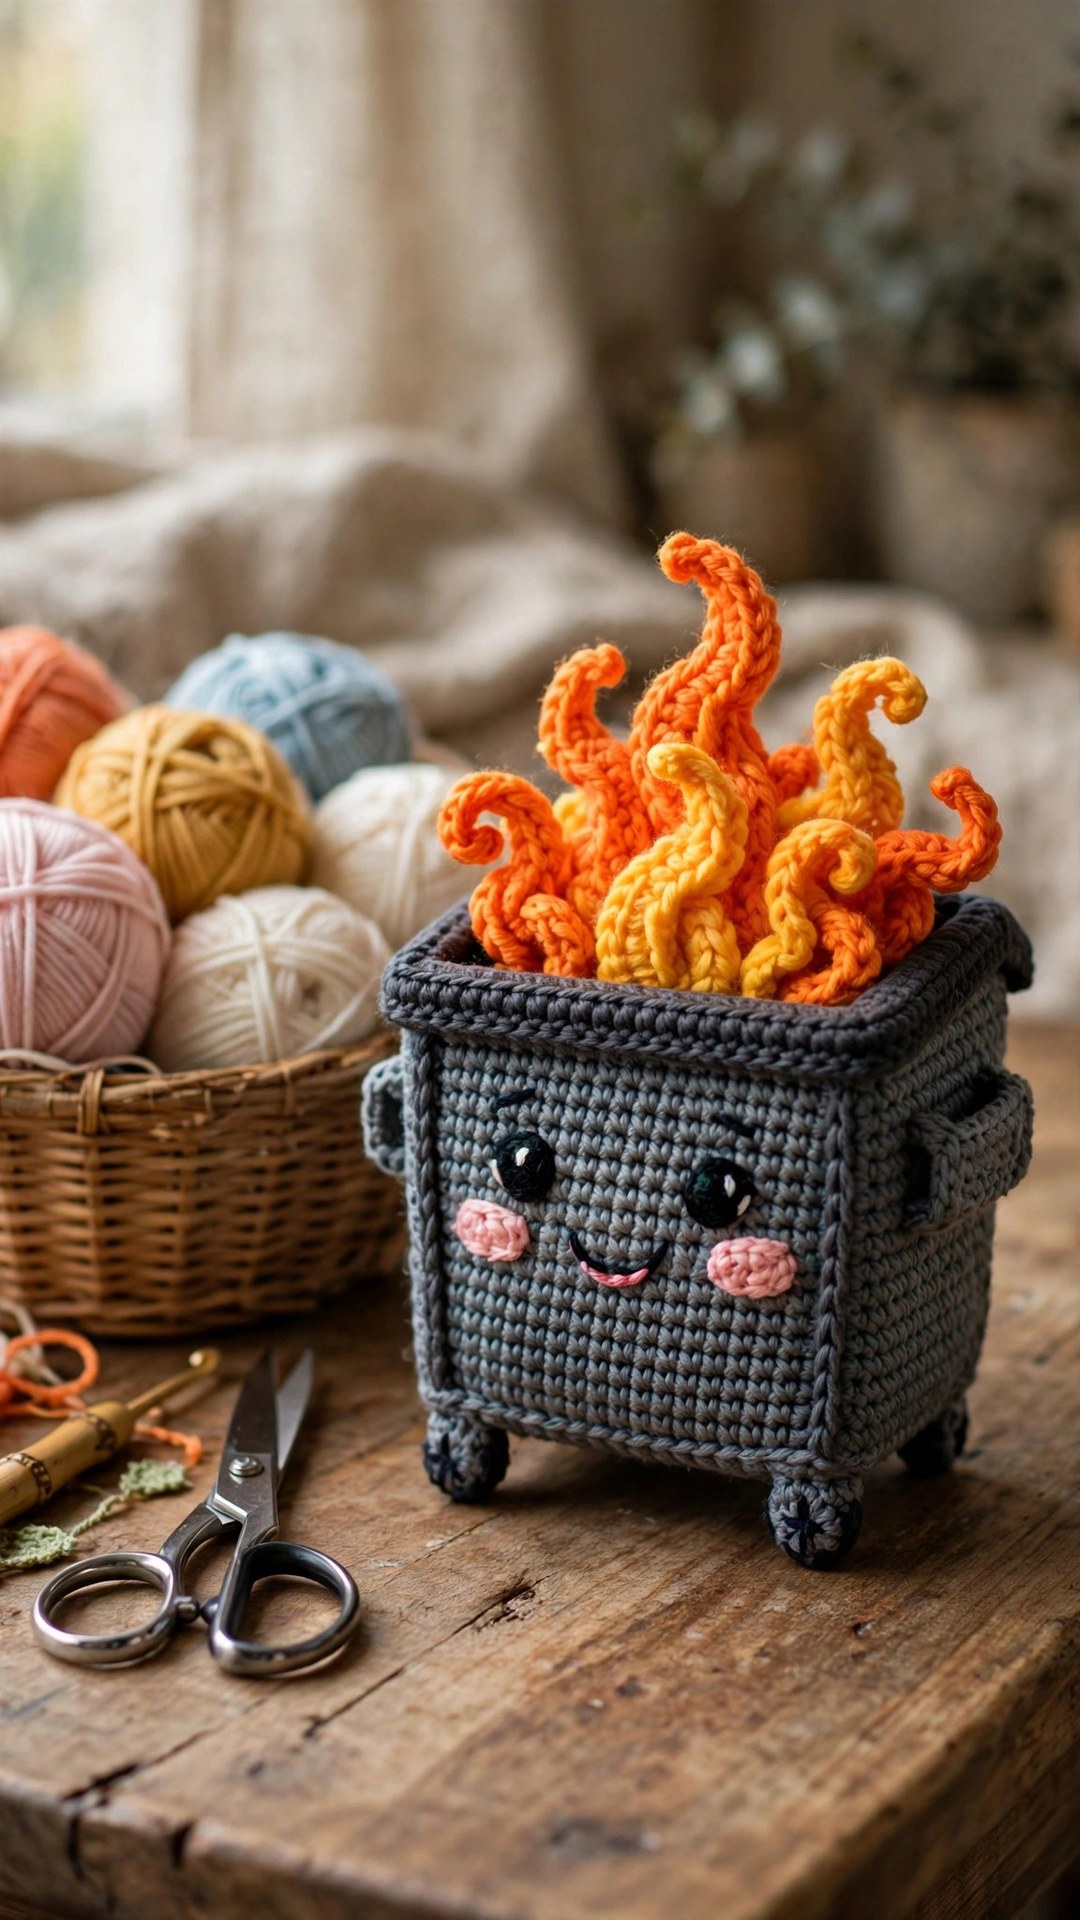
Happy stitching, and may your week be calm, your coffee be strong, and your dumpster fires stay strictly crochet.
And if your desk needs one more laugh, a crochet zombie pattern makes a lovely companion, while a crochet snake pattern adds a cute curled friend to the same display.


