Axolotl Crochet Pattern (Cute, Free)
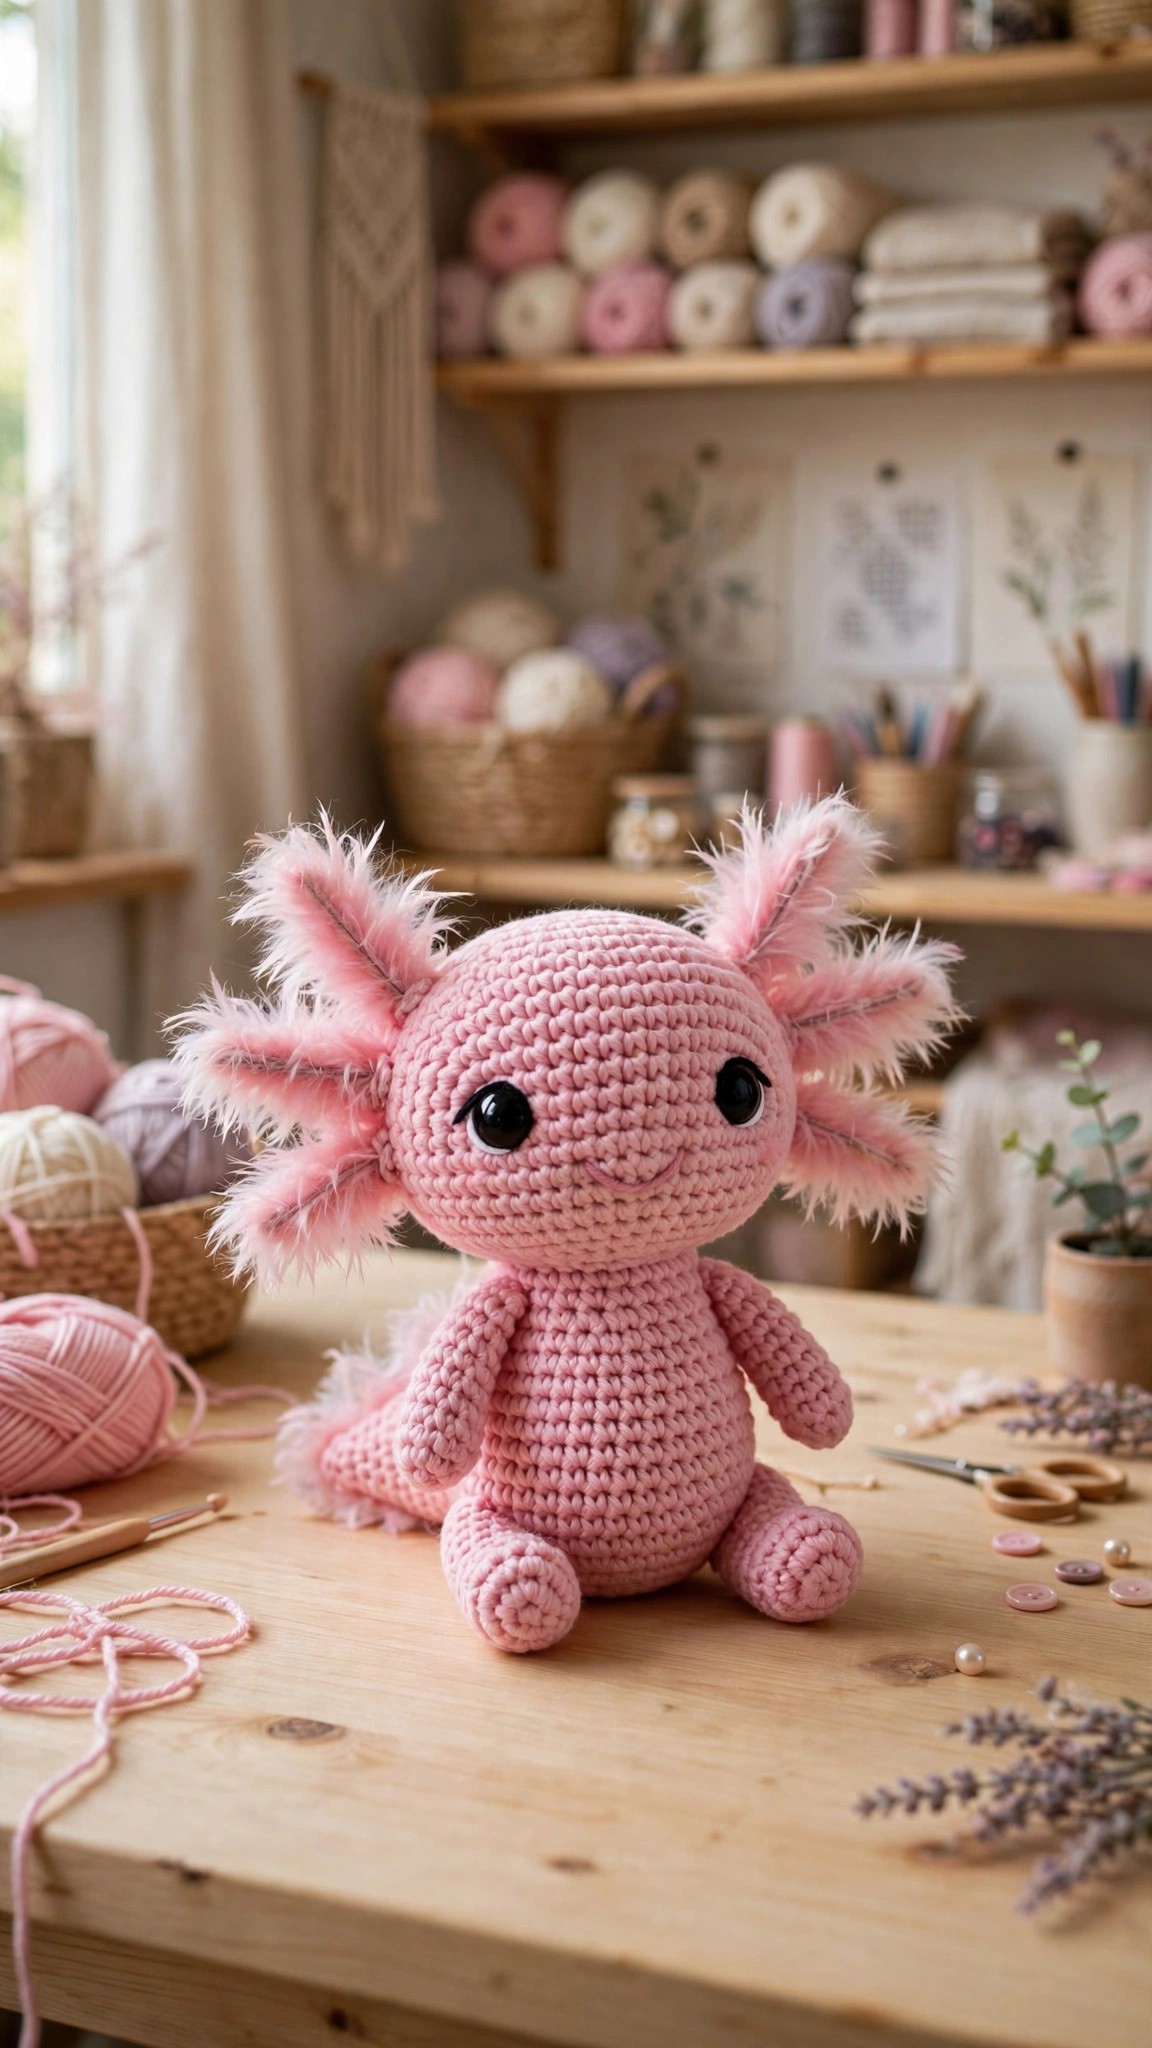
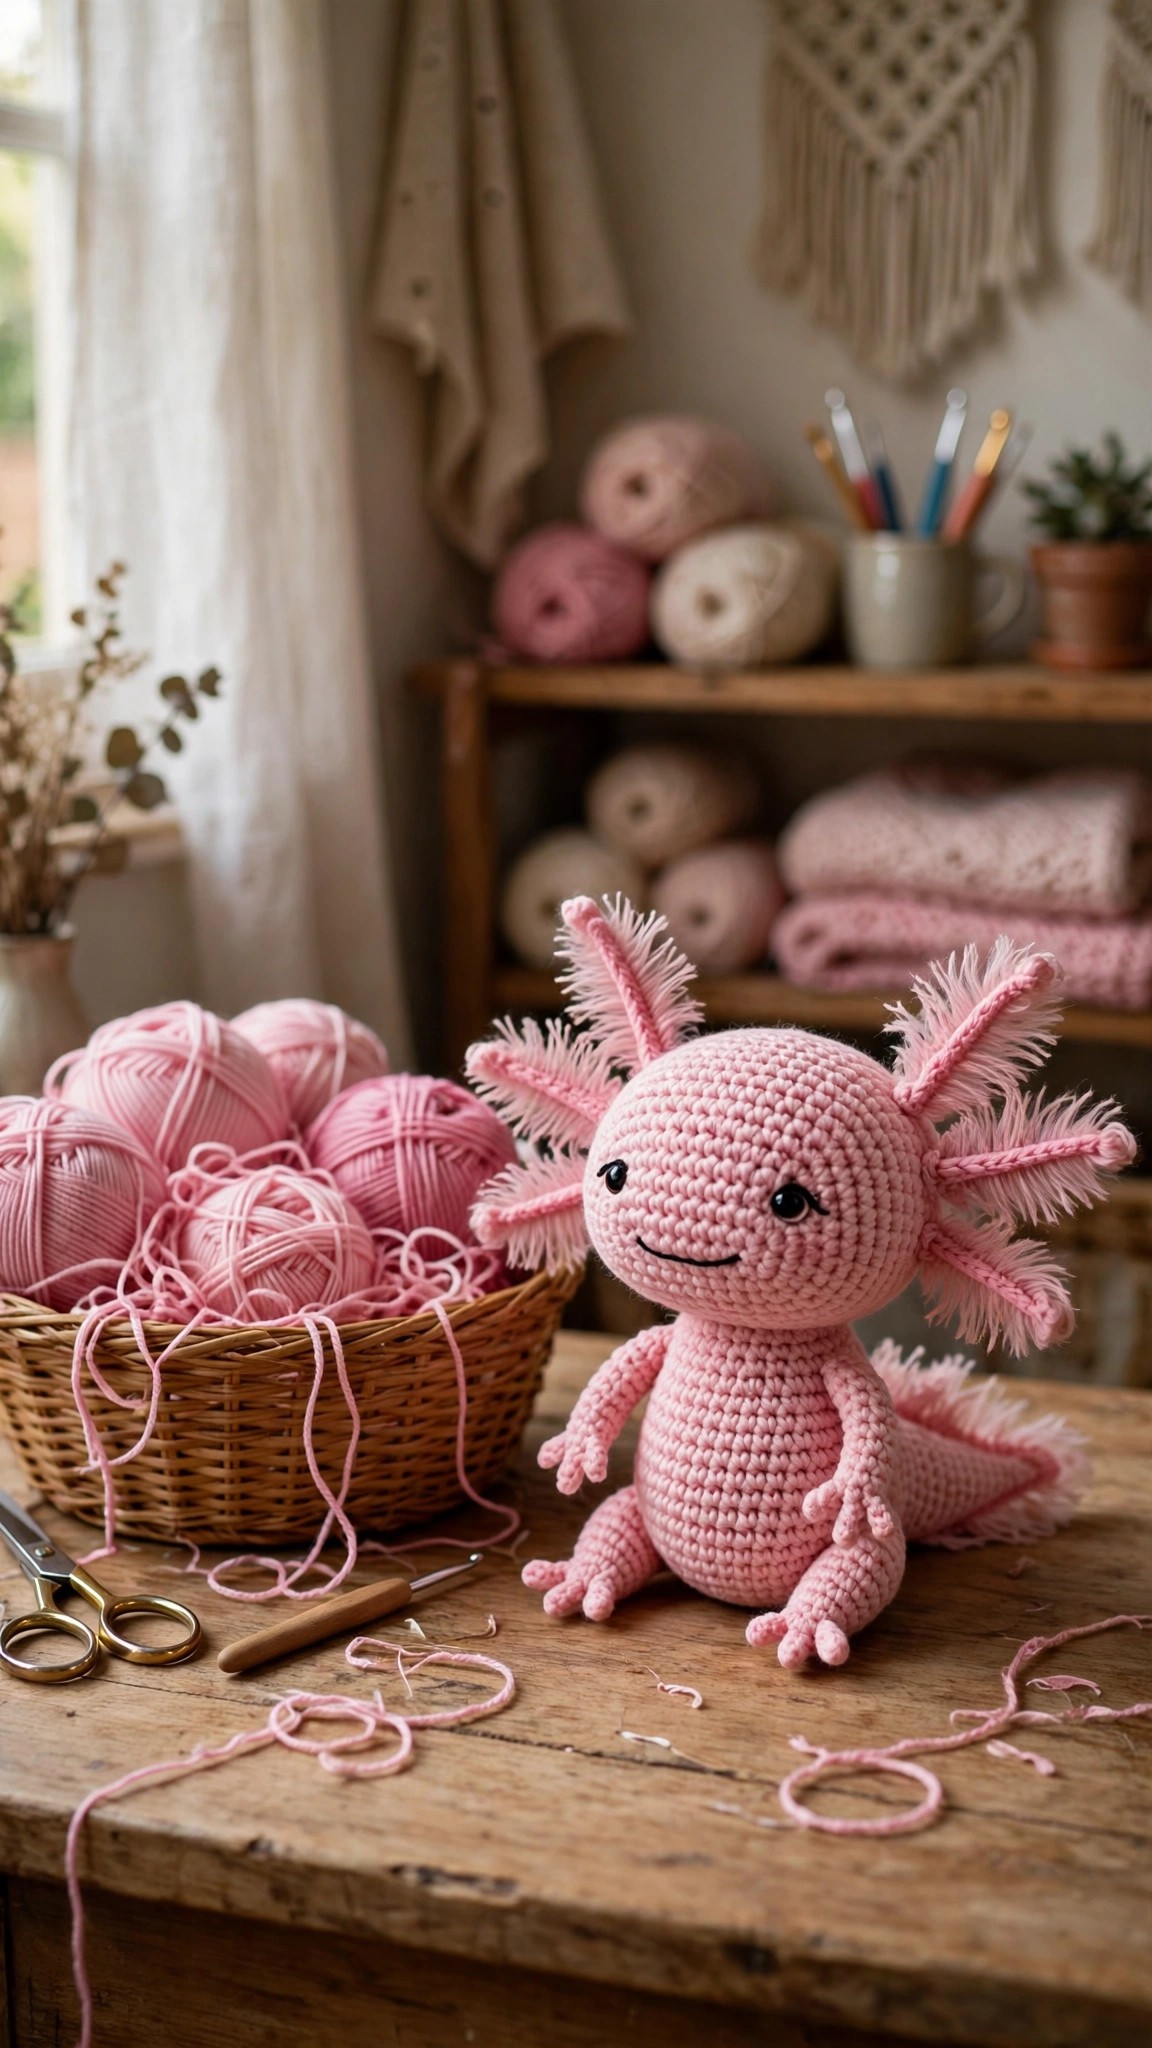
Stitch a cute pink axolotl amigurumi with feathery gills, a wide tail, and a sweet smile.

Amigurumi · Crochet
- Finished size
- 8 in long, 5 in tall
- Making time
- 4 to 5 hours
- Hook
- US G-6 (4.0 mm)
- Set
- Head and body, 6 gills, tail and limbs
- Skill
- Easy
In this post
- Key Takeaways
- Table of Contents
- Why You Will Love This Axolotl
- Finished Size, Skill Level, and Time
- Materials You Need
- Abbreviations (US Terms)
- Gauge and Sizing Notes
- Part 1: Head and Body
- Part 2: Gills, Tail, Arms, and Legs
- Part 3: Face and Assembly
- Variations: Colors, Sizes, and Accessories
- Troubleshooting Axolotls That Wobble or Lean
- Care Instructions
- Frequently Asked Questions
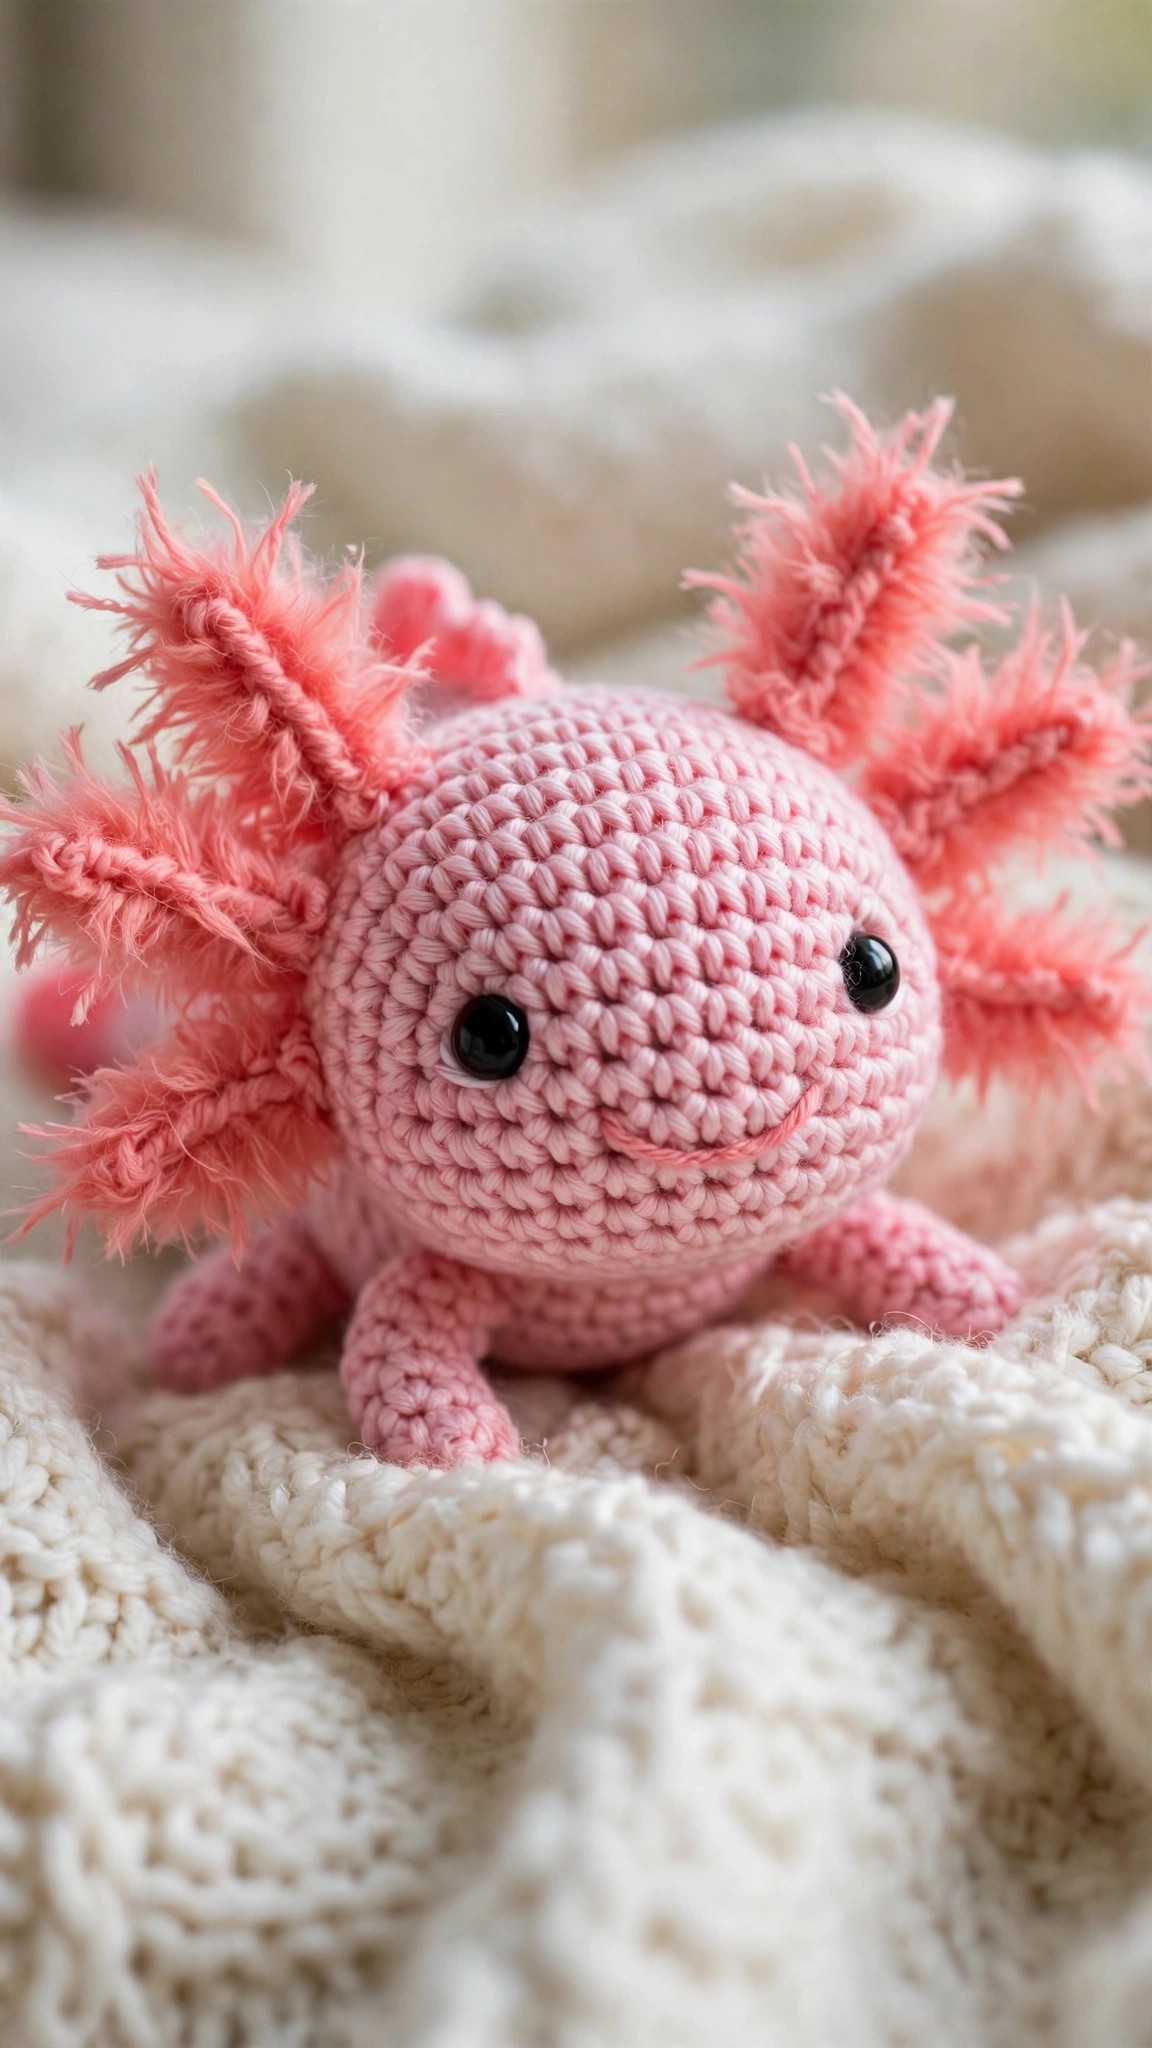
Few creatures are as instantly lovable as the axolotl. With its wide smile, tiny arms, and feathery pink gills, this little salamander looks like it swam straight out of a cartoon. This free axolotl crochet pattern gives you a soft, huggable amigurumi axolotl in classic bubblegum pink, complete with six fluffy gills, a wide flat tail, and an embroidered smile. It sits up on its own, fits in the palm of a childs hand, and makes a wonderful gift for anyone who loves cute animals, aquariums, or unusual pets.
This is an original Little Loop Finds design, written in US terms and completely free. The axolotl is built from simple shapes: a round head, a plump oval body, and small tubes for the arms and legs. The gills are the star of the show, and they are much easier than they look. Each gill is a small fan of chain loops, so you get that feathery look without any special stitches. If you can work a magic ring, single crochet, and increases, you can make this axolotl.
A quick note on scope: this post is about a classic pink axolotl amigurumi, not a flat applique and not a blanket or hat. If you want other water friends to keep your axolotl company, we have those too, and you will find links to them below.
Key Takeaways
- Free original pattern: this axolotl crochet pattern is a Little Loop Finds original design, written in US terms, and completely free.
- Classic pink axolotl: pink body, six feathery gills, a wide tail, and a sweet embroidered smile.
- Beginner friendly amigurumi: simple rounds, easy increases and decreases, and no complicated colorwork.
- Weekend project: about 4 to 5 hours from first stitch to finished smile, including assembly.
- Wonderfully giftable: perfect for birthdays, baby showers, aquarium lovers, and anyone who collects cute plush toys.
Table of Contents
- Why You Will Love This Axolotl
- Finished Size, Skill Level, and Time
- Materials You Need
- Abbreviations (US Terms)
- Gauge and Sizing Notes
- Part 1: Head and Body
- Part 2: Gills, Tail, Arms, and Legs
- Part 3: Face and Assembly
- Variations: Colors, Sizes, and Accessories
- Troubleshooting Axolotls That Wobble or Lean
- Care Instructions
- Frequently Asked Questions
Why You Will Love This Axolotl
Axolotls have a fan base that stretches from science classrooms to plush toy shelves, and it is easy to see why. They look happy all the time, and they come in the prettiest shade of pink. A crochet axolotl captures all of that charm in a toy that never needs feeding, never needs a tank, and never outgrows its shelf.
This design is also a great stash project. One skein of pink worsted weight yarn makes the whole axolotl, with yarn left over for the gills and tail. You can work the body in an evening, then add the gills and face the next morning. Kids love receiving a toy that was clearly made just for them, and adults love them too, especially teachers and anyone with an aquarium themed desk. The finished axolotl is soft enough to cuddle and sturdy enough to sit on a shelf or a bedside table.
Finished Size, Skill Level, and Time
- Finished size: about 8 inches long from nose to tail tip and 5 inches tall, sitting up, in worsted weight yarn.
- Skill level: Easy. You need a magic ring, chains, slip stitches, single crochet, half double crochet, and double crochet, plus simple increases and decreases.
- Time: about 4 to 5 hours total: roughly 1 hour for the head, 1 hour for the body and tail, 1 hour for the gills and limbs, and 1 hour for the face and assembly.
Materials You Need
| Item | What to get |
|---|---|
| Yarn, main color | Worsted weight (medium 4) acrylic or cotton in soft pink, about 150 yards |
| Yarn, gills | Small amount of darker pink or coral, about 30 yards |
| Yarn, accents | Small amounts of white (belly, optional), dark pink or black (smile), and pale pink (cheeks) |
| Hook | US G-6 (4.0 mm), or the size that gives you a firm fabric with your yarn |
| Stuffing | Polyester fiberfill, about one large handful |
| Eyes | Two 10 mm black safety eyes with washers (or black yarn for embroidered eyes for babies) |
| Notions | Tapestry needle, scissors, stitch markers, pins for assembly |
Acrylic yarn is a great choice here because it is soft, washable, and comes in every shade of pink. Cotton gives crisper stitch definition and a slightly firmer toy. Whichever you choose, work with a hook one size smaller than usual, because a firm fabric keeps the stuffing hidden and the shape smooth.
Abbreviations (US Terms)
- ch = chain
- sl st = slip stitch
- sc = single crochet
- hdc = half double crochet
- dc = double crochet
- inc = increase (2 sc in the same stitch)
- dec = decrease (sc 2 together)
- BLO = back loop only
- FLO = front loop only
- st(s) = stitch(es)
- rnd(s) = round(s)
- rep = repeat
- MR = magic ring
Gauge and Sizing Notes
Gauge for this axolotl is more about firmness than exact numbers. Work 4 inches of single crochet in the round and check that you cannot easily see stuffing through the fabric. If you can, go down a hook size. If your fabric feels stiff like cardboard, go up a hook size, because you still need to be able to push a needle through for assembly and face embroidery.
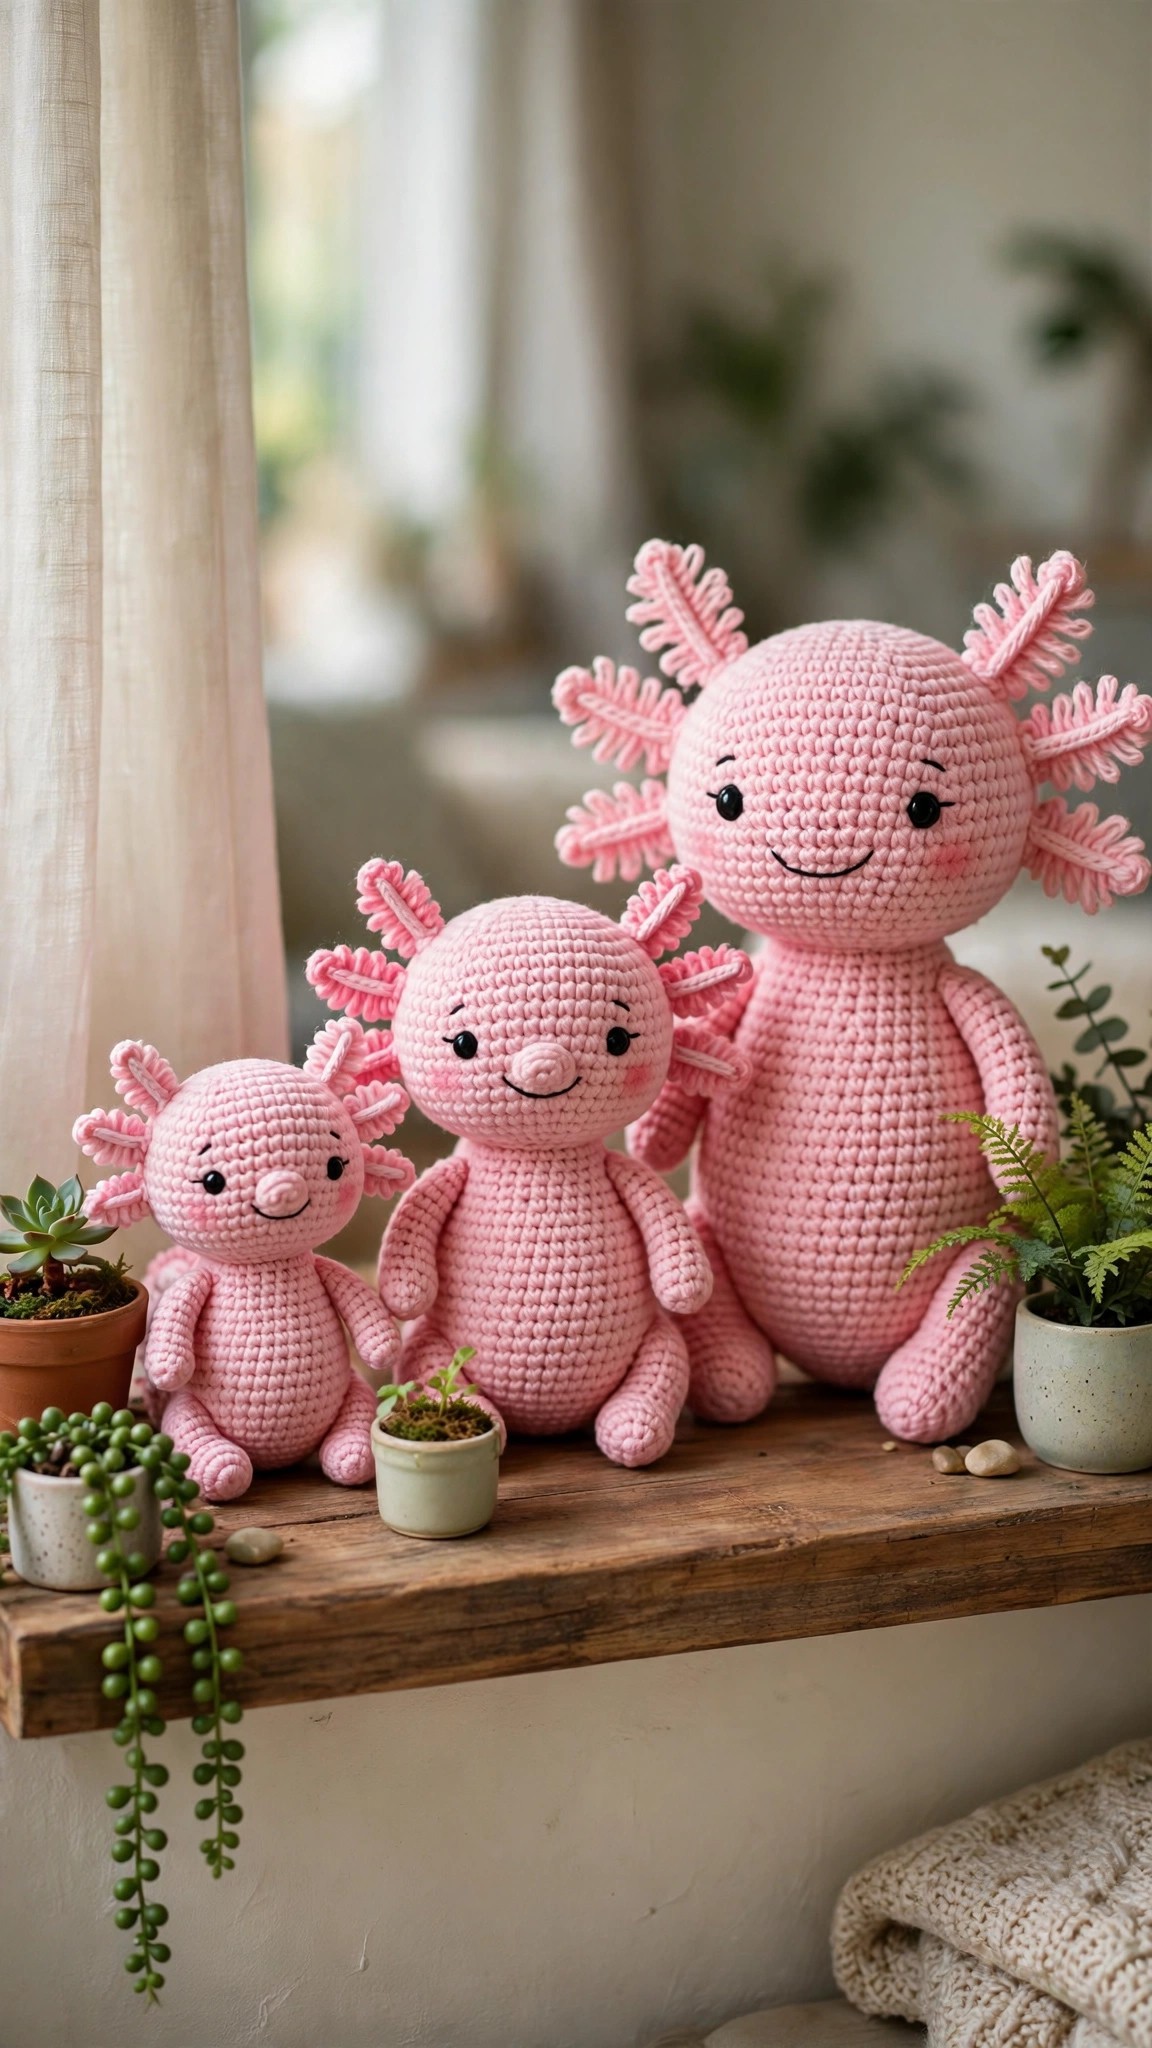
To make a smaller axolotl, use DK yarn and a 3.5 mm hook for a palm sized friend about 6 inches long. For a larger one, use chunky yarn and a 5.5 mm hook for a cuddly version about 11 inches long. The proportions matter most: the head wide and round, the body a little narrower, and the tail wide and flat.
Part 1: Head and Body
The head and body are worked as one piece from the nose to the tail end, which means fewer seams and a smoother shape. Work in continuous rounds (do not join) and use a stitch marker to mark the first stitch of each round. Stuff as you go, adding a little at a time so the shape stays even, and stop stuffing two rounds before the end so you can close neatly.
Head
With pink yarn, MR, ch 1.
- Rnd 1: 6 sc in MR. (6 sts)
- Rnd 2: inc in each st around. (12 sts)
- Rnd 3: (sc, inc) rep around. (18 sts)
- Rnd 4: (2 sc, inc) rep around. (24 sts)
- Rnd 5: (3 sc, inc) rep around. (30 sts)
- Rnd 6: (4 sc, inc) rep around. (36 sts)
- Rnd 7: (5 sc, inc) rep around. (42 sts)
- Rnd 8: (6 sc, inc) rep around. (48 sts)
- Rnd 9: (7 sc, inc) rep around. (54 sts)
- Rnds 10 to 16: sc around. (54 sts)
- Rnd 17: (7 sc, dec) rep around. (48 sts)
- Rnd 18: (6 sc, dec) rep around. (42 sts)
- Rnd 19: (5 sc, dec) rep around. (36 sts)
This is a good moment to place the safety eyes. Put them between Rnds 12 and 13, about 9 stitches apart, with the washers secured firmly inside. If this axolotl is for a baby or a toddler, skip the safety eyes and embroider two small black ovals instead, because embroidered eyes can never come loose. Stuff the head firmly now, shaping it into a wide, round dome with your hands, and keep stuffing lightly as you continue down the body.
- Rnd 20: (4 sc, dec) rep around. (30 sts)
- Rnd 21: sc around. (30 sts)
- Rnd 22: (4 sc, inc) rep around. (36 sts)
- Rnd 23: (5 sc, inc) rep around. (42 sts)
- Rnds 24 to 30: sc around. (42 sts) This straight section is the plump body.
- Rnd 31: (5 sc, dec) rep around. (36 sts)
- Rnd 32: (4 sc, dec) rep around. (30 sts)
- Rnd 33: (3 sc, dec) rep around. (24 sts) Stuff the body firmly, keeping the bottom flat so the axolotl can sit.
- Rnd 34: (2 sc, dec) rep around. (18 sts)
- Rnd 35: (sc, dec) rep around. (12 sts)
- Rnd 36: dec around. (6 sts) Fasten off and weave in the end, closing the small hole with a tapestry needle.
Part 2: Gills, Tail, Arms, and Legs
Gills (make 6)
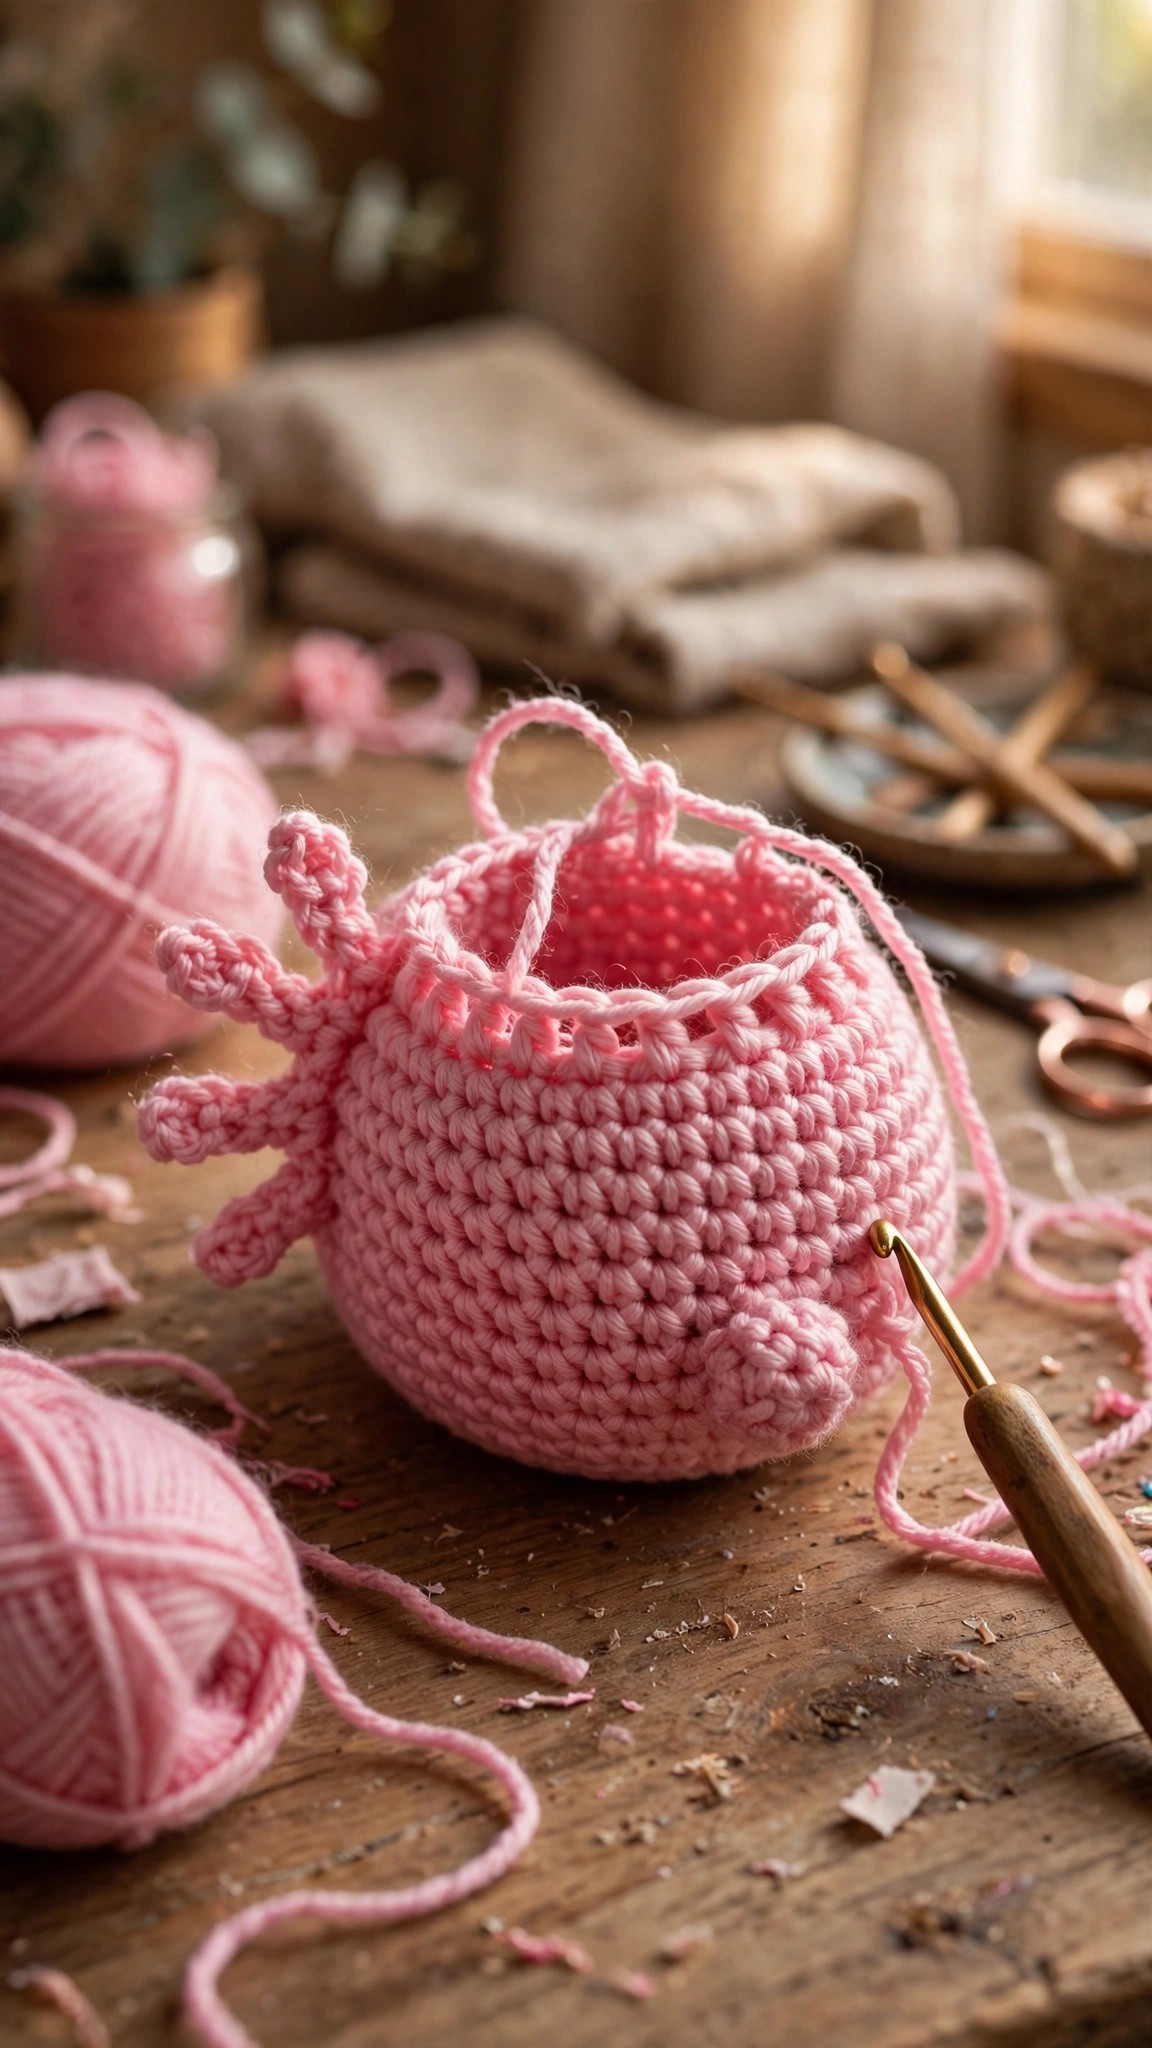
The gills are what make an axolotl an axolotl, so give them your full attention. Each gill is a small fan worked in darker pink or coral yarn. Make six identical gills: three for the left side of the head and three for the right side.
With gill color yarn, ch 6.
- Row 1: sc in 2nd ch from hook, hdc in next ch, dc in next 2 ch, hdc in last ch. (5 sts)
- Row 2: ch 1, turn, sc in each st across. (5 sts)
- Row 3: ch 3, sl st in first st, (ch 3, sl st in next st) rep across to make 5 small loops along the edge. These loops are the feathery fronds.
- Fasten off, leaving a long tail for sewing.
The loops along one edge give each gill a soft, frilly outline that reads as feathery from a distance. If your loops look tight, work them a little looser next time, or use a hook one size larger just for the gills. Fluff each gill gently with your fingers after you finish it, pulling the loops outward so the fan opens up.
Tail Fin
The tail is a wide, flat fin worked in pink yarn, sewn onto the tail end of the body.
With pink yarn, ch 12.
- Row 1: sc in 2nd ch from hook and in each ch across. (11 sts)
- Rows 2 to 6: ch 1, turn, sc in each st across. (11 sts)
- Row 7: ch 1, turn, dec, sc in next 7 sts, dec. (9 sts)
- Row 8: ch 1, turn, sc across. (9 sts)
- Row 9: ch 1, turn, dec, sc in next 5 sts, dec. (7 sts)
- Row 10: ch 1, turn, sc across. (7 sts)
- Row 11: ch 1, turn, dec, sc in next 3 sts, dec. (5 sts)
- Row 12: ch 1, turn, sc across. (5 sts)
- Fasten off, leaving a long tail for sewing. Do not stuff the tail; it should stay flat and floppy like a real axolotl tail fin.
Arms (make 2)
With pink yarn, MR, ch 1.
- Rnd 1: 6 sc in MR. (6 sts)
- Rnd 2: inc in each st around. (12 sts)
- Rnds 3 to 6: sc around. (12 sts)
- Rnd 7: (sc, dec) rep around. (8 sts)
- Rnds 8 to 9: sc around. (8 sts)
- Fasten off, leaving a long tail. Stuff very lightly, just enough to hold the shape, because arms that are stuffed too firmly stick out at odd angles.
Legs (make 2)
With pink yarn, MR, ch 1.
- Rnd 1: 6 sc in MR. (6 sts)
- Rnd 2: inc in each st around. (12 sts)
- Rnd 3: (sc, inc) rep around. (18 sts)
- Rnds 4 to 6: sc around. (18 sts)
- Rnd 7: (sc, dec) rep around. (12 sts)
- Rnd 8: sc around. (12 sts)
- Fasten off, leaving a long tail. Stuff lightly, keeping the bottom of each leg flat so it helps the axolotl sit upright.
Part 3: Face and Assembly
Assembly is where a pile of pink pieces becomes an axolotl, so take your time and pin everything before you sew.
- Sew the three gills on each side of the head, fanning them out like a hand of cards. Place the top gill just above the eye line, the middle gill level with the eye, and the bottom gill just below it, all clustered close to the back of the head. Pin first, check from the front that both sides match, then sew.
- Sew the tail fin to the tail end of the body, centering it carefully so it sticks straight out behind. Use the tail for sewing through both the fin and the body for a strong join.
- Sew the arms to the sides of the body, about halfway between the head and the tail, angled slightly forward so they look like they are reaching out for a hug.
- Sew the legs to the bottom front of the body, spaced evenly, so they act like little feet that help the axolotl sit up.
- Embroider the smile with dark pink or black yarn: a small curved line centered below and between the eyes, about two stitches wide. Add two tiny blush circles with pale pink yarn, one under each eye, using a few French knots or a small cluster of straight stitches.
If you want more water friends on the shelf beside your axolotl, a crochet frog pattern makes a cheerful pond mate, and a crochet octopus plush adds another squishy sea creature to the collection. For a smaller quick project, the mini amigurumi patterns roundup has tiny friends that work up in an evening.
Variations: Colors, Sizes, and Accessories
- Golden axolotl: work the body in soft gold or pale yellow, with peach gills, for the golden morph that axolotl fans love.
- Leucistic white axolotl: use white yarn with pale pink gills for the classic laboratory axolotl look, and embroider the eyes in dark grey instead of black for a softer face.
- Dark axolotl: try charcoal or deep grey yarn with dusty rose gills for a moody, modern version that still reads as an axolotl.
- Aquarium scene: pair your axolotl with a crochet turtle pattern for a full underwater display, and add a few crochet pebbles in grey and white yarn around the base.
If your axolotl needs a canine friend on the shelf, the dog crochet pattern in this same series makes a floppy eared puppy in the same style and size, so the two look perfect together.
Troubleshooting Axolotls That Wobble or Lean
- My axolotl will not sit up. This is almost always a stuffing problem. The bottom of the body needs to be flat and firmly stuffed, and the legs need to be sewn on evenly. Press the axolotl on a table, add a little more stuffing to the thin side, and reposition the legs so they sit flat.
- The gills look flat, not feathery. Fluff each loop outward with your fingers, and work the next set of gills with looser chain loops. A hook one size larger for the gills alone also helps a lot.
- One side has more gills showing than the other. Unpick the gills on the fuller side, re-pin them while looking at the axolotl from the front (not from above), and sew again. A few stitches of difference at the base makes a big difference at the tips.
- The head looks too small for the body. Check your round counts: the head should reach 54 stitches at its widest, while the body peaks at 42. If you stopped increasing too early, the head will look pinched.
- I can see stuffing through the stitches. Go down a hook size for the next piece, and for the finished axolotl, add a thin inner lining of pink felt inside the worst spot if needed.
Care Instructions
Dust your axolotl with a soft dry cloth. If it gets grubby, hand wash it gently in cool water with a tiny amount of mild soap, squeeze it gently without wringing, and let it air dry completely. Do not machine wash an axolotl with safety eyes, because the agitation can loosen them, and do not put it in the dryer. Reshape the gills with your fingers while it is still damp, and store it away from direct sunlight, which can fade pink yarn over time.
Frequently Asked Questions
Is this axolotl crochet pattern good for beginners?
Yes, as a second or third amigurumi project, not your very first. You should be comfortable with a magic ring, single crochet, and increases. If those feel familiar, the head and body are just the same increase rhythm you already know, and the gills are simple chains and slip stitches.
How big is the finished axolotl?
About 8 inches long from nose to tail tip and 5 inches tall when sitting up, in worsted weight yarn with a 4.0 mm hook. Chunky yarn gives an axolotl closer to 11 inches long, while DK yarn gives a palm sized friend around 6 inches long.
Are safety eyes safe for a baby gift?
Safety eyes are not recommended for children under three, because any plastic part can come loose with enough chewing and pulling. For a baby gift, embroider the eyes with black yarn instead, using small ovals of satin stitch.
What yarn is best for a crochet axolotl?
Soft acrylic is the most popular choice because it is washable, comes in perfect pinks, and is gentle enough for cuddling. Cotton gives crisper stitch definition and a firmer toy. Avoid fuzzy or eyelash yarn for your first axolotl, because it hides your stitches and makes counting rounds much harder.
Can I make the axolotl in a different color?
Absolutely. Pink is classic, but gold, white, grey, and even lavender all look wonderful. Keep the gills a shade darker or brighter than the body.
How do I keep the gills fluffy?
Fluff each gill with your fingers after you sew it on, pulling the chain loops gently outward. If the loops flatten in storage, just reshape them by hand. Do not brush the gills with a stiff brush, because that can pull the loops out of shape.
Can I sell axolotls made from this pattern?
Yes, you may sell finished axolotls made from this free pattern, with credit to Little Loop Finds. Please do not sell or republish the pattern text itself.
Happy stitching, and may your shelf be full of smiles, gills, and one happy axolotl.


