Crochet Shirt Pattern (Free Button-Front)
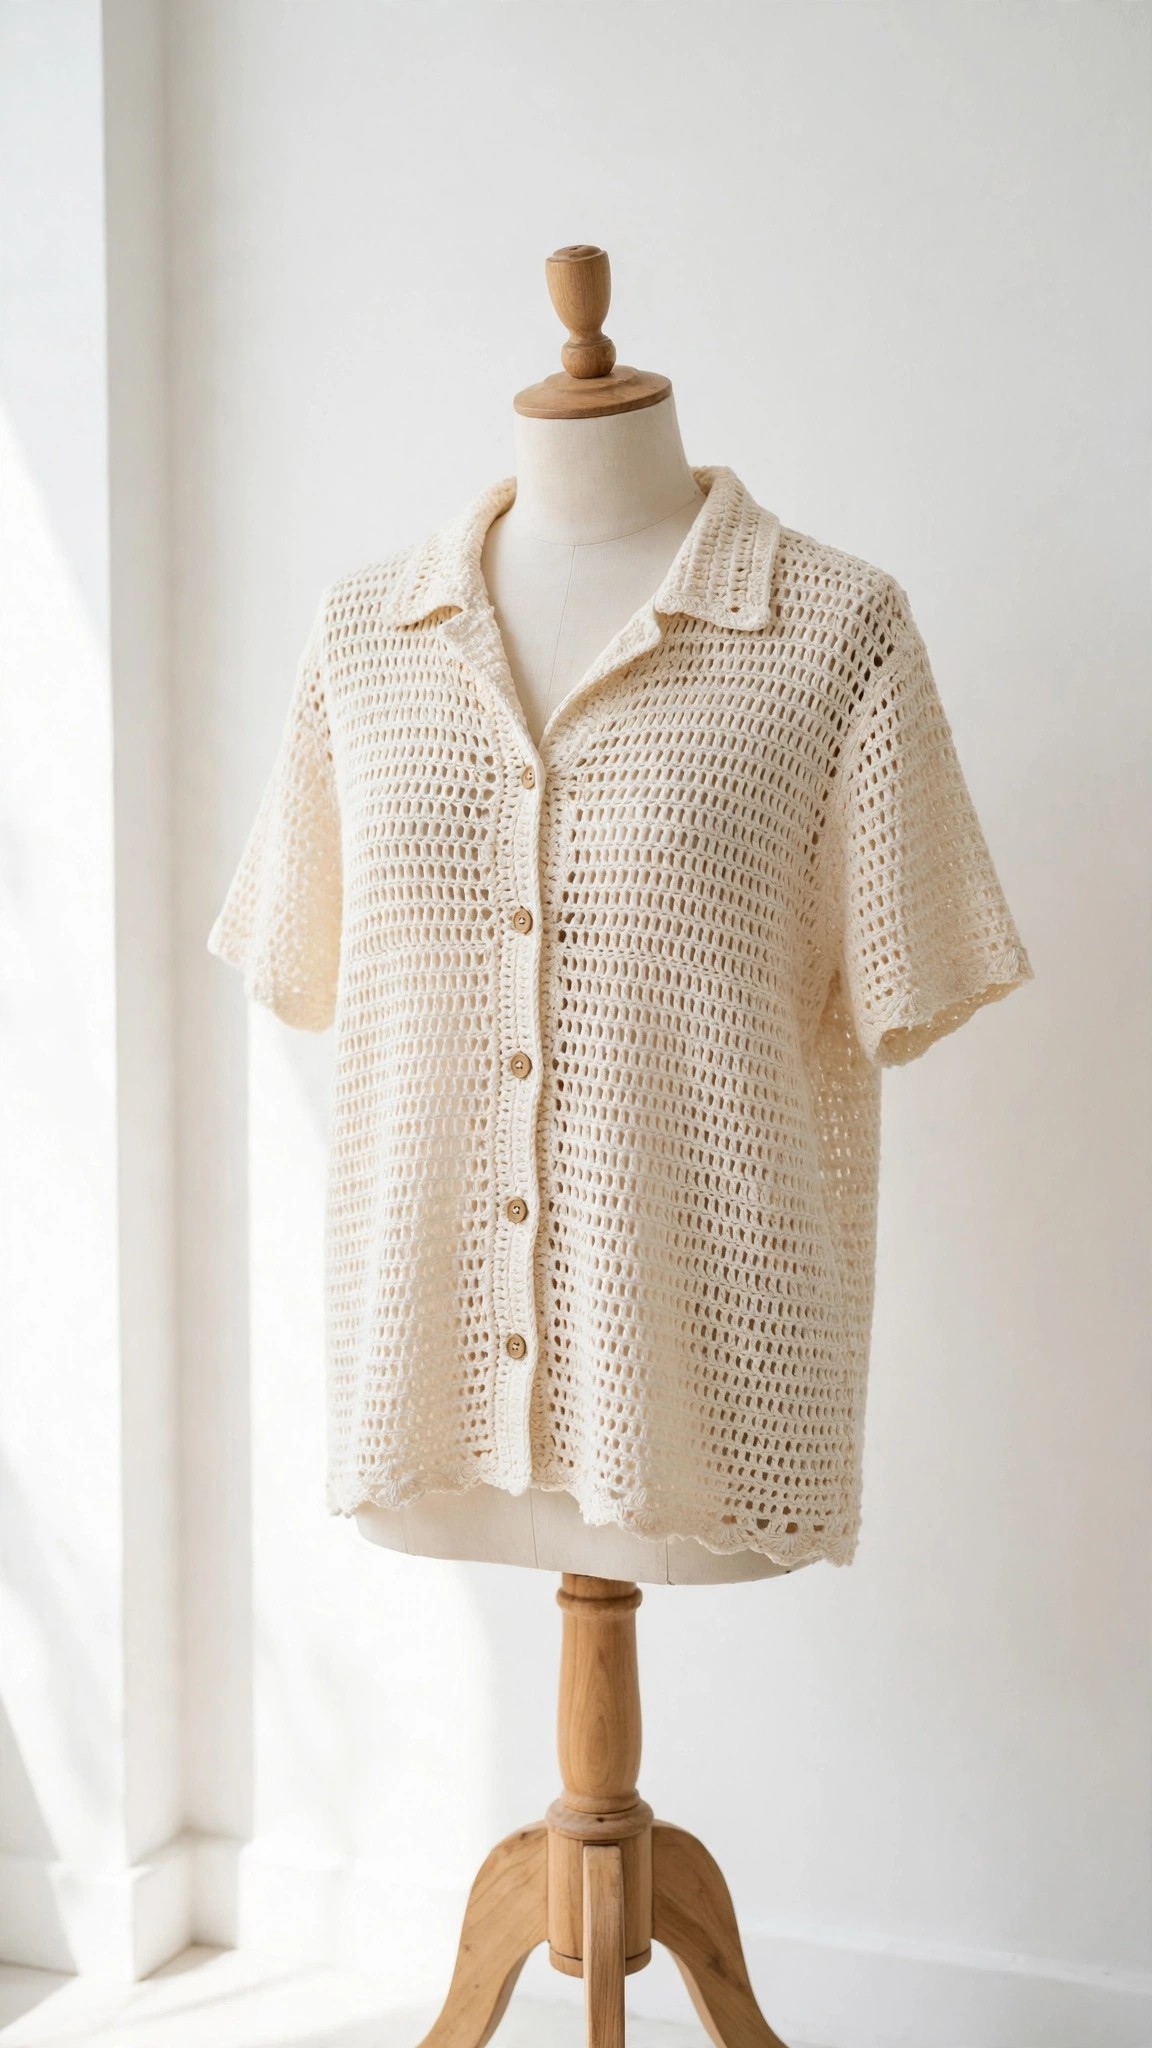
Crochet a relaxed button-front shirt in soft cotton yarn, with short sleeves and sizes XS to 3XL.

Patterns · Crochet
- Finished size
- Bust 32-56 in, XS-3XL
- Making time
- 12-15 hours per shirt
- Hook
- US H-8 (5.0 mm)
- Set
- Back, fronts, sleeves
- Skill
- Easy
In this post
- Key Takeaways
- Table of Contents
- Why You Will Love This Crochet Shirt
- Finished Size, Skill Level, and Time
- Materials You Need
- Abbreviations (US Terms)
- Gauge and Sizing Notes
- Part 1: The Back Panel
- Part 2: Front Panels and Button Placket
- Part 3: Sleeves, Collar, and Finishing
- Variations: Colors, Lengths, and Sleeves
- Troubleshooting Shirts That Gap or Grow
- Care Instructions
- Frequently Asked Questions
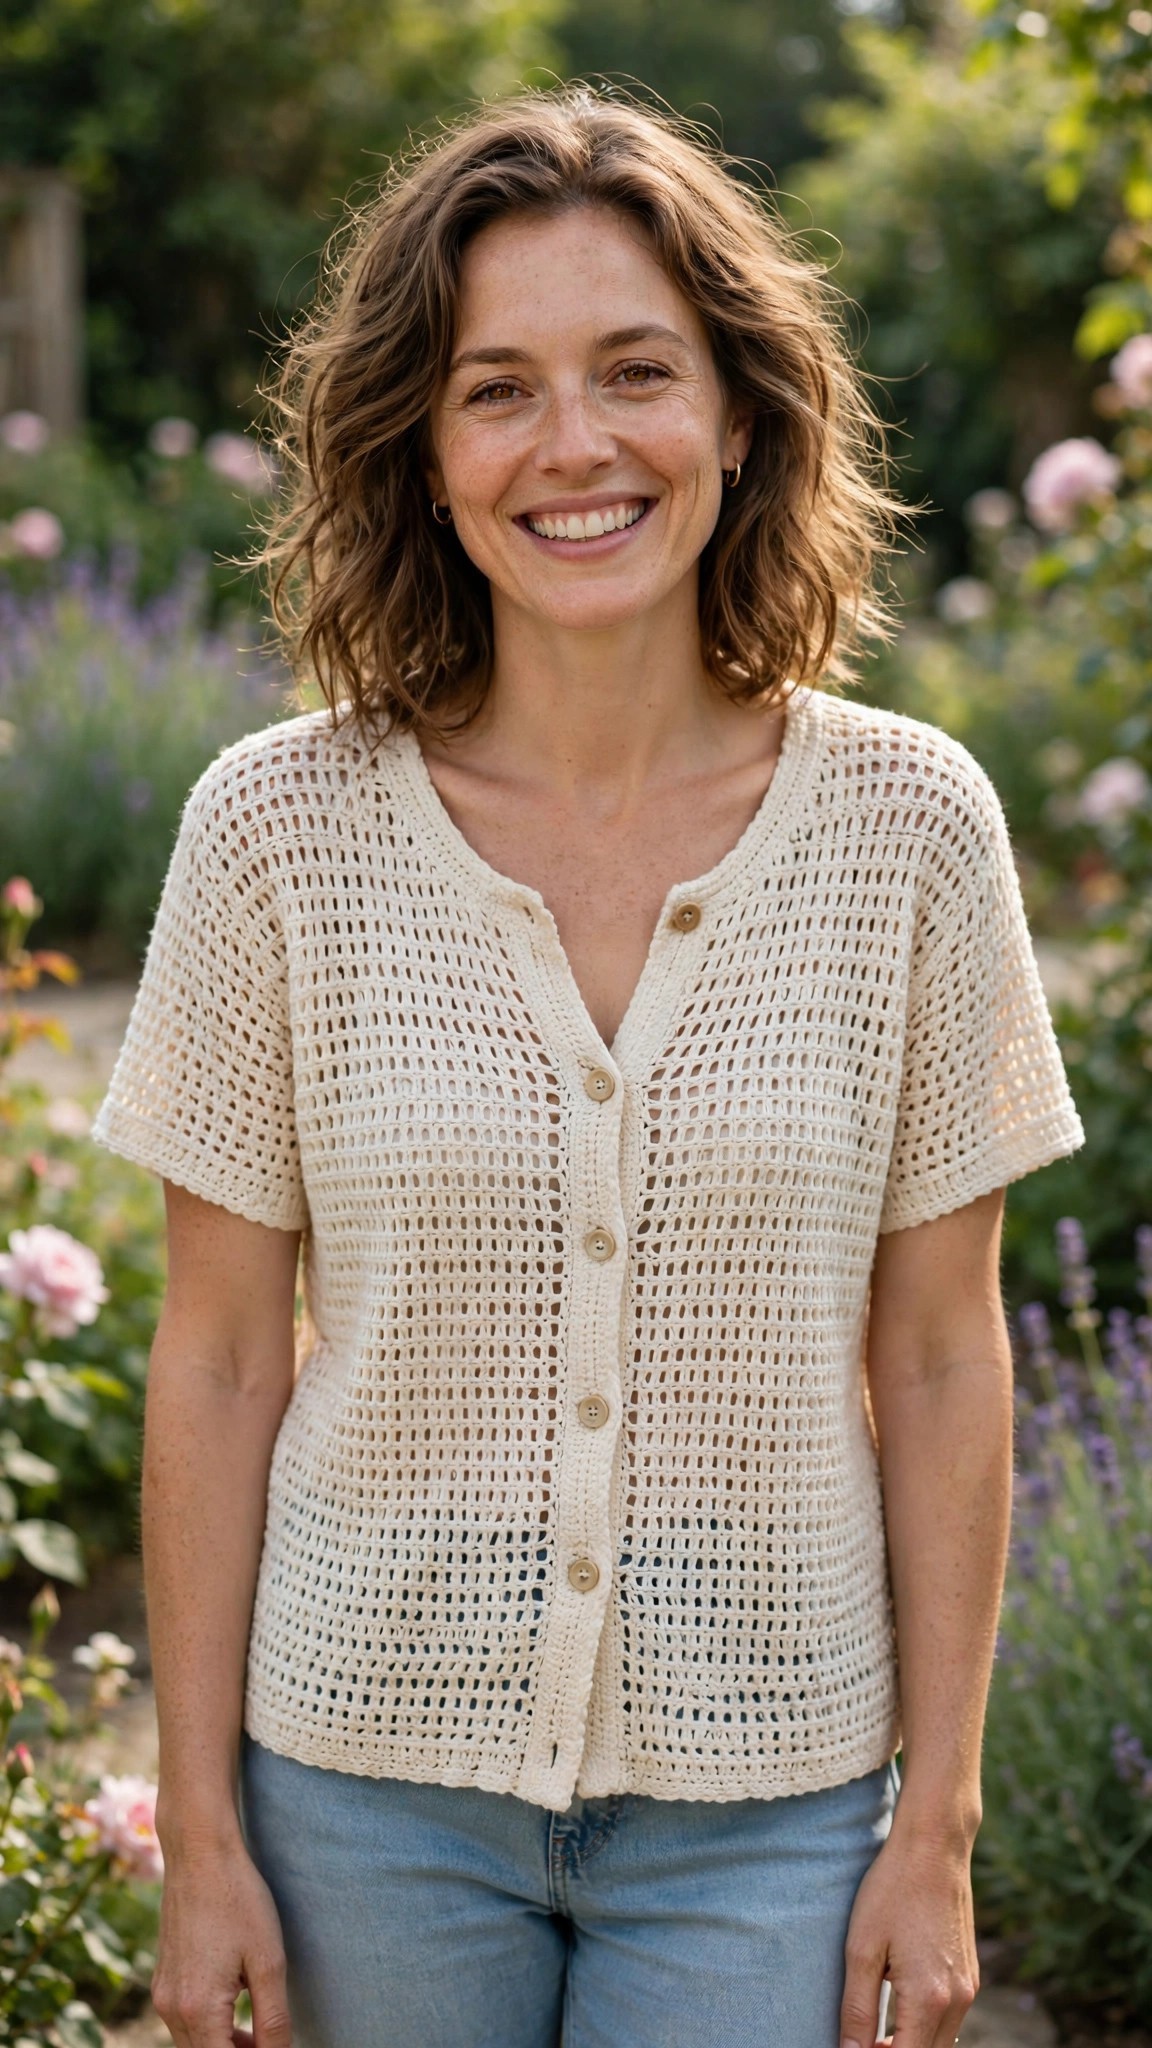
A crochet shirt is the handmade answer to a classic wardrobe staple, and this free crochet shirt pattern makes one you will actually reach for. A relaxed fit, short sleeves, a neat button front, and soft cotton that breathes on warm days, with stitch counts for sizes XS to 3XL.
This is an original Little Loop Finds design, written in US terms and completely free. The shirt is worked flat in simple double crochet rows, with a light open stitch near the hem, and the pieces are seamed together at the end. If you can chain, double crochet, and work a simple decrease, you can crochet this shirt. It is a classic hip length shirt with a collar, not a crop top or a tank.
A quick note on scope: this post is about one specific shirt, a relaxed short-sleeve button-front crochet shirt in cotton yarn. It is not a crop top, a tank top, or a sweater. If you want a lighter warm weather top, try our crochet tank top pattern or our crochet crop top pattern.
Key Takeaways
- Free original pattern: a Little Loop Finds original, written in US terms, and completely free.
- A classic button-front shirt: relaxed fit, short sleeves, a button placket, and a collar, in XS to 3XL.
- Beginner friendly garment: simple double crochet rows worked flat, with a stitch count table.
- A weekend project: about 12 to 15 hours, and about 900 to 1,500 yards of cotton yarn.
- Made to wear: soft cotton, a hip length hem, and wooden buttons to suit jeans, skirts, and shorts.
Table of Contents
- Why You Will Love This Crochet Shirt
- Finished Size, Skill Level, and Time
- Materials You Need
- Abbreviations (US Terms)
- Gauge and Sizing Notes
- Part 1: The Back Panel
- Part 2: Front Panels and Button Placket
- Part 3: Sleeves, Collar, and Finishing
- Variations: Colors, Lengths, and Sleeves
- Troubleshooting Shirts That Gap or Grow
- Care Instructions
- Frequently Asked Questions
Why You Will Love This Crochet Shirt
A handmade shirt feels different from a store bought one. The cotton is soft, the fit is yours, and the buttons are the ones you chose. The pieces are simple rectangles, the stitch pattern is one repeat you will memorize quickly, and the button placket is worked as you go, so it is a wonderful first garment project. If you have made a scarf or a blanket, you already have the skills for this shirt.
Finished Size, Skill Level, and Time
- Finished size: bust 32 to 56 inches, in sizes XS to 3XL. Body length is about 24 inches from shoulder to hem in size M, with 2 inches of positive ease built in.
- Skill level: Easy. You need chains, slip stitches, single crochet, double crochet, and simple decreases, plus basic seaming.
- Time: about 12 to 15 hours per shirt: roughly 4 hours for the back panel, 5 hours for the front panels, 2 hours for the sleeves, and 1 to 2 hours for the collar, band, and seaming.
Materials You Need
| Item | What to get |
|---|---|
| Yarn | Worsted weight (size 4) cotton yarn, about 900 yards for XS, 1,000 for S, 1,100 for M, 1,200 for L, 1,300 for XL, 1,400 for 2XL, 1,500 for 3XL |
| Hook | US H-8 (5.0 mm), or the size that gives you the gauge below |
| Buttons | 6 to 7 flat buttons, about 0.75 inch wide, in wood, shell, or coconut |
| Notions | Tapestry needle, scissors, stitch markers, pins, tape measure, sewing needle and thread to match the buttons |
Worsted weight cotton yarn is the best choice for a crochet shirt because it is breathable, it holds its shape, and it feels cool on the skin. A smooth mercerized cotton shows clean stitch definition. Avoid fuzzy or novelty yarns, because they hide the stitch pattern. Choose a solid cream, white, or sage, or try a soft stripe by changing color every 6 rows.
Abbreviations (US Terms)
- ch = chain
- sl st = slip stitch
- sc = single crochet
- hdc = half double crochet
- dc = double crochet
- dc2tog = double crochet 2 stitches together
- sk = skip
- st(s) = stitch(es)
- rep = repeat
- RS = right side
- WS = wrong side
Gauge and Sizing Notes
Gauge matters, because the shirt has to fit. Work a swatch of 15 dc and 10 rows, then measure the middle 4 inches. You should have 12 dc and 6 rows in 4 inches. If your swatch is wider, go down a hook size. If it is narrower, go up a hook size. Wash and dry your swatch as you will wash the shirt.
Pick your size by your bust measurement, with the 2 inches of ease already built in. If you are between sizes, size down for a neater fit or size up for a looser one.
| Size | Bust (in) | Back starting ch | Back dc count | Body rows to underarm |
|---|---|---|---|---|
| XS | 32 | 50 | 48 | 30 |
| S | 36 | 56 | 54 | 31 |
| M | 40 | 62 | 60 | 32 |
| L | 44 | 68 | 66 | 33 |
| XL | 48 | 74 | 72 | 34 |
| 2XL | 52 | 80 | 78 | 35 |
| 3XL | 56 | 86 | 84 | 36 |
The instructions below are written for size M, with the other sizes in brackets where the counts change.
Part 1: The Back Panel
The back panel is a simple rectangle worked bottom up in double crochet, with a light open stitch section near the hem. Work it flat, turning at the end of every row, and keep your turning chains loose. Mark the right side after the first row.
Back Panel
With the cotton yarn, ch 62 (50, 56, 68, 74, 80, 86 for other sizes).
- Row 1 (RS): dc in the 4th ch from the hook, dc in each ch across. (60 dc)
- Rows 2-4: ch 3, turn, dc in each st across. (60 dc)
- Row 5: ch 4, turn, sk the first st, (dc in the next st, ch 1, sk the next st) rep across to the last 2 sts, dc in the last 2 sts. (31 dc, 29 ch-1 spaces)
- Row 6: ch 3, turn, dc in each dc and each ch-1 space across. (60 dc)
Repeat rows 5 and 6 two more times, so you have three open stitch bands near the hem, then continue in plain double crochet.
- Rows 7-12: rep Rows 5 and 6 twice more. (60 dc)
- Rows 13-32: ch 3, turn, dc in each st across. (60 dc)
The back panel should now measure about 14 inches from the hem, and about 20 inches wide in size M. Check your width against the bust table before you shape the armholes.
Armhole Shaping
- Rows 33-35: decrease 1 st at each end on Rows 33 and 35, working Row 34 even. (56 dc)
- Rows 36-44: ch 3, turn, dc in each st across. (56 dc)
The panel should now measure about 22 inches from the hem. Work the shoulder shaping next, or set the panel aside and make the front panels first.
- Row 45: ch 3, turn, dc in the next 15 sts, turn, leaving the rest unworked. (16 dc)
- Row 46: ch 3, turn, dc in each st across. Fasten off. (16 dc)
- Rejoin the yarn to the last 16 sts of Row 44 on the other side, right side facing. Ch 3, dc in each st across, then work one more row even. Fasten off. (16 dc)
Your finished back panel should have a straight neck opening between the two shoulders, about 8 inches wide in size M. Block it lightly so the edges are straight before seaming.
Part 2: Front Panels and Button Placket
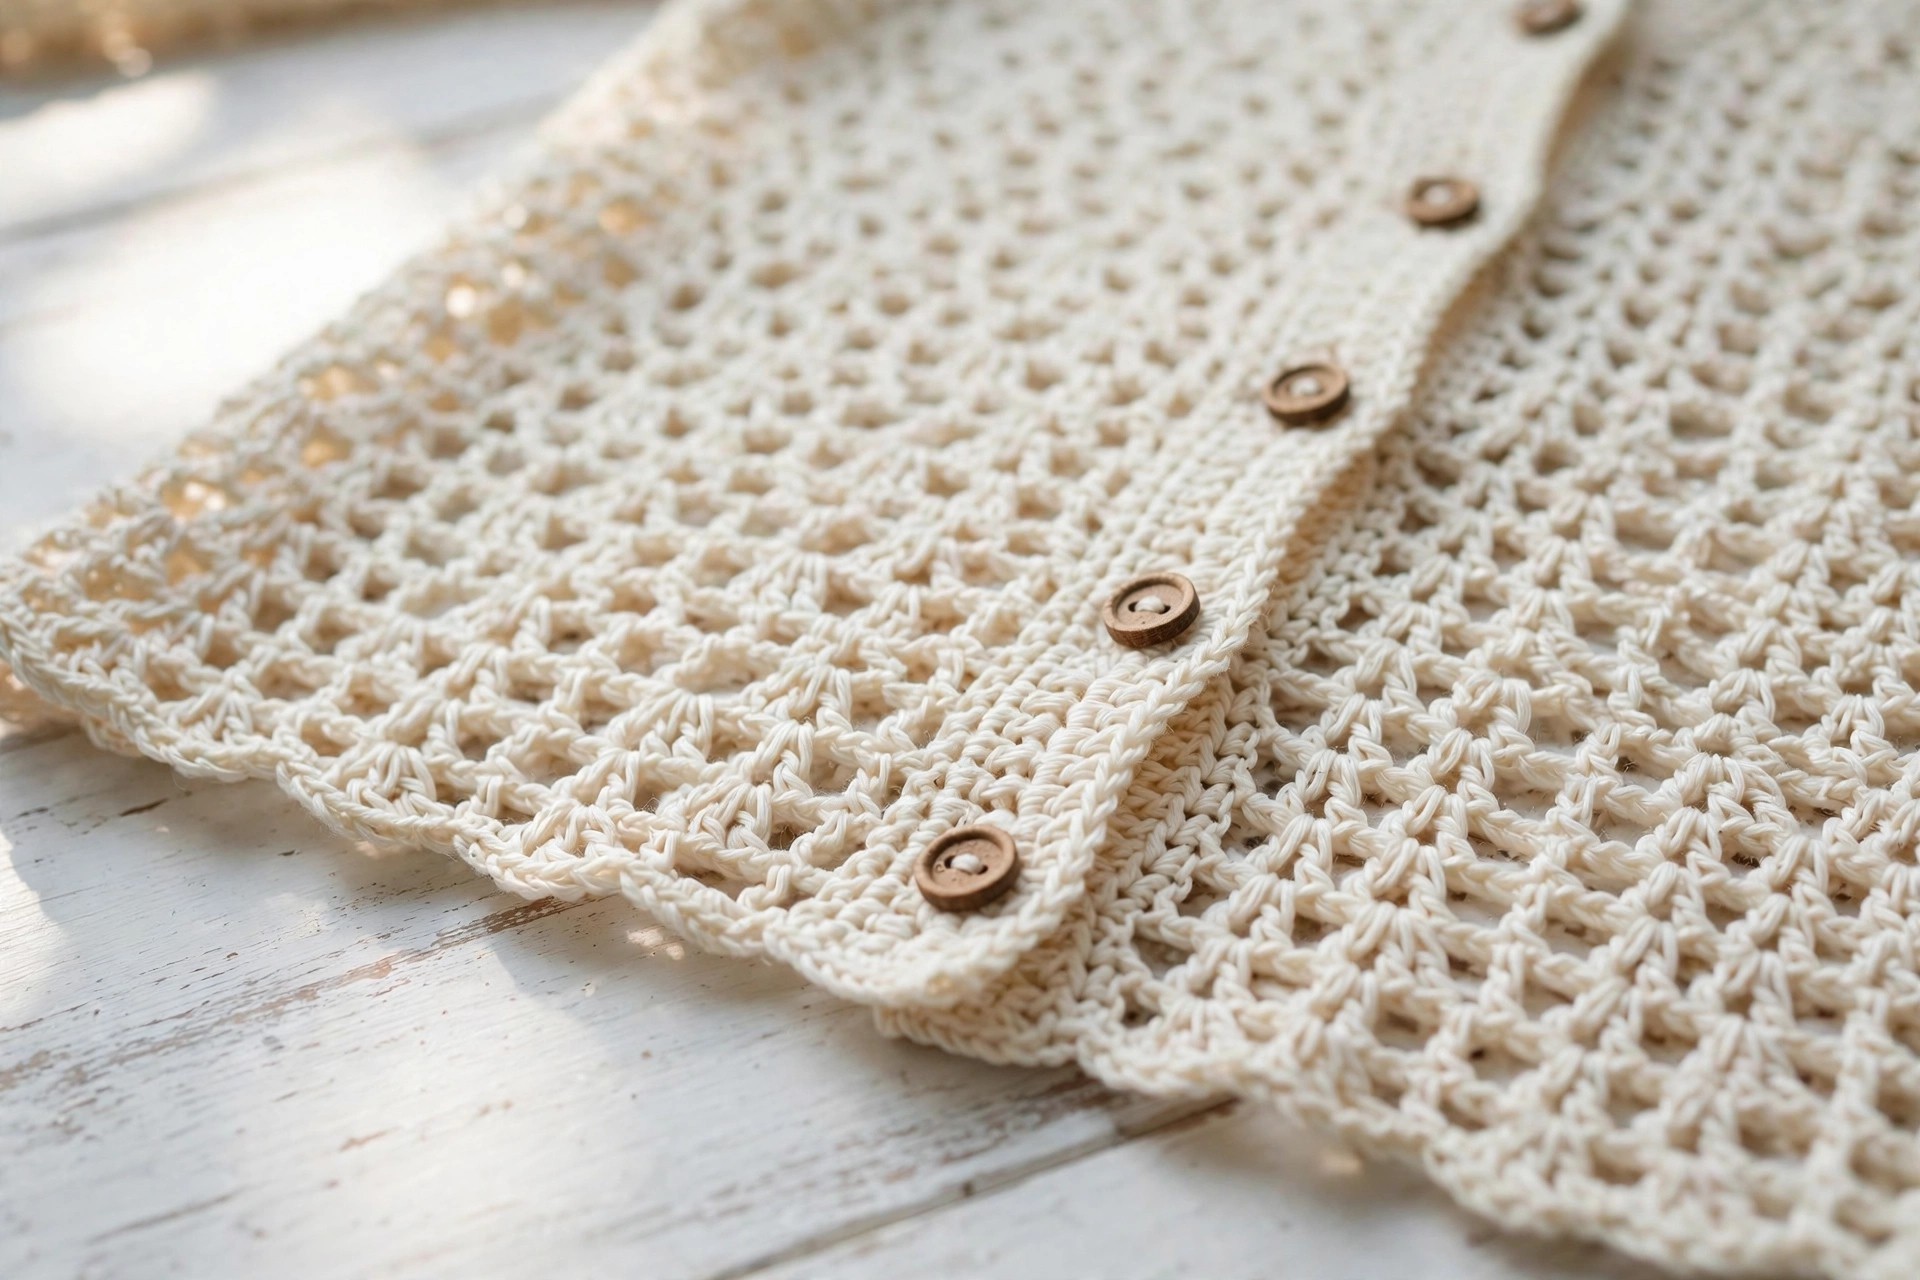
The front of the shirt is two panels, each half the width of the back plus a button band. The right front carries the buttonholes, and the left front carries the buttons. Work the band as part of each panel, so there is no separate band to sew on later. The band is 4 single crochet stitches at the inner edge of each panel.
Right Front Panel (Buttonhole Side)
With the cotton yarn, ch 34 (28, 31, 37, 40, 43, 46 for other sizes).
- Row 1 (RS): dc in the 4th ch from the hook, dc in each ch across. (32 dc)
- Rows 2-4: ch 3, turn, dc in each st across. (32 dc)
- Row 5: ch 4, turn, sk the first st, (dc in the next st, ch 1, sk the next st) rep across to the last 2 sts, dc in the last 2 sts.
- Row 6: ch 3, turn, dc in each dc and each ch-1 space across. (32 dc)
- Rows 7-12: rep Rows 5 and 6 twice more, to match the back panel bands.
- Rows 13-32: ch 3, turn, dc in each st across. (32 dc)
The panel should now match the back panel in length and in the position of the open stitch bands. Hold the two panels together and check that the bands line up.
Button Band and Buttonholes
From Row 33 onward, work the first 4 stitches of every right side row in single crochet for the button band. The band sits at the start of the row on right side rows and at the end on wrong side rows, always on the center front edge.
- Rows 33-35: work the 4 band sts in sc and the rest in dc, decreasing 1 st at the armhole edge on each RS row. (30 sts)
- Rows 36-44: continue in pattern, working the 4 band stitches in sc and the rest in dc. (30 sts)
Make the buttonholes on the next right side row, spaced evenly down the band. Each buttonhole is made by chaining 2 and skipping 2 band stitches.
- Row 45 (RS, buttonhole row): ch 1, turn, sc in the first st, ch 2, sk 2 sts, sc in the last st, dc in each st across. (30 sts)
- Row 46 (WS): ch 3, turn, dc in each st across to the last 4 sts, sc in the first st of the band, 2 sc in the ch-2 space, sc in the last st. (30 sts)
Repeat the buttonhole rows every 8 rows, for 6 buttonholes in total, with the lowest about 4 inches above the hem and the top one just below the collar. Fasten off when the panel matches the back panel length, and leave a long tail for seaming the shoulder.
Left Front Panel (Button Side)
Work the left front panel exactly like the right front, but mirrored: the button band sits on the opposite edge, and you skip the buttonholes entirely. Work the 4 band stitches in single crochet on every row, with no chain spaces. When the panel matches the right front in length, fasten off and leave a long tail for seaming. Check that the bands overlap neatly at the center front.
Part 3: Sleeves, Collar, and Finishing
The sleeves are short and slightly tapered, worked flat and seamed, then set into the armholes. The collar is a band of single crochet rows worked around the neckline and folded over once.
Sleeves (make 2)
With the cotton yarn, ch 44 (38, 41, 47, 50, 53, 56 for other sizes).
- Row 1 (RS): dc in the 4th ch from the hook, dc in each ch across. (42 dc)
- Rows 2-10: ch 3, turn, dc in each st across. (42 dc)
- Row 11: ch 3, turn, dc2tog, dc in each st across to the last 2 sts, dc2tog. (40 dc)
- Rows 12-14: ch 3, turn, dc in each st across. (40 dc)
- Row 15: ch 1, turn, sc in each st across. (40 sc)
- Fasten off, leaving a long tail for seaming.
Each sleeve should be about 8 inches long and 14 inches wide at the top edge in size M. Fold each sleeve in half and sew the underarm seam with a whip stitch, then set the sleeve into the armhole, matching the sleeve seam to the side seam and the center of the sleeve top to the shoulder seam. Pin all the way around before you sew, and ease the sleeve cap gently into the armhole. Our crochet vest pattern is a good sleeveless layer to wear over this shirt, and our simple crochet sweater pattern uses the same seaming method.
Collar
With the right side facing, join the yarn at the right front neck edge.
- Row 1: ch 1, sc evenly around the neckline, 1 sc in each back neck st and 2 sc in each front row end. (About 60 sc in size M.)
- Rows 2-5: ch 1, turn, sc in each st across.
- Row 6: ch 1, turn, sc in each st across, working loosely so the collar folds neatly.
- Fasten off and weave in the end. Fold the collar over to the outside.
The collar should stand up about 1.5 inches when folded. If your collar flares, go down a hook size for the collar rows. If it pulls in, work the last row with a larger hook.
Seaming and Buttons
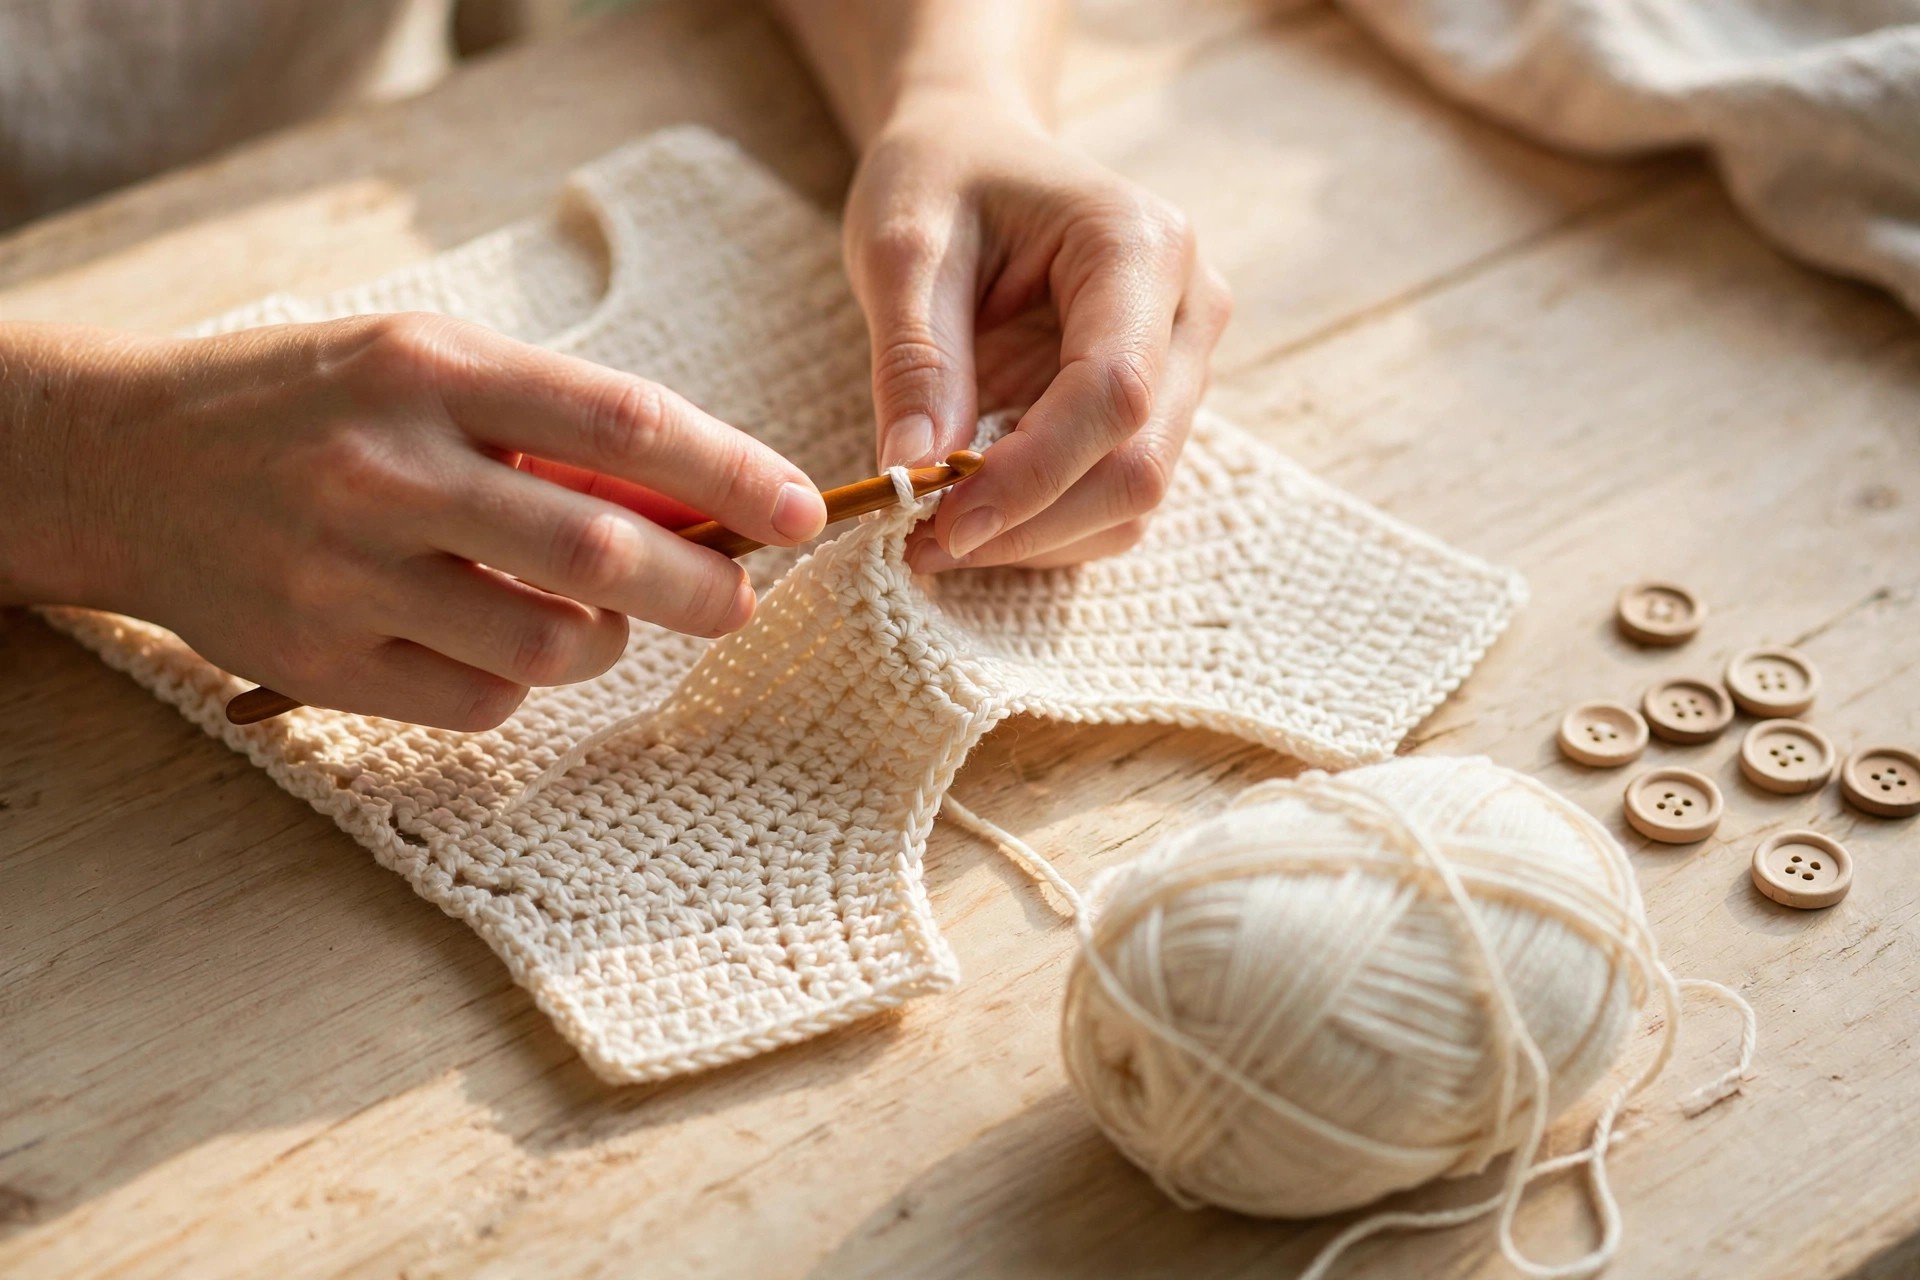
Sew the shoulder seams first, then the side seams from the hem to the underarm, using a whip stitch and matching the open stitch bands across the seams. Sew the sleeve seams, set in the sleeves, and tack the collar down at the front edges so it stays folded. Sew the buttons onto the left front band, lining each one up with a buttonhole. Our bolero jacket crochet pattern is another layering piece that pairs well with a button-front shirt.
Variations: Colors, Lengths, and Sleeves
- Classic white shirt: work the whole shirt in white cotton with shell buttons for a crisp shirt that goes with everything. Our crochet top pattern makes a lighter companion in the same yarn.
- Sage or denim blue: make the shirt in soft sage green or dusty blue for a relaxed everyday color. Change only the yarn color.
- Striped shirt: change color every 6 rows for even stripes, carrying the unused yarn up the side seam. Keep the band and collar in the main color.
- Longer tunic length: add 8 rows to the body of all three panels before the armhole shaping, for a shirt that covers the hip. Add one extra button and buttonhole.
Troubleshooting Shirts That Gap or Grow
- My button band gaps between buttons. The buttons are spaced too far apart, or the band is too loose. Add one more button and buttonhole, and work the band tighter.
- My shirt grew after washing. Cotton relaxes and lengthens when wet. Block the shirt to size and dry it flat. If it is still too long, work the next shirt 2 rows shorter.
- My armholes pucker where the sleeve is set in. The sleeve cap was not eased evenly. Unpick the seam, pin the sleeve in again with pins every inch, and sew slowly, easing the fullness in.
- My open stitch bands do not line up across the seams. The panels were worked to different row counts. Count the rows from the hem to the first band on each panel and match them.
Care Instructions
Hand wash a crochet cotton shirt gently in cool water with a tiny amount of mild soap, squeeze gently without wringing, and lay it flat to dry so the shirt keeps its shape and length. If the yarn label says machine washable, use a gentle cycle in a mesh laundry bag. Do not put a cotton crochet shirt in the dryer on high heat, because cotton can shrink. Button the shirt before washing so the bands keep their shape, and dry it out of direct sunlight.
Frequently Asked Questions
Is this crochet shirt pattern good for beginners?
Yes, it is a good first garment project. You need chains, double crochet, and simple decreases, and every row ends with a stitch count. The pieces are flat rectangles.
How much yarn do I need for a crochet shirt?
About 900 yards for size XS, 1,100 yards for size M, and 1,500 yards for size 3XL, in worsted weight cotton yarn. Buy one extra skein, so your dye lot matches.
What size should I make?
Pick your size by your bust measurement using the table in the sizing notes, with the 2 inches of positive ease already built in. If you are between sizes, size down for a neater fit or size up for a looser fit. Check your gauge first.
How do I make the buttonholes?
Each buttonhole is made by chaining 2 and skipping 2 stitches in the band, then working 2 single crochet stitches into the chain space on the next row. Space them evenly, about 3 inches apart, with the lowest about 4 inches above the hem.
Can I sell shirts made from this pattern?
Yes, you may sell finished shirts made from this free pattern, with credit to Little Loop Finds. Please do not sell or republish the pattern text itself.
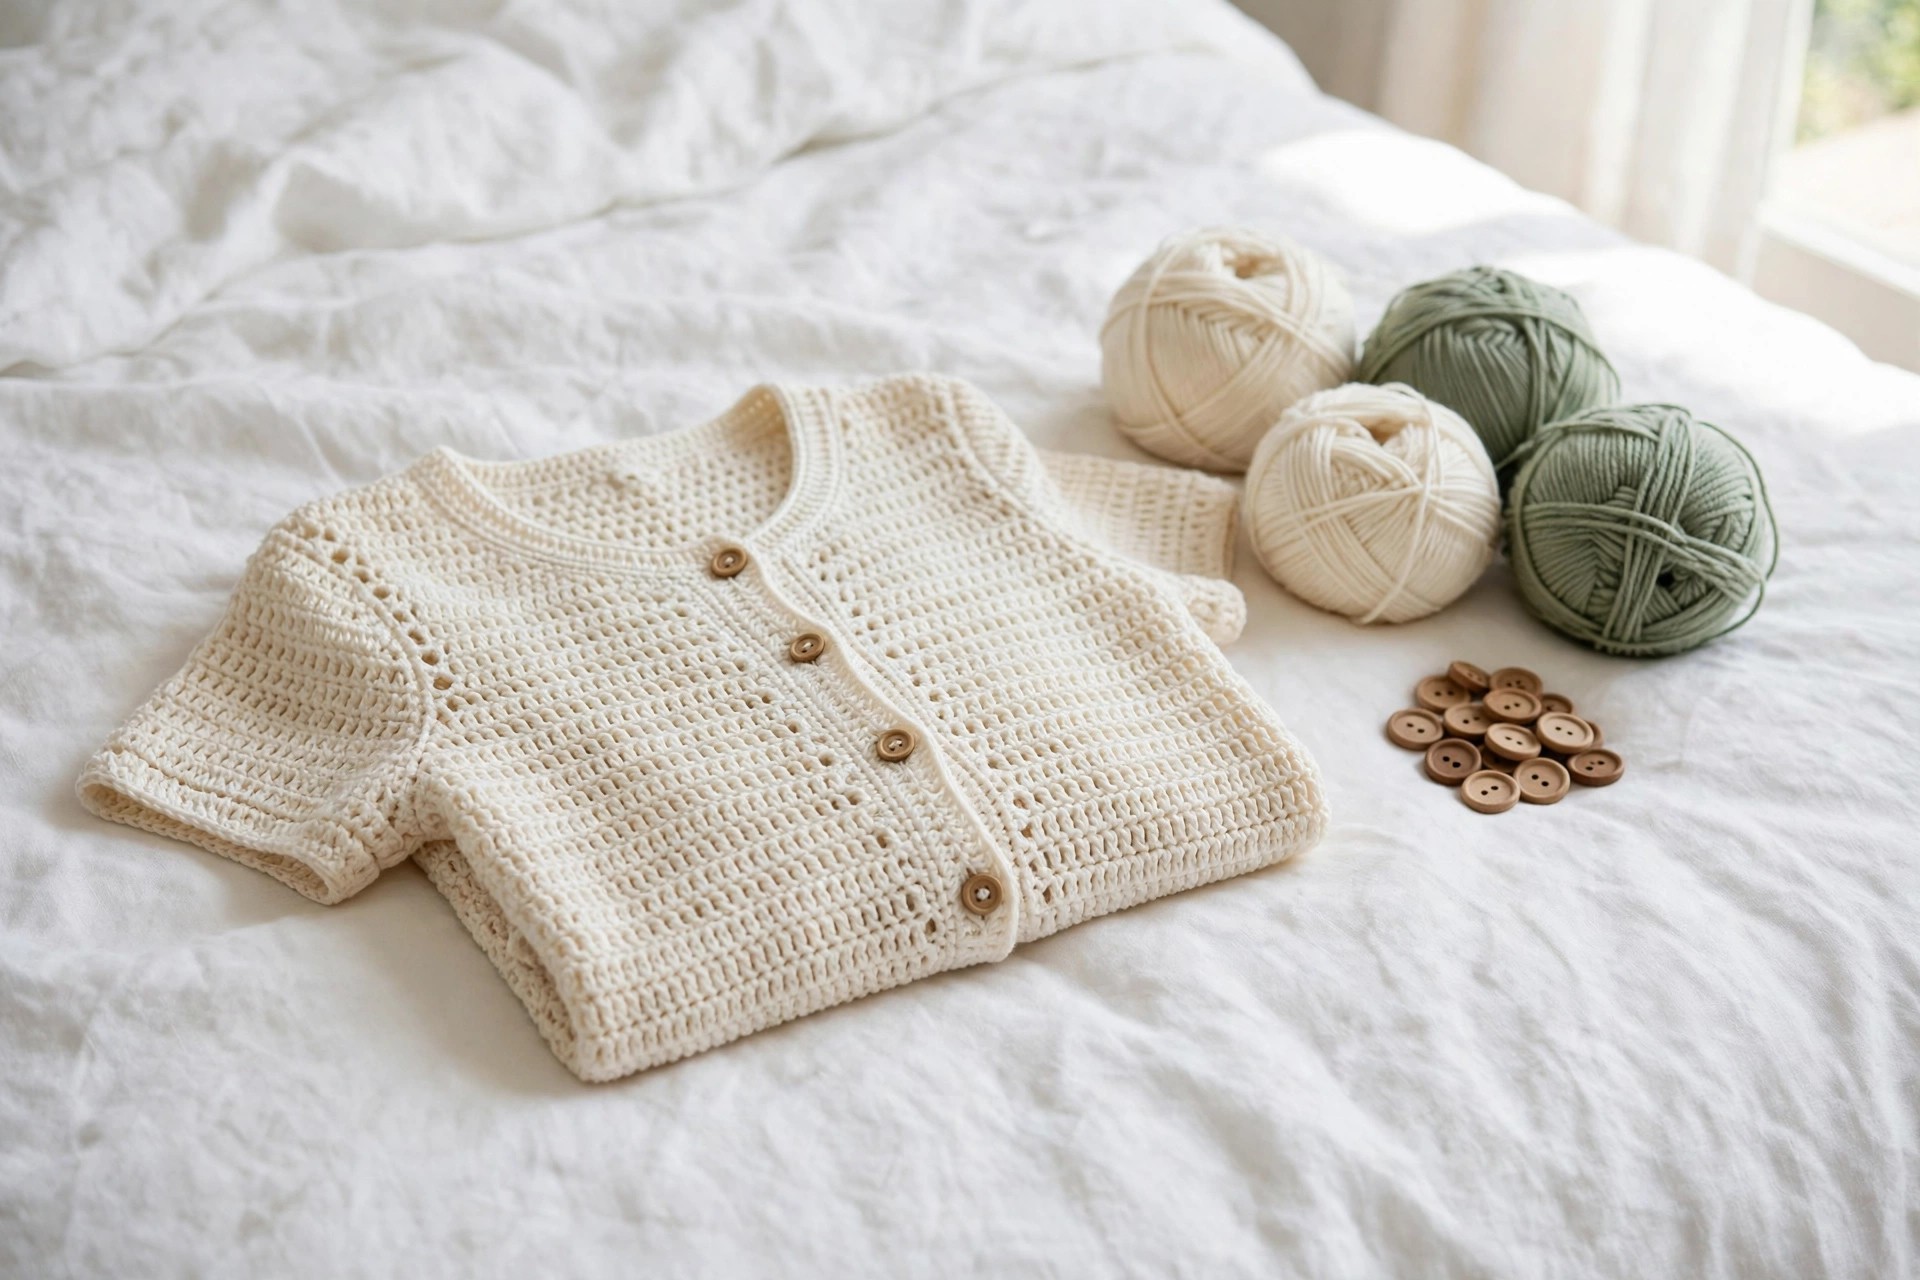
Happy stitching, and may your new crochet shirt become the handmade favorite in your wardrobe.