Crochet Vine Pattern Free: Easy Leaf Garland
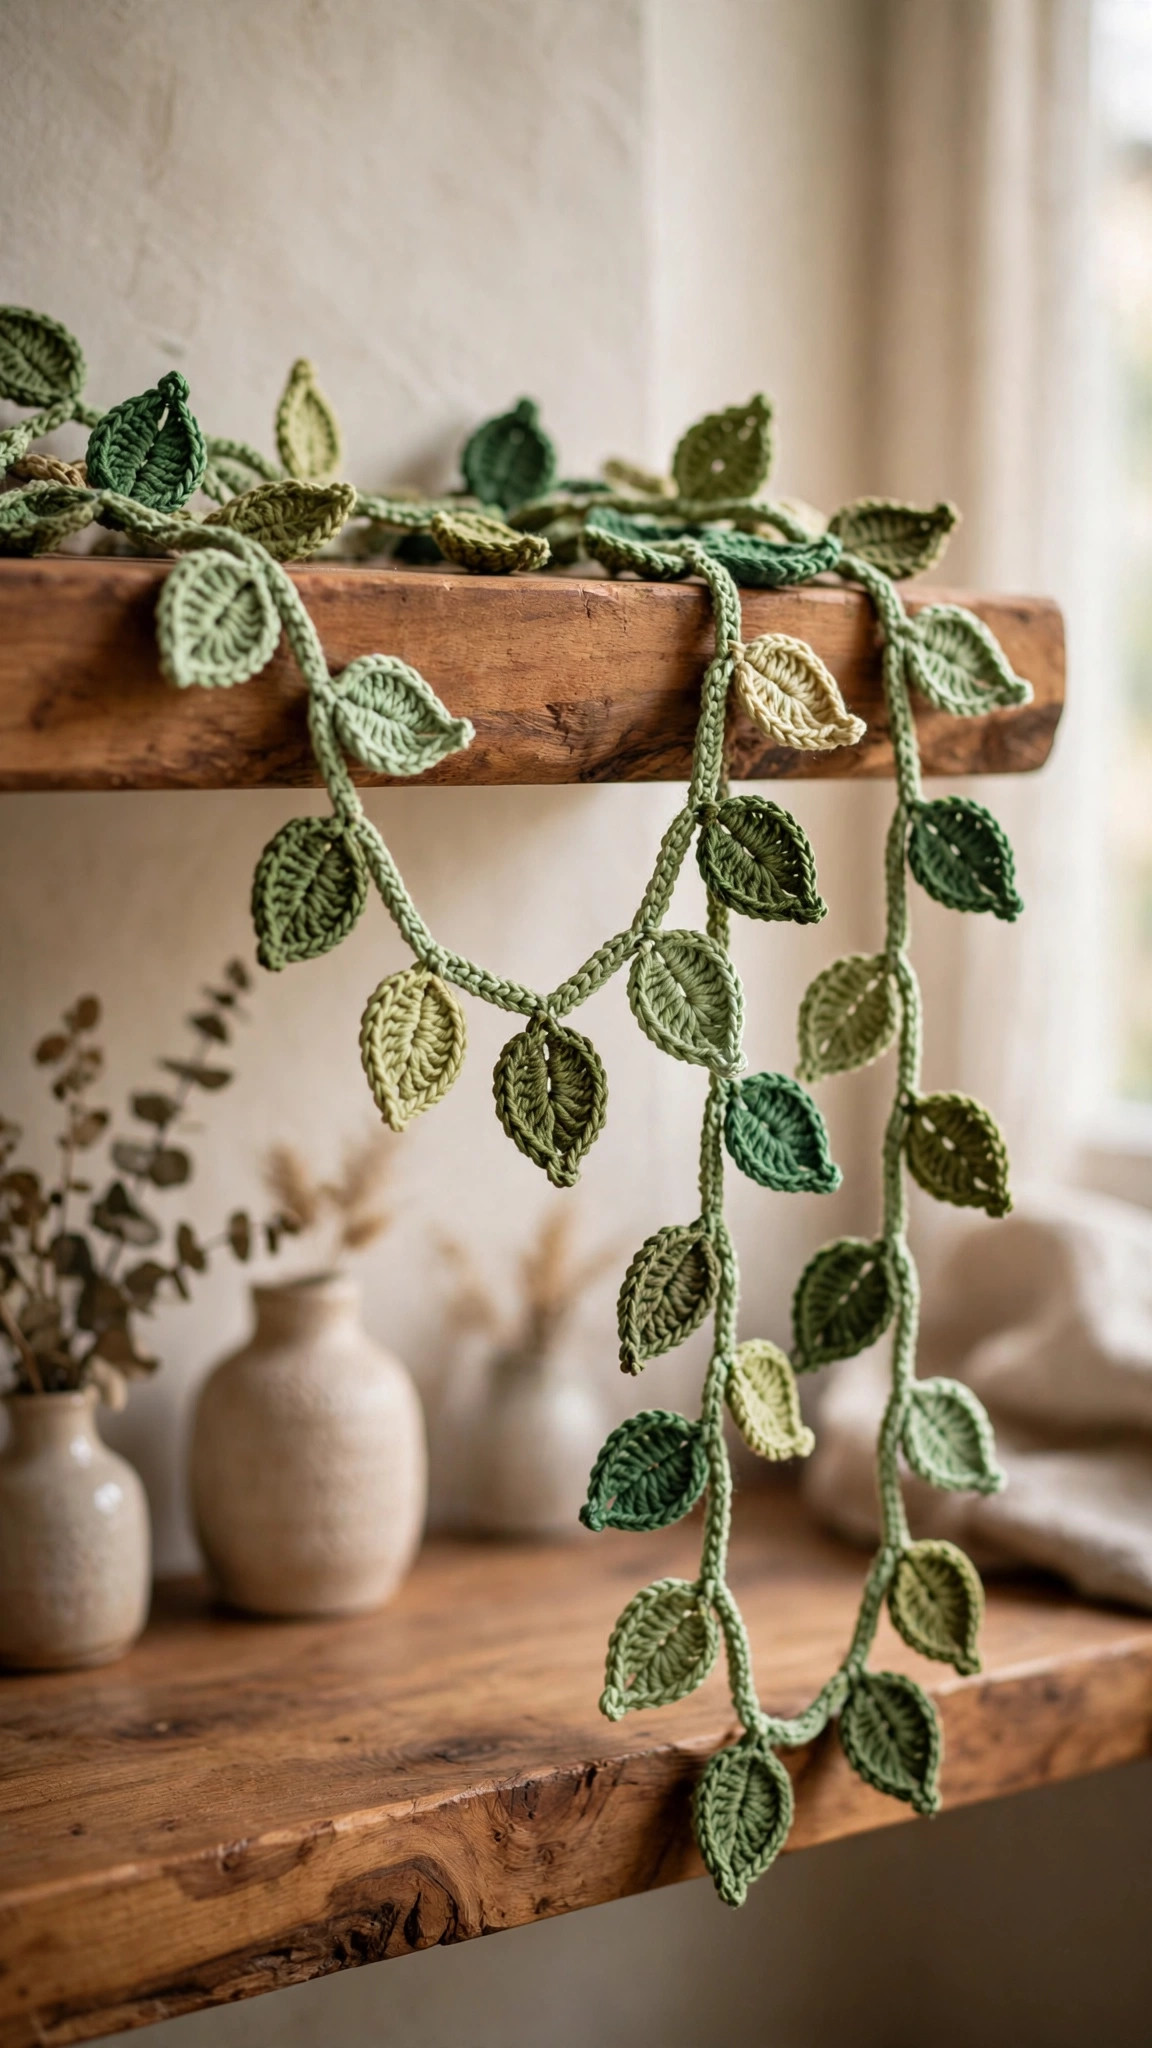
A leafy vine garland with two leaf sizes worked directly into the vine: no sewing, beginner friendly, three lengths.

Home Decor · Crochet
- Finished size
- 60 in garland (mantel)
- Making time
- About 2 to 3 hours
- Hook
- 4.0 mm, worsted yarn
- Leaves
- 2 sizes, worked in
- Skill
- Beginner
In this post
If you have been searching for a crochet vine pattern that is free, fast, and genuinely pretty on a shelf, this leafy garland is the one to make. It is a long crocheted vine with two sizes of leaves worked right into it: no sewing, no joining dozens of tiny pieces, just one relaxing project that grows in your hands row by row. Drape it over a mantel, trail it down a bookshelf, frame a mirror, or hang it at a wedding. One pattern, endless styling.
The medium mantel length takes about two to three hours with worsted yarn and a 4.0 mm hook, and the pattern includes three lengths so you can make a short shelf vine in a single evening or a long wedding backdrop vine over a weekend. Everything is written in US terms, and the only stitches you need are chain, slip stitch, single crochet, half-double crochet, and double crochet. If you can chain, you can make this vine.
- Why you will love this crochet vine pattern
- Materials you will need
- Size, gauge and skill level
- Abbreviations: US terms
- The pattern (US terms)
- Hanging and styling your vine
- Three ways to use your vine garland
- Troubleshooting tips
- Frequently asked questions
- More free patterns to try
Why you will love this crochet vine pattern
Most crochet vine patterns ask you to make fifty separate leaves and then sew every one of them onto a cord, which turns a pretty project into a weekend of weaving ends. This pattern skips all of that. You crochet one long vine, then work the leaves directly into the vine as you go: each leaf starts and ends in the same stitch of the vine, so there is nothing to sew and nothing to join. The vine grows, the leaves appear, and you are done.
The construction is simple and forgiving. The vine itself is just a long chain with a row of slip stitches worked back along it, which gives it enough body to drape nicely without stretching out of shape. The leaves use only single crochet, half-double crochet, and double crochet, arranged from short to tall so each leaf has a natural pointed shape. Because you alternate a small leaf and a large leaf every few inches, the garland gets that lush, full look of a real trailing plant without any shaping tricks.
It is also the perfect stash project. One skein of green worsted yarn makes the full mantel length with yarn to spare, and variegated greens look wonderful: the colour changes mimic real leaves catching the light. If you like quick home decor makes, our free crochet garland pattern is the natural next project, and the crochet hanging plants pattern pairs beautifully with this vine on the same shelf.
Materials you will need
| Supply | What to get |
|---|---|
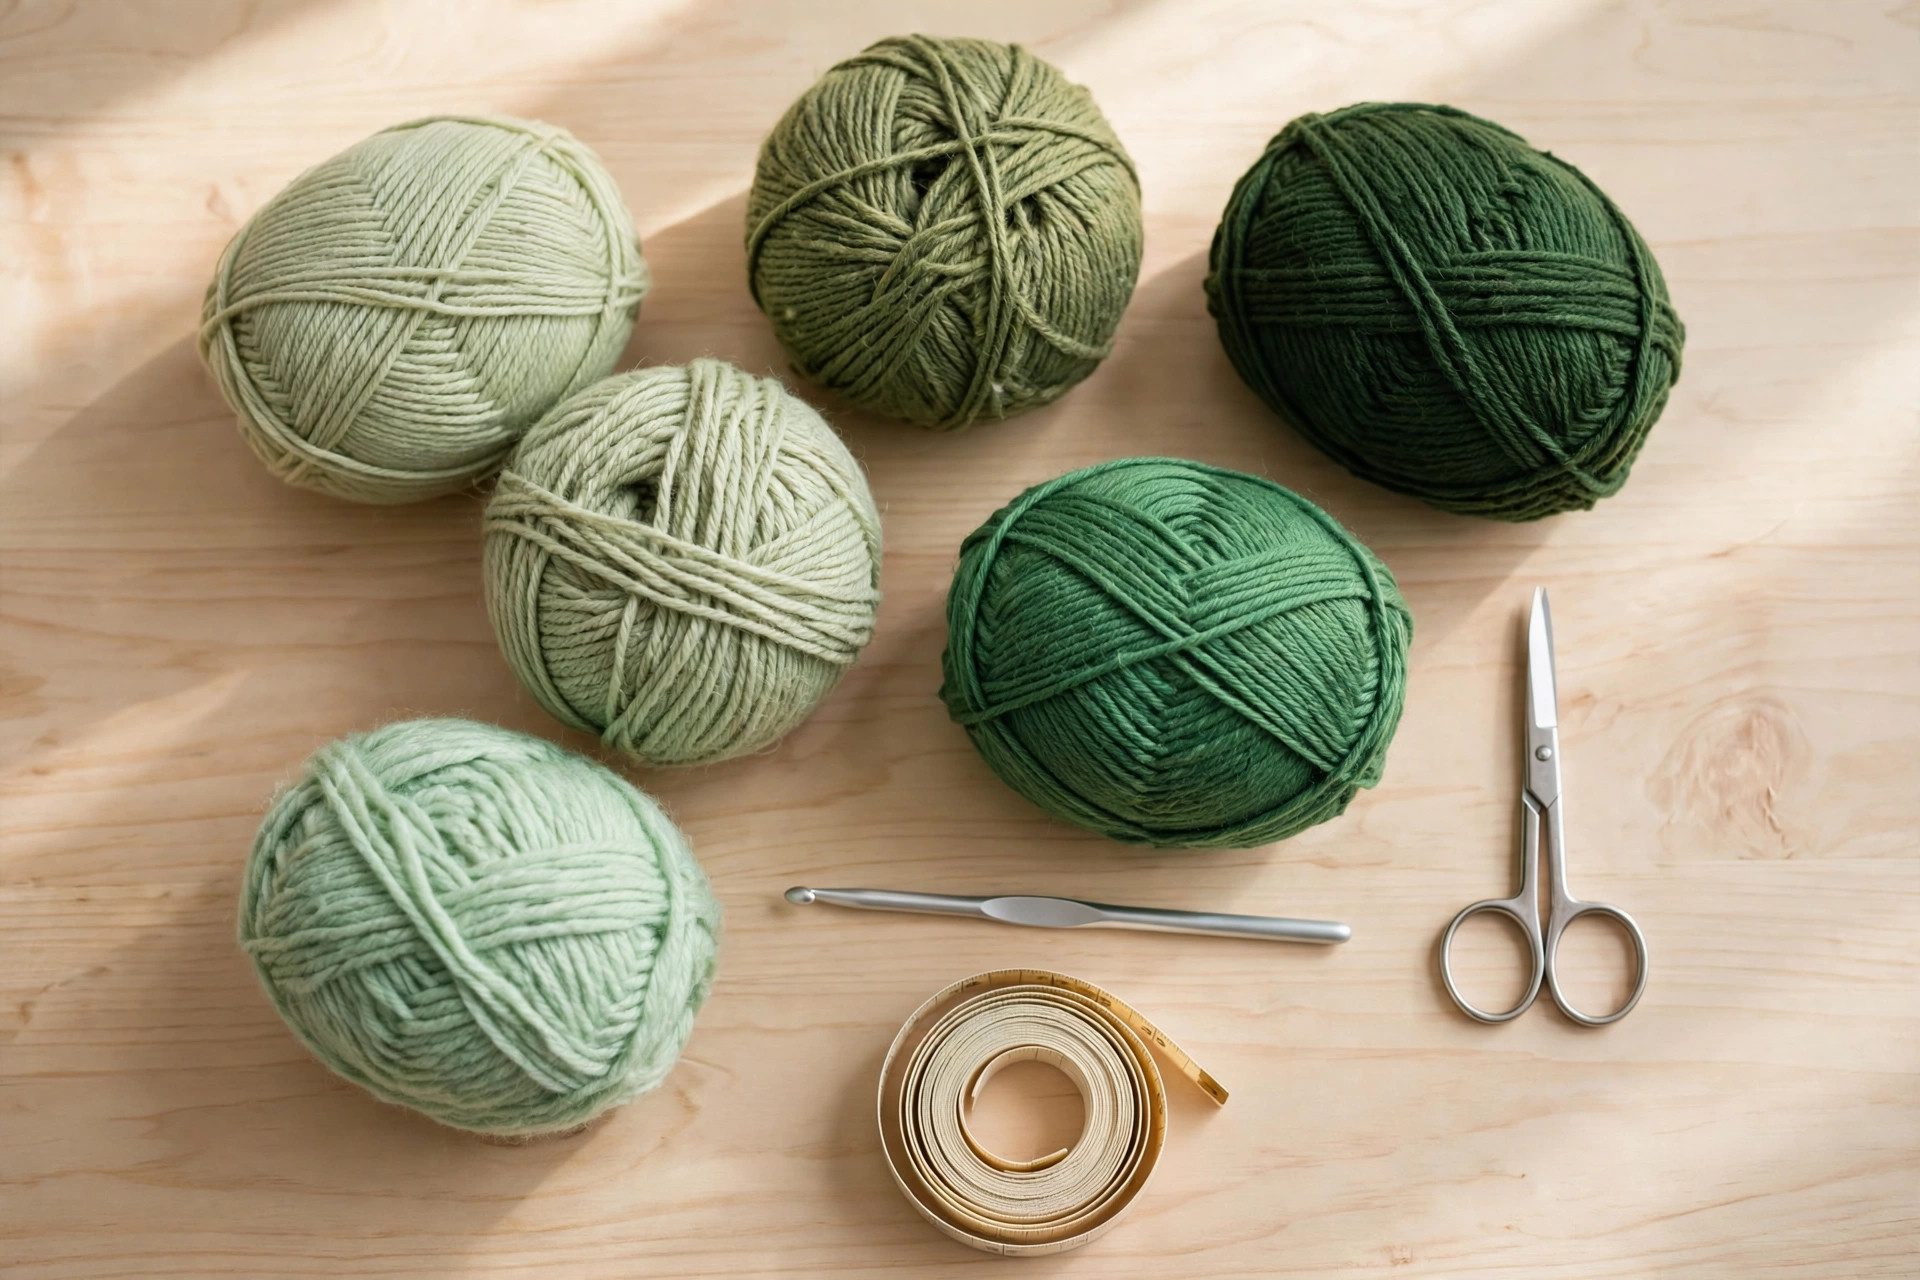
| Yarn | Worsted-weight (#4) yarn in green, about 80 yds / 73 m for the mantel length |
| Crochet hook | 4.0 mm (G) |
| Tapestry needle | For weaving in the two ends |
| Notions | Scissors, stitch markers to mark leaf positions (optional) |
| Optional | A second shade of green for a two-tone vine |
A smooth worsted-weight acrylic yarn is the best pick here: it holds the leaf shape well, drapes nicely, and comes in beautiful leafy greens. Variegated green yarns do half the styling work for you, since the colour shifts make the leaves look like a real plant. Wool blends work too and give a lovely soft drape, but they need hand washing if the garland gets dusty. Avoid very dark greens for your first vine: it is harder to see your stitches in dark yarn.
Yarn amounts by length (approximate): Shelf (36 in): 45 yds. Mantel (60 in): 80 yds. Wedding backdrop (100 in): 130 yds. One 100 g ball of worsted yarn (about 200 yds) makes the mantel length with plenty to spare, or two shelf vines.
A note on the hook: a 4.0 mm hook with worsted yarn gives a firm vine that holds its shape when draped. If your chains feel loose and the vine stretches when you hang it, go down to a 3.75 mm hook. If the vine feels stiff and will not drape in soft curves, go up to a 4.5 mm hook.
Size, gauge and skill level
The vine is made to measure: you simply chain to the length you want, then work the leaves along it. The table below gives three ready-made lengths.
| Length | Starting chains | Finished length | Leaves (approx) | Making time |
|---|---|---|---|---|
| Shelf | 150 | 36 in / 90 cm | 18 | About 1.5 hours |
| Mantel | 250 | 60 in / 150 cm | 30 | About 2 to 3 hours |
| Wedding backdrop | 400 | 100 in / 250 cm | 48 | About 4 to 5 hours |
- Finished size (mantel): about 60 in (150 cm) long, with small leaves about 1.5 in long and large leaves about 2 in long. The vine drapes in soft curves and the leaves sit flat against it.
- Gauge: 17 chains = 4 in (10 cm) with a 4.0 mm hook. Gauge is not critical here, since you chain to your finished length, but even chains make even spacing between the leaves.
- Skill level: beginner. You should know how to chain, slip stitch, single crochet, half-double crochet, and double crochet. Everything else is just counting to eight.
If you have never made a garland before, this is the perfect first project: the vine is one long relaxing chain, and each leaf takes about two minutes once you learn the rhythm.
Abbreviations: US terms
| Abbreviation | Meaning |
|---|---|
| ch | chain |
| sl st | slip stitch |
| sc | single crochet |
| hdc | half-double crochet |
| dc | double crochet |
| st(s) | stitch(es) |
| RS | right side |
| FO | fasten off |
| rep | repeat |
| [ ] | total stitch count at the end of the row |
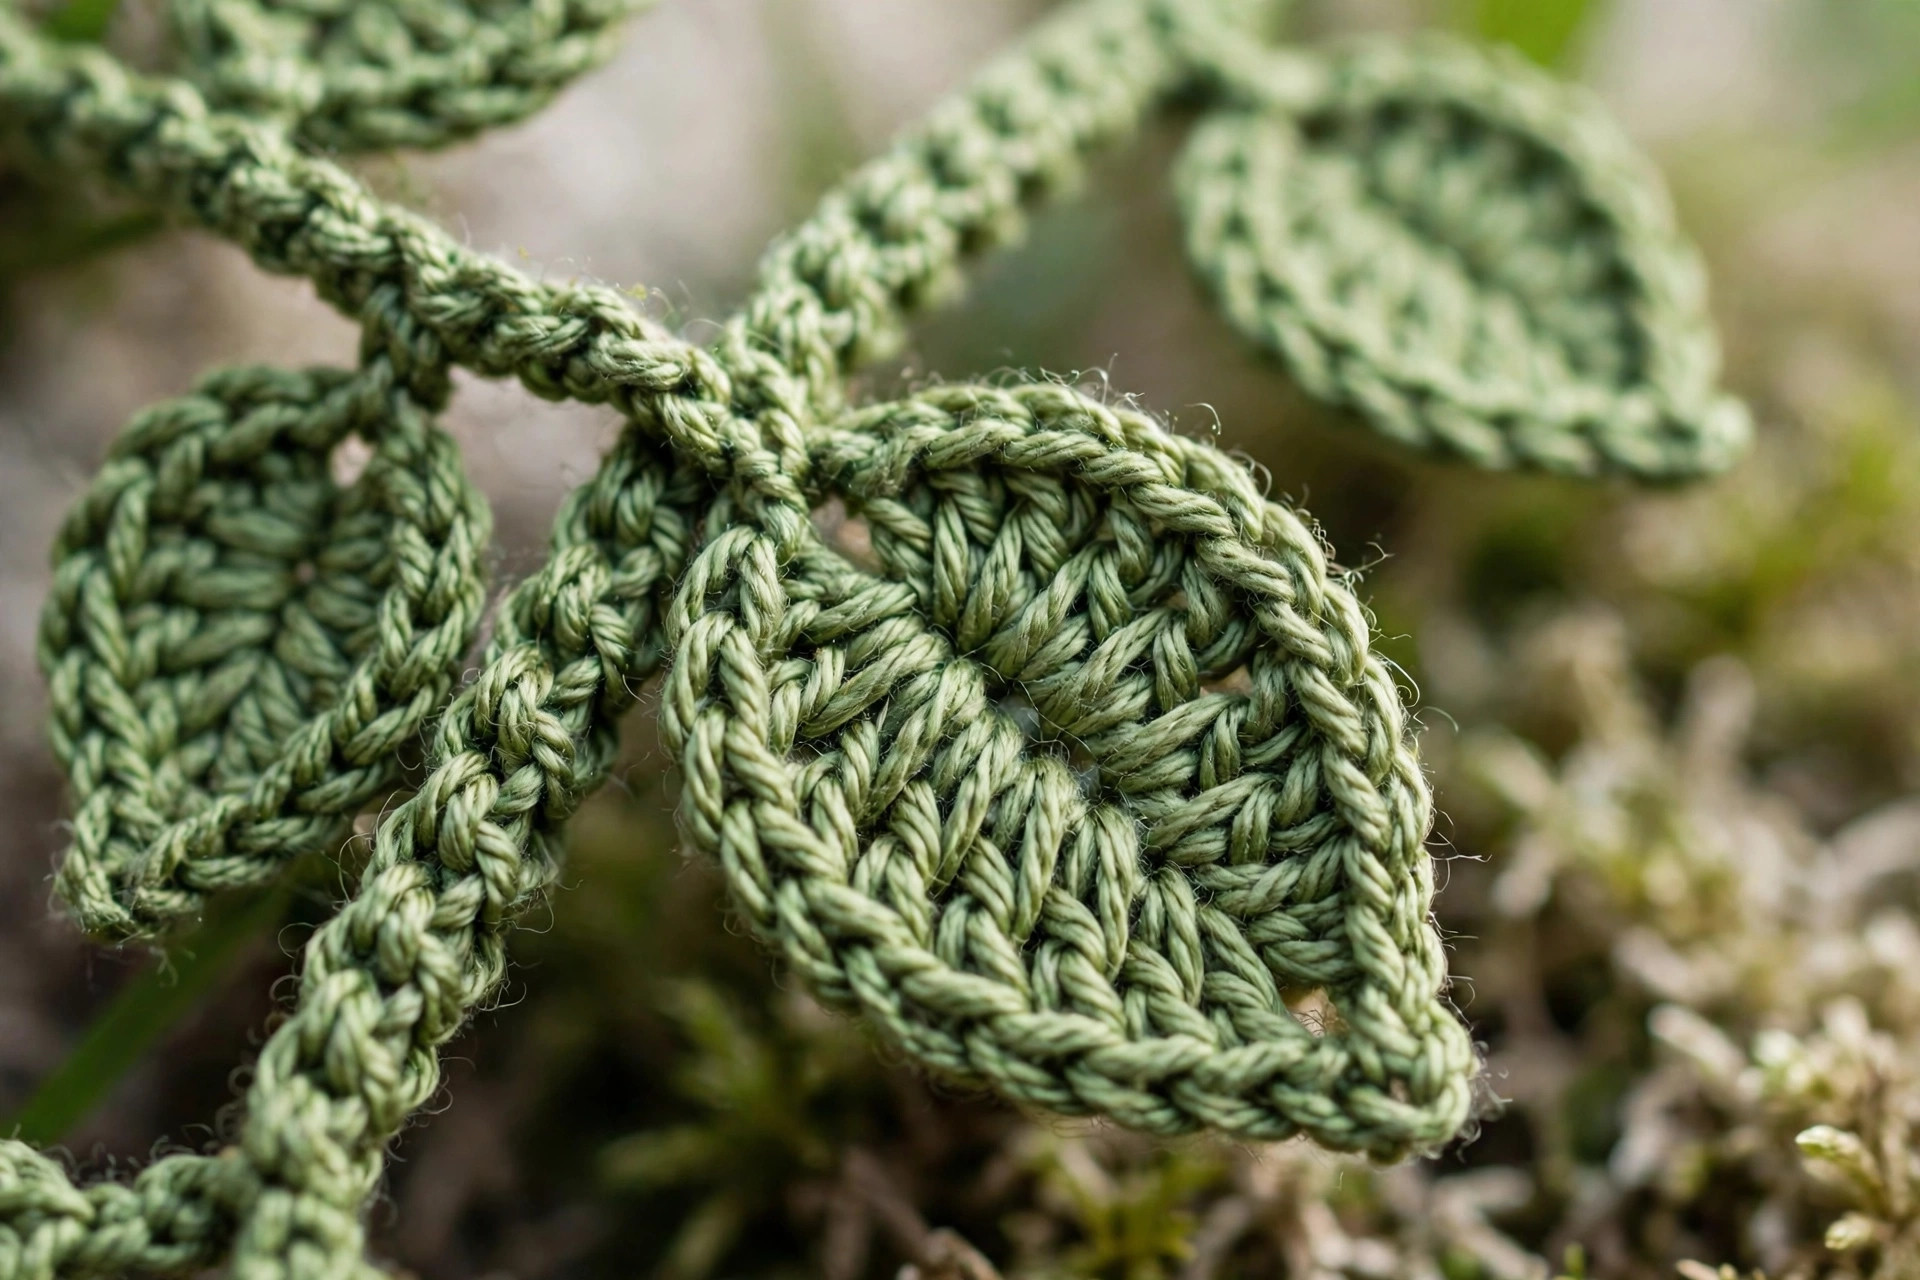
A note on the leaves: each leaf is worked in one go, out from the vine and back again. You chain away from the vine, work stitches back toward it getting taller toward the tip, put 3 double crochet in the last chain to turn the corner, then work back down the other side of the same chain getting shorter again. The leaf is symmetrical, pointed at both ends, and finishes with a slip stitch right back into the vine stitch you started from.
The pattern (US terms)
Work the vine first, then work Row 2 back along it, adding the leaves as you go. Instructions below are for the mantel length; for other lengths, chain the starting number from the size table and follow the same leaf spacing.
The vine base
Chain 250 (150 for shelf, 400 for wedding). Do not twist the chain. This is your vine: it should measure about 60 in (150 cm) laid flat. If it is much longer or shorter, your chains are looser or tighter than the gauge above, which is fine: the leaf spacing counts chains, not inches, so the leaves will still be evenly spaced.
Row 2: the vine body with leaves
Join yarn with a slip stitch in the 2nd chain from the hook. Now work back along the chain, adding leaves at even intervals:
- Sl st in the next 7 chains.
- Work a small leaf in the next chain (see below).
- Sl st in the next 7 chains.
- Work a large leaf in the next chain (see below).
- Repeat from the beginning until 10 or fewer chains remain, then slip stitch in each chain to the end. Do not fasten off.
Alternating the leaf direction: work one leaf pointing toward you and the next pointing away from you, giving the vine a gentle half-turn between leaves. This makes the leaves fan out on both sides of the vine instead of all pointing the same way, which is what gives the garland its full, natural look.
Small leaf (about 1.5 in long)
Starting in the vine chain stitch:
- Ch 7.
- Sl st in the 2nd ch from the hook, sc in the next ch, hdc in the next 2 ch, dc in the next ch, 3 dc in the last ch (this turns the corner at the leaf tip).
- Working down the other side of the same starting chain: dc in the next ch, hdc in the next 2 ch, sc in the next ch, sl st in the last ch.
- Sl st into the same vine chain stitch the leaf started from. Small leaf complete.
The leaf should be pointed at both ends and lie flat. If it curls, your stitches are too tight: work the next leaf a little looser.
Large leaf (about 2 in long)
Starting in the vine chain stitch:
- Ch 9.
- Sl st in the 2nd ch from the hook, sc in the next ch, hdc in the next 2 ch, dc in the next 2 ch, 3 dc in the last ch (this turns the corner at the leaf tip).
- Working down the other side of the same starting chain: dc in the next 2 ch, hdc in the next 2 ch, sc in the next ch, sl st in the last ch.
- Sl st into the same vine chain stitch the leaf started from. Large leaf complete.
Optional curly tendrils
Every fourth leaf position, work a tendril instead of a leaf for a whimsical trailing look: ch 12, sl st in the 2nd ch from the hook and in each ch back to the vine, then sl st into the same vine chain stitch. The tendril will twist into a natural curl. Three or four tendrils on a mantel-length vine is plenty.
Hanging loops and finishing
At each end of the vine: ch 12, sl st into the end stitch to form a loop, fasten off, and weave in the end with a tapestry needle. These loops slip over small hooks, nails, or curtain rod finials. If you prefer to tie the vine in place, skip the loops and leave 8 in tails at each end for tying.
Weave in the starting tail at the other end. Lay the vine flat and gently arrange the leaves so they alternate sides evenly. If the vine curls, hover a steam iron an inch above it for a few seconds (do not press acrylic yarn) and let it cool flat.
Hanging and styling your vine
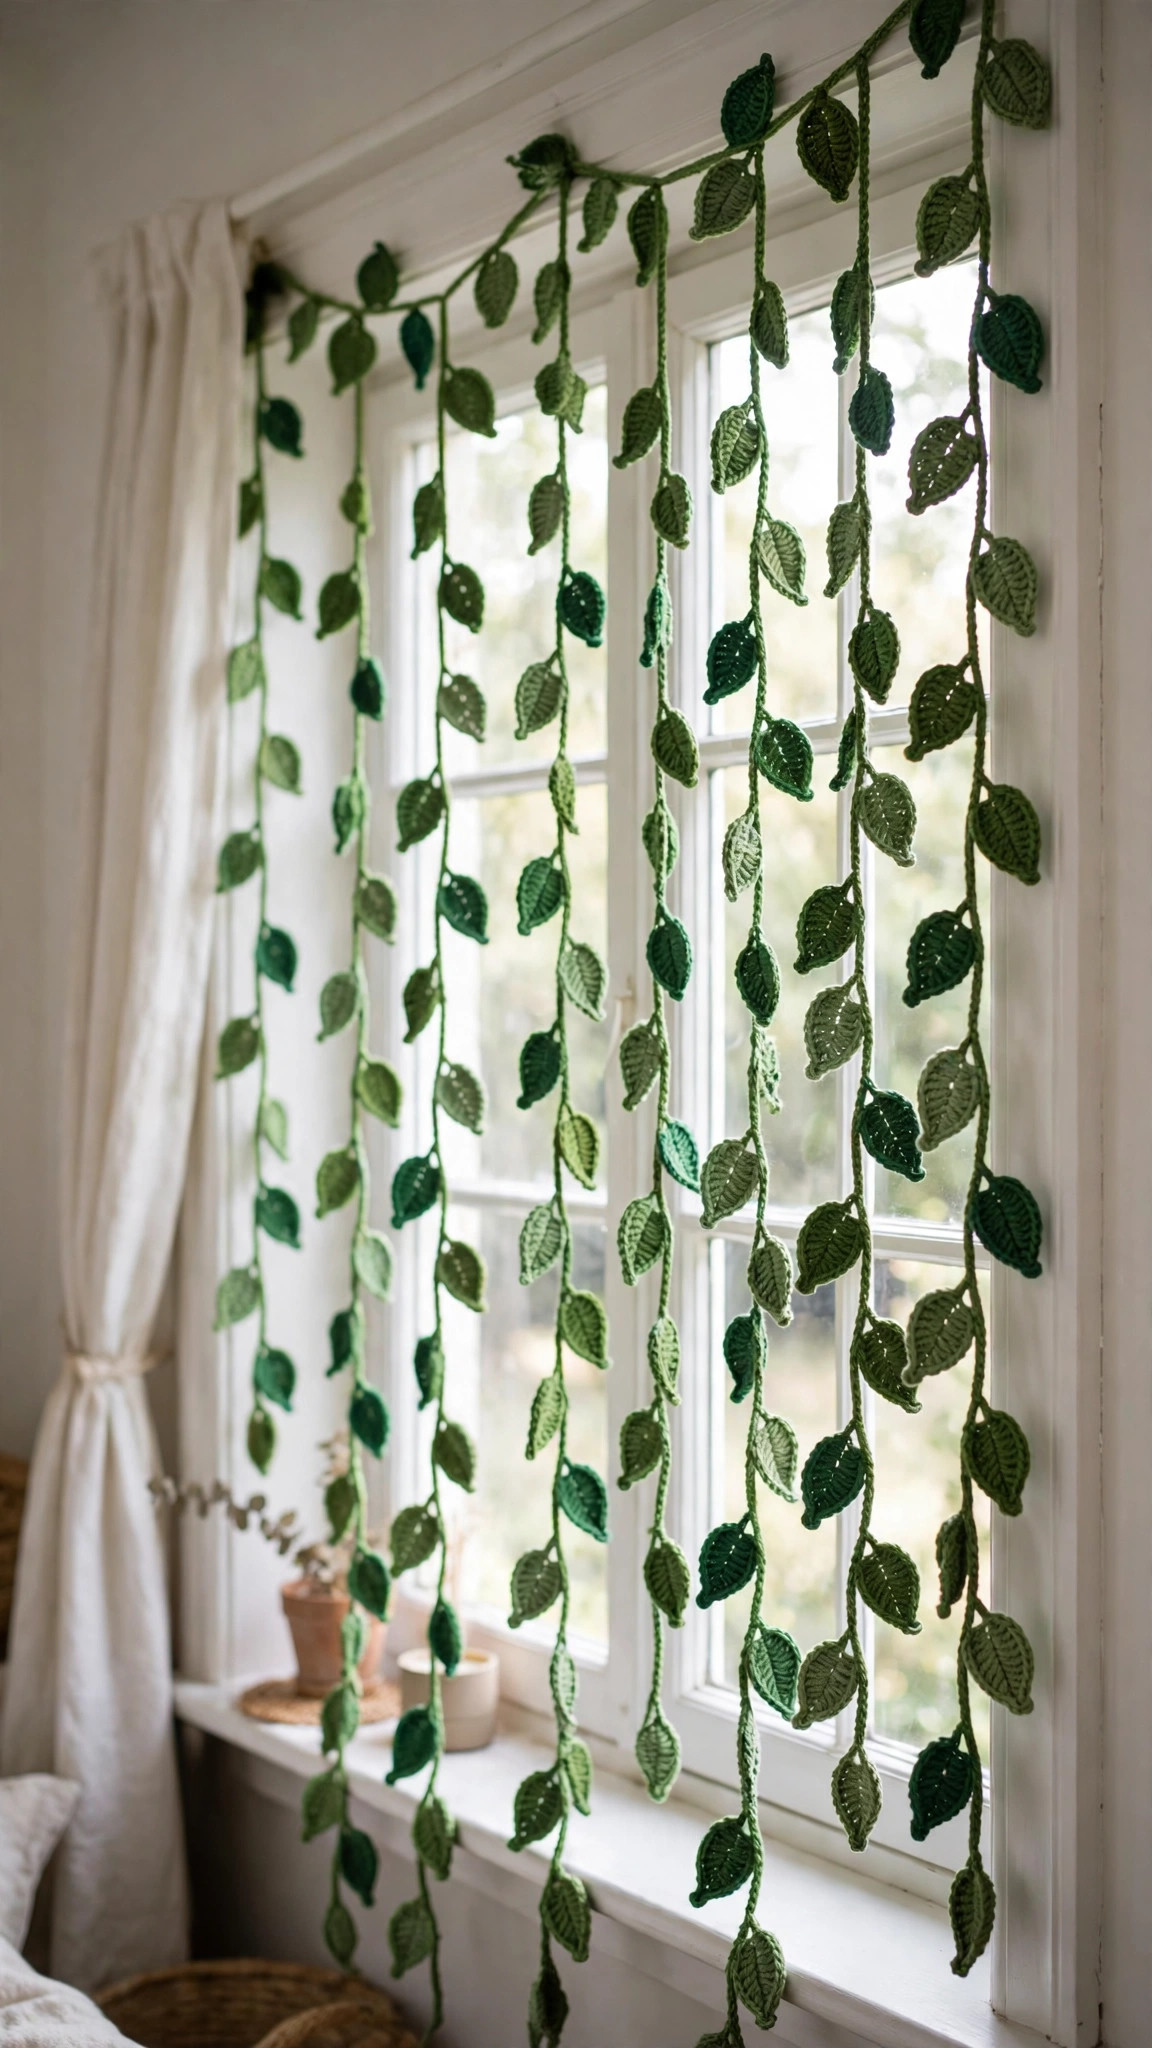
The hanging loops at each end fit over small adhesive hooks, nails, or drawing pins, and the vine is light enough that you do not need heavy fixings. For a swag effect across a mantel or doorway, add a third loop at the centre of the vine: join yarn at the middle chain, ch 12, sl st back into the same chain, and fasten off. Hang the centre loop first, then let the ends drape.
To hang the vine vertically, like a trailing plant down a bookshelf or window frame, use the loop at one end only and let gravity do the rest: the leaves will settle into a natural cascade. For a fuller look, make two vines and hang them side by side, offset by a few inches so the leaves interleave.
Three ways to use your vine garland
Once you have made one vine, the same pattern dresses up every room. Same vine, three moods:
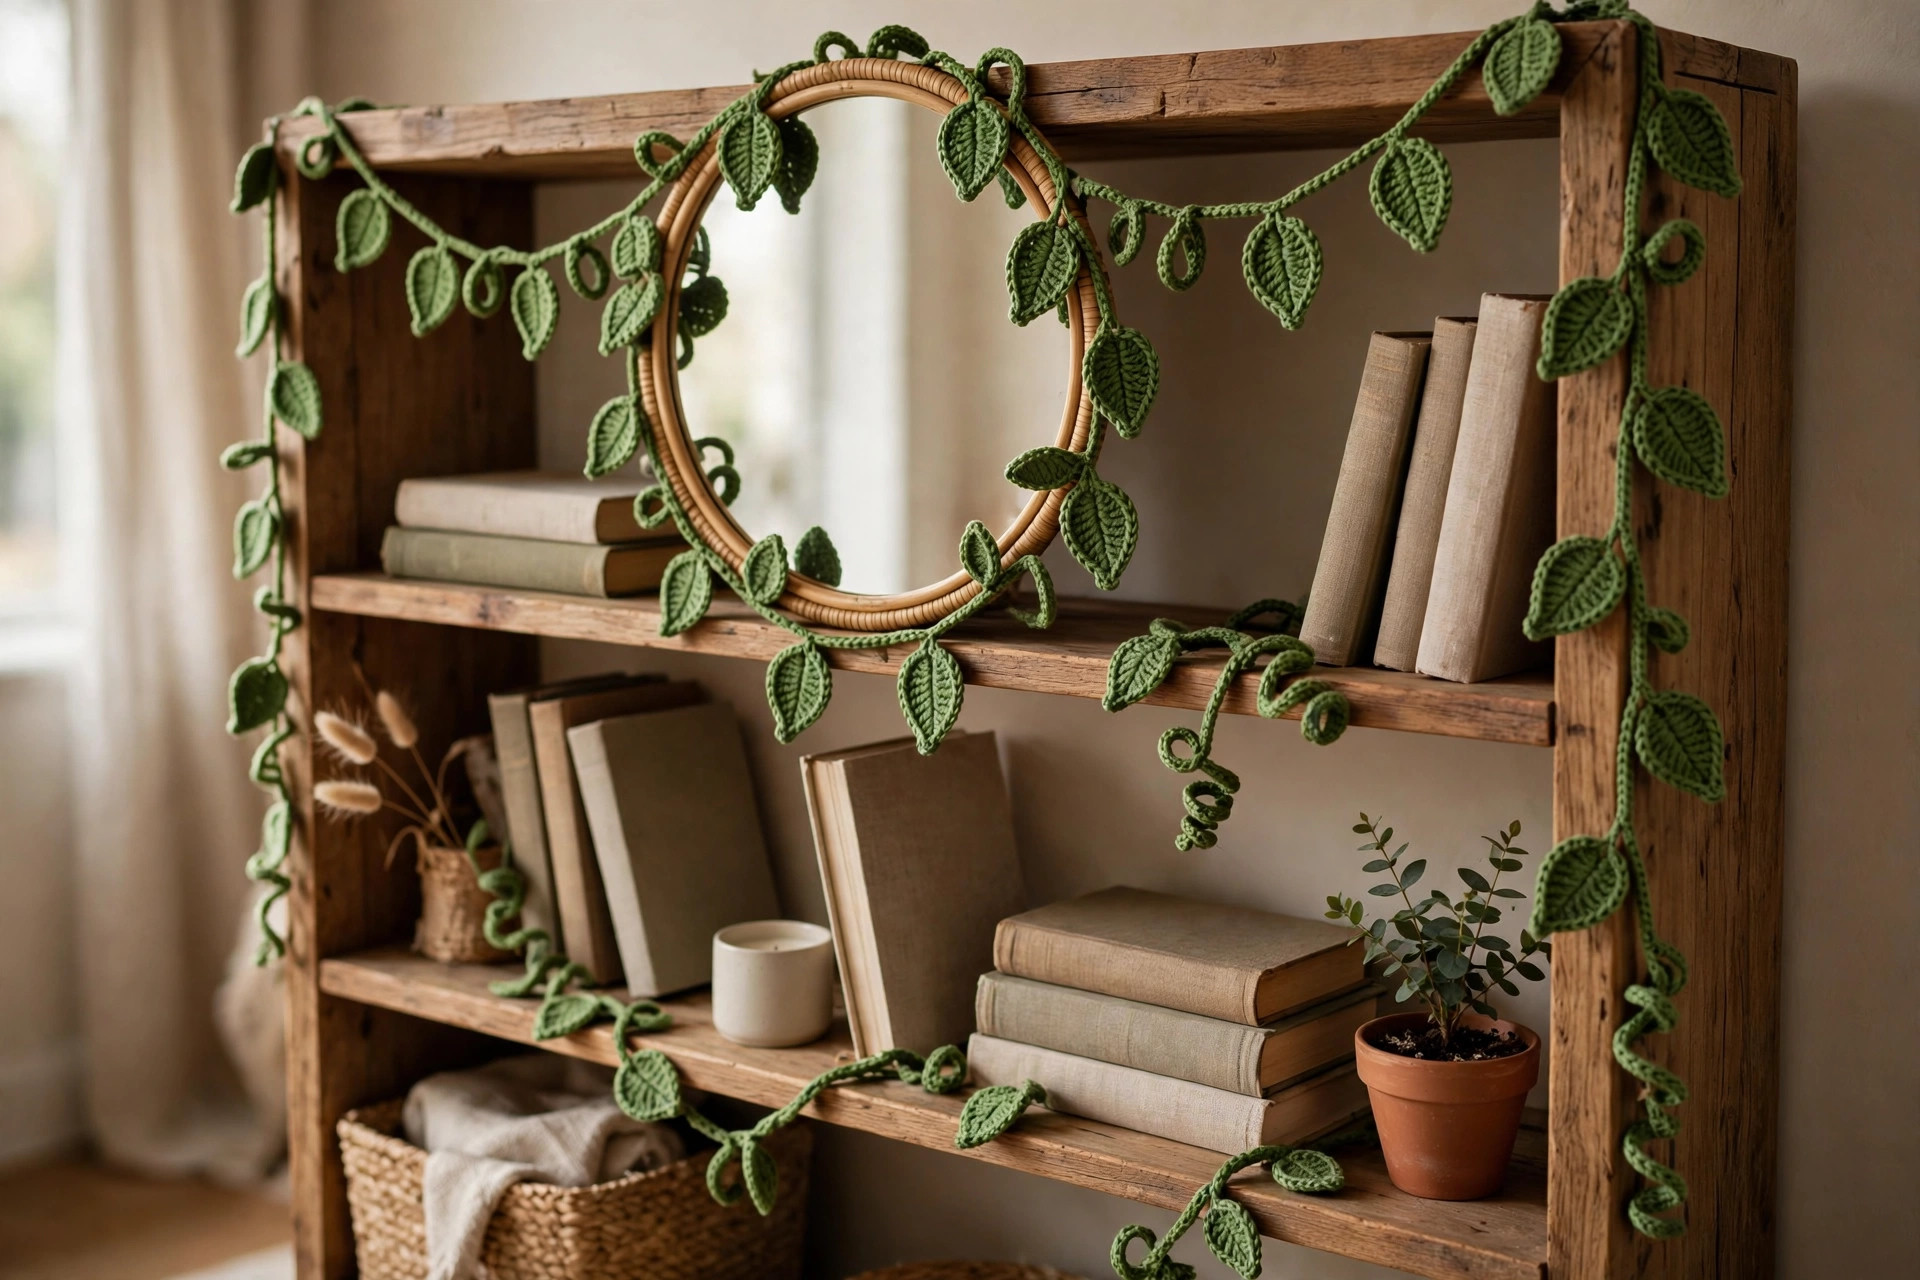
- Shelf styling. Drape the shelf length along the top of a bookshelf and let one end trail down the side. Tuck the vine behind books and small pots so the leaves peek out between them. If you love leafy makes, the maple leaves crochet pattern adds autumn colour to the same shelf.
- Mantel display. Swag the mantel length across the mantel with the centre loop, and let both ends puddle softly at the sides. It looks wonderful layered in front of a mirror or framed art. For seasonal change-ups, the lily of the valley crochet pattern makes a pretty spring companion piece.
- Wedding and party decor. The wedding length drapes beautifully over an arch, a welcome sign, or the back of the couple's chairs. Make it in the wedding colours: cream or sage green yarn turns this same pattern into elegant event decor. Pair it with our holiday crochet gift guide ideas if you are making decor as gifts.
And if this vine gave you the garland bug, the free crochet garland pattern is the next quick make, and the crochet hanging plants pattern brings the same trailing-plant look in a different shape.
Troubleshooting tips
- The vine stretches when I hang it. Your chains are too loose, or the vine is too long for the yarn weight. Go down half a hook size, or work the slip stitch row firmly to tighten the whole vine.
- The leaves curl up instead of lying flat. Your leaf stitches are too tight. Work the next leaves more loosely, especially the double crochet at the tip, and steam the finished vine lightly so the leaves relax.
- All the leaves point the same way. You forgot the half-turn between leaves. Give the vine a gentle half-turn after each leaf so they alternate sides: one toward you, one away.
- The leaf spacing looks uneven. You miscounted the slip stitches between leaves. Mark every 8th chain with a stitch marker before you start Row 2, and work each leaf into a marked chain.
- The vine twists along its length. The starting chain was twisted when you worked Row 2. Lay the chain flat and untwisted before joining the yarn, and check every few inches as you work.
- The tendrils will not curl. You worked the slip stitches too tightly. Work them loosely, or chain 14 instead of 12 for a longer, curlier tendril.
Frequently asked questions
Is this crochet vine pattern really free?
Yes, the complete pattern above is free, no email signup, no PDF purchase required.
What yarn works best for a crochet vine?
Smooth worsted-weight (#4) acrylic or cotton yarn in green. Variegated greens look the most like a real plant. Avoid fuzzy or textured yarns: they hide the leaf shaping completely.
How long does it take to make the vine?
About 1.5 hours for the shelf length, 2 to 3 hours for the mantel length, and 4 to 5 hours for the wedding length. Each leaf takes about two minutes once you learn the rhythm.
How do I make the vine longer or shorter?
Chain any number you like: the leaf spacing counts chains, not inches. Work a leaf every 8th chain, alternating small and large, and the vine will look right at any length. For a very long vine, join a new ball with a simple knot and weave in the ends later.
Will the leaves stay flat over time?
Yes, if the vine is stored flat or hanging. If it gets crushed in storage, the leaves may curl: a few seconds of steam from an inch away relaxes them again. Do not press acrylic leaves with a hot iron.
Can I sell the finished vines I make?
Yes! You may sell finished vines made from this pattern in small batches (craft fairs, markets, gifts). Please credit Little Loop Finds as the pattern designer with a link back to this page.
More free patterns to try
If this vine was fun, keep the hook moving. The free crochet garland pattern is the next quick home decor make, the free crochet wreath pattern uses similar leafy shaping on a round base, the crochet hanging plants pattern brings the trailing-plant look in a new shape, and the lily of the valley crochet pattern adds delicate spring flowers to your vine styling.