Crochet Mushroom Pattern (Cute Amigurumi, Free)
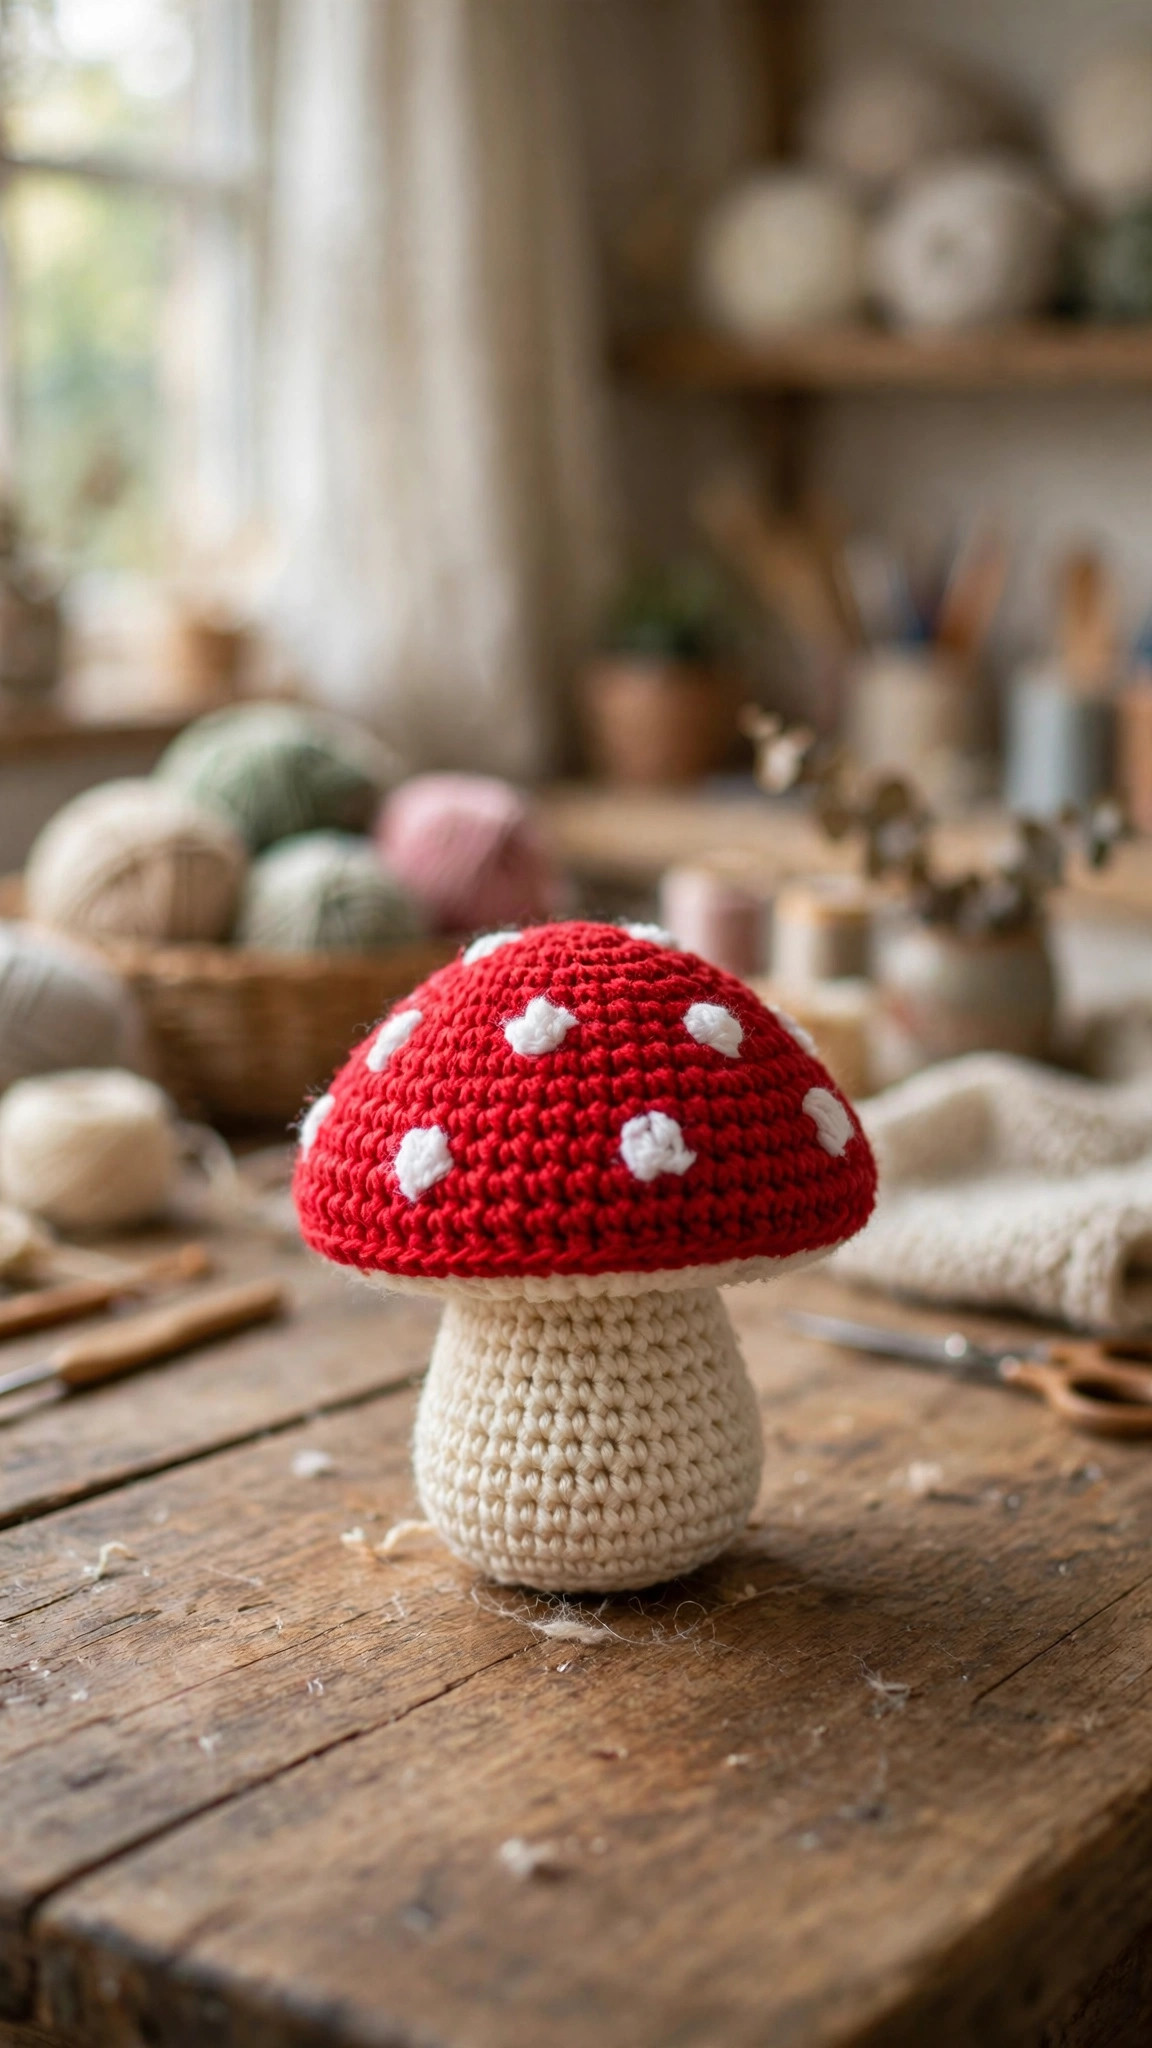
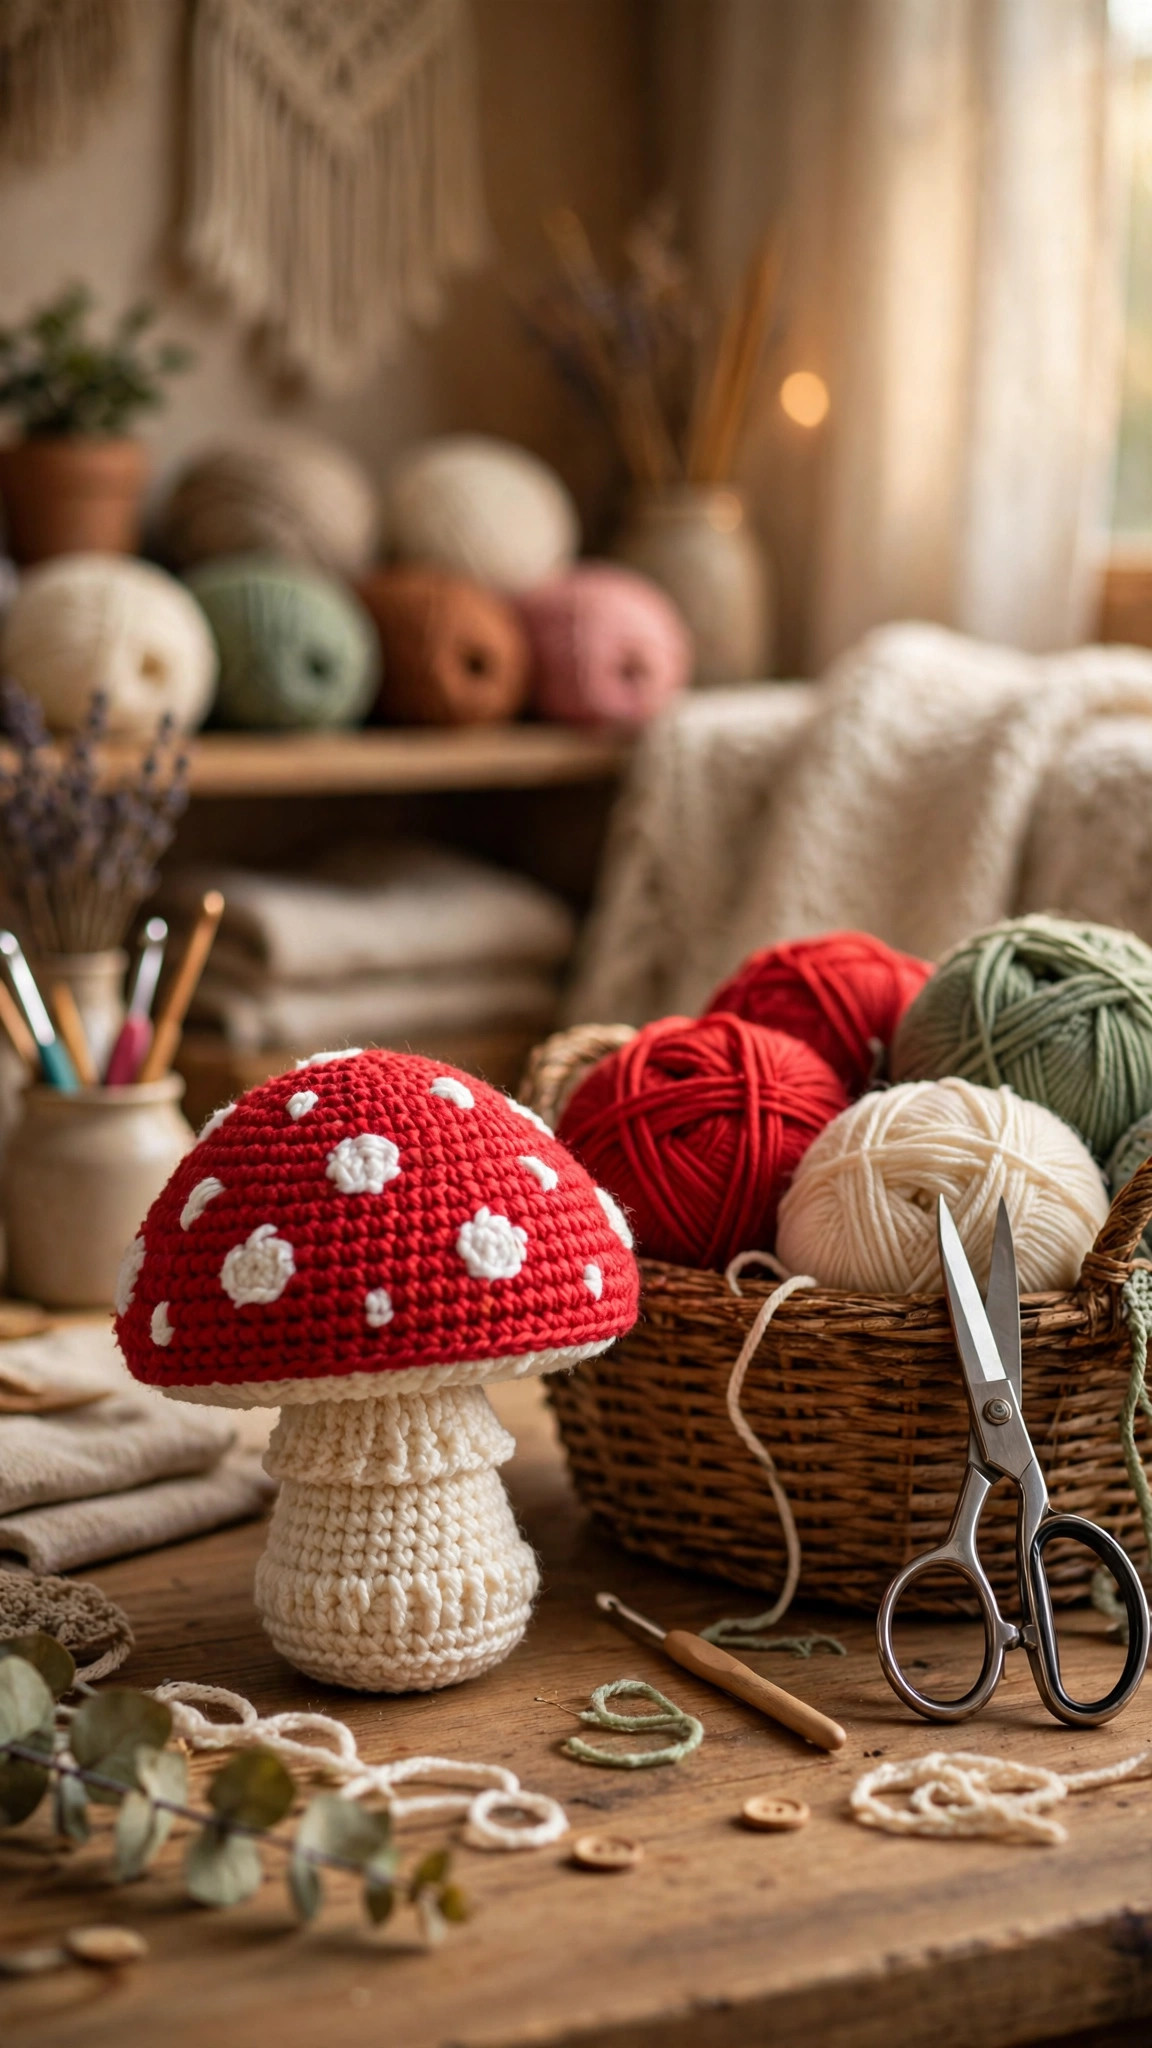
Stitch a cute red capped mushroom amigurumi with white spots, a plump stem, and a tiny smiling face.

Amigurumi · Crochet
- Finished size
- 6 in tall, 5 in wide
- Making time
- 3 to 4 hours
- Hook
- US G-6 (4.0 mm)
- Set
- Cap, stem, spots and face
- Skill
- Easy
In this post
- Key Takeaways
- Table of Contents
- Why You Will Love This Mushroom
- Finished Size, Skill Level, and Time
- Materials You Need
- Abbreviations (US Terms)
- Gauge and Sizing Notes
- Part 1: The Cap
- Part 2: The Stem and Spots
- Part 3: Face and Assembly
- Variations: Colors, Sizes, and Uses
- Troubleshooting Mushrooms That Wobble or Lean
- Care Instructions
- Frequently Asked Questions
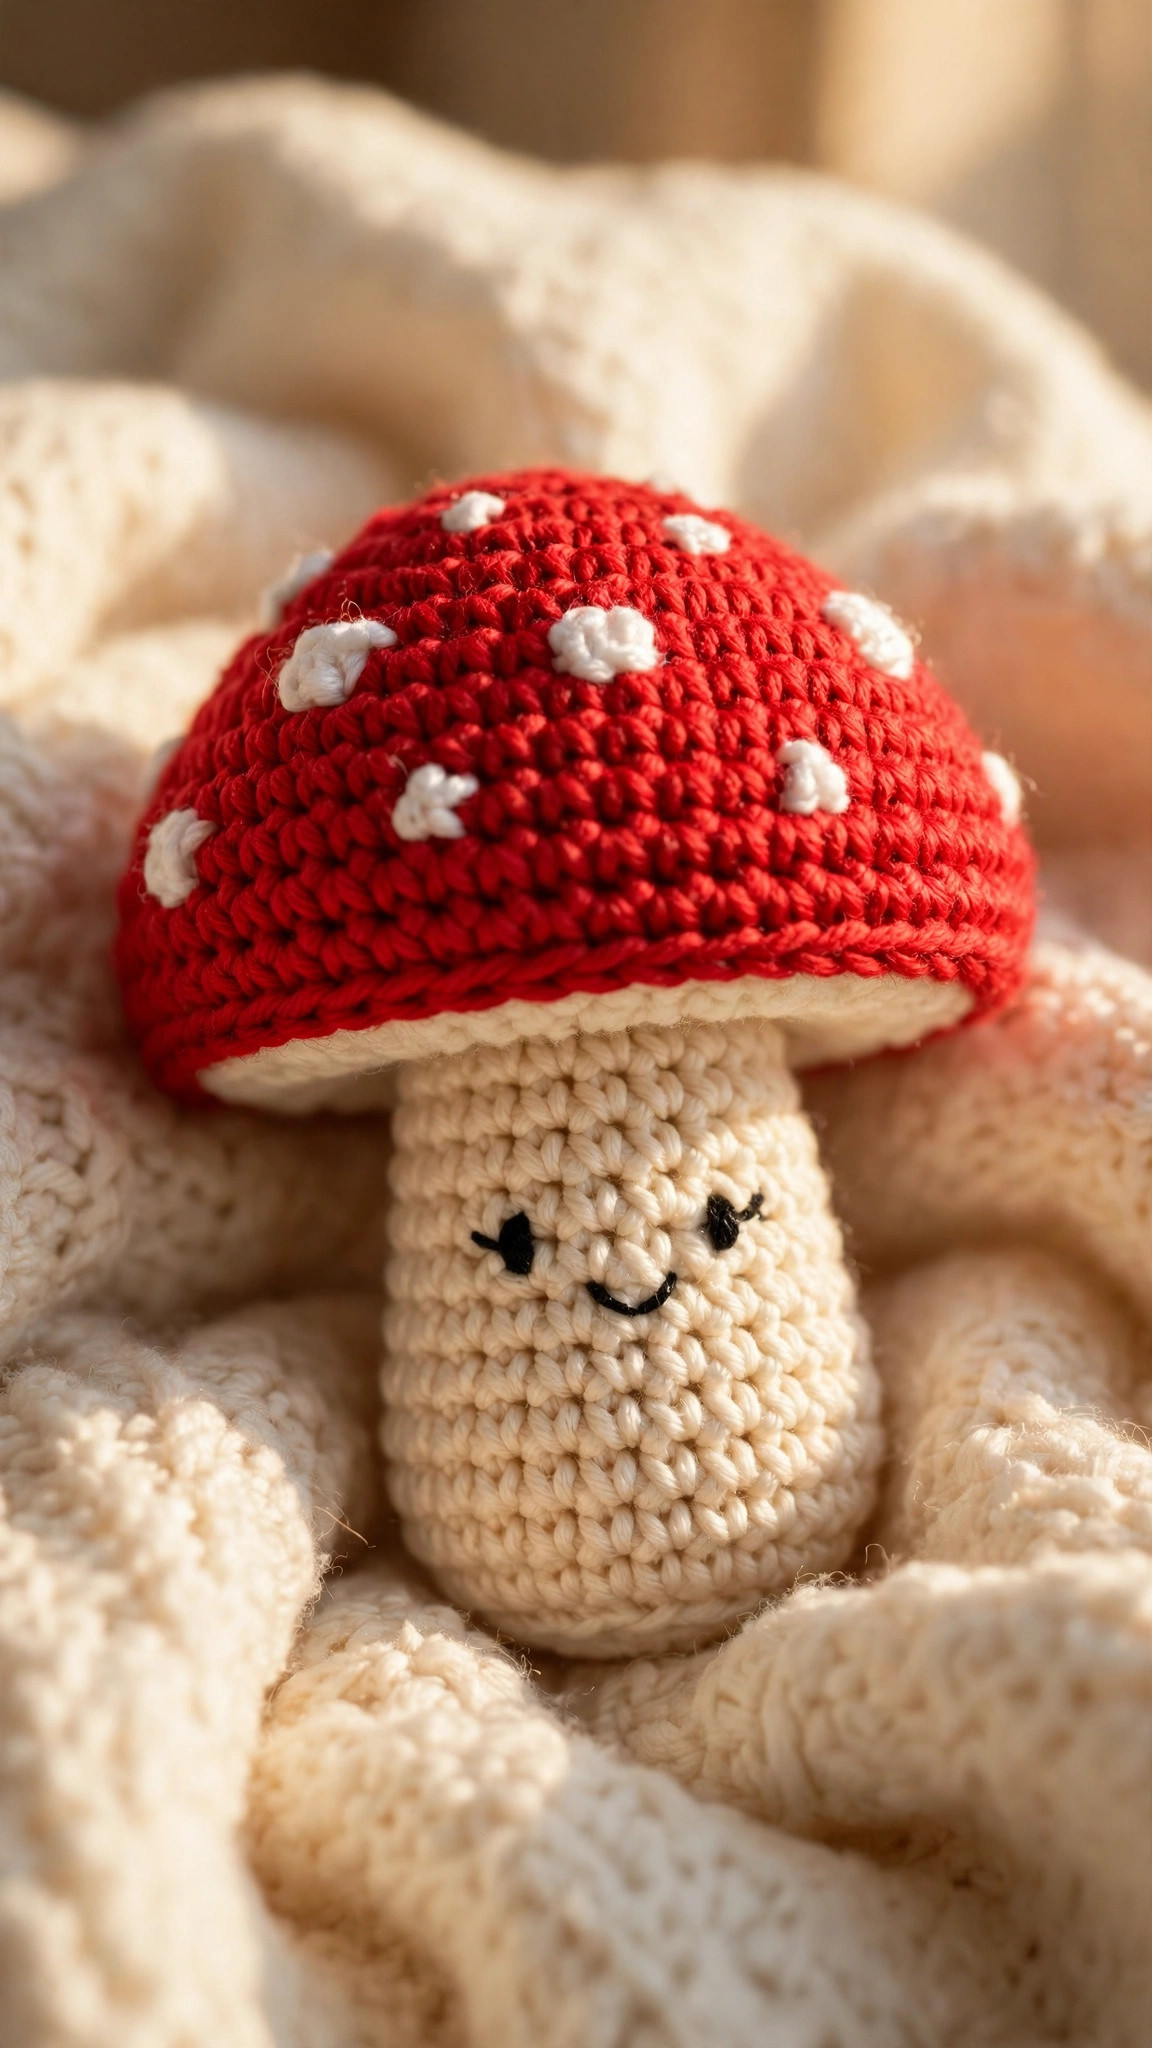
There is something about a little red capped mushroom that makes everyone smile. This free crochet mushroom pattern gives you a sweet amigurumi mushroom with a bright red cap, cheerful white spots, a plump cream stem, and a tiny embroidered face. It stands up on its own, fits in the palm of your hand, and looks wonderful on a shelf, a desk, or tucked into a fairy garden display.
This is an original Little Loop Finds design, written in US terms and completely free. The mushroom is built from two simple shapes: a dome shaped cap worked in rounds and a straight little stem. The white spots are small flat circles sewn onto the cap, and they are much easier than they look. If you can work a magic ring, single crochet, and increases, you can make this mushroom.
A quick note on scope: this post is about a mushroom amigurumi toy, not a mushroom hat and not a mushroom house. If you want a wearable mushroom project, our crochet mushroom hat pattern is the one to try, and you will find more amigurumi friends linked below.
Key Takeaways
- Free original pattern: this crochet mushroom pattern is a Little Loop Finds original design, written in US terms, and completely free.
- Classic storybook mushroom: bright red cap, white spots, plump cream stem, and a tiny smiling face.
- Beginner friendly amigurumi: simple rounds, easy increases and decreases, and no complicated colorwork.
- Quick weekend project: about 3 to 4 hours from first stitch to finished mushroom, including assembly.
- Wonderfully giftable: perfect for birthdays, baby showers, woodland themed nurseries, and anyone who loves cottagecore style.
Table of Contents
- Why You Will Love This Mushroom
- Finished Size, Skill Level, and Time
- Materials You Need
- Abbreviations (US Terms)
- Gauge and Sizing Notes
- Part 1: The Cap
- Part 2: The Stem and Spots
- Part 3: Face and Assembly
- Variations: Colors, Sizes, and Uses
- Troubleshooting Mushrooms That Wobble or Lean
- Care Instructions
- Frequently Asked Questions
Why You Will Love This Mushroom
Mushrooms are everywhere in home decor right now, from woodland nurseries to cottagecore shelves, and a crochet mushroom captures all of that charm in a toy that never wilts and never needs watering. A crochet mushroom keeps its bright colors forever, and it is soft enough for a child to carry around and sturdy enough to sit on a shelf for years. It is the perfect companion for a plant pot, a bookshelf, or a bedside table.
This design is also a great stash project. One small skein of red worsted weight yarn makes the cap, with only small amounts of cream and white needed for the stem and spots. You can work the cap in an evening, then add the stem and spots the next morning. Kids love receiving a toy that was clearly made just for them, and adults love them too, especially gardeners, foragers, and anyone with a fairy garden. The finished mushroom is soft enough to cuddle and sturdy enough to stand up on its own.
Finished Size, Skill Level, and Time
- Finished size: about 6 inches tall and 5 inches wide across the cap, in worsted weight yarn.
- Skill level: Easy. You need a magic ring, chains, slip stitches, single crochet, and simple increases and decreases.
- Time: about 3 to 4 hours total: roughly 1 hour for the cap, 45 minutes for the stem, 30 minutes for the spots, and 45 minutes for the face and assembly.
Materials You Need
| Item | What to get |
|---|---|
| Yarn, cap | Worsted weight (medium 4) acrylic or cotton in bright red, about 80 yards |
| Yarn, stem | Worsted weight in cream or off white, about 50 yards |
| Yarn, spots | Small amount of white, about 15 yards |
| Yarn, face | Small amounts of black (eyes and smile) |
| Hook | US G-6 (4.0 mm), or the size that gives you a firm fabric with your yarn |
| Stuffing | Polyester fiberfill, about one large handful |
| Eyes | Two 8 mm black safety eyes with washers (or black yarn for embroidered eyes for babies) |
| Notions | Tapestry needle, scissors, stitch markers, pins for assembly |
Acrylic yarn is a great choice here because it is soft, washable, and comes in every mushroom color from classic red to mustard yellow. Cotton gives crisper stitch definition and a slightly firmer toy. Whichever you choose, work with a hook one size smaller than usual, because a firm fabric keeps the stuffing hidden and the shape smooth.
Abbreviations (US Terms)
- ch = chain
- sl st = slip stitch
- sc = single crochet
- hdc = half double crochet
- dc = double crochet
- inc = increase (2 sc in the same stitch)
- dec = decrease (sc 2 together)
- BLO = back loop only
- FLO = front loop only
- st(s) = stitch(es)
- rnd(s) = round(s)
- rep = repeat
- MR = magic ring
Gauge and Sizing Notes
Gauge for this mushroom is more about firmness than exact numbers. Work 4 inches of single crochet in the round and check that you cannot easily see stuffing through the fabric. If you can, go down a hook size. If your fabric feels stiff like cardboard, go up a hook size, because you still need to be able to push a needle through for assembly and face embroidery.
To make a smaller mushroom, use DK yarn and a 3.5 mm hook for a palm sized friend about 4 inches tall. For a larger one, use chunky yarn and a 5.5 mm hook for a cuddly version about 9 inches tall. The proportions matter most: the cap wide and gently domed, the stem plump and straight, and the spots big enough to see from across the room.
Part 1: The Cap
The cap is worked from the top down in continuous rounds, starting with a magic ring and increasing until the dome is wide enough, then working straight to give the cap its depth. Work in continuous rounds (do not join) and use a stitch marker to mark the first stitch of each round. Do not stuff the cap until the very end, when you sew it to the stem.
With red yarn, MR, ch 1.
- Rnd 1: 6 sc in MR. (6 sts)
- Rnd 2: inc in each st around. (12 sts)
- Rnd 3: (sc, inc) rep around. (18 sts)
- Rnd 4: (2 sc, inc) rep around. (24 sts)
- Rnd 5: (3 sc, inc) rep around. (30 sts)
- Rnd 6: (4 sc, inc) rep around. (36 sts)
- Rnd 7: (5 sc, inc) rep around. (42 sts)
- Rnd 8: (6 sc, inc) rep around. (48 sts)
- Rnd 9: (7 sc, inc) rep around. (54 sts)
- Rnd 10: (8 sc, inc) rep around. (60 sts)
- Rnds 11 to 16: sc around. (60 sts) These straight rounds give the cap its gentle dome shape.
- Rnd 17: (8 sc, dec) rep around. (54 sts)
- Rnd 18: (7 sc, dec) rep around. (48 sts)
- Rnd 19: (6 sc, dec) rep around. (42 sts) This slight decrease pulls the rim of the cap inward, just like a real mushroom.
- Rnd 20: sc in BLO around. (42 sts) This back loop round creates a neat ridge where the cap meets the stem, and it helps the cap sit flat.
- Rnd 21: (5 sc, dec) rep around. (36 sts)
- Rnd 22: (4 sc, dec) rep around. (30 sts)
- Fasten off, leaving a long tail for sewing the cap to the stem. Set the cap aside and do not stuff it yet.
Part 2: The Stem and Spots
Stem
The stem is a plump little tube worked from the bottom up, with a slightly wider base so the mushroom stands steadily. Work in continuous rounds and stuff as you go, adding a little at a time so the shape stays even.
With cream yarn, MR, ch 1.
- Rnd 1: 6 sc in MR. (6 sts)
- Rnd 2: inc in each st around. (12 sts)
- Rnd 3: (sc, inc) rep around. (18 sts)
- Rnd 4: (2 sc, inc) rep around. (24 sts)
- Rnd 5: sc in BLO around. (24 sts) This back loop round makes a flat base that helps the mushroom stand.
- Rnds 6 to 14: sc around. (24 sts) This straight section is the plump stem.
- Rnd 15: (2 sc, dec) rep around. (18 sts)
- Rnd 16: sc around. (18 sts) Stuff the stem firmly now, keeping the bottom flat so the mushroom can stand.
- Rnd 17: (sc, dec) rep around. (12 sts)
- Rnd 18: dec around. (6 sts) Fasten off and weave in the end, closing the small hole with a tapestry needle.
Spots (make 5)
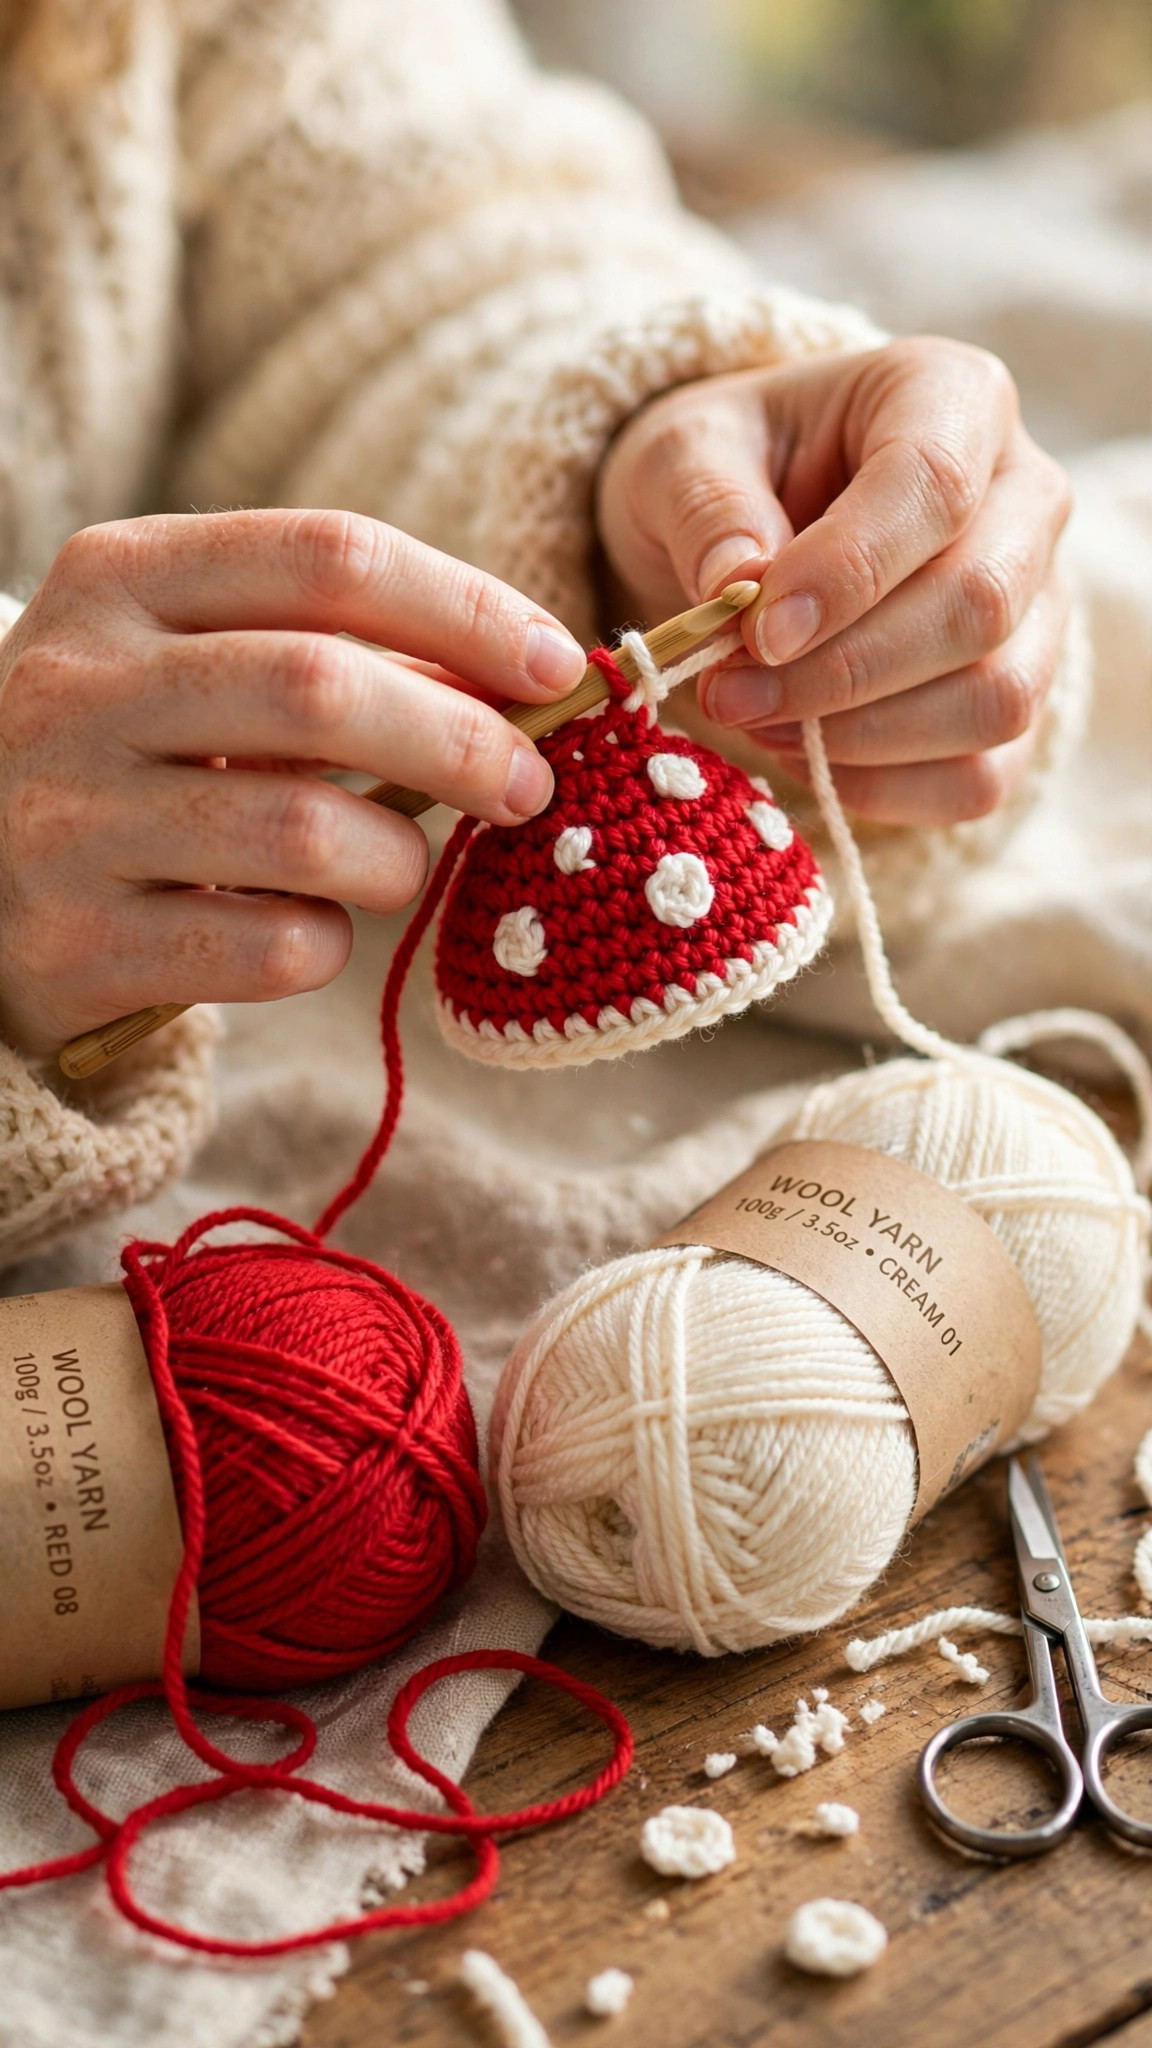
The spots are small flat circles worked in white yarn, in two sizes, so the cap looks naturally speckled. Make three large spots and two small spots.
Large spot (make 3): With white yarn, MR, ch 1.
- Rnd 1: 6 sc in MR. (6 sts)
- Rnd 2: inc in each st around. (12 sts)
- Rnd 3: (sc, inc) rep around. (18 sts)
- Sl st in next st, fasten off, leaving a long tail for sewing. Do not stuff the spots; they should stay flat.
Small spot (make 2): With white yarn, MR, ch 1.
- Rnd 1: 6 sc in MR. (6 sts)
- Rnd 2: inc in each st around. (12 sts)
- Sl st in next st, fasten off, leaving a long tail for sewing. Do not stuff the spots; they should stay flat.
Part 3: Face and Assembly
Assembly is where a red dome and a cream tube become a mushroom, so take your time and pin everything before you sew.
- Stuff the cap lightly, just enough to hold its dome shape, then pin it to the top of the stem. The stem should poke about half an inch up inside the cap so the join is strong.
- Sew the cap to the stem all the way around, working through the back loop ridge of Rnd 20 of the cap and the top edge of the stem. Add a little more stuffing to the cap just before you close the last few stitches, so the dome stays plump.
- Sew the spots onto the cap, spacing them around the dome. Place one large spot near the top, two large spots on opposite sides, and the two small spots in between. Pin first, check the spacing from the front, then sew each spot down with small neat stitches around its edge.
- Place the safety eyes on the front of the stem, between Rnds 10 and 11, about 6 stitches apart, with the washers secured firmly inside. If this mushroom is for a baby or a toddler, skip the safety eyes and embroider two small black ovals instead, because embroidered eyes can never come loose.
- Embroider the smile with black yarn: a small curved line below and between the eyes, like a little upside down U, for a friendly mushroom face. Add two tiny pink cheeks with a few stitches of pink yarn if you like.
- Weave in all ends, then fluff the mushroom with your fingers and check that it stands up straight on a flat table.
If you want a matching outfit for your mushroom, a crochet mushroom hat pattern makes a sweet wearable version in the same colors. For more amigurumi friends for your shelf, the crochet frog pattern and the crochet turtle pattern are made in the same size and style, so they look perfect next to your mushroom.
Variations: Colors, Sizes, and Uses
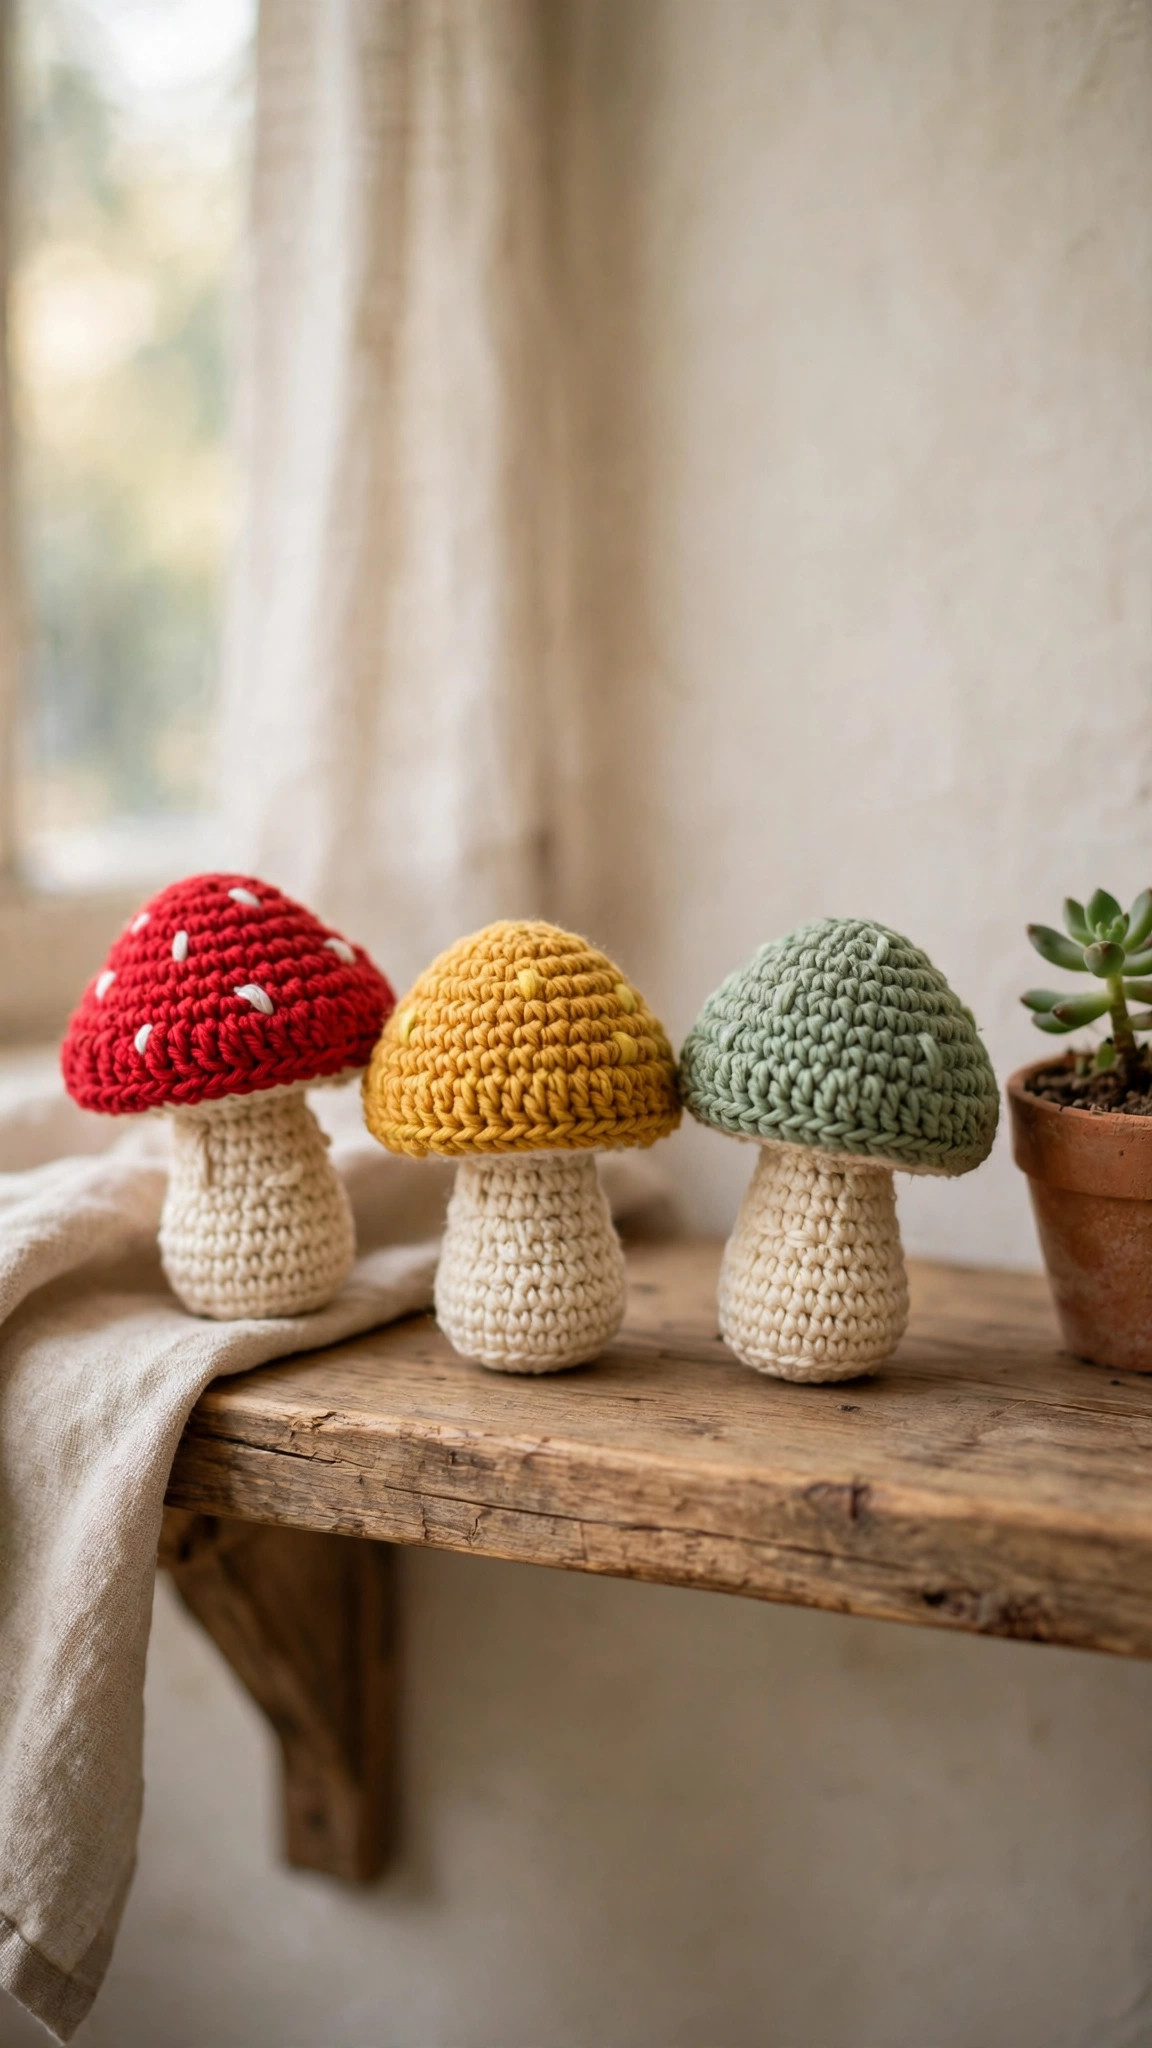
- Classic red and white: the storybook look, worked exactly as written, with a bright red cap and white spots.
- Mustard yellow mushroom: work the cap in mustard yellow with cream spots for a warm autumn feel. Our crochet bee pattern uses the same yellow, so the two look lovely together on a shelf.
- Sage green mushroom: work the cap in sage green with cream spots for a soft woodland look that suits a nursery.
- Tiny mushroom keychain: use DK yarn and a 3.0 mm hook, skip the face, and sew a keyring to the top of the cap for a cute bag charm.
- Mushroom garland: make five tiny mushrooms in different colors and string them together with a chain of cream yarn for a woodland party decoration.
- Fairy garden mushroom: make the large version in chunky yarn and place it in a plant pot or a fairy garden, where it looks right at home among real leaves.
If your mushroom needs a tiny friend on the shelf, the free crochet bunny pattern in this same series makes a cute bunny in the same size and style, and the mini amigurumi patterns collection has more small friends to try.
Troubleshooting Mushrooms That Wobble or Lean
- My mushroom will not stand up. The bottom of the stem needs to be flat and firmly stuffed. Press the mushroom on a table, add a little more stuffing to the thin side, and check that the back loop round at the base is sitting flat.
- The cap looks pointy instead of domed. The increase rounds need to be worked evenly, and the straight rounds after Rnd 10 are what give the dome its shape. If the cap still looks pointy, add a little more stuffing to the top and smooth the dome with your fingers.
- The spots curl up at the edges. Sew each spot down with small stitches all the way around its edge, not just in the middle. If a spot still curls, press it flat with your fingers while it is still slightly damp after washing.
- I can see stuffing through the stitches. Go down a hook size for the next piece, and for the finished mushroom, add a thin inner lining of red felt inside the cap if needed.
Care Instructions
Dust your mushroom with a soft dry cloth. If it gets grubby, hand wash it gently in cool water with a tiny amount of mild soap, squeeze it gently without wringing, and let it air dry completely. Do not machine wash a mushroom with safety eyes, because the agitation can loosen them, and do not put it in the dryer. Reshape the cap with your fingers while it is still damp, and store it away from direct sunlight.
Frequently Asked Questions
Is this crochet mushroom pattern good for beginners?
Yes, as a second or third amigurumi project, not your very first. You should be comfortable with a magic ring, single crochet, and increases. If those feel familiar, the cap and stem are just the same increase rhythm you already know, and the spots are tiny flat circles.
How big is the finished mushroom?
About 6 inches tall and 5 inches wide across the cap, in worsted weight yarn with a 4.0 mm hook. Chunky yarn gives a mushroom closer to 9 inches tall, while DK yarn gives a palm sized friend around 4 inches tall.
Are safety eyes safe for a baby gift?
Safety eyes are not recommended for children under three, because any plastic part can come loose with enough chewing and pulling. For a baby gift, embroider the eyes with black yarn instead, using small ovals of satin stitch.
What yarn is best for a crochet mushroom?
Soft acrylic is the most popular choice because it is washable, comes in perfect mushroom colors, and is gentle enough for cuddling. Cotton gives crisper stitch definition and a firmer toy. Avoid fuzzy yarn for your first mushroom, because it hides your stitches and makes the spots harder to sew on neatly.
Can I make the mushroom in other colors?
Absolutely. Mushrooms come in all colors in real life, and your crochet ones can too. Try mustard yellow, sage green, dusty pink, or even a purple cap with cream spots for a magical forest look.
How do I keep the cap from flopping over?
Stuff the cap lightly but firmly, and sew it to the stem all the way around, with the stem poking half an inch up inside the cap. If the cap still flops, add a small circle of stiff felt inside the cap before you close the last few stitches.
Can I sell mushrooms made from this pattern?
Yes, you may sell finished mushrooms made from this free pattern, with credit to Little Loop Finds. Please do not sell or republish the pattern text itself.
Happy stitching, and may your home be full of woodland charm, bright red caps, and one very cute mushroom.


