Crochet Leaf Pattern (Easy Applique, Free)
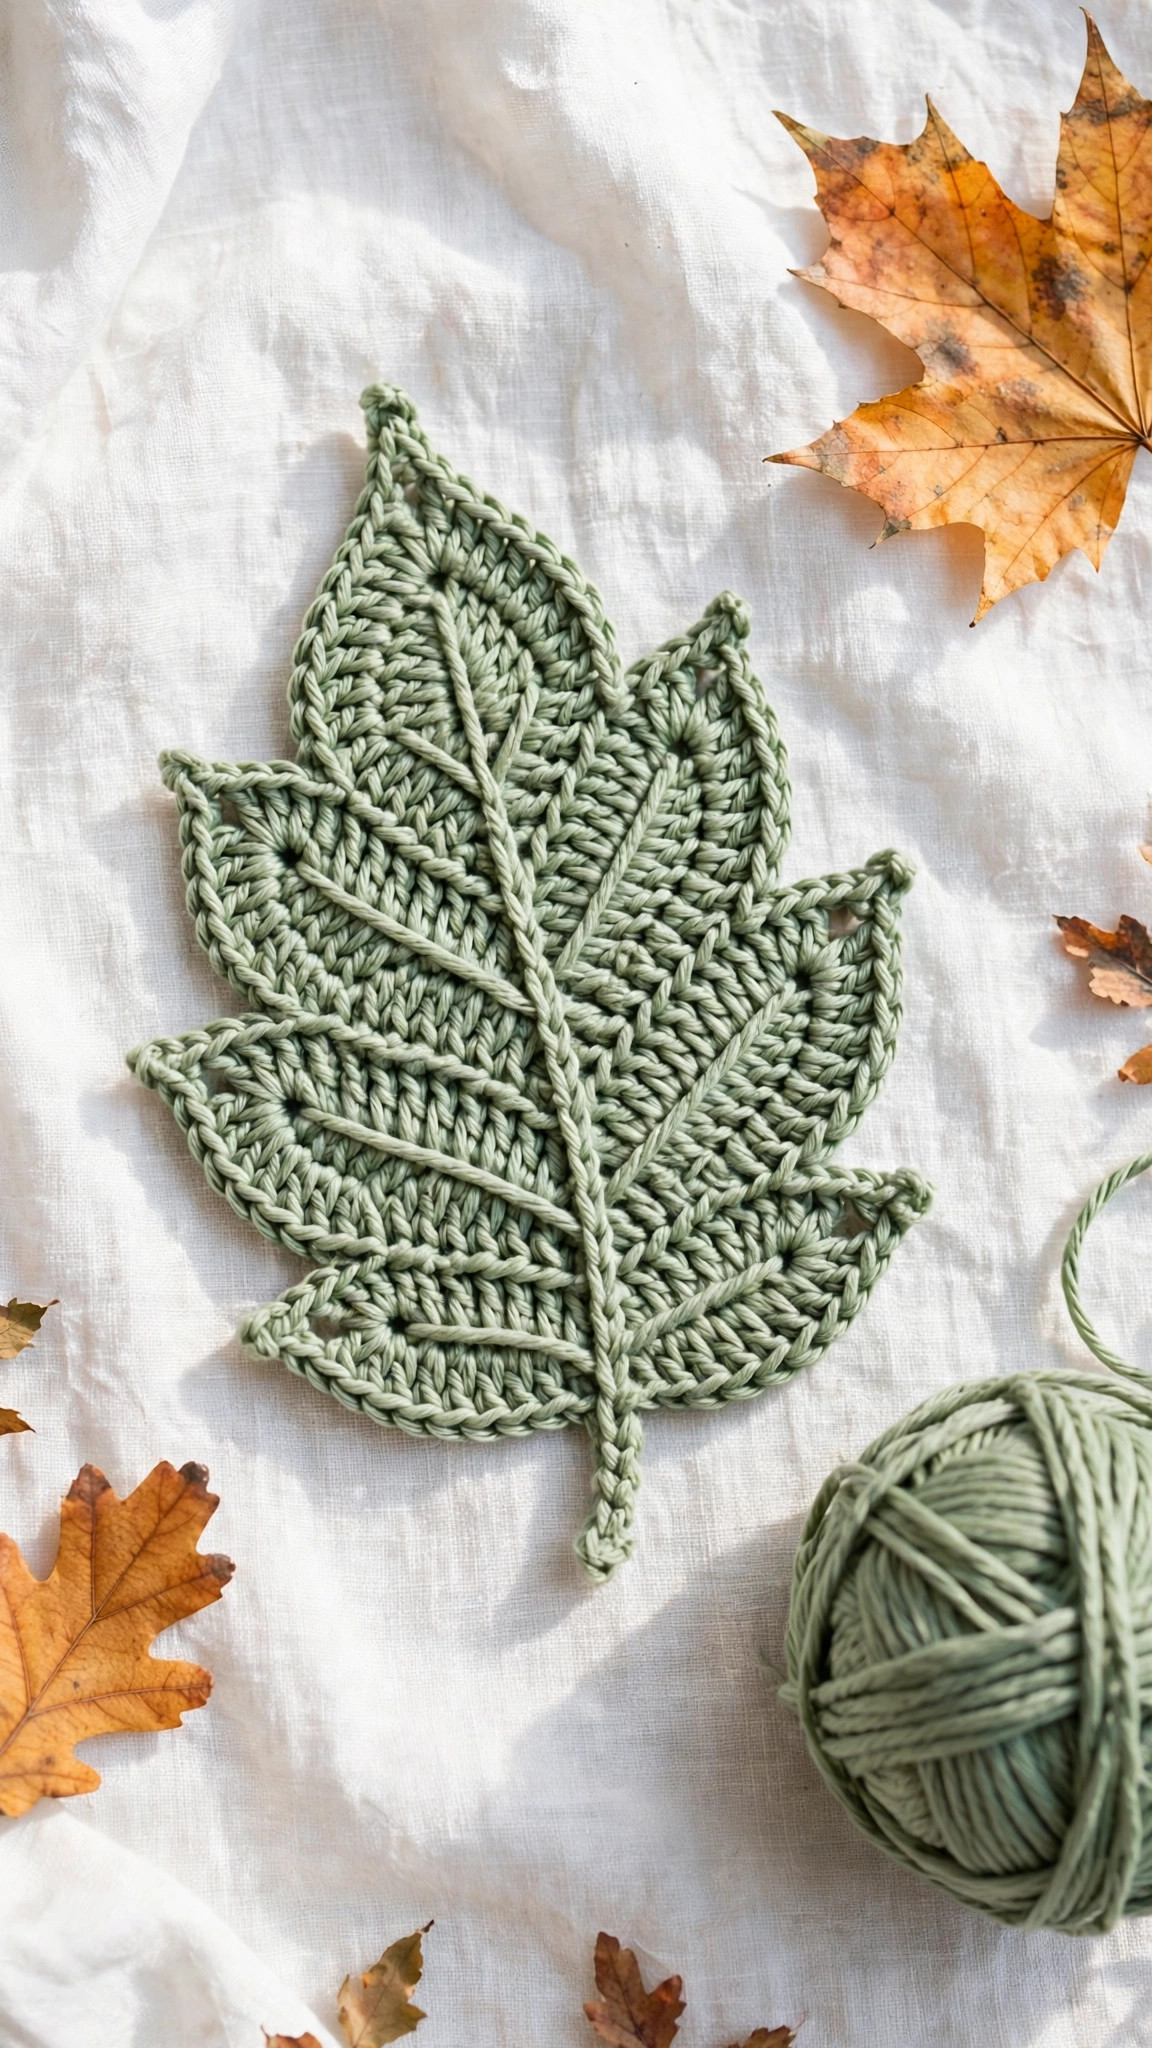
Stitch a simple crochet leaf applique with a center vein and stem, perfect for garlands, blankets, and autumn decor.

Patterns · Crochet
- Finished size
- 3 in long, 1.5 in wide
- Making time
- 20 to 30 minutes per leaf
- Hook
- US G-6 (4.0 mm)
- Set
- Leaf body, vein, stem
- Skill
- Easy
In this post
- Key Takeaways
- Table of Contents
- Why You Will Love This Leaf
- Finished Size, Skill Level, and Time
- Materials You Need
- Abbreviations (US Terms)
- Gauge and Sizing Notes
- Part 1: The Foundation Chain and First Side
- Part 2: The Second Side, Tip, and Vein
- Part 3: Stem, Finishing, and Garland Assembly
- Variations: Colors, Sizes, and Uses
- Troubleshooting Leaves That Curl or Pucker
- Care Instructions
- Frequently Asked Questions
A crochet leaf is one of the smallest and most satisfying things you can make with a hook. It takes one short skein of yarn, a single evening, and a handful of basic stitches, and it turns into a little green leaf that looks like it was just picked from a garden. This free crochet leaf pattern walks you through every row, so you can stitch a leaf you will be proud to sew onto a blanket, string into a garland, or tuck into a fall wreath.
This is an original Little Loop Finds design, written in US terms and completely free. The leaf is worked in rows around a foundation chain, so it has a neat pointed tip, a gently rounded base, and a tidy center vein made with surface slip stitches. There are no color changes to carry and no complicated shaping, just one simple leaf that grows in your hands. If you can chain, single crochet, half double crochet, and double crochet, you can crochet this leaf.
A quick note on scope: this post is about a simple, generic crochet leaf applique, the kind of plain oval leaf you see on vines, stems, and autumn garlands. It is not a maple leaf, which has deep lobes and a very different shape. If you want a maple leaf next, our maple leaves crochet pattern uses the same easy stitches to build those bold five-pointed lobes.
Key Takeaways
- Free original pattern: this crochet leaf pattern is a Little Loop Finds original design, written in US terms, and completely free.
- Quick one-evening project: one leaf takes about 20 to 30 minutes from first chain to finished vein, so you can make a whole garland in an evening.
- Beginner friendly shaping: simple stitches worked around a foundation chain, with a clear stitch count at the end of every row.
- Endlessly useful: sew leaves onto blankets, hats, and bags, string them into garlands, or scatter them on a fall table.
- Wonderfully giftable: perfect for autumn wreaths, baby blankets, scrapbook toppers, and anyone who loves handmade home decor.
Table of Contents
- Why You Will Love This Leaf
- Finished Size, Skill Level, and Time
- Materials You Need
- Abbreviations (US Terms)
- Gauge and Sizing Notes
- Part 1: The Foundation Chain and First Side
- Part 2: The Second Side, Tip, and Vein
- Part 3: Stem, Finishing, and Garland Assembly
- Variations: Colors, Sizes, and Uses
- Troubleshooting Leaves That Curl or Pucker
- Care Instructions
- Frequently Asked Questions
Why You Will Love This Leaf
Crocheting a leaf feels like a tiny victory. You start with a short chain, work your way down one side, come back up the other side, and suddenly there is a leaf in your hand, green and pointed and neat. It is the kind of project you reach for when you have twenty minutes, a scrap of yarn, and the urge to make something real.
A leaf is also one of the most useful motifs in crochet. A single leaf dresses up a plain hat, a row of leaves turns a simple blanket into a garden blanket, and a string of autumn leaves makes a garland that costs almost nothing and looks like it came from a craft fair. Because each leaf uses so little yarn, you can work through your stash one color at a time and end up with a whole basket of leaves in greens, golds, oranges, and reds.
Finished Size, Skill Level, and Time
- Finished size: about 3 inches long and 1.5 inches wide, not counting the stem, in DK weight yarn. The pattern also gives notes for a small 2 inch leaf and a large 4.5 inch leaf.
- Skill level: Easy. You need a chain, slip stitch, single crochet, half double crochet, and double crochet, plus a simple surface slip stitch for the vein that the pattern explains.
- Time: about 20 to 30 minutes per leaf: roughly 10 minutes for the leaf body, 5 minutes for the vein and stem, and 5 minutes for weaving in ends and blocking.

Materials You Need
| Item | What to get |
|---|---|
| Yarn, leaf color | DK weight (size 3) cotton or acrylic in green, about 10 yards per leaf |
| Yarn, accent colors | Small amounts in autumn colors for a garland, about 10 yards per leaf |
| Hook | US G-6 (4.0 mm), or the size that gives you a firm, even fabric |
| Notions | Tapestry needle, scissors, stitch markers, pins and a blocking mat |
| Garland supplies | Twine, ribbon, or yarn for stringing, plus a yarn needle for threading |
Cotton yarn is the best choice for a leaf applique because it holds its shape, shows crisp stitch definition, and lies flat when you sew it onto something. Acrylic is a good second choice, because it comes in every shade of green and autumn color and is easy to wash. Choose smooth yarns in colors that make you happy, because a leaf is a tiny piece of art, and the color story is half the fun.
Abbreviations (US Terms)
- ch = chain
- sl st = slip stitch
- sc = single crochet
- hdc = half double crochet
- dc = double crochet
- tr = treble crochet
- inc = increase (2 stitches in the same stitch)
- st(s) = stitch(es)
- rep = repeat
- sk = skip
- sp = space
- RS = right side
- WS = wrong side
Gauge and Sizing Notes
Gauge for a leaf applique is less about exact numbers and more about keeping the leaf flat and firm. Work one full leaf and lay it on a table. If the edges curl upward like a cup, your stitches are too tight, so go up a hook size. If the leaf looks loose and floppy, your stitches are too loose, so go down a hook size. A flat leaf with a gentle point is a happy leaf, and a quick check on your first leaf saves you from making ten curly ones.
To make a smaller leaf, start with a foundation chain of 8 instead of 12, and work the same stitch pattern with fewer stitches on each side, for a leaf about 2 inches long. To make a larger leaf, start with a foundation chain of 16 and add one extra double crochet on each side of the center, for a leaf about 4.5 inches long. The stitch counts in each row are given so you can check your work as you go, and the shaping rhythm stays the same at any size.
Part 1: The Foundation Chain and First Side
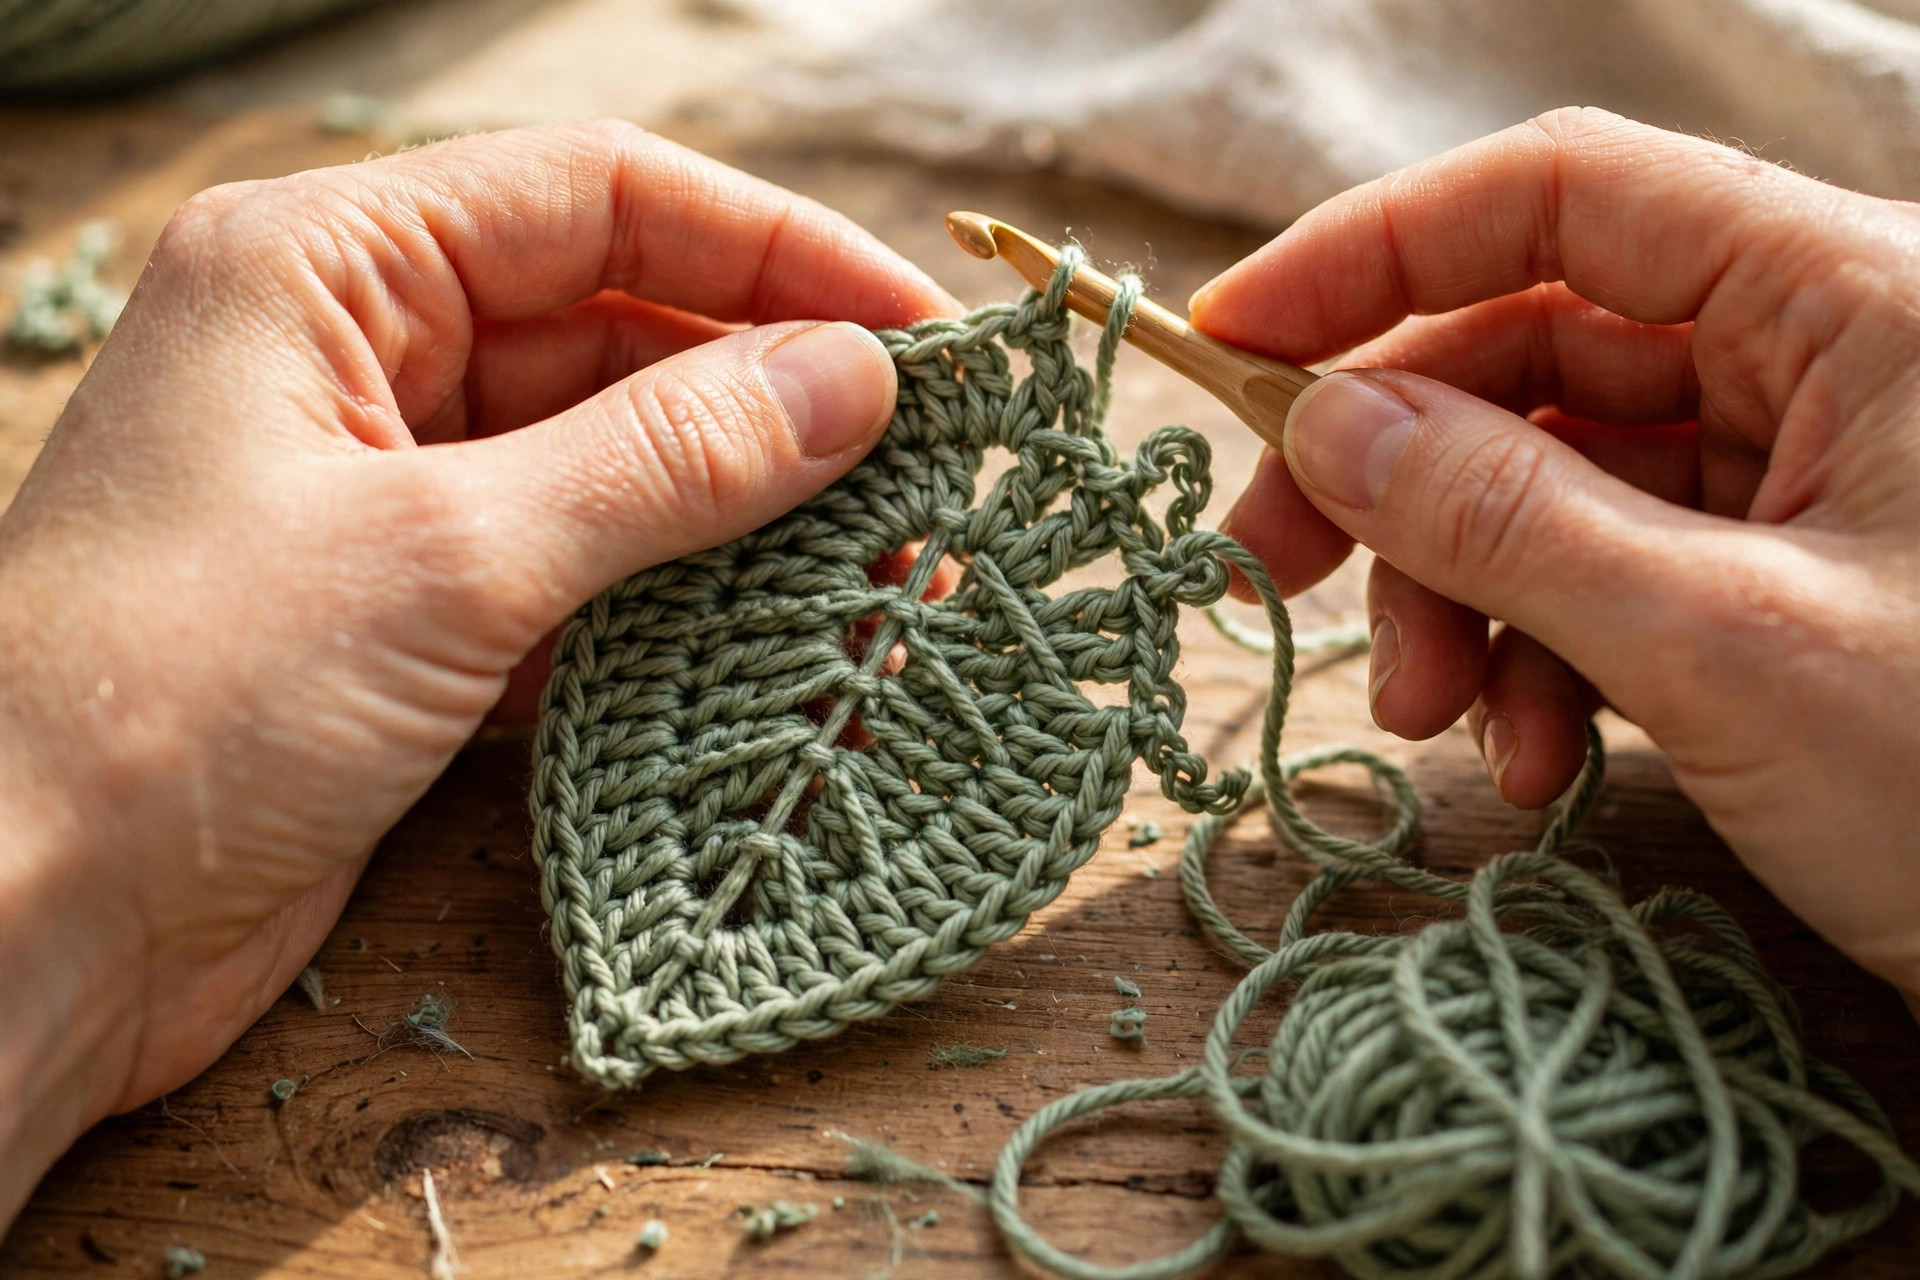
The leaf begins with a short foundation chain. You work down one side of the chain with stitches that grow taller toward the middle and shorter toward the tip, which is what gives the leaf its smooth oval shape. Work with the right side facing you, and keep your tension even so the edge stays smooth.
Foundation Chain and First Side
With your leaf color, ch 12.
- Row 1 (first side): sc in the 2nd ch from the hook, hdc in the next ch, dc in the next 2 ch, tr in the next 2 ch, dc in the next 2 ch, hdc in the next ch, sc in the next ch, (sc, ch 2, sc) in the last ch to form the tip. Do not turn. You have worked 11 sts along one side of the chain, plus the tip group.
The tip group is the pointed end of the leaf, so it should sit neatly at the end of the chain. If the chain twists while you work, smooth it flat with your fingers before you start the second side. The stitches should get taller toward the middle of the leaf and shorter toward both ends, which is what makes the leaf wide in the middle and narrow at the ends.
Part 2: The Second Side, Tip, and Vein
Now you work back along the other side of the foundation chain, mirroring the stitches you just made. This is what turns a flat strip of stitches into a leaf shape, because the two sides meet at the tip and at the base to close the oval.
Second Side
Working into the free loops on the other side of the foundation chain:
- Row 1 (second side): sc in the next ch, hdc in the next ch, dc in the next 2 ch, tr in the next 2 ch, dc in the next 2 ch, hdc in the next ch, sc in the last ch. Sl st to the first sc of Row 1 to join. (22 sts, plus the tip group)
- Fasten off, leaving a 6 inch tail for sewing if you plan to attach the leaf to a project.
Your leaf should now be about 3 inches long and 1.5 inches wide, with a neat pointed tip and a rounded base. Take a moment to admire it, because the hardest part is behind you. The vein and stem in the next part are quick finishing touches that make the leaf look real.
Center Vein
The vein is worked with surface slip stitches down the center of the leaf, from the tip to the base. It gives the leaf a realistic center line and pulls the two sides gently together.
- With a contrast color or the same leaf color, join the yarn with a sl st at the tip of the leaf.
- Work surface slip stitches down the center of the leaf, inserting your hook through the fabric between the two sides of the foundation chain, and pulling a loop through to the front each time.
- Make one slip stitch for each row of the leaf, about 10 to 11 stitches in total, ending at the base.
- Fasten off and weave in the end on the back of the leaf.
The vein should sit in a straight line down the middle of the leaf, like the spine of a real leaf. If it wanders to one side, pull it out and try again, because a straight vein is what makes the leaf look finished. A darker green vein on a light green leaf looks especially pretty, and a gold vein on an orange leaf is lovely for autumn.
Part 3: Stem, Finishing, and Garland Assembly
The stem is a short chain that grows out of the base of the leaf, and it is what lets you tie the leaf to a garland or sew it neatly onto a project. Finishing is quick, and a light blocking makes the leaf lie perfectly flat.
Stem
With the leaf color, join the yarn with a sl st at the base of the leaf, ch 6, sl st in the 2nd ch from the hook and in each ch back to the base. Sl st to the base to join. Fasten off and weave in all ends.
The stem should be about 1 inch long and slightly curved, like a real leaf stem. If you want a longer stem for a garland, chain 10 instead of 6. If you want no stem at all, skip this step, because the leaf looks just as good on its own.
Finishing and Blocking
- Weave in all yarn ends on the back of the leaf with a tapestry needle, and trim them close to the fabric.
- Lay the leaf flat on a blocking mat or a clean towel, and pin the tip and the base so the leaf lies in a neat oval.
- Mist the leaf lightly with water from a spray bottle, or press it gently with a warm iron through a damp cloth, and leave it to dry completely.
- Once dry, unpin it and admire the flat, crisp leaf. If the leaf still curls slightly, block it once more, pinning it a little wider.
Garland Assembly
To make a garland, make 10 to 12 leaves in a mix of greens and autumn colors. Thread a tapestry needle with twine, ribbon, or yarn, and run it through the base of each leaf, spacing the leaves about 2 inches apart. Tie a loop at each end of the twine for hanging, and hang your garland across a mantel, a doorway, or a window. Our crochet garland pattern free has more ideas for stringing motifs into garlands for every season.

Variations: Colors, Sizes, and Uses
- Autumn garland leaves: work leaves in burnt orange, mustard yellow, rust, and olive green, then string them on twine for a fall garland. Our crochet garland pattern free pairs beautifully with these.
- Spring green leaves: work leaves in sage, mint, and lime green for a fresh spring wreath or a baby blanket border. Our crochet flower pattern free adds blossoms to match.
- Leaf coasters: work the large 4.5 inch leaf in cotton, then make a set of four in different colors for pretty leaf coasters. Our flower coaster crochet pattern shows how a flat motif becomes a coaster set.
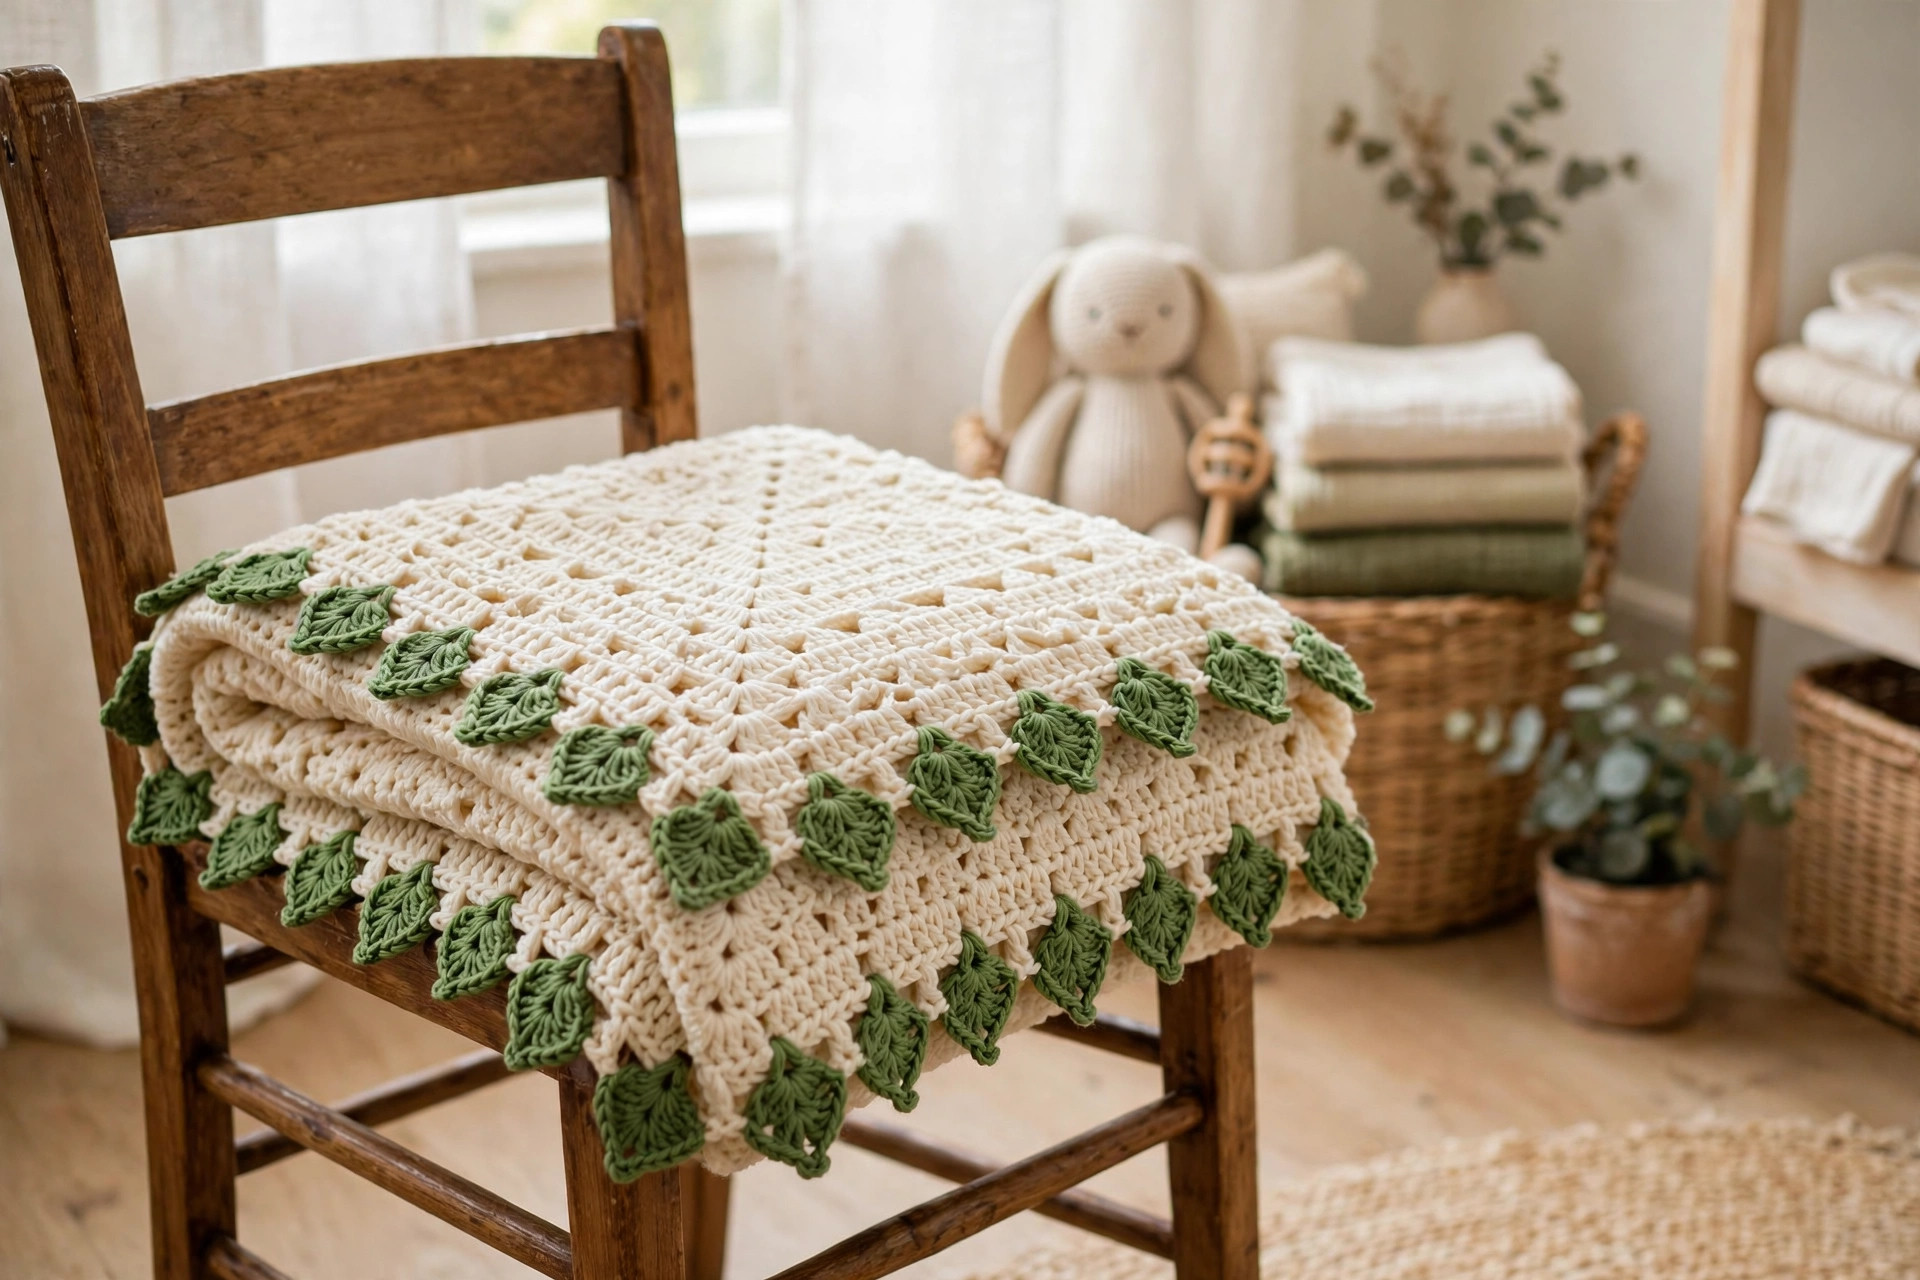
- Leaf blanket border: sew small leaves around the edge of a baby blanket, spacing them evenly, for a garden blanket that looks store bought. The crochet doily patterns free collection has more lace edging ideas.
- Leaf gift tags: make a tiny 2 inch leaf, add a short chain loop, and tie it to a gift as a handmade tag. Our crochet tote bag pattern is a fun project to hang a leaf tag from.
- Leaf hair clips: sew a small leaf onto a plain hair clip or a baby headband for a sweet handmade accessory that takes less than half an hour.
If you enjoyed the quick shaping in this leaf, a maple leaves crochet pattern is a fun next project that uses the same easy stitches to build bold five-pointed lobes.
Troubleshooting Leaves That Curl or Pucker
- My leaf curls upward like a cup. Your tension is too tight, or your stitches are too short for the shape. Go up a hook size, and make sure the treble crochets sit in the middle of the leaf where it should be widest.
- My leaf looks floppy and loose. Your tension is too loose. Go down a hook size so the fabric is firm, and block the leaf flat when you finish.
- My tip is round instead of pointed. The tip group is the key to the point. Make sure you work (sc, ch 2, sc) all into the last chain, and pull the chain 2 tight so it forms a sharp corner.
- My vein wanders off center. Work the surface slip stitches slowly, inserting the hook into the gap between the two sides of the foundation chain each time. If it wanders, pull it out and try again, because the center line is easy to find once you see it.
- My leaf is lopsided. Count your stitches on each side. Both sides should mirror each other, with the same stitches in the same order, so count before you fasten off.
- My garland leaves bunch together. Space the leaves at least 2 inches apart on the twine, and tie a small knot in the twine on each side of each leaf to hold it in place.
Care Instructions
Dust your leaves with a soft dry cloth or a feather duster. If a leaf gets grubby, hand wash it gently in cool water with a tiny amount of mild soap, squeeze gently without wringing, and lay it flat to dry, pinning the tip and base so it keeps its shape. Do not machine wash a garland, and do not put leaves in the dryer. Keep them out of direct sunlight so the colors stay bright.
Frequently Asked Questions
Is this crochet leaf pattern good for beginners?
Yes, it is a great first motif project. You need to know chains, slip stitches, single crochet, half double crochet, double crochet, and treble crochet, and the pattern explains the surface slip stitch vein step by step. Every row ends with a stitch count, so you can check your work as you go.
What yarn is best for a crochet leaf?
DK weight cotton is the best choice, because it holds its shape, lies flat, and shows crisp stitch definition. Acrylic works too, and it comes in the widest range of green and autumn colors. Avoid fuzzy yarns, because they hide the leaf shape.
How big is the finished leaf?
About 3 inches long and 1.5 inches wide, not counting the stem, in DK weight yarn with a 4.0 mm hook. Start with a chain of 8 for a small 2 inch leaf, or a chain of 16 for a large 4.5 inch leaf.
How is this different from a maple leaf pattern?
This is a simple, generic oval leaf with one point, like a leaf on a vine or a stem. A maple leaf has five deep lobes and a very different shape, so it needs a different construction. If you want maple leaves, try our maple leaves crochet pattern next.
Can I sell leaves made from this pattern?
Yes, you may sell finished leaves made from this free pattern, with credit to Little Loop Finds. Please do not sell or republish the pattern text itself.
How many leaves do I need for a garland?
About 10 to 12 leaves makes a garland about 3 feet long, with the leaves spaced 2 inches apart. For a longer mantel garland, make 18 to 20 leaves and space them the same way.
Happy stitching, and may your home be full of color, calm, and one very lovely leaf.