Crochet Race Car Pattern (Free, Quick Toy)
Build a zoom-worthy toy with this free crochet race car pattern, written in US terms with clear step-by-step rounds.

Toys · Crochet
- Finished size
- About 7 in long, 3.5 in wide, 3 in tall
- Making time
- 4 to 5 hours
- Hook
- US E-4 (3.5 mm)
- Set
- Car, 4 wheels, and details
- Skill
- Easy
In this post
- Key Takeaways
- Table of Contents
- Why Kids Love This Race Car
- Finished Size, Skill Level, and Time
- Materials You Need
- Abbreviations (US Terms)
- How the Car Comes Together
- Part 1: The Car Body
- Part 2: Wheels and Hubcaps
- Part 3: Windshield, Spoiler, and Racing Details
- Part 4: Final Assembly
- Customization Ideas
- Troubleshooting
- Play Safety Notes
- Care Instructions
- Frequently Asked Questions
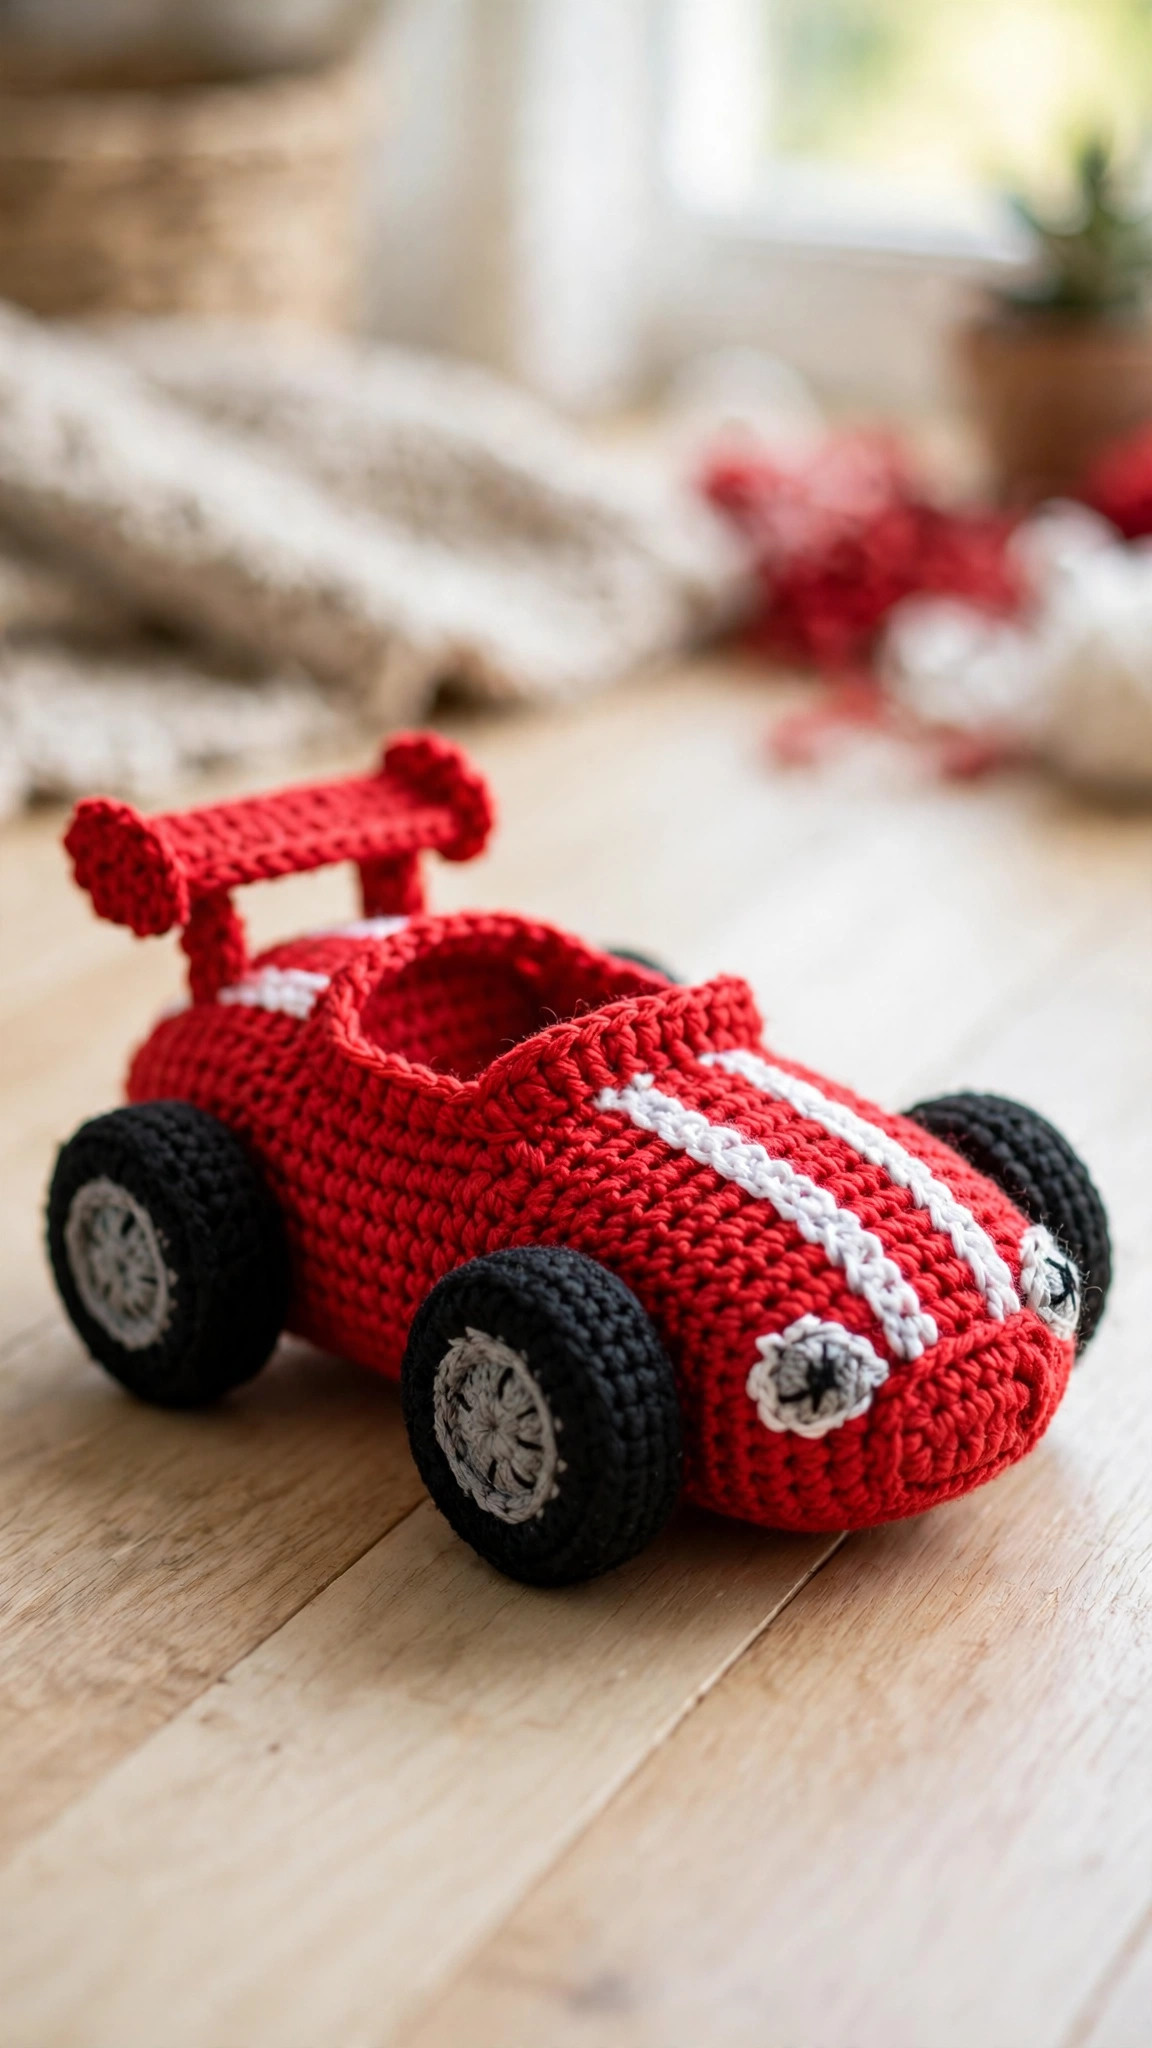
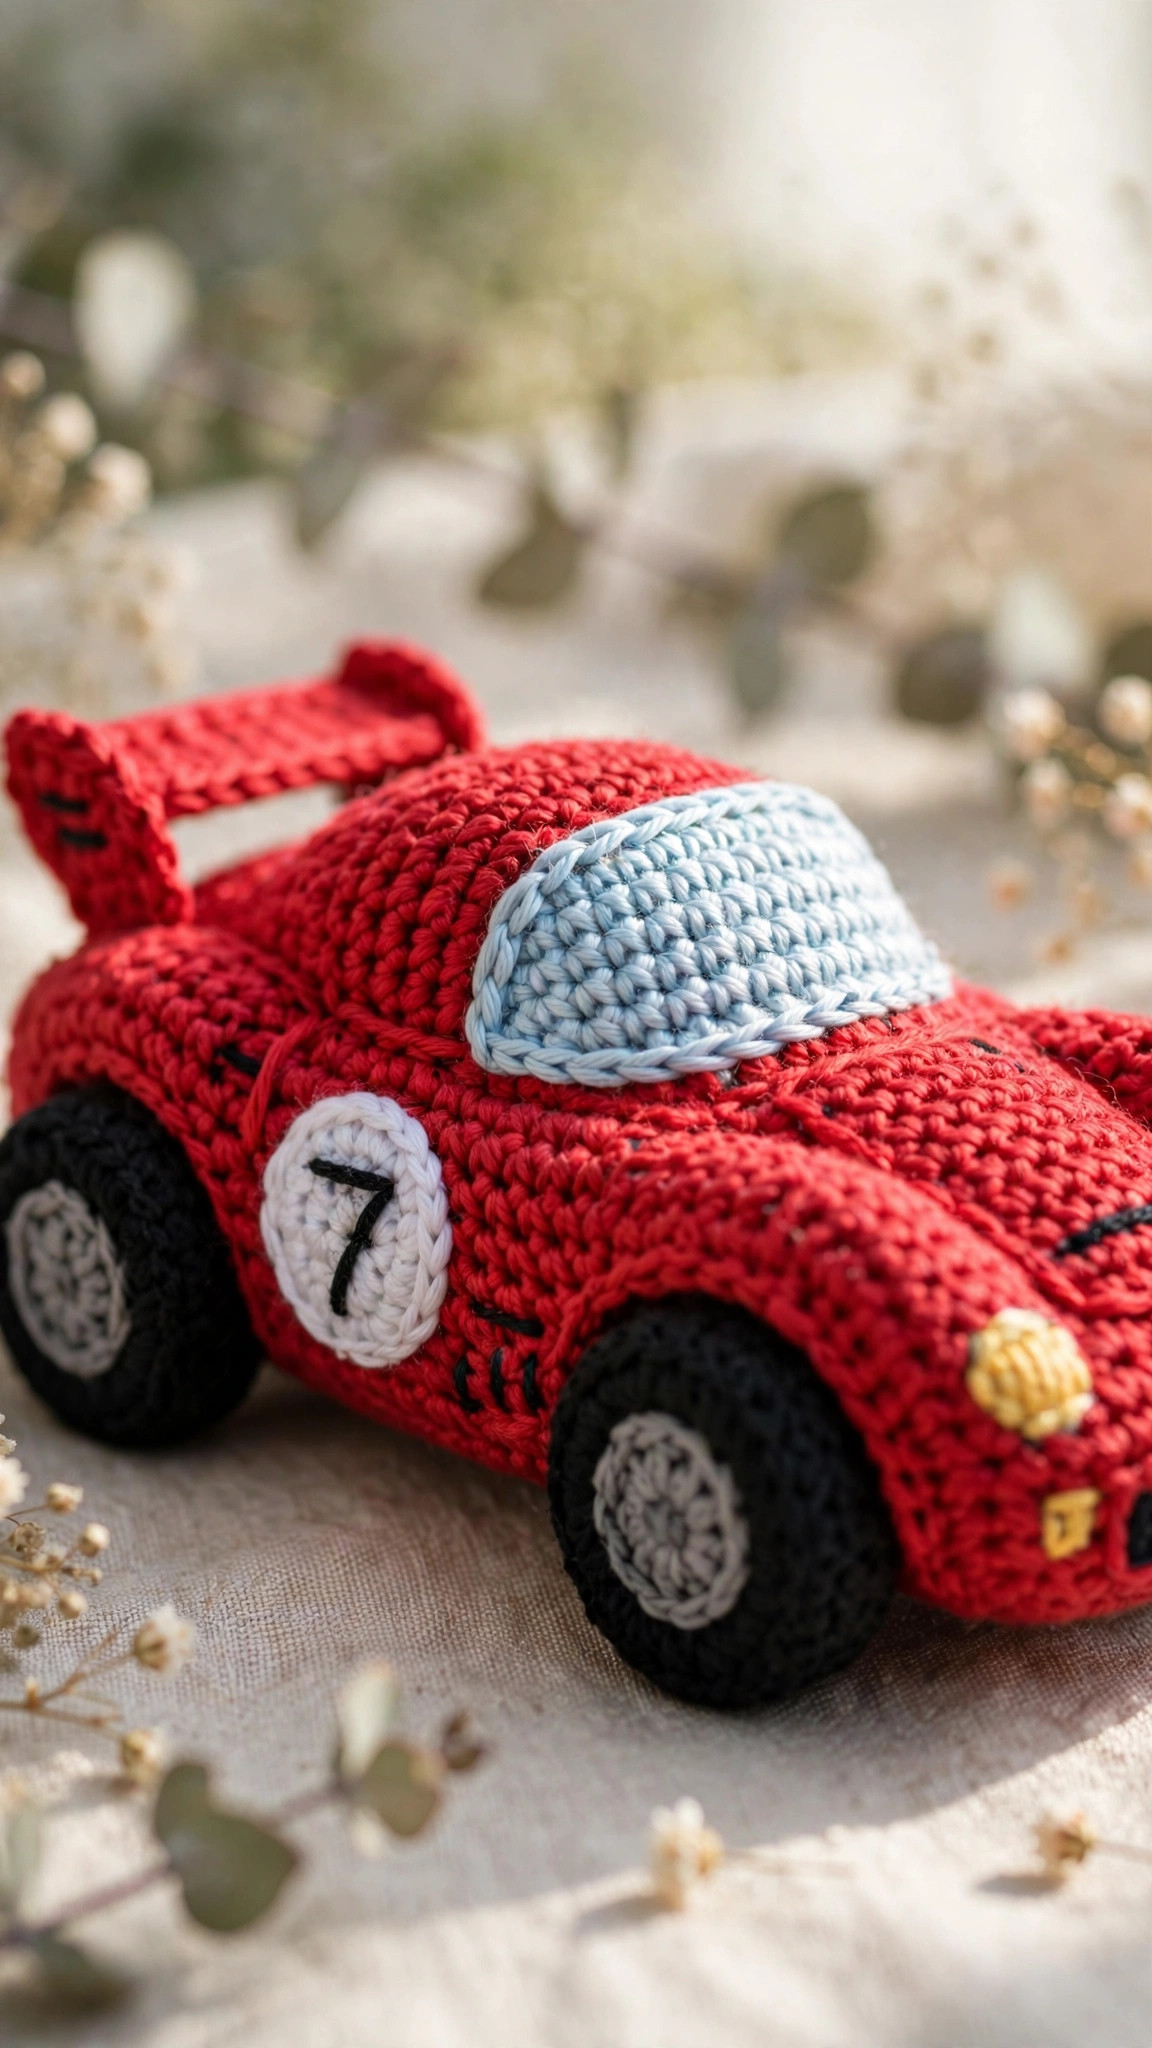
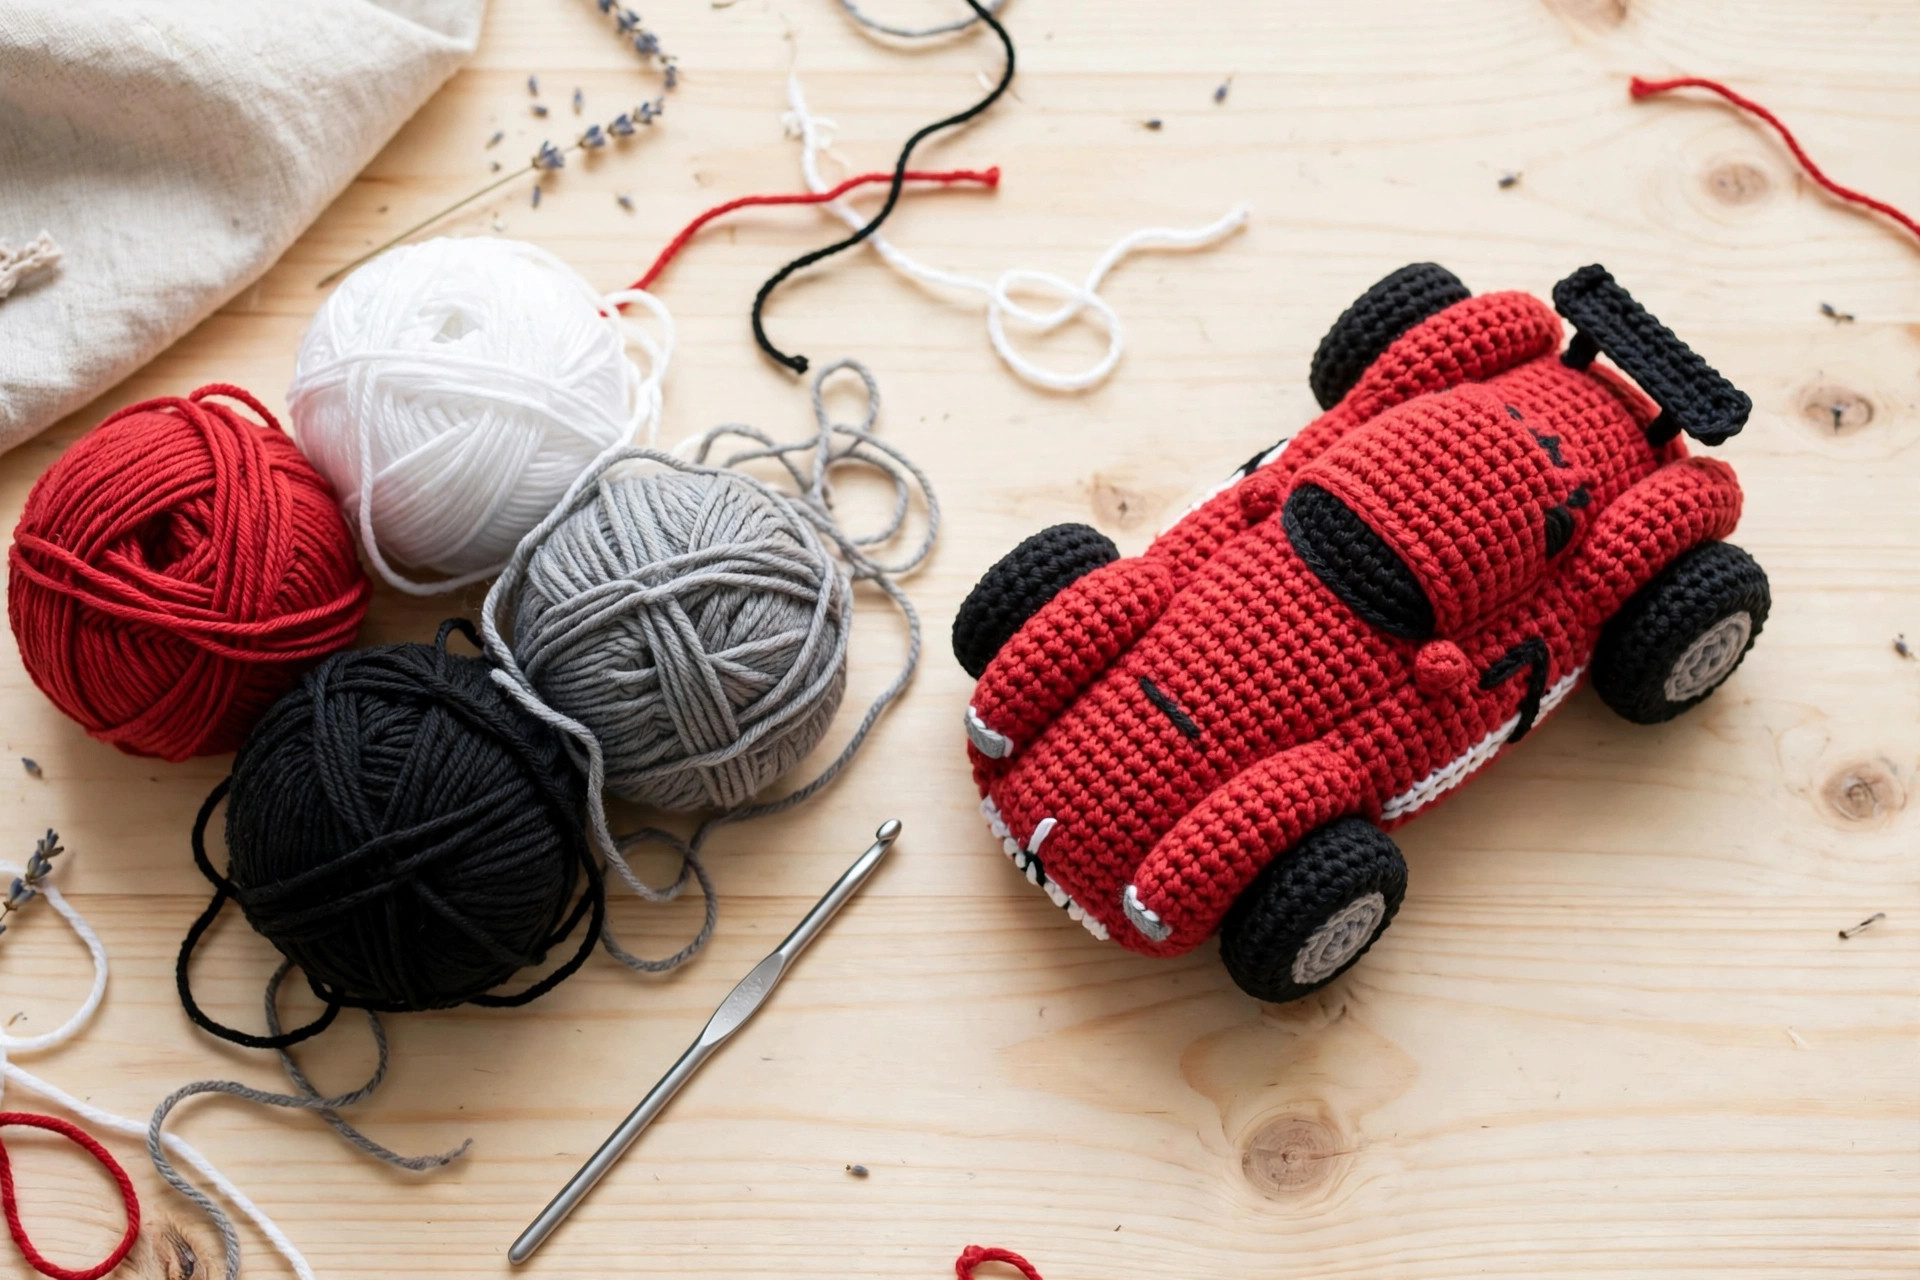
Every kid knows the sound a toy car makes when it zooms across the kitchen floor, and now you can crochet the car to go with it. This free crochet race car pattern builds a chunky little speedster about 7 inches long, with a bright red body, white racing stripes, turning wheels with gray hubcaps, a tilted windshield, a rear spoiler, and a number roundel you can personalize. It is soft enough for toddlers, sturdy enough for serious floor racing, and cute enough to sit on a shelf when playtime is over.
This is an original Little Loop Finds design, written in US crochet terms. The car body is one clever oval that grows from a flat base into a rounded shell in simple single crochet rounds, and every detail, the wheels, the spoiler, the windshield, the headlights, is a tiny separate piece you sew on. There is no complicated shaping and no plastic parts required, which makes this a perfect first toy project and a fast gift make.
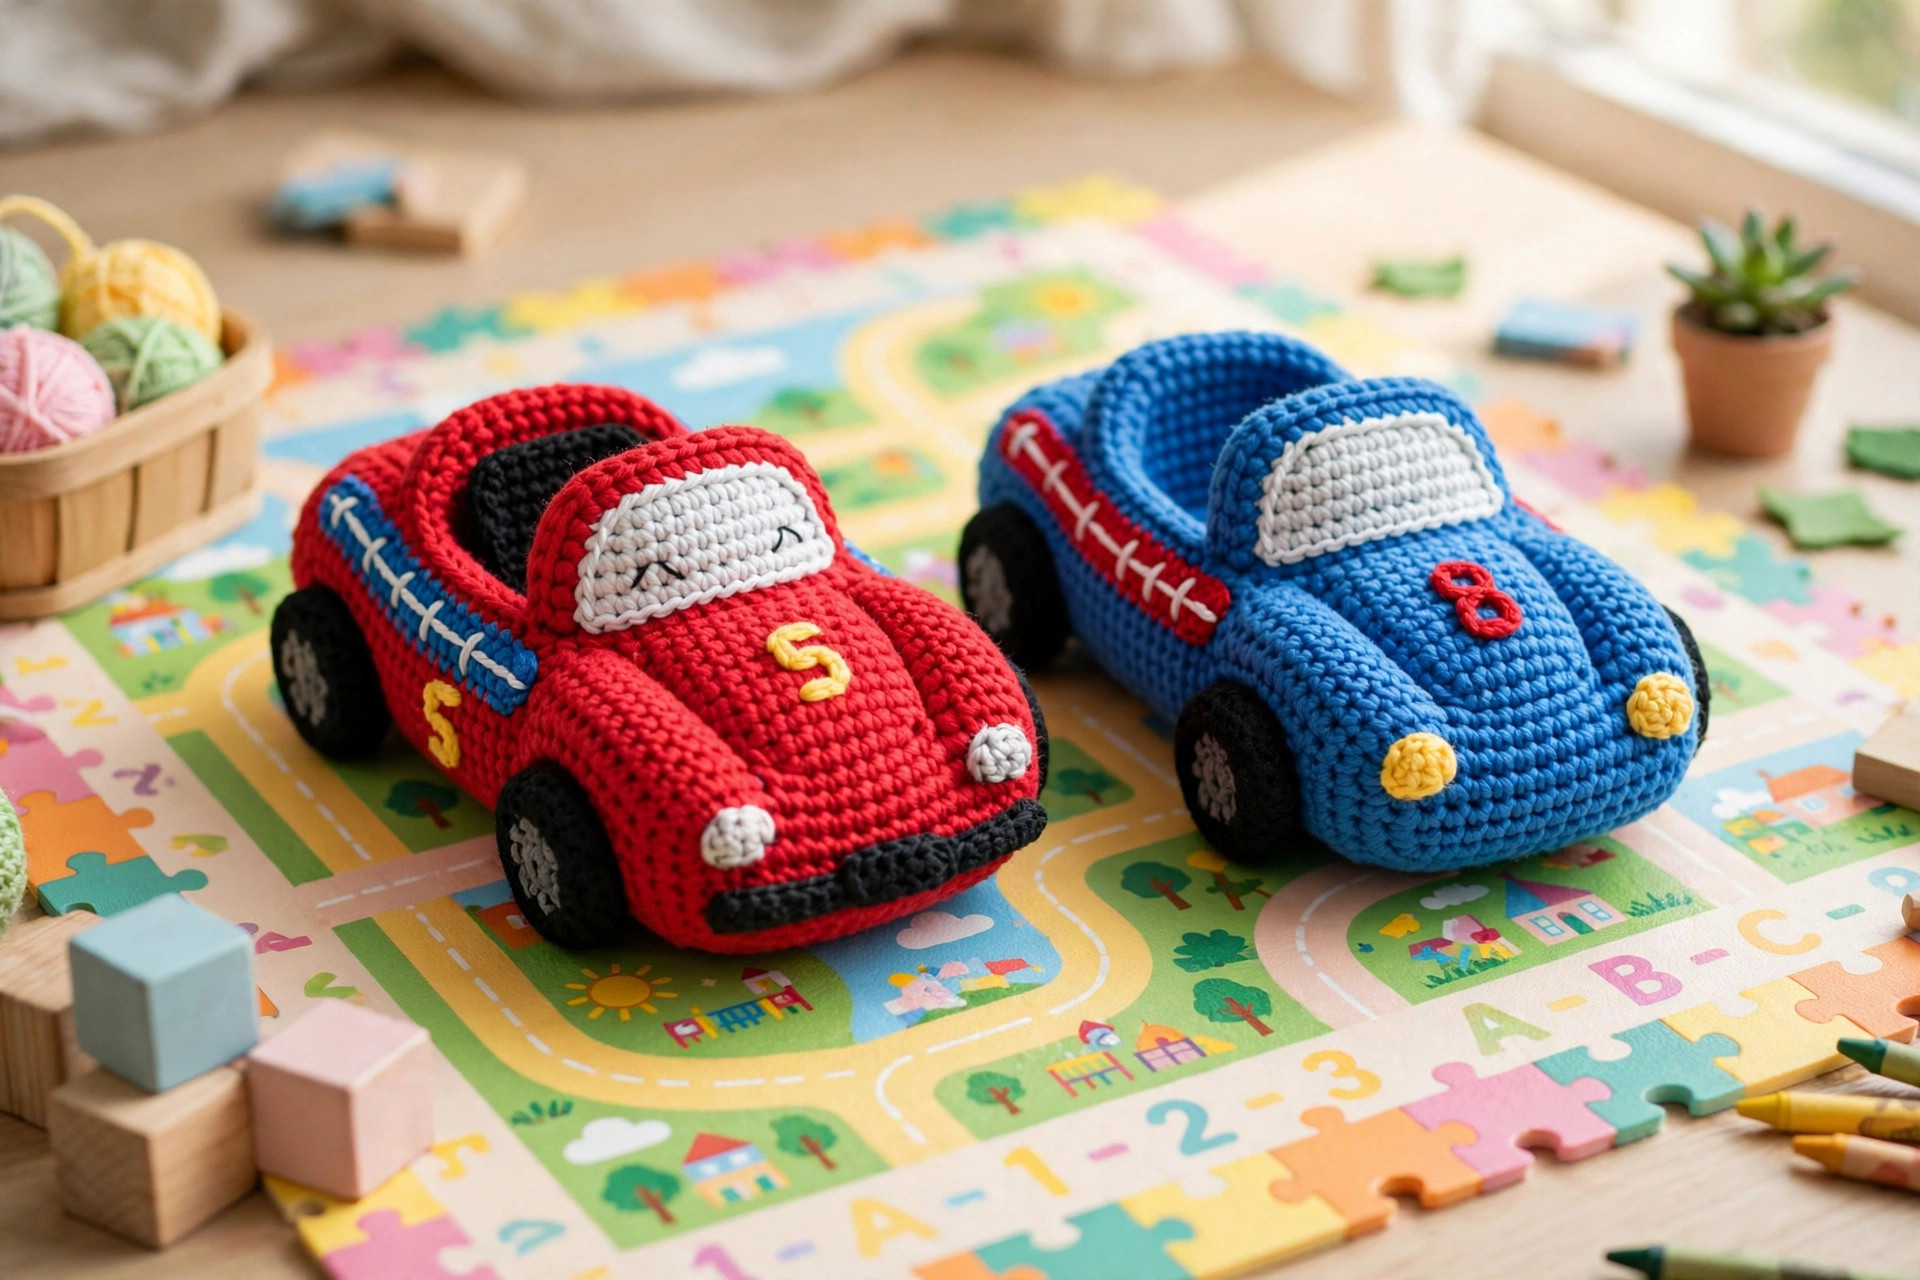
Race cars are gift gold. They suit birthdays, holiday stockings, party favors, and nursery decor for little speed fans. Stitch one in an afternoon, or make a whole starting grid in different team colors using the customization ideas below. Most makers finish the whole car in 4 to 5 hours, and the assembly step is where it really comes to life.
Key Takeaways
- Free and original: this crochet race car pattern is a Little Loop Finds original design, written in US terms, and completely free.
- Quick toy build: one oval body plus small sewn-on details, about 4 to 5 hours from first chain to finish line.
- Kid tough: soft, washable, and made with zero hard parts when you embroider the details, safe for toddlers to zoom around.
- Personal touches: racing stripes, a number roundel, and a spoiler you can customize with any colors or lucky number.
- Great gift: perfect for birthdays, stockings, and party favors, and fast enough to batch make.
Table of Contents
- Why Kids Love This Race Car
- Finished Size, Skill Level, and Time
- Materials You Need
- Abbreviations (US Terms)
- How the Car Comes Together
- Part 1: The Car Body
- Part 2: Wheels and Hubcaps
- Part 3: Windshield, Spoiler, and Racing Details
- Part 4: Final Assembly
- Customization Ideas
- Troubleshooting
- Play Safety Notes
- Care Instructions
- Frequently Asked Questions
Why Kids Love This Race Car
Toy cars are one of those universal kid magnets, and a crocheted one has a secret advantage over plastic: it is soft. It will not scratch the furniture, it will not clatter at 6 a.m. on hardwood floors, and it survives being launched off the couch without a scratch. Parents love that. Kids love that it is squishy, bright, and theirs in a way no store bought car ever is.
This pattern is also a satisfying build for the maker. The body works up fast because it is mostly plain rounds, and then you get the fun reward phase: sewing on wheels, adding the spoiler, stitching the stripes, and embroidering a number. Each detail takes only minutes but transforms the plain red shell into a proper race car. If you have ever wanted to try amigurumi toys but felt intimidated, this is the ideal starting line.
For another quick toy that kids adore, try our free crochet football pattern, which uses the same simple round shaping.
Finished Size, Skill Level, and Time
- Finished size: about 7 inches long, 3.5 inches wide, and 3 inches tall, measured with worsted weight yarn and a US E-4 (3.5 mm) hook. Tension changes the size a little.
- Skill level: easy. You should know how to chain, single crochet in the round and in rows, increase, decrease, and sew pieces together with a tapestry needle.
- Making time: 4 to 5 hours total, including about 45 minutes for sewing on the details.
Materials You Need
- Worsted weight (#4) acrylic yarn: about 150 yards of red (main color), 40 yards of black, 30 yards of white, 20 yards of gray, plus small scraps of light blue and pale yellow.
- US E-4 (3.5 mm) crochet hook. As with all amigurumi, a hook one size smaller than the label suggests keeps stitches tight.
- Polyester fiberfill stuffing, about 3 to 4 ounces.
- Tapestry needle with a large eye.
- Stitch marker.
- Scissors.
Abbreviations (US Terms)
- MR = magic ring
- ch = chain
- sc = single crochet
- inc = increase (2 sc in the same stitch)
- dec = decrease (single crochet 2 together)
- sl st = slip stitch
- st(s) = stitch(es)
- BLO = back loop only
- R = round
How the Car Comes Together
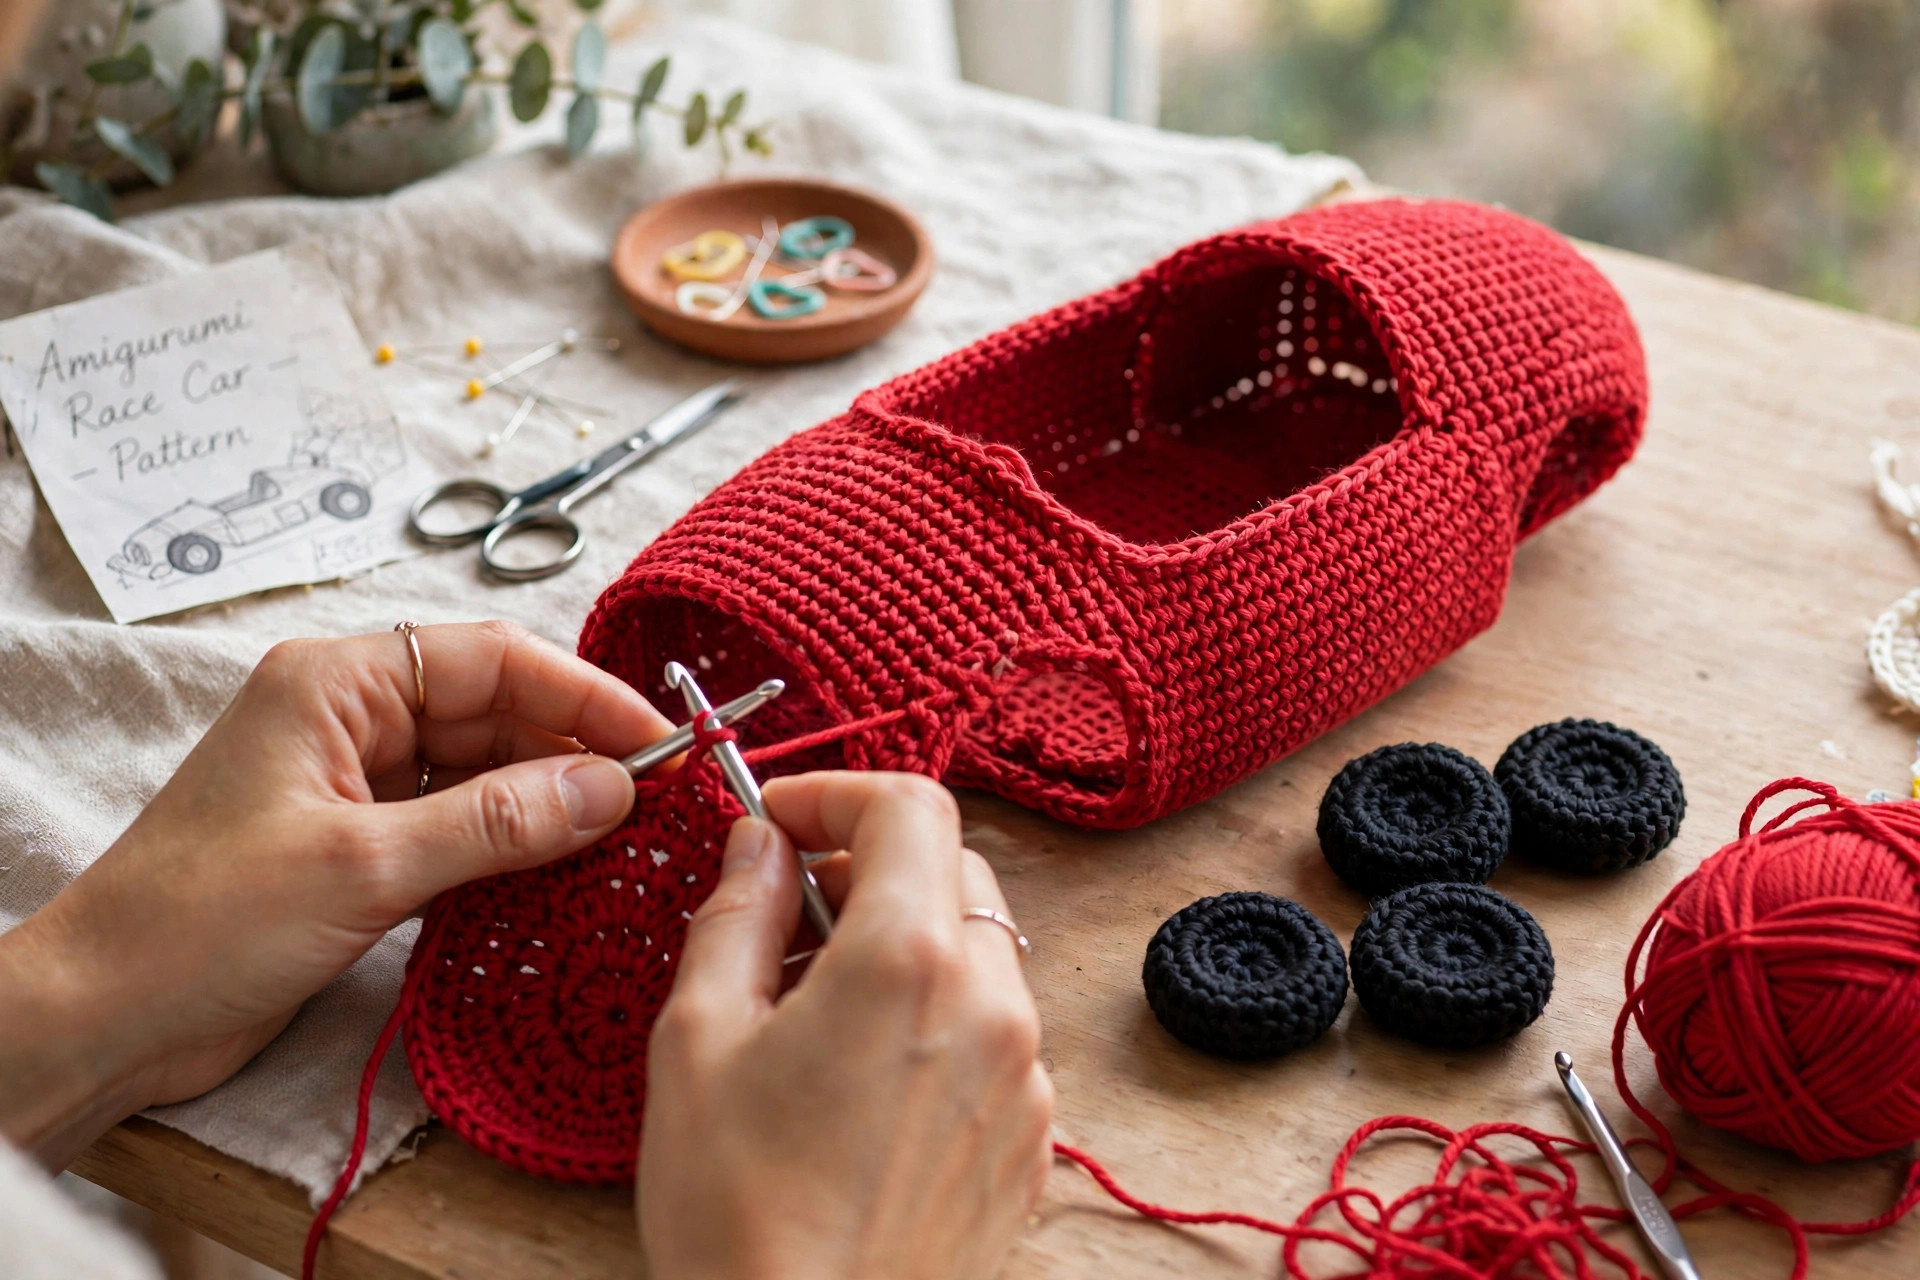
A real car has a chassis, wheels, glass, and trim, and your crochet car is built the same way, in pieces. The body starts as a flat oval base, then the sides grow straight up for a few rounds before the top is shaped inward and closed. That gives you a plump little shell with a defined bottom edge, which is what makes it look like a car instead of a blob.
Everything else is sewn on: four wheels with hubcaps, a windshield tilted at the front, a spoiler on the back, headlights, a number roundel on each side, and racing stripes stitched right onto the body. Because the details are separate pieces, you can place them exactly where they look best, and nothing requires embroidery skill beyond straight stitches and simple shapes.
Part 1: The Car Body
Work the body in joined rounds with red yarn. At the end of each round, join with a slip stitch to the first stitch, then chain 1 to start the next round. The chain 1 does not count as a stitch.
R1: Ch 21. Sc in the 2nd ch from the hook and in the next 18 chs, 3 sc in the last ch. Now working along the opposite side of the chain, sc in the next 18 chs, 2 sc in the last ch. Join with sl st to the first sc. (42) R2: Ch 1, inc in the first st, sc in the next 18 sts, inc in the next 3 sts, sc in the next 18 sts, inc in the next 2 sts. Join. (48) R3: Ch 1, sc in the first st, inc in the next st, sc in the next 18 sts, (sc in the next st, inc in the next st) x3, sc in the next 18 sts, (sc in the next st, inc in the next st) x2. Join. (54) R4: Ch 1, working in BLO, sc in each st around. Join. (54) R5 to R8: Ch 1, sc in each st around. Join. (54) [4 rounds]
The back loop round at R4 creates a crisp edge between the base and the sides, which is what gives the car its tidy bottom line.
R9: Ch 1, (sc in the next 7 sts, dec) x6. Join. (48) R10 to R11: Ch 1, sc in each st around. Join. (48) [2 rounds] R12: Ch 1, (sc in the next 6 sts, dec) x6. Join. (42) R13: Ch 1, sc in each st around. Join. (42) R14: Ch 1, (sc in the next 5 sts, dec) x6. Join. (36) R15: Ch 1, sc in each st around. Join. (36)
Pause and stuff the body firmly, pressing the fiberfill into the corners so the sides stay plump and smooth.
R16: Ch 1, (sc in the next 4 sts, dec) x6. Join. (30) R17: Ch 1, (sc in the next 3 sts, dec) x6. Join. (24) R18: Ch 1, (sc in the next 2 sts, dec) x6. Join. (18) R19: Ch 1, (sc in the next st, dec) x6. Join. (12) R20: Ch 1, dec x6. Join. (6)
Fasten off, thread the tail through the remaining stitches, pull closed, and weave in the end. The top should be gently rounded, like the roofline of a cartoon car.
Part 2: Wheels and Hubcaps
Wheels, make 4 (black): Work in continuous rounds with a stitch marker. R1: MR, 6 sc in the ring. (6) R2: Inc in each st around. (12) R3: (Sc in the next st, inc in the next st) x6. (18) R4: Working in BLO, sc in each st around. (18) R5: Sc in each st around. (18) R6: (Sc in the next st, dec) x6. (12)
Stuff each wheel lightly so it keeps its round shape but still squishes a little. R7: Dec x6. (6)
Fasten off, close the hole, and leave a 12 inch tail for sewing.
Hubcaps, make 4 (gray): R1: MR, 6 sc in the ring. (6) R2: Inc in each st around. (12)
Fasten off, leaving a 10 inch tail. Sew one hubcap flat onto the outer face of each wheel, centered. The hubcap should sit on the side that faces outward when the wheel is attached.
If your little one loves squishy toys, our fidget crochet pattern is another quick make designed for busy hands.
Part 3: Windshield, Spoiler, and Racing Details
Windshield (light blue): Work in rows, turning at the end of each row. R1: Ch 9. Sc in the 2nd ch from the hook and in each ch across. Ch 1, turn. (8) R2 to R3: Sc in each st across. Ch 1, turn. (8) R4: Sc in each st across. (8)
Fasten off, leaving a 12 inch tail. This rectangle is sewn tilted at the front top of the body, like a raked windshield.
Spoiler (red): R1: Ch 13. Sc in the 2nd ch from the hook and in each ch across. Ch 1, turn. (12) R2: Sc in each st across. (12)
Fasten off, leaving a 14 inch tail.
Spoiler supports, make 2 (black): Ch 5. Sc in the 2nd ch from the hook and in each ch across. (4)
Fasten off, leaving a tail on each support.
Number roundels, make 2 (white): Work in continuous rounds. R1: MR, 6 sc in the ring. (6) R2: Inc in each st around. (12)
Fasten off, leaving a 12 inch tail. Embroider a number on each roundel with black yarn before sewing it on. A simple "1" is classic, or use the birthday child's age for a personalized gift.
Headlights, make 2 (pale yellow): MR, 6 sc in the ring. Join with sl st. Fasten off, leaving a tail.
Racing stripes: Thread white yarn on your tapestry needle. Working on the top center of the body, add two parallel lines of surface slip stitches running from the front of the car to the back, about half an inch apart. To surface slip stitch, insert your hook under a stitch on the surface, yarn over, and pull through, repeating along the line. Keep the lines straight by following a single column of stitches.
Part 4: Final Assembly
Use the long tails and a tapestry needle, and pin pieces in place before sewing so you can check the look.
Step 1: Sew the four wheels to the lower sides of the body, two per side, positioned toward the front and back. Tuck them slightly under the body so the car sits level. The hubcaps face outward.
Step 2: Sew the windshield to the front top of the body, tilting it back at a jaunty angle. The bottom edge of the windshield should sit a little forward of the top edge.
Step 3: Sew the two black supports upright at the rear top of the body, then sew the red spoiler across the tops of the supports so it hovers just above the back of the car.
Step 4: Sew one number roundel to each side of the body, centered between the wheels.
Step 5: Sew the two headlights to the front of the car, spaced evenly.
Step 6: Double check that the racing stripes run straight down the center, then weave in all remaining ends, hiding them inside the stuffing.
Set the car down and give it a gentle push. It should sit level on all four wheels and roll a few inches on a smooth floor, which is exactly what the small driver in your life will test first.
Customization Ideas
One pattern, a whole starting grid. Here are five themes our test makers loved:
- Classic racer: red body, white stripes, black wheels, number 1, exactly as written.
- Midnight ride: black body with neon yellow stripes and gray hubcaps, dramatic for older kids.
- Birthday special: body in the birthday child's favorite color, with their new age embroidered on the roundels.
- Team colors: match the body and stripes to a favorite racing team or sports team for a fan gift.
- Pastel parade: mint, blush, or baby blue body with white details, sweet for a nursery shelf.
For a slow and steady racing rival, our crochet turtle patterns make the perfect opponent for your speedy car.
Mini makes pair well with this car: our mini amigurumi patterns collection has tiny drivers and accessories in the same quick style.
Troubleshooting
My oval base is wavy instead of flat. You likely have too many stitches. Count R1 carefully: 42 stitches total. If the base ripples, frog back and recount the increases.
The body leans to one side. Uneven stuffing is the usual cause. Add more fiberfill to the thin side and press it into shape. Check that all four wheels are sewn at the same height.
The top closed with a pucker. The final decrease rounds were worked too loosely, or the hole was pulled shut unevenly. Weave the tail through the last round twice, pull gently and evenly, and the pucker will smooth out.
My surface slip stitch stripes are wobbly. Follow a single column of stitches as your guide, and keep each slip stitch the same size. If a line goes crooked, pull it out and redo it; surface stitches come out easily.
The spoiler flops over. The supports need to be sewn deeper into the body. Push each support a quarter inch into the body stitches and sew around the base firmly on both sides.
Play Safety Notes
This car is designed to be toddler safe. There are no plastic parts, no buttons, and nothing small enough to come loose when everything is sewn securely. Before handing it to a child under three, tug firmly on every sewn piece, the wheels especially, and weave all ends deep into the stuffing. Re-check the wheels every few months of hard play, since enthusiastic racing is exactly what this toy is for.
Care Instructions
Acrylic yarn cars can go in the washing machine on gentle inside a pillowcase, then air dry. This matters, because toy cars visit floors, sandboxes, and occasionally the dog's mouth. If a wheel loosens after many washes, a few stitches with matching yarn put it right back. Keep the car out of long direct sun so the red stays bright.
Frequently Asked Questions
Is this crochet race car hard to make?
Not at all. The body is simple single crochet rounds, and every detail is a small separate piece. If you can increase, decrease, and sew pieces together, you can make this car in an afternoon or two.
How long does it take to crochet the race car?
Most makers finish in 4 to 5 hours. The body takes about two hours, the wheels and details about an hour, and sewing everything on about 45 minutes.
Will the car actually roll?
It rolls a few inches on smooth floors when pushed, which is plenty for toddler play. It is a soft toy, not a precision vehicle, so do not expect it to win any distance contests.
What yarn is best for crochet toys?
Worsted weight acrylic is the practical choice: it is washable, durable, affordable, and comes in every racing color. Cotton blends also work and give slightly crisper stitch definition.
Can I make the car bigger?
Yes. Use bulky weight yarn with a US H-8 (5.0 mm) hook and follow the pattern exactly; the car will come out about 30 percent larger. For a smaller car, use DK weight yarn with a 3.0 mm hook.
Can I sell finished race cars made from this pattern?
Yes. You are welcome to sell finished cars you make from this original pattern. Please credit Little Loop Finds as the pattern designer and do not redistribute the pattern itself.
Why does my car sit crooked?
Check two things: that the body is stuffed evenly on both sides, and that all four wheels are sewn at the same height. Pin the wheels in place and set the car on a table to test before you finish sewing.
Looking for more soft toys in the same style? Our one-piece teddy bear pattern is another kid favorite with minimal sewing. Happy crocheting, and start your engines.