Crochet cat bed pattern free: cozy donut bed
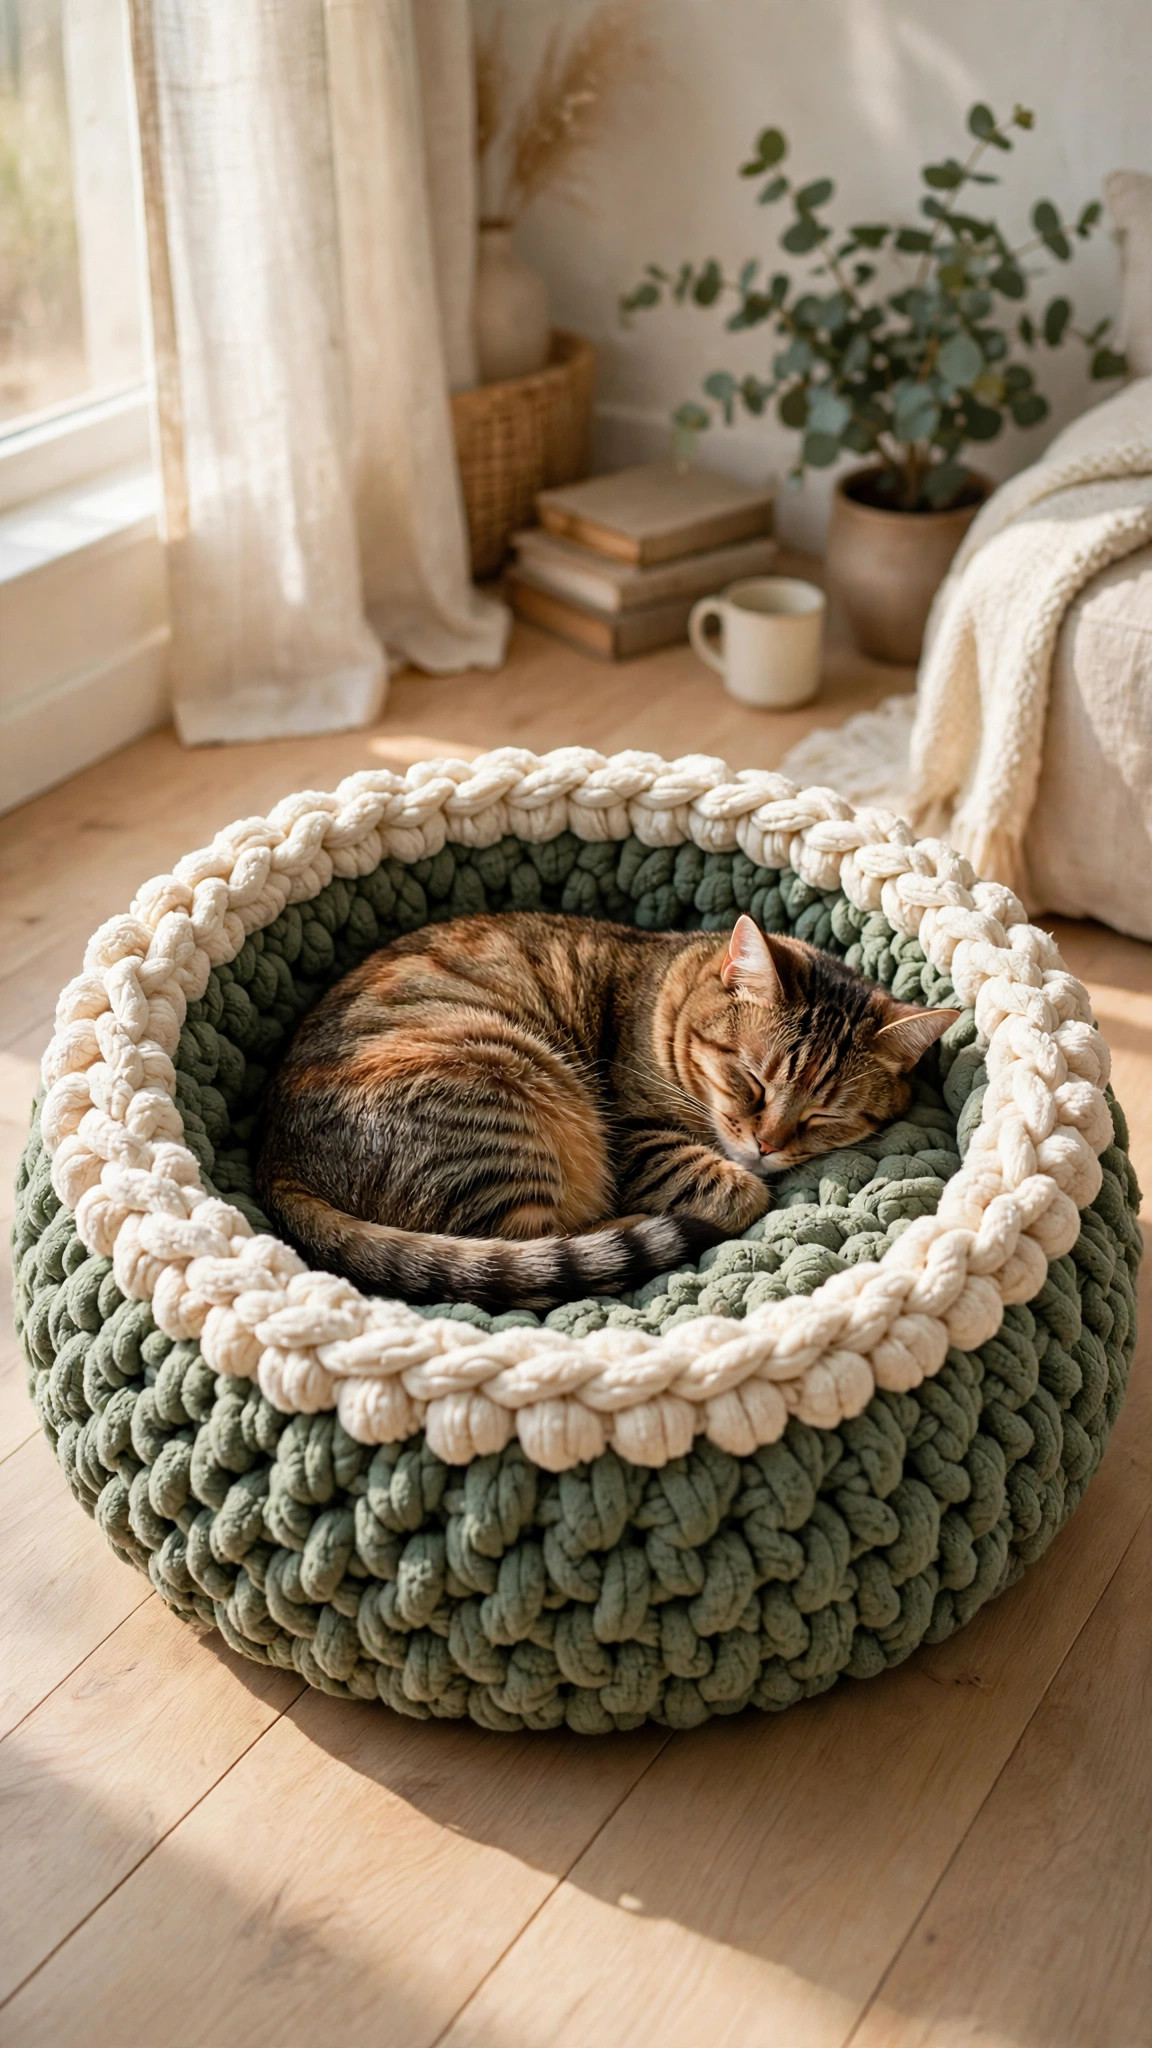
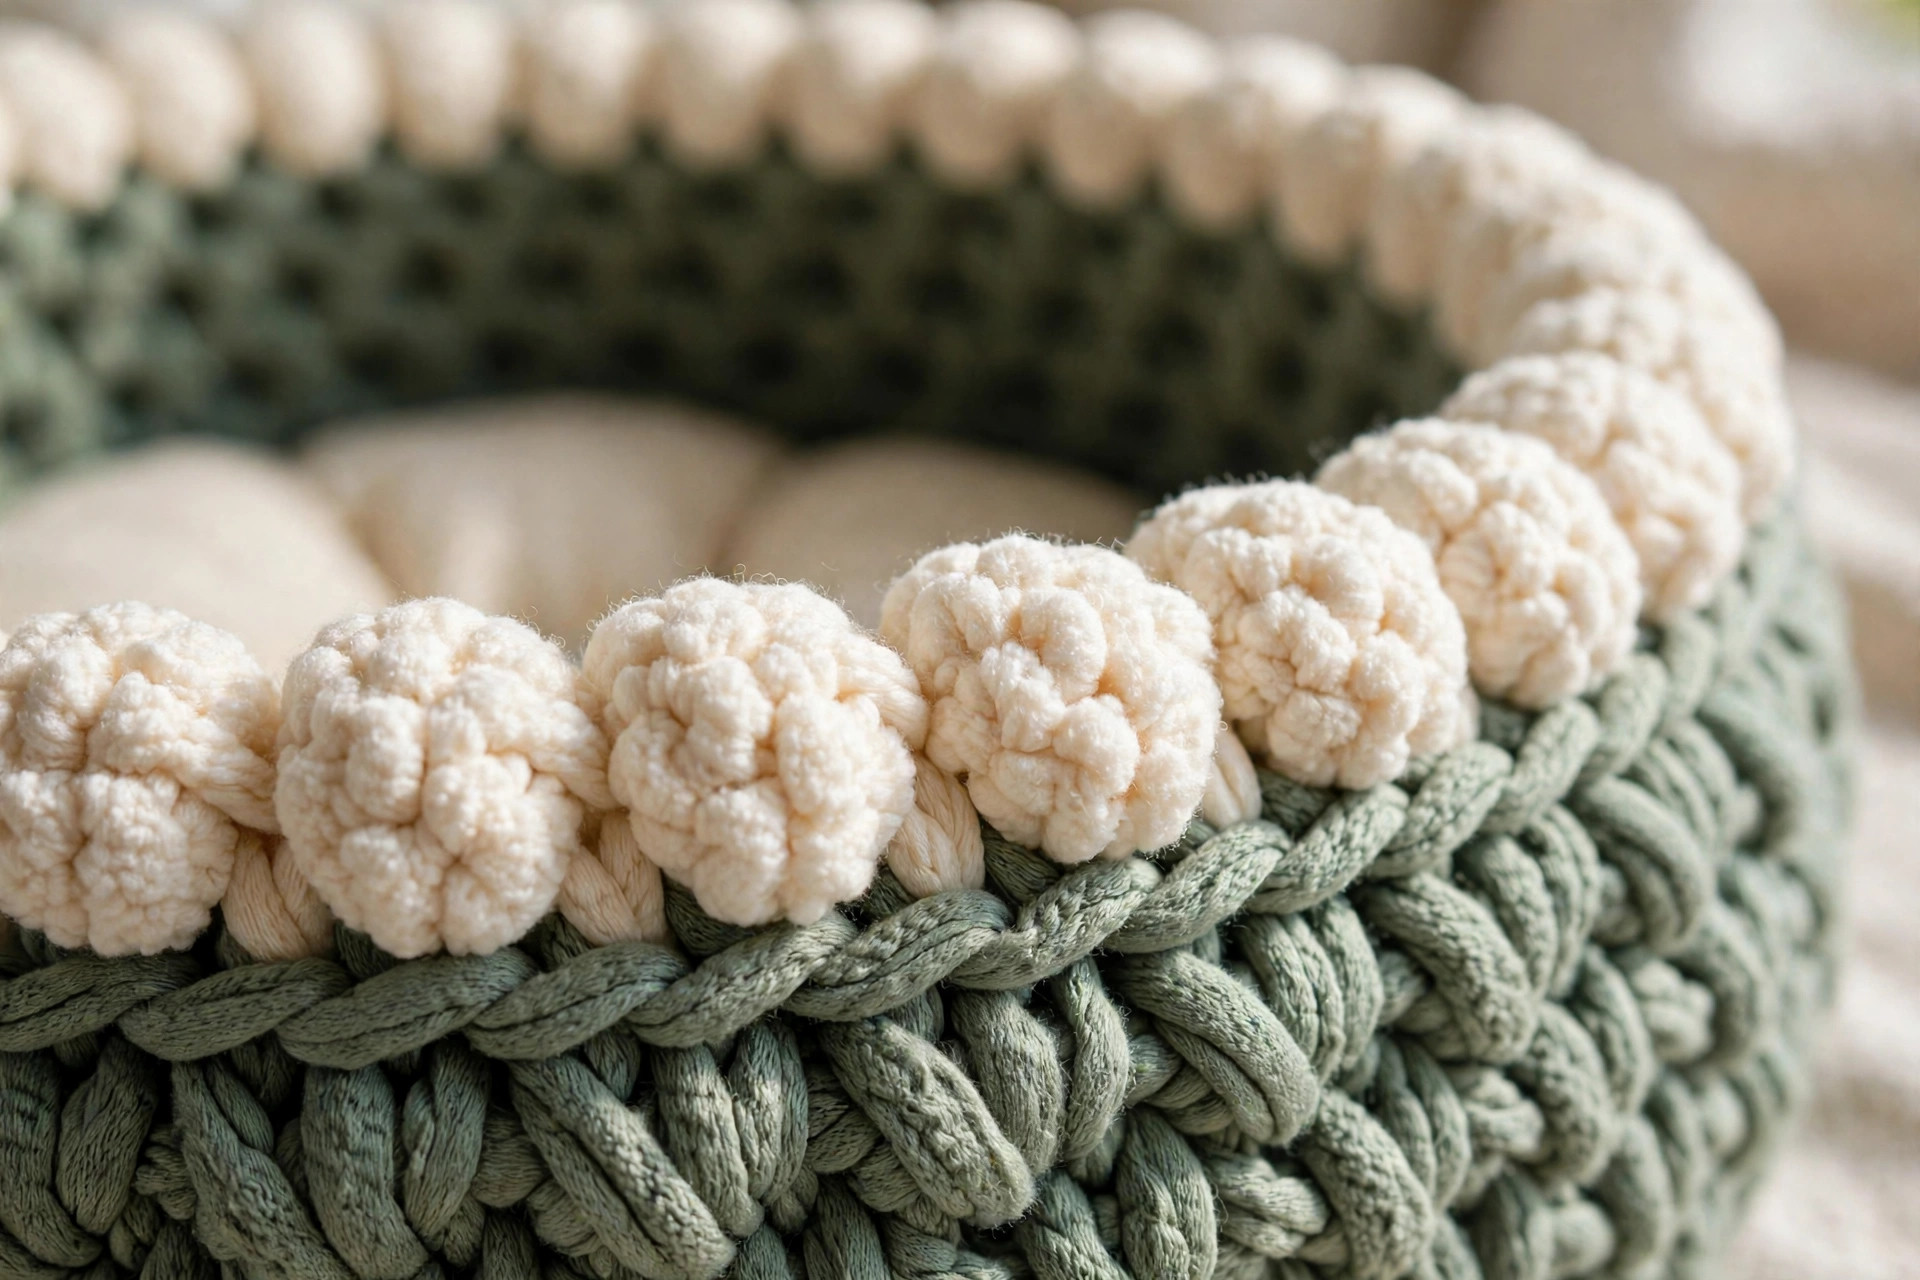
A cozy round donut bed with a low squashy wall and a plush puff-stitch rim, worked in the round from the center out with no seaming, in a relaxing weekend project your cat will actually use.

Home Decor · Crochet
- Finished size
- 18 in across, 4 in tall (Medium)
- Making time
- About 5–9 hours
- Hook
- 8.0 mm, bulky-weight yarn
- Construction
- Worked in the round, no seaming
- Skill
- Beginner
In this post
If your cat has claimed every laundry pile, sofa cushion, and sunbeam in the house, it is time to give them a bed of their own. This free crochet cat bed pattern makes a soft, round donut bed with a low, squashy wall and a plush puff-stitch rim, the kind of nest cats curl into and refuse to leave. It is worked in the round from the center out, so there is no seaming and no fiddly assembly at the end. Just keep going around until the bed is big enough for your cat, build the wall up, and finish with a cloud-soft rim.
Why you'll love this free crochet cat bed pattern
Most cat beds you buy are either a flat mat your cat ignores or a cave your cat refuses to enter. This donut bed hits the sweet spot cats actually choose: a flat, cushioned middle for sprawling, and a low bolstered wall they can lean against, knead, and rest their chin on. The wall is only a few inches high, so even older cats and kittens can step in and out easily, and the puff-stitch rim gives them a soft edge to burrow their face into.
The construction is as simple as crochet gets. The base is a plain circle worked in single crochet, increasing by six stitches every round, the same rhythm as a granny circle or a round rug. Once the base is wide enough, you stop increasing and keep going around: the fabric naturally turns upward into a wall. Change to a contrast color for the rim, work three easy rounds, and you are done. There is nothing to sew together and nothing to stuff.
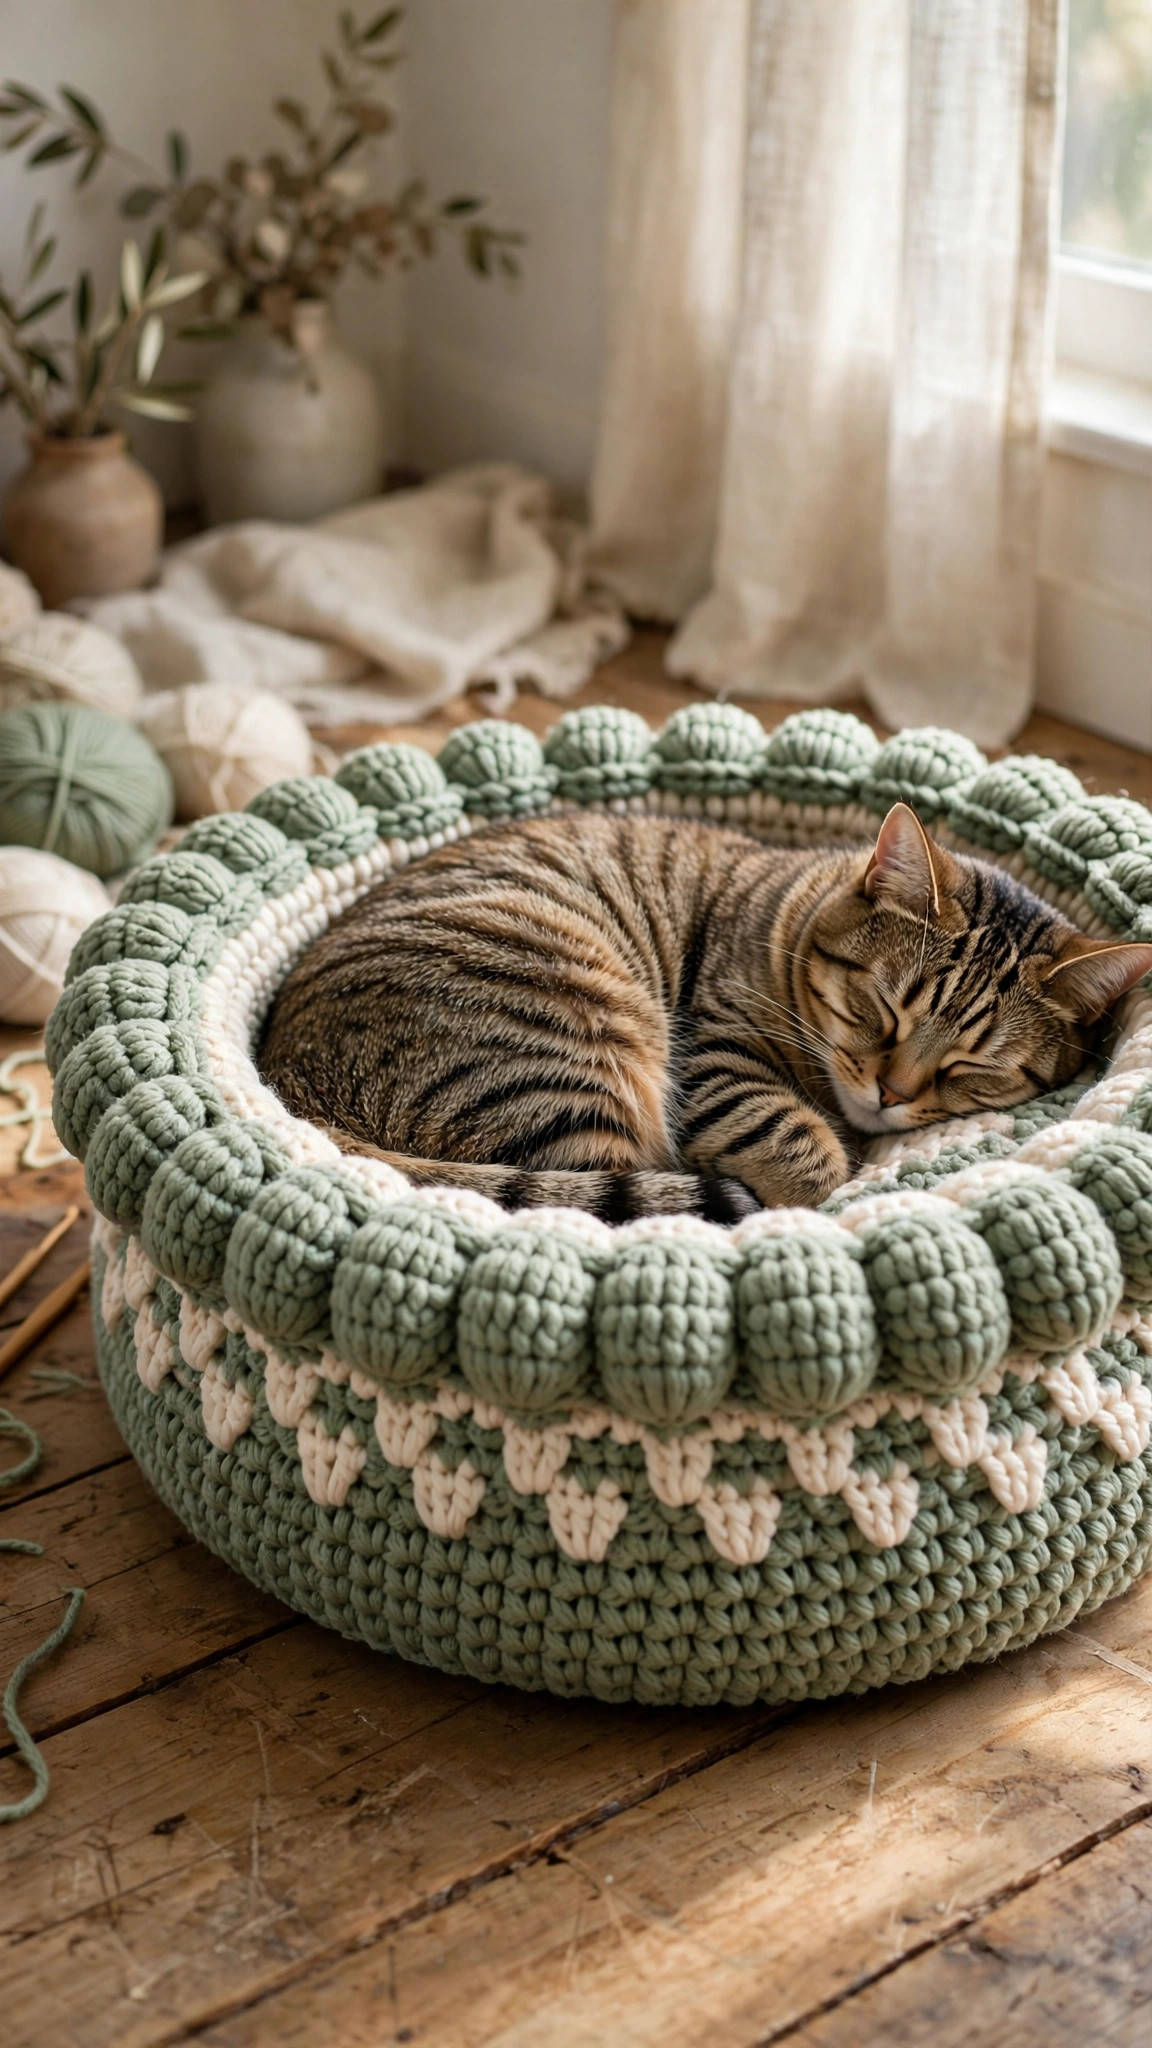
Bulky yarn is the secret ingredient here. It works up fast, makes a thick, springy fabric that holds its shape under a cat's weight, and gives the bed a chunky, handmade look. Choose a soft acrylic or acrylic-blend bulky yarn so the bed can go straight into the washing machine, because a cat bed will need washing. Sage green with a cream rim is the version in the photos, but terracotta, dusty blue, or classic grey all look lovely, and a variegated yarn hides cat hair beautifully.
Materials you'll need
| Supply | What to get |
|---|---|
| Main color (A) | Bulky-weight (#5) yarn in sage green, about 550 yds / 500 m (3 balls of 200 yds) for Medium |
| Contrast color (B) | Bulky-weight (#5) yarn in cream, about 200 yds / 185 m (1 ball) for Medium |
| Crochet hook | 8.0 mm (L-11) |
| Tapestry needle | For weaving in ends |
| Notions | Stitch markers, scissors, tape measure |
| Optional | A small cushion or folded towel to sit inside the bed |
A soft acrylic or acrylic-blend bulky yarn is the best pick here: it is machine washable, it springs back after being slept on, and it will not felt the way wool can. Avoid eyelash or novelty yarns for the base, because they hide your stitches and make counting increases miserable.
Yarn amounts by size (approximate): Small — A: 400 yds (2 balls), B: 150 yds (1 ball). Medium — A: 550 yds (3 balls), B: 200 yds (1 ball). Large — A: 700 yds (4 balls), B: 250 yds (2 balls).
Size, gauge and skill level
The bed is worked in one piece, in the round, from the center of the base outward, then upward for the wall. Measure your cat first: a curled-up cat needs a base about 4 inches wider than their curled diameter.
| Size | Fits | Base diameter | Base stitches | Wall height |
|---|---|---|---|---|
| Small | Kittens and small cats up to 8 lb | 14 in / 36 cm | 90 sts | 3 in / 8 cm |
| Medium | Average cats, 8–13 lb | 18 in / 46 cm | 114 sts | 4 in / 10 cm |
| Large | Big cats, 14 lb and up | 22 in / 56 cm | 138 sts | 4.5 in / 11 cm |
- Finished size (Medium): about 18 in (46 cm) across, 4 in (10 cm) tall at the wall, with a flat sleeping area about 14 in across inside the rim.
- Gauge: 8 sc and 8 rows = 4 in (10 cm) with an 8.0 mm hook, unblocked. Crochet a small circle first: if your base comes out wider than the table, drop to a 7.0 mm hook; if narrower, go up to a 9.0 mm hook. Gauge matters less here than in a garment, but a bed that is two inches too small will be ignored by its intended occupant.
- Skill level: confident beginner. You should know how to chain, single crochet, half-double crochet, and increase. The puff stitch is explained stitch by stitch below.
If you have never crocheted in the round before, this is a wonderful first project. And if your cat likes handmade things, our free crochet cat sweater pattern is the natural next make for chilly mornings.
Abbreviations — US terms
| Abbreviation | Meaning |
|---|---|
| ch | chain |
| sc | single crochet |
| hdc | half-double crochet |
| dc | double crochet |
| sl st | slip stitch |
| st(s) | stitch(es) |
| inc | increase: 2 sc in the same stitch |
| BLO | back loop only |
| puff | puff stitch: (yarn over, insert hook, pull up a loop) 3 times in the same stitch, yarn over and pull through all 7 loops, ch 1 to close |
| RS | right side |
| FO | fasten off |
A note on working in the round: this pattern is worked in continuous spirals, not joined rounds, so there is no seam line. Place a stitch marker in the first stitch of every round and move it up as you go.
The pattern (US terms)
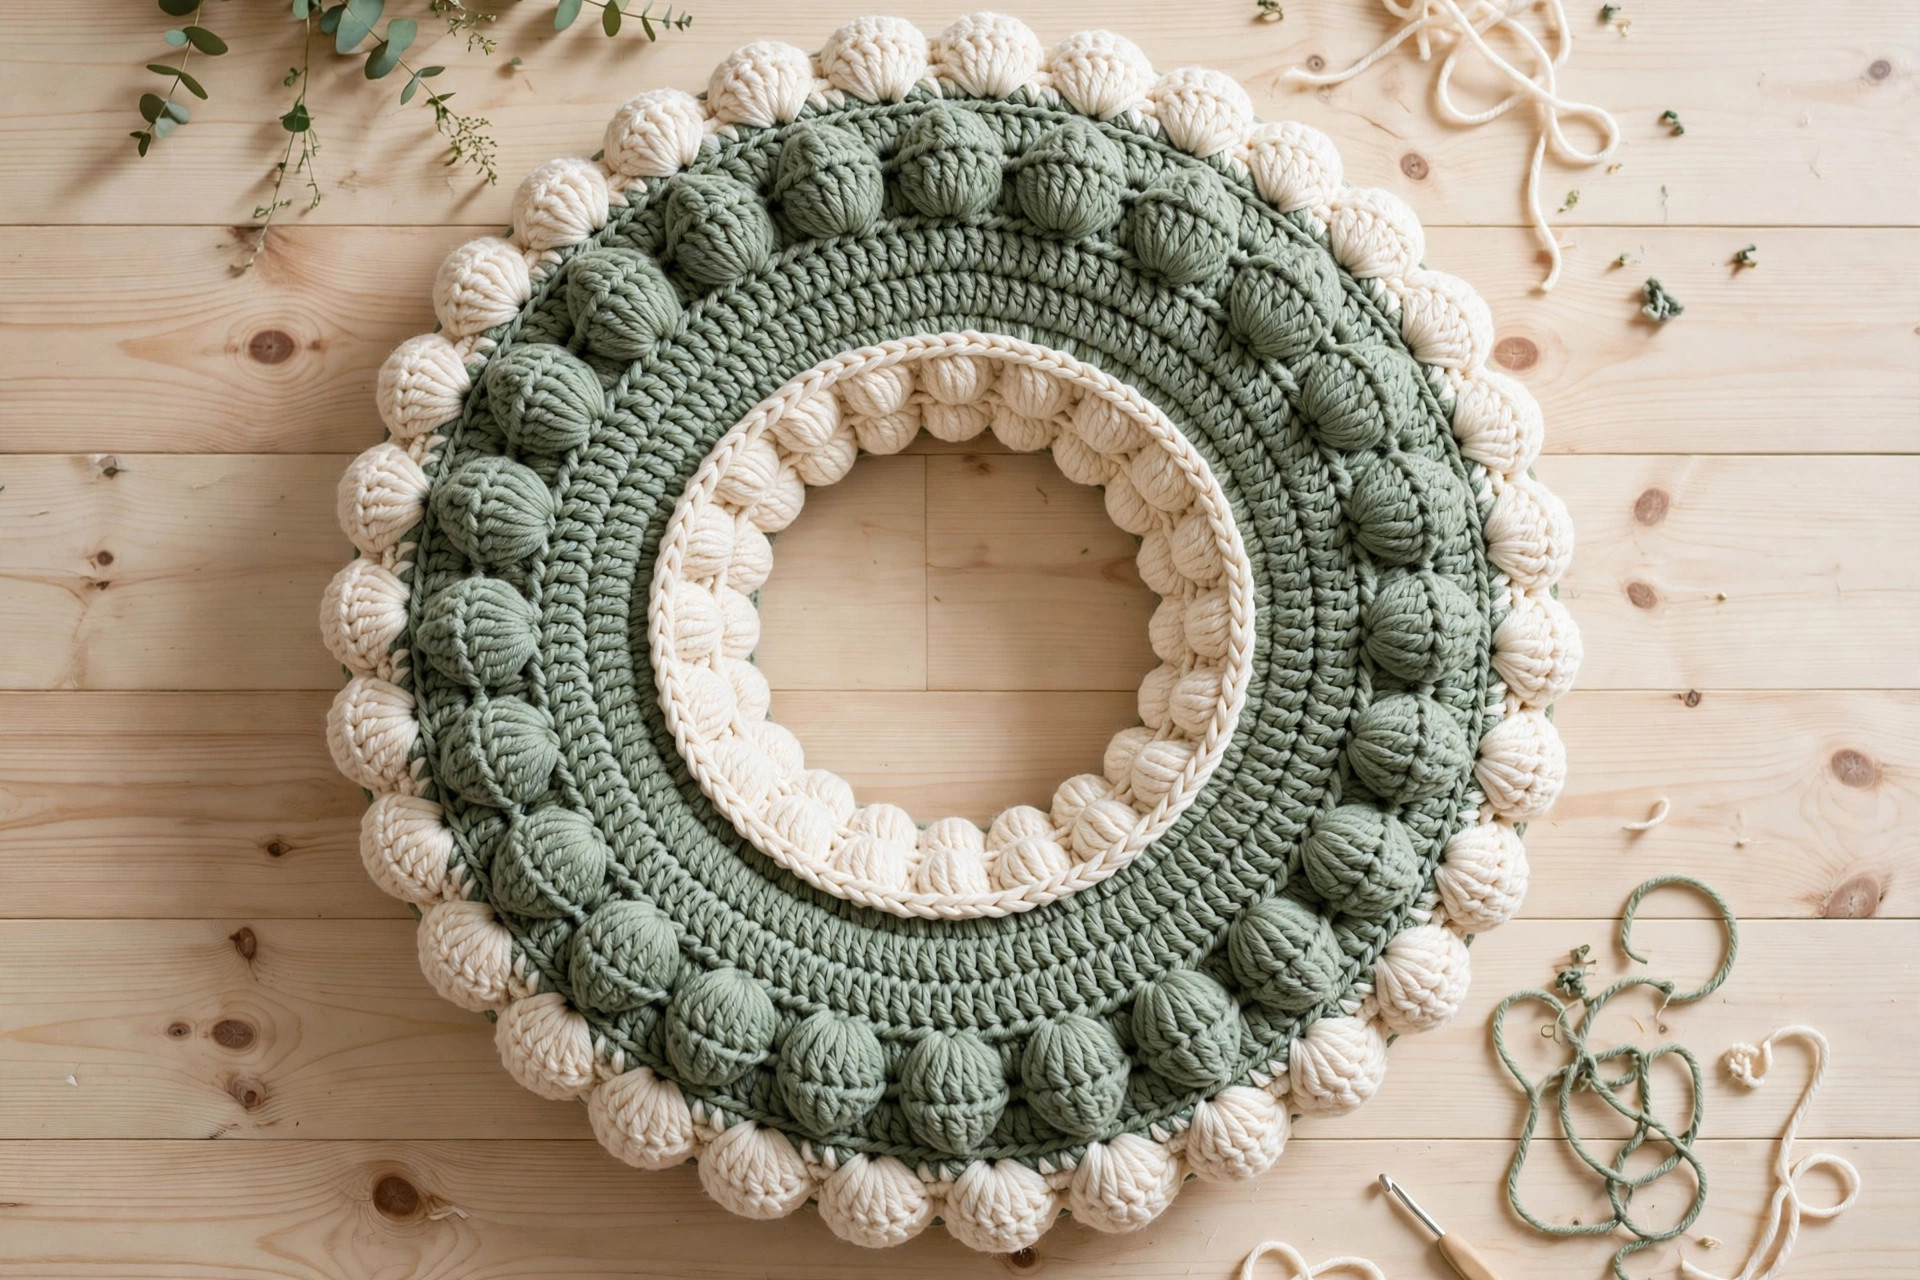
The whole bed is one continuous piece. Work the base as a flat circle, increasing by six stitches each round. Then work one round in the back loops only to make a crisp fold line, build the wall straight up with no increases, and finish with a puff-stitch rim in the contrast color.
Base — the flat circle
With color A and an 8.0 mm hook, start with a magic ring (or ch 4 and join with a sl st to form a ring).
- Round 1: 6 sc in the ring. (6 sts) Pull the ring closed.
- Round 2: inc in each st around. (12 sts)
- Round 3: *sc in next st, inc in next st; rep from * around. (18 sts)
- Round 4: *sc in next 2 sts, inc in next st; rep from * around. (24 sts)
- Round 5: *sc in next 3 sts, inc in next st; rep from * around. (30 sts)
- Round 6: *sc in next 4 sts, inc in next st; rep from * around. (36 sts)
From here the rhythm stays the same: every round adds one more single crochet between increases, and the stitch count grows by six. Keep going until you reach the base stitch count for your size: Small stops at Round 15 (90 sts), Medium at Round 19 (114 sts), Large at Round 23 (138 sts). For reference, Round 7 is sc in next 5 sts, inc in next st (42 sts), Round 10 is sc in next 8 sts, inc in next st (60 sts), Round 15 is sc in next 13 sts, inc in next st (90 sts), Round 19 is sc in next 17 sts, inc in next st (114 sts), and Round 23 is sc in next 21 sts, inc in next st (138 sts).
Tip: after every few rounds, lay the base flat and check that it lies smooth. If the edges ruffle and wave, you are increasing too fast; work one round with no increases to let the circle catch up. If the edges cup upward like a bowl, you are increasing too slowly; add an extra increase round.
Fold line and wall
The fold line is what turns a flat circle into a bed with walls. It is a single round worked in the back loops only, and it makes the fabric bend upward cleanly instead of flaring out.
- Fold round: sc in BLO of each st around. Do not increase. (Small 90 sts, Medium 114 sts, Large 138 sts)
- Wall rounds: sc in each st around (through both loops now) for the number of rounds in the table below. Do not increase or decrease: the wall should stand straight up, not lean in or out.
| Size | Wall rounds | Finished wall height |
|---|---|---|
| Small | 6 rounds | about 3 in / 8 cm |
| Medium | 8 rounds | about 4 in / 10 cm |
| Large | 9 rounds | about 4.5 in / 11 cm |
After the first two wall rounds you will see the sides rising. If the wall leans outward, work the next wall round with a sc2tog decrease every 12th stitch to pull it in. If the wall leans inward, switch to a 9.0 mm hook for the remaining wall rounds.
Puff-stitch rim
Switch to color B for the rim. The rim is three rounds: two rounds of half-double crochet that firm up the top edge, then one round of puff stitches that makes the soft, squishy lip cats love to rest their chins on.
- Rim Round 1: join color B with a sl st. Ch 2 (does not count as a st), hdc in each st around. Join with a sl st to the first hdc. (Small 90 sts, Medium 114 sts, Large 138 sts)
- Rim Round 2: ch 2, hdc in each st around. Join with a sl st to the first hdc.
- Rim Round 3 (puff round): ch 1, *puff st in next st, ch 1, skip 1 st; rep from * around, ending with a sl st in the first puff. (Small 45 puffs, Medium 57 puffs, Large 69 puffs)
Fasten off and weave in the ends on the outside of the bed, where the cat will never feel them. The puff round uses up yarn quickly, so if you run short on the contrast color, work Rim Round 2 in the main color and keep the cream for the puffs only.
Optional cushion pad
A separate pad makes the bed easier to wash: lift the pad out, wash it, and the bed itself stays clean longer. It also gives older cats a little extra softness under their joints.
With color B and an 8.0 mm hook, work the base circle exactly as above, but stop two rounds early: Small stops at Round 13 (78 sts), Medium at Round 17 (102 sts), Large at Round 21 (126 sts). Then work one round of sc in each st around, join with a sl st, and fasten off. The pad should sit flat inside the bed with a small gap around the edge.
Finishing touches
Take fifteen unhurried minutes here: it is the difference between a bed your cat sniffs once and a bed your cat lives in.
Block it lightly. Lay the bed flat on a towel and press the base smooth with your hands, shaping the wall so it stands evenly all the way around. Mist it lightly with water and let it dry completely before you offer it to your cat. Blocking evens out the stitches and sets the fold line so the wall holds its shape.
Hide every end inside the wall. Weave the tails into the wrong side of the wall for at least 2 inches, changing direction once so they cannot wriggle out. Cats chew loose ends, so be thorough here.
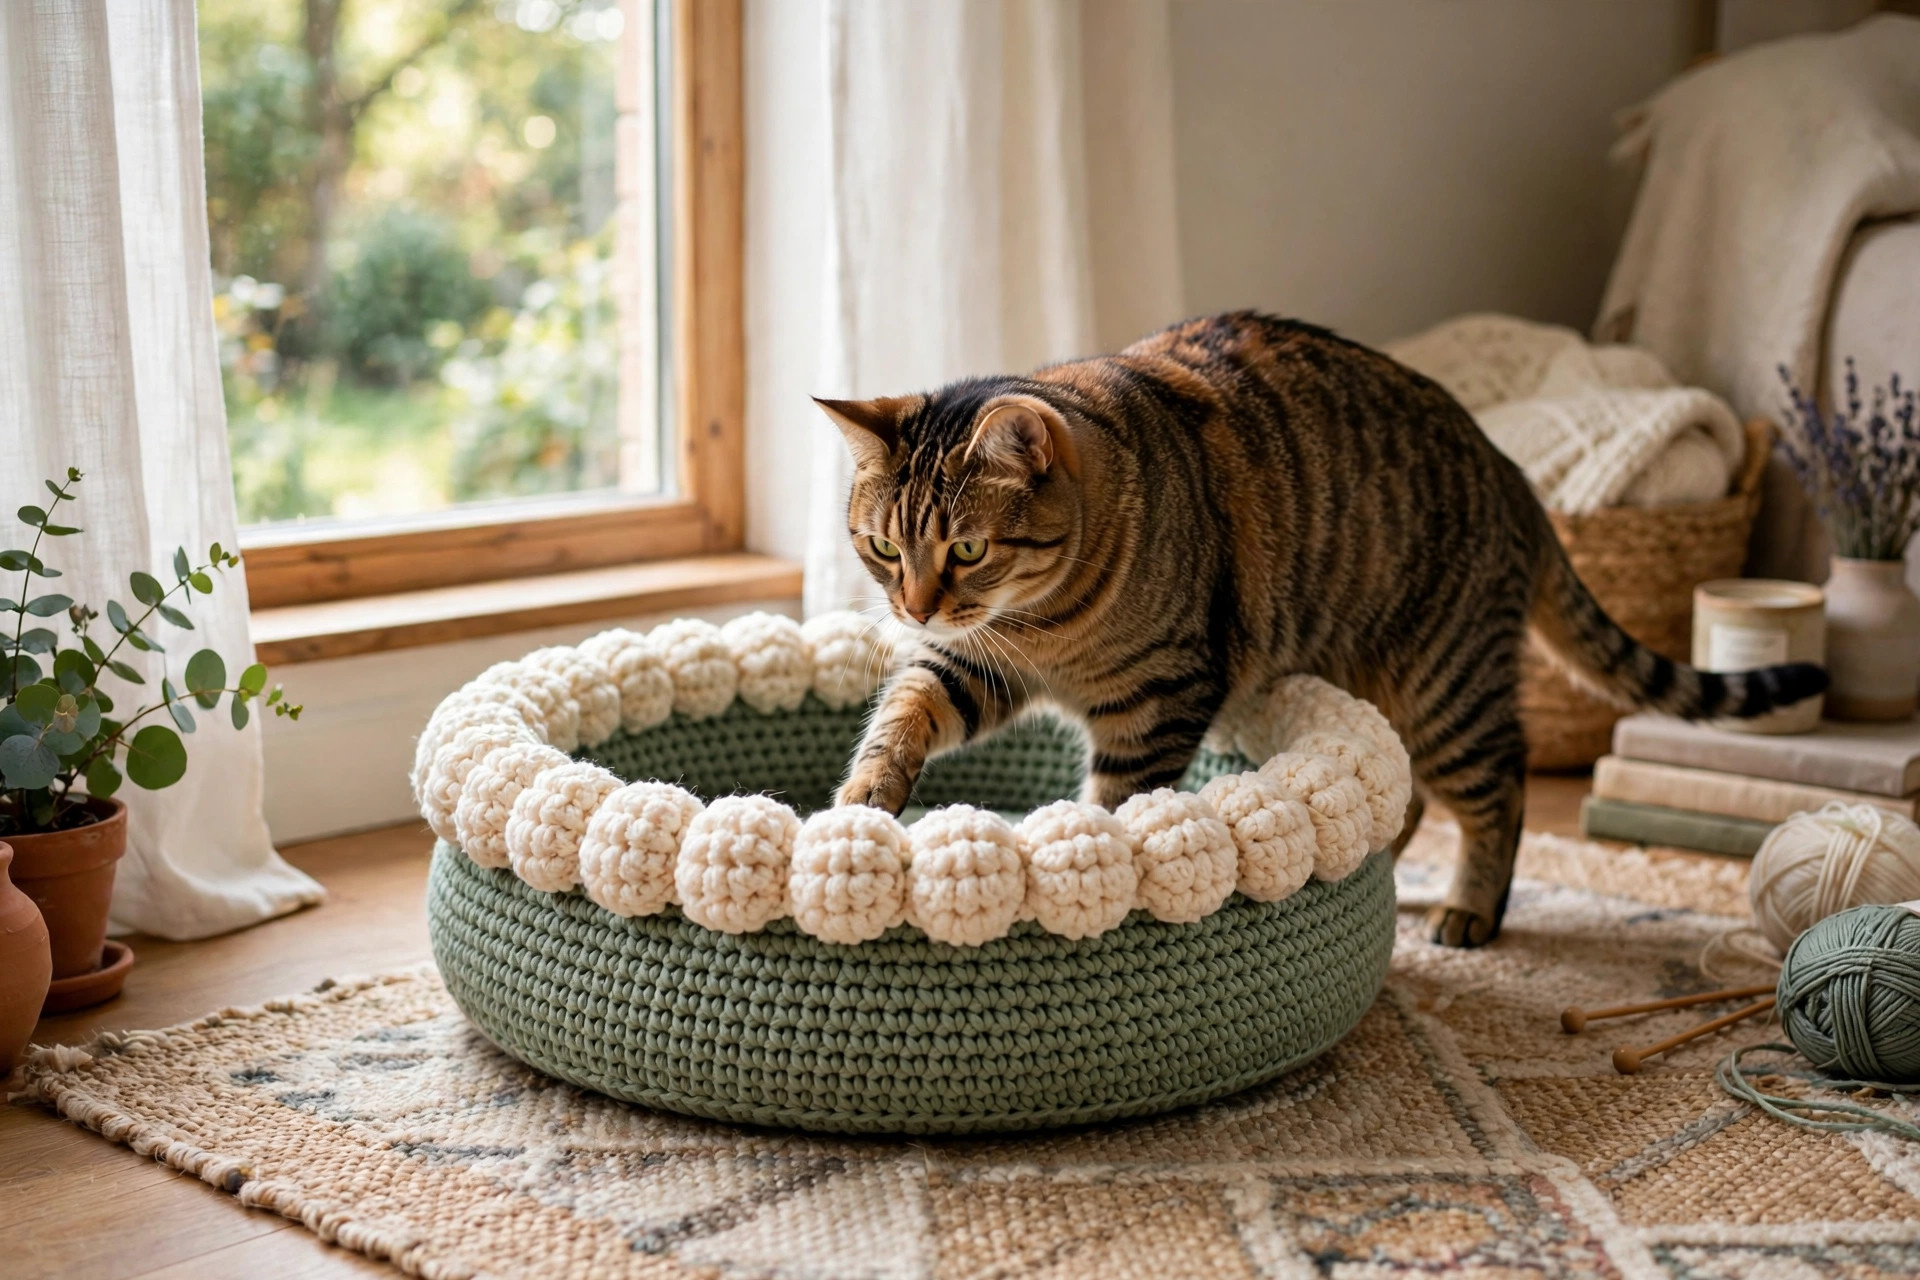
Place it where your cat already sleeps. A beautiful bed in the wrong corner will be ignored. Put the new bed in the spot your cat already naps, on top of their favorite blanket for the first few days so it smells familiar. Once they have claimed it, you can move it a few feet at a time to where you actually want it.
Three cute variations to try next
Once you have made one bed, the formula is yours to play with:
- Two-tone stripes. Work the base in alternating two-round stripes of sage and cream, then a solid sage wall and a cream puff rim. If you like quick pet makes, the crochet cat pattern free is a tiny amigurumi cat that fits right inside the bed.
- Chunky jumbo bed. Switch to super-bulky (#6) yarn and a 10.0 mm hook, and work the Medium stitch counts. Your gauge will be looser, so the bed comes out bigger and thicker, and it works up in a single evening. Pair it with our floppy cat crochet pattern for a matching cat-and-bed gift set.
- Scalloped rim bed. Replace the puff round with a scallop round: *skip 1 st, 5 dc in next st, skip 1 st, sl st in next st; rep from * around. The scallops give the bed a vintage, lacy edge. If you like pet accessories, the crochet dog collar pattern uses the same bulky yarn in a quick one-evening project.
And if this project gave you the pet-craft bug, the easy crochet patterns for blankets collection includes thick, washable blankets that make perfect cat-nap layers.
Troubleshooting tips
- Your base is ruffling like a potato chip. You are increasing too fast for your tension. Work one or two rounds with no increases, then resume the increase rhythm. The base must lie flat before you start the wall.
- Your base is cupping into a bowl. You are increasing too slowly, or your tension tightened up. Add an extra increase round, or switch to a hook one size larger for the remaining base rounds.
- The wall leans outward and the bed looks like a tray. The fold round was skipped or worked through both loops. Unpick back to the fold round and rework it in the back loops only: that single round is what makes the wall stand up.
- The wall leans inward and the opening shrinks. Your tension tightened when you started the wall, which is common. Switch to a hook one size larger for the remaining wall rounds, or work a round with an increase every 20th stitch to open it back up.
- The puff rim looks sparse and gappy. Puff stitches need to be plump. Pull each loop up to the full height of the stitch before closing the puff, and make sure you are doing three yarn-overs per puff, not two.
- Your cat ignores the bed. Move it to where they already sleep, put a worn t-shirt of yours inside for a day so it smells like you, and rub a little catnip into the rim. Most cats claim a bed within a week.
Frequently asked questions
Is this crochet cat bed pattern really free?
Yes, the complete pattern above is free, no email signup, no PDF purchase required.
What skill level is this cat bed pattern?
Confident beginner. If you can single crochet and increase, you have every skill this pattern needs. The puff stitch is explained stitch by stitch, and there is no shaping beyond a plain circle.
How long does it take to make?
About 5 hours for Small, 7 for Medium, and 9 for Large, most of it relaxing rounds of single crochet.
How much yarn do I need?
For Medium, about 550 yds of the main color and 200 yds of the contrast color in bulky-weight yarn. Small needs about 400 yds and 150 yds; Large needs about 700 yds and 250 yds.
Can I wash the crochet cat bed?
Yes, if you use acrylic or acrylic-blend yarn. Machine wash cold on a gentle cycle, then reshape and air dry flat. Avoid the dryer, which can stretch the wall out of shape. The optional cushion pad can be washed separately.
Will my cat actually use it?
Most cats do, especially if you place the bed where they already nap and add something that smells like you for the first few days. A low wall, a soft rim, and a familiar smell are the three things that turn a crochet project into a cat's favorite spot.
Can I sell the finished cat beds I make?
Yes! You may sell finished cat beds made from this pattern in small batches. Please credit Little Loop Finds as the pattern designer with a link back to this page.
More free patterns to try
If this cat bed was fun, keep the hook moving. The crochet cat pattern free is a tiny amigurumi cat that fits inside the bed, the floppy cat crochet pattern makes a soft companion for cat lovers, the free crochet cat sweater pattern keeps chilly cats warm, and the easy crochet patterns for blankets collection has thick, washable blankets that layer perfectly inside a pet bed.