Crochet Pillow Pattern Free: Cozy Bobble Cushion
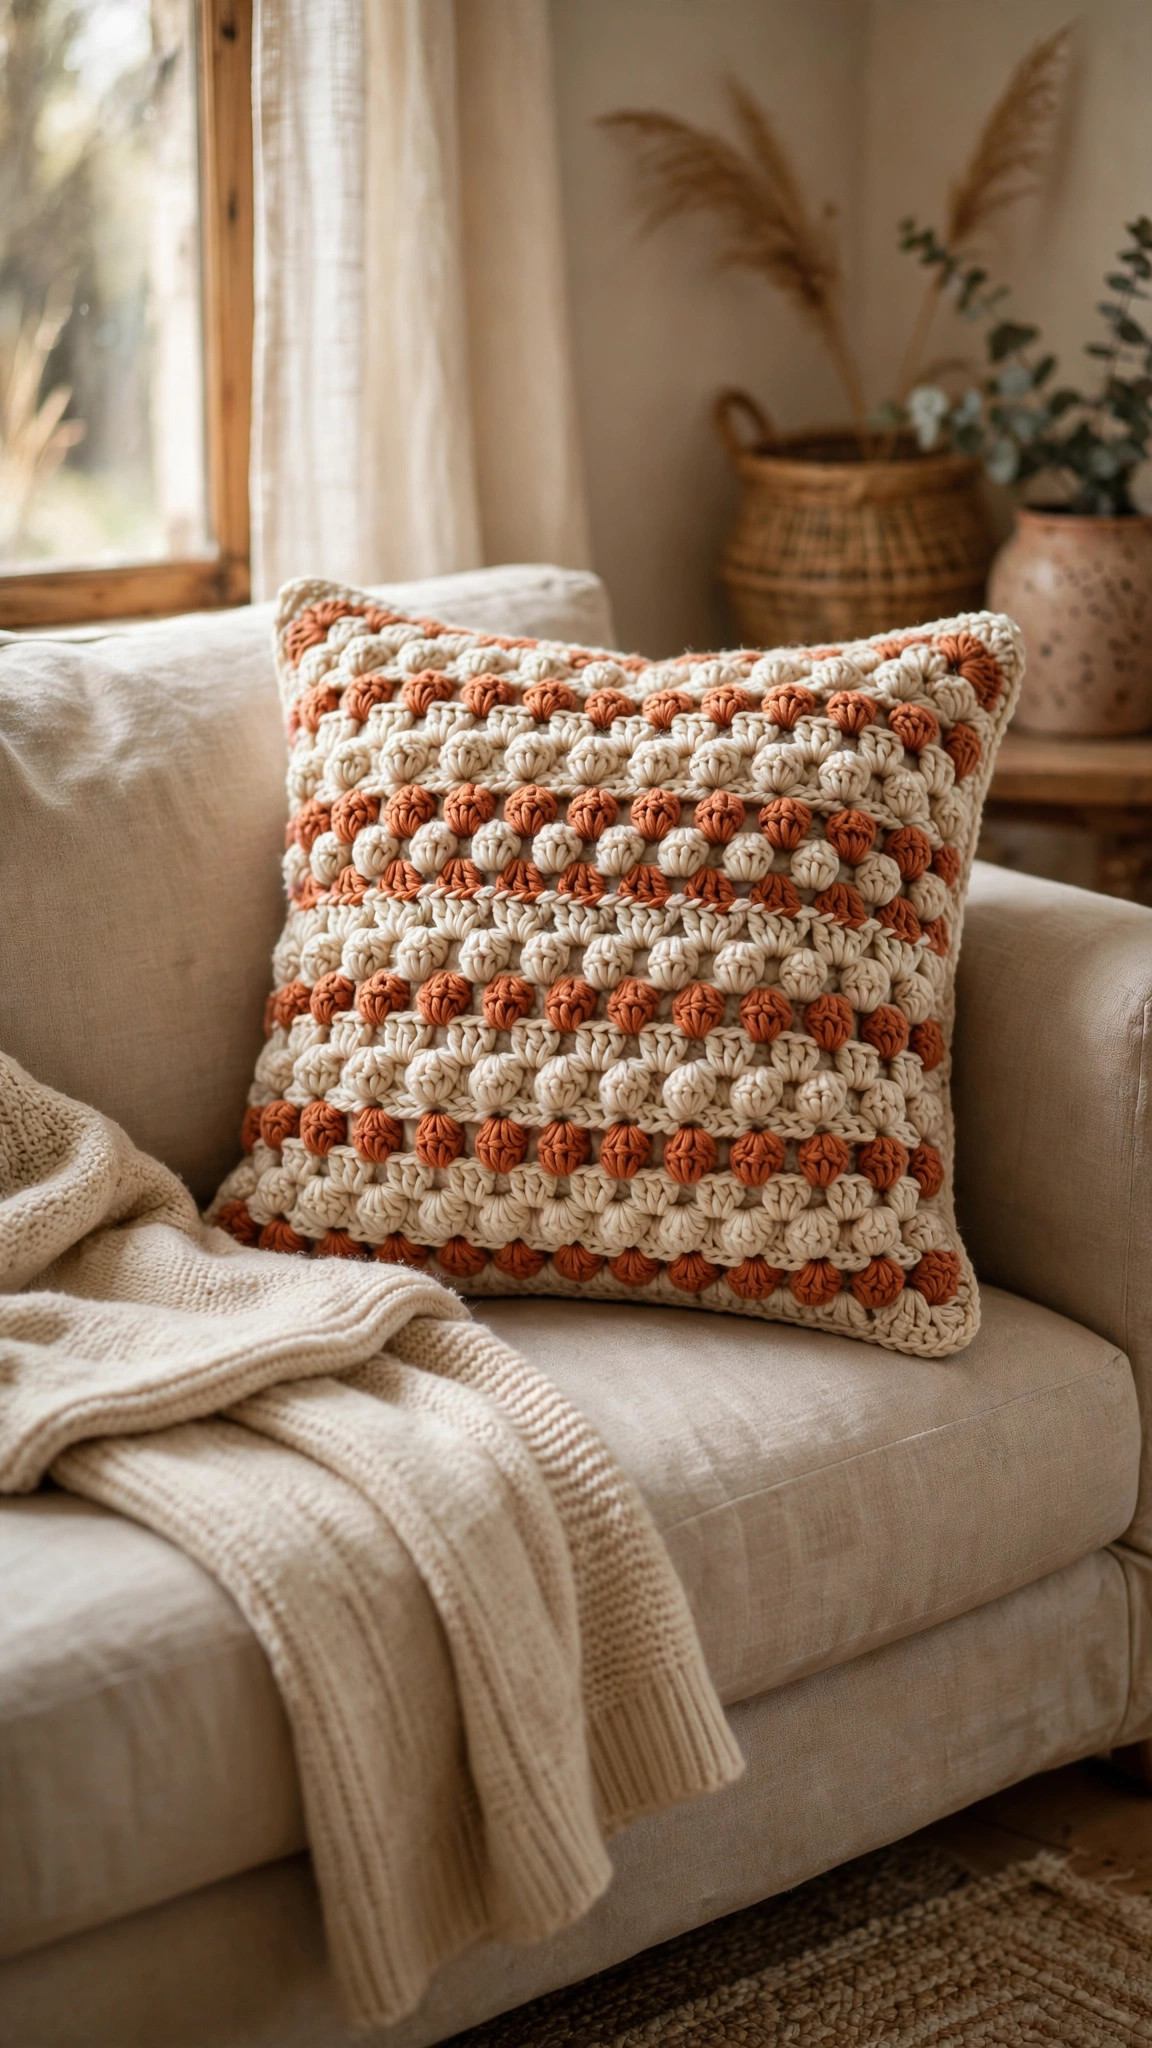
A cozy 16-inch bobble cushion cover with a textured front panel and a smooth speedy back: original design, US terms, beginner friendly.

Home Decor · Crochet
- Finished size
- 16 in square cover
- Making time
- About 6 hours
- Hook
- 5.0 mm, worsted yarn
- Set
- 2 panels, original design
- Skill
- Beginner
In this post
- Table of contents
- Why you'll love this crochet pillow pattern
- Materials you'll need
- Size, gauge and skill level
- Abbreviations, US terms
- The crochet pillow pattern (US terms)
- Finishing touches and assembly
- Bobble-perfect tips and tricks
- Variations to try next
- Troubleshooting tips
- Frequently asked questions
- More free patterns to try
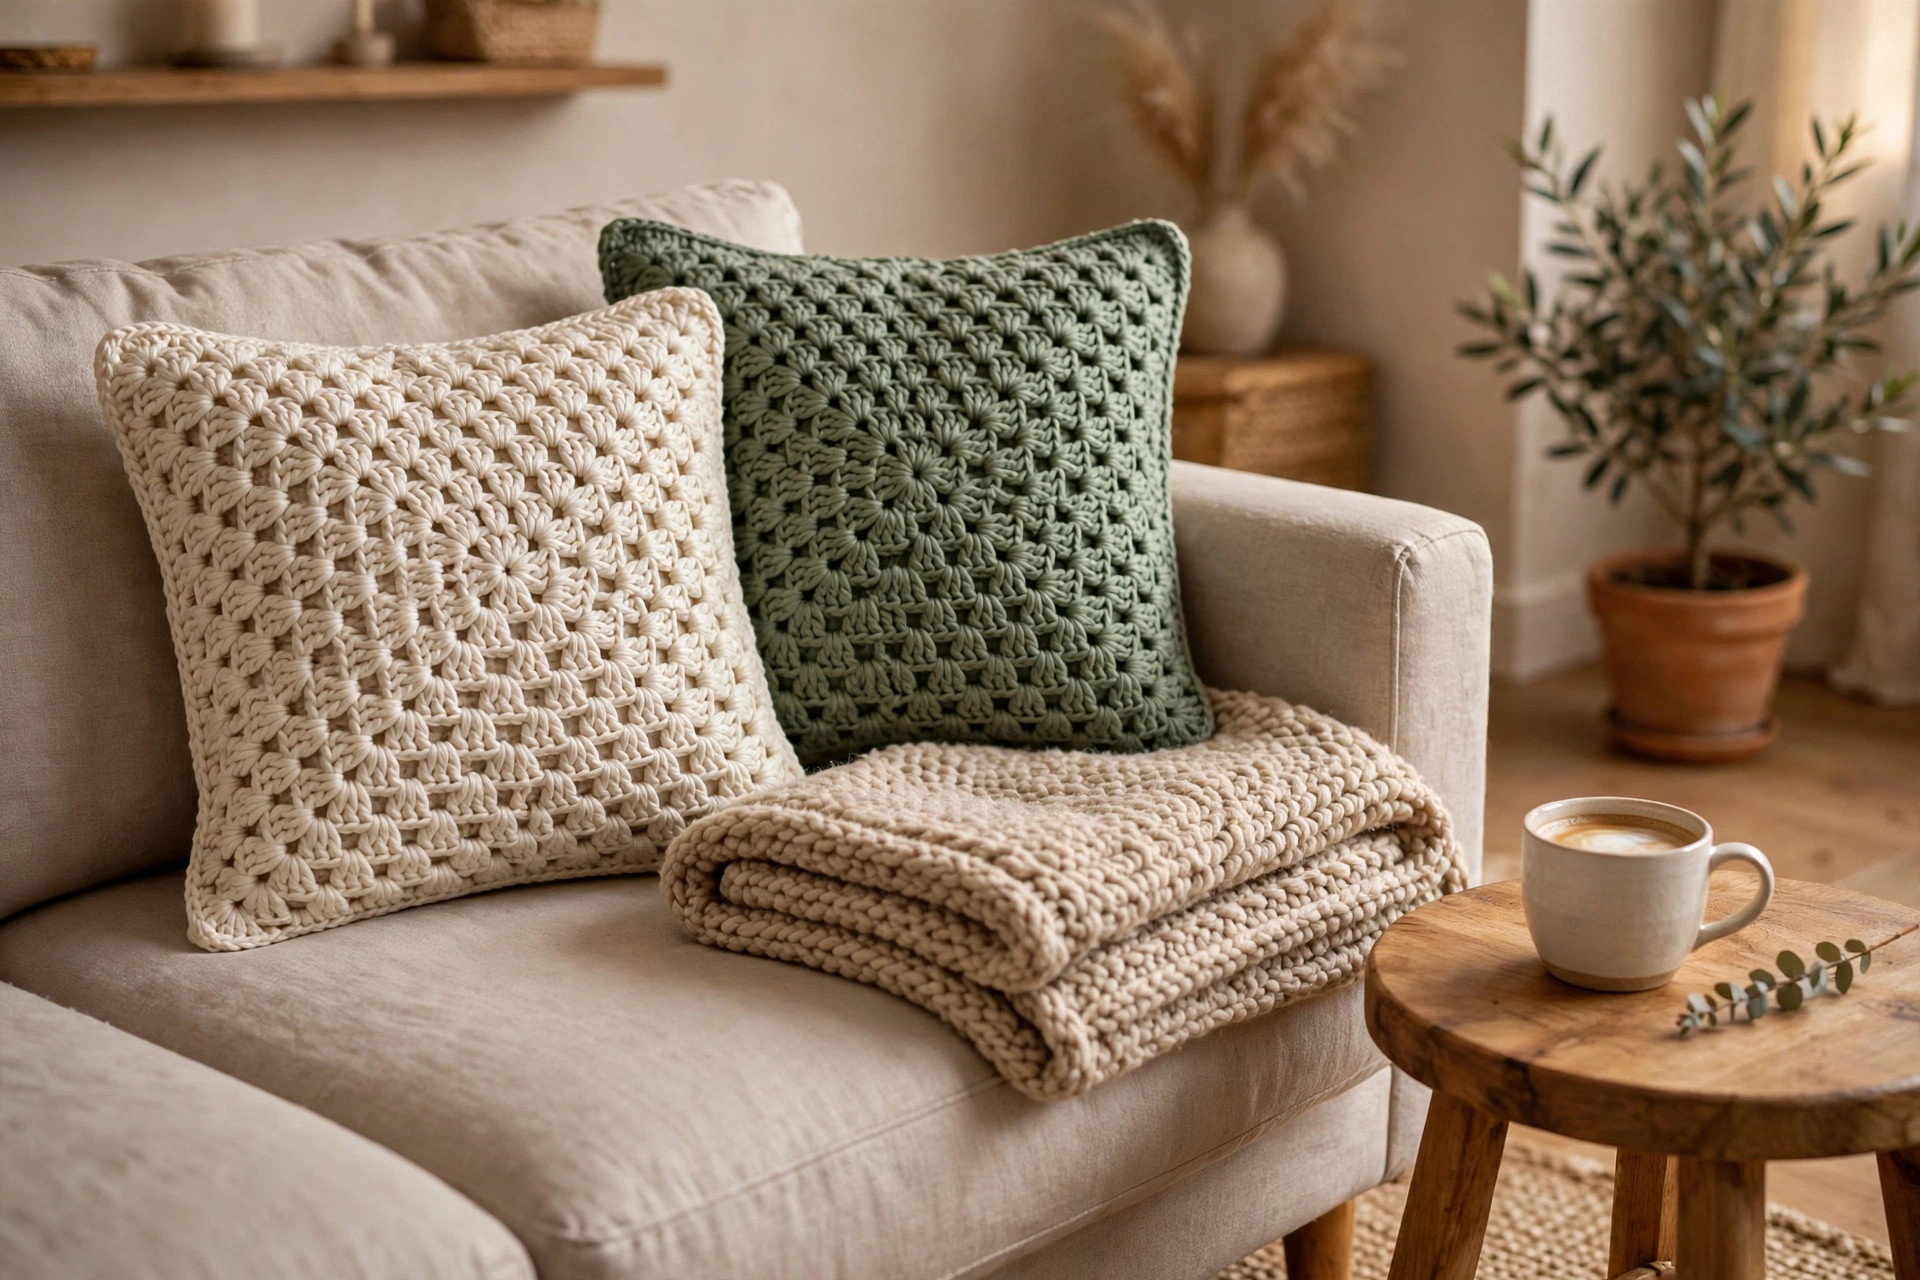
If you have been looking for a crochet pillow pattern free of fussy shaping and complicated joins, this cozy bobble cushion is about to become your favorite weekend project. It is a simple square cover with a gloriously squishy textured front, a smooth and speedy back panel, and a clean single-crochet border that joins everything together around a standard 16-inch pillow form. No zippers, no buttons, no sewing machine, just you, a hook, and a very satisfying pile of bobbles.
The front panel is worked in an easy bobble stitch repeat that looks far fancier than it is: two rows of single crochet, one row of bobbles, repeat. That is the whole texture. The back panel is plain half double crochet so it works up fast and feels smooth against the couch. Put them together and you get a 16-inch square cushion that looks like it came from a boutique home store, except you made it yourself in about six hours.
Table of contents
- Why you'll love this crochet pillow pattern
- Materials you'll need
- Size, gauge and skill level
- Abbreviations, US terms
- The crochet pillow pattern (US terms)
- Finishing touches and assembly
- Bobble-perfect tips and tricks
- Variations to try next
- Troubleshooting tips
- Frequently asked questions
- More free patterns to try
Why you'll love this crochet pillow pattern
Throw pillows are the fastest room makeover in existence, and a handmade one beats store-bought every time. The bobble texture on this cushion catches light and shadow beautifully, so even a single-color pillow looks rich and dimensional. From across the room it reads as chic and modern; up close it is irresistibly touchable, the kind of pillow guests pick up and squeeze.
The construction is as beginner friendly as crochet gets. There is no shaping at all: two flat rectangles, sewn together with a round of single crochet. The bobble row is the only "fancy" stitch, and it is just five double crochets worked into one stitch and closed together. After two bobble rows your hands will do it on autopilot while you watch a show. If you have already made one of our easy crochet blanket patterns, you already know every stitch in this project, and the Tunisian crochet blanket patterns collection is a great next step if this pillow gives you the texture bug.
It is also a brilliant stash buster and gift make. One pillow takes about 450 yards of worsted yarn, which is three skeins of most big-box brands, and it works up fast enough to make a matching pair in a weekend. Make them in cream for a calm neutral sofa, in terracotta for fall warmth, or in a bold jewel tone for a pop of color. A pair of these in a gift box is a housewarming present that looks far more expensive than it was.
Materials you'll need
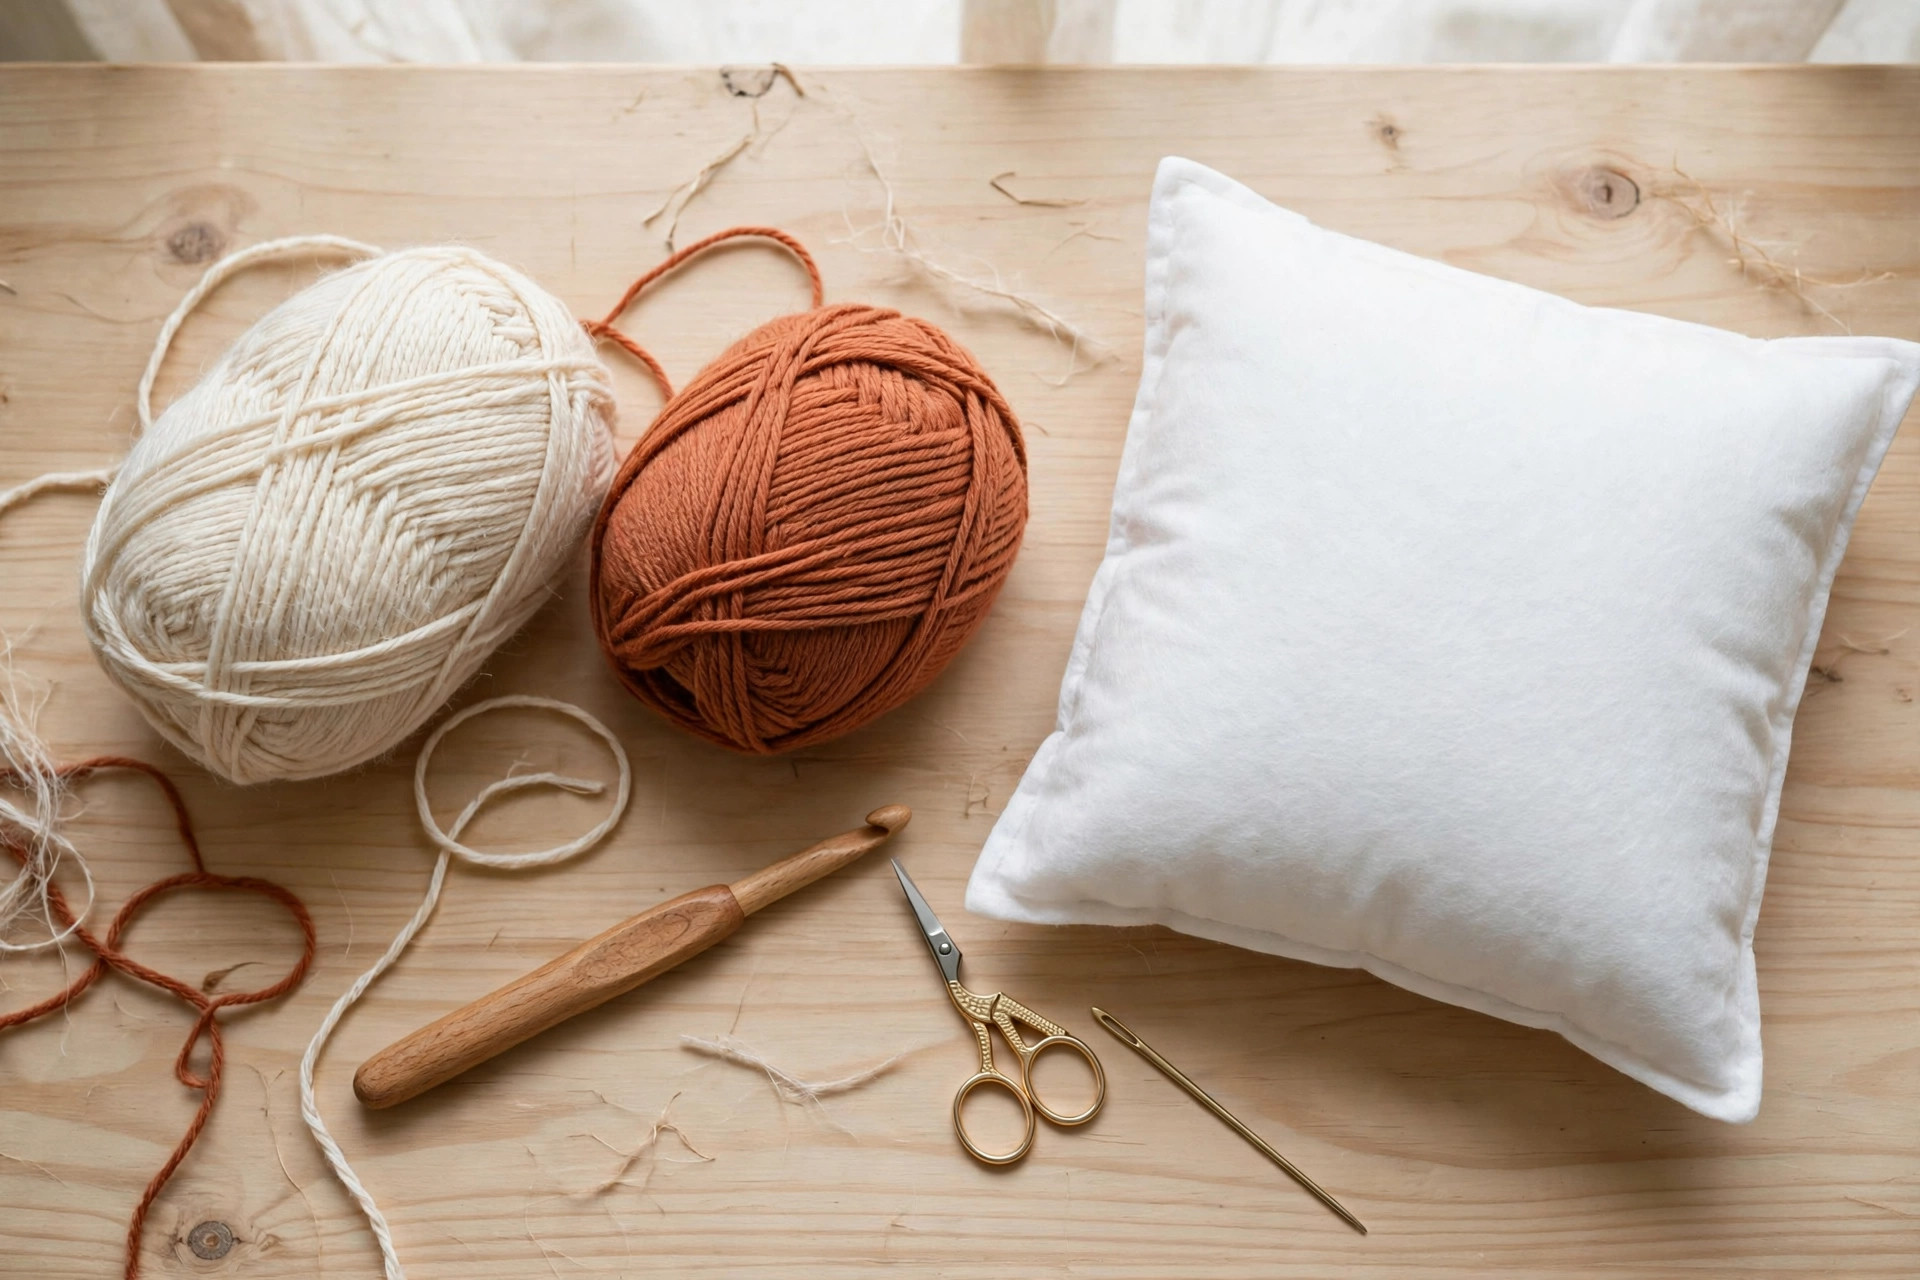
| Supply | What to get |
|---|---|
| Main yarn | Worsted-weight (#4) yarn, about 450 yds / 412 m total; cotton or a cotton-acrylic blend is ideal |
| Crochet hook | 5.0 mm (H) |
| Pillow form | One 16 x 16 in (40 x 40 cm) square pillow insert |
| Tapestry needle | For weaving in ends |
| Notions | Scissors, stitch markers, pins for joining |
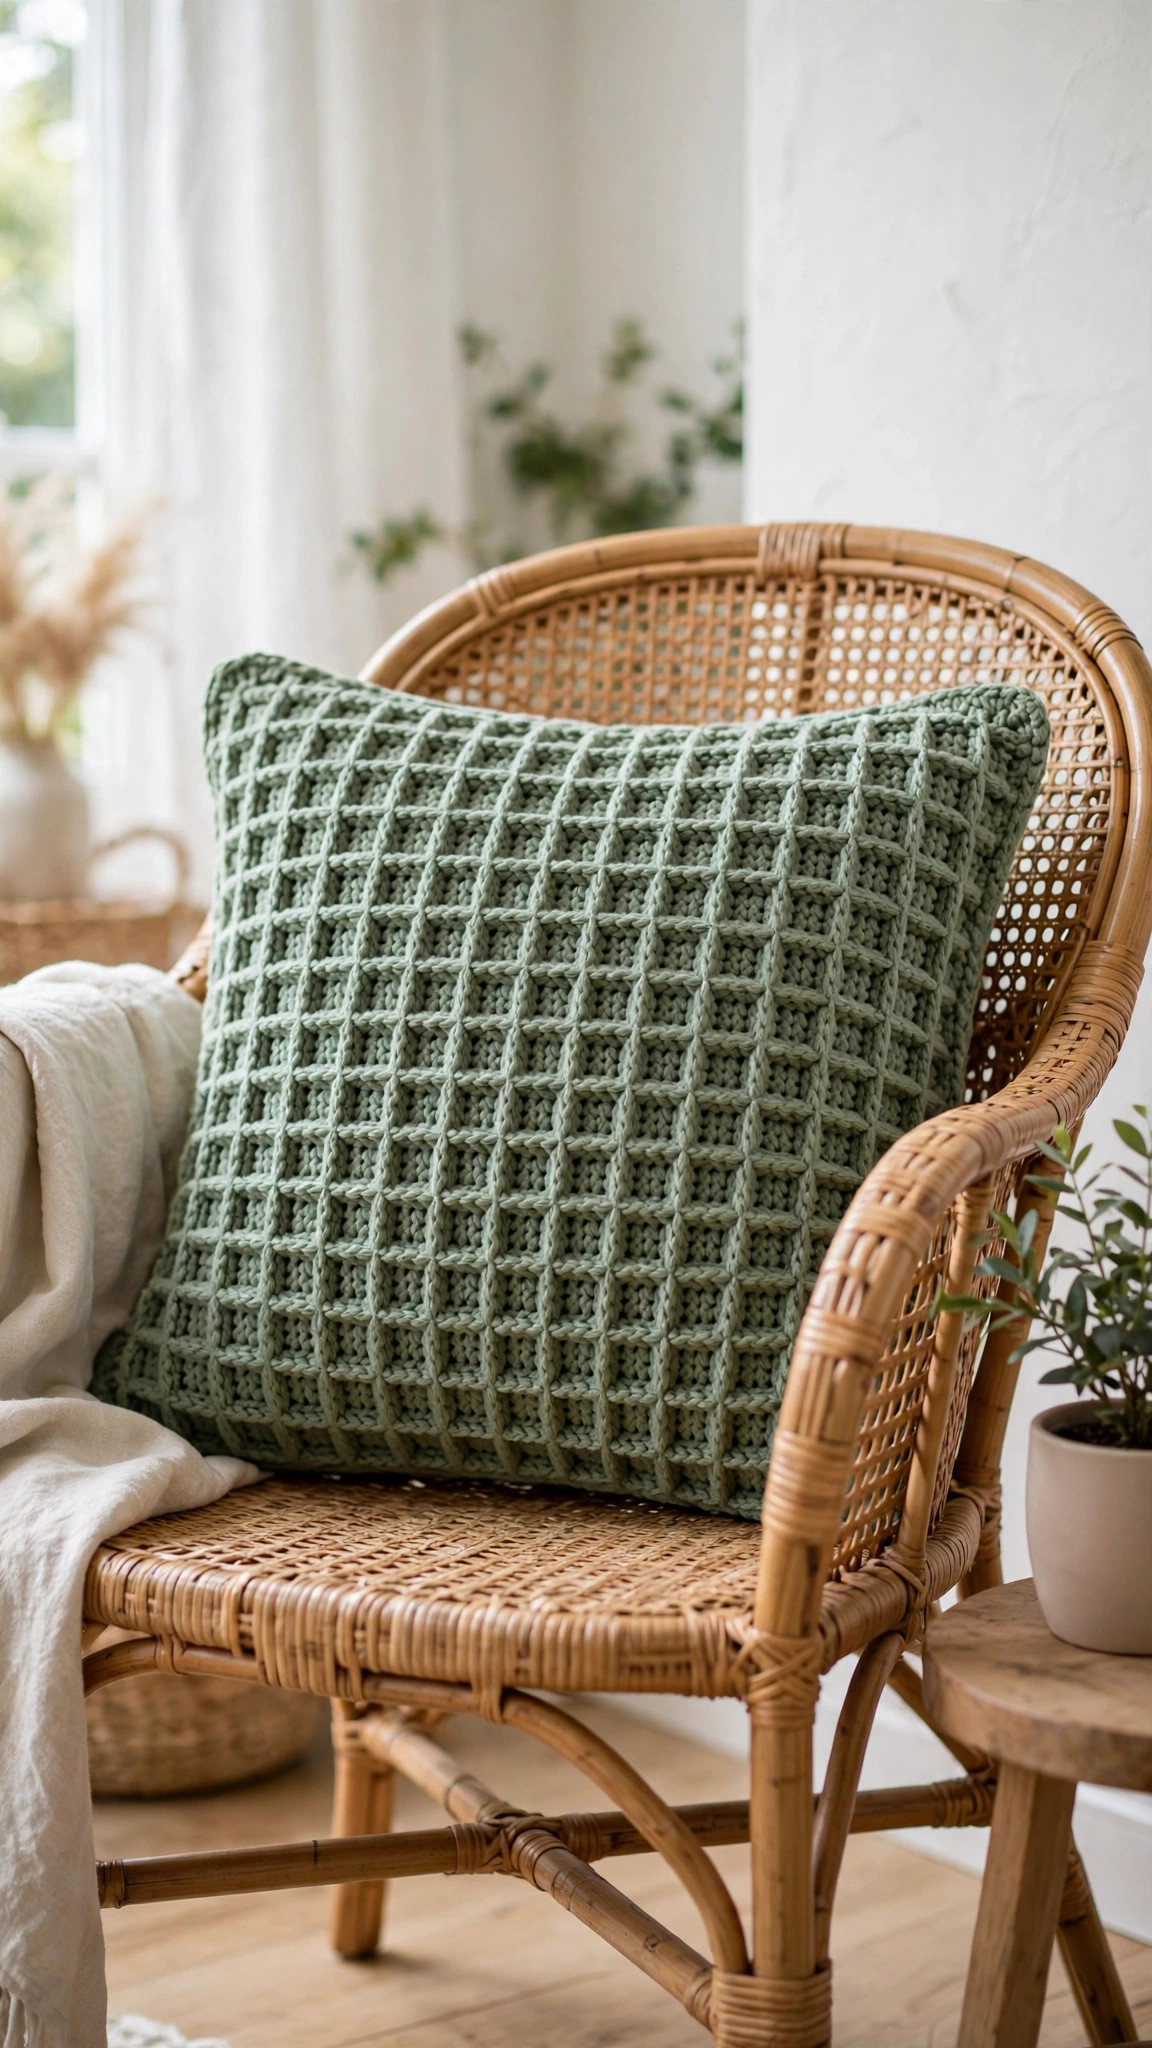
A smooth worsted yarn with good stitch definition is the best choice here because the whole design is about texture. Cotton and cotton blends hold the bobbles crisply and keep their shape on a well-used couch cushion. A soft acrylic works too and is usually the budget pick for a pair of pillows. Avoid very fuzzy or novelty yarns: they swallow the bobble texture, which defeats the purpose of the pattern.
A note on the hook: the pattern is written for a 5.0 mm hook with standard worsted yarn. If you crochet tightly, go up to 5.5 mm so the fabric stays soft and drapey instead of stiff. The cover should have a little give so it slips over the pillow form without a fight.
Size, gauge and skill level
The pattern makes one 16 x 16 in (40 x 40 cm) cushion cover designed to fit snugly over a standard 16-inch pillow form. The slight negative ease is deliberate: it keeps the cover smooth and plump with no saggy corners.
| Measurement | Value |
|---|---|
| Finished cover | About 16 x 16 in (40 x 40 cm) square |
| Front panel | 53 sts wide x 64 rows |
| Back panel | 53 sts wide x 64 rows |
| Pillow form | 16 x 16 in (40 x 40 cm) |
- Gauge: 13 sc and 15 rows = 4 in (10 cm) with a 5.0 mm hook in worsted yarn. Gauge does not need to be exact for a pillow, but check it anyway: if your gauge is much tighter, your cover may not fit the form, and much looser means a saggy cover.
- Skill level: beginner. You need to know how to chain, single crochet, half double crochet, and work a bobble (fully explained below). Everything else is counting and seaming two flat pieces together.
If this is your very first project beyond a scarf, you picked a good one: flat pieces, no shaping, and a forgiving final border that hides slightly wobbly edges.
Abbreviations, US terms
| Abbreviation | Meaning |
|---|---|
| ch | chain |
| sc | single crochet |
| hdc | half double crochet |
| dc | double crochet |
| sl st | slip stitch |
| st(s) | stitch(es) |
| RS | right side |
| WS | wrong side |
| blo | back loop only |
| FO | fasten off |
| [ ] | total stitch count at the end of the row |
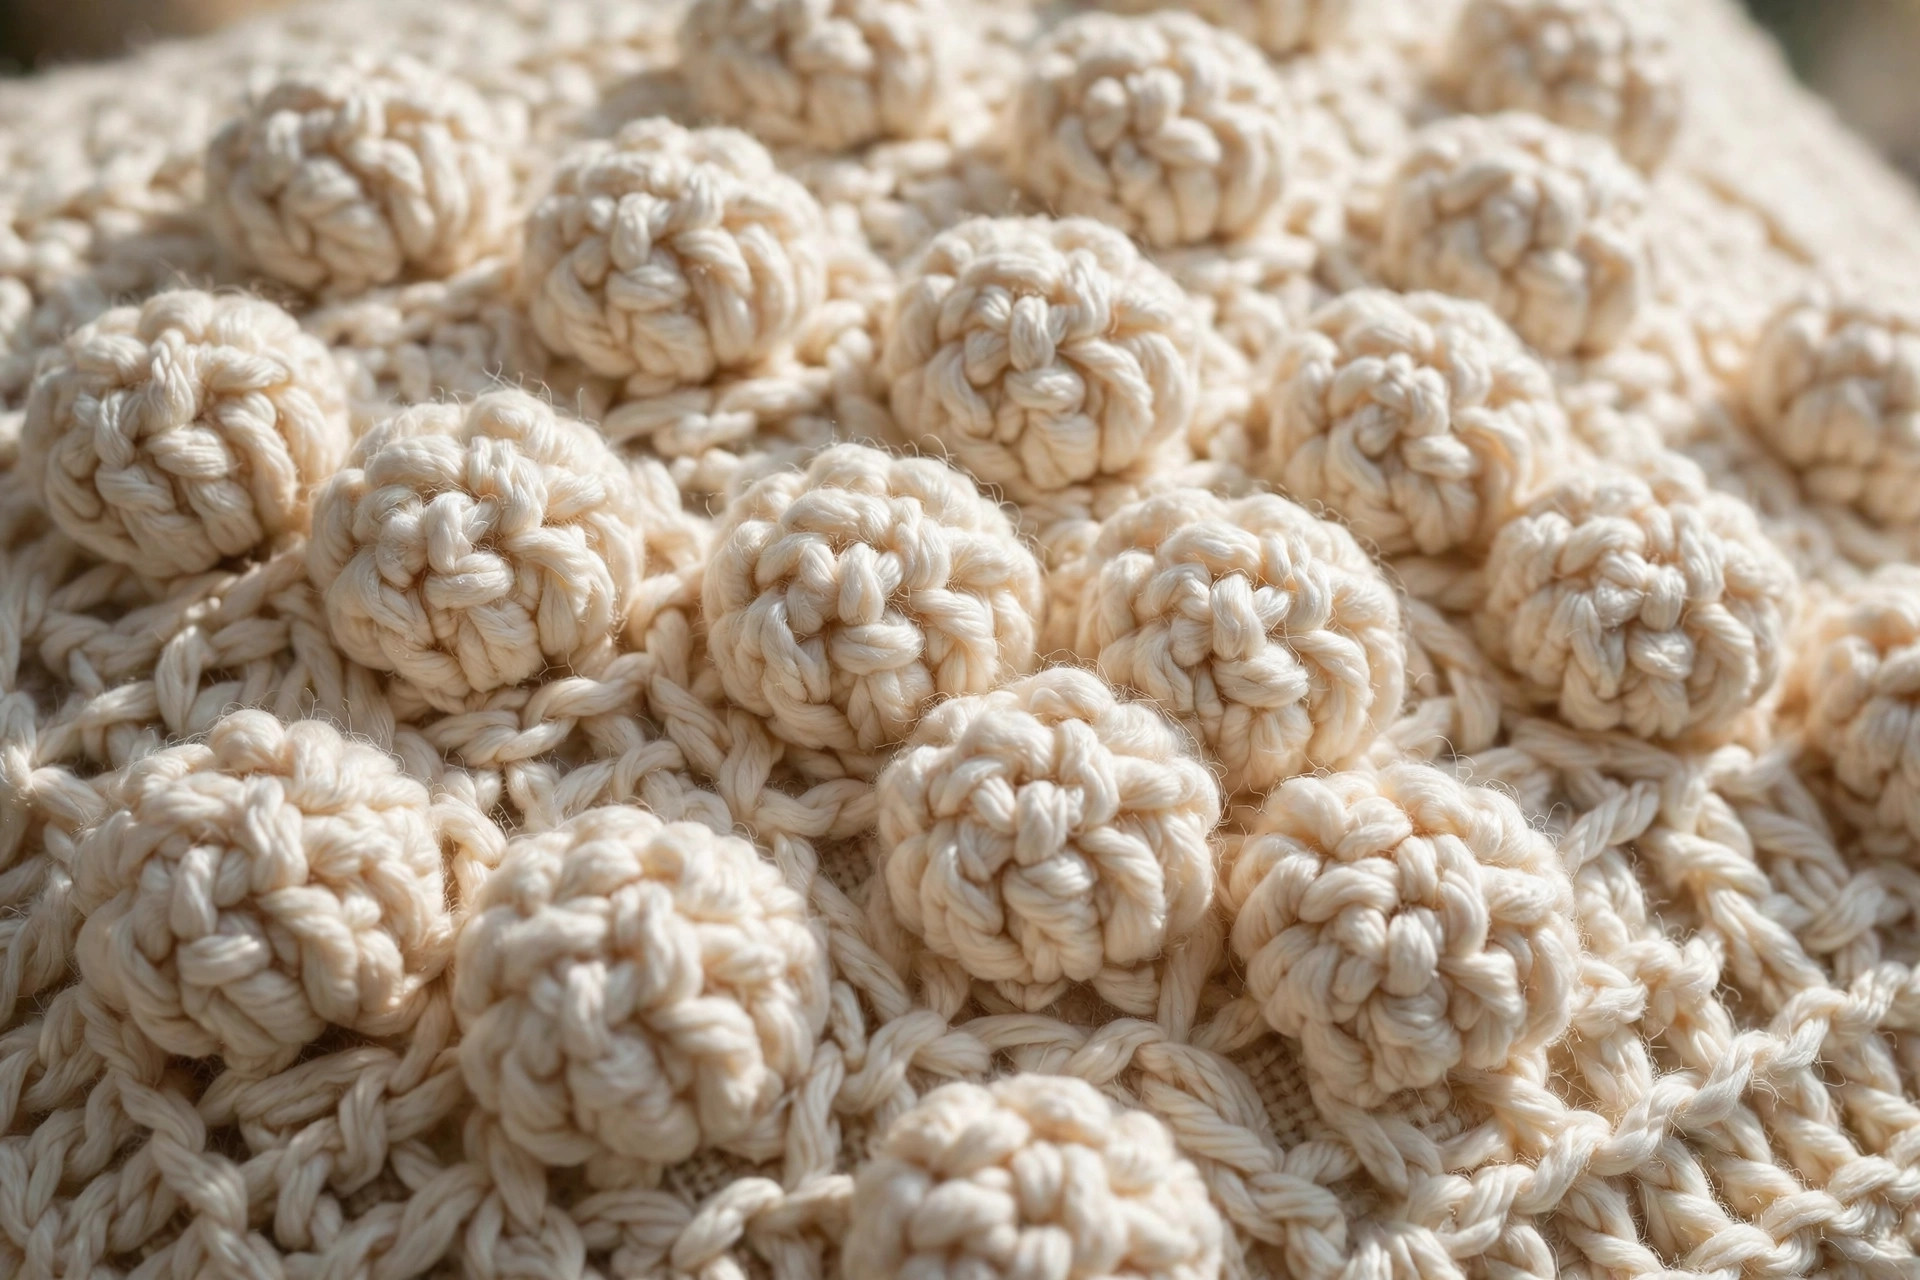
The bobble stitch: yarn over, insert the hook into the stitch, yarn over and pull up a loop, yarn over and pull through 2 loops (one incomplete dc made). Repeat that sequence 4 more times in the same stitch, so you have 6 loops on the hook. Yarn over and pull through all 6 loops at once. That is one bobble: a little raised bump on the right side of the fabric. Push each bobble gently toward the right side with your finger as you work the next row so they all pop the same way.
The crochet pillow pattern (US terms)
Work both panels flat in rows, turning at the end of each row. The front panel carries the bobble texture; the back panel is plain half double crochet. Read through the bobble definition above once before you start, then dive in.
Front panel: the bobble texture
Chain 54.
- Row 1 (RS): sc in the 2nd ch from the hook and in each ch across. [53 sc]
- Row 2: ch 1, turn, sc in each st across. [53]
- Row 3 (bobble row): ch 1, turn, sc in the first 2 sts, bobble in the next st, (sc in the next 2 sts, bobble in the next st) across to the last 2 sts, sc in the last 2 sts. [53 sts, 17 bobbles]
- Row 4: ch 1, turn, sc in each st across. Work into the top of each bobble as a normal stitch. [53]
- Row 5: ch 1, turn, sc in each st across. [53]
- Rows 6-63: repeat Rows 3-5 nineteen more times, ending with a Row 5 repeat. You will have 20 bobble rows in total.
- Row 64: ch 1, turn, sc in each st across. [53]
FO, leaving a 6 in tail for weaving in. The panel should measure about 16 in wide and 16 in tall; give it a gentle tug widthwise to even out the rows before measuring.
Back panel: smooth and speedy
Chain 55.
- Row 1 (RS): hdc in the 3rd ch from the hook and in each ch across. The turning chain does not count as a stitch. [53 hdc]
- Rows 2-64: ch 2 (does not count as a stitch), turn, hdc in each st across. [53]
FO, leaving a 6 in tail. The back panel should match the front panel in size; if it is slightly taller, it will ease in when you join the pieces.
Joining the cover
Place the two panels together with wrong sides facing each other and the front (bobble) panel on top, aligning all four edges. Join your yarn with a slip stitch in any corner, working through both layers.
- Joining round: ch 1, work sc evenly around all four sides through both layers, working 3 sc in each corner stitch to turn the corner neatly. Work about one sc per row-end along the sides and one sc per stitch along the top and bottom. When three sides are joined, slip the pillow form inside, then continue the joining round across the fourth side to close the cover. Join with a sl st to the first sc.
FO and weave in all ends securely, running each tail through the seam allowance for at least 2 inches so it cannot work loose with use.
Finishing touches and assembly
Weave in every end. The front panel alone has two tails, and the joining round adds two more. Thread each tail onto a tapestry needle and run it through the back of the stitches for at least 2 inches, changing direction once so it locks. Trim flush. Because a pillow gets squeezed and fluffed daily, take an extra minute here: loose ends on a cushion always find their way out eventually.
Plump and shape the pillow. Once the cover is closed, knead the pillow like dough for a minute, pushing the filling into the corners. The bobble panel will relax and the corners will fill out. Give the whole pillow a good shake and a karate-chop dent across the top middle if you like that styled designer look.
Steam the bobbles (optional). If your bobbles look a little shy, hold a steaming iron a few inches above the front panel, never touching the yarn, and let the steam relax the stitches for a few seconds. Let the pillow cool completely before you fluff it. This is especially helpful for cotton yarn, which can be a bit stiff off the hook.
Bobble-perfect tips and tricks
Count your bobbles, not just your stitches. Every bobble row should have exactly 17 bobbles with 2 sc at each edge. If a row comes up short, you probably skipped the last bobble before the edge scs. Count before you turn: it takes ten seconds and saves a frogged row.
Keep bobbles on the same side. The bobble pops toward you on the row you work it. When you turn and work the next sc row, give each bobble a little push toward the right side with your fingertip. Consistent bobbles make the texture look professional; random ones look messy.
Mind your tension on the bobble close. The yarn-over-pull-through-all-6-loops step is where bobbles go wrong. Pull it snug but not strangling: too loose and the bobble flops, too tight and it puckers the row. Aim for a firm, round bump.
Block the panels before joining. You do not need pins and wires for a pillow, but laying each panel flat, giving it a light steam, and letting it cool makes the joining round much easier. Flat panels mean straight seams.
Choose a washable yarn. Pillows live on couches, which means snacks, pets, and the occasional spill. A machine-washable cotton blend means you can toss the whole cover in the wash (remove the form first) instead of spot-cleaning forever.
Variations to try next
- Striped bobble pillow. Work the front panel in 8-row stripes of two or three colors, changing color at the start of a Row 3 repeat so the stripe breaks fall between textures. The bobbles in a contrast color look especially sharp. If you love color play, our crochet basket pattern is another great stash-busting home project.
- Lumbar rectangle cushion. Chain 74 instead of 54 and work the same pattern for a 22 x 16 in lumbar pillow that looks fantastic in the middle of a sofa. You will need about 600 yards of yarn and a 14 x 22 in lumbar form.
- Jumbo floor cushion. Use super bulky (#6) yarn with a 9.0 mm hook and follow the same stitch counts for a roughly 24-inch square floor cushion. You will need about 700 yards and a 24-inch form, and it becomes the most fought-over seat in the house.
Troubleshooting tips
- The front panel is narrower than the back. Bobble rows pull in slightly. Give the front panel a firm widthwise stretch before joining, or block it lightly with steam. A half-inch difference will ease in during the joining round.
- My bobbles look uneven. You are probably varying how many incomplete double crochets go into each bobble, or pulling the closing loop with different tension. Count to five every time and close each bobble with the same firm tug.
- The edges of the front panel curl. The bobble texture naturally cups a little. The joining round flattens it out, so do not worry until the cover is assembled. If it still cups, add one more sc row to the front panel.
- The cover will not fit over the form. Your gauge is tighter than written. Go up half a hook size and re-check gauge before restarting, or drop to a 15-inch form if you love your fabric.
- The joining round looks wavy. You worked too many stitches along the row-ends. Aim for roughly 3 sc per 4 row-ends along the sides; if it ripples, pull it out and space the stitches a little further apart.
- Bobbles poke through to the back. That is normal: the wrong side of bobble fabric is bumpy. It faces the inside of the pillow, so nobody will ever see it.
Frequently asked questions
Is this crochet pillow pattern really free?
Yes, the complete pattern above is free, with no email signup and no purchase required.
What size pillow form do I need?
A standard 16 x 16 in (40 x 40 cm) square pillow insert. The cover is designed with slight negative ease so it fits snugly and looks plump, not saggy.
How much yarn does one pillow take?
About 450 yards of worsted-weight yarn, which is roughly three skeins of most widely available brands. Buy one extra skein if you crochet loosely or want to make the striped variation.
Can a complete beginner make this pillow?
Yes. The only special stitch is the bobble, which is just five unfinished double crochets closed together, and it is fully explained in the abbreviations section. The rest is single crochet, half double crochet, and seaming two flat pieces.
How do I wash the finished pillow?
Remove the pillow form first, then machine wash the cover on gentle in cool water and lay flat to dry. This is why a machine-washable yarn is the smartest choice for this project.
Can I make the cover removable with a zipper?
You can, but it complicates a beginner pattern. The simplest removable option is the envelope back: instead of one back panel, make two overlapping half panels and skip the joining round on the back, hemming the overlap edges with single crochet. The pattern as written is a permanently closed cover.
How long does it take to crochet?
About 6 hours at a relaxed pace: roughly 3.5 hours for the bobble front, 1.5 hours for the plain back, and 1 hour for joining and finishing.
More free patterns to try
Once this cushion is fluffed on your couch, you will start eyeing every bare surface in the room. Our crochet vine pattern makes a trailing garland that looks lovely draped over a bookshelf above your new pillow, and the free crochet hanging plants pattern adds greenery that never needs watering. Happy hooking, and enjoy the comfiest seat in the house.