Crochet Stacking Toy Pattern (Baby Ring Stacker)
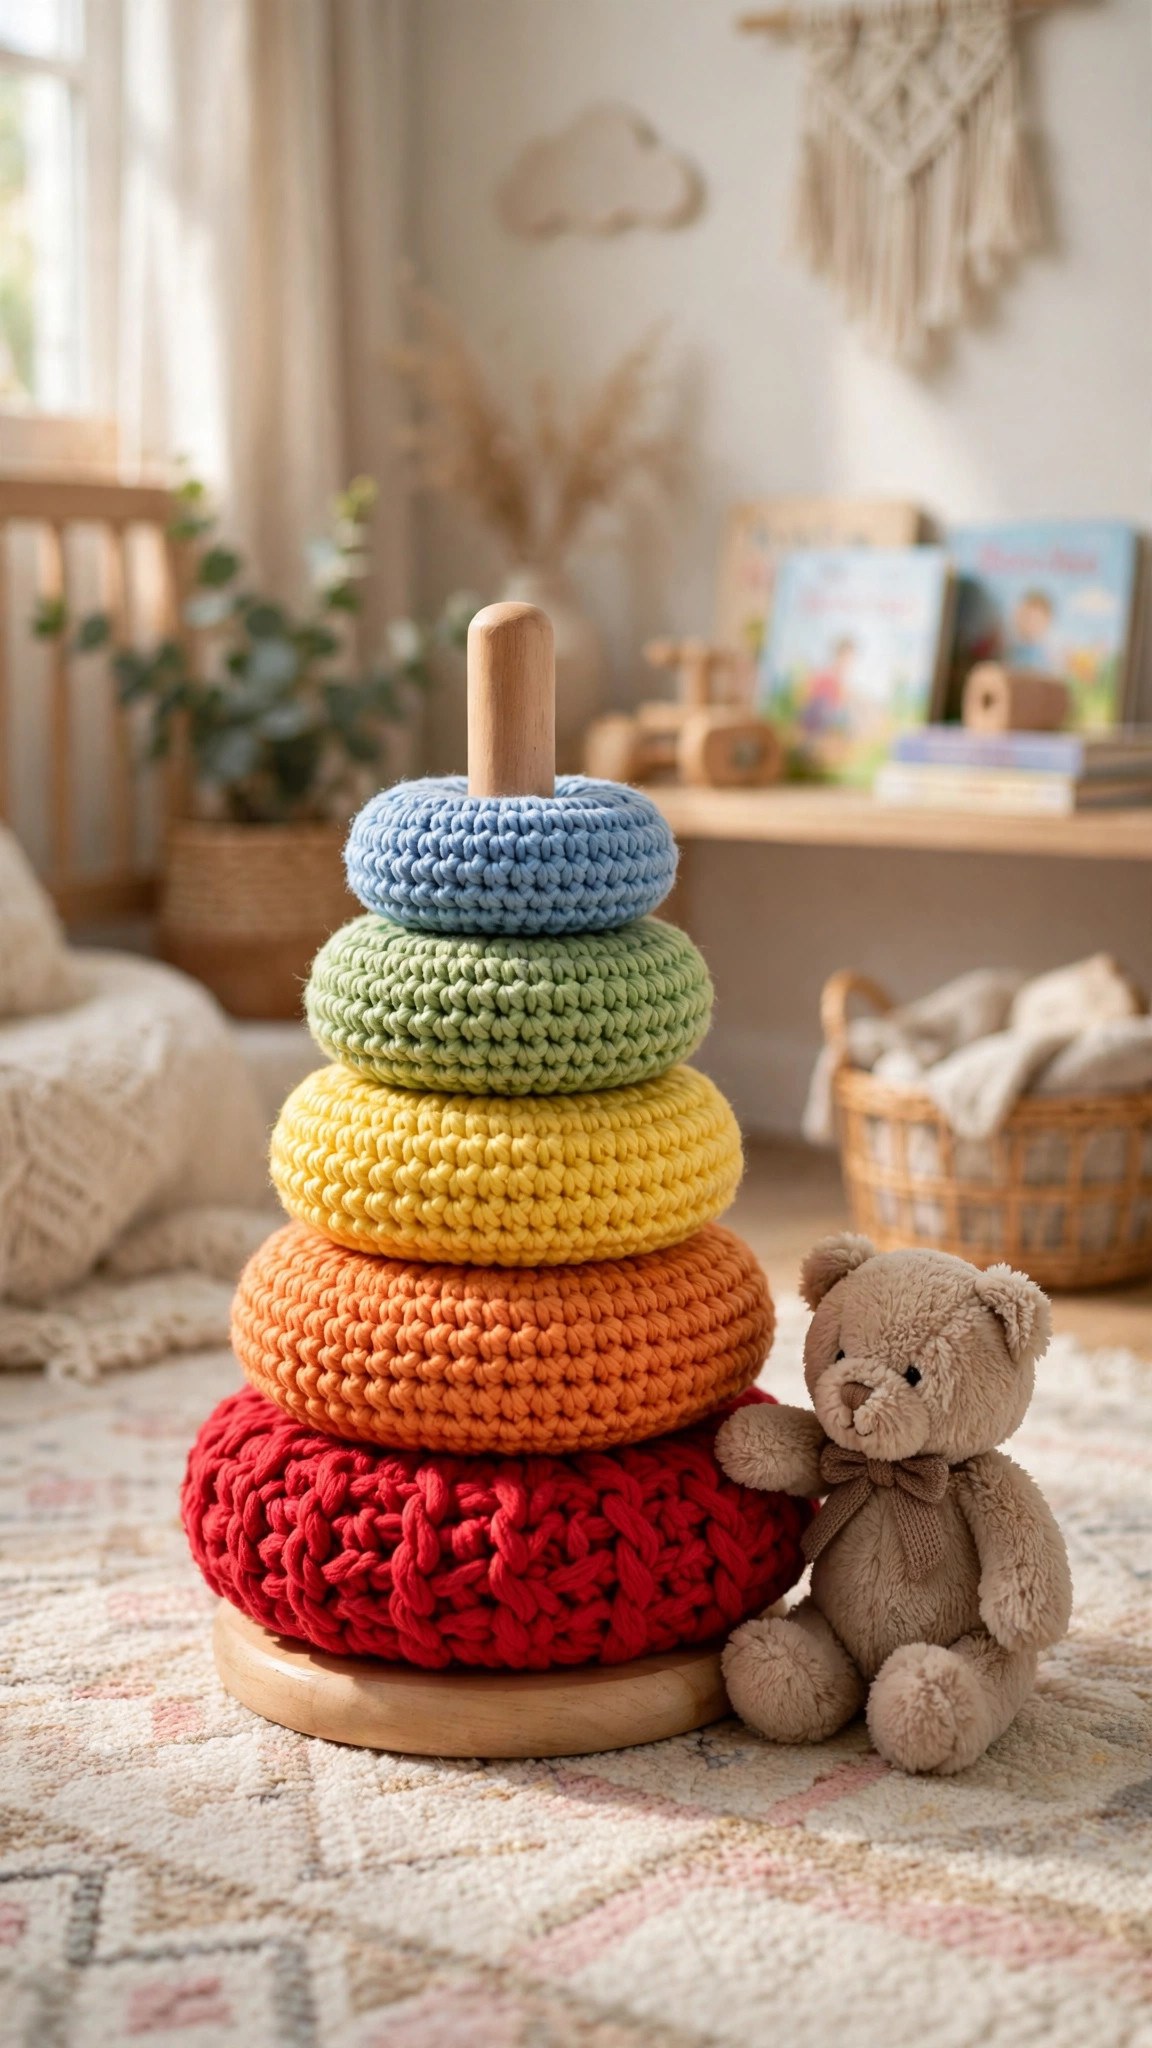
Crochet a soft rainbow ring stacker for babies in about five hours, then watch little hands stack, sort, and play.

Patterns · Crochet
- Finished size
- 9 in tall
- Making time
- 5 hours
- Hook
- US H-8 (5.0 mm)
- Set
- Toy, 5 rings
- Skill
- Easy
In this post
- Key Takeaways
- Table of Contents
- Why You Will Love This Stacking Toy
- Finished Size, Skill Level, and Time
- Materials You Need
- Abbreviations (US Terms)
- Gauge and Sizing Notes
- Part 1: The Base and the Post
- Part 2: The Five Rings
- Part 3: Assembly and the Top Ball
- Variations: Colors, Sizes, and Uses
- Troubleshooting a Stacking Toy That Does Not Stack
- Care Instructions
- Frequently Asked Questions
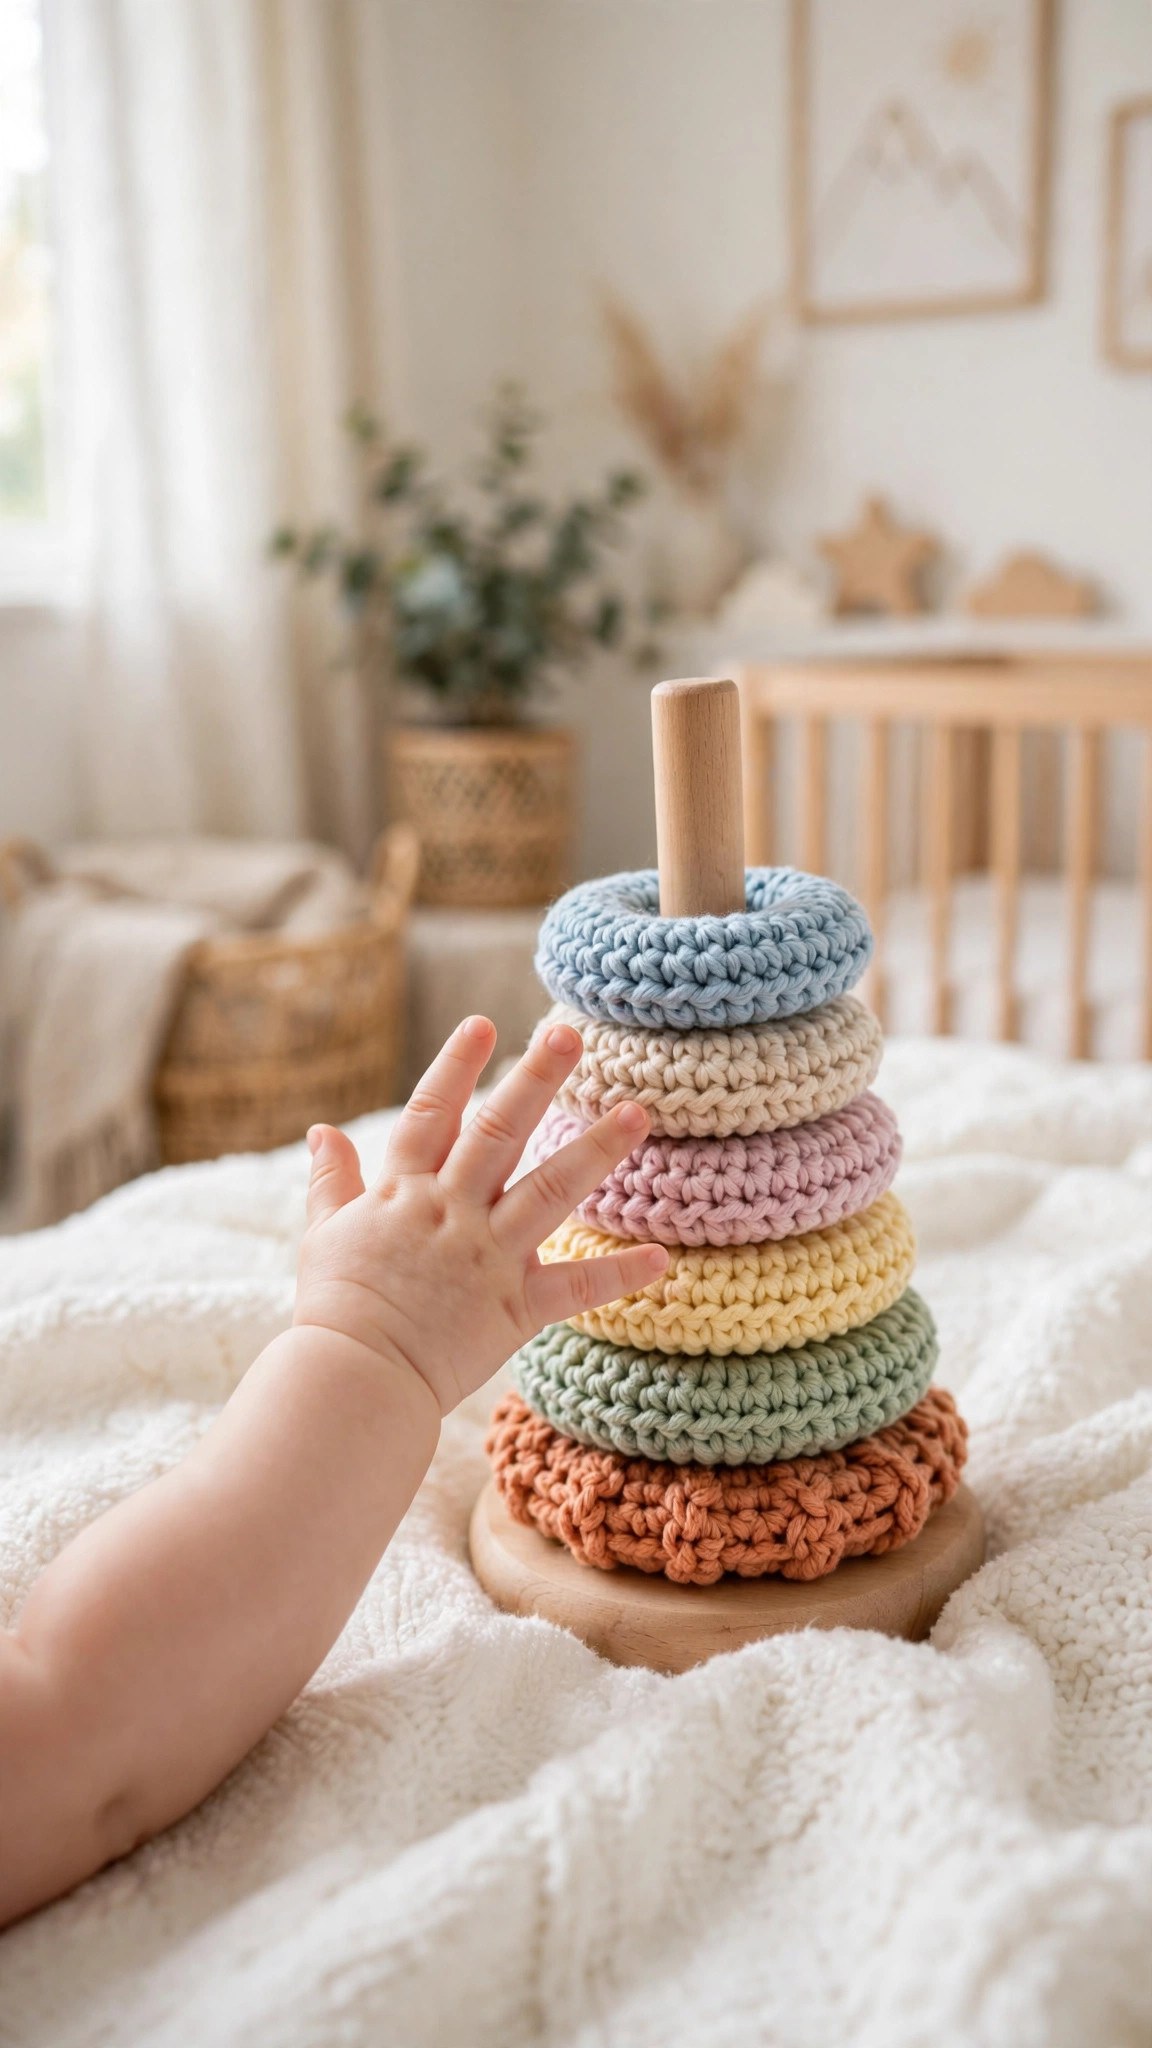
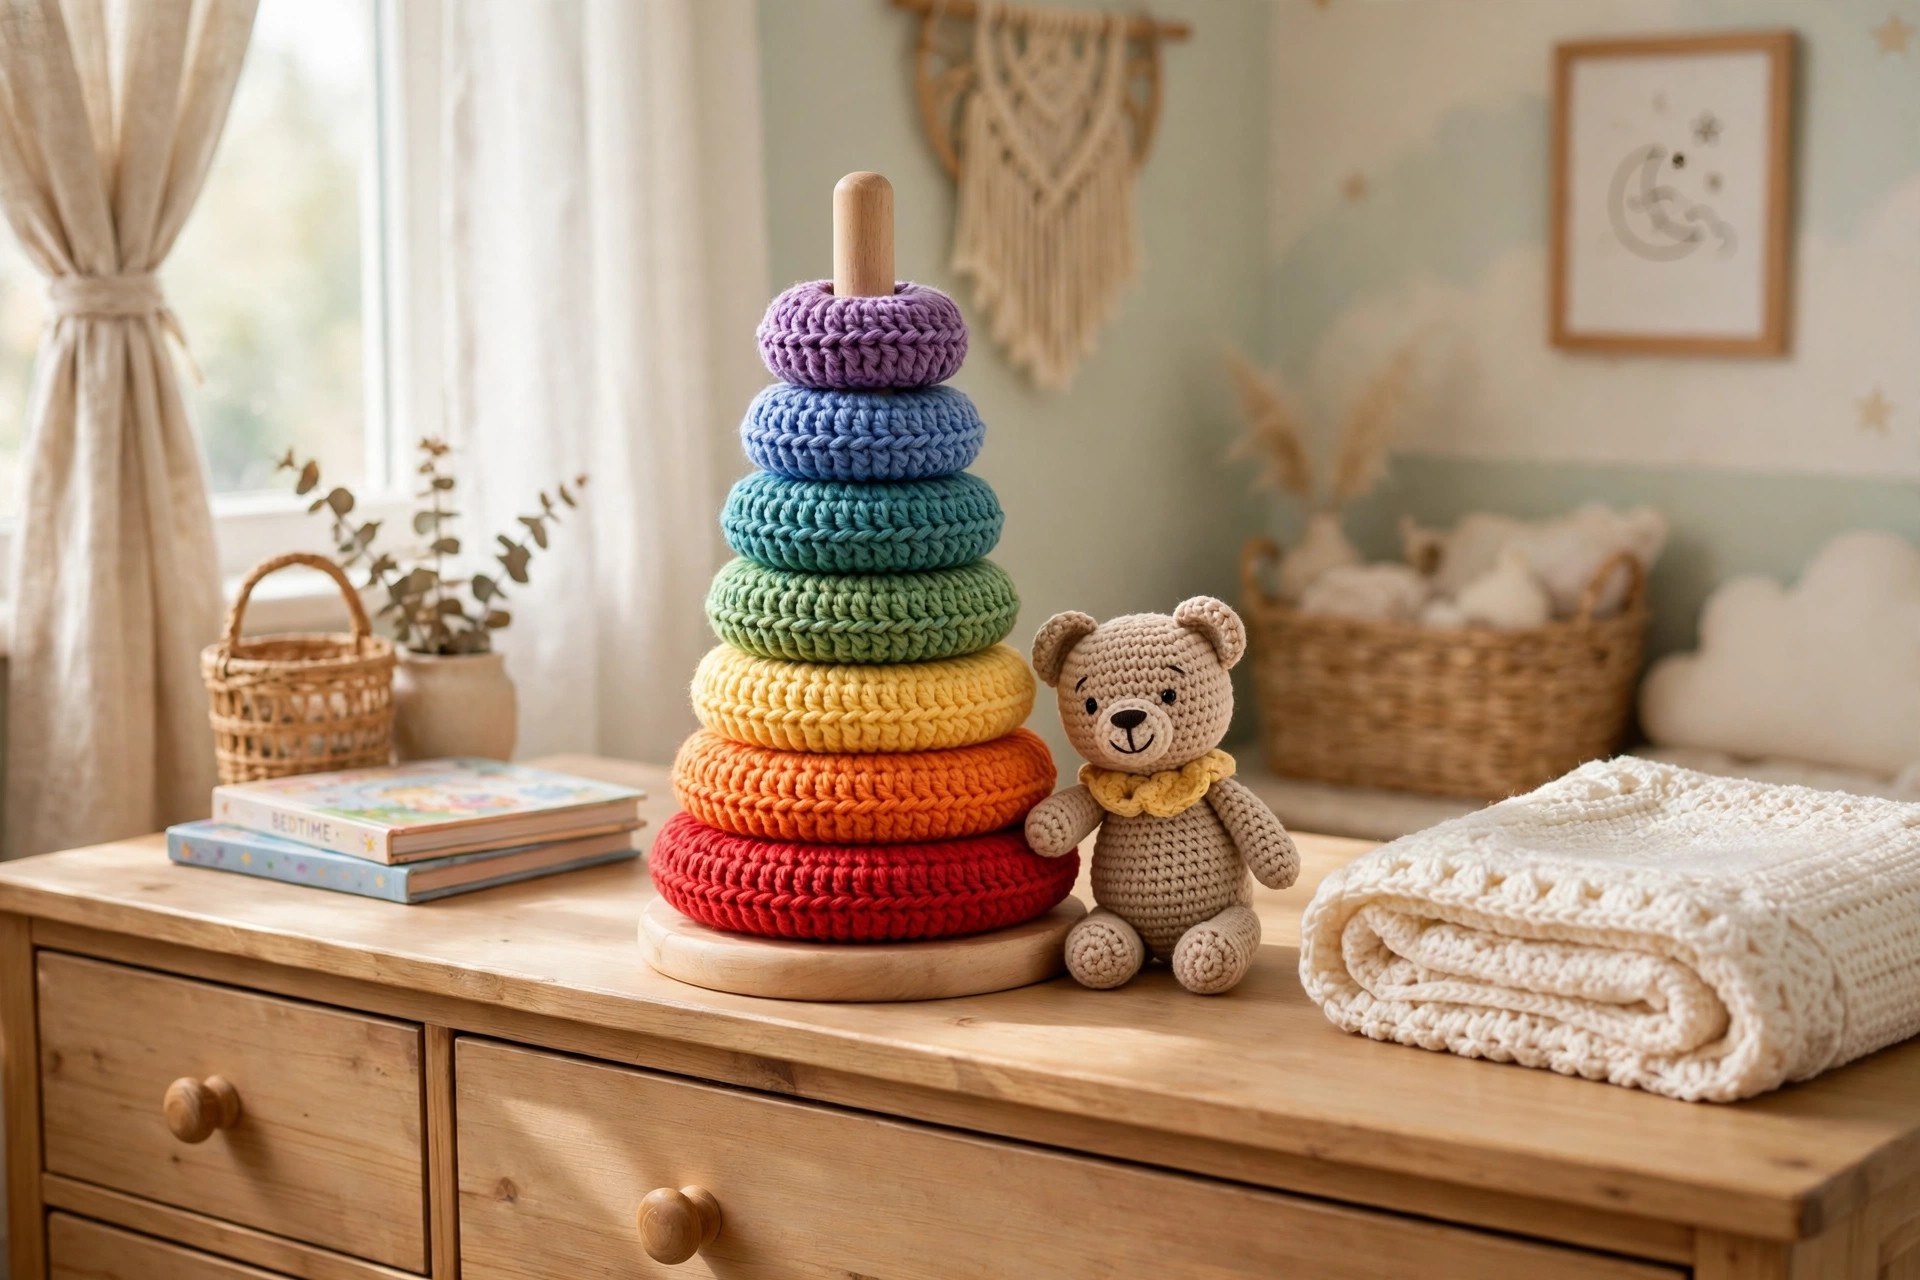
A crochet stacking toy is one of the best first toys you can make for a baby. This free crochet stacking toy pattern makes a soft rainbow ring stacker with five colorful rings on a sturdy post, sized for little hands to grab, stack, and sort. The rings are soft, washable, and light, with no hard parts, so it is safe for floor play and tummy time.
This is an original Little Loop Finds design, written in US terms and completely free. Each ring is a simple tube worked in the round, then sewn into a circle, so the whole toy is made from single crochet, increases, and basic sewing. If you can work in the round, you can make this toy.
A quick note on scope: this post is about one specific crochet stacking toy, a ring stacker with five rings on a post, made for babies and toddlers. That makes it different from a stacking block set, which stacks square blocks, or a nesting cup set, which nests cups inside each other. A ring stacker is all about the rings sliding down the post in size order. If you want a matching baby gift, our crochet baby hat pattern is the matching project.
Key Takeaways
- Free original pattern: a Little Loop Finds original design, written in US terms, and completely free.
- A soft ring stacker: five colorful crochet rings on a sturdy post, made for babies and toddlers.
- A 9 inch toy: about 9 inches tall when finished, with rings from 5 inches down to 2.5 inches wide.
- Simple stitches: worked in the round with single crochet and basic sewing only.
- A 5 hour project: one stacking toy takes about 5 hours.
Table of Contents
- Why You Will Love This Stacking Toy
- Finished Size, Skill Level, and Time
- Materials You Need
- Abbreviations (US Terms)
- Gauge and Sizing Notes
- Part 1: The Base and the Post
- Part 2: The Five Rings
- Part 3: Assembly and the Top Ball
- Variations: Colors, Sizes, and Uses
- Troubleshooting a Stacking Toy That Does Not Stack
- Care Instructions
- Frequently Asked Questions
Why You Will Love This Stacking Toy
A crochet stacking toy is a classic for a reason. Babies love the bright colors, the soft rings feel good in little hands, and sliding a ring down the post builds hand-eye coordination. Toddlers love it too, because they can sort the rings by size and build the tower again and again.
The toy is made from five tubes, and each tube becomes a ring, so there is no tricky shaping. You work the same simple tube five times, each one a little shorter than the last, then sew the ends together. The post is a straight tube, and the base is a flat circle.
The finished toy is soft all over, which is what makes it a good baby toy. There are no hard edges and no small parts to come loose, so it is safe for floor play and for a baby who chews on a ring.
Finished Size, Skill Level, and Time
- Finished size: about 9 inches tall and 5 inches wide at the base. The rings range from 5 inches wide for the largest ring down to 2.5 inches wide for the smallest ring. The post is about 5.5 inches tall, and the top ball is about 1.5 inches wide.
- Skill level: Easy. You need a magic ring, single crochet, increases, and basic sewing. There are no color changes inside a ring, and no shaping beyond simple increases and decreases.
- Time: about 5 hours for the whole toy: 45 minutes for the base and the post, 3 hours for the five rings, and 1 hour for assembly and the top ball.
Materials You Need
| Item | What to get |
|---|---|
| Yarn, five colors | Worsted weight cotton yarn in red, orange, yellow, green, and blue, 40 yards each |
| Yarn, base and post | Worsted weight cotton yarn in cream, 60 yards |
| Yarn, top ball | Worsted weight cotton yarn in red, 15 yards |
| Hook | US H-8 (5.0 mm), or the size that gives you the gauge below |
| Notions | Tapestry needle, scissors, tape measure, stitch markers, polyester stuffing |
Cotton yarn is the best choice for a crochet stacking toy because it is soft, washable, and holds its shape, and it is safe for babies who chew on the rings. Acrylic yarn also works, but choose a soft acrylic made for baby items, because some acrylics feel rough. Avoid very fuzzy yarns, because they hide the stitches and shed fibers that a baby can breathe in.
Use polyester stuffing for the post, the top ball, and lightly inside each ring. Stuff the rings lightly, just enough to hold their round shape, so they stay soft and squashy. Stuff the post firmly, so it stands straight and holds the weight of the rings.
Abbreviations (US Terms)
- MR = magic ring
- ch = chain
- sl st = slip stitch
- sc = single crochet
- hdc = half double crochet
- dc = double crochet
- inc = increase (2 sc in the same stitch)
- dec = decrease (sc 2 together)
- st(s) = stitch(es)
- rep = repeat
- RS = right side
- FO = fasten off
Gauge and Sizing Notes
Gauge matters on a stacking toy because the rings must slide easily down the post, and each ring must be clearly smaller than the one below it. Work a swatch of 16 sc and 16 rows in one of the ring colors. It should be about 4 inches wide and 4 inches tall. If it is wider, go down a hook size. If it is narrower, go up a hook size.
The rings are sized by the length of the tube, and the tube length decides the ring diameter. A longer tube makes a wider ring, and a shorter tube makes a narrower ring. Keep the step between rings even, about half an inch of diameter per ring, so the stack looks neat and the size order is easy for a toddler to see. Our baby bonnet crochet pattern uses the same gauge and the same cotton yarn if you want a matching baby gift set.
Part 1: The Base and the Post
The toy starts with a flat round for the base, then the post is worked straight up from the center of the base. Work in continuous rounds, and place a stitch marker at the start of each round.
The Base
With cream yarn, work in continuous rounds.
- Round 1: MR, 6 sc in the ring. (6)
- Round 2: inc in each st around. (12)
- Round 3: (sc, inc) rep 6 times. (18)
- Round 4: (2 sc, inc) rep 6 times. (24)
- Round 5: (3 sc, inc) rep 6 times. (30)
- Round 6: (4 sc, inc) rep 6 times. (36)
- Round 7: (5 sc, inc) rep 6 times. (42)
- Round 8: (6 sc, inc) rep 6 times. (48)
The base should be a flat round about 5 inches wide. Lay it on a table to check. If the edges curl up, your tension is too tight, so go up a hook size. If the edges ripple, your tension is too loose, so go down a hook size. The base must sit flat, because a wavy base makes the whole toy wobble.
The Post
With cream yarn, work the post in the center of the base, starting from round 8. Work in continuous rounds, and stuff the post firmly as you go.
- Round 1: sc in the back loop only of the next 12 sts, skipping the rest of the base round, and join to the first st. (12)
- Rounds 2 to 16: sc in each st around. (12)
Working the first round in the back loop only makes a clean corner where the post meets the base, so the post stands up straight instead of flaring out. The post should be about 5.5 inches tall when you reach round 16. Stuff it firmly with polyester stuffing, pushing the stuffing down with the end of your hook, so the post holds the rings without bending. Fasten off and weave in the end.
Part 2: The Five Rings
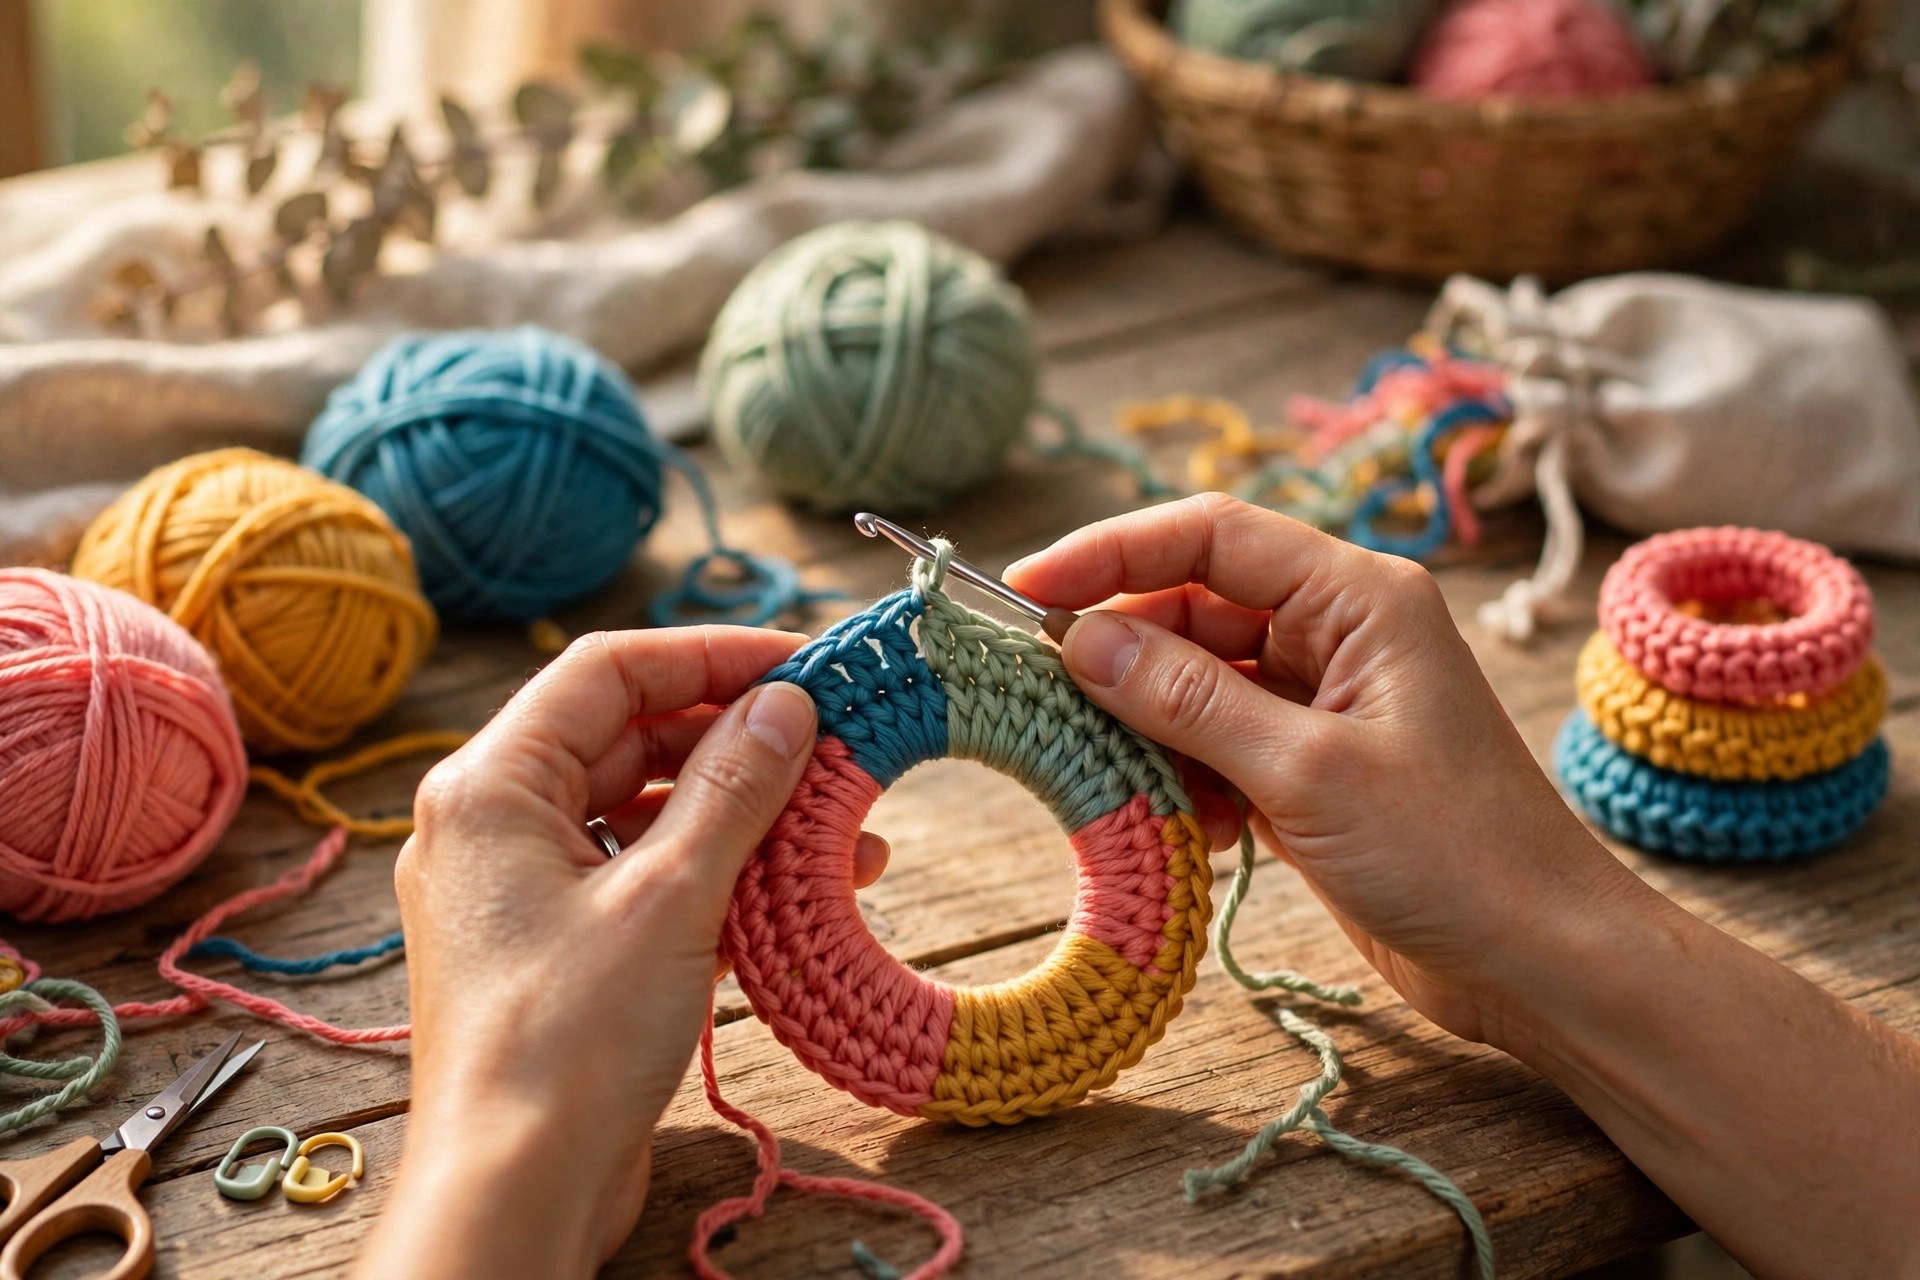
Each ring is a tube worked in the round, then sewn into a circle. Work each ring in its own color, in continuous rounds, and place a stitch marker at the start of each round. The tube length is what sets the ring size, so count your rounds carefully.
Ring 1, the Largest Ring, in Red
- Chain 26 and join to the first chain with a slip stitch, taking care not to twist the chain.
- Rounds 1 to 14: sc in each st around. (26)
The tube should be about 7 inches long when laid flat and about 2 inches wide. Fasten off, leaving a long tail for sewing. Stuff the tube lightly, just enough to hold its shape, then sew the two ends together with the tail, matching stitch to stitch, to form a ring about 5 inches wide. Weave in the end on the inside of the ring.
Ring 2, in Orange
- Chain 24 and join to the first chain with a slip stitch, taking care not to twist the chain.
- Rounds 1 to 12: sc in each st around. (24)
The tube should be about 6 inches long when laid flat. Fasten off, leaving a long tail, stuff lightly, and sew the ends together to form a ring about 4.5 inches wide.
Ring 3, in Yellow
- Chain 22 and join to the first chain with a slip stitch, taking care not to twist the chain.
- Rounds 1 to 10: sc in each st around. (22)
The tube should be about 5 inches long when laid flat. Fasten off, leaving a long tail, stuff lightly, and sew the ends together to form a ring about 4 inches wide.
Ring 4, in Green
- Chain 20 and join to the first chain with a slip stitch, taking care not to twist the chain.
- Rounds 1 to 9: sc in each st around. (20)
The tube should be about 4.5 inches long when laid flat. Fasten off, leaving a long tail, stuff lightly, and sew the ends together to form a ring about 3.5 inches wide.
Ring 5, the Smallest Ring, in Blue
- Chain 18 and join to the first chain with a slip stitch, taking care not to twist the chain.
- Rounds 1 to 8: sc in each st around. (18)
The tube should be about 4 inches long when laid flat. Fasten off, leaving a long tail, stuff lightly, and sew the ends together to form a ring about 2.5 inches wide.
Keep your stitches even on every ring, and slide each finished ring onto the post to check the fit before you sew the next one. Each ring should slide down easily with a little room to spare, and the hole in the middle of each ring must be wide enough for the post. If a ring sticks, the tube was stuffed too firmly, so take out some stuffing and sew the ends together again. Our amigurumi doll free pattern uses the same tube and stuffing method if you want to practice on a simpler piece first.
Part 3: Assembly and the Top Ball
This is the part where the toy becomes finished and ready to play with. Sew the base to the post firmly, make the top ball, attach it to the top of the post, and check every seam for safety.
Sewing the Post to the Base
The post is already worked from the center of the base, but the join needs reinforcing so the post cannot pull loose. Thread a tapestry needle with cream yarn and work a round of whip stitches around the base of the post, going through the post stitches and the base stitches together. Work the stitches close together, and pull each one snug. Turn the toy over and check the join from underneath. The post should stand straight with no lean, and you should not be able to pull it away from the base.
The Top Ball
With red yarn, work in continuous rounds.
- Round 1: MR, 6 sc in the ring. (6)
- Round 2: inc in each st around. (12)
- Round 3: (sc, inc) rep 6 times. (18)
- Rounds 4 to 6: sc in each st around. (18)
- Round 7: (sc, dec) rep 6 times. (12)
- Round 8: dec in each st around. (6)
Stuff the ball firmly before you close it, then fasten off, leaving a long tail. Sew the ball to the top of the post with the tail, working small stitches all the way around the join so the ball sits straight and cannot be pulled off. The ball stops the rings from sliding off the top, and it gives a baby something round to grab.
Final Safety Check
Check every seam before you give the toy to a baby. Tug each ring at the sewn join, tug the top ball, and tug the post. Nothing should move or come loose. Weave in all the loose ends on the inside of the rings and the post, where a baby cannot pull them free. Our one piece crochet teddy bear pattern free uses the same safety check if you want a matching soft toy for the same baby.
Variations: Colors, Sizes, and Uses
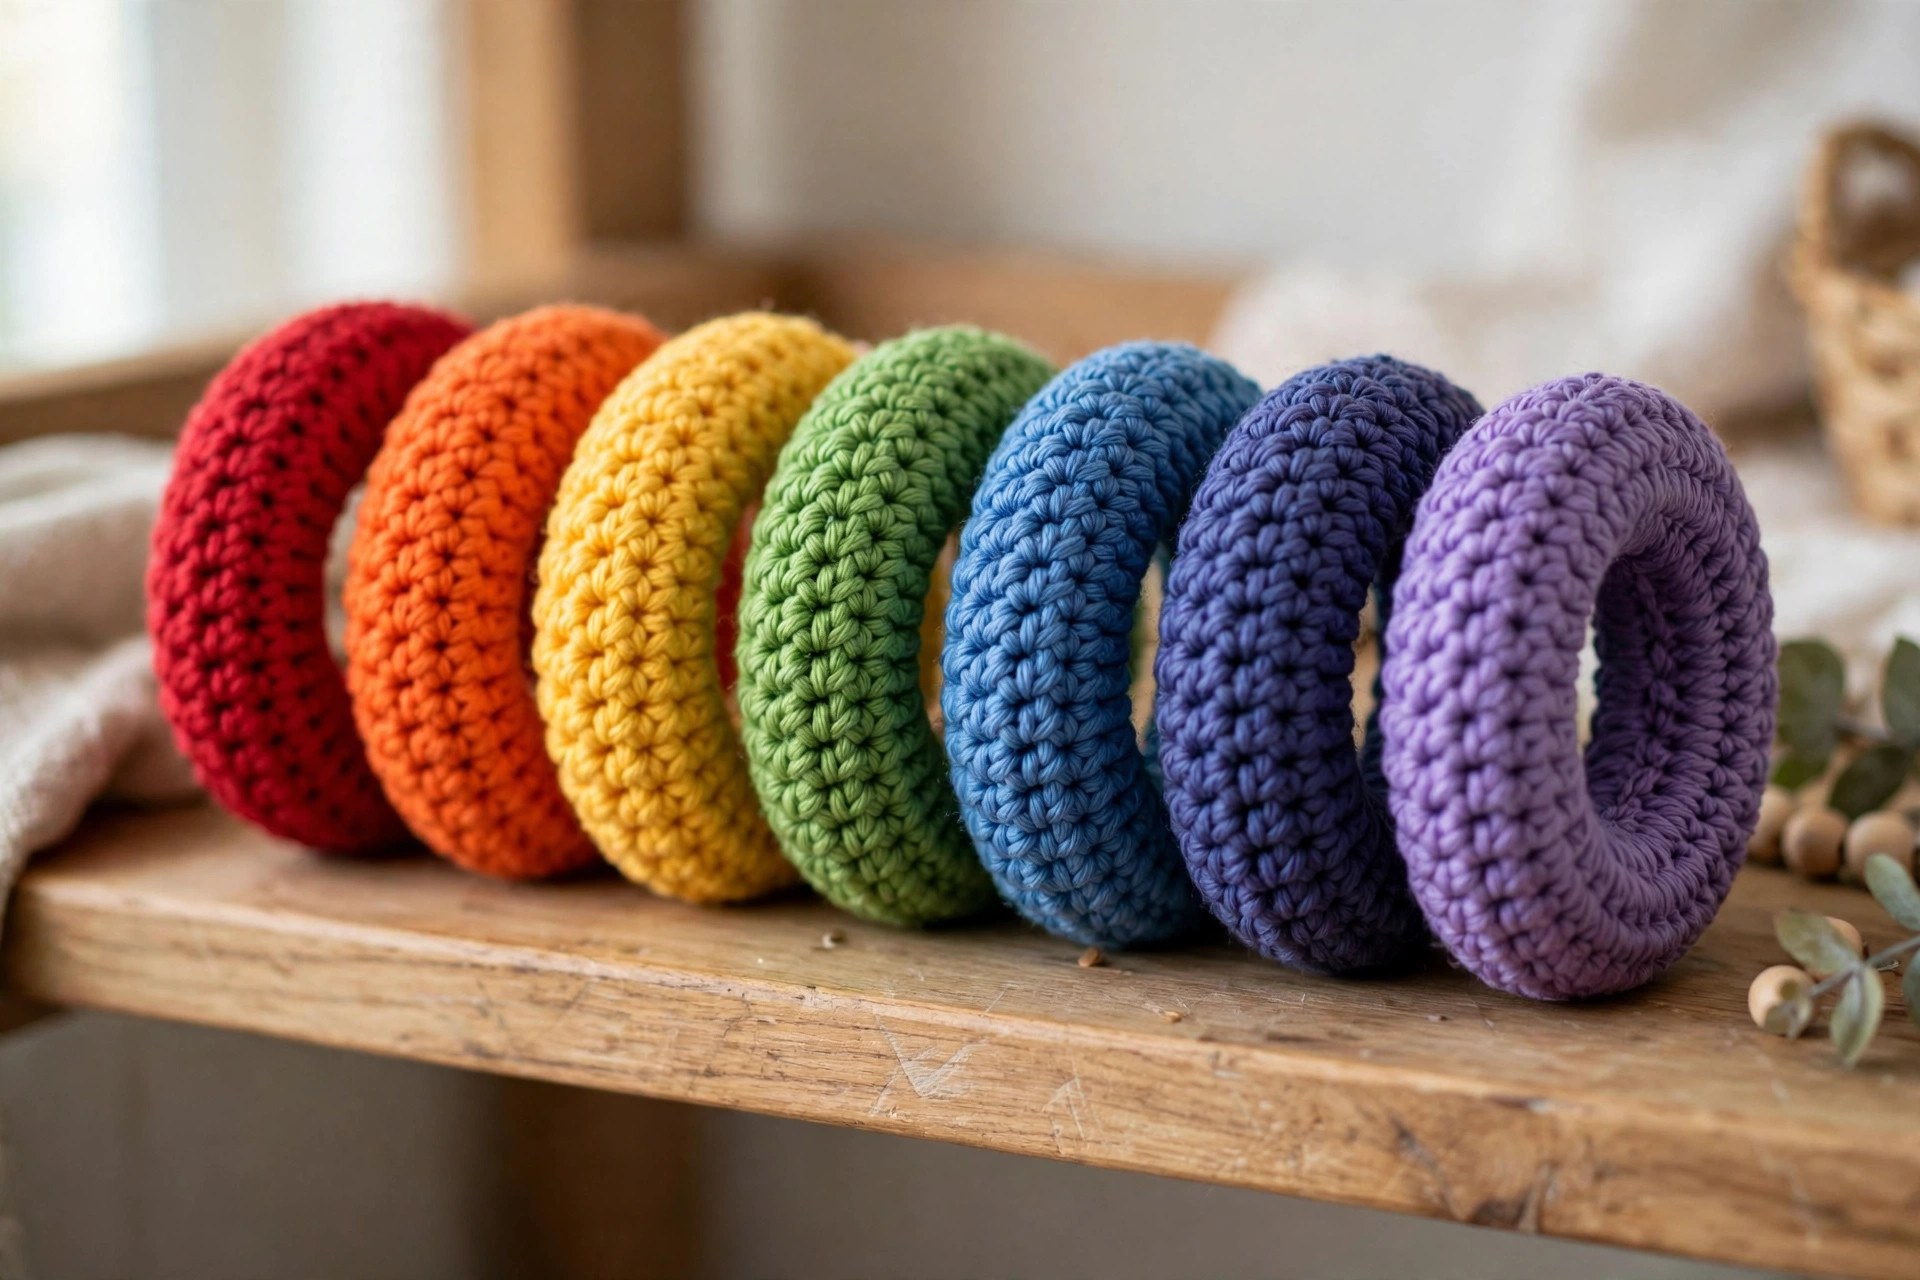
- Classic rainbow stacker: work the rings in red, orange, yellow, green, and blue, just as written.
- Pastel stacker: make the rings in soft pink, peach, mint, sky blue, and lavender for a gentle nursery look.
- Boy or girl stacker: make the rings in shades of one color, from dark to light, for a tonal set.
- Mini stacker: work each ring with two fewer rounds for a smaller travel toy that fits in a diaper bag.
- Baby shower gift set: pair the stacking toy with a matching baby cocoon crochet pattern for a complete handmade gift.
Troubleshooting a Stacking Toy That Does Not Stack
- My rings will not slide down the post. The rings were stuffed too firmly, or the post is too wide. Take out some stuffing from the rings, and check the post is only 12 stitches around.
- My rings look lumpy. The stuffing is bunched in one place. Pull the stuffing out, tease it apart, and put it back in small pieces spread evenly through the tube.
- My base wobbles. The base is wavy or the post leans. Check the base lies flat, and reinforce the join at the bottom of the post with another round of whip stitches.
- My rings are all nearly the same size. The tube lengths were not stepped down evenly. Check the round counts in Part 2, and make each ring two rounds shorter than the one below it.
- My top ball pulls off. The join was sewn too loosely. Sew the ball on again with small tight stitches all the way around, and weave the tail through the post for extra strength.
- My post bends under the rings. The post was stuffed too lightly. Open the top of the post, add more stuffing, and push it down firmly with the end of your hook.
Care Instructions
Hand wash a crochet stacking toy in cool water with a mild detergent, and press the water out gently without wringing. Reshape the rings and lay them flat to dry away from direct heat. Cotton toys can go in the washing machine on a gentle cycle inside a laundry bag, but hand washing keeps the colors bright. Do not put the toy in the dryer, because the heat can shrink cotton and flatten the stuffing. Store the rings stacked on the post, or in a toy basket away from pets.
Frequently Asked Questions
Is this crochet stacking toy pattern good for beginners?
Yes, it is best for an easy crocheter. You need a magic ring, single crochet, increases, and basic sewing. One toy takes about 5 hours, and each ring uses the same simple tube.
What yarn is best for a crochet stacking toy?
Worsted weight cotton yarn is the best choice, because it is soft, washable, holds its shape, and is safe for babies who chew on the rings. Choose a soft acrylic made for baby items if you prefer acrylic. Avoid very fuzzy yarns, because they hide the stitches and shed fibers.
Is this stacking toy safe for babies?
Yes, it is designed for babies and toddlers. There are no hard parts, no buttons, and no small pieces. The rings are soft, the post is stuffed, and the top ball is sewn on firmly. Always check every seam before play, and check again after washing.
How big is the finished stacking toy?
The finished toy is about 9 inches tall and 5 inches wide at the base. The rings range from 5 inches wide for the largest ring down to 2.5 inches wide for the smallest ring. The post is about 5.5 inches tall.
Can I make the rings in different colors?
Yes, the rings work in any five colors you like. A rainbow set is classic, pastels suit a soft nursery, and shades of one color make a lovely tonal set. Keep the step between ring sizes even so the stack looks neat.
Can I sell stacking toys made from this pattern?
Yes, you may sell finished stacking toys made from this free pattern, with credit to Little Loop Finds. Do not sell or republish the pattern text itself. A rainbow stacker with a matching baby hat makes a lovely set for a market stall.
Happy stitching, and may your little stacker bring many happy hours of stacking, sorting, and play.