Crochet Market Bag Pattern (Free Mesh Bag)
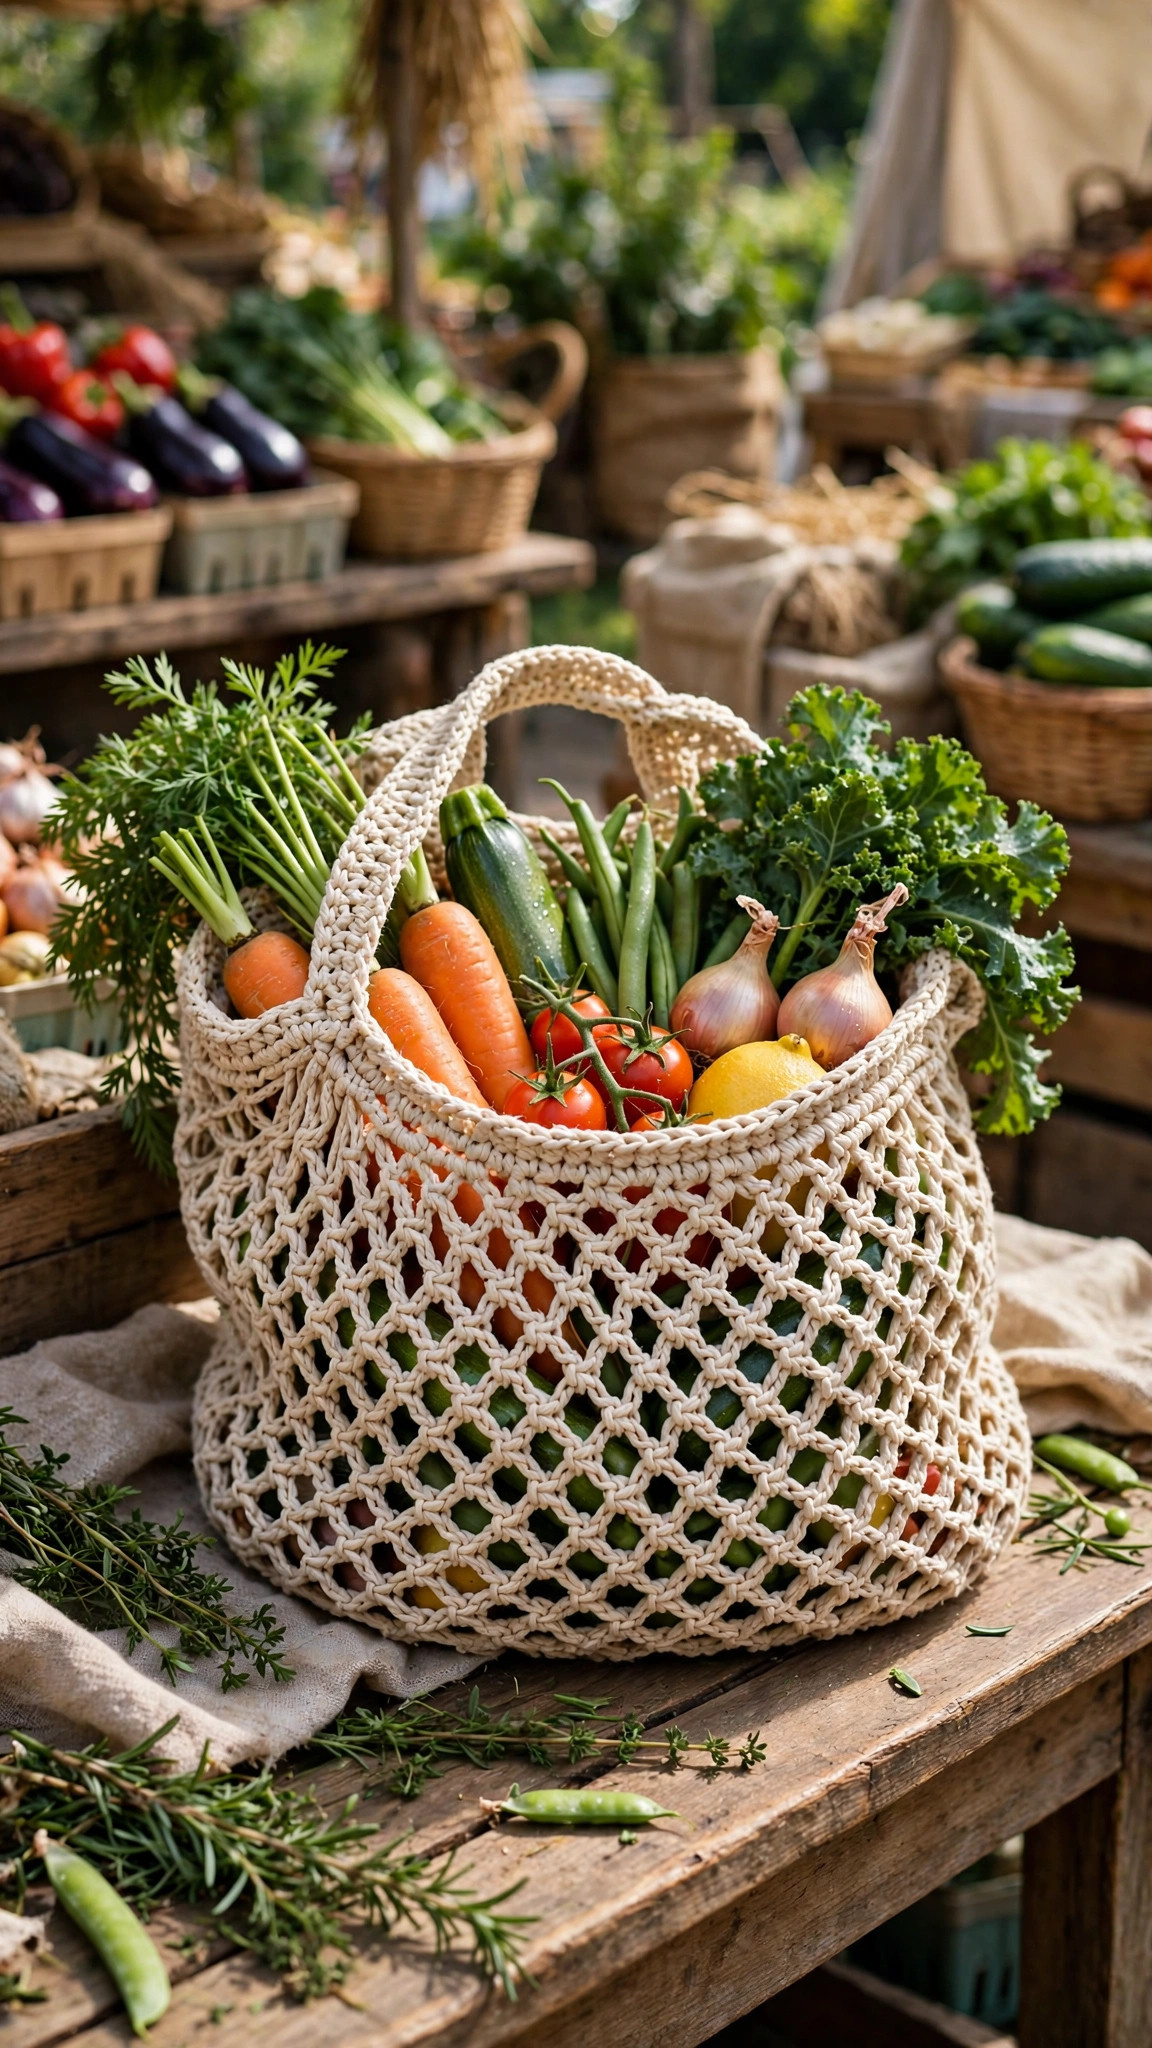
Crochet a classic mesh market bag with a firm base and sturdy handles, then take it to the market.

Patterns · Crochet
- Finished size
- 14 in wide, 16 in tall
- Making time
- 3-4 hours per bag
- Hook
- US H-8 (5.0 mm)
- Set
- Base, mesh, handles
- Skill
- Easy
In this post
- Key Takeaways
- Table of Contents
- Why You Will Love This Crochet Market Bag
- Finished Size, Skill Level, and Time
- Materials You Need
- Abbreviations (US Terms)
- Gauge and Sizing Notes
- Part 1: The Base
- Part 2: The Mesh Body
- Part 3: Handles and Edging
- Variations: Colors, Sizes, and Uses
- Troubleshooting Market Bags That Sag or Stretch
- Care Instructions
- Frequently Asked Questions
A crochet market bag is the reusable bag you will actually want to carry. Light, strong, and stretchy, this mesh market bag holds a full load of groceries, folds down small enough for a pocket, and looks lovely hanging by the door. This free crochet market bag pattern walks you through every step, from the solid base to the open mesh body, the handles, and the finishing edging.
This is an original Little Loop Finds design, written in US terms and completely free. The market bag is a classic string bag, worked in the round from the bottom up, with a firm single crochet base, an open mesh body that stretches to fit your shopping, and two sturdy handles. If you can chain, single crochet, and double crochet, you can crochet this market bag.
A quick note on scope: this post is about one specific bag, a mesh string market bag for groceries and farmers markets, with an open net body and long handles you can carry on your shoulder. It is not a solid tote bag with a closed fabric body. If you want that style, our crochet tote bag pattern is a separate pattern for a solid tote. This pattern is the stretchy mesh bag, made to expand around fruit, vegetables, bread, and jars.
Key Takeaways
- Free original pattern: this crochet market bag pattern is a Little Loop Finds original design, written in US terms, and completely free.
- A classic mesh market bag: a firm single crochet base, an open stretchy mesh body, and two sturdy shoulder handles.
- Beginner friendly bag: simple single crochet and double crochet mesh, with a stitch count at the end of every round.
- Strong and stretchy: the mesh body expands to hold a full grocery shop, then folds down small for storage.
- Endlessly useful: make it in natural cotton for the farmers market, or in bright colors for beach trips, picnics, and library books.
Table of Contents
- Why You Will Love This Crochet Market Bag
- Finished Size, Skill Level, and Time
- Materials You Need
- Abbreviations (US Terms)
- Gauge and Sizing Notes
- Part 1: The Base
- Part 2: The Mesh Body
- Part 3: Handles and Edging
- Variations: Colors, Sizes, and Uses
- Troubleshooting Market Bags That Sag or Stretch
- Care Instructions
- Frequently Asked Questions
Why You Will Love This Crochet Market Bag
A handmade market bag is one of the most useful things you can crochet, because you will use it every week. It replaces a stack of plastic bags, it carries more than it looks like it can, and it folds down to almost nothing when it is empty. Tuck one in your handbag, keep one in the car, and hang one by the door, and you will always have a bag when you need one.
Finished Size, Skill Level, and Time
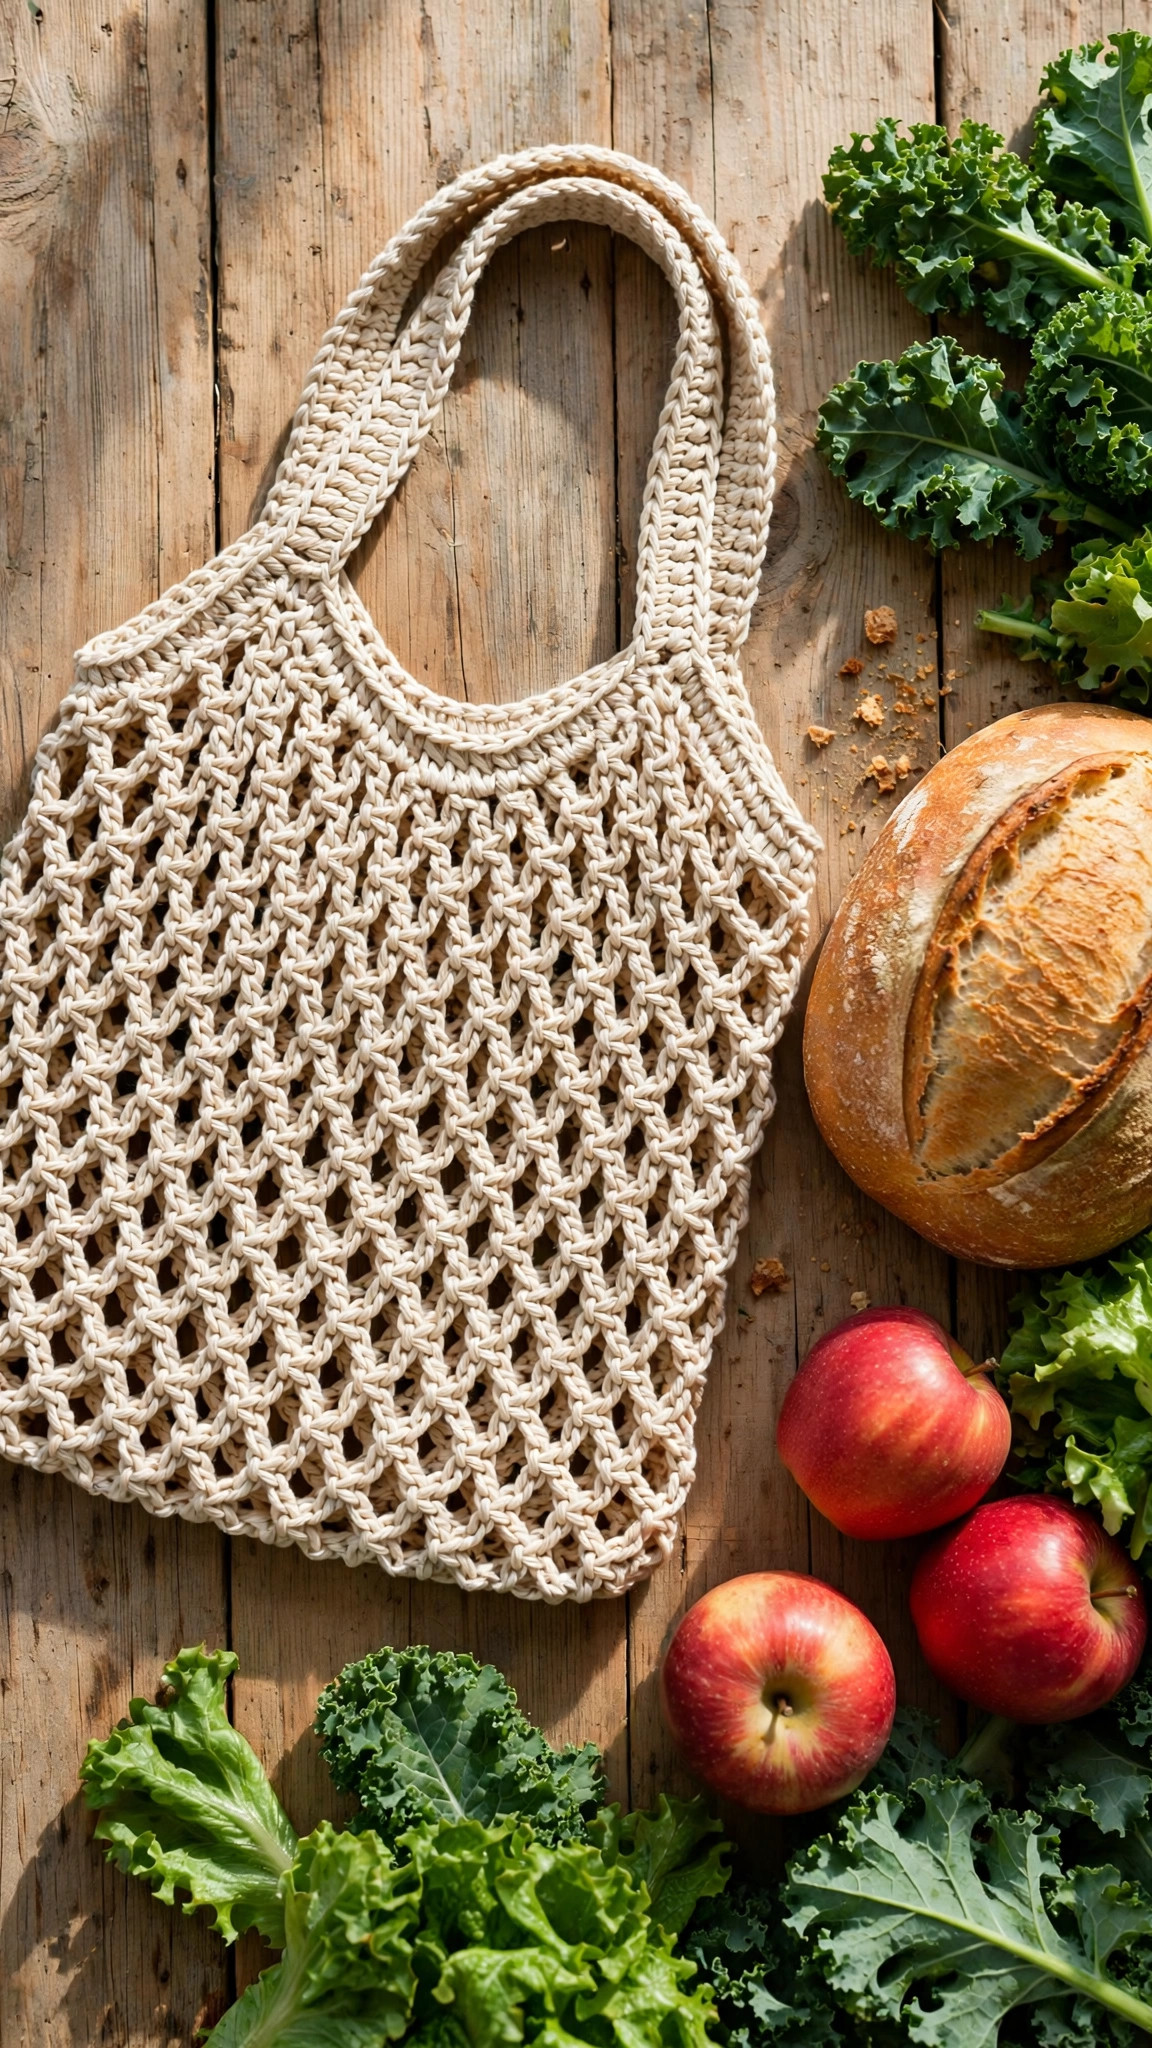
- Finished size: about 14 inches wide and 16 inches tall, not counting the handles, in worsted weight yarn. The mesh body stretches to about 18 inches wide when full.
- Skill level: Easy. You need a magic ring, chains, slip stitches, single crochet, and double crochet.
- Time: about 3 to 4 hours per bag: roughly 45 minutes for the base, 2 hours for the mesh body, and 45 minutes for the handles and edging.
Materials You Need
| Item | What to get |
|---|---|
| Yarn | Worsted weight (size 4) cotton yarn, about 300 yards |
| Hook | US H-8 (5.0 mm), or the size that gives you a firm base with no gaps |
| Notions | Tapestry needle, scissors, stitch markers |
Cotton yarn is the best choice for a market bag, because it is strong, it does not stretch out of shape the way acrylic can, and it washes easily after a trip to the market. A smooth worsted weight cotton works well, because it shows clean stitch definition and it holds a heavy load. Avoid fuzzy or eyelash yarns, because they hide the mesh and they are hard to wash.
Abbreviations (US Terms)
- ch = chain
- sl st = slip stitch
- sc = single crochet
- dc = double crochet
- inc = increase, 2 sc in the same stitch
- st(s) = stitch(es)
- rnd(s) = round(s)
- rep = repeat
- MR = magic ring
- sp = space
Gauge and Sizing Notes
Gauge for a market bag is about strength, not about hitting an exact number. Work the first 4 rounds of the base and look at the fabric. You should not be able to see through the single crochet stitches, and the fabric should feel firm, not loose and holey. If you can see daylight through your stitches, go down a hook size. If the fabric is stiff and hard to work, go up a hook size. A quick check at round 4 saves you from a bag with a base that lets small fruit fall through.
To make a smaller bag, stop the mesh body after 14 rounds for a bag about 12 inches tall, which is perfect for a lunch bag or a small farmers market shop. To make a larger bag, work 24 rounds of mesh for a bag about 19 inches tall, which holds a full weekly shop. The stitch counts stay the same in every size, and the handles work the same way.
Part 1: The Base
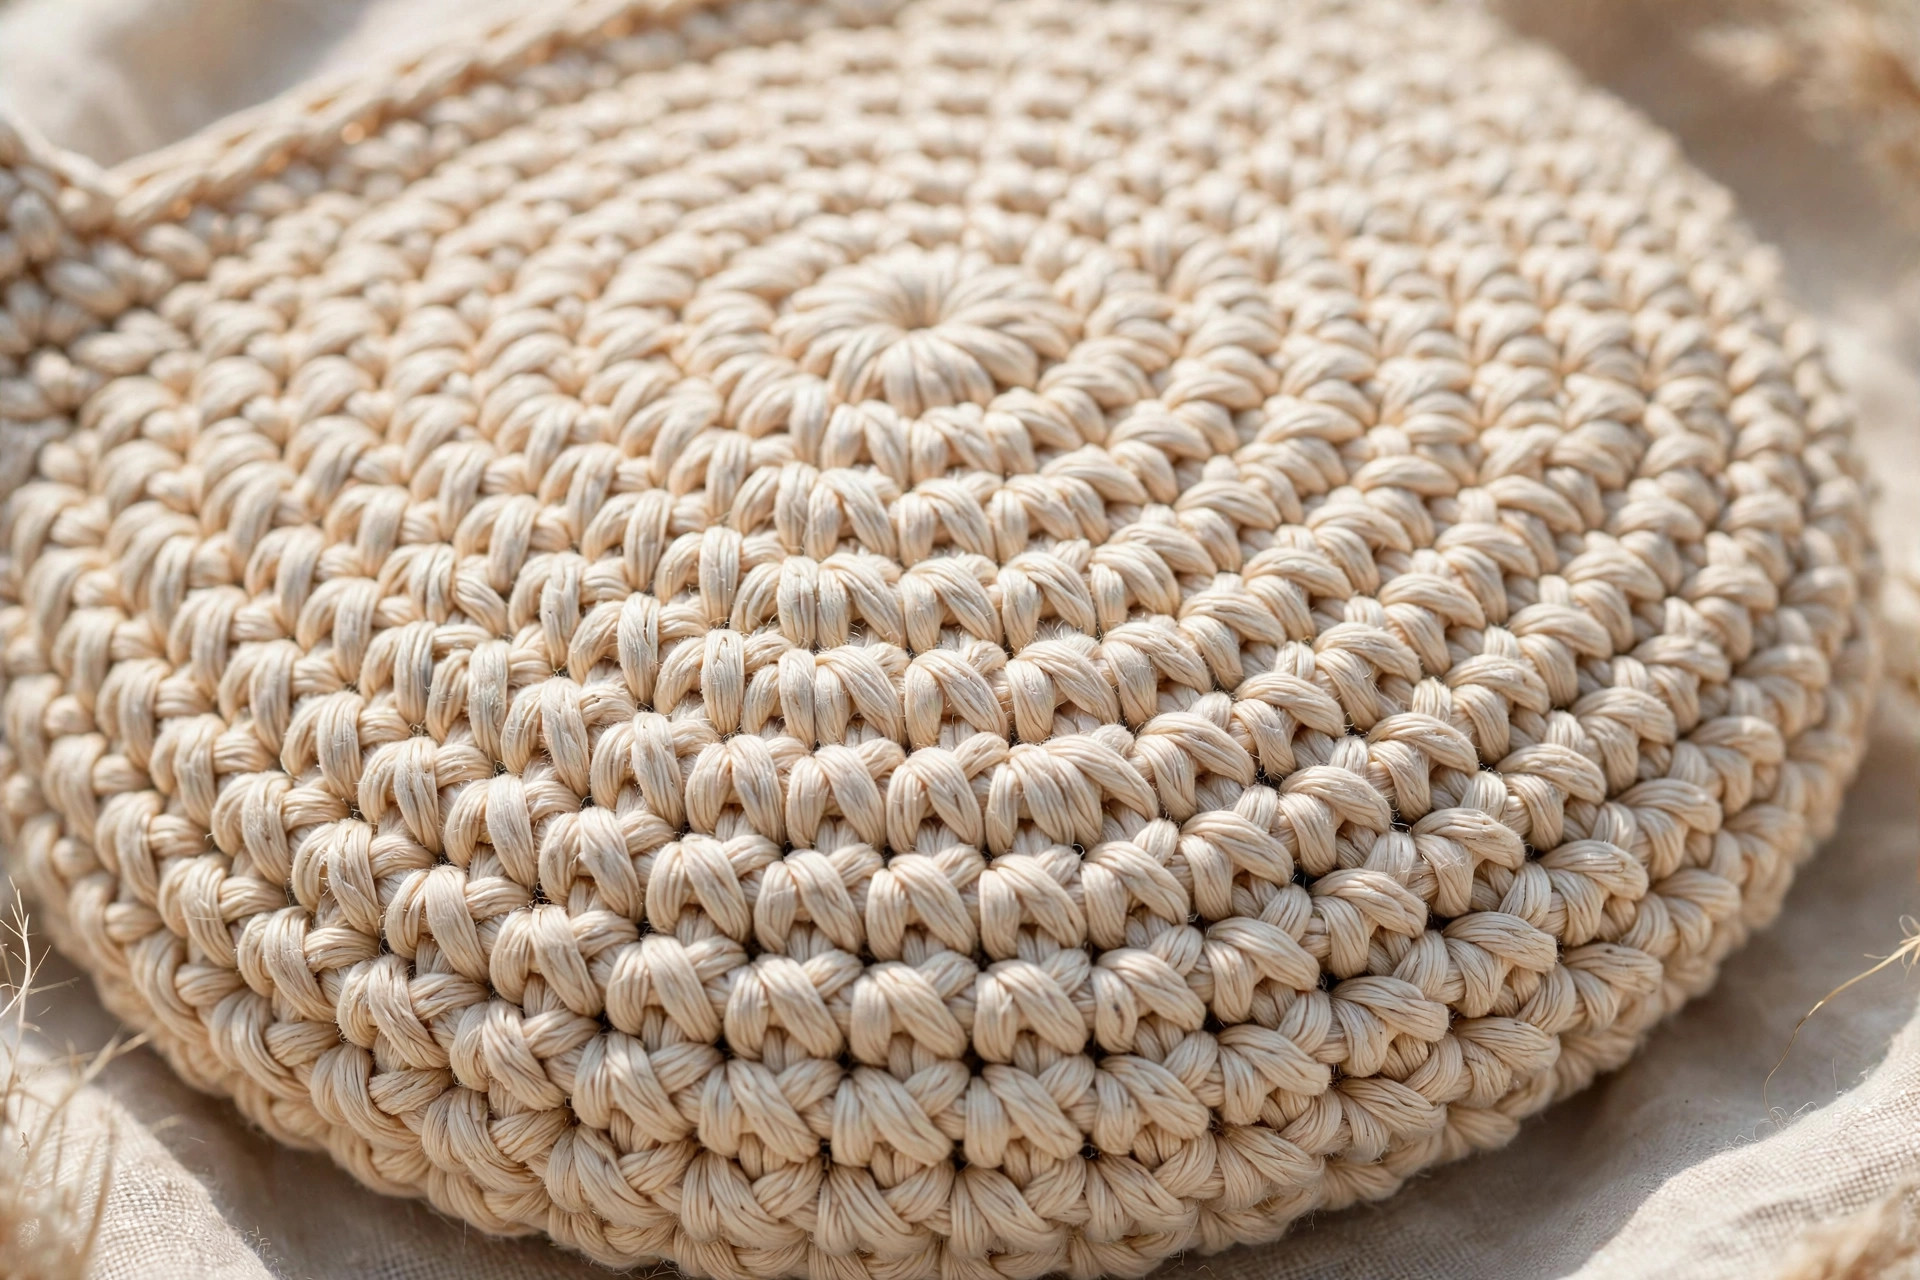
The base is a flat circle worked in the round from the center out, starting with a magic ring and increasing evenly on every round.
Base
With your main color, MR, ch 1.
- Rnd 1: 6 sc in MR. Join with a sl st to the first sc. (6 sc)
- Rnd 2: ch 1, inc in each st around. Join with a sl st to the first sc. (12 sc)
- Rnd 3: ch 1, (sc in next st, inc in next st) rep 6 times. Join with a sl st to the first sc. (18 sc)
- Rnd 4: ch 1, (sc in next 2 sts, inc in next st) rep 6 times. Join with a sl st to the first sc. (24 sc)
- Rnd 5: ch 1, (sc in next 3 sts, inc in next st) rep 6 times. Join with a sl st to the first sc. (30 sc)
- Rnd 6: ch 1, (sc in next 4 sts, inc in next st) rep 6 times. Join with a sl st to the first sc. (36 sc)
- Rnd 7: ch 1, (sc in next 5 sts, inc in next st) rep 6 times. Join with a sl st to the first sc. (42 sc)
- Rnd 8: ch 1, (sc in next 6 sts, inc in next st) rep 6 times. Join with a sl st to the first sc. (48 sc)
- Rnd 9: ch 1, (sc in next 7 sts, inc in next st) rep 6 times. Join with a sl st to the first sc. (54 sc)
- Rnd 10: ch 1, (sc in next 8 sts, inc in next st) rep 6 times. Join with a sl st to the first sc. (60 sc)
- Rnd 11: ch 1, (sc in next 9 sts, inc in next st) rep 6 times. Join with a sl st to the first sc. (66 sc)
- Rnd 12: ch 1, (sc in next 10 sts, inc in next st) rep 6 times. Join with a sl st to the first sc. (72 sc)
Your finished base should be a flat circle about 10 inches across, with no ripples and no cupping. Lay it flat on the table: if the edges ripple, your increases are too frequent, so work one round with no increases. If the edges cup upward, your increases are too few, so add an extra increase round. Do not fasten off.
Part 2: The Mesh Body
The mesh body is worked in the round, straight up from the base, with no increases. Each round is a simple repeat of double crochet and chain spaces, which makes the open net that lets the bag stretch. Work the rounds back and forth between the chain spaces, and count your mesh spaces at the end of every round, so the net stays even.
Mesh Body
- Rnd 13: ch 1, sc in each st around. Join with a sl st to the first sc. (72 sc)
- Rnd 14: ch 4, counts as dc plus ch 1, skip the next st, (dc in next st, ch 1, skip the next st) rep around. Join with a sl st to the 3rd ch of the starting chain. (36 dc, 36 ch-1 sps)
- Rnd 15: sl st into the first ch-1 sp, ch 4, counts as dc plus ch 1, (dc in next ch-1 sp, ch 1) rep around. Join with a sl st to the 3rd ch of the starting chain. (36 dc, 36 ch-1 sps)
- Rnd 16: sl st into the first ch-1 sp, ch 4, counts as dc plus ch 1, (dc in next ch-1 sp, ch 1) rep around. Join with a sl st to the 3rd ch of the starting chain. (36 dc, 36 ch-1 sps)
- Rnd 17: sl st into the first ch-1 sp, ch 4, counts as dc plus ch 1, (dc in next ch-1 sp, ch 1) rep around. Join with a sl st to the 3rd ch of the starting chain. (36 dc, 36 ch-1 sps)
- Rnds 18-31: repeat Rnd 15 fourteen more times. Join with a sl st to the 3rd ch of the starting chain at the end of each round. (36 dc, 36 ch-1 sps)
Your mesh body should now measure about 12 inches tall from the base, with the bag standing about 14 inches tall in total. The mesh will stretch when the bag is full, so do not worry if it looks a little narrow when it is empty. Try putting a few apples inside to see how it expands.
- Rnd 32: ch 1, sc in each dc and each ch-1 sp around. Join with a sl st to the first sc. (72 sc)
- Rnd 33: ch 1, sc in each st around. Join with a sl st to the first sc. (72 sc)
Do not fasten off. The two rounds of single crochet at the top give the bag a firm rim to attach the handles to, and they stop the mesh from stretching out of shape at the opening.
Part 3: Handles and Edging
The handles are the part of the bag that carries the weight, so make them strong. Each handle is a flat band worked in rows, then folded and sewn down, so it is two layers thick. Attach the handles firmly, with plenty of stitches, and test them with a heavy load before you call the bag done.
Handles (make 2)
With the top rim facing you, count 12 stitches from the side seam and mark the stitch with a stitch marker. This is where the first handle starts. Count 12 more stitches and mark the end of the handle. The handle will span 12 stitches, with 24 stitches between the two handles on each side.
Join the yarn with a slip stitch in the marked starting stitch.
- Row 1: ch 1, sc in the same st, sc in the next 11 sts, turn. (12 sc)
- Rows 2-28: ch 1, sc in each st across, turn. (12 sc)
Your handle band should now be about 12 inches long and 2 inches wide. Fasten off, leaving a long tail for sewing. Fold the band in half lengthwise, so it is 1 inch wide and two layers thick, and sew the long edges together with a whip stitch. Then sew the end of the handle to the top rim of the bag at the second marked stitch, using several whip stitches through both layers of the handle and the rim, so it holds a heavy load.
Repeat for the second handle on the same side of the bag, then repeat both handles on the opposite side, so the bag has two handles in total. Check that the handles sit at the same height and the same distance apart, and that the bag hangs evenly when you hold it by the handles.
Edging and Finishing
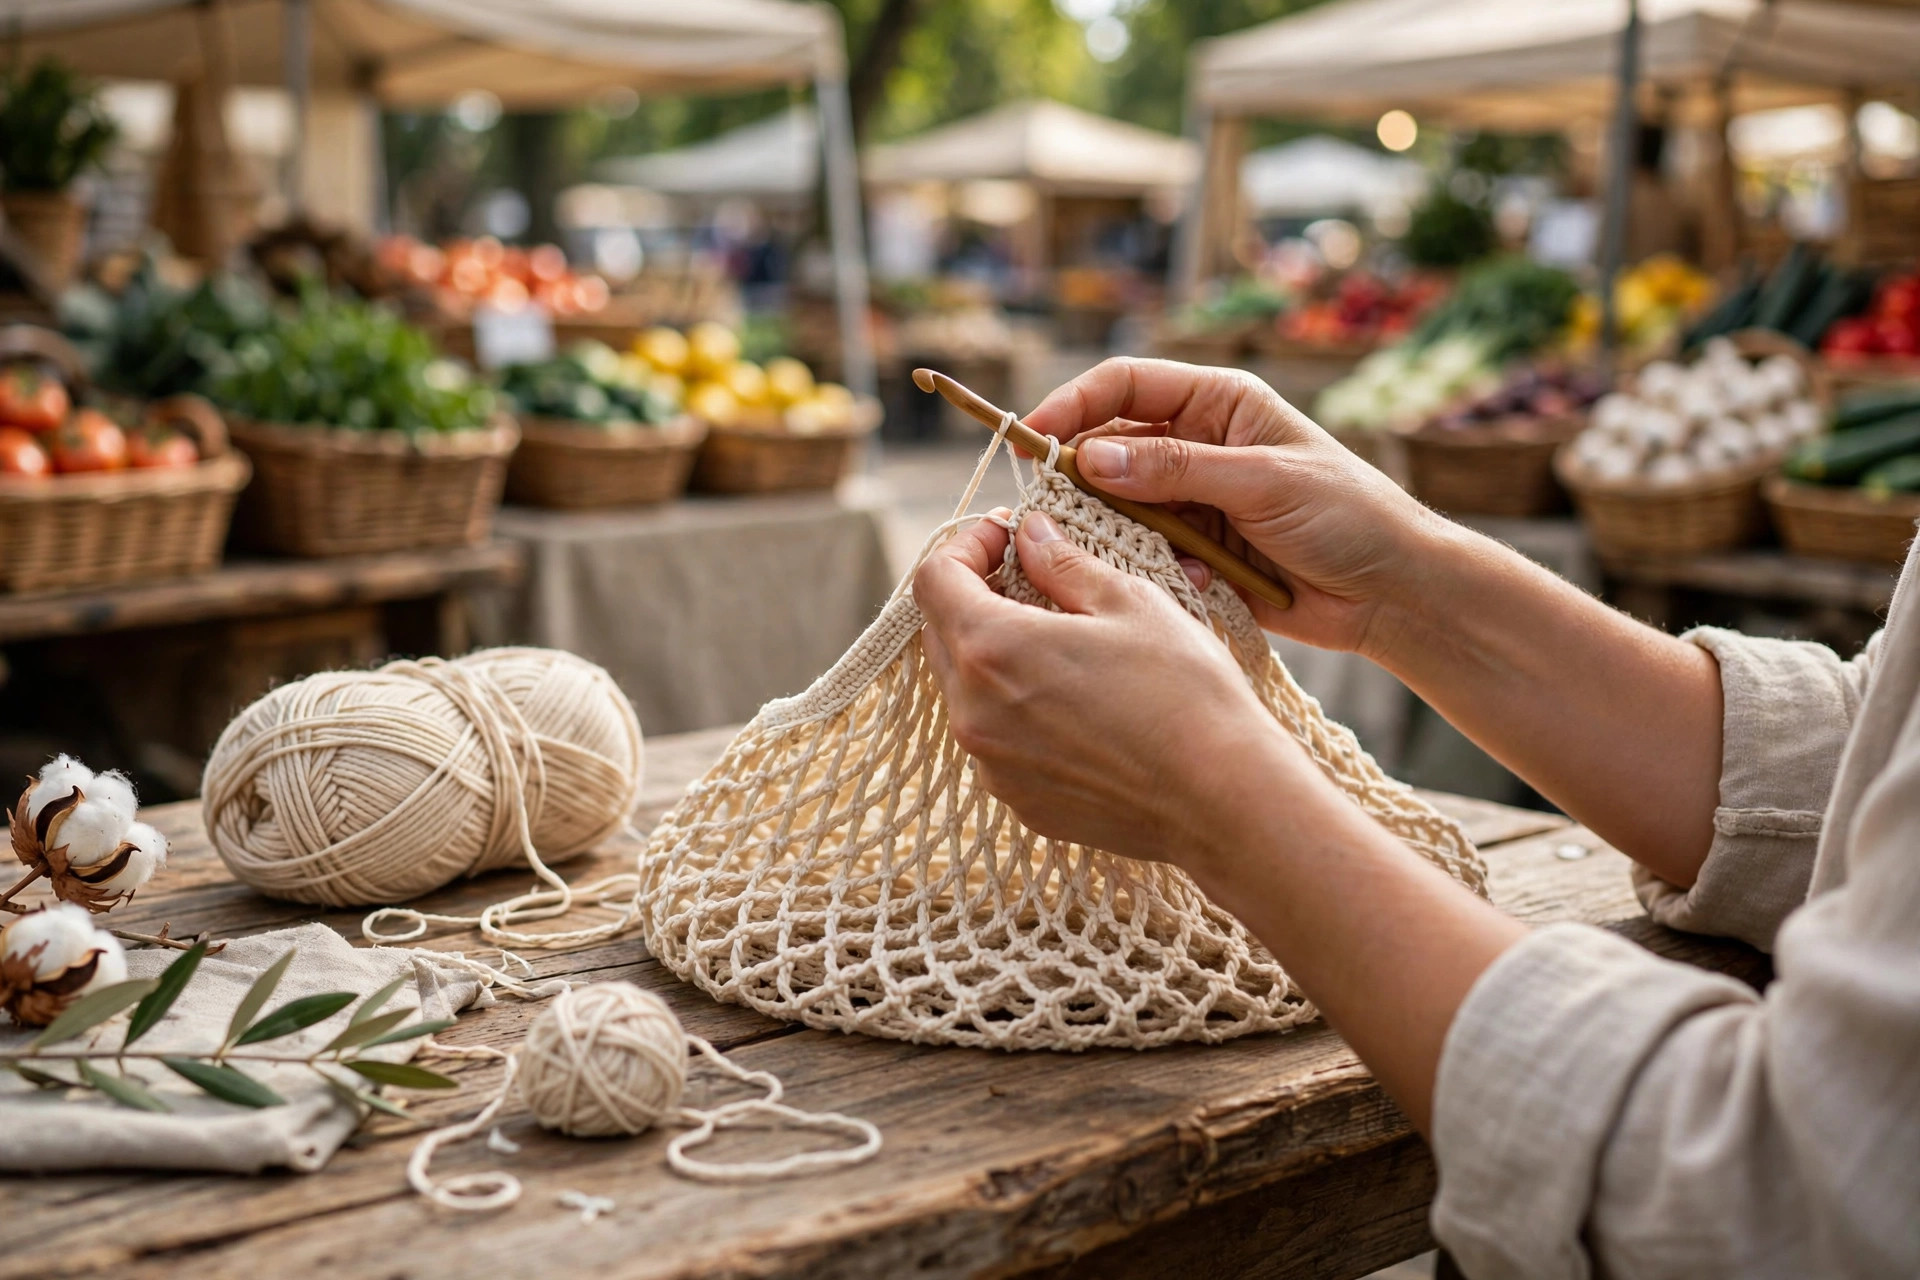
Work one round of single crochet around the top rim of the bag, between the handles, if you want a firmer edge. Join the yarn with a slip stitch at the side seam, chain 1, and work one single crochet in each stitch around, joining with a slip stitch and fastening off. This edging keeps the rim from stretching and gives the bag a tidy finish.
Weave in all ends with a tapestry needle, working the tails through the backs of several stitches so they do not show on the outside of the bag. Block the bag lightly by laying it flat, smoothing it to the finished measurements, and letting it dry completely. Your market bag is done, and ready for its first trip to the market.
Variations: Colors, Sizes, and Uses
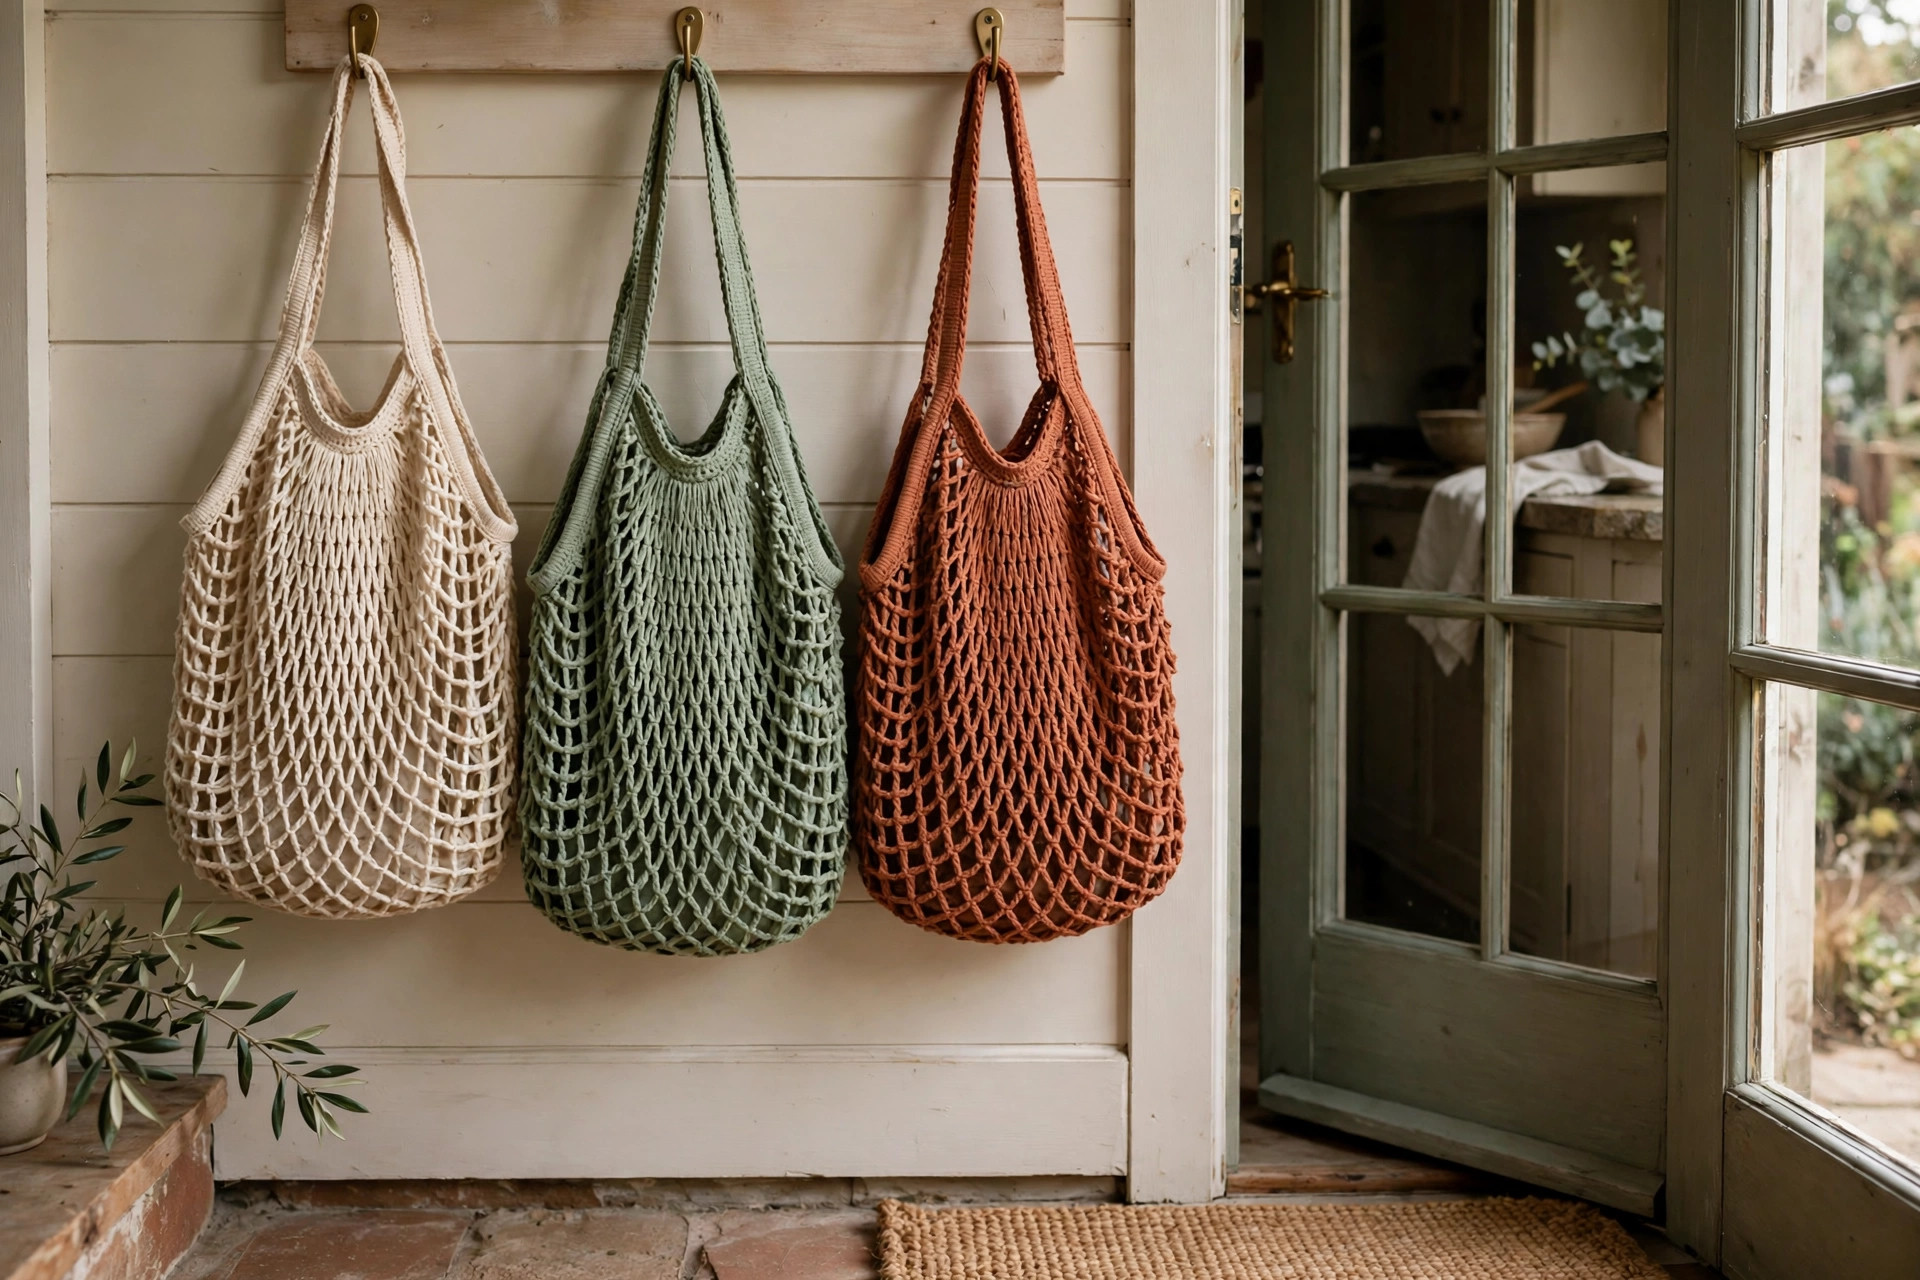
- Classic natural bag: work the whole bag in natural or cream cotton for a timeless market bag that goes with everything. Our crochet tote bag pattern is a solid bag in the same natural cotton.
- Bright striped bag: change colors every 6 mesh rounds for cheerful stripes, carrying the unused yarn up the inside of the bag. Our crochet granny square bag pattern looks lovely in the same bright colors.
- Small lunch bag: stop the mesh body after 14 rounds for a small bag about 12 inches tall, perfect for lunch or a small shop. Our crochet hobo bag pattern free is another small bag in the same cotton yarn.
- Bag set: make the market bag in sage green, then crochet a matching tank top for summer market mornings. Our crochet tank top pattern uses the same cotton yarn and a simple double crochet stitch.
If you enjoyed making a useful bag, try another bag next. Our free crochet bag patterns round up more bag ideas in one place.
Troubleshooting Market Bags That Sag or Stretch
- My bag sags when it is full. The handles are attached with too few stitches, or the mesh is too loose. Sew the handles on with several rows of whip stitch through both layers, and work the next bag with a hook one size smaller.
- My base ripples. The increases are too frequent. Work one round with no increases, then continue with the pattern increases, and check that the base lies flat after every round.
- My base cups upward. The increases are too few. Add an extra increase round, working one more stitch between increases, until the base lies flat.
- My mesh spaces are uneven. A double crochet landed in the wrong place, usually in the top of the previous double crochet instead of the chain space. Count your mesh spaces at the end of every round: you should always have 36.
- My bag stretches too much. Cotton stretches with wear, especially in an open mesh. Wash and dry the bag flat, and make the next one two mesh rounds shorter than you think you need.
Care Instructions
Hand wash a cotton crochet market bag gently in cool water with a tiny amount of mild soap, squeeze gently without wringing, and lay it flat to dry so the bag keeps its shape. If the yarn label says machine washable, use a gentle cycle in a mesh laundry bag, and lay the bag flat to dry. Do not put a cotton market bag in the dryer on high heat, because cotton can shrink and the mesh can tighten unevenly. Smooth the bag to its finished measurements while it is damp, and keep it out of direct sunlight, so the colors stay bright.
Frequently Asked Questions
Is this crochet market bag pattern good for beginners?
Yes, it is a great first bag project. You need a magic ring, chains, slip stitches, single crochet, and double crochet, and every round ends with a stitch count. One bag takes about 3 to 4 hours.
What yarn is best for a crochet market bag?
Worsted weight cotton yarn is the best choice, because it is strong, it does not stretch out of shape the way acrylic can, and it washes easily after a trip to the market. A smooth cotton yarn shows clean stitch definition and holds a heavy load. Avoid fuzzy yarns, because they hide the mesh.
How much can a crochet market bag hold?
A full size bag holds a typical farmers market shop: fruit, vegetables, bread, and jars, about 10 to 15 pounds. The mesh stretches to about 18 inches wide when full. Test the handles with a heavy load before you trust the bag with glass jars.
How big is the finished market bag?
About 14 inches wide and 16 inches tall, not counting the handles, in worsted weight yarn with a 5.0 mm hook. The mesh body stretches to about 18 inches wide when full. Make a smaller bag by stopping the mesh after 14 rounds, or a larger bag by working 24 rounds.
Will the mesh let small items fall out?
The base is worked in tight single crochet, so nothing small falls through the bottom. The mesh spaces are about 1 inch across, so very small items like loose berries can slip through the sides. Put small items in a cloth pouch inside the bag, or use the bag for larger produce.
Can I sell market bags made from this pattern?
Yes, you may sell finished market bags made from this free pattern, with credit to Little Loop Finds. Please do not sell or republish the pattern text itself.
Happy stitching, and may your new market bag carry many happy trips to the market.