Crochet Bikini Pattern (Easy Top and Bottom Set)
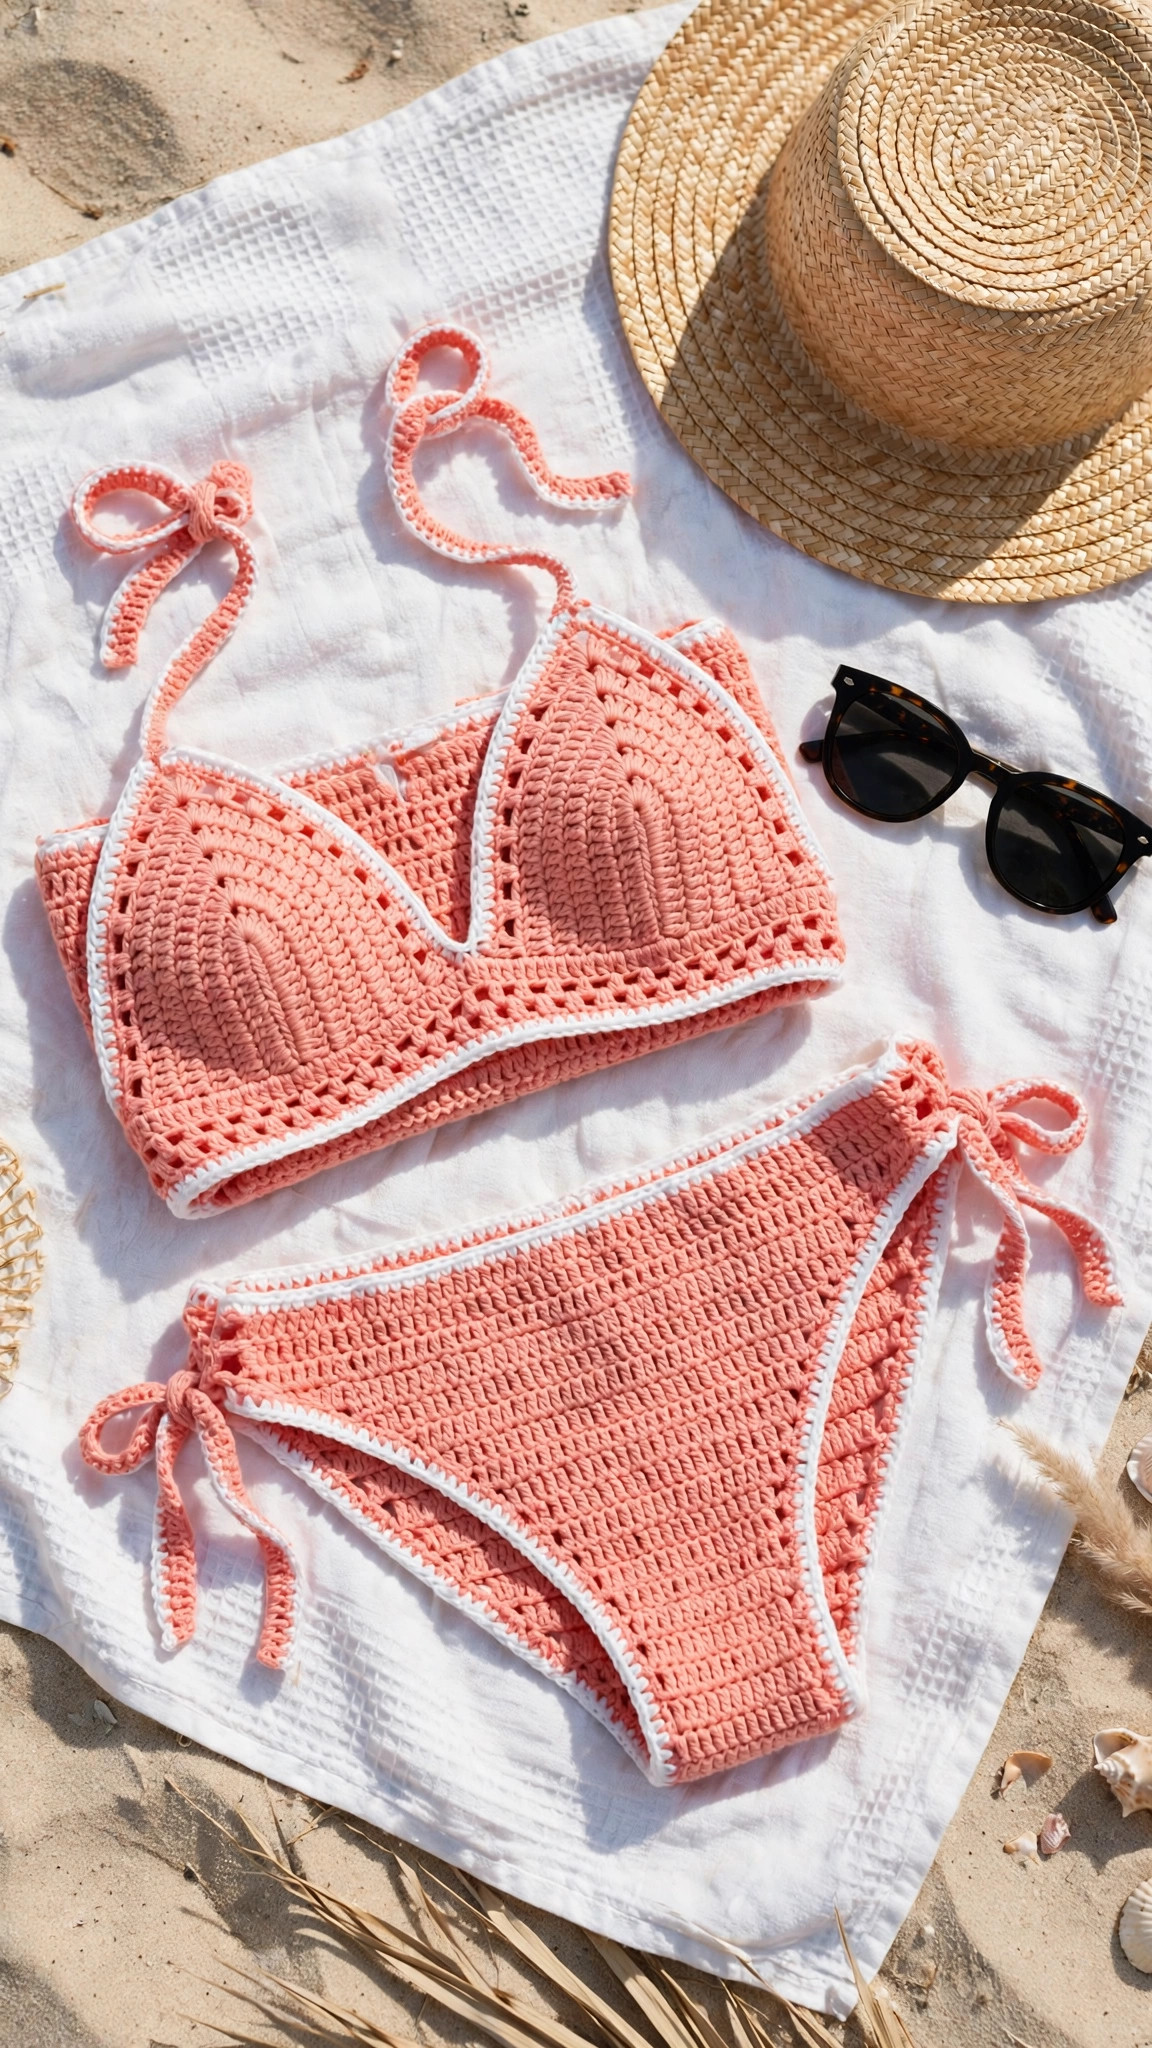
Stitch a crochet bikini top and bottom set with triangle cups, tie sides, and lining notes, made to fit your body.

Patterns · Crochet
- Finished size
- Sizes XS to XL
- Making time
- 6 to 8 hours
- Hook
- US G-6 (4.0 mm)
- Set
- Top cups, bottom, lining
- Skill
- Easy
In this post
- Key Takeaways
- Table of Contents
- Why You Will Love This Bikini
- Finished Size, Skill Level, and Time
- Materials You Need
- Abbreviations (US Terms)
- Gauge and Sizing Notes
- Part 1: Triangle Top Cups
- Part 2: Top Edging, Ties, and Joining
- Part 3: Bikini Bottom, Lining, and Finishing
- Variations: Colors, Styles, and Uses
- Troubleshooting Bikinis That Gape or Sag
- Care Instructions
- Frequently Asked Questions
A crochet bikini is one of the most satisfying summer projects you can make with a hook. It starts as two simple triangles, grows into a top that ties exactly where you want it, and ends as a swimsuit set that fits your body, not a store size chart. This free pattern walks you through every row, so you can stitch a set you will be proud to wear at the beach.
This is an original Little Loop Finds design, written in US terms and completely free. The top uses triangle cups shaped with simple increases, and the bottom uses front and back panels joined at the sides with ties. If you can chain, single crochet, half double crochet, and double crochet, you can crochet this bikini.
A quick note on scope: this post is about a classic two-piece crochet bikini with triangle top cups and tie sides, made for swimming and sunbathing. It is not a one-piece swimsuit, and it is not a cover up. If you want a one-piece next, our free crochet swimsuit pattern uses the same stitches in a full swimsuit shape.
Key Takeaways
- Free original pattern: this crochet bikini pattern is a Little Loop Finds original design, written in US terms, and free.
- Made to fit your body: triangle cups and tie sides in sizes XS to XL, with notes for adjusting the cup depth and hip width.
- Beginner friendly shaping: simple increases shape the cups, with a stitch count at the end of every row.
- Wearable and practical: cotton yarn, a snug gauge, lining notes, and ties that stay tied, so the set is made for real swimming.
- Wonderfully giftable: perfect for summer birthdays, beach trips, and handmade swimwear lovers.
Table of Contents
- Why You Will Love This Bikini
- Finished Size, Skill Level, and Time
- Materials You Need
- Abbreviations (US Terms)
- Gauge and Sizing Notes
- Part 1: Triangle Top Cups
- Part 2: Top Edging, Ties, and Joining
- Part 3: Bikini Bottom, Lining, and Finishing
- Variations: Colors, Styles, and Uses
- Troubleshooting Bikinis That Gape or Sag
- Care Instructions
- Frequently Asked Questions
Why You Will Love This Bikini
Crocheting a bikini feels like a small act of confidence. You measure yourself, pick a color that makes you smile, and stitch a swimsuit that fits your body exactly, instead of settling for a store size that never quite fits.
A crochet bikini is also one of the most useful things you can make for summer. The top ties at the neck and back, and the bottom ties at the hips, so you can adjust both every time you wear them. Each piece uses so little yarn that you can make two sets from one skein.
Finished Size, Skill Level, and Time
- Finished size: sizes XS to XL. Each top cup measures about 6 inches wide (XS), 7 inches (S), 8 inches (M), 9 inches (L), and 10 inches (XL) across the base. The bottom fits hips of about 32 inches (XS), 35 inches (S), 38 inches (M), 41 inches (L), and 44 inches (XL), with ties to adjust.
- Skill level: Easy. You need a chain, slip stitch, single crochet, half double crochet, and double crochet, plus a simple increase that the pattern explains.
- Time: about 6 to 8 hours total: roughly 2 hours for the two top cups, 1 hour for the top edging and ties, 2 hours for the bottom, and 1 hour for lining and finishing.
Materials You Need
| Item | What to get |
|---|---|
| Yarn, main color | DK weight (size 3) cotton, about 250 yards for the full set |
| Yarn, accent color | Small amount in a contrast color for the edging, about 40 yards |
| Hook | US G-6 (4.0 mm), or the size that gives you a firm, snug fabric |
| Lining fabric | Swimsuit lining or soft cotton jersey, about half a yard |
| Notions | Tapestry needle, scissors, stitch markers, sewing needle and thread, elastic thread (optional) |
| Measuring tools | Soft tape measure, pins, and a blocking mat |
Cotton yarn is the best choice for a crochet bikini because it holds its shape when wet, dries faster than wool, and feels soft against the skin. Choose a smooth cotton with a tight twist, because it keeps the stitches firm and stops the fabric from stretching in the water. Avoid fuzzy yarns and loose acrylics, because they sag when wet.
Abbreviations (US Terms)
- ch = chain
- sl st = slip stitch
- sc = single crochet
- hdc = half double crochet
- dc = double crochet
- inc = increase (2 stitches in the same stitch)
- dec = decrease (2 stitches worked together)
- st(s) = stitch(es)
- rep = repeat
- sk = skip
- sp = space
- RS = right side
- WS = wrong side
Gauge and Sizing Notes
Gauge matters more for a bikini than for almost any other crochet project, because swimwear has to fit snugly to stay in place. Work a swatch in double crochet: 18 dc and 10 rows should measure 4 inches square with a 4.0 mm hook. If your swatch is bigger, go down a hook size. If it is smaller, go up a hook size. A quick swatch saves you from a top that sags in the pool.
To fit the top, measure across your bust at the fullest point and divide by two to get the width of one cup. The cups grow by adding rows, so stop when the cup covers you comfortably. To fit the bottom, measure around your hips and use the size that matches, remembering that the ties let you adjust by an inch or two. Try the pieces on as you go, because fitting as you crochet is much easier than fixing a finished swimsuit.
Part 1: Triangle Top Cups
The top is made of two identical triangle cups. Each cup starts with a small point and grows wider row by row with increases at each end. Make two cups, and keep your tension even so they match.
Triangle Cups (Make 2)
With your main color, ch 4.
- Row 1: sc in the 2nd ch from the hook, sc in the next 2 ch. Turn. (3 sts)
- Row 2: ch 1, 2 sc in the first st, sc in the next st, 2 sc in the last st. Turn. (5 sts)
- Row 3: ch 1, 2 sc in the first st, sc in each st across, 2 sc in the last st. Turn. (7 sts)
- Row 4: ch 1, 2 sc in the first st, sc in each st across, 2 sc in the last st. Turn. (9 sts)
- Row 5: ch 1, 2 sc in the first st, sc in each st across, 2 sc in the last st. Turn. (11 sts)
- Row 6: ch 1, 2 sc in the first st, sc in each st across, 2 sc in the last st. Turn. (13 sts)
From here, keep increasing by 2 stitches in every row, one at each end, until the base of the triangle measures the width for your size: 6 inches for XS (about 16 rows), 7 inches for S (about 18 rows), 8 inches for M (about 20 rows), 9 inches for L (about 22 rows), and 10 inches for XL (about 24 rows).
- Final row for your size: ch 1, 2 sc in the first st, sc in each st across, 2 sc in the last st. Turn. Fasten off, leaving a 6 inch tail.
Your two cups should now be the same size, with neat straight edges and a sharp point at the top. Lay them side by side and check that they match. If one cup is bigger, count its rows and add or remove rows until they match.
Part 2: Top Edging, Ties, and Joining
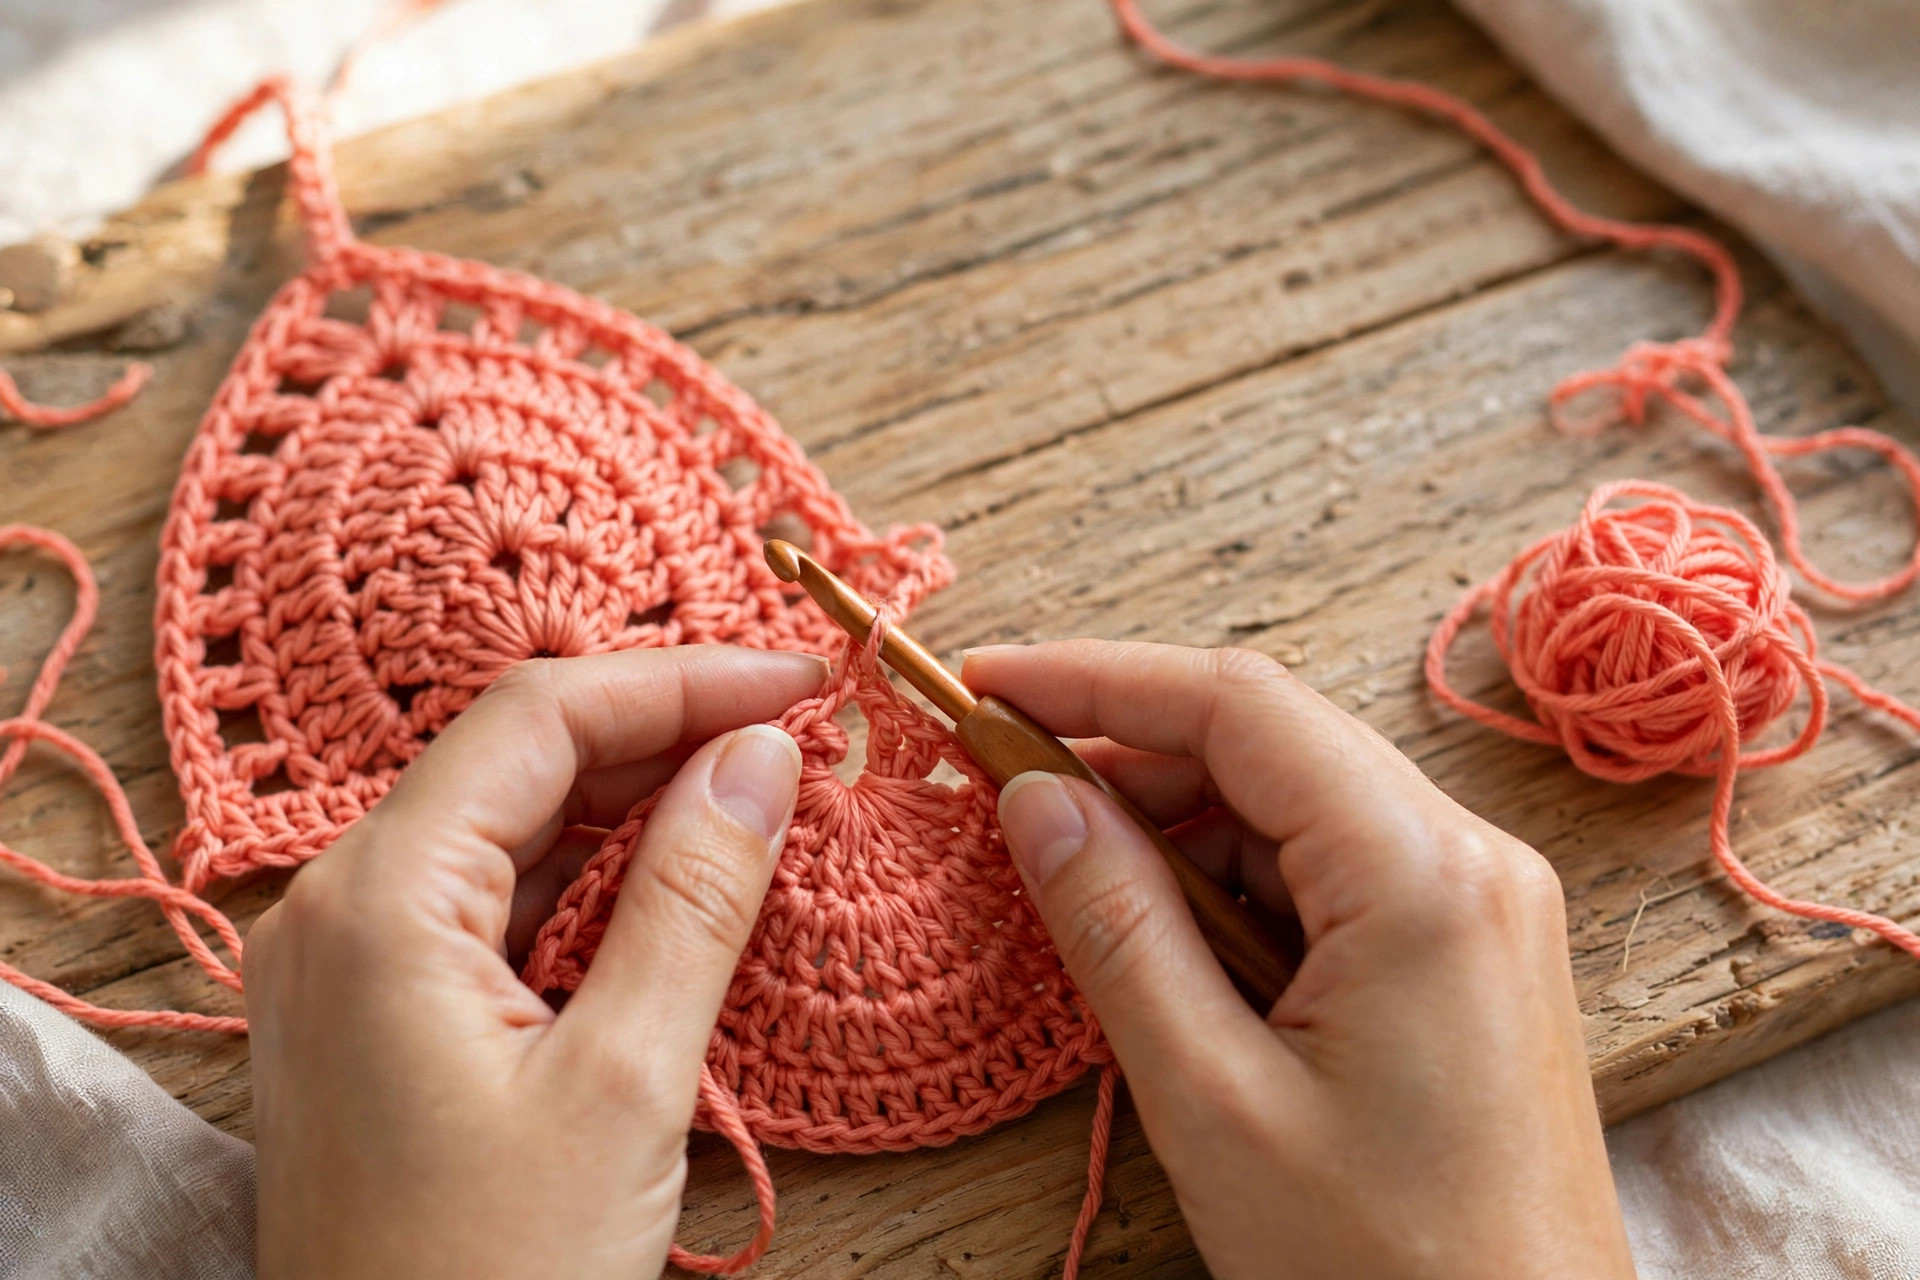
The edging gives the cups a clean, finished border, and the ties are what make the top adjustable. Work the edging around each cup first, then add the neck ties and back ties, and finally join the cups at the center.
Cup Edging
With your accent color, join the yarn with a sl st at the point of the cup.
- Edging row: ch 1, sc in each st along the first side of the triangle, (sc, ch 2, sc) in the bottom corner, sc in each st along the base of the triangle, (sc, ch 2, sc) in the second bottom corner, sc in each st along the second side, (sc, ch 2, sc) in the point. Sl st to the first sc to join. Fasten off.
The edging should sit flat around the cup, with a neat point at each corner. If it ripples, go down a hook size for the next cup. If it pulls inward, go up a hook size. Repeat the edging on the second cup.
Neck Ties and Back Ties
With your main color, join the yarn with a sl st at the point of the cup, ch 60 for a neck tie, sl st in the 2nd ch from the hook and in each ch back to the point. Fasten off. Repeat at the point of the second cup.
For the back ties, join the yarn with a sl st at the outer bottom corner of each cup, ch 50, sl st in the 2nd ch from the hook and in each ch back to the corner. Sl st to the corner to join. Fasten off. Repeat on the other cup.
Joining the Cups
Lay the two cups side by side with the points at the top and the bases at the bottom. With a tapestry needle and main color yarn, sew the inner bottom corners together with three or four small stitches, leaving a gap of about 1 inch between the cups. Tie the neck ties behind your neck and the back ties around your back, and try the top on. The cups should sit flat, with no gaping at the center.
Part 3: Bikini Bottom, Lining, and Finishing
The bottom is worked in two panels, a front panel and a back panel, joined at the sides with ties. The front panel is smaller and shallower, and the back panel is wider and taller. Lining keeps the bottom modest, so do not skip it.
Front Panel
With your main color, ch 24 (XS), 28 (S), 32 (M), 36 (L), or 40 (XL).
- Row 1: dc in the 3rd ch from the hook, dc in each ch across. Turn. (22, 26, 30, 34, or 38 sts)
- Rows 2 to 4: ch 2 (counts as dc), dc in each st across. Turn.
- Row 5: ch 2, dec over the first 2 sts, dc in each st across to the last 2 sts, dec over the last 2 sts. Turn. (2 sts fewer)
- Rows 6 to 8: ch 2, dec over the first 2 sts, dc in each st across to the last 2 sts, dec over the last 2 sts. Turn. (2 sts fewer each row)
- Final row: ch 1, sc in each st across. Fasten off, leaving a long tail for joining.
The front panel should be about 5 inches tall at the center, with sides that taper inward. If the panel feels too wide, work one more decrease row. If it feels too narrow, skip one decrease row.
Back Panel
With your main color, ch 24 (XS), 28 (S), 32 (M), 36 (L), or 40 (XL).
- Row 1: dc in the 3rd ch from the hook, dc in each ch across. Turn. (22, 26, 30, 34, or 38 sts)
- Rows 2 to 6: ch 2 (counts as dc), dc in each st across. Turn.
- Row 7: ch 2, dec over the first 2 sts, dc in each st across to the last 2 sts, dec over the last 2 sts. Turn. (2 sts fewer)
- Rows 8 to 12: ch 2, dec over the first 2 sts, dc in each st across to the last 2 sts, dec over the last 2 sts. Turn. (2 sts fewer each row)
- Final row: ch 1, sc in each st across. Fasten off, leaving a long tail for joining.
The back panel should be about 7 inches tall at the center, taller than the front panel, with the same tapered shape. Lay the panels side by side and check that the narrow ends match, because they join at the crotch.
Joining and Side Ties
With a tapestry needle and main color yarn, sew the narrow ends of the front and back panels together with a whip stitch at the crotch. Then work the edging around the top edge: join the accent color with a sl st at the side, ch 1, sc in each st around the waist, sl st to the first sc. Fasten off.
For the side ties, join the main color with a sl st at the top corner of the front panel, ch 50, sl st in the 2nd ch from the hook and in each ch back to the corner. Sl st to the corner to join. Fasten off. Repeat at each of the four top corners, so you have two ties on each side. Tie them in a small bow at each hip, and try the bottom on.
Lining
Cut lining to match the top cups and the front and back panels, cutting each piece a little smaller than the crochet so it does not show. Pin the lining to the wrong side of each piece, and sew it in place with a small whip stitch around the edges. Stitch the cup lining to the edging, and the bottom lining to the waist and leg edges.
Variations: Colors, Styles, and Uses
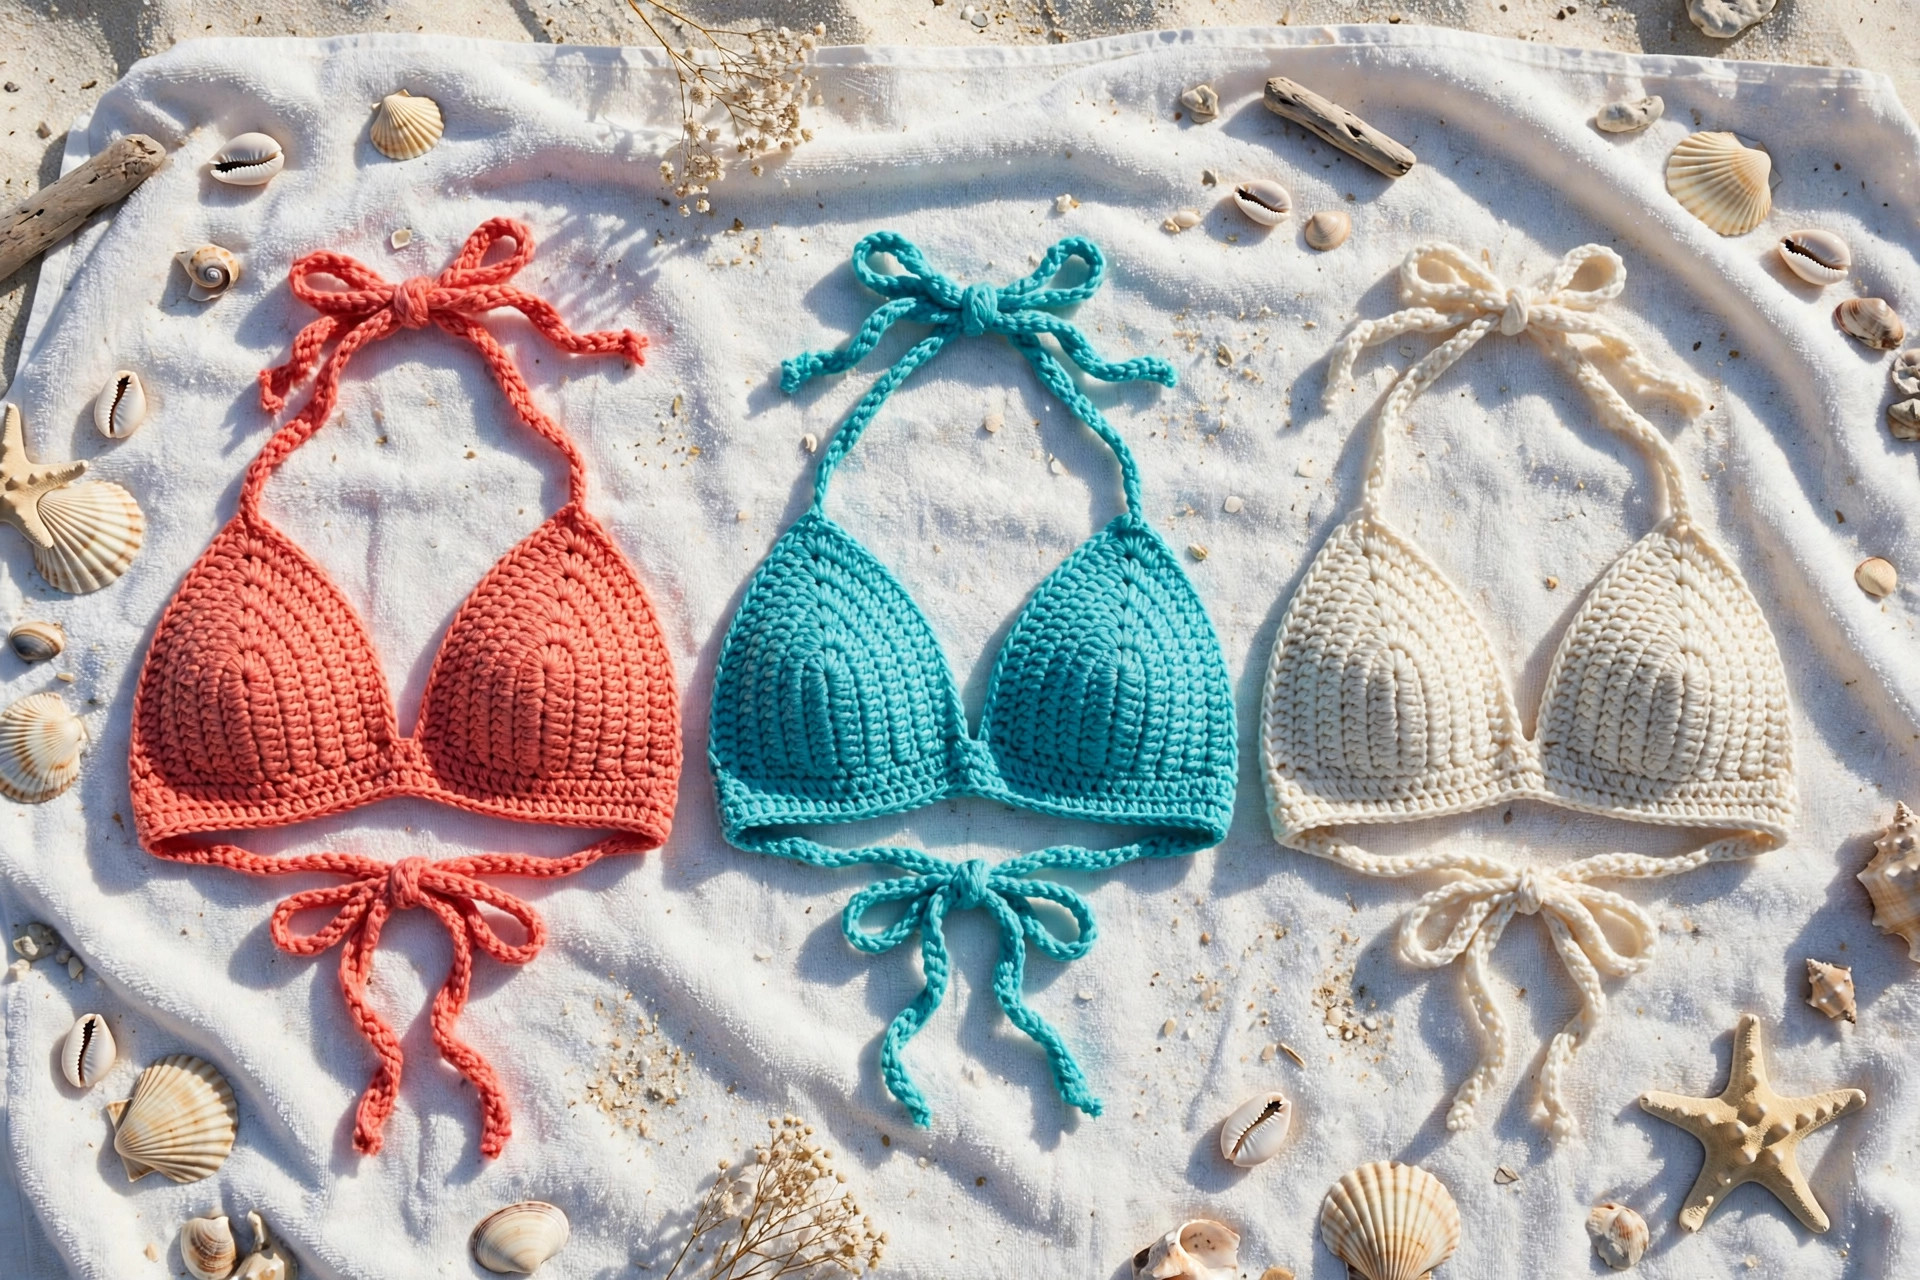
- Classic coral set: work the whole set in coral with white edging for a bright, cheerful bikini. Our crochet top pattern uses the same triangle shaping in a summer top.
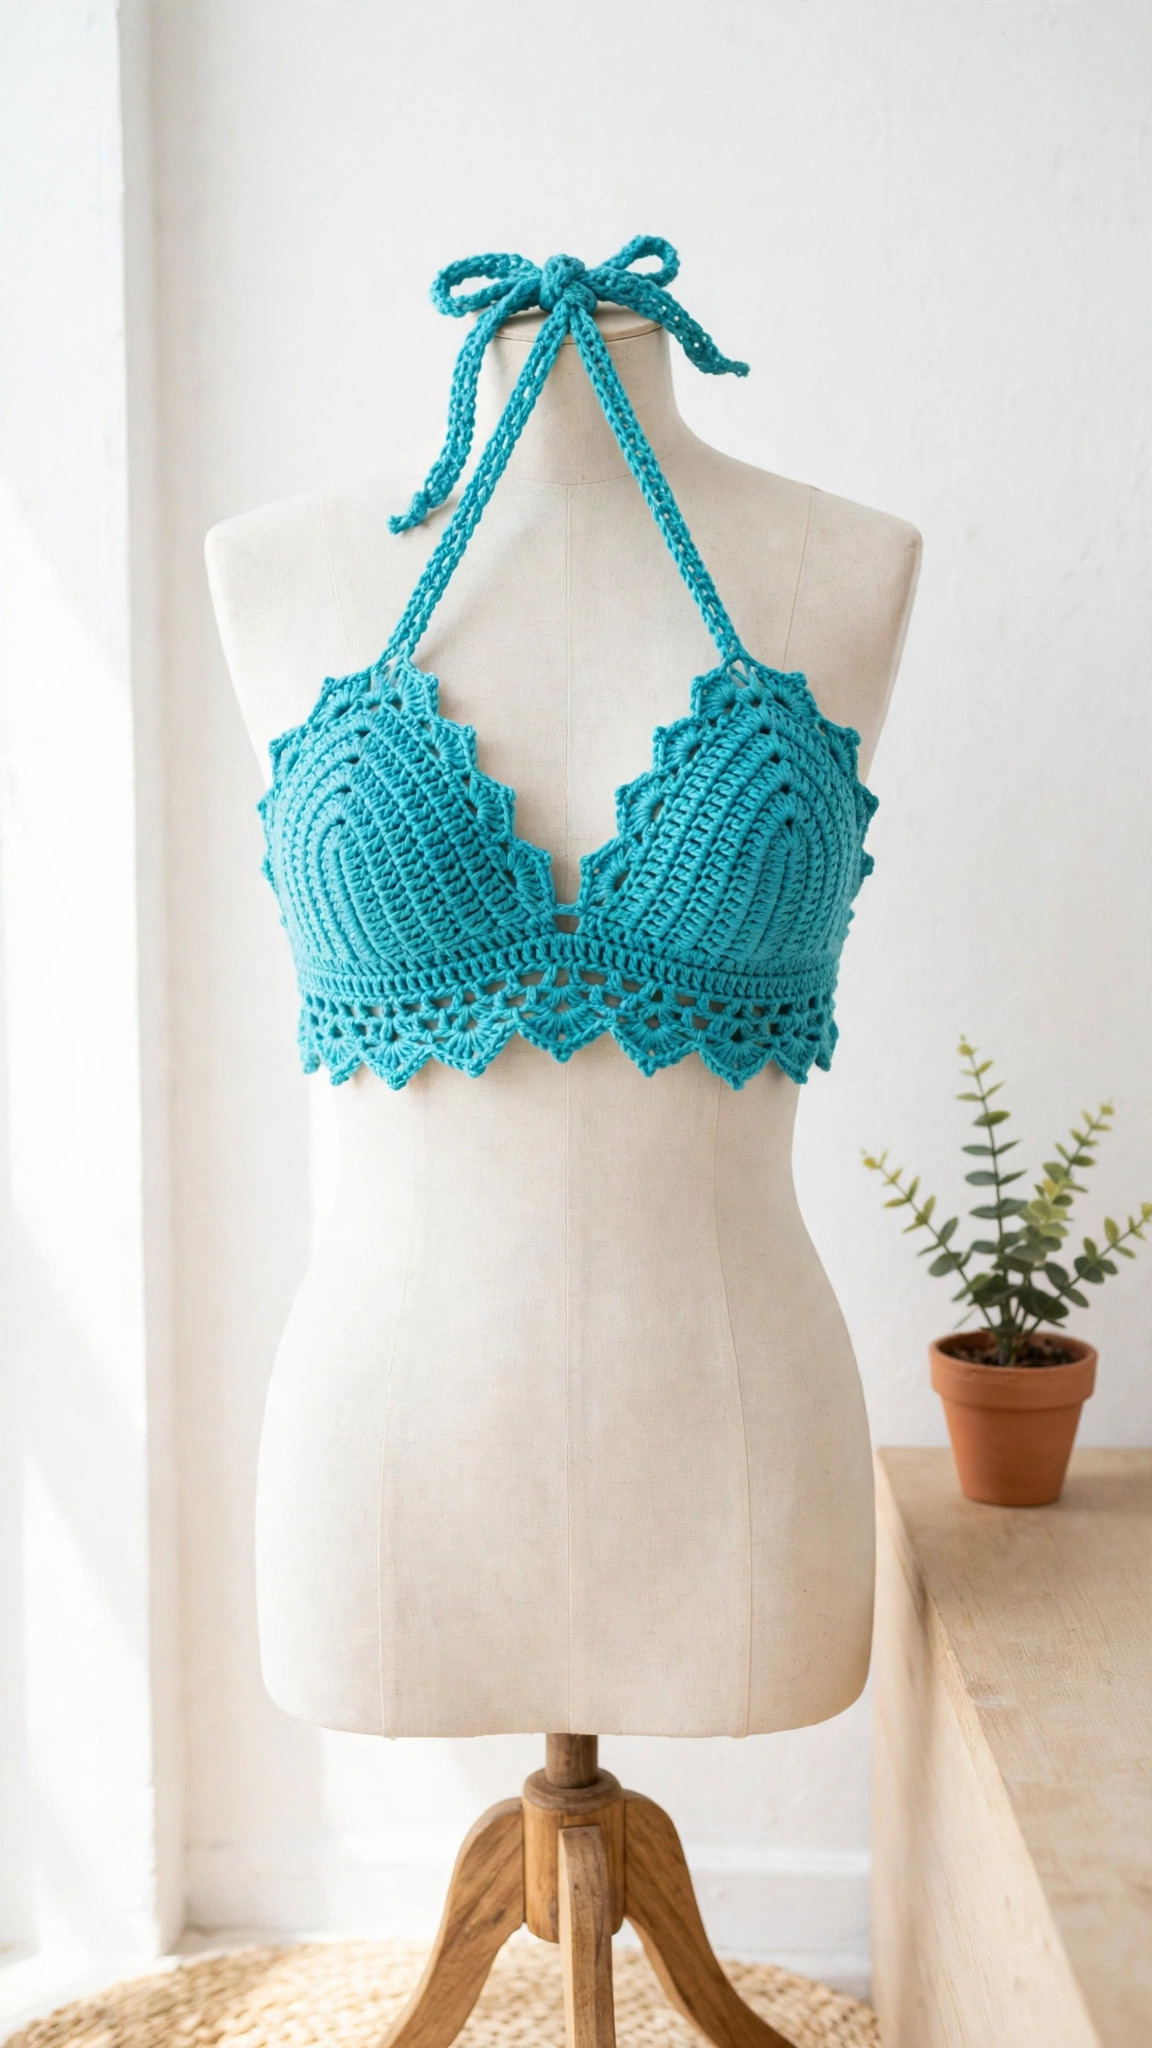
- Turquoise halter top: work the top in turquoise and tie the neck straps as a halter for a sporty look that stays put. Our crochet bralette pattern free has more halter styling ideas.
- High waist bottom: add 6 more rows to the front and back panels before the decreases for a high waist bottom with vintage style. Our crochet mini skirt pattern shows the same longer panel idea.
- Scalloped edge set: work the cup edging with a scallop stitch instead of plain single crochet for a softer finish. The free crochet swimsuit pattern uses scallops on a one-piece.
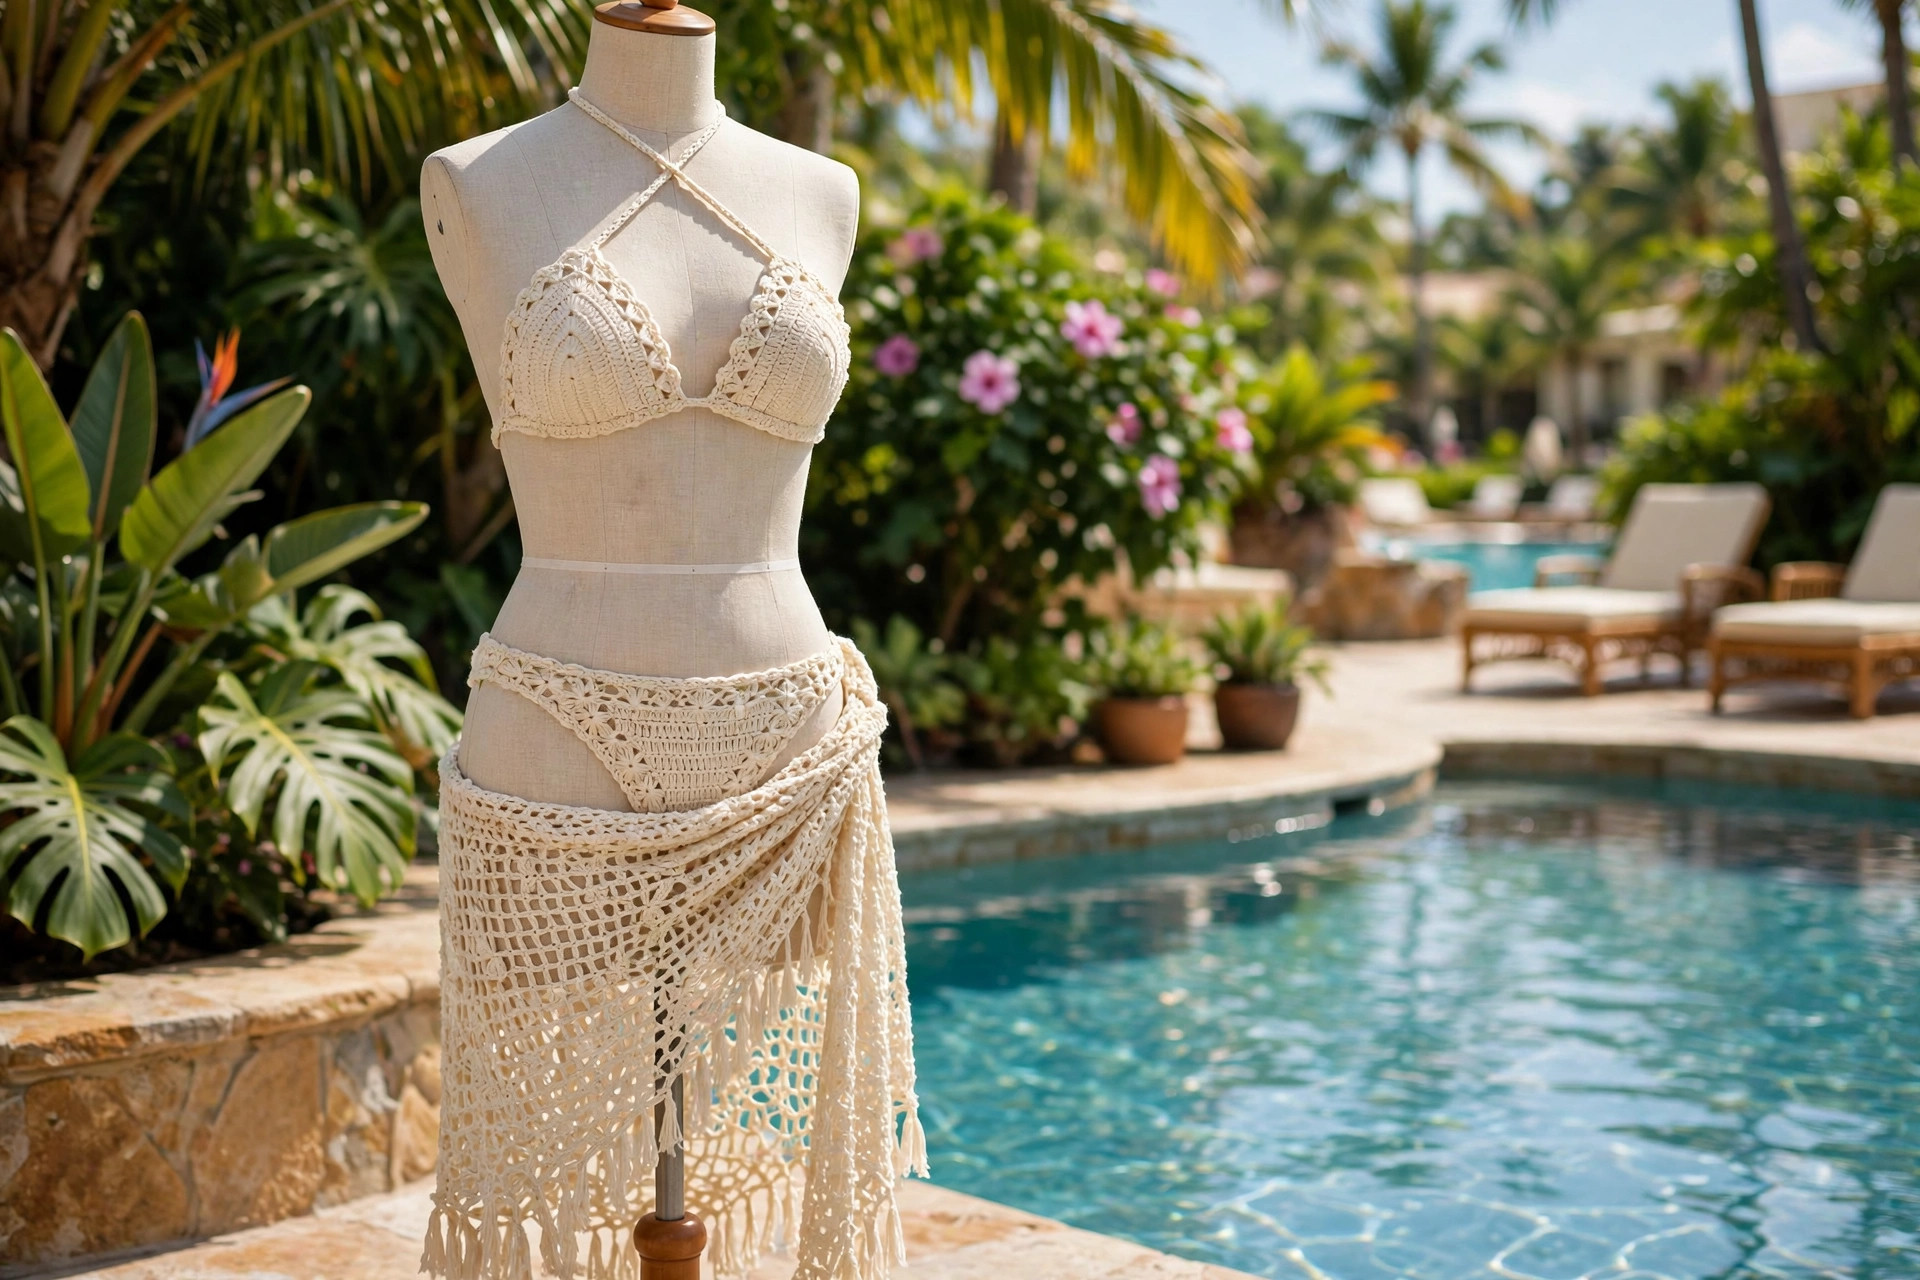
- Matching cover up: make a pair of crochet shorts pattern in the same color to wear over the bikini to and from the beach.
- Crop top version: work the top cups larger and join them to a short band for a crop top you can wear with jeans. Our crochet crop top pattern is built exactly that way.
If you enjoyed this bikini, a free crochet swimsuit pattern is a fun next project in a full one-piece.
Troubleshooting Bikinis That Gape or Sag
- My top cups gape at the center. The cups are too far apart, or the center join is too loose. Sew the cups closer together, with a gap of less than 1 inch.
- My bikini sags when it gets wet. The gauge is too loose, or the yarn is too stretchy. Rework the pieces with a hook one size smaller, and choose a tight-twist cotton.
- My ties come undone. Tie the straps in a double knot, and leave the tails long enough to tuck under the knot.
- My bottom is too tight at the hips. The side ties are pulled too tight, or the panel is too small. Loosen the ties, and if the panel still feels tight, add two more rows before the decreases.
- My lining shows at the edges. The lining was cut too big. Trim it a little smaller than the crochet, and restitch the edges.
- My cups are different sizes. Count the rows on each cup. Both cups should have the same number of rows, so add or remove rows until they match.
Care Instructions
Rinse your bikini in cool fresh water after every swim, especially after salt water or a chlorinated pool, and squeeze it gently without wringing. Hand wash it in cool water with mild soap, lay it flat on a clean towel to dry, and keep it out of direct sunlight. Do not machine wash a crochet bikini, and do not put it in the dryer, because heat and tumbling stretch the stitches.
Frequently Asked Questions
Is this crochet bikini pattern good for beginners?
Yes, it is a great first wearable project. You need to know chains, slip stitches, single crochet, half double crochet, and double crochet, and the pattern explains the increases and decreases step by step.
What yarn is best for a crochet bikini?
DK weight cotton with a tight twist is the best choice, because it holds its shape when wet and feels soft against the skin. Avoid fuzzy yarns, because they sag when wet.
Can I swim in a crochet bikini?
Yes, you can swim in it, as long as you use cotton yarn, a firm gauge, and lining. Rinse it in cool fresh water after every swim, and lay it flat to dry.
How do I make the top fit my size?
Measure across your bust at the fullest point and divide by two to get the width of one cup, then keep adding rows until the cup reaches that width. The ties at the neck and back let you adjust the fit every time you wear it.
Do I have to line the bikini?
Lining is strongly recommended, because it keeps the bikini modest when the crochet gets wet and stops the stitches from stretching. It only takes half an hour of sewing.
Can I sell bikinis made from this pattern?
Yes, you may sell finished bikinis made from this free pattern, with credit to Little Loop Finds. Do not sell or republish the pattern text itself.
Happy stitching, and may your summer be full of sun, salt water, and one very lovely bikini.