Crochet Piglet Pattern Free (Amigurumi)
Stitch a chunky pink amigurumi piglet with floppy ears and a curly tail, free original pattern in US terms.

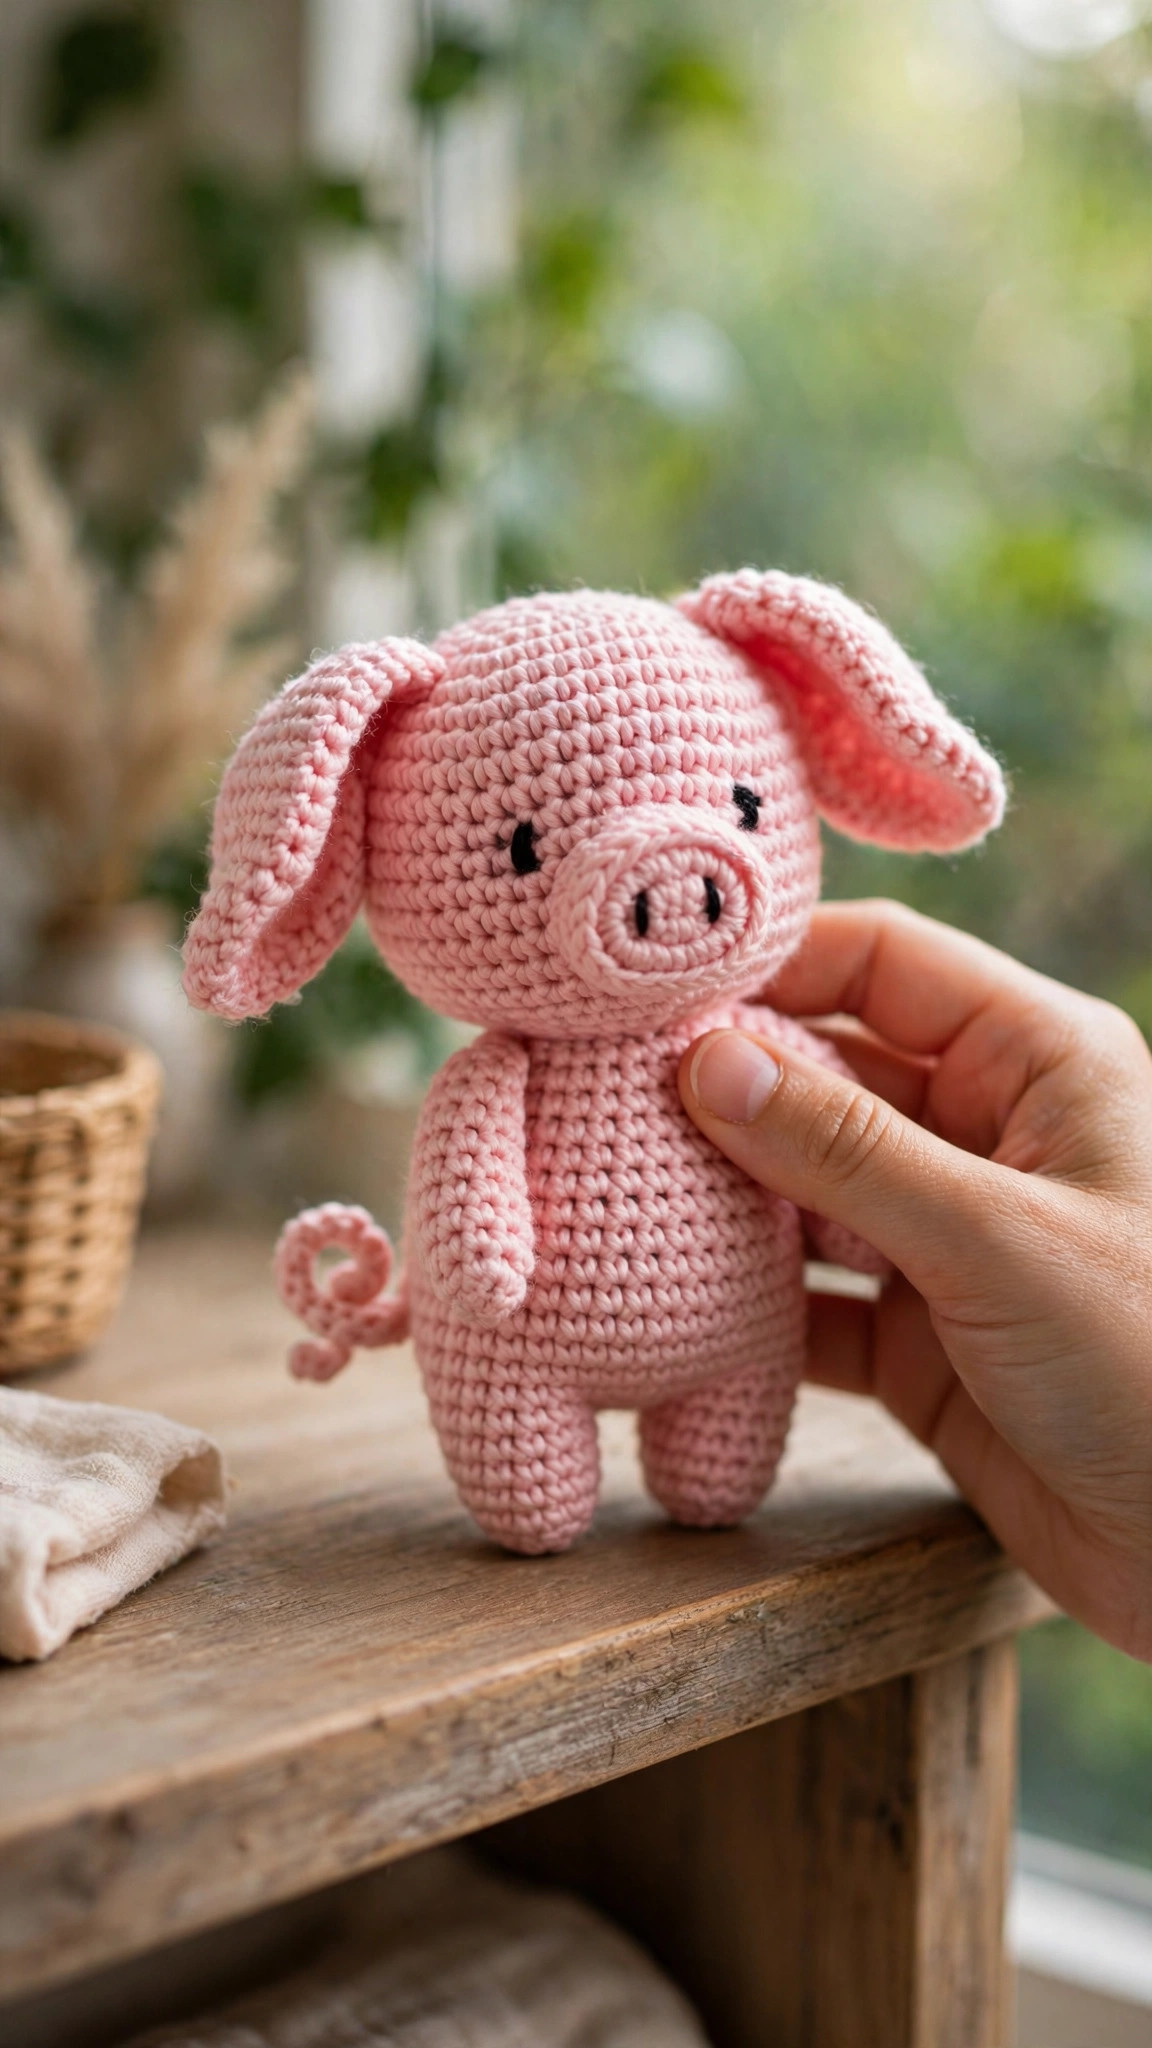
Amigurumi · Crochet
- Finished size
- 7 in tall
- Making time
- 5 to 6 hours
- Hook
- US E-4 (3.5 mm)
- Set
- Piglet, snout, ears and tail guide
- Skill
- Easy
In this post
- Key Takeaways
- Table of Contents
- Why You Will Love This Piglet
- Finished Size, Skill Level, and Time
- Materials You Need
- Abbreviations (US Terms)
- Part 1: Crocheting the Head
- Part 2: Crocheting the Body
- Part 3: Ears, Snout, and Legs
- Part 4: The Curly Tail
- Assembly
- Variations: Build Your Litter
- Troubleshooting Amigurumi
- Care Instructions
- Frequently Asked Questions
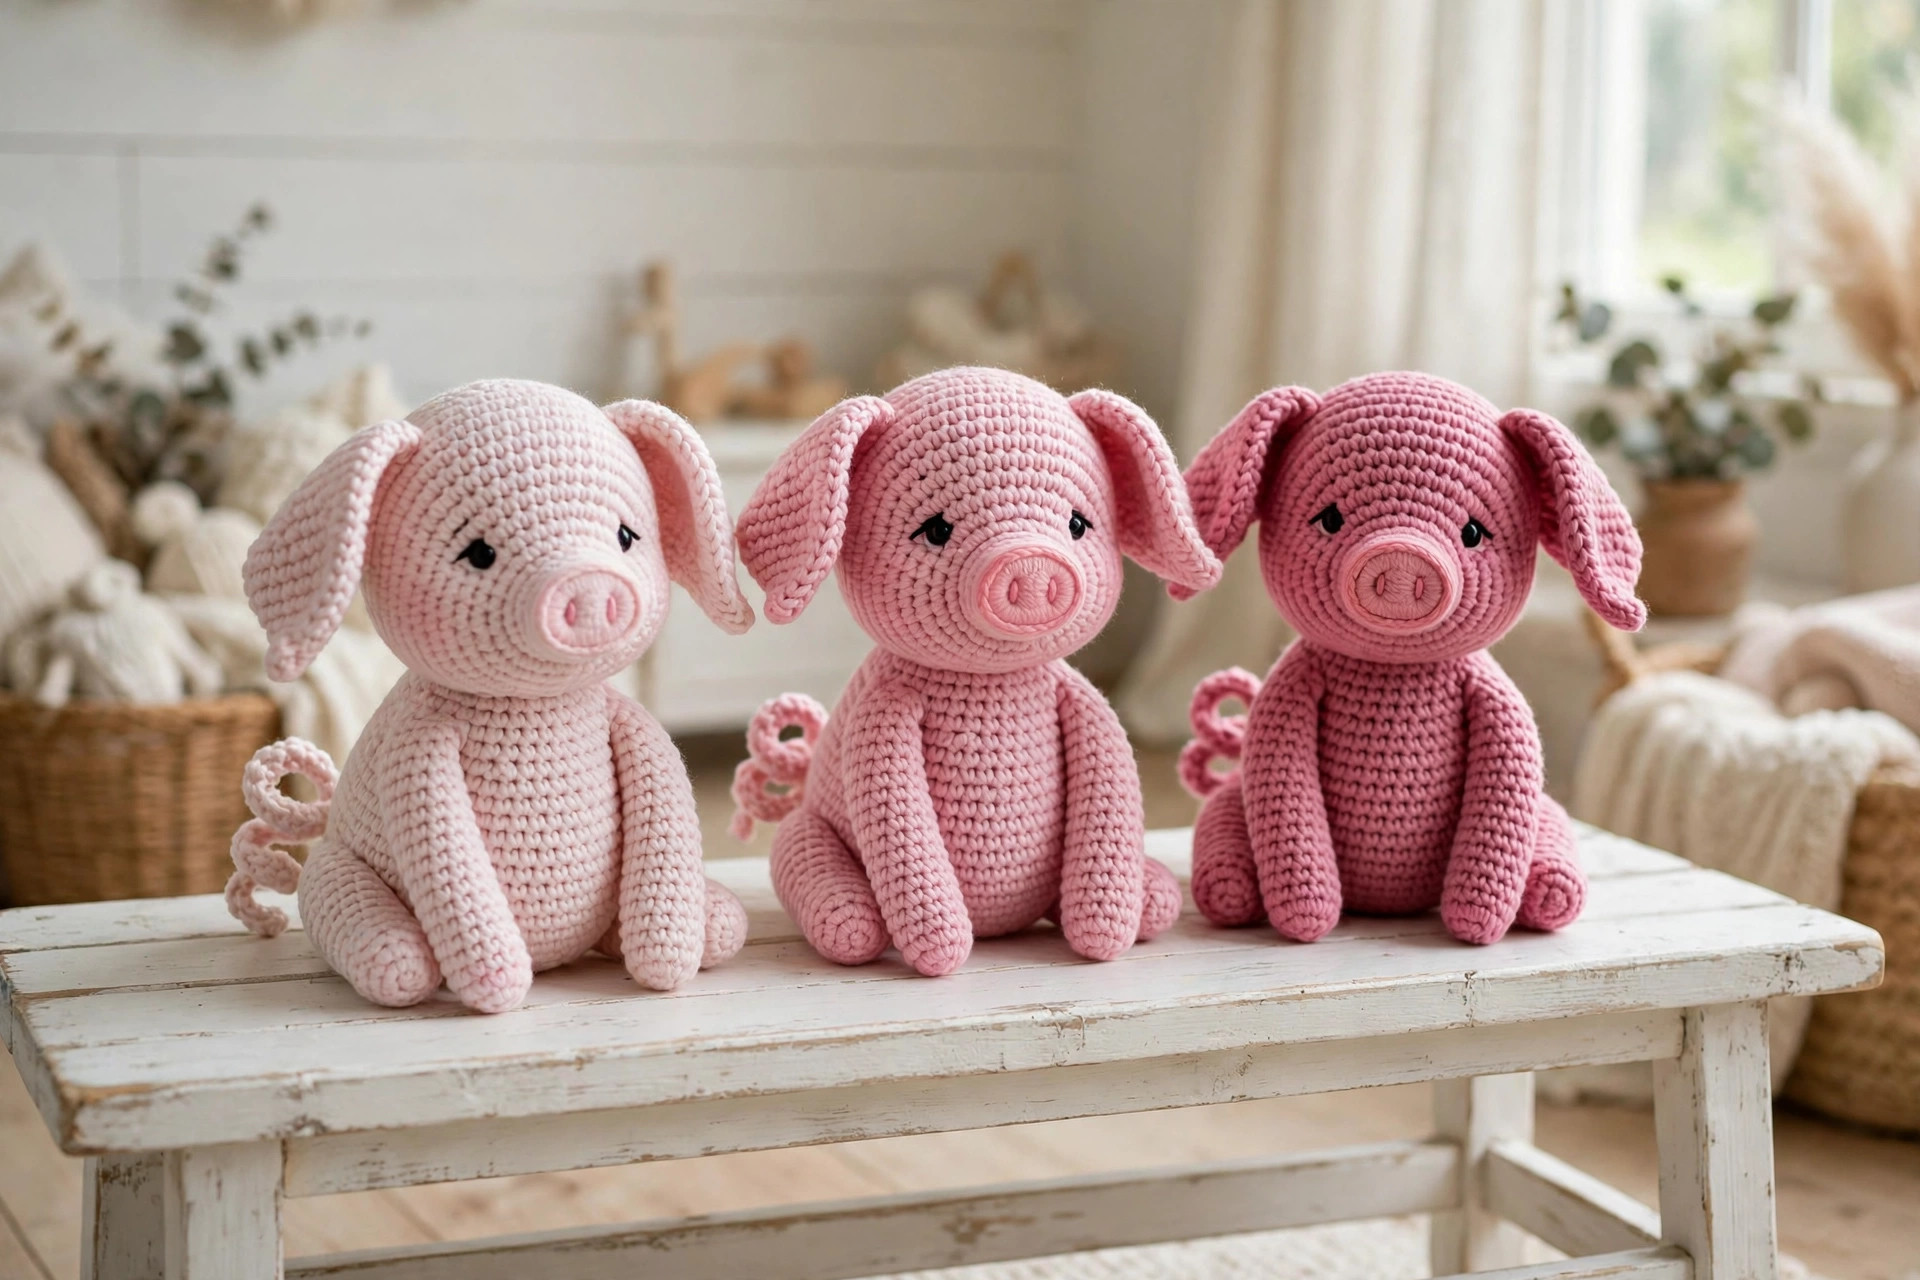
Say hello to the sweetest little piglet you will ever crochet. This free crochet piglet pattern makes a chunky, cuddly amigurumi piglet with floppy ears, a stitched snout, tiny trotters, and the curliest little tail you have ever seen. She is the perfect nursery shelf buddy, a beloved gift for kids, and a farm animal collection starter that works up in a single weekend.
This is an original Little Loop Finds design, written in US terms and completely free. The piglet is worked in simple single crochet rounds with basic increases and decreases, and the body and head are shaped to be perfectly round and huggable. If you have made any amigurumi before, you will fly through this one. If this is your very first amigurumi, the piglet is actually a forgiving choice: her plump shape hides small mistakes beautifully, and the curly tail is just a chain with extra stitches, which is way easier than it looks.
Piglets are having a moment in the crochet world, and this little one fits right into a farm animal collection. Pair her with our crochet bunny plush for a barnyard duo, set her on a nursery shelf, or gift her to the kid who loves animals more than dolls. Change the pink shade, add a tiny bow, or stitch a whole litter of piglets in different sizes, because once you make one, you will want a family.
Key Takeaways
- Free original pattern: this crochet piglet pattern is a Little Loop Finds original amigurumi design, written in US terms, and completely free.
- Beginner friendly amigurumi: uses only single crochet, increases, and decreases in simple rounds, plus a curly chain tail.
- Weekend project: about 5 to 6 hours of stitching plus assembly.
- Stash buster: needs less than one skein of pink worsted weight yarn, plus tiny amounts of darker pink and black.
- Adorably huggable: floppy ears, a stitched snout with nostrils, tiny trotters, and a naturally curly tail give big farm charm.
Table of Contents
- Why You Will Love This Piglet
- Finished Size, Skill Level, and Time
- Materials You Need
- Abbreviations (US Terms)
- Part 1: Crocheting the Head
- Part 2: Crocheting the Body
- Part 3: Ears, Snout, and Legs
- Part 4: The Curly Tail
- Assembly
- Variations: Build Your Litter
- Troubleshooting Amigurumi
- Care Instructions
- Frequently Asked Questions
Why You Will Love This Piglet
Some amigurumi patterns are fiddly: tiny parts, fussy shaping, faces that never sit right. This piglet is the opposite. Her body is one smooth egg shape, her head is a simple sphere, and every feature is a small, satisfying piece you can finish in minutes. The whole project feels like a series of quick wins, which is exactly what you want from a weekend make.
She is also a fantastic way to practice the core amigurumi skills without pressure. You will work a magic ring, even increases and decreases, a color change for the trotters, simple embroidery for the snout, and basic assembly, all in one small project. If you enjoy small animal makes, you will also love our free bunny pattern, another quick amigurumi with the same huggable energy.
And let us talk about giftability. Pig lovers are everywhere, from kids who adore farm animals to adults who collect cute desk toys. This little piglet fits in a gift bag, ships easily, and always gets an "aww." Make her in classic baby pink, or go wild with the variations below.
Finished Size, Skill Level, and Time
- Finished size: about 7 inches tall and 5 inches wide in worsted weight yarn with a 3.5 mm hook. Using DK yarn and a 3.0 mm hook makes a 5.5 inch mini piglet.
- Skill level: confident beginner. You should know how to single crochet in the round, increase, and decrease. Embroidery for the snout is simple straight stitching.
- Making time: 5 to 6 hours of crocheting, plus about 40 minutes for the face details and assembly.
Materials You Need
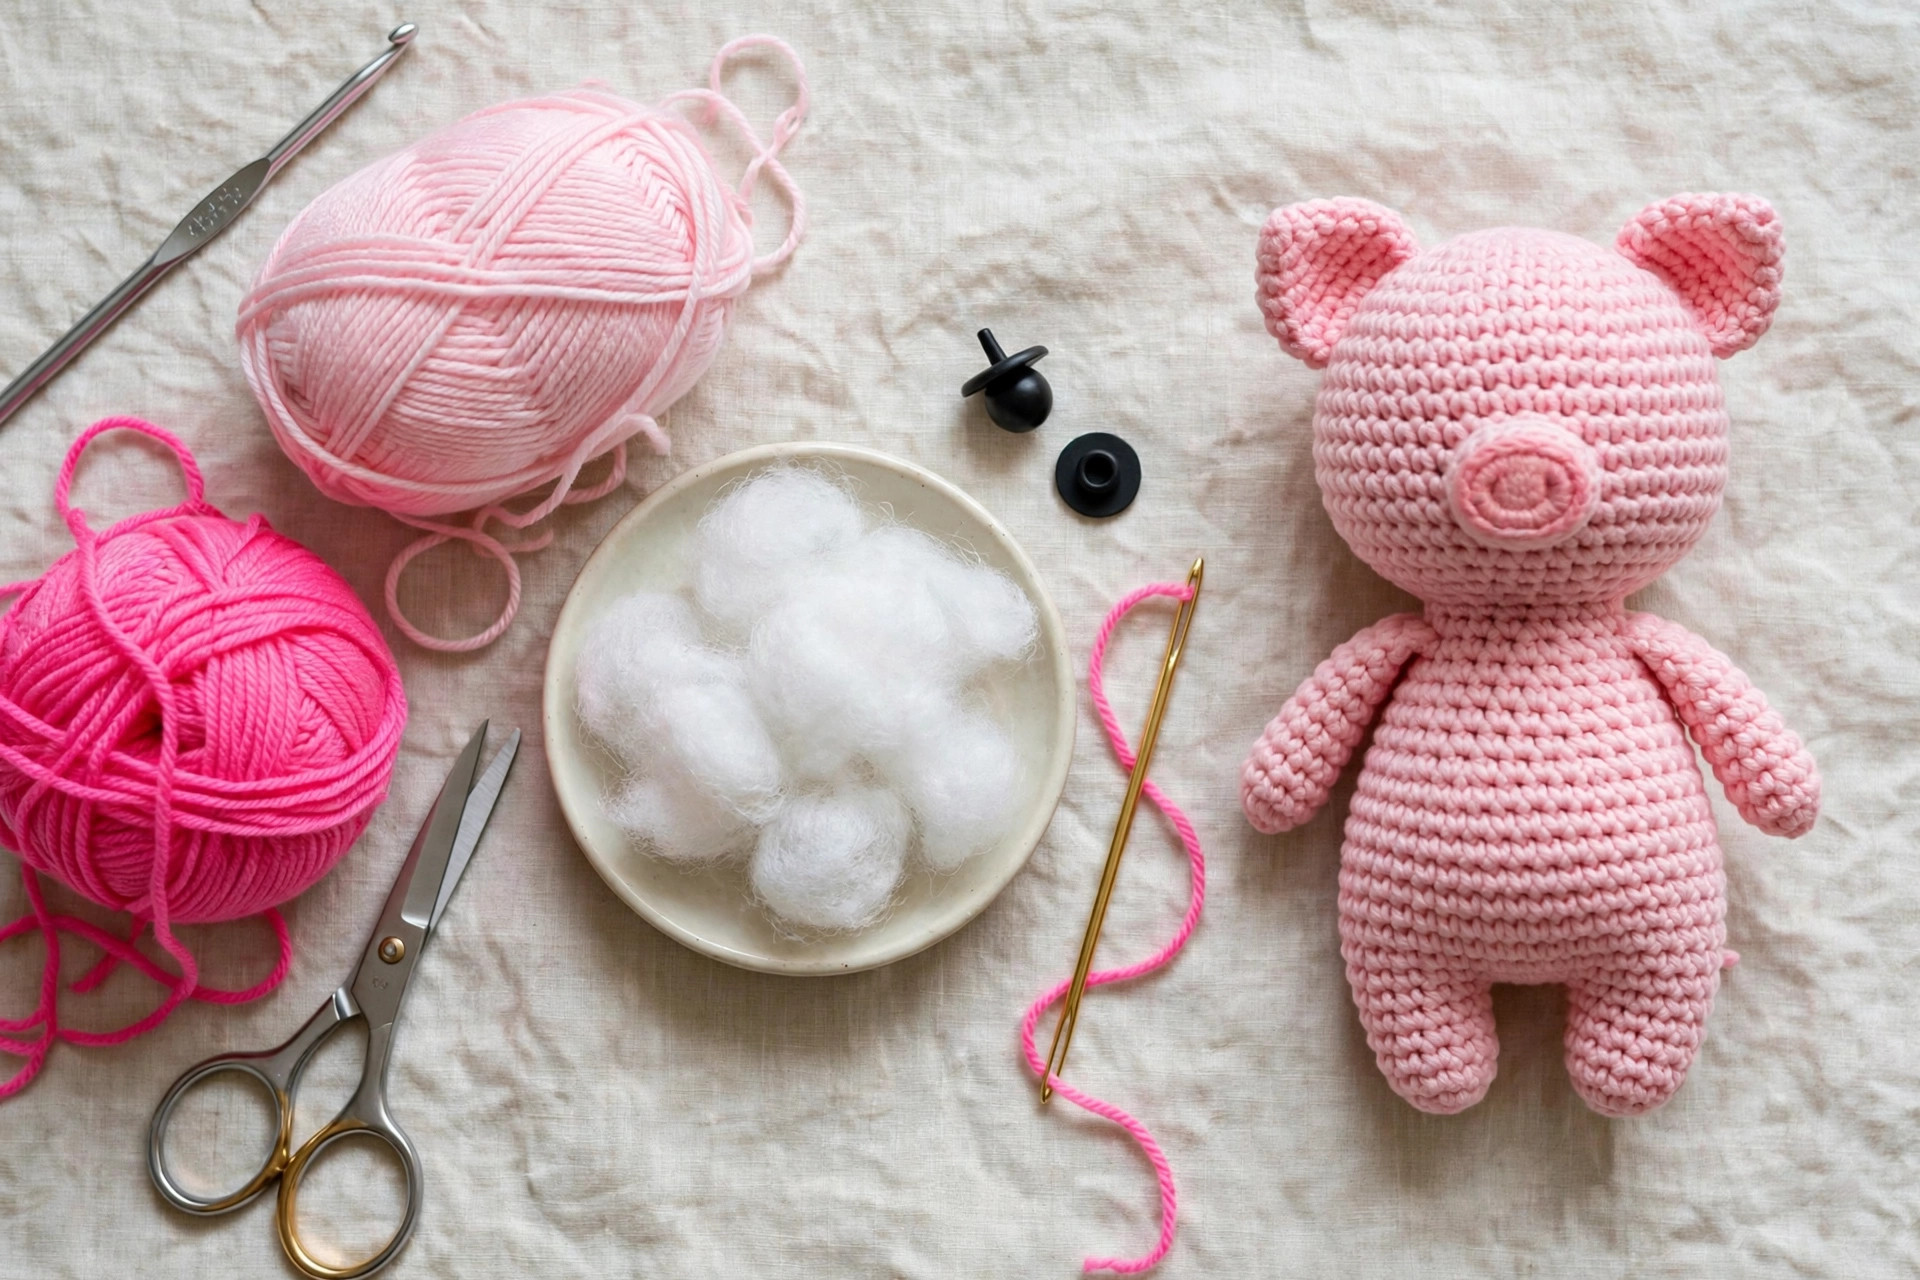
- Worsted weight (#4) yarn: about 140 yards of pink, 30 yards of a darker rose pink for the trotters and inner ears, and small amounts of black for the nostril embroidery.
- US E-4 (3.5 mm) crochet hook. A smaller hook than the yarn label suggests keeps the stuffing from showing through.
- Polyester fiberfill stuffing.
- Yarn needle and scissors.
- Stitch marker for marking round beginnings.
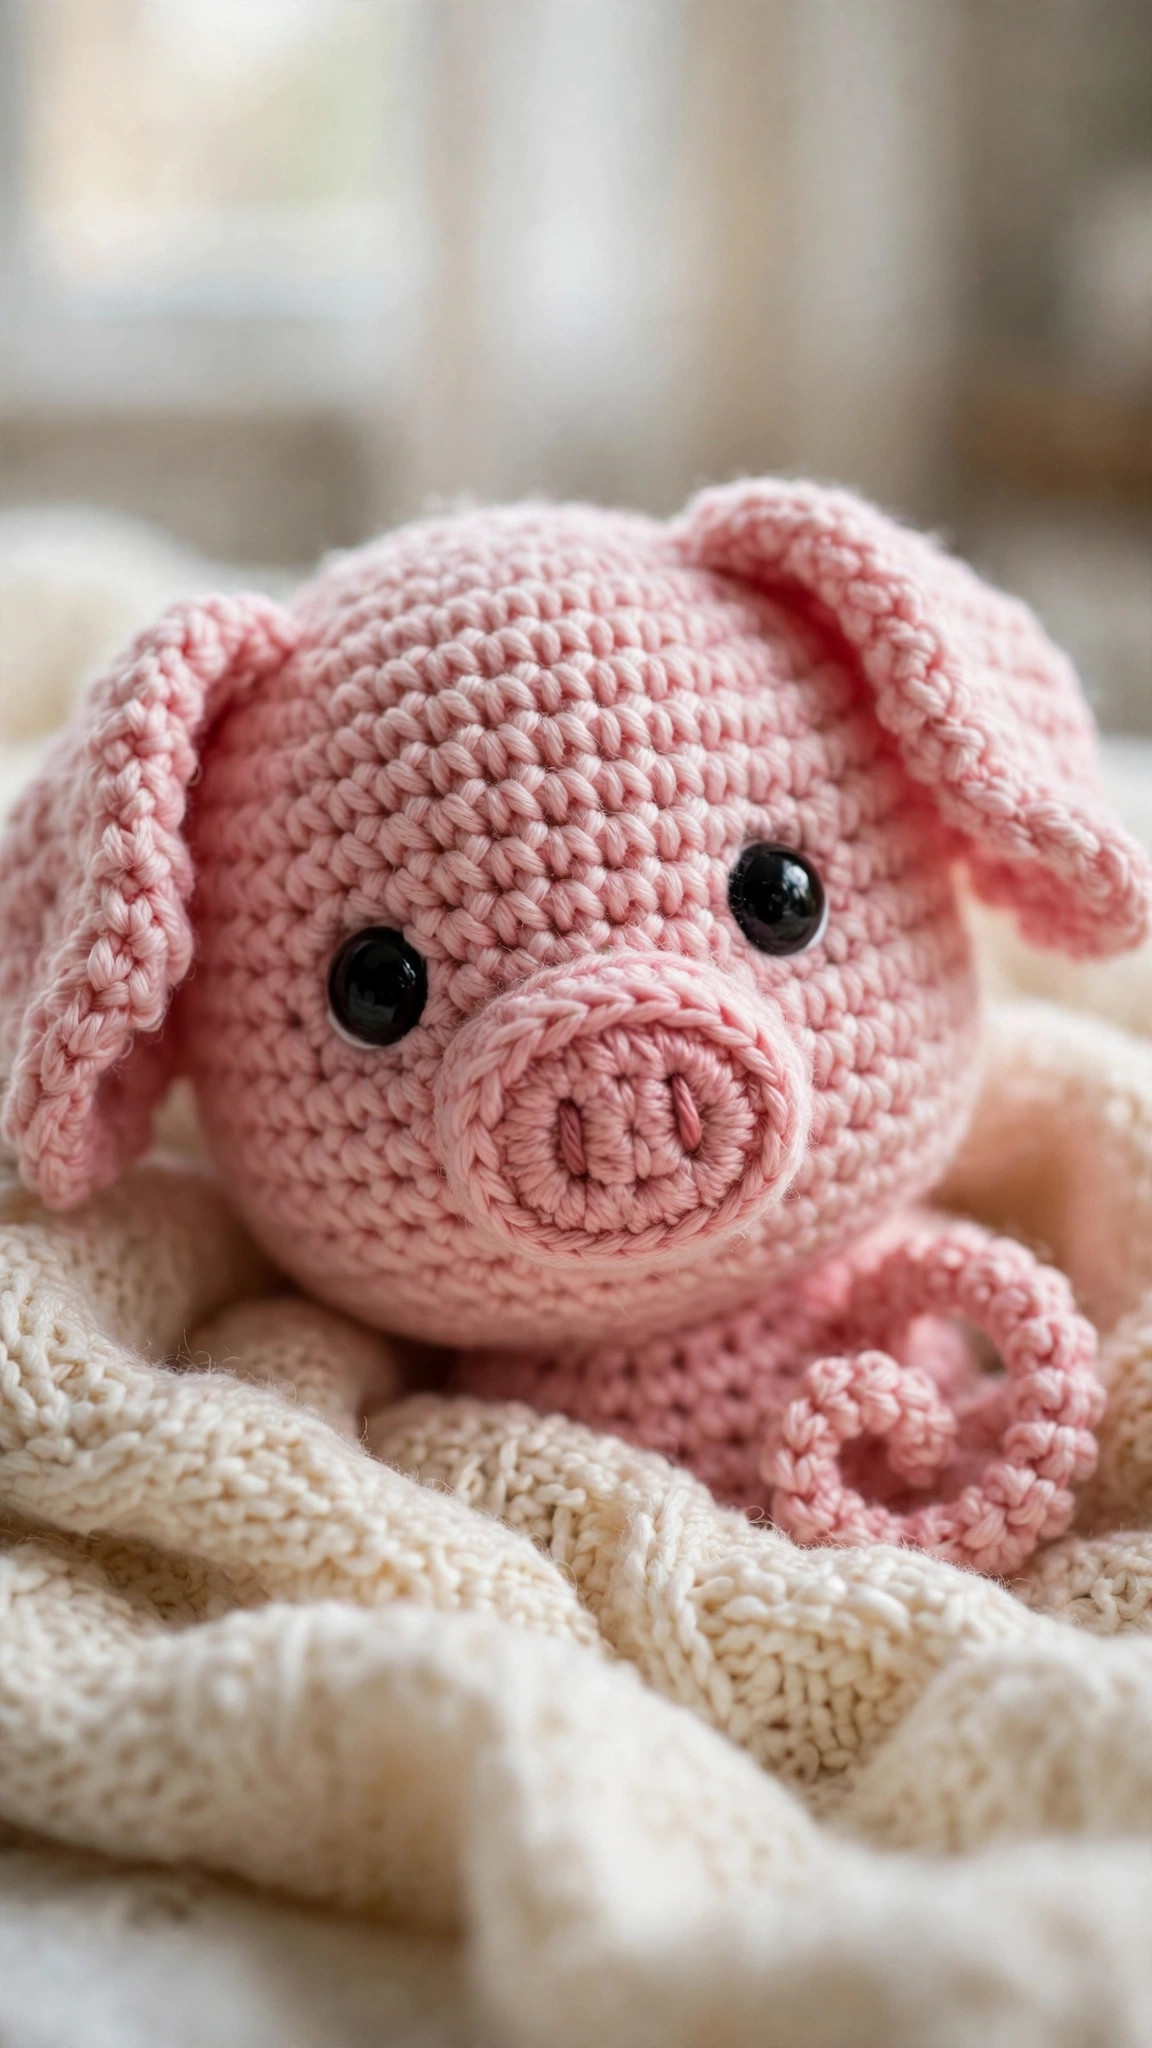
- Two 10 mm black safety eyes (the pattern includes an embroidered eye option that is safer for babies and toddlers).
- Blush pink embroidery floss or a pink fabric marker for cheek blush (optional).
Abbreviations (US Terms)
- MR = magic ring
- ch = chain
- sc = single crochet
- inc = increase (2 sc in same st)
- dec = decrease (single crochet 2 together; invisible decrease recommended)
- sl st = slip stitch
- st(s) = stitch(es)
- FO = fasten off
Part 1: Crocheting the Head
Worked in continuous rounds in pink. Place a stitch marker in the first stitch of each round and move it up as you go.
- Round 1: MR 6 sc. (6)
- Round 2: Inc in each st around. (12)
- Round 3: (Sc in next st, inc) 6 times. (18)
- Round 4: (Sc in next 2 sts, inc) 6 times. (24)
- Round 5: (Sc in next 3 sts, inc) 6 times. (30)
- Round 6: (Sc in next 4 sts, inc) 6 times. (36)
- Round 7: (Sc in next 5 sts, inc) 6 times. (42)
- Rounds 8-13: Sc in each st around. (42)
- Round 14: (Sc in next 5 sts, dec) 6 times. (36)
- Round 15: (Sc in next 4 sts, dec) 6 times. (30)
- Round 16: (Sc in next 3 sts, dec) 6 times. (24)
- Round 17: (Sc in next 2 sts, dec) 6 times. (18)
Insert the safety eyes between Rounds 11 and 12, about 9 stitches apart. If you are embroidering the eyes instead, mark the spots with pins for now and stitch them after stuffing.
- Round 18: (Sc in next st, dec) 6 times. (12)
- Stuff the head firmly, shaping it into a smooth sphere.
- Round 19: Dec in each st around. (6)
- FO, weave the tail through the front loops of the remaining stitches, pull closed, and weave in the end.
Part 2: Crocheting the Body
Worked in continuous rounds in pink. The body is an egg shape, wider at the bottom so the piglet sits up on her own.
- Round 1: MR 6 sc. (6)
- Round 2: Inc in each st around. (12)
- Round 3: (Sc in next st, inc) 6 times. (18)
- Round 4: (Sc in next 2 sts, inc) 6 times. (24)
- Round 5: (Sc in next 3 sts, inc) 6 times. (30)
- Round 6: (Sc in next 4 sts, inc) 6 times. (36)
- Round 7: (Sc in next 5 sts, inc) 6 times. (42)
- Round 8: (Sc in next 6 sts, inc) 6 times. (48)
- Rounds 9-16: Sc in each st around. (48)
- Round 17: (Sc in next 6 sts, dec) 6 times. (42)
- Round 18: (Sc in next 5 sts, dec) 6 times. (36)
- Round 19: (Sc in next 4 sts, dec) 6 times. (30)
- Round 20: (Sc in next 3 sts, dec) 6 times. (24)
- Stuff the body firmly, packing extra stuffing into the bottom so she sits stably.
- Round 21: (Sc in next 2 sts, dec) 6 times. (18)
- Round 22: (Sc in next st, dec) 6 times. (12)
- Round 23: Dec in each st around. (6)
- FO, weave the tail through the front loops, pull closed, and weave in the end.
Part 3: Ears, Snout, and Legs
Floppy Ears (make 2)
Worked in pink.
- Round 1: MR 6 sc. (6)
- Round 2: (Sc in next st, inc) 3 times. (9)
- Round 3: (Sc in next 2 sts, inc) 3 times. (12)
- Rounds 4-6: Sc in each st around. (12)
- Round 7: (Sc in next 2 sts, dec) 3 times. (9)
- Flatten the ear and sc across the top through both layers to close (4 sc). FO, leaving a long tail for sewing.
Optional: work Rounds 1-3 in darker rose pink, then switch to pink for the rest, to give the inner ear a two-tone look.
Snout
Worked in darker rose pink.
- Round 1: MR 8 sc. (8)
- Round 2: Inc in each st around. (16)
- Round 3: (Sc in next st, inc) 8 times. (24)
- Rounds 4-5: Sc in each st around. (24)
- Sl st in next st, FO, leaving a long tail for sewing.
Embroider two nostrils on the snout with black yarn: two short vertical stitches, side by side, centered on the snout.
Legs with Trotters (make 4)
Worked in darker rose pink for the first 3 rounds (the trotters), then pink.
- Round 1: MR 6 sc in darker rose pink. (6)
- Round 2: Inc in each st around. (12)
- Round 3: (Sc in next st, inc) 6 times. (18)
- Rounds 4-7: Switch to pink. Sc in each st around. (18)
- Stuff lightly. Sl st in next st, FO, leaving a long tail for sewing.
Part 4: The Curly Tail
The curly tail is the easiest part of the whole piglet, and it looks like magic.
- Ch 14. Starting in the 2nd ch from the hook, work 2 sc in each ch across. (26)
- FO, leaving a tail for sewing.
Working two stitches into every chain forces the strip to twist into a tight spiral all by itself. If your tail does not curl enough, you used too few stitches; frog it and try 3 sc in each chain for an extra springy curl.
Assembly
Pin all the pieces in place before you sew anything. This is the step that makes or breaks the cuteness, so take your time.
- Sew the head to the top of the body, centering it. Use the long tail or a fresh length of pink yarn, whipstitching around the join twice for strength.
- Sew the snout to the front of the head, centered between and slightly below the eyes. Stuff the snout lightly before you close the last few stitches so it stays plump.
- Sew the ears to the top sides of the head. Angle them slightly outward and forward so they flop cutely instead of sticking straight up.
- Sew the four legs to the bottom of the body: two at the front, two at the back, evenly spaced so the piglet sits level.
- Sew the curly tail to the back of the body, about two thirds of the way down. Twist it once around your finger first to set the curl.
- If embroidering the eyes: stitch two French knots or small satin stitch circles where you marked them between Rounds 11 and 12.
- Optional: add cheek blush with embroidery floss or a fabric marker, two small pink circles below and outside the eyes.
Variations: Build Your Litter
- Mini piglet: use DK weight yarn and a 3.0 mm hook for a 5.5 inch pocket piglet. The whole make takes about 3 hours.
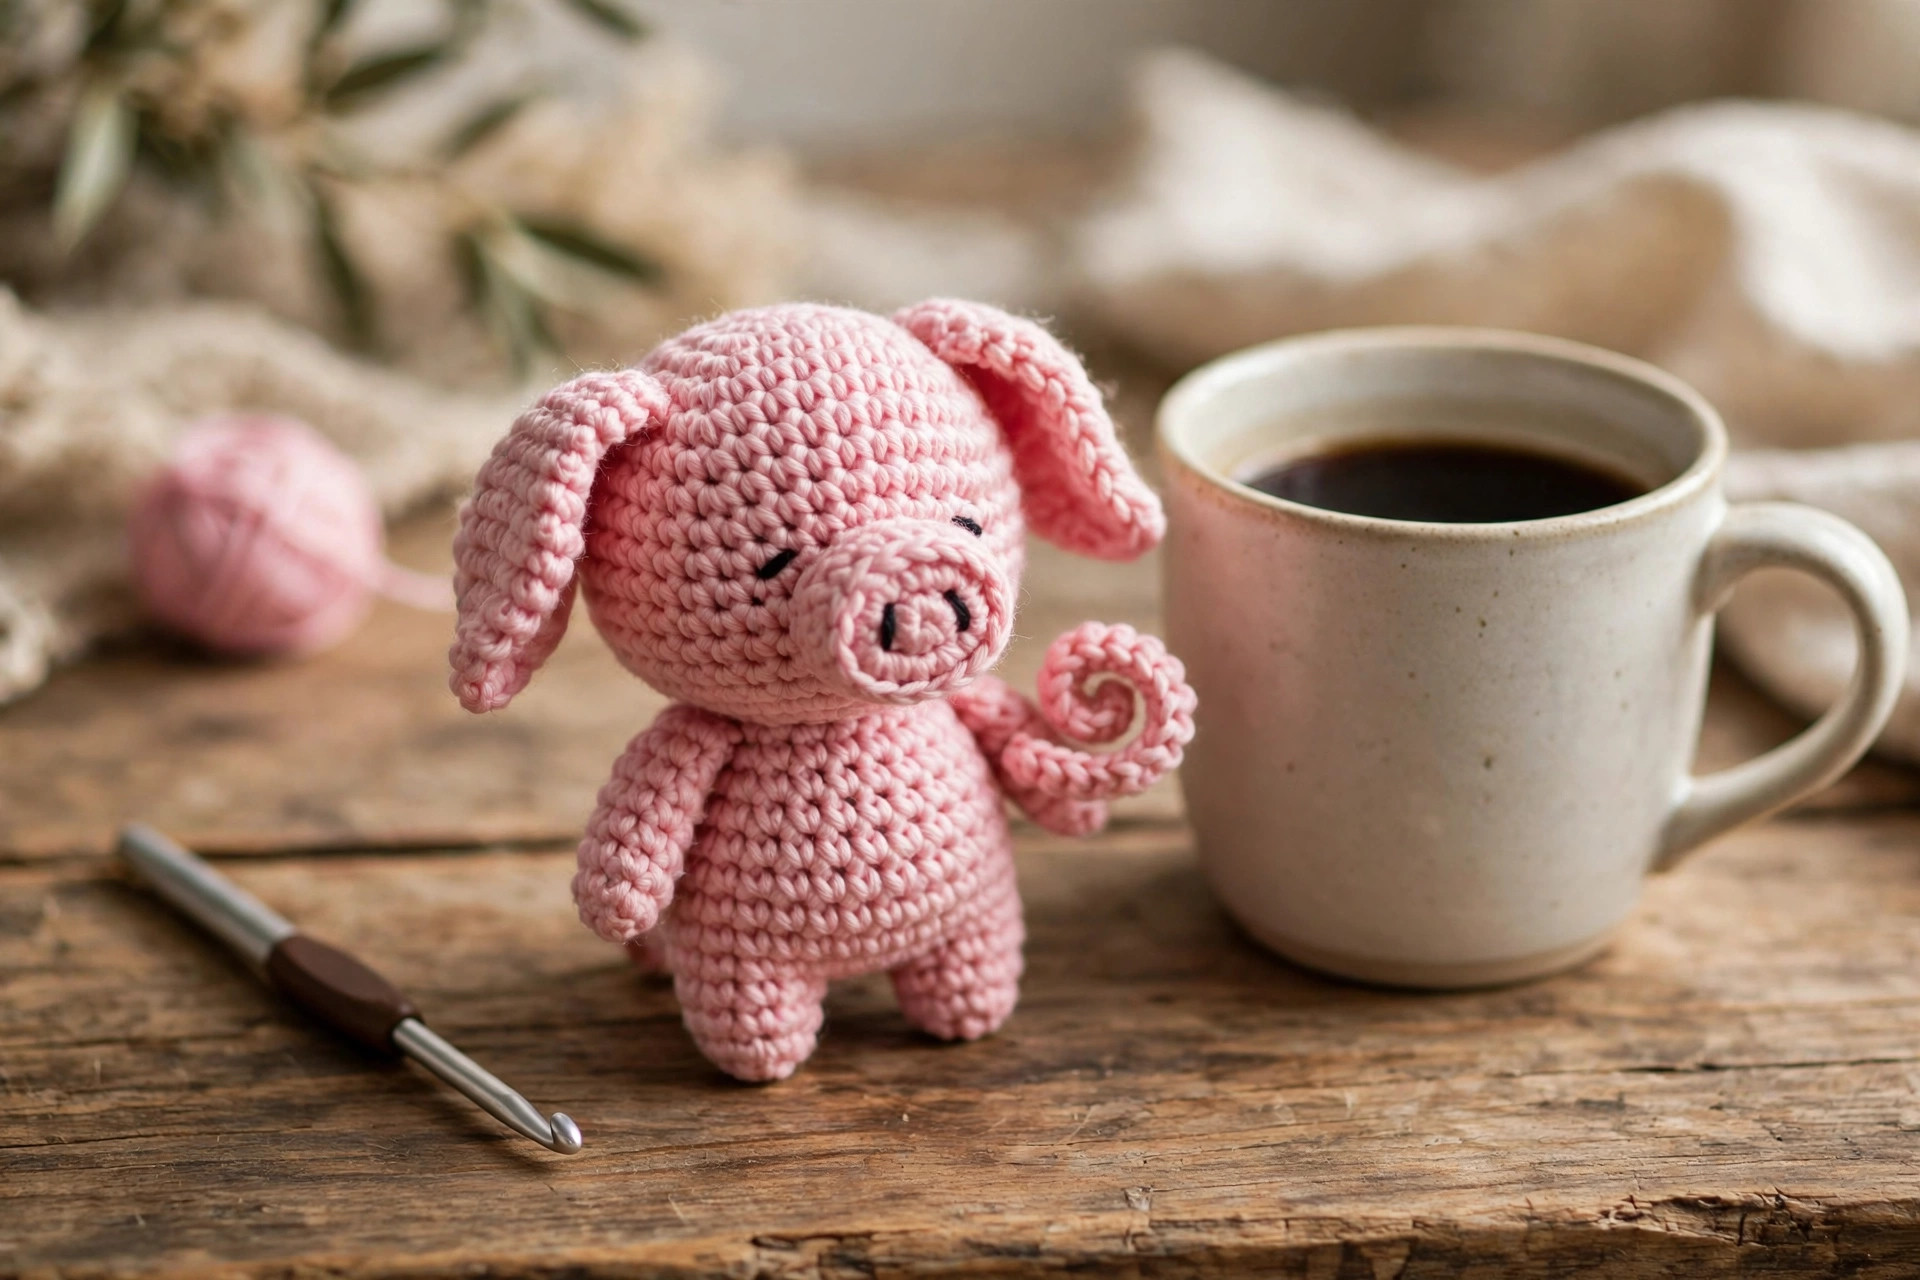
- Sleepy piglet: embroider closed eyes (two curved lines) instead of using safety eyes, and skip the blush for a napping look.
- Flower crown piglet: chain a short garland of tiny crocheted flowers and sew it between the ears for a spring gift.
- Boy piglet: work the whole piglet in a dusty blue-gray and add a tiny bow tie from a short chain and a wrapped center.
- Keychain piglet: stop the body at Round 16, close it, skip the legs, and attach a keychain ring to the top of the head. She becomes a chunky bag charm.
- Mama and babies: make one full size piglet and two minis for an instant family set that kids love to play with.
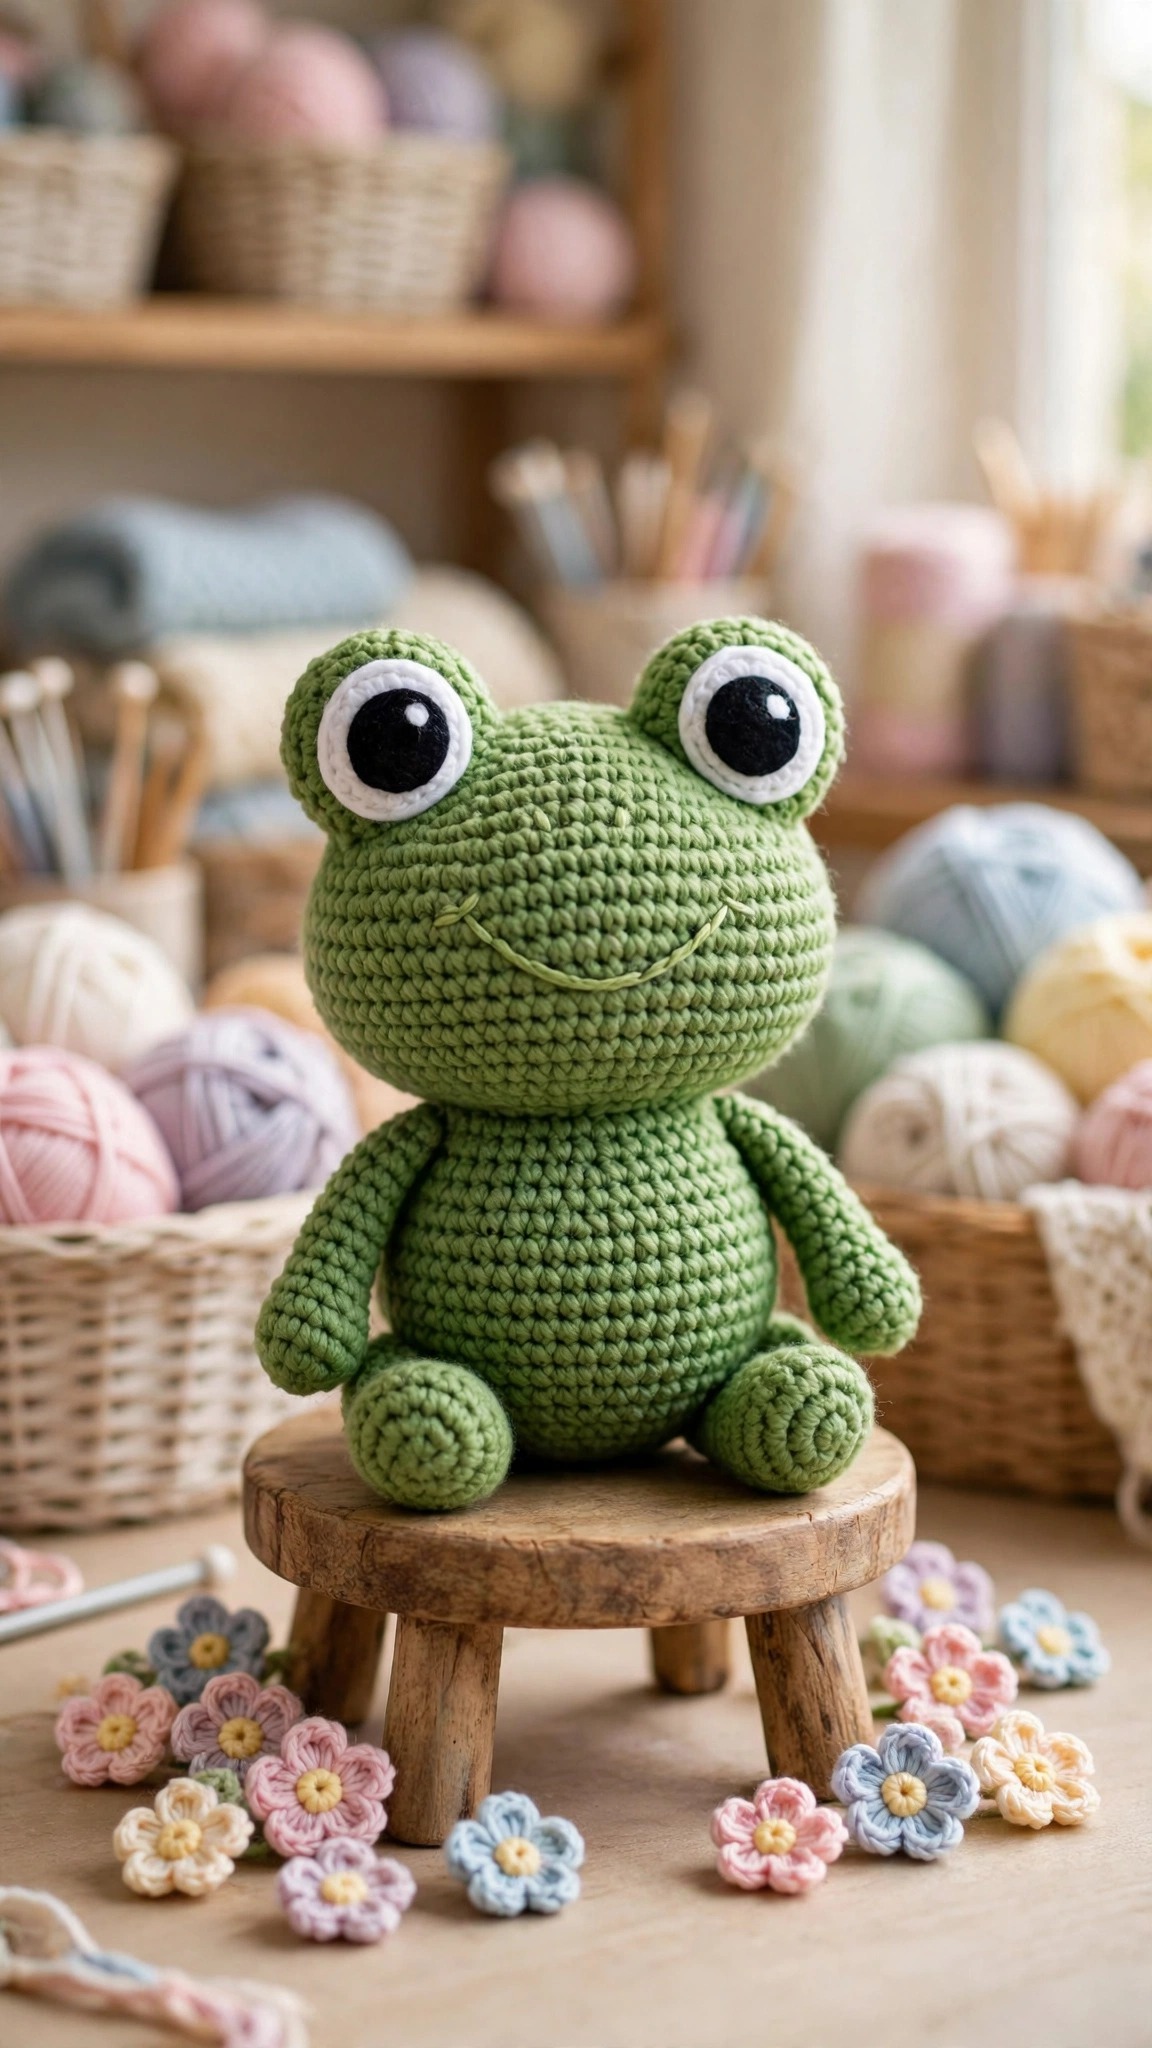
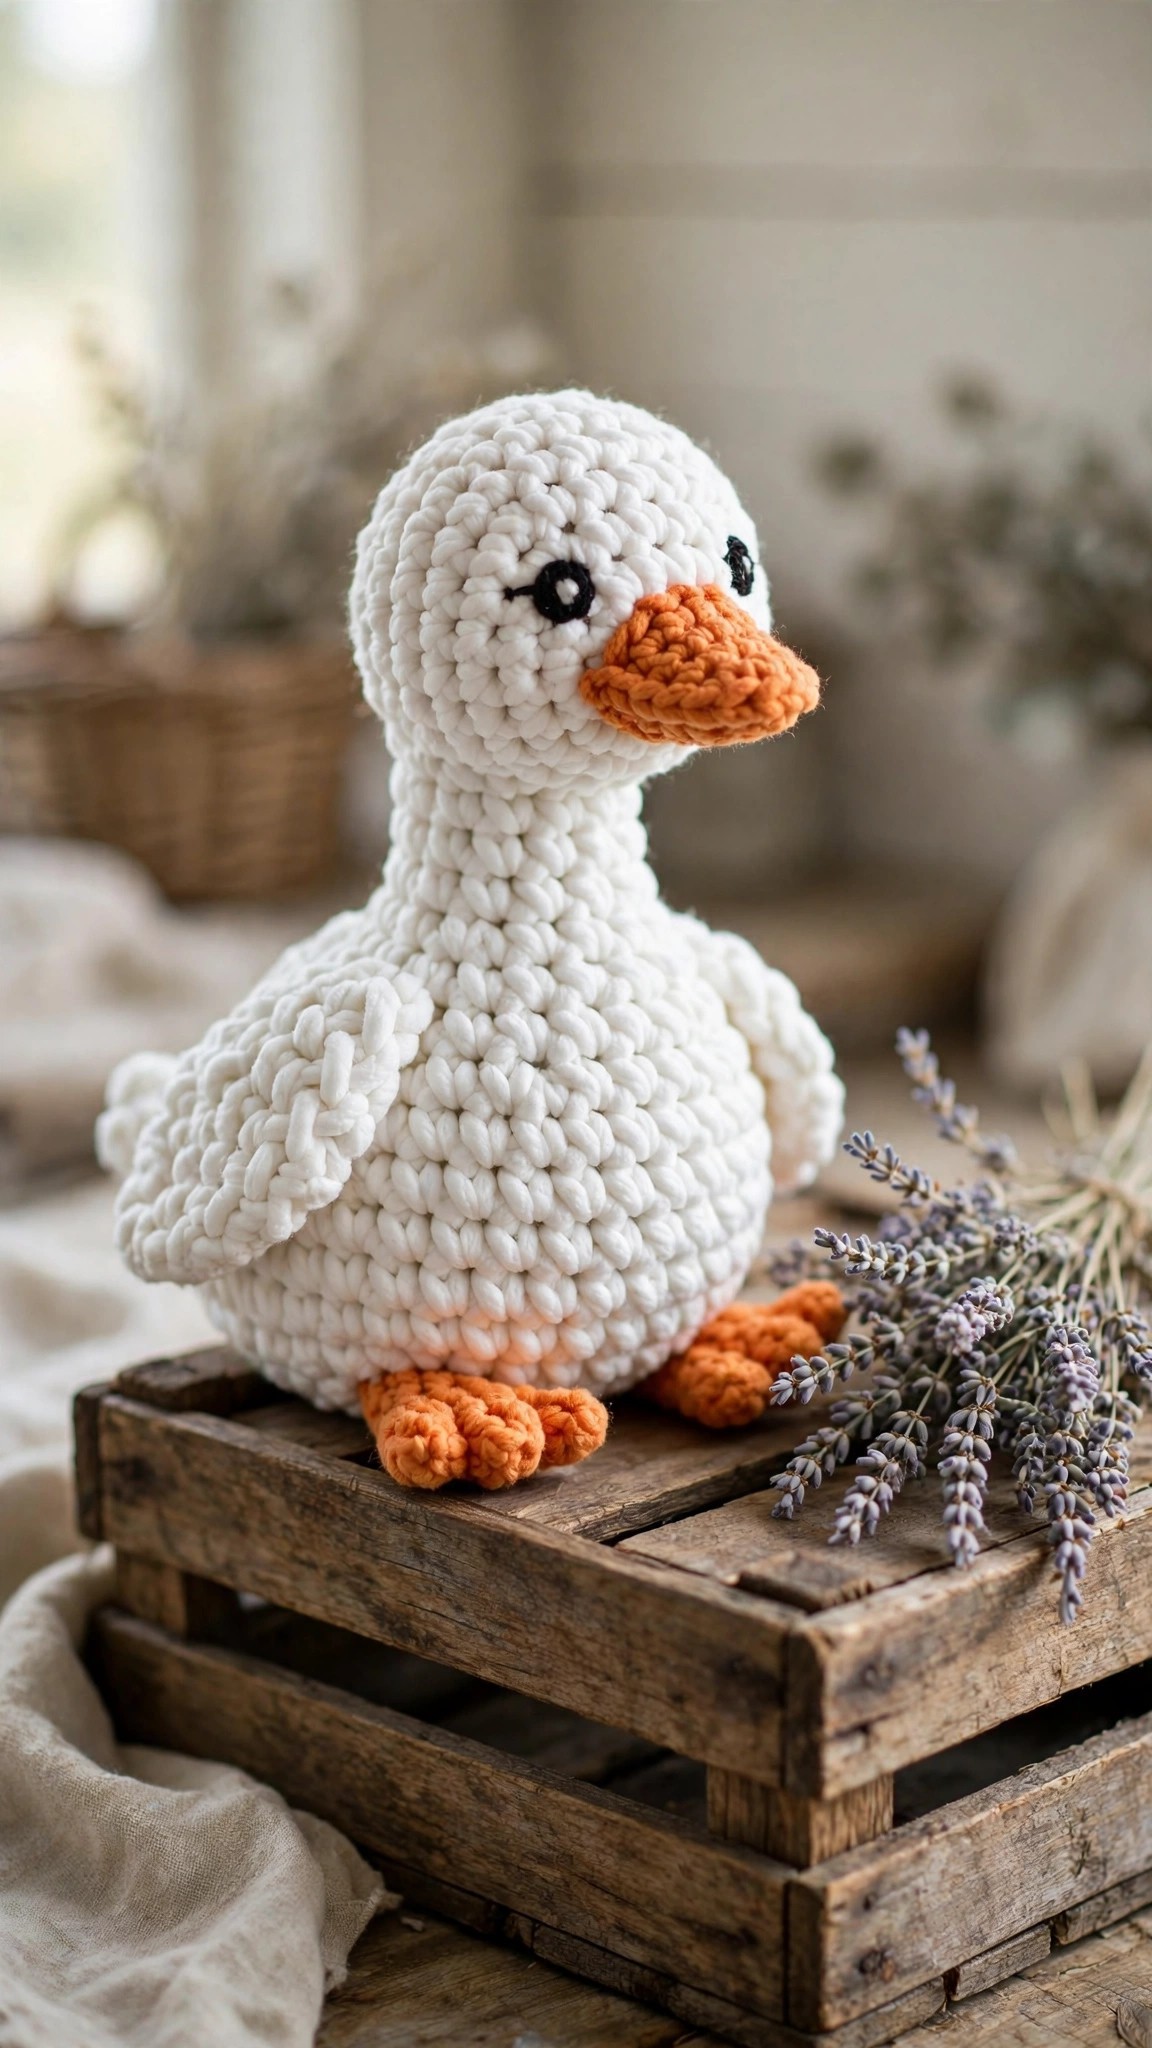
If you are building a whole farm, pair her with the crochet frog pattern for a pond and barnyard combo, or the crochet goose pattern for a bigger farmyard friend. Our mini amigurumi guide has even more small animal ideas when you are ready to expand the collection.
Troubleshooting Amigurumi
My head is lopsided. This usually means the stuffing is uneven. Pull some out, re-stuff in small handfuls, and roll the head between your palms to even it out before closing.
The stuffing shows through. Your hook is too big for the yarn, or your tension is loose. Go down a hook size on the next piece. For the finished piglet, a tiny bit of showing stuffing is normal and invisible from a normal viewing distance.
My decreases leave gaps. Switch to the invisible decrease: insert the hook under the front loop of the next two stitches, yarn over, and pull through all loops. It makes a noticeably smoother fabric.
The ears stick straight up. You sewed them too close to the top center. Move them outward toward the sides of the head and angle them forward; floppy ears need a wide placement.
The piglet will not sit up. Pack more stuffing into the bottom of the body and flatten the base slightly with your palm. The four legs also act as stabilizers, so make sure they are evenly spaced.
The tail will not curl. You need more stitches per chain. Frog the tail and work 3 sc into each chain instead of 2 for a tighter spiral.
Care Instructions
- Hand wash in cool water with mild soap, then reshape and air dry flat. Machine washing can felt the yarn and distort the stuffing.
- If the piglet gets squished in a toy box, fluff her by hand and roll her gently to redistribute the stuffing.
- Safety eyes are not recommended for children under 3. Use the embroidered eye option for babies and toddlers.
- Store out of direct sunlight to keep the pink from fading.
Frequently Asked Questions
Is this crochet piglet pattern really free?
Yes. This is an original Little Loop Finds design, written in US terms, and the full pattern is free right here on this page. There is no printable PDF version; the pattern lives in the blog post so you can follow along step by step.
What yarn works best for an amigurumi piglet?
Worsted weight (#4) acrylic or cotton yarn is ideal. Acrylic is soft, washable, and budget friendly, which makes it perfect for toys. Cotton gives crisper stitch definition but less stretch, so stuff the pieces a little less firmly if you use cotton.
How do I make the curly tail curlier?
Work more stitches into each chain. The pattern calls for 2 sc in each chain, which makes a gentle curl. Working 3 sc in each chain makes a tight spring. You can also twist the finished tail around a pencil and steam it lightly to set the shape.
Can I sell finished piglets made from this pattern?
Yes, you may sell finished piglets you make yourself. Please do not redistribute, republish, or sell the pattern itself, and a credit link back to Little Loop Finds is appreciated.
What size hook should I use for amigurumi?
Use a hook 1 to 2 sizes smaller than the yarn label recommends. For worsted weight yarn, a US E-4 (3.5 mm) hook gives tight, even stitches that hide the stuffing. If you can see daylight through your stitches, go down a hook size.
How do I attach safety eyes securely?
Push the eye post through the stitches from the front, then press the washer on firmly from the inside before stuffing. The washer should click into place and not rotate. Always tug test the eyes before giving the toy to a child, and use embroidered eyes for babies under 3.