Crochet Butterfly Pattern (Easy Applique, Free)
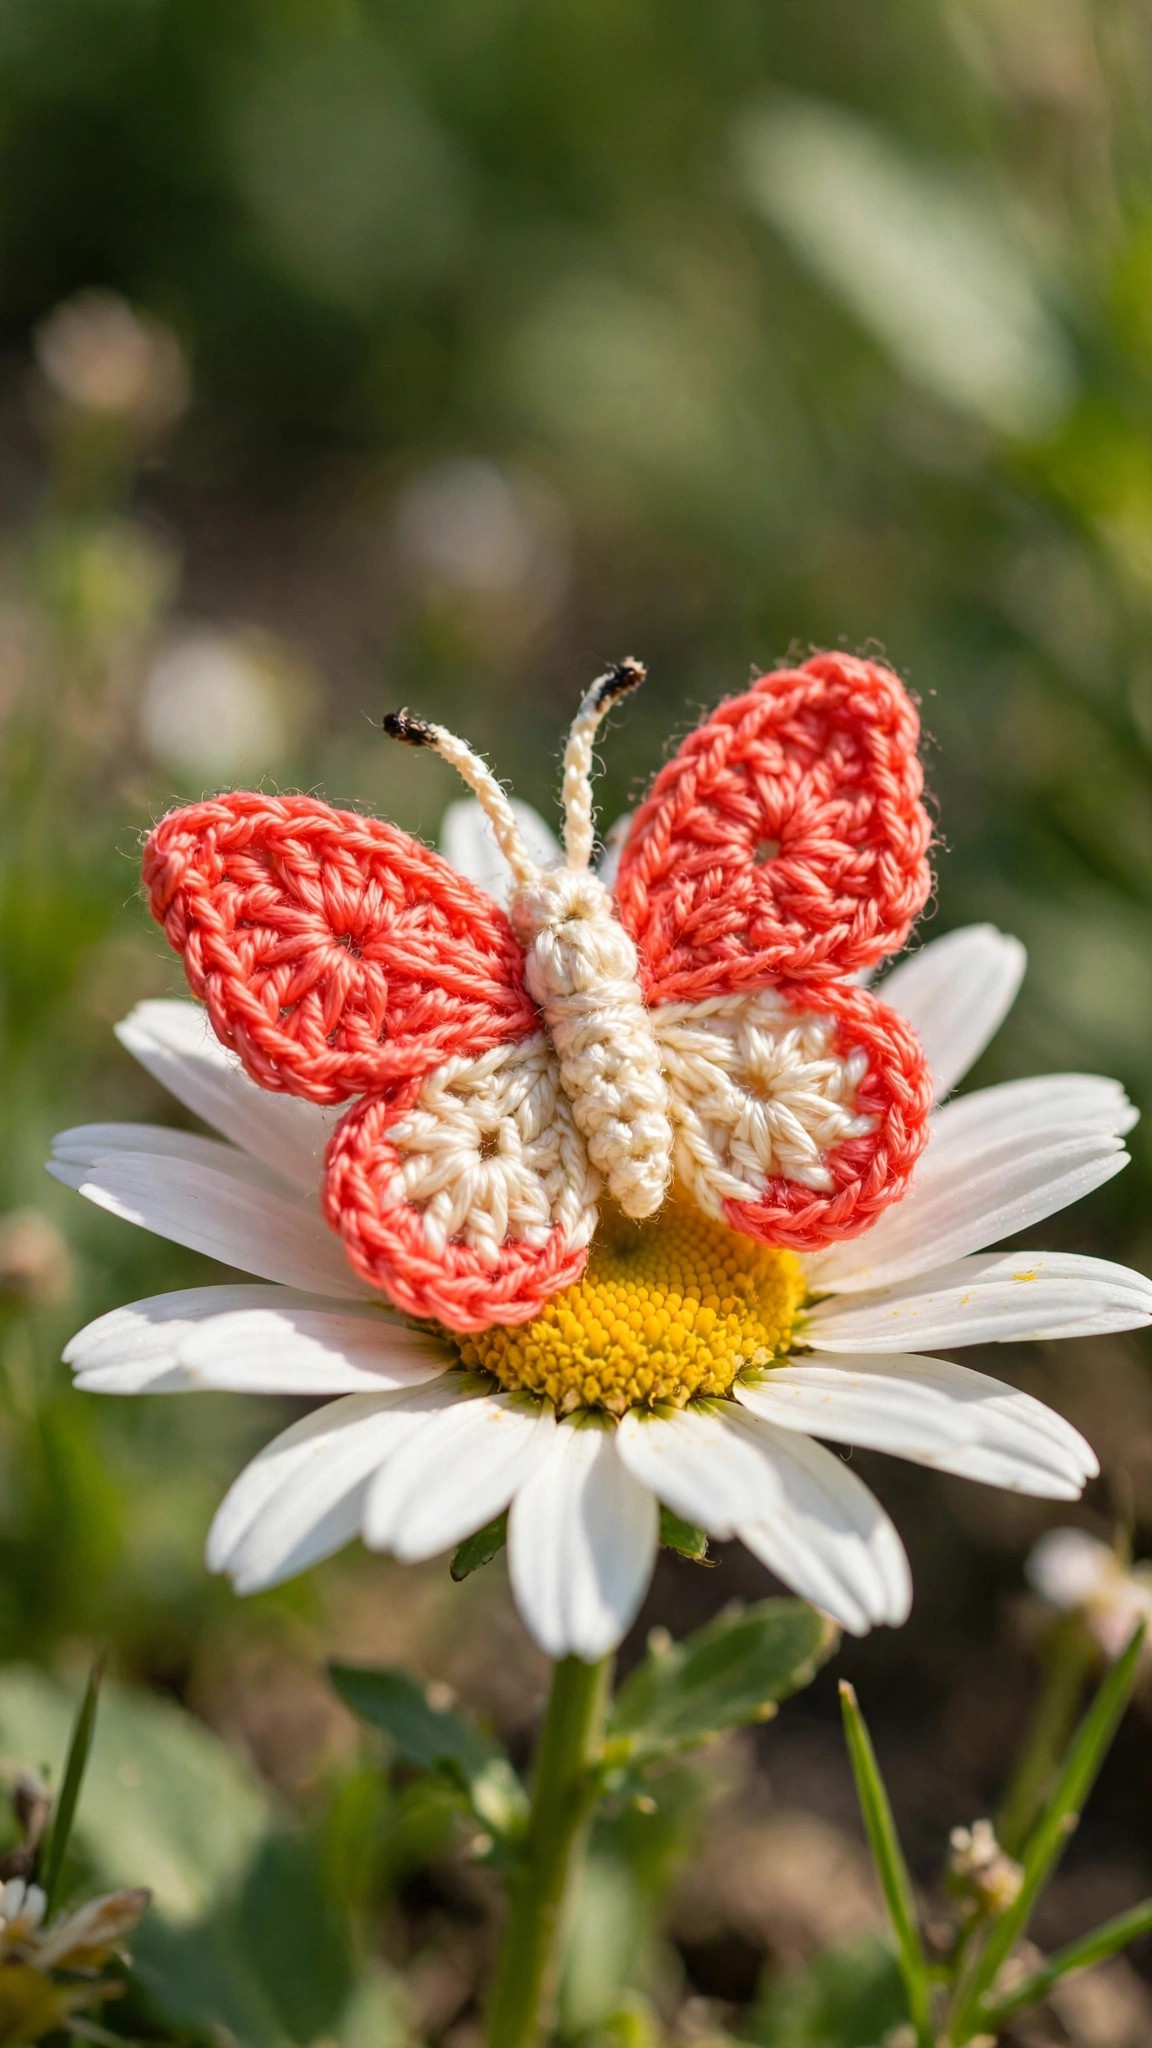
Stitch a small crochet butterfly applique with fan wings, a slim body, and curly antennae, perfect for blankets, hats, and gifts.

Patterns · Crochet
- Finished size
- 3 in across the wings
- Making time
- About 1 hour
- Hook
- US G-6 (4.0 mm)
- Set
- Fan wings, body, antennae
- Skill
- Easy
In this post
- Key Takeaways
- Table of Contents
- Why You Will Love This Butterfly
- Finished Size, Skill Level, and Time
- Materials You Need
- Abbreviations (US Terms)
- Gauge and Sizing Notes
- Part 1: The Upper and Lower Wings
- Part 2: The Body, Antennae, and Assembly
- Variations: Colors, Sizes, and Uses
- Troubleshooting Butterflies That Flop or Pucker
- Care Instructions
- Frequently Asked Questions
A crochet butterfly is a tiny burst of joy. It takes less than an hour, uses only scraps of yarn, and turns a plain blanket, hat, or cardigan into something sweet and special. This free crochet butterfly pattern shows you how to stitch a small three dimensional butterfly applique with two pairs of pretty fan wings, a slim body, and curly antennae, all in simple stitches that a confident beginner can manage.
This is an original Little Loop Finds design, written in US terms and completely free. The butterfly is worked in small pieces: two large upper wings, two small lower wings, and a slim body, then sewn together with a tapestry needle. There is no colorwork to carry and no complicated shaping, just little fan motifs that grow quickly in your hands. If you can crochet a granny square, you can crochet this butterfly.
A quick note on scope: this post is about a small three dimensional butterfly applique and amigurumi style butterfly, not a flat filet crochet butterfly. If you love the filet technique, our crochet filet butterfly pattern is a separate pattern worked in open mesh. The butterfly in this post has real raised wings, which makes it perfect for sewing onto blankets and clothes.
Key Takeaways
- Free original pattern: this crochet butterfly pattern is a Little Loop Finds original design, written in US terms, and completely free.
- Quick one hour make: a small butterfly you can finish in about an hour, from first stitch to final antennae.
- Beginner friendly motifs: little fan wings in simple stitches, with a clear stitch count in every round.
- Perfect stash buster: uses less than 20 yards of yarn, so it is ideal for leftover balls and odd skeins.
- Endlessly useful: sew it onto blankets, hats, bags, and clothes, or use it as a gift topper and nursery decoration.
Table of Contents
- Why You Will Love This Butterfly
- Finished Size, Skill Level, and Time
- Materials You Need
- Abbreviations (US Terms)
- Gauge and Sizing Notes
- Part 1: The Upper and Lower Wings
- Part 2: The Body, Antennae, and Assembly
- Variations: Colors, Sizes, and Uses
- Troubleshooting Butterflies That Flop or Pucker
- Care Instructions
- Frequently Asked Questions
Why You Will Love This Butterfly
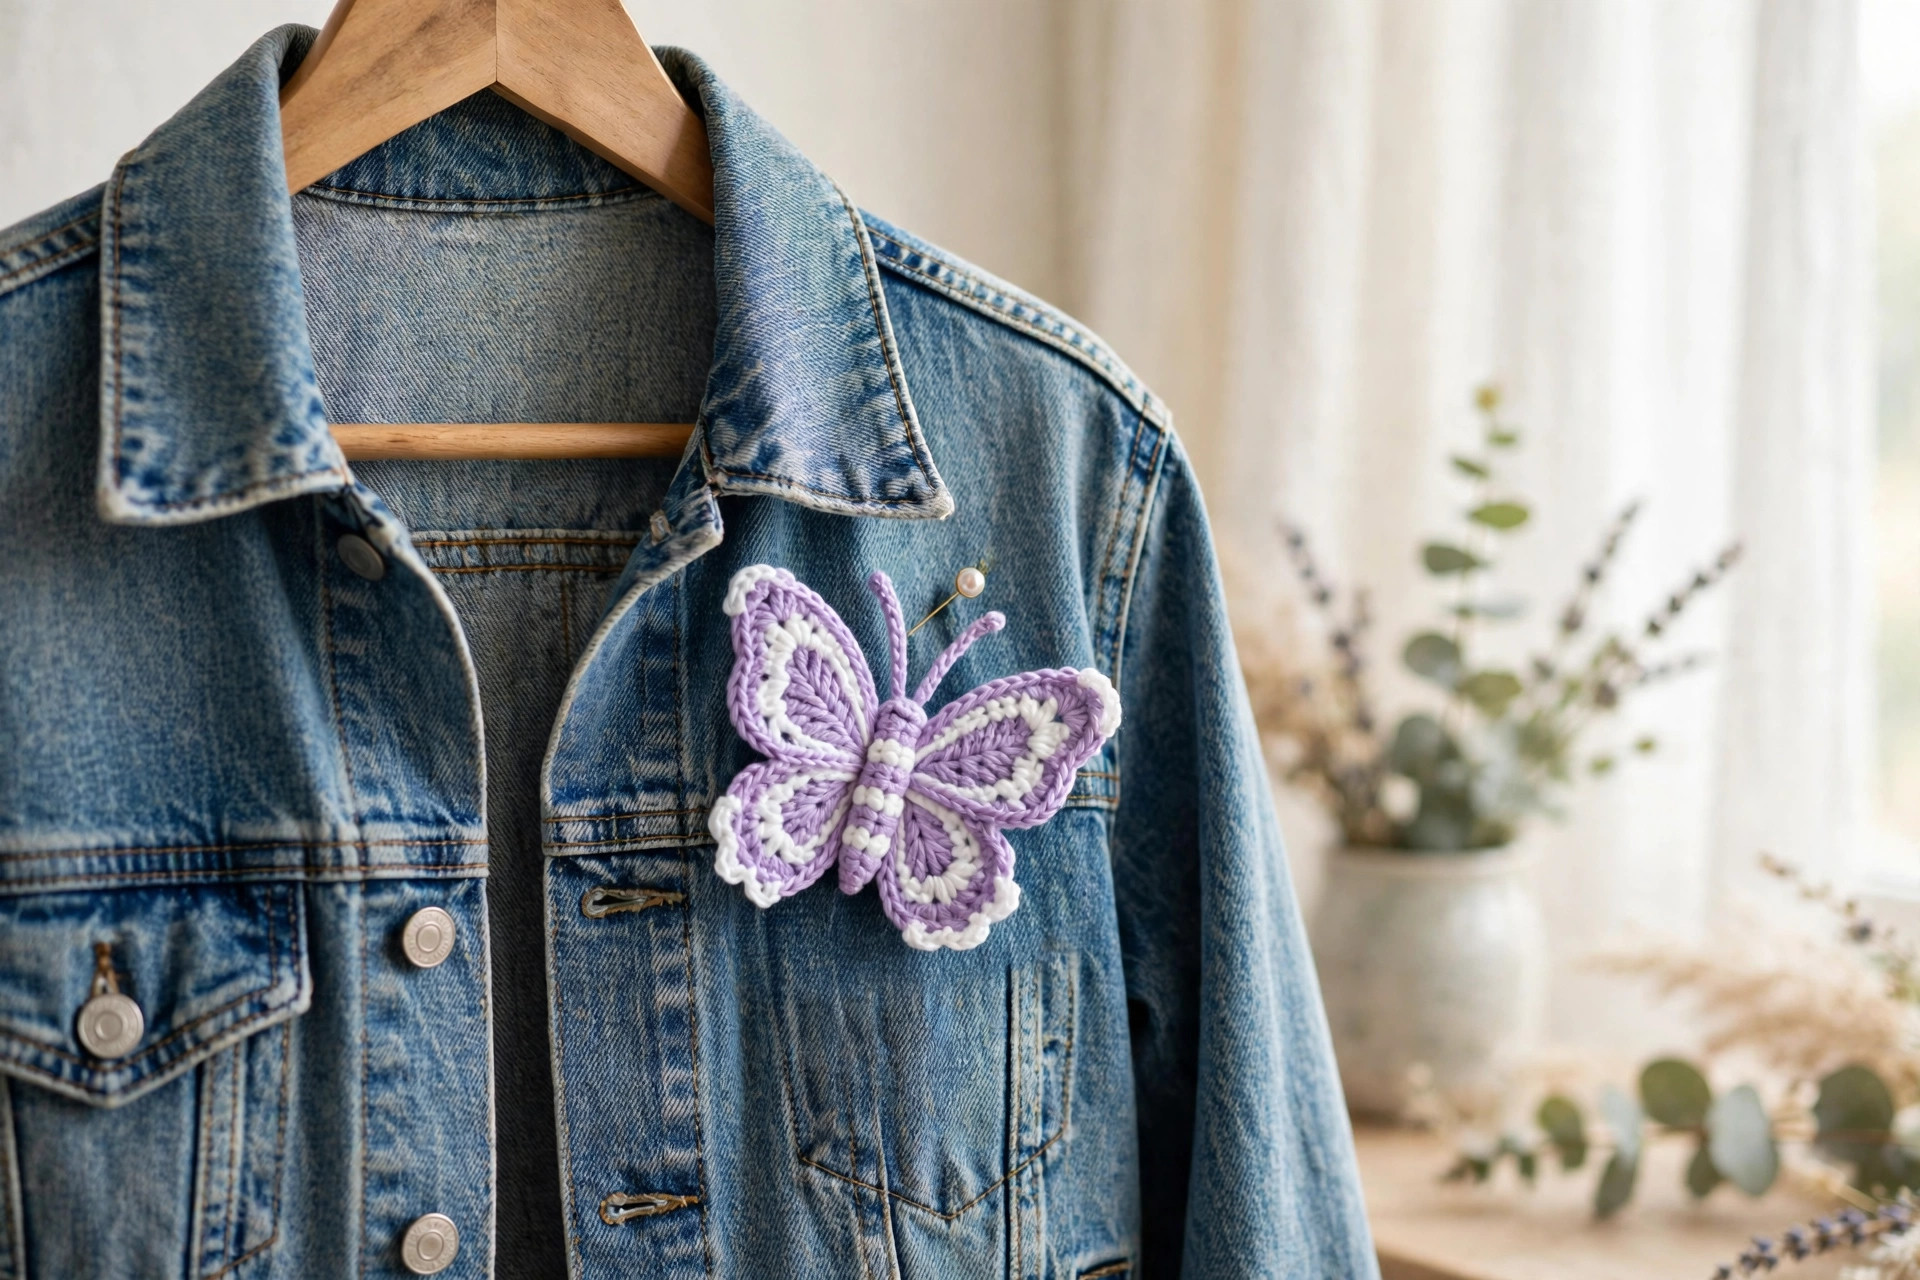
There is something magical about a butterfly, and a crocheted one keeps that magic all year round. It does not fly away, it does not fade, and it adds a touch of spring to whatever it lands on. Sew one onto a baby blanket and it becomes a keepsake. Pin one to a denim jacket and it becomes a statement. Stick one on a gift box and the wrapping becomes part of the present.
Butterflies are also a wonderful way to learn new skills in a small, low pressure project. The wings teach you how to work a fan motif in the round, the body teaches you how to work short flat rows, and the assembly teaches you how to sew pieces together neatly. Each skill is useful on its own, and together they open the door to all kinds of applique and amigurumi projects.
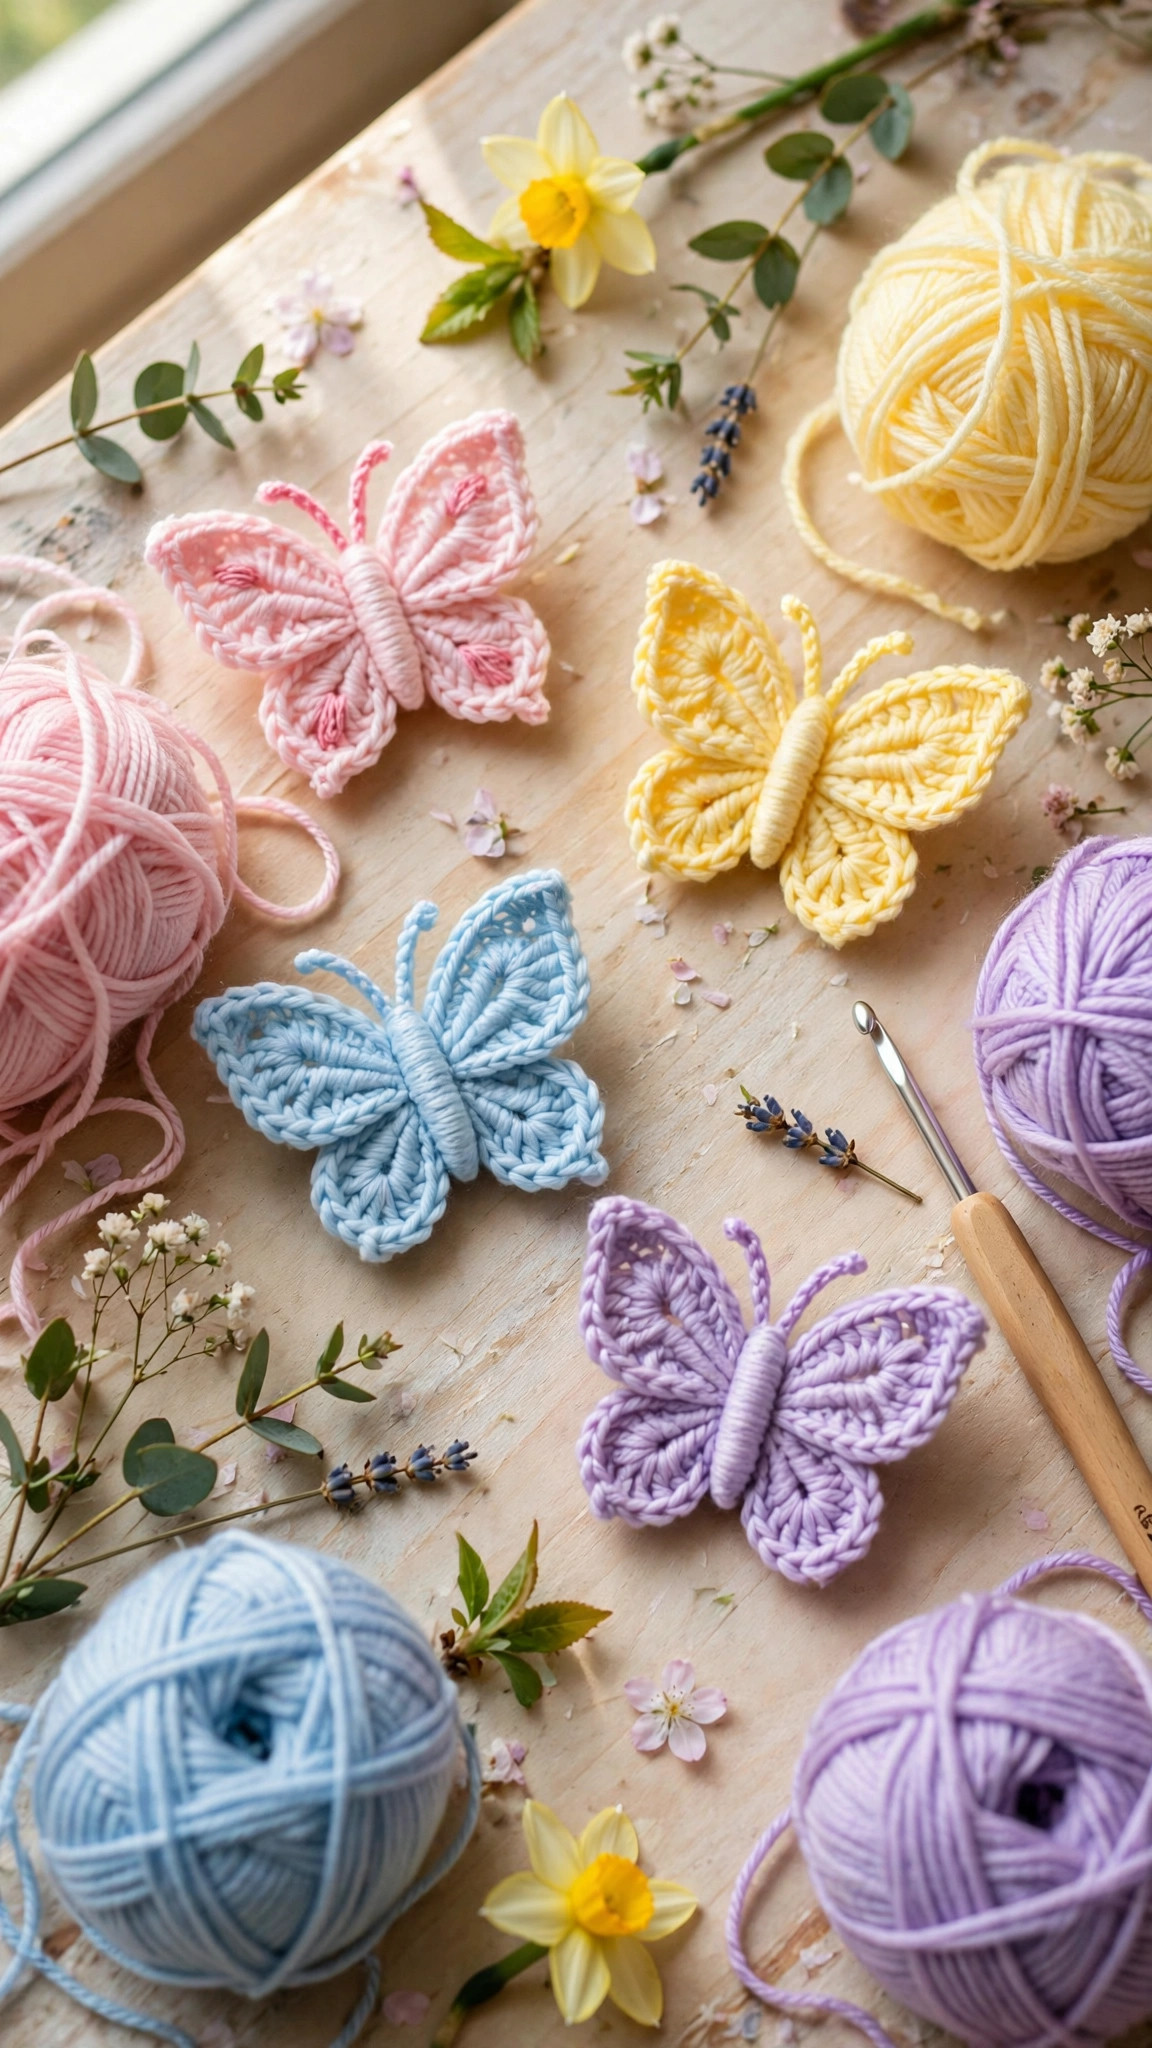
Because a butterfly uses so little yarn, it is the perfect project for the prettiest scraps in your stash. That half ball of coral you could not bear to throw away, the odd skein of lavender from a finished sweater, the tiny ball of yellow left over from a baby hat, all of them can become butterflies. Make a whole flutter of them in different colors, and you will have decorations, gifts, and appliques ready for any occasion.
Finished Size, Skill Level, and Time
- Finished size: about 3 inches across the wings and 2 inches tall, in DK weight yarn. The pattern also gives notes for a small 2 inch version and a large 4 inch version.
- Skill level: Easy. You need a magic ring, chains, slip stitches, single crochet, and double crochet, plus simple sewing to join the pieces.
- Time: about 1 hour total: roughly 20 minutes for the wings, 15 minutes for the body and antennae, and 25 minutes for assembly and finishing.
Materials You Need
| Item | What to get |
|---|---|
| Yarn, wing color A | DK weight (size 3) cotton yarn, about 10 yards |
| Yarn, wing color B | DK weight (size 3) cotton yarn in a contrast color, about 10 yards |
| Yarn, body color | DK weight (size 3) cotton yarn in a dark color, about 5 yards |
| Hook | US G-6 (4.0 mm), or the size that gives you a firm, neat fabric |
| Notions | Tapestry needle, scissors, stitch markers, a small amount of toy stuffing (optional) |
Cotton yarn is the best choice for a butterfly applique because it holds its shape, shows crisp stitch definition, and keeps the wings flat and neat. Acrylic yarn also works, and it comes in bright cheerful colors, but choose a smooth acrylic rather than a fuzzy one, because fuzzy yarn hides the fan shape of the wings. Pick wing colors that make you happy, because a butterfly is a little piece of art, and the color story is half the fun.
Abbreviations (US Terms)
- ch = chain
- sl st = slip stitch
- sc = single crochet
- dc = double crochet
- st(s) = stitch(es)
- rnd(s) = round(s)
- rep = repeat
- sk = skip
- sp = space
- MR = magic ring
Gauge and Sizing Notes
Gauge for a butterfly applique is relaxed, because it does not need to fit anything. What matters is that the fabric is firm enough for the wings to hold their shape. Work one upper wing and lay it flat. It should be about 1.5 inches wide. If it is floppy, go down a hook size. If it is stiff and puckered, go up a hook size. The wings should lie flat on the table with a gentle fan shape, not curling up at the edges.
To make a smaller butterfly, use a 3.5 mm hook and stop the upper wings after round 1, for a butterfly about 2 inches across. To make a larger butterfly, use a 5.0 mm hook and add an extra round to the upper wings, working 6 dc in each chain space instead of 5, for a butterfly about 4 inches across. The stitch counts in each round are given so you can check your work as you go.
Part 1: The Upper and Lower Wings
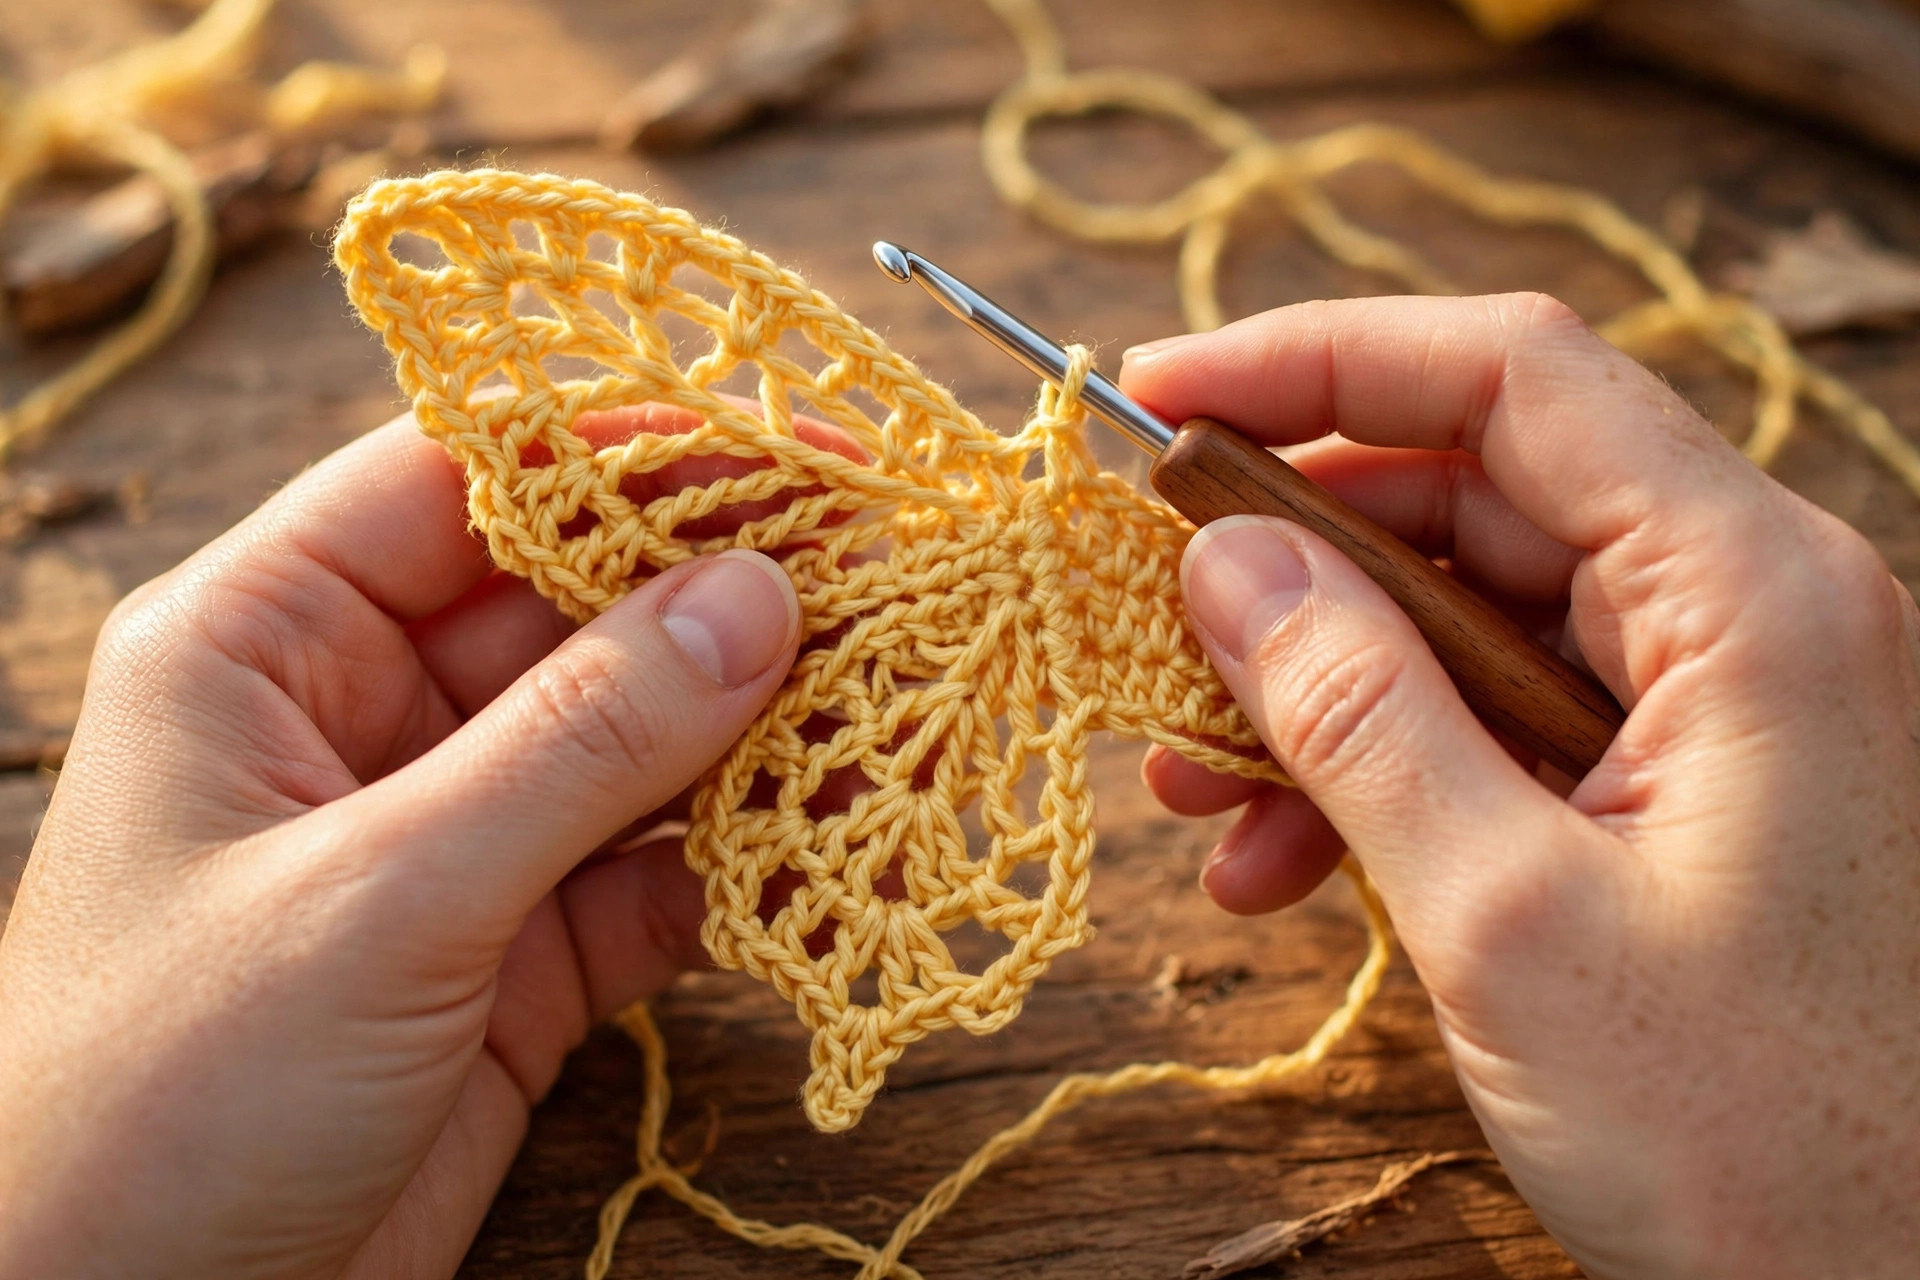
The wings are little fan motifs worked in the round, starting with a magic ring. The upper wings are bigger, with two rounds, and the lower wings are smaller, with one round and a neat single crochet edge. Work two of each, in the same colors or in different colors, and keep the tails long for sewing the wings to the body later.
Upper Wings (Make 2)
With wing color A, MR.
- Rnd 1: ch 3 (counts as dc), 2 dc in ring, (ch 2, 3 dc in ring) twice, ch 2. Join with a sl st to the top of the ch 3. (9 dc, 3 ch-2 sps)
- Rnd 2: Change to wing color B. Sl st into the next ch-2 sp, ch 3, 4 dc in same sp, (ch 1, 5 dc in next ch-2 sp) twice, ch 1. Join with a sl st to the top of the ch 3. Fasten off, leaving a tail about 8 inches long for sewing. (14 dc, 2 ch-1 sps)
Each upper wing should look like a little fan with three scallops along its outer edge. Lay the two wings side by side and check that they match. If one is bigger than the other, count your stitches, because a missed double crochet is the usual cause.
Lower Wings (Make 2)
With wing color A, MR.
- Rnd 1: ch 3 (counts as dc), 2 dc in ring, (ch 2, 3 dc in ring) twice, ch 2. Join with a sl st to the top of the ch 3. (9 dc, 3 ch-2 sps)
- Rnd 2: Change to wing color B. Ch 1, sc in each dc and ch-2 sp around. Join with a sl st to the first sc. Fasten off, leaving a tail about 8 inches long for sewing. (15 sc)
The lower wings are smaller and rounder than the upper wings, which is exactly how a real butterfly looks. The single crochet edge gives them a tidy finish and a little extra firmness, so they hold their shape when they are sewn to the body.
Part 2: The Body, Antennae, and Assembly
The body is a slim little tube worked in short flat rows, then folded and stitched closed. The antennae are simple chains with a tiny knot at the end, and they curl naturally, which gives the butterfly its friendly look. Assembly is the fun part: the four wings come together around the body, and the butterfly suddenly appears in your hands.
Body
With the body color, ch 6.
- Row 1: sc in the 2nd ch from the hook and in each ch across. Turn. (5 sc)
- Rows 2 to 6: ch 1, sc in each st across. Turn. (5 sc)
- Fasten off, leaving a tail about 8 inches long.
Fold the rectangle in half lengthwise, so the long edges meet, and stitch the edges together with the tail to make a slim tube. If you like a slightly plump body, tuck a tiny pinch of toy stuffing inside before you close the tube. Stitch both short ends closed, and weave in the tail.
Antennae (Make 2)
With the body color, ch 12. Fasten off, leaving a tail about 4 inches long. Tie a small knot in the end of the chain to make a little bobble, and trim the tail close to the knot. The antennae will curl gently on their own, which looks just like a real butterfly.
Assembly
- Lay the two upper wings side by side, with their straight inner edges touching and their scalloped edges facing outward.
- Lay the two lower wings below the upper wings, with their scalloped edges facing outward and downward.
- Place the body on top of the wings, down the center, so it covers the inner edges of all four wings.
- Using the long tails left on the wings, sew each wing to the body with a few neat stitches, working from the back so the stitches do not show on the front.
- Sew the two antennae to the top of the body, one on each side, with a few small stitches. Trim any loose tails and weave in the ends.
Your butterfly is finished. Hold it up and admire the little fan wings and the curly antennae. It should sit flat, with the wings spread evenly on both sides. If one wing droops, add one more stitch where it joins the body, because a butterfly with lopsided wings still flies, but a neat one looks better on a blanket.
Variations: Colors, Sizes, and Uses
- Monarch butterfly: work the wings in orange with a black body and black edging, for a classic monarch look. Our crochet doily patterns free collection has more nature inspired lace ideas.
- Pastel spring butterfly: work the wings in soft pink, lavender, and mint for a gentle spring butterfly that suits baby blankets and nursery decor.
- Butterfly on a flower: sew the butterfly onto a crocheted flower for a sweet garden scene. Our crochet flower pattern free has a flower that is just the right size.
- Butterfly and rose gift set: pair a butterfly with a rose for a romantic gift topper. Our crochet rose pattern makes a lovely companion piece.
- Butterfly bookmark: sew a small butterfly to the top of a slim bookmark for a gift that readers adore. Our crochet bookmark pattern is the perfect base for this idea.
- Butterfly mobile: hang five or six butterflies from an embroidery hoop with different lengths of yarn for a cheerful nursery mobile. Use a mix of bright colors so the mobile catches the light.
Troubleshooting Butterflies That Flop or Pucker
- My wings curl upward. The stitches are too tight, or the magic ring was pulled too firmly. Go up a hook size for the wings, and smooth each wing flat with your fingers after every round. A quick press with a warm iron will also help.
- My wings flop and will not hold their shape. The fabric is too loose. Go down a hook size, and use cotton yarn, which holds its shape better than acrylic. A light spray of fabric stiffener on the finished wings will hold them flat for display.
- My butterfly is lopsided. The wings were not sewn on evenly. Lay the wings out flat before you sew, and pin them in place with a stitch marker on each side. Check that the upper wings match and the lower wings match before you pick up the needle.
- My body is too fat. You added too much stuffing, or the tube was stitched too loosely. Use only a tiny pinch of stuffing, or leave the stuffing out entirely for a flat applique body.
- My antennae will not curl. The chain was worked too tightly. Work the antennae chains loosely, and wrap them gently around a pencil for a few minutes to set the curl.
- My wings keep coming loose. The sewing tails were too short, or the stitches were too few. Leave tails at least 8 inches long, and sew each wing to the body with at least six small stitches.
Care Instructions
A butterfly applique sewn onto a blanket or garment can be washed with the item it is attached to. Hand wash gently in cool water with a tiny amount of mild soap, squeeze gently without wringing, and lay flat to dry. Do not put it in the dryer, because the heat can distort the wings. If a wing gets bent out of shape, smooth it flat with your fingers while it is still damp, and let it dry in shape. Keep butterflies out of direct sunlight so the colors stay bright.
Frequently Asked Questions
Is this crochet butterfly pattern good for beginners?
Yes, it is a great first applique project. You need to know how to chain, single crochet, and double crochet, and the pattern explains the magic ring and the assembly step by step. Every round ends with a stitch count, so you can check your work as you go.
How long does it take to crochet a butterfly?
About an hour from start to finish, including assembly. The wings take about 20 minutes, the body and antennae about 15 minutes, and the sewing and finishing about 25 minutes. Once you have made one, the next one will be even faster.
What yarn is best for a crochet butterfly?
DK weight cotton is the best choice, because it holds its shape, shows crisp stitch definition, and keeps the wings flat. Acrylic works too, but choose a smooth yarn rather than a fuzzy one, because fuzzy yarn hides the fan shape of the wings.
How big is the finished butterfly?
About 3 inches across the wings and 2 inches tall, in DK weight yarn with a 4.0 mm hook. Use a smaller hook for a 2 inch butterfly, or a larger hook with an extra wing round for a 4 inch butterfly.
Can I sew the butterfly onto clothes?
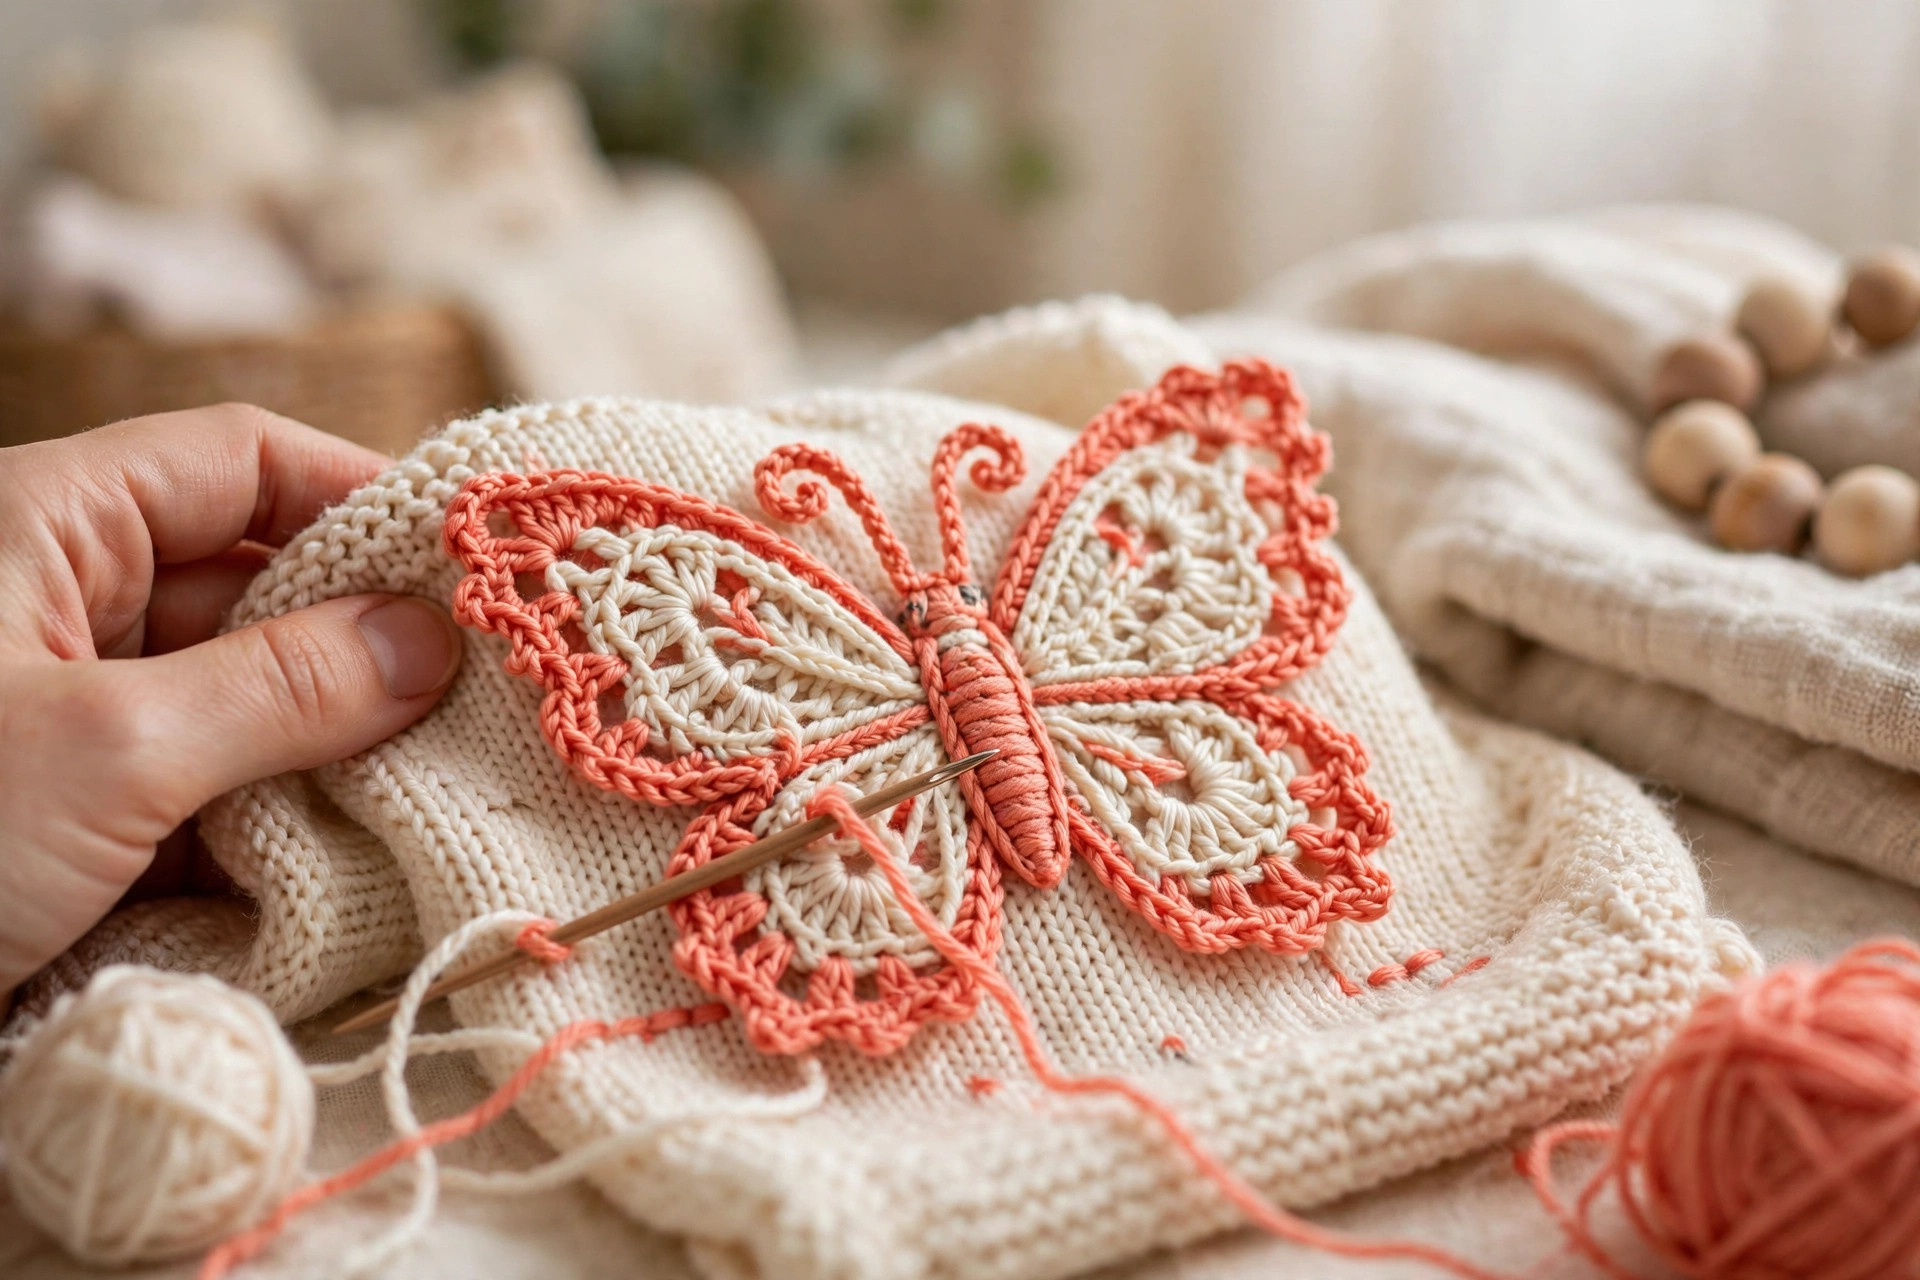
Yes, butterflies are lovely on cardigans, hats, and denim jackets. Sew them on firmly with matching thread, going through the body and the inner edge of each wing. For children's clothes, sew them on extra firmly, and skip beads or buttons, so there is nothing small to come loose.
Can I sell butterflies made from this pattern?
Yes, you may sell finished butterflies made from this free pattern, with credit to Little Loop Finds. Please do not sell or republish the pattern text itself.
Do I have to stuff the body?
No, stuffing is optional. A flat body is best for an applique that will be sewn onto a blanket or garment, because it sits neatly against the fabric. A lightly stuffed body looks lovely on a butterfly that will be displayed on its own, like a mobile or a gift topper.
Happy stitching, and may your days be full of color, sunshine, and one very cheerful butterfly.