Crochet Cake Pattern (Amigurumi Birthday Cake)
Crochet a cute amigurumi birthday cake with three layers, frosting drips, and little candles in about six hours, then gift it for a birthday or keep it on your shelf.

Patterns · Crochet
- Finished size
- 8 in tall
- Making time
- 6 hours
- Hook
- US G-6 (4.0 mm)
- Set
- Cake, candles
- Skill
- Easy
In this post
- Key Takeaways
- Table of Contents
- Why You Will Love This Cake
- Finished Size, Skill Level, and Time
- Materials You Need
- Abbreviations (US Terms)
- Gauge and Sizing Notes
- Part 1: The Three Cake Layers
- Part 2: The Frosting, Sprinkles, and Plate
- Part 3: The Candles and Assembly
- Variations: Colors, Sizes, and Uses
- Troubleshooting a Cake That Does Not Look Right
- Care Instructions
- Frequently Asked Questions
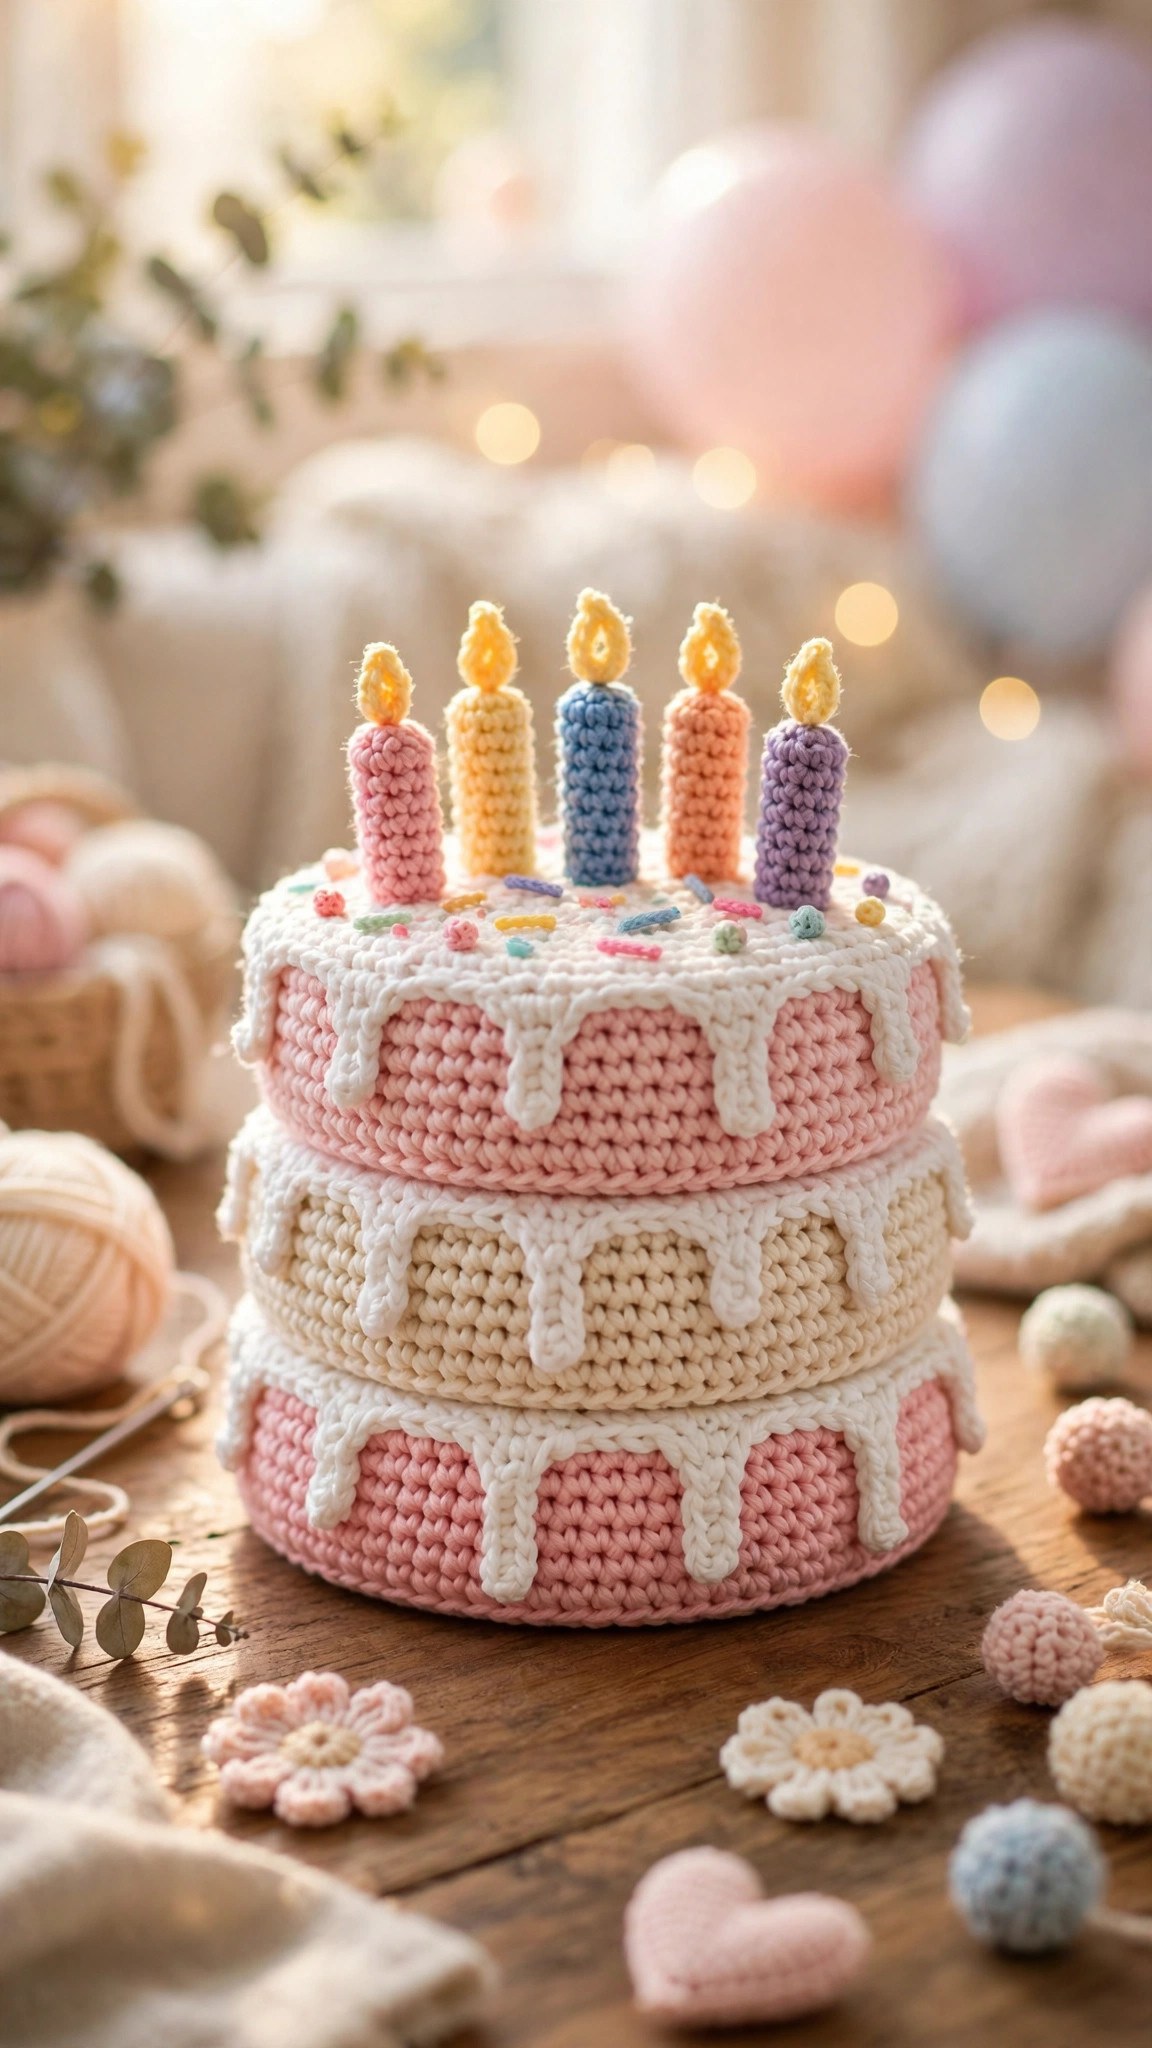
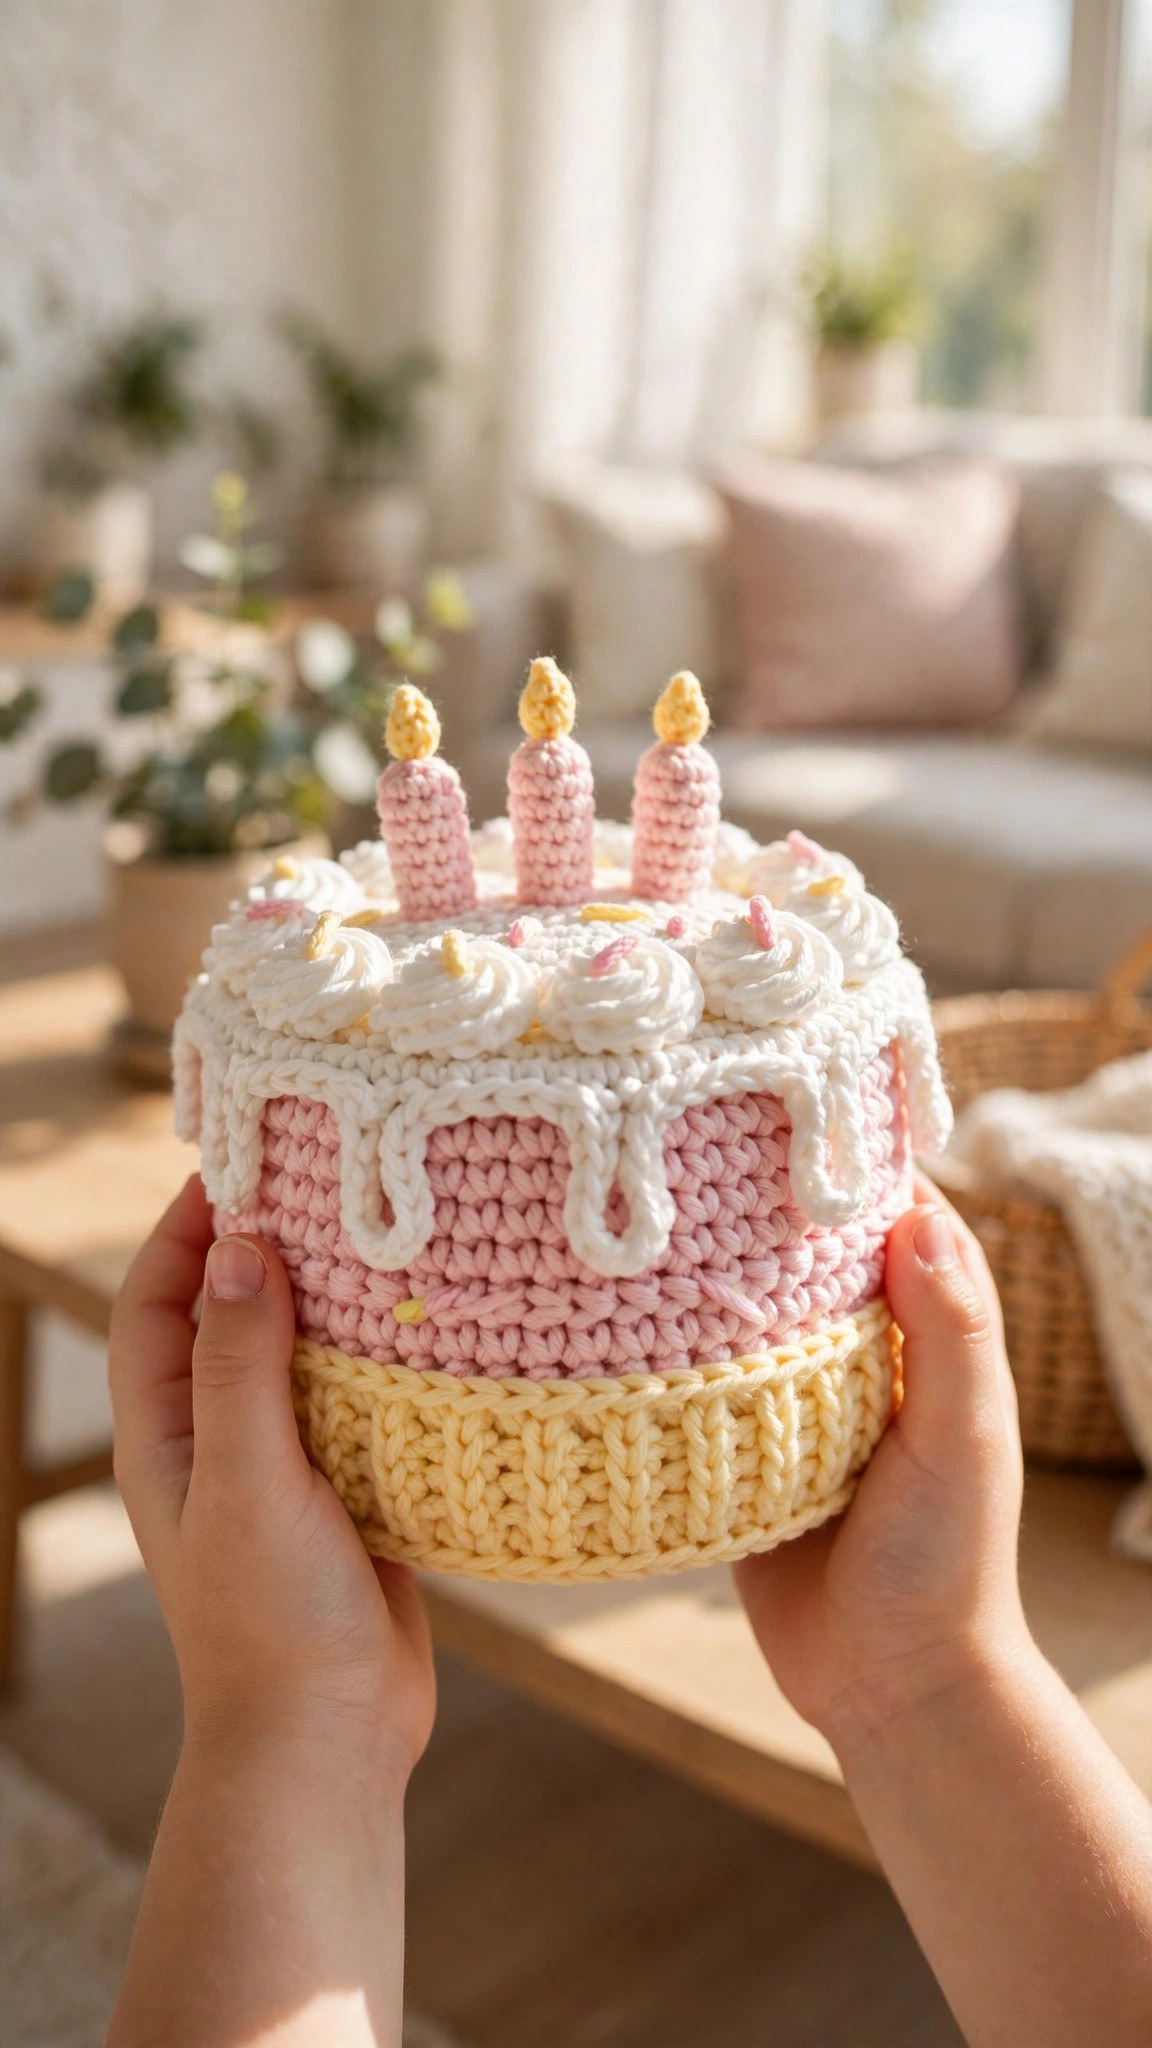
A crochet cake is the sweetest birthday gift you will ever make, and it never melts or goes stale. This free crochet cake pattern makes a cute amigurumi birthday cake with three crochet layers, white frosting drips, colorful sprinkles, and three candles you can take in and out. It stands about 8 inches tall, a play food keepsake for birthdays and pretend parties.
This is an original Little Loop Finds design, written in US terms and free. The cake is worked in the round with simple single crochet, then stacked and sewn together, so it is a great first amigurumi food project.
A quick note on scope: this post is about one specific crochet cake, an amigurumi birthday cake with layered sponge, frosting drips, sprinkles, and little candles. If you want a smaller party treat to go with it, our crochet strawberry pattern makes a sweet cake topper or a matching play food friend.
Key Takeaways
- Free original pattern: a Little Loop Finds original design, written in US terms, and completely free.
- A play food birthday cake: an amigurumi birthday cake with three crochet layers, frosting drips, sprinkles, and little candles.
- An 8 inch keepsake: about 8 inches tall when finished, perfect for pretend birthdays and shelf display.
- Simple stitches: worked in the round with single crochet, increases, and decreases only.
- A 6 hour project: one cake takes about 6 hours.
Table of Contents
- Why You Will Love This Cake
- Finished Size, Skill Level, and Time
- Materials You Need
- Abbreviations (US Terms)
- Gauge and Sizing Notes
- Part 1: The Three Cake Layers
- Part 2: The Frosting, Sprinkles, and Plate
- Part 3: The Candles and Assembly
- Variations: Colors, Sizes, and Uses
- Troubleshooting a Cake That Does Not Look Right
- Care Instructions
- Frequently Asked Questions
Why You Will Love This Cake
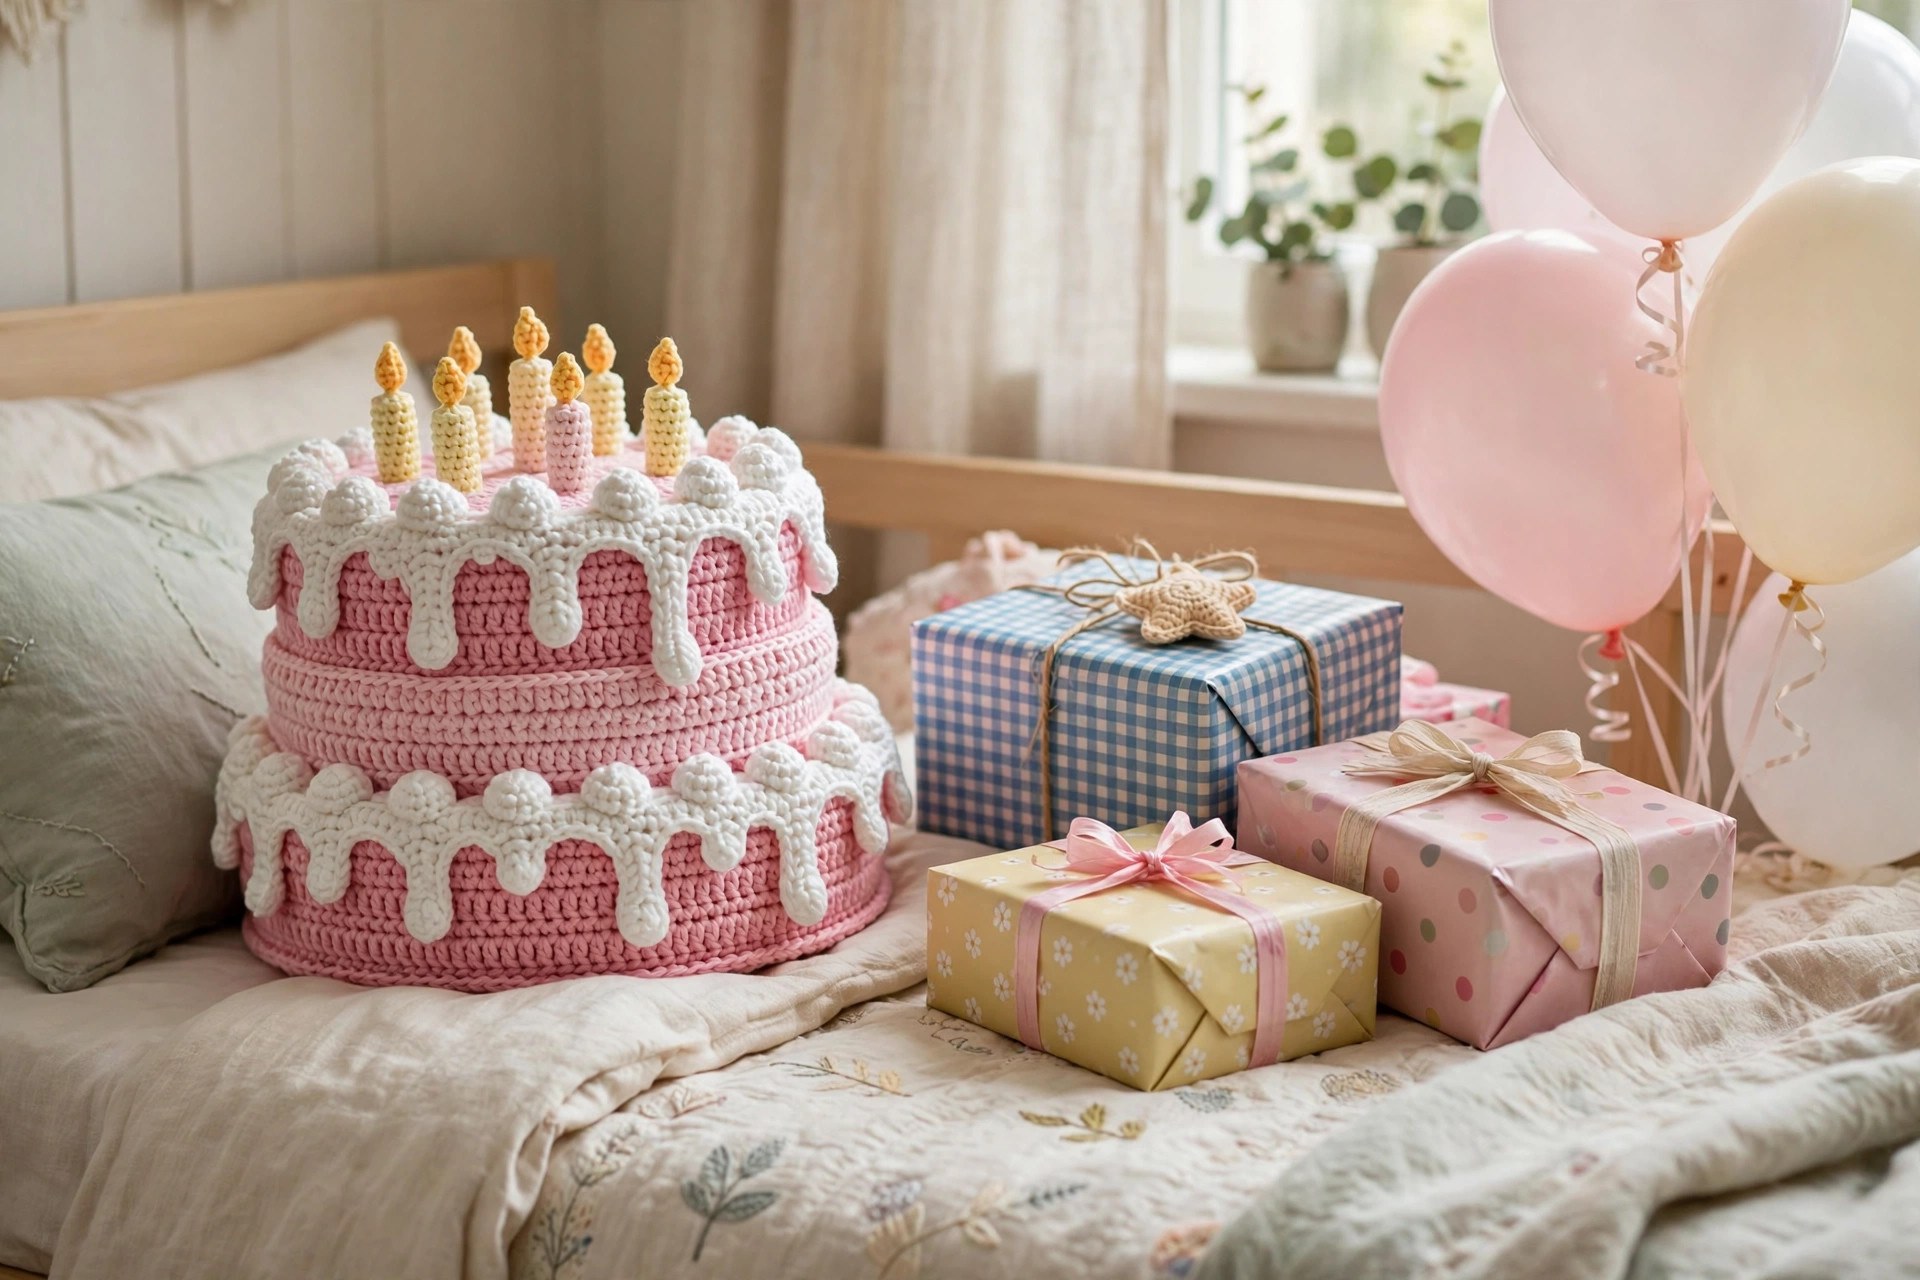
A crochet cake turns a birthday into a keepsake. The soft layers, the drippy frosting, and the tiny candles make it charming instead of messy. Give it to a child who loves pretend play, or keep it on a shelf as a cheerful decoration.
The pieces are simple rounds of single crochet, each quick to finish. The bottom layer is the biggest piece, the top layer is quick, and the frosting and candles bring it to life in a very rewarding way. The candles are the best part, because a child can push them into the top of the cake, make a wish, and pull them out again, year after year.
Finished Size, Skill Level, and Time
- Finished size: about 8 inches tall and 7 inches wide at the base, sitting on its plate. The bottom layer is about 7 inches wide, the middle layer is about 5 inches wide, and the top layer is about 3.5 inches wide. Each candle is about 3 inches tall.
- Skill level: Easy. You need a magic ring, single crochet, increases, decreases, and basic seaming. No safety eyes are needed.
- Time: about 6 hours per cake: 2 hours for the three layers, 2 hours for the frosting and plate, 1 hour for the candles and sprinkles, and 1 hour for assembly and finishing.
Materials You Need
| Item | What to get |
|---|---|
| Yarn, cake color 1 | Worsted weight yarn in soft pink, 150 yards |
| Yarn, cake color 2 | Worsted weight yarn in cream, 120 yards |
| Yarn, cake color 3 | Worsted weight yarn in pale yellow, 100 yards |
| Yarn, frosting color | Worsted weight yarn in white, 100 yards |
| Yarn, candle colors | Worsted weight yarn in blue, mint, and coral, 20 yards each |
| Yarn, sprinkle colors | Small amounts of worsted weight yarn in red, blue, green, and yellow |
| Hook | US G-6 (4.0 mm), or the size that gives you the gauge below |
| Notions | Polyester stuffing, tapestry needle, scissors, tape measure, stitch markers, pins, cardboard circle 6 inches wide for the plate base |
Soft worsted weight yarn is the best choice for an amigurumi cake because it is sturdy, easy to see while you stitch, and makes a plush that holds its shape. Pastel colors look the most like a real birthday cake. Avoid very fuzzy yarns, because they hide the stitches and make the frosting edge hard to see.
A piece of cardboard inside the plate keeps the cake standing straight. Cut the cardboard a little smaller than the plate so no edge pokes out.
Abbreviations (US Terms)
- MR = magic ring
- ch = chain
- sl st = slip stitch
- sc = single crochet
- hdc = half double crochet
- dc = double crochet
- inc = increase (2 sc in the same stitch)
- dec = decrease (sc 2 together)
- st(s) = stitch(es)
- rep = repeat
- RS = right side
- FO = fasten off
Gauge and Sizing Notes
Gauge matters on amigurumi because the stitches must be tight enough that the stuffing does not show through. Work a swatch of 12 sc and 12 rows in the cake color. It should be about 3 inches wide and 3 inches tall. If it is wider, go down a hook size. If it is narrower, go up a hook size.
You can change the size easily. Use a thinner yarn and a smaller hook for a mini cake about 5 inches tall, or a chunky yarn and a larger hook for a big cake about 11 inches tall. Keep the same stitch counts and stuff the pieces firmly as you go. Our crochet apple pattern uses the same tight stitch gauge if you want to practice the tension on a simpler play food piece first.
Part 1: The Three Cake Layers
The cake has three layers, each a simple cylinder worked in the round from the top down. Make all three layers, stuff them firmly, and set them aside before you make the frosting. Work each layer in its own color so the finished cake shows three pretty stripes of sponge.
The Bottom Layer
With cake color 1, work in continuous rounds. Place a stitch marker at the start of each round and move it up as you go.
- Round 1: MR, 6 sc in the ring. (6)
- Rounds 2 to 7: inc 6 sts each round, working (sc, inc) up to (5 sc, inc), ending with 42 sts.
- Rounds 8 to 15: sc in each st around. (42)
- Round 16: (5 sc, dec) rep 6 times. (36)
- Round 17: (4 sc, dec) rep 6 times. (30)
- Round 18: (3 sc, dec) rep 6 times. (24)
Stuff the bottom layer firmly, shaping it into a flat, even cylinder with a smooth top and bottom.
- Round 19: (2 sc, dec) rep 6 times. (18)
- Round 20: (sc, dec) rep 6 times. (12)
- Round 21: dec 6 times. (6)
Fasten off and close the hole. The bottom layer should be about 7 inches wide and 2.5 inches tall.
The Middle Layer
With cake color 2, work in continuous rounds.
- Round 1: MR, 6 sc in the ring. (6)
- Rounds 2 to 6: inc 6 sts each round, working (sc, inc) up to (4 sc, inc), ending with 36 sts.
- Rounds 7 to 13: sc in each st around. (36)
- Round 14: (4 sc, dec) rep 6 times. (30)
- Round 15: (3 sc, dec) rep 6 times. (24)
Stuff the middle layer firmly, shaping it the same way as the bottom layer.
- Round 16: (2 sc, dec) rep 6 times. (18)
- Round 17: (sc, dec) rep 6 times. (12)
- Round 18: dec 6 times. (6)
Fasten off and close the hole. The middle layer should be about 5 inches wide and 2.5 inches tall. Our free crochet gingerbread man pattern uses the same round shaping if you want to practice the increases on a simpler party treat first.
The Top Layer
With cake color 3, work in continuous rounds.
- Round 1: MR, 6 sc in the ring. (6)
- Rounds 2 to 5: inc 6 sts each round, working (sc, inc) up to (3 sc, inc), ending with 30 sts.
- Rounds 6 to 11: sc in each st around. (30)
- Round 12: (3 sc, dec) rep 6 times. (24)
Stuff the top layer firmly, keeping the top flat so the candles will stand straight.
- Round 13: (2 sc, dec) rep 6 times. (18)
- Round 14: (sc, dec) rep 6 times. (12)
- Round 15: dec 6 times. (6)
Fasten off and close the hole. The top layer should be about 3.5 inches wide and 2 inches tall.
Part 2: The Frosting, Sprinkles, and Plate
Each layer gets a frosting cap, a round with a wavy edge that drapes over the top like icing running down the sides. The sprinkles are tiny embroidered dashes, and the plate is a flat round that holds the whole cake.
The Frosting Caps (make 3)
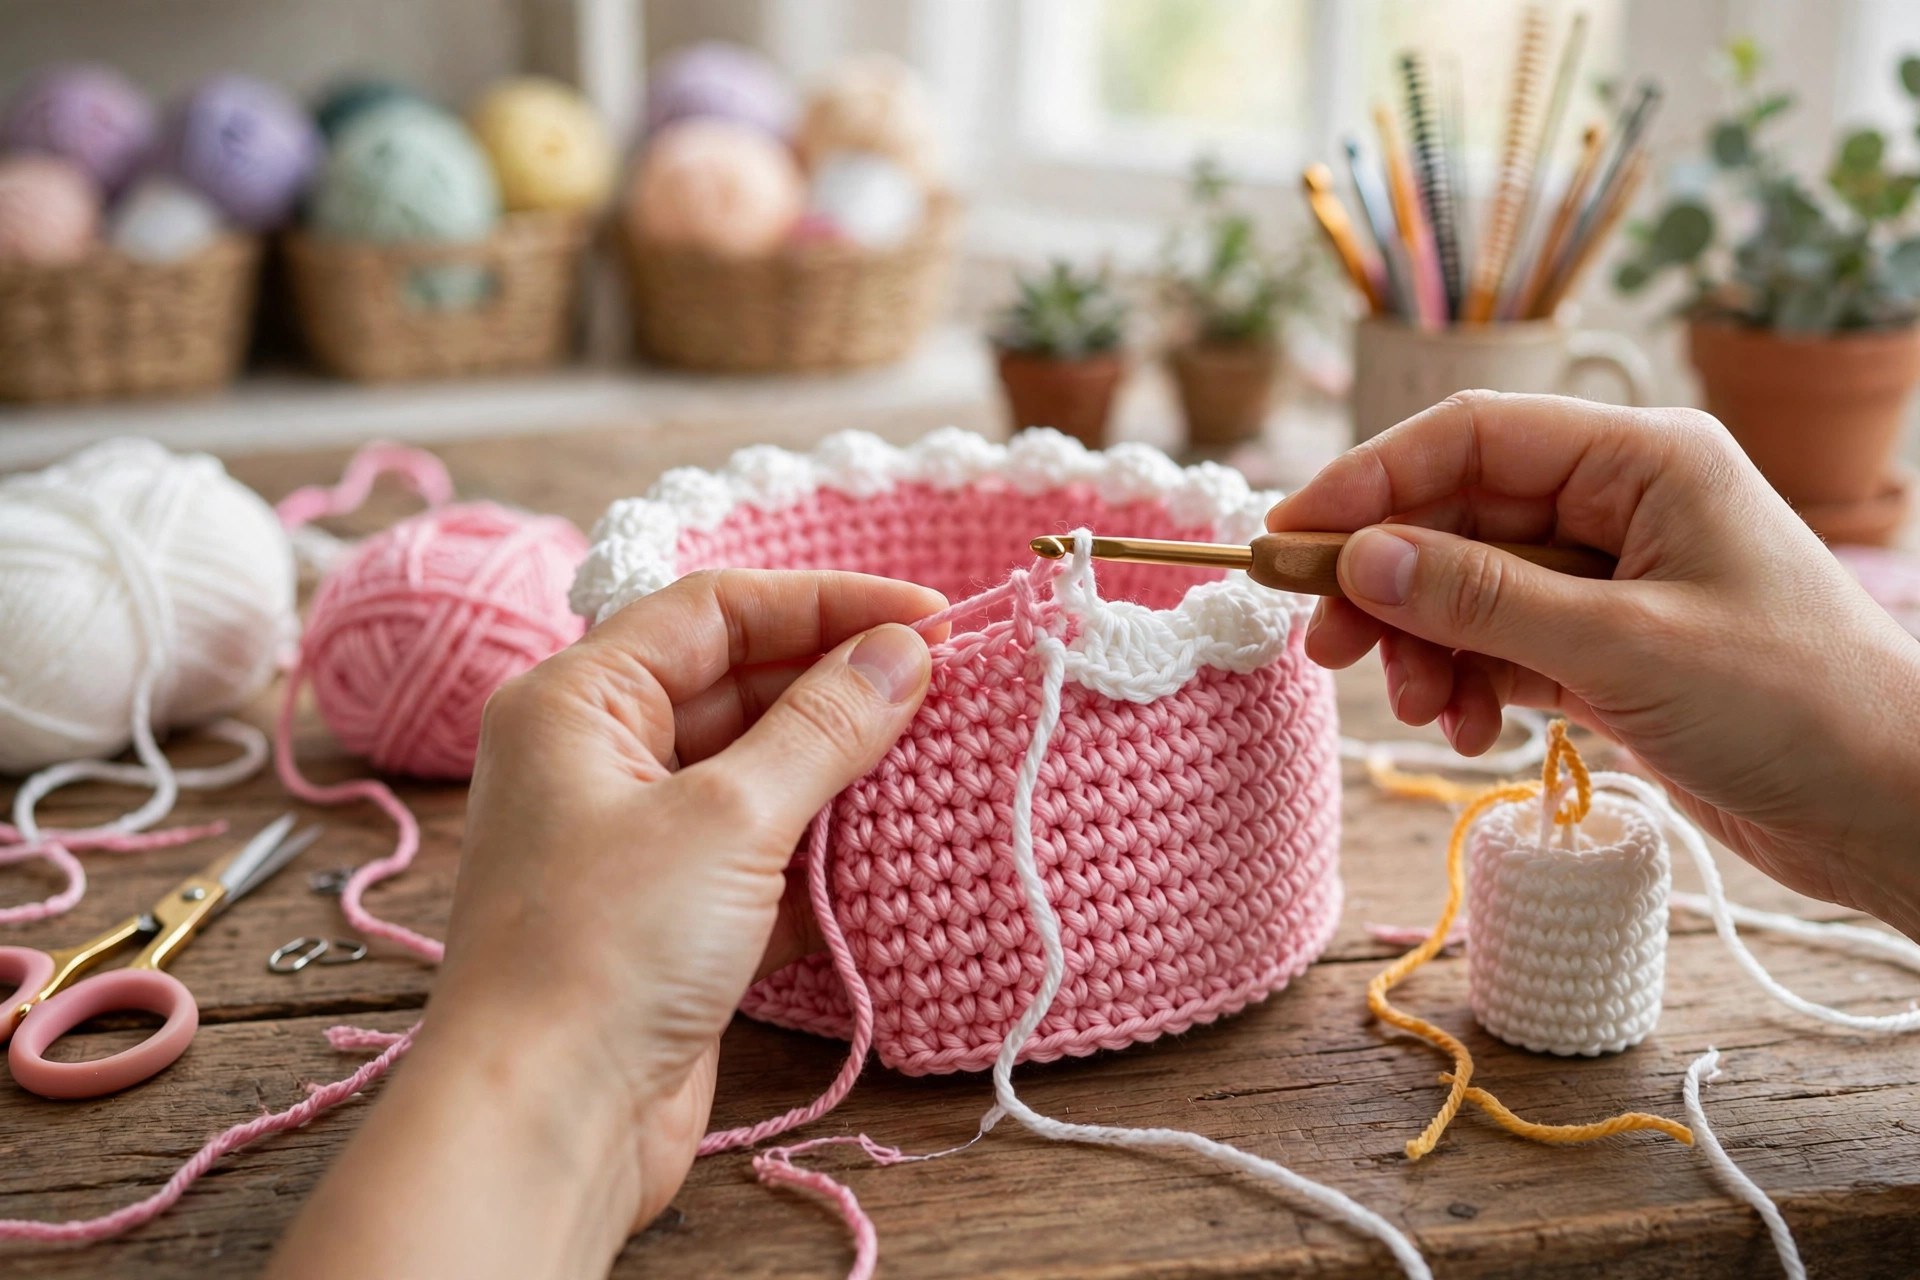
With the frosting color, work one cap for each layer. The caps are the same shape, only the size changes. For the bottom layer cap, work in continuous rounds to 42 sts, then work one round of (sc, ch 2, skip 1 st) around the edge to make a wavy, drippy border. Work the edge loosely so the drips hang down over the side of the layer. For the middle layer cap, work in continuous rounds to 36 sts, then work the same wavy edge round. For the top layer cap, work in continuous rounds to 30 sts, then work the same wavy edge round. To make the drips look longer in places, work a few (sc, ch 3, sl st) drips instead of the regular pattern, spacing them unevenly around the edge. Uneven drips look more like real frosting than perfectly even ones. Fasten off, leaving a long tail for sewing.
The Sprinkles
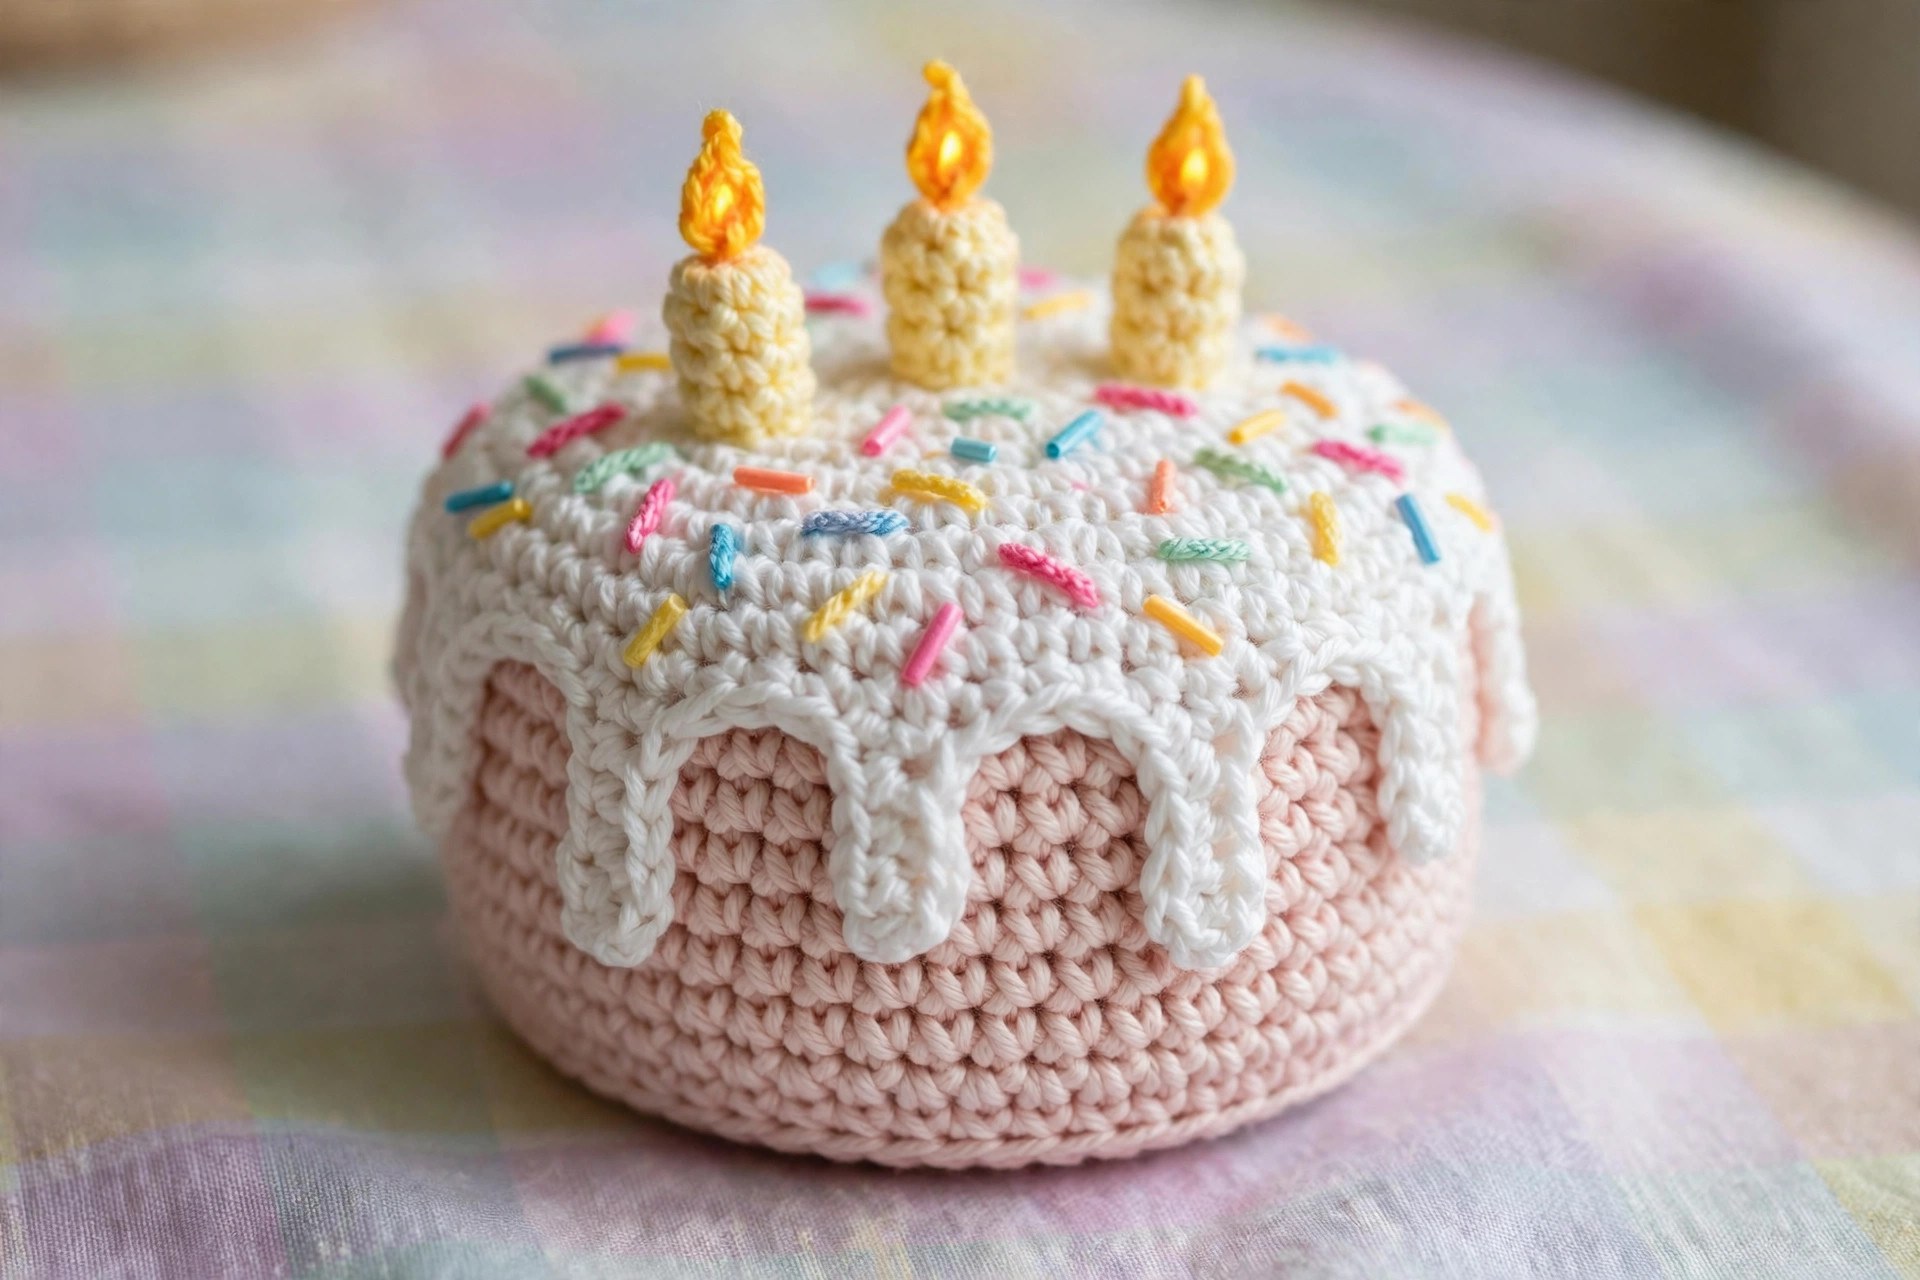
With the sprinkle colors, embroider small straight stitches on the sides of each layer and on the top frosting cap. Each sprinkle is a single straight stitch about half an inch long, worked with a tapestry needle and a short length of yarn. Work about 12 sprinkles on each layer, mixing the colors at random. Do not pull the embroidery too tight, or the stitches will sink into the cake.
The Plate
With the frosting color or a color of your choice, work a flat round for the plate.
- Round 1: MR, 6 sc in the ring. (6)
- Rounds 2 to 8: inc 6 sts each round, working (sc, inc) up to (6 sc, inc), ending with 48 sts.
- Round 9: sc in each st around, working in the back loop only. (48)
- Round 10: (6 sc, dec) rep 6 times. (42)
- Round 11: sc in each st around. (42)
Fasten off, leaving a long tail for sewing. Slide the cardboard circle inside the plate before you sew the bottom layer to it, so the plate stays flat and the cake stands straight. The plate should be about 8 inches wide.
Part 3: The Candles and Assembly
This is the part where the pieces become a birthday cake. Stack the layers, sew on the frosting caps, and add the candles.
The Candles (make 3)
With a candle color, work in continuous rounds. Make one candle in each of the three colors.
- Round 1: MR, 6 sc in the ring. (6)
- Round 2: (sc, inc) rep 3 times. (9)
- Rounds 3 to 9: sc in each st around. (9)
Stuff the candle lightly so it stands straight but stays soft.
- Round 10: (sc, dec) rep 3 times. (6)
- Round 11: dec 3 times. (3)
Fasten off and close the hole. Each candle should be about 3 inches tall.
The Flames (make 3)
With yellow yarn, work a tiny flame for the top of each candle. Ch 4, work 1 sc in the 2nd ch from the hook, 1 hdc in the next ch, and 1 dc in the last ch, then sl st back into the first ch to make a small teardrop. Fasten off and sew one flame to the top of each candle.
If the cake is for a very young child, leave the flames off or sew the candles firmly into the top layer so they cannot be pulled out and chewed. For an older child, leave the candles loose so they can be pushed into the cake and pulled out again for every pretend birthday.
Stacking and Sewing the Cake
Sew the bottom layer to the plate with the long tail, working small whipstitches all the way around the base. Then sew the middle layer to the top of the bottom layer, centered, with the seam hidden underneath. Then sew the top layer to the middle layer the same way. Add a little more stuffing through the gap before you close the last few stitches of each join, so the layers sit flat and the cake does not lean. Sew each frosting cap to the top of its layer, working small whipstitches just inside the wavy edge so the drips hang free over the sides, checking from the side that each cap is centered before you sew it down.
Push the three candles into the top of the cake in a small triangle about 1 inch apart. If you want them to stay put, sew the base of each candle to the top frosting cap with a few small stitches. Our crochet candy cane pattern uses the same small tube shaping if you want to practice the candles on a simpler striped piece first.
Final Finishing
Check the whole cake from every side. All three layers should be centered, the frosting drips should hang evenly, and the candles should stand straight. Add a little more stuffing to any layer that feels soft, and weave in all the loose ends.
Variations: Colors, Sizes, and Uses
- Classic pink birthday cake: work the layers in pink, cream, and pale yellow with white frosting, just as written.
- Chocolate cake: make the layers in brown, tan, and cream with chocolate brown frosting.
- Rainbow cake: work each layer in a different bright color, with white frosting and rainbow sprinkles.
- Mini cake: use a thinner yarn and a smaller hook for a mini cake about 5 inches tall.
- Big party cake: use a chunky yarn and a larger hook for a big cake about 11 inches tall.
Troubleshooting a Cake That Does Not Look Right
- My stuffing shows through the stitches. The gauge is too loose. Go down a hook size, or work the stitches a little tighter, so the fabric hides the stuffing.
- My cake leans to one side. The layers are not centered, or one layer is under-stuffed. Add stuffing to the soft side, and re-sew the layers with the centers lined up.
- My frosting drips look stiff and even. The edge round was worked too tightly. Work the wavy edge loosely, and mix in a few longer drips so the edge looks like real icing.
- My candles flop over. The candles are under-stuffed, or the top layer is too soft. Add stuffing to the candles and to the top layer, and sew the candle bases down.
- My sprinkles sink into the cake. The embroidery was pulled too tight. Work each sprinkle loosely on the surface.
- My plate curls up at the edges. The plate was worked too tightly, or the cardboard is too big. Work the plate rounds loosely, and trim the cardboard smaller than the plate.
Care Instructions
Hand wash a crochet cake in cool water with a mild detergent, and press the water out gently without wringing. Reshape the layers and the frosting caps, and lay the cake flat to dry away from direct heat. Do not put an amigurumi cake in the washing machine or the dryer. Store the cake on a shelf or in a toy basket, with the candles standing upright.
Frequently Asked Questions
Is this crochet cake pattern good for beginners?
Yes, it is best for an easy crocheter. You need a magic ring, single crochet, increases, decreases, and basic seaming. One cake takes about 6 hours.
What yarn is best for an amigurumi cake?
Worsted weight yarn is the best choice, because it is sturdy, easy to see while you stitch, and makes a plush that holds its shape. Pastel colors look the most like a real birthday cake. Avoid very fuzzy yarns, because they hide the stitches and make the frosting edge hard to see.
Are the candles safe for a child?
The candles are safe for children over three when they are sewn in firmly. For a very young child, sew the candles into the top layer so they cannot be pulled out, or leave the flames off. Never let a small child play with loose small pieces unsupervised.
How do I make the cake bigger or smaller?
Use the same stitch counts and only change the yarn and hook. A thinner yarn and a smaller hook makes a mini cake about 5 inches tall, and a chunky yarn and a larger hook makes a big cake about 11 inches tall.
Can I make just one layer instead of three?
Yes, the top layer on its own with one frosting cap and a candle makes a lovely cupcake. Work the top layer and one cap, add a candle, and skip the plate. A single layer cake with a matching free crochet heart pattern makes a sweet gift for a birthday or an anniversary.
Can I sell cakes made from this pattern?
Yes, you may sell finished cakes made from this free pattern, with credit to Little Loop Finds. Do not sell or republish the pattern text itself.
Happy stitching, and may your crochet cake bring smiles to every birthday you celebrate.