Sugar Skull Crochet Pattern (Day of the Dead Decor)
Crochet a colorful sugar skull with an embroidered flower face for Day of the Dead decor in about three hours, then set it on your ofrenda or shelf.

Patterns · Crochet
- Finished size
- 5 in tall
- Making time
- 3 hours
- Hook
- US G-6 (4.0 mm)
- Set
- Skull, embroidery
- Skill
- Easy to Intermediate
In this post
- Key Takeaways
- Table of Contents
- Why You Will Love This Sugar Skull
- Finished Size, Skill Level, and Time
- Materials You Need
- Abbreviations (US Terms)
- Gauge and Sizing Notes
- Part 1: The Skull Dome
- Part 2: The Face, Cheeks, and Jaw
- Part 3: The Embroidered Face and Finishing
- Variations: Colors, Sizes, and Uses
- Troubleshooting a Sugar Skull That Looks Off
- Care Instructions
- Frequently Asked Questions
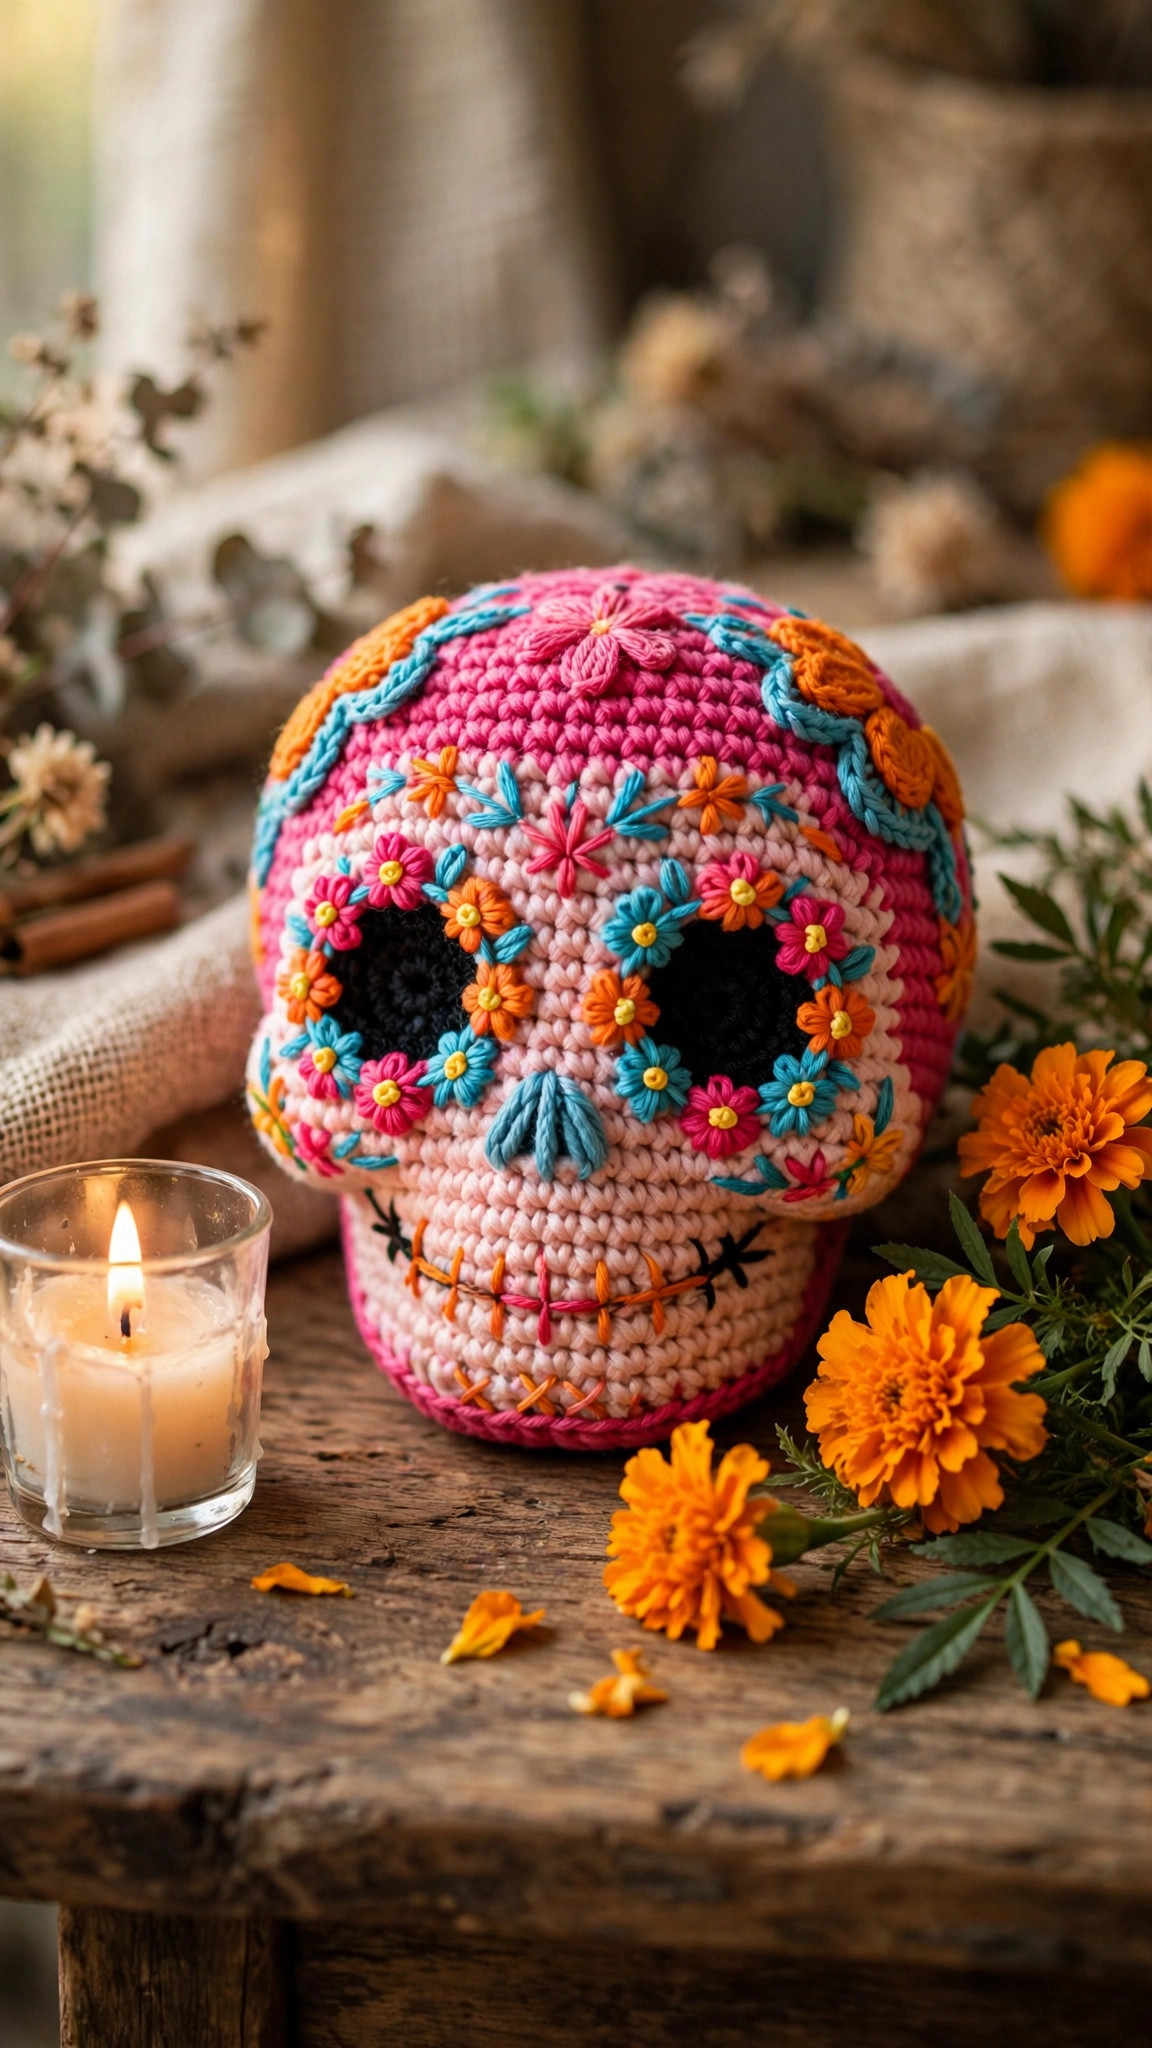
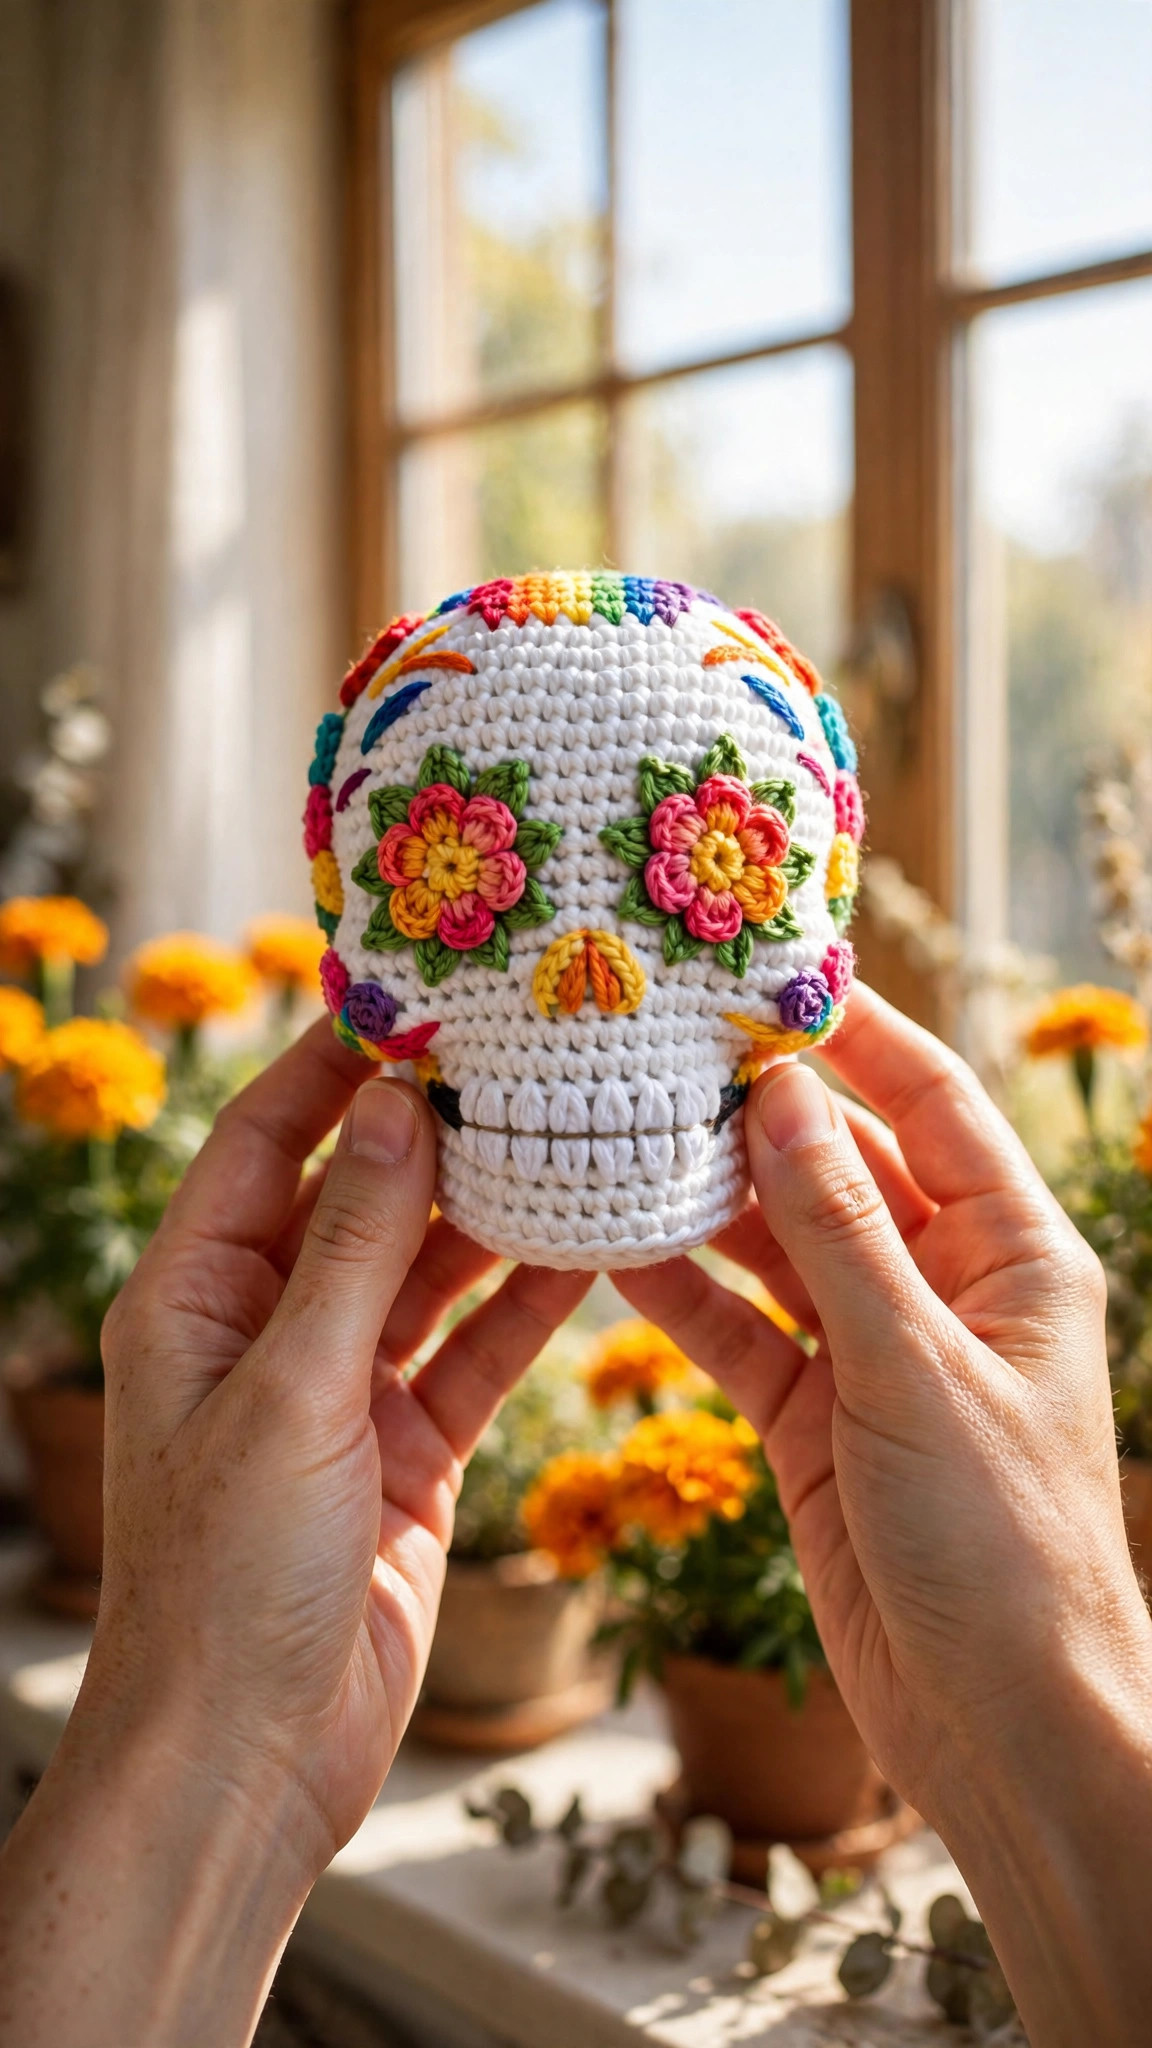
A sugar skull is the bright heart of Day of the Dead decor, and this free sugar skull crochet pattern turns that joyful tradition into a soft amigurumi skull you can display year after year. It is worked in the round with simple single crochet, then finished with colorful embroidered flowers around the eyes, a stitched nose, and a row of little teeth. It takes about 3 hours, uses less than one skein of white yarn plus small amounts of bright colors, and makes a cheerful decoration for an ofrenda, a Halloween shelf, or a party table.
This is an original Little Loop Finds design, written in US terms and completely free. The skull is a three dimensional amigurumi figure, not a flat motif, so it sits upright on a shelf and looks good from every side. The embroidery is the fun part, because a few simple stitches turn a plain white skull into a sugar skull full of color.
A quick note on scope: this post is about one specific sugar skull, a small decorative amigurumi skull with an embroidered face, made for Day of the Dead and Halloween display. That makes it different from a blanket. If you want a skull blanket instead, our crochet skull blanket pattern is the matching project, and this post is the one to make when you want a standalone skull to set on a table.
Key Takeaways
- Free original pattern: a Little Loop Finds original design, written in US terms, and completely free.
- A decorative amigurumi skull: a three dimensional sugar skull with a colorful embroidered face, made for display.
- A 5 inch skull: about 5 inches tall when finished, sized to sit on a shelf or an ofrenda.
- Simple stitches: worked in the round with single crochet, increases, and decreases only.
- A 3 hour project: one sugar skull takes about 3 hours, including the embroidery.
Table of Contents
- Why You Will Love This Sugar Skull
- Finished Size, Skill Level, and Time
- Materials You Need
- Abbreviations (US Terms)
- Gauge and Sizing Notes
- Part 1: The Skull Dome
- Part 2: The Face, Cheeks, and Jaw
- Part 3: The Embroidered Face and Finishing
- Variations: Colors, Sizes, and Uses
- Troubleshooting a Sugar Skull That Looks Off
- Care Instructions
- Frequently Asked Questions
Why You Will Love This Sugar Skull
A sugar skull is a celebration, not a fright. Real sugar skulls are made from molded sugar and decorated with bright icing for Day of the Dead, a Mexican tradition that honors loved ones who have died with color, flowers, music, and food. This crochet version keeps that joyful spirit and lasts far longer than sugar, so you can bring it out every autumn and set it beside marigolds and candles.
The skull is a satisfying amigurumi project because it starts as a simple ball and becomes a character with just a few shaping rounds. You need only single crochet to make it, and the face is forgiving, because every sugar skull looks a little different, and that is part of its charm.
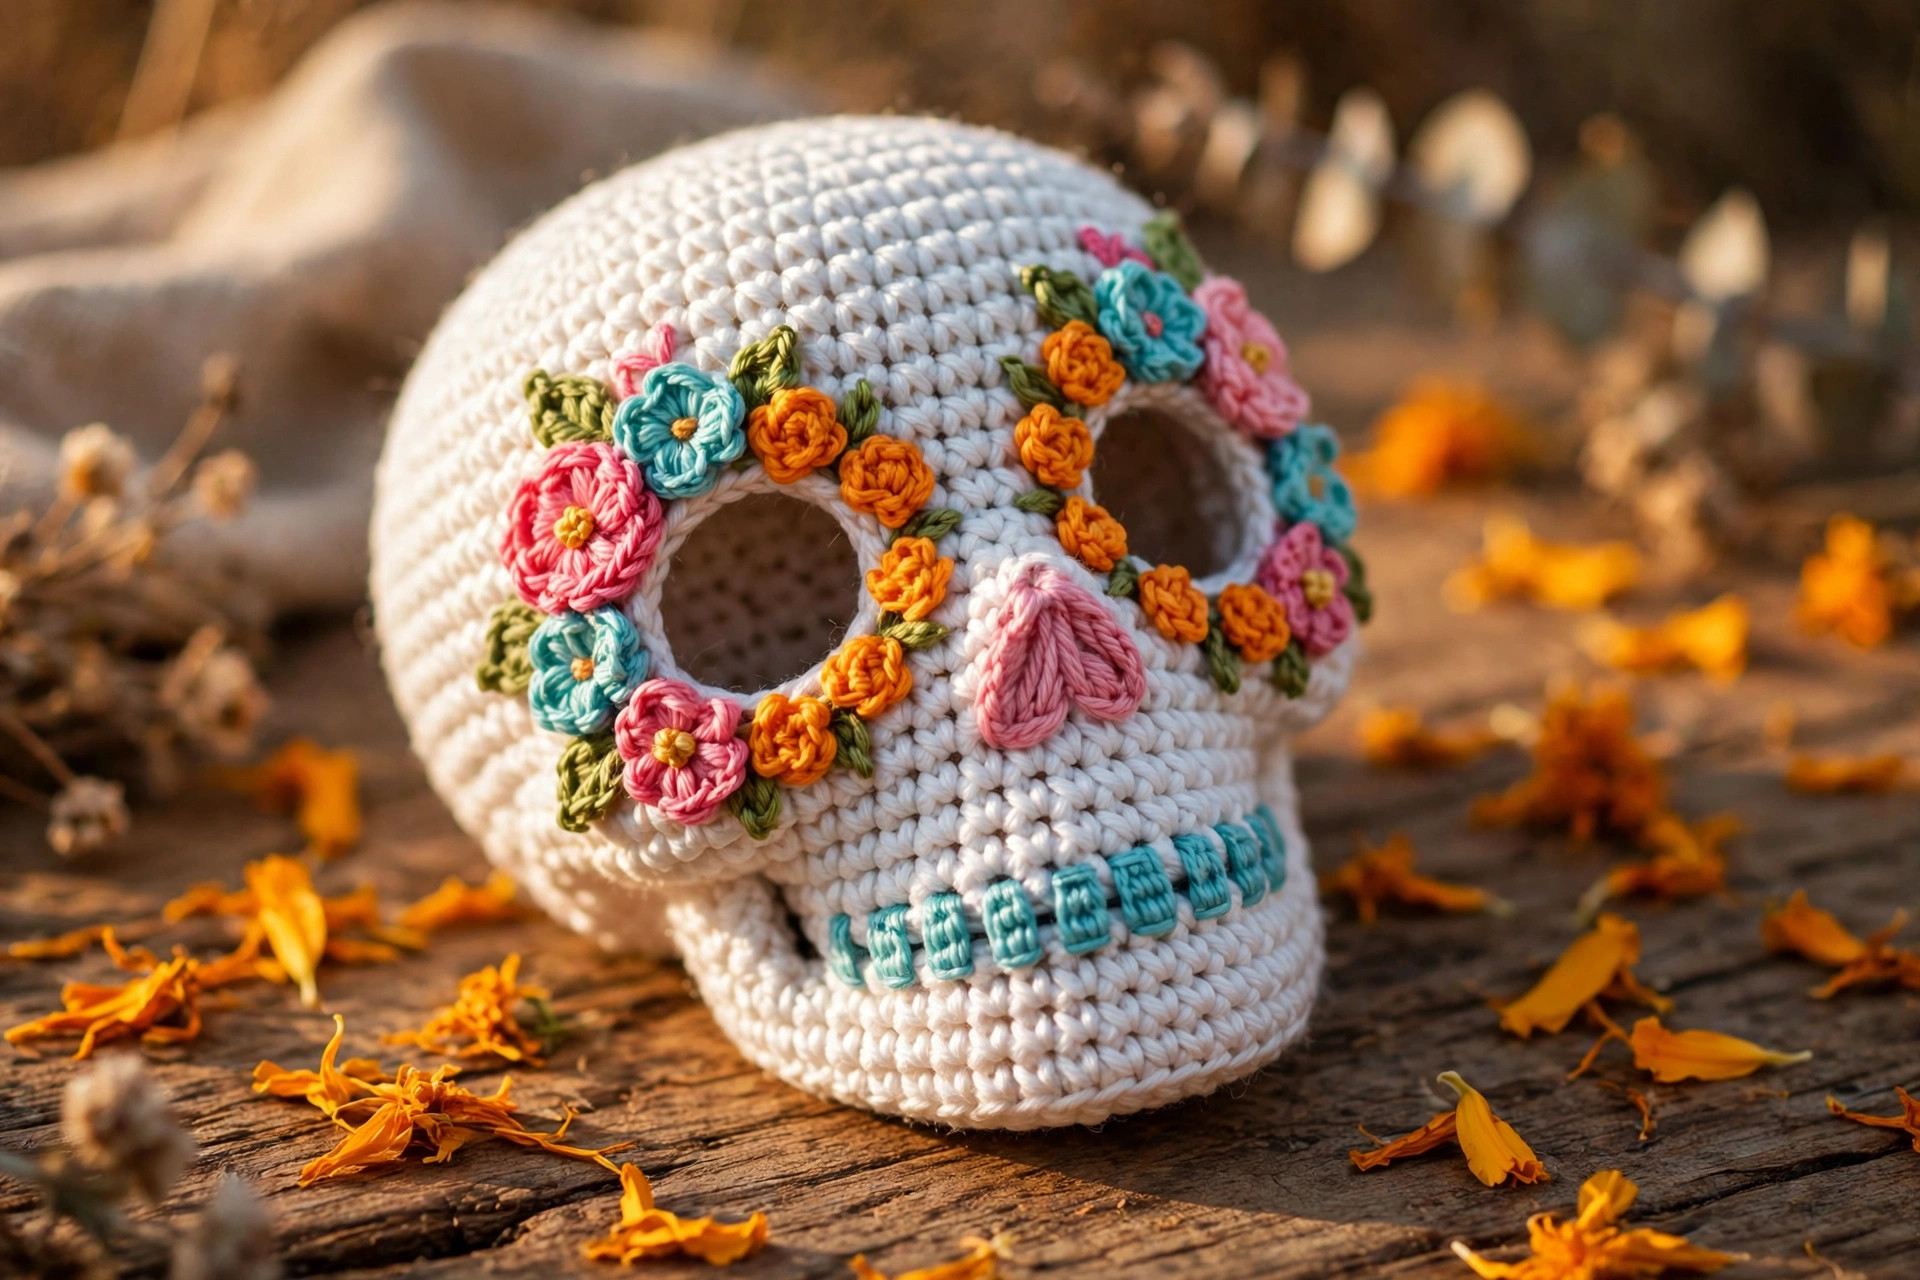
The embroidery is where you can make the skull your own. Traditional sugar skulls have flower petals around the eye sockets, a small heart or flower for a nose, and a neat row of stitched teeth. You can follow the colors in this pattern, or you can match the colors of a loved one's favorite flowers, a party theme, or your Halloween decor. No two skulls need to look alike.
Finished Size, Skill Level, and Time
- Finished size: about 5 inches tall and 4 inches wide, sized to sit on a shelf, a mantel, or an ofrenda. The skull is stuffed firmly so it holds its shape and sits flat on its base.
- Skill level: Easy to intermediate. You need a magic ring, single crochet, increases, decreases, and basic embroidery.
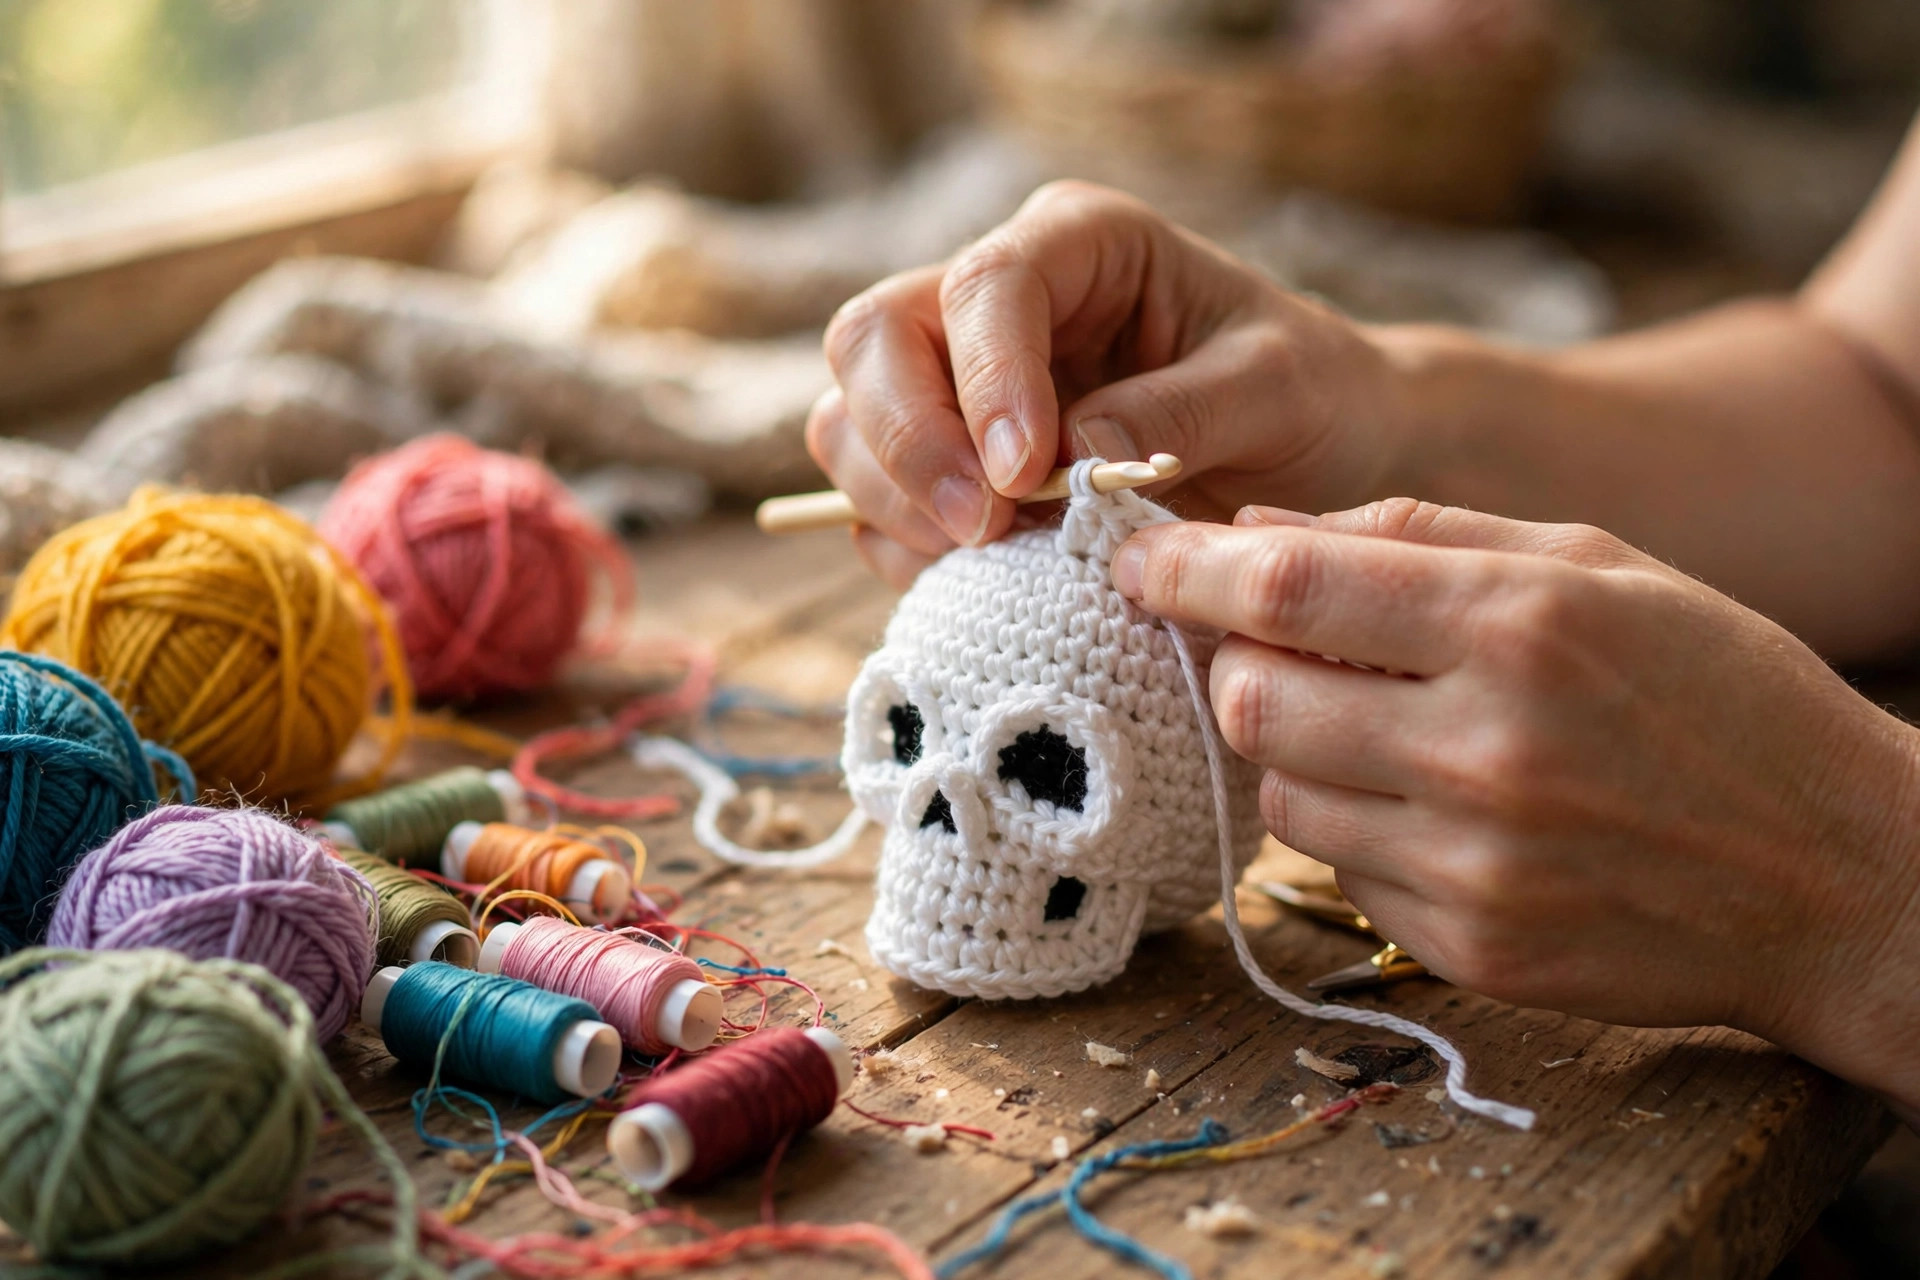
- Time: about 3 hours per skull: 1 hour and 30 minutes for the crocheted skull, 30 minutes for stuffing and shaping, and 1 hour for the embroidered face.
Materials You Need
| Item | What to get |
|---|---|
| Yarn, main color | Worsted weight cotton or acrylic yarn in white, 90 yards |
| Yarn, accent colors | Worsted weight yarn in pink, orange, turquoise, and yellow, 10 yards each |
| Yarn, black | Worsted weight yarn in black, 10 yards, for the eyes and teeth |
| Hook | US G-6 (4.0 mm), or the size that gives you the gauge below |
| Notions | Tapestry needle, scissors, tape measure, stitch markers, polyester fiberfill |
Cotton yarn is a good choice because it gives crisp stitch definition, which makes the skull shape clean and the embroidery easy to see. Acrylic also works, and it is softer if children will handle the skull. Avoid fuzzy yarns, because they hide the stitches and the embroidered details.
Use a hook one size smaller than you normally would for worsted weight yarn. Tight stitches keep the stuffing from showing through, which matters on a white skull where even a little fiberfill would be visible. A stitch marker at the start of each round keeps you from losing your place, which matters on a shaped amigurumi where every round changes the count.
Abbreviations (US Terms)
- MR = magic ring
- ch = chain
- sl st = slip stitch
- sc = single crochet
- hdc = half double crochet
- dc = double crochet
- inc = increase (2 sc in the same stitch)
- dec = decrease (sc 2 together)
- st(s) = stitch(es)
- rep = repeat
- RS = right side
- FO = fasten off
Gauge and Sizing Notes
Gauge matters on an amigurumi skull because loose stitches let the stuffing show through and the skull loses its firm shape. Work a swatch of 12 sc and 12 rows in the main color. It should be about 2.5 inches wide and 2.5 inches tall. If it is wider, go down a hook size. If it is narrower, go up a hook size.
The pattern is written for a skull about 5 inches tall. For a smaller skull, about 4 inches tall, use DK weight yarn with a US E-4 (3.5 mm) hook and the same stitch counts. For a larger skull, about 6.5 inches tall, use bulky weight yarn with a US I-9 (5.5 mm) hook and the same stitch counts. Count your stitches at the end of every increase and decrease round, because one missed stitch changes the shape of the whole skull. Our amigurumi doll free pattern uses the same shaping if you want to practice the dome first.
Part 1: The Skull Dome
The skull starts at the top of the head and is worked down in continuous rounds. The dome grows with even increases, then the sides are worked straight, and the bottom is shaped with decreases to form the jaw area. Place a stitch marker at the start of each round and move it up as you go.
The Dome
With the main color, work in continuous rounds.
- Round 1: MR, 6 sc in the ring. (6)
- Round 2: inc in each st around. (12)
- Round 3: (sc, inc) rep 6 times. (18)
- Round 4: (sc, inc, sc) rep 6 times. (24)
- Round 5: (3 sc, inc) rep 6 times. (30)
- Round 6: (2 sc, inc, 2 sc) rep 6 times. (36)
- Round 7: (5 sc, inc) rep 6 times. (42)
- Round 8: (3 sc, inc, 3 sc) rep 6 times. (48)
- Rounds 9 to 14: sc in each st around. (48)
The dome should be a smooth round cap about 4 inches wide. If the edges ripple, your tension is too loose, so go down a hook size. If the dome cups upward like a bowl, you missed an increase or your tension is too tight, so check your count and go up a hook size.
The Sides and the Jaw Line
The sides are worked straight down, then the front is shaped with decreases to make the jaw narrower than the cranium, which gives the skull its recognizable shape.
- Rounds 15 to 19: sc in each st around. (48)
- Round 20: (6 sc, dec) rep 6 times. (42)
- Round 21: sc in each st around. (42)
- Round 22: (5 sc, dec) rep 6 times. (36)
- Round 23: sc in each st around. (36)
Stop here and stuff the skull firmly with polyester fiberfill. Fill the dome first, pressing small handfuls into a round shape, then fill the sides evenly. The skull should feel firm and spring back when you squeeze it. A loosely stuffed skull sags, and the embroidery will pull the face out of shape, so take your time. Our mini amigurumi patterns free roundup uses the same firm stuffing method.
Part 2: The Face, Cheeks, and Jaw
The bottom of the skull closes with a few more decrease rounds, leaving a flat base so the skull sits upright. The cheeks are shaped with a simple technique that pulls the yarn in slightly on each side, which gives the face its gentle hollows.
Closing the Base
Continue with the main color, stuffing a little more as you close.
- Round 24: (4 sc, dec) rep 6 times. (30)
- Round 25: (3 sc, dec) rep 6 times. (24)
- Round 26: (2 sc, dec) rep 6 times. (18)
- Round 27: (sc, dec) rep 6 times. (12)
- Round 28: dec in each st around. (6)
Fasten off, leaving a long tail. Thread the tail through the front loop of each remaining stitch and pull it tight to close the hole, then weave the tail inside the skull. The base should be flat enough for the skull to sit upright without tipping. If it wobbles, press the base against a table to flatten it, and add a little more stuffing to the lower sides.
Shaping the Cheeks
The cheeks give the skull its face shape. Cut a piece of white yarn about 12 inches long and thread it on a tapestry needle. Insert the needle at the base on one side, bring it out where the cheek should dip, about 2 inches up from the base and 1 inch from the center front, take a tiny stitch, and bring the needle back out at the base on the same side. Pull gently until the cheek dips slightly, then knot the yarn at the base and weave in the end. Repeat on the other side so both cheeks match.
Part 3: The Embroidered Face and Finishing
This is the part where the plain white skull becomes a sugar skull. The face is embroidered with yarn and a tapestry needle, using simple stitches. Work slowly, and step back every few stitches to check the face from a distance.
The Eyes
The eyes are the most important part of the face, because they set the whole expression. Mark the eye positions first with pins. The eyes sit about 2.5 inches up from the base, spaced about 1.5 inches apart, with the center of each eye about 0.75 inches from the center line of the face.
With black yarn, work each eye as a filled circle about 0.75 inches wide. Start in the center and work satin stitch outward, laying short straight stitches side by side until the circle is filled. Keep the stitches even and close together so no white shows through. If the circle looks too small, add another ring of stitches around the edge.
Around each black eye, work flower petals in bright colors. With pink yarn, work 8 petals around the eye, each a straight stitch about 0.5 inches long radiating outward from the edge of the black circle. Alternate the petal colors between the two eyes, using pink on one and orange or turquoise on the other, so the face looks playful. Add a tiny yellow French knot at the tip of every second petal.
The Nose and Teeth
The nose is a small upside down heart in the center of the face, about 1 inch below the eyes. With turquoise yarn, work a small triangle of satin stitch about 0.5 inches wide, then add a tiny pink cross stitch in the center. Keep the nose small and neat, because a large nose takes over the face.
The teeth are a row of short vertical stitches across the lower face, about 1 inch up from the base. With black yarn, work a horizontal line about 1.5 inches wide, then work 7 short vertical stitches crossing it, evenly spaced, to suggest individual teeth. Keep the stitches short and even, and do not pull them too tight, or the mouth will pucker. Our crochet ghost pattern free uses the same face embroidery if you want to practice on a smaller Halloween piece first.
The Forehead Flower
Finish the face with a flower on the forehead, centered above and between the eyes. With yellow yarn, work 6 petals, each a straight stitch about 0.5 inches long, radiating from a center point, and add a pink French knot in the center. Check the whole face in a mirror, which makes uneven spacing easier to spot, and adjust any stitch that looks out of place.
Variations: Colors, Sizes, and Uses
- Classic Day of the Dead skull: work the skull in white with pink, orange, turquoise, and yellow embroidery, just as written.
- Halloween skull: use black and orange embroidery only, with purple petals, for a spookier look.
- Pastel skull: work the skull in cream with soft pink, lavender, and mint embroidery for a gentle spring display.
- Mini skull: use DK weight yarn and a US E-4 (3.5 mm) hook for a 4 inch skull that fits in a small display.
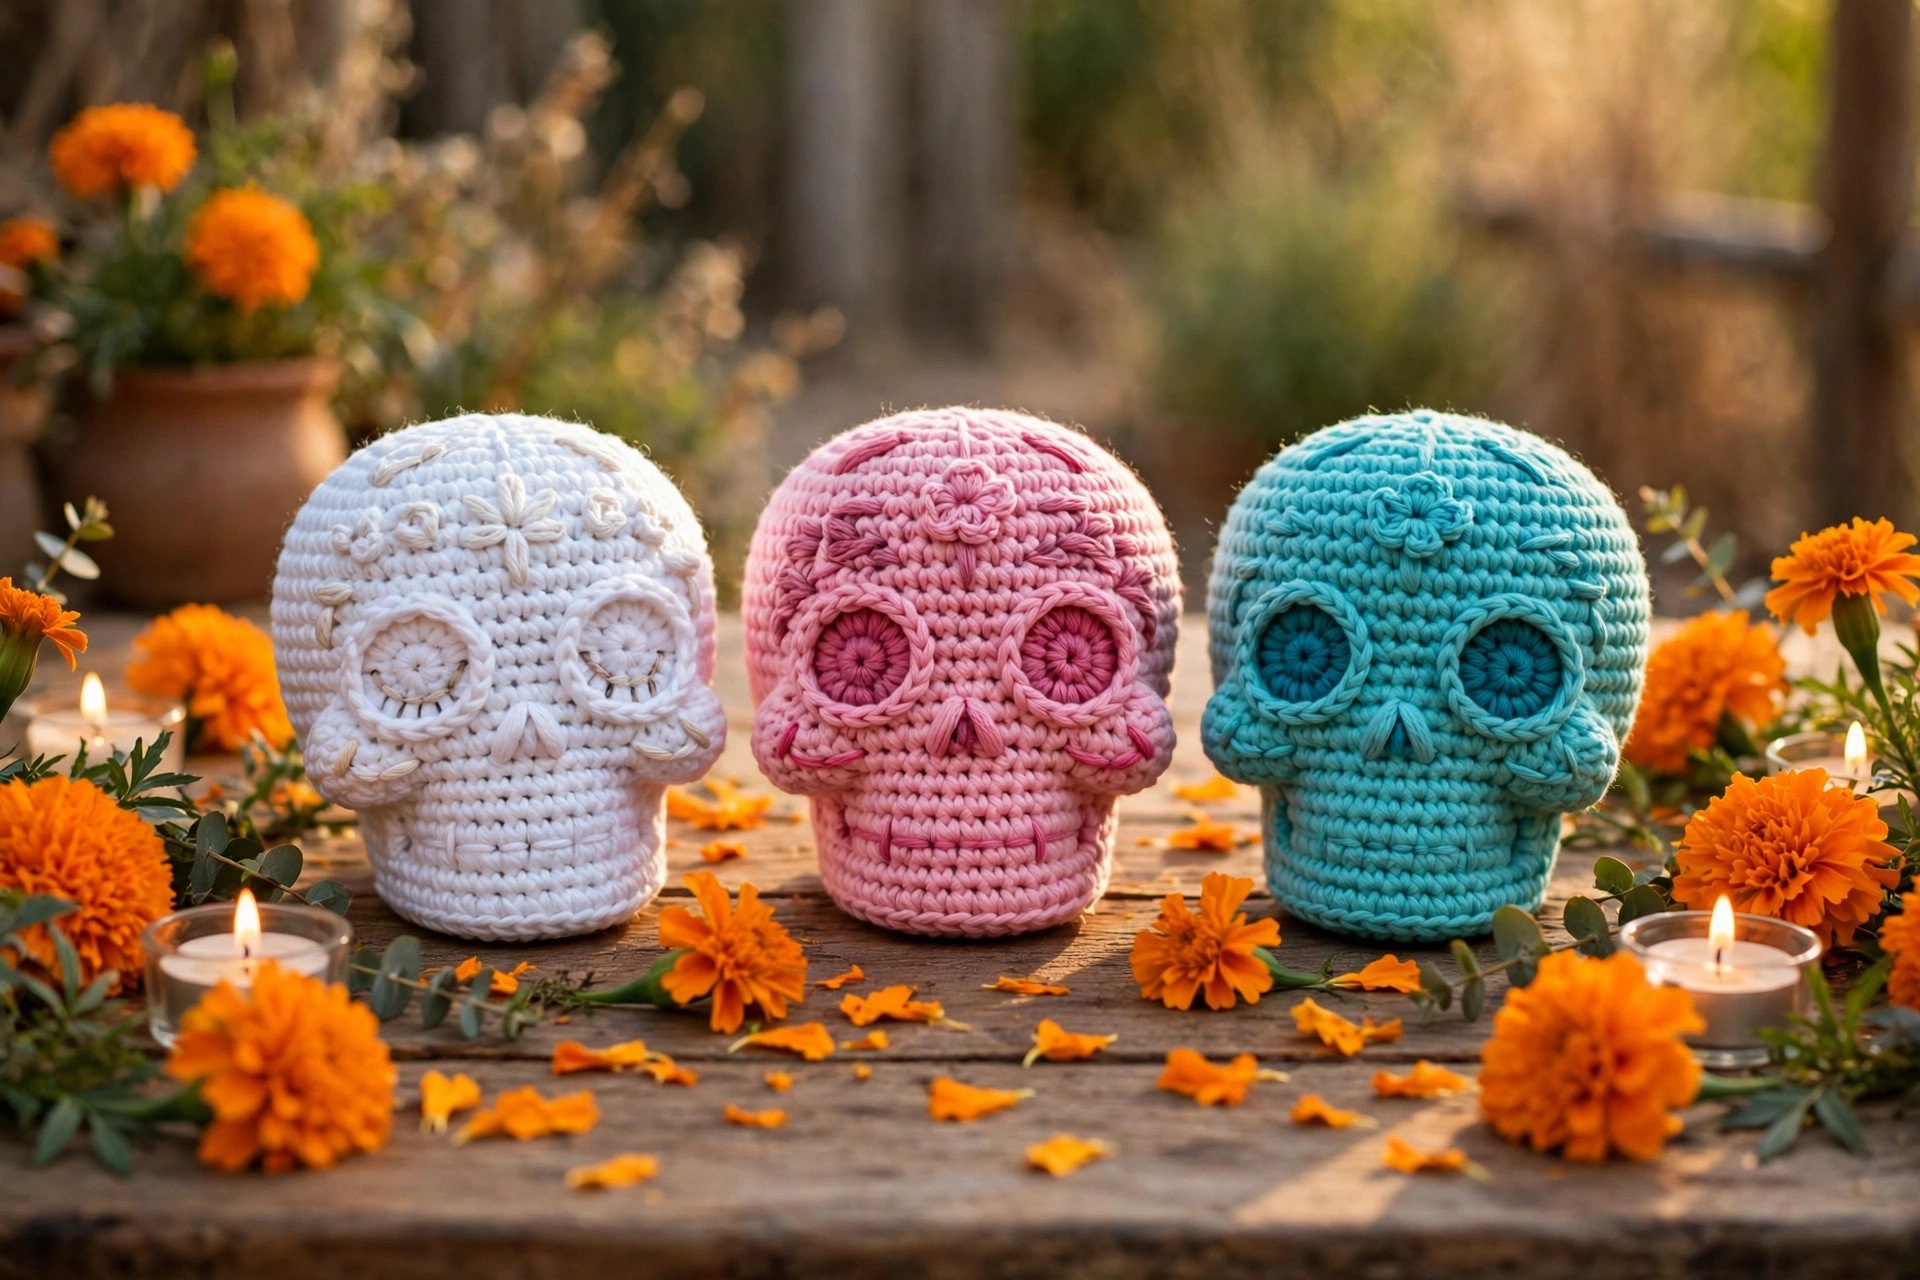
- Ofrenda set: make three skulls in different color combinations and display them with marigolds and candles.
- Party favor set: make a small skull for each guest and pair it with a matching crochet witch hat pattern free for a Day of the Dead or Halloween party table.
Troubleshooting a Sugar Skull That Looks Off
- My skull is lopsided. The stitch count drifted on an increase round. Count your stitches at the end of each round, and stuff the skull evenly on all sides.
- My stuffing shows through the stitches. The gauge is too loose. Go down a hook size, and use a smaller hook for the next skull.
- My eyes are uneven. The pins were not placed symmetrically. Measure from the center line of the face before you start stitching, and check the spacing in a mirror.
- My embroidery puckers the face. The stitches were pulled too tight. Work the embroidery loosely, and let the yarn sit on the surface.
- My skull will not sit upright. The base is too round. Press the base flat against a table, and add a little more stuffing to the lower sides so the weight sits low.
- My cheeks look too deep. The shaping yarn was pulled too hard. Loosen the shaping stitch and re-tie it with less tension, so the dip is subtle.
Care Instructions
Dust the skull with a soft dry brush or a lint roller, and keep it out of direct sunlight so the bright embroidery colors do not fade. Spot clean with a damp cloth and a drop of mild soap if needed, and let it air dry completely. Do not put a stuffed amigurumi skull in the washing machine, because the stuffing clumps and the embroidery can snag. Store it in a box with tissue paper between pieces so the embroidery does not catch on other decorations.
Frequently Asked Questions
Is this sugar skull crochet pattern good for beginners?
Yes, it is best for an easy to intermediate crocheter. You need a magic ring, single crochet, increases, and decreases, plus simple embroidery. The crocheted skull takes about 1 hour and 30 minutes, and the embroidery takes about 1 hour.
What is the difference between a sugar skull and a regular skull?
A sugar skull is a colorful decorated skull from the Mexican Day of the Dead tradition, with flowers around the eyes, a decorated nose, and stitched teeth. A regular skull is plain. This pattern is a sugar skull because of its bright embroidered face, and it is made for display, not as a toy.
Is this the same as the crochet skull blanket pattern?
No, this is a different project. This pattern makes a standalone three dimensional amigurumi skull about 5 inches tall with an embroidered face, for display on a shelf or an ofrenda. The crochet skull blanket pattern makes a flat blanket with a skull design, so choose that one for a blanket and this one for a decorative skull.
What yarn is best for a sugar skull?
Worsted weight cotton yarn is the best choice, because it gives crisp stitch definition and the embroidery shows up clearly. Acrylic yarn also works, and it is softer if children will handle the skull. Use a hook one size smaller than usual so the stitches are tight and the stuffing does not show through.
Can I make the sugar skull in other colors?
Yes, the embroidery colors are yours to choose. Traditional sugar skulls use bright pink, orange, turquoise, and yellow on a white skull, but you can match a party theme, a loved one's favorite colors, or your Halloween decor. Keep the skull itself white or cream so the embroidery stands out.
Can I sell sugar skulls made from this pattern?
Yes, you may sell finished sugar skulls made from this free pattern, with credit to Little Loop Finds. Do not sell or republish the pattern text itself. A set of three skulls in different color combinations makes a lovely set for a market stall or a Day of the Dead display.
Happy stitching, and may your little sugar skull bring color and joy to your Day of the Dead celebration.