Triceratops Crochet Pattern (Free Amigurumi)
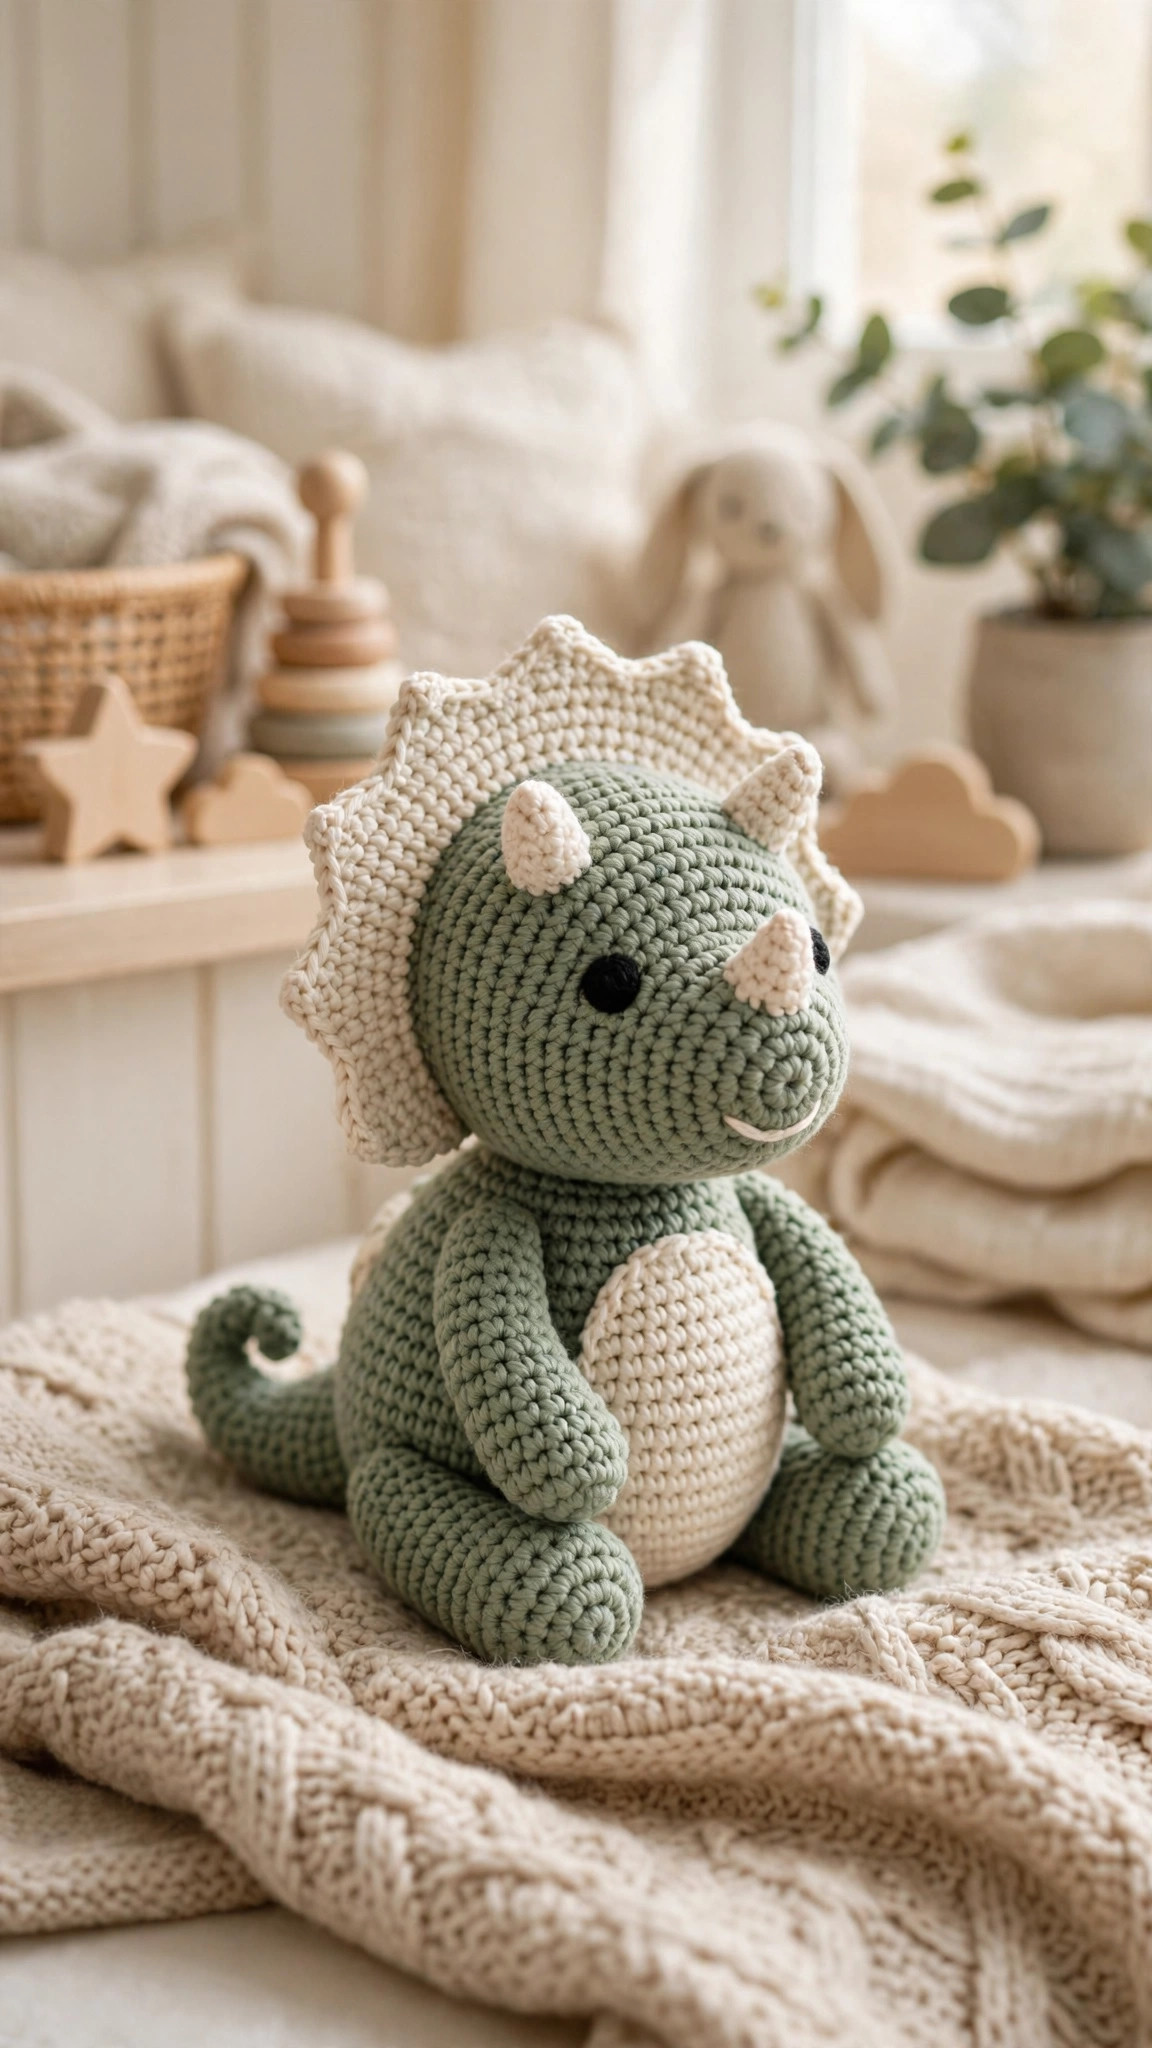
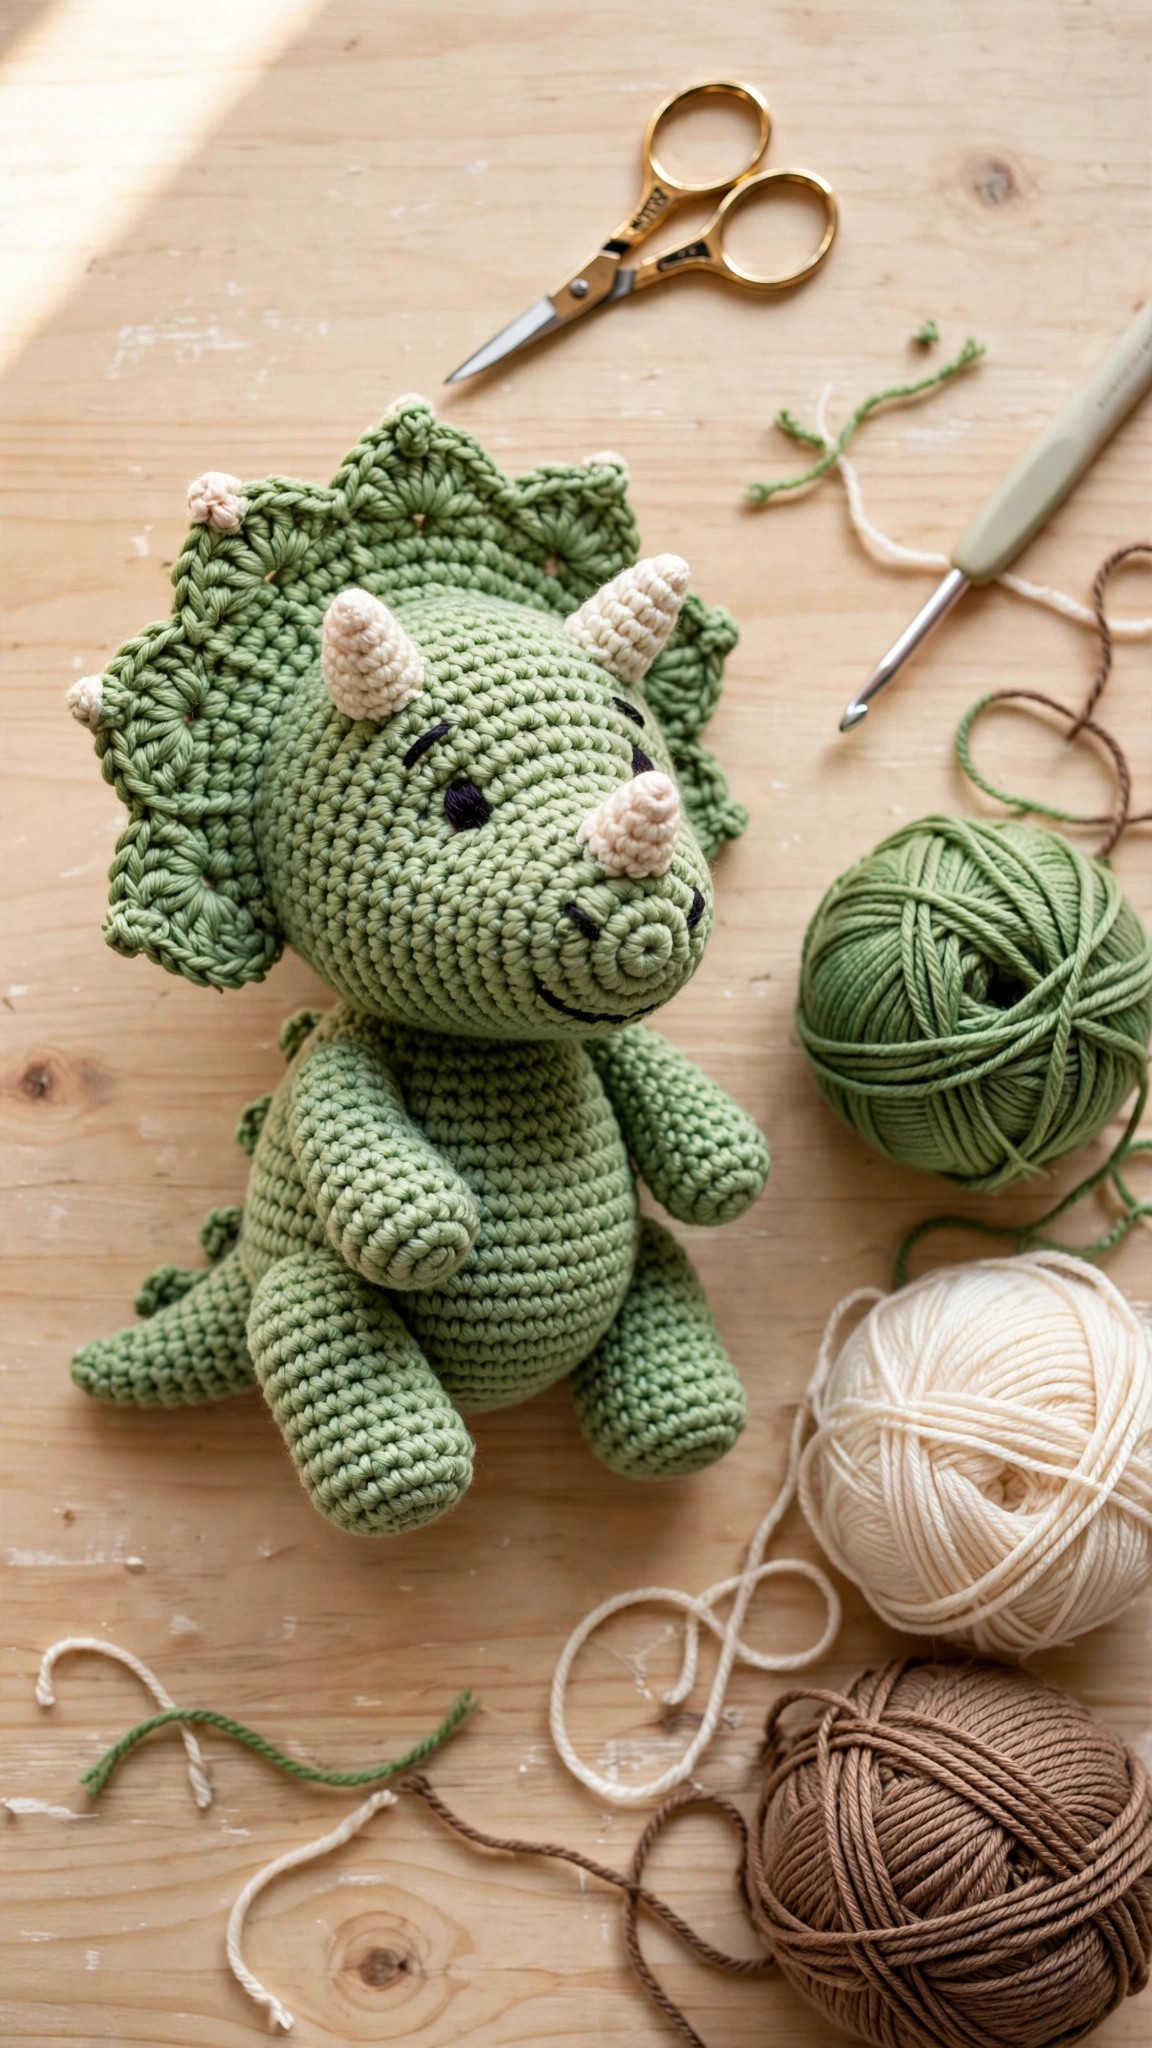
Stitch a friendly triceratops amigurumi with a scalloped frill, three little horns, and a plump little body, all in soft worsted yarn.

Patterns · Crochet
- Finished size
- 9 in long, 6 in tall
- Making time
- 4 to 5 hours
- Hook
- US E-4 (3.5 mm)
- Set
- Head, frill, body, legs, tail
- Skill
- Intermediate
In this post
- Key Takeaways
- Table of Contents
- Why You Will Love This Triceratops
- Finished Size, Skill Level, and Time
- Materials You Need
- Abbreviations (US Terms)
- Gauge and Sizing Notes
- Part 1: Head, Frill, and Horns
- Part 2: Body, Legs, and Tail
- Part 3: Assembly and Finishing
- Variations: Colors, Sizes, and Uses
- Troubleshooting Triceratops That Wobble or Lean
- Care Instructions
- Frequently Asked Questions
A triceratops is the friendliest dinosaur in the toy box: three little horns, a big scalloped frill, and a plump body, all soft enough to cuddle. This free pattern covers every piece, from the round head and frill to the four little legs and pointed tail.
This is an original Little Loop Finds design, written in US terms and completely free. The dinosaur is worked in separate pieces and sewn together, with a stitch count at the end of every round. The frill is a fan of double crochet worked flat, and the horns are tiny cones that take only minutes each.
This post is about one triceratops amigurumi, a soft toy about 9 inches long. For a quicker dinosaur first, our free crochet dinosaur pattern is a simpler amigurumi with the same increase and decrease rhythm.
Key Takeaways
- Free original pattern: a Little Loop Finds original design, written in US terms, and completely free.
- A complete little dinosaur: head, frill, horns, body, legs, tail, and belly patch, with a stitch count every round.
- Intermediate amigurumi: worked in the round, then sewn together, with placement notes for every piece.
- A few evenings of stitching: about 4 to 5 hours in total, in pieces you can finish one at a time.
- A gift that gets played with: soft, sturdy, and washable, perfect for a nursery shelf or a birthday gift.
Table of Contents
- Why You Will Love This Triceratops
- Finished Size, Skill Level, and Time
- Materials You Need
- Abbreviations (US Terms)
- Gauge and Sizing Notes
- Part 1: Head, Frill, and Horns
- Part 2: Body, Legs, and Tail
- Part 3: Assembly and Finishing
- Variations: Colors, Sizes, and Uses
- Troubleshooting Triceratops That Wobble or Lean
- Care Instructions
- Frequently Asked Questions
Why You Will Love This Triceratops
A triceratops looks a little fierce on paper, but in yarn it turns into the gentlest creature in the toy box. The frill frames the face like a bonnet, the horns are tiny and soft, and the plump body begs to be picked up.
It is also a wonderful first big amigurumi. The pieces are simple shapes, spheres, cones, and one flat fan, and none of them is hard on its own. The challenge is only in putting them together, and this pattern gives exact placement notes. By the time you finish, you will know the amigurumi toolkit: the magic ring, invisible decreases, stuffing, and neat sewn joins.
As a gift, a triceratops is hard to beat: it suits a nursery or a dinosaur themed bedroom, in pastels or classic greens.
Finished Size, Skill Level, and Time
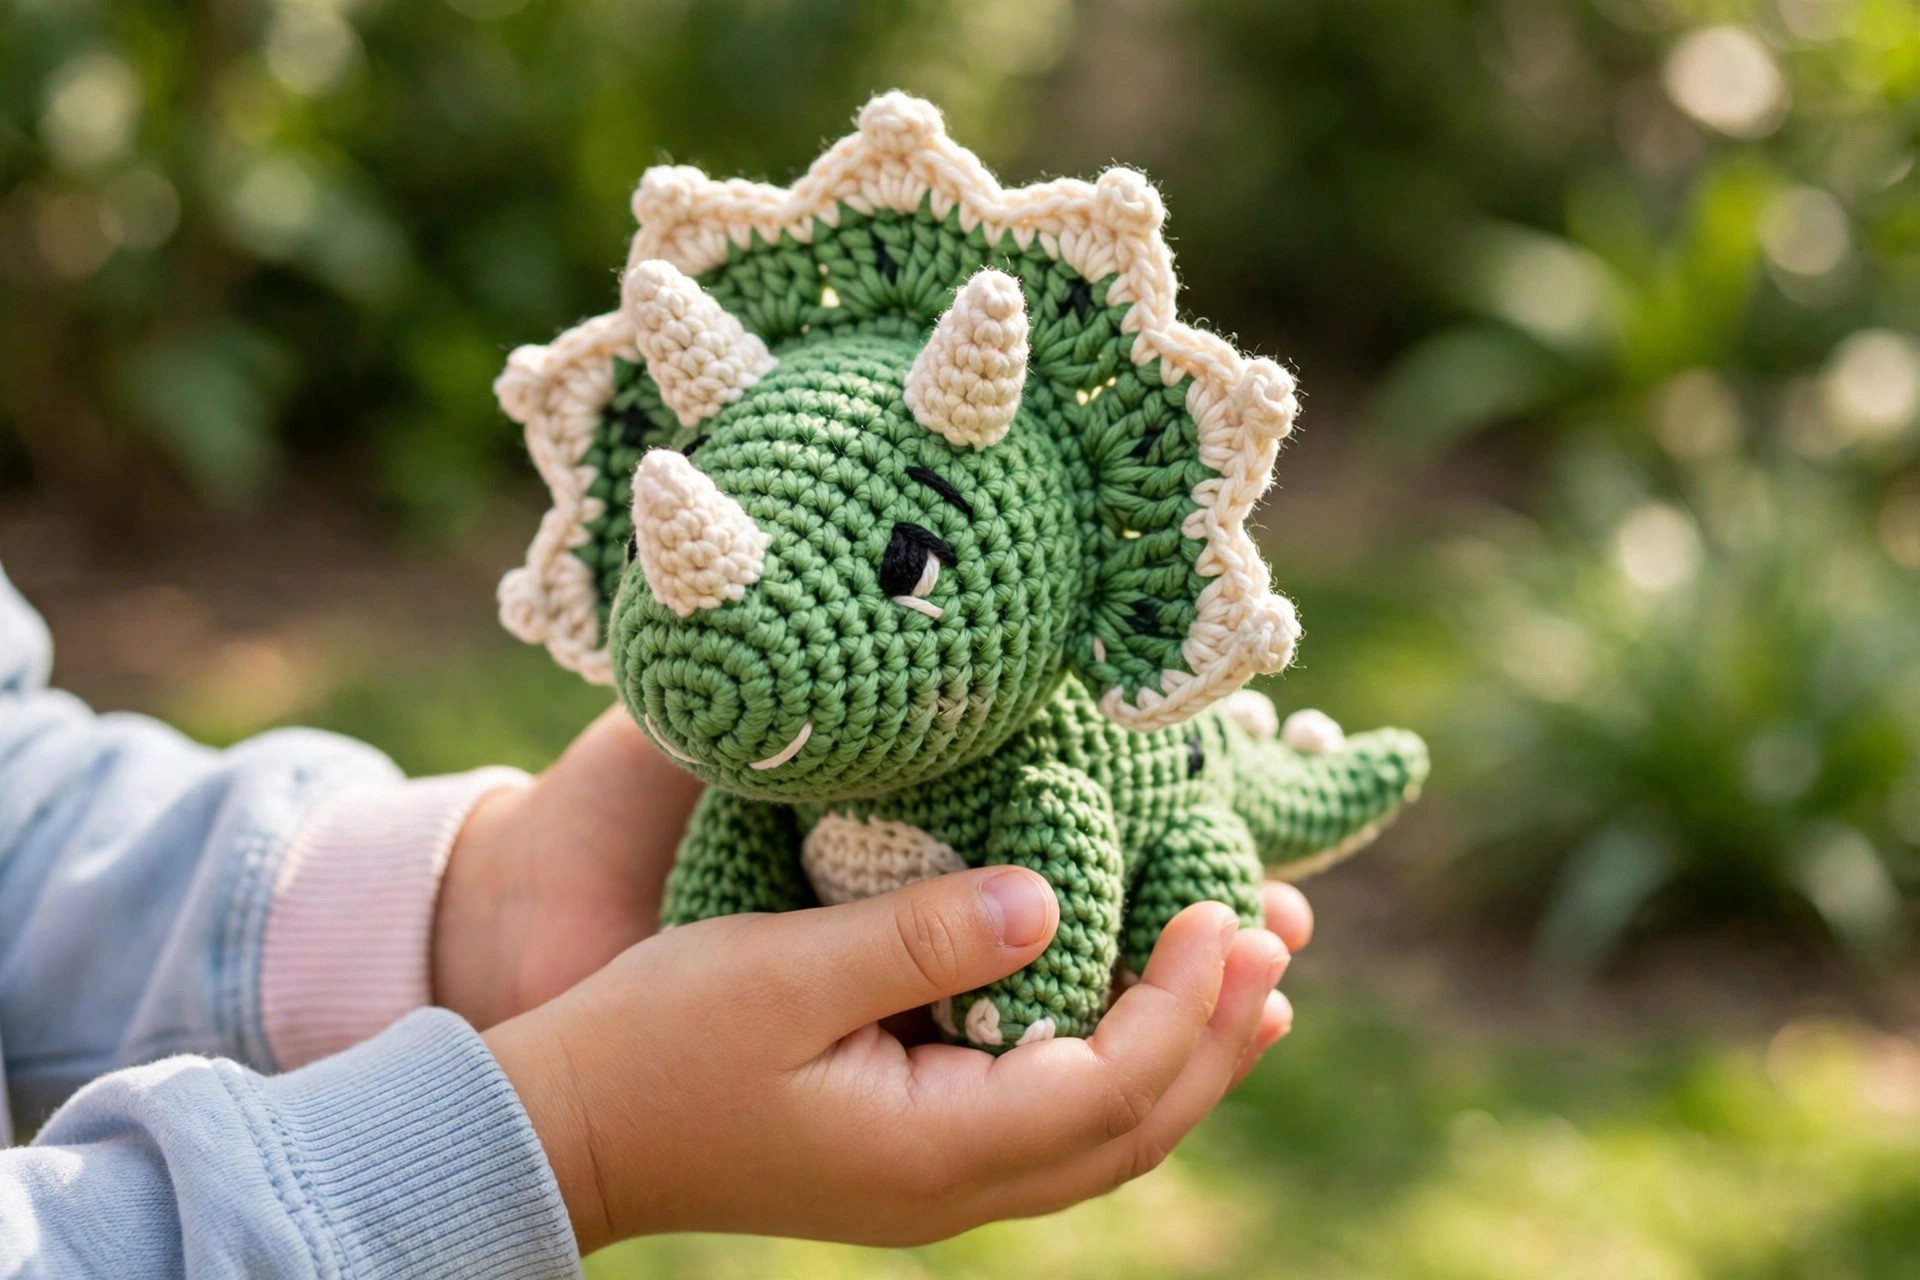
- Finished size: about 9 inches long and 6 inches tall to the top of the frill, in worsted weight yarn. The body is about 4 inches wide.
- Skill level: Intermediate. You need a magic ring, single crochet, increases and decreases in the round, and basic sewing. The invisible decrease and the frill are explained step by step.
- Time: about 4 to 5 hours in total: 1 hour for the head and frill, 1 hour for the body, 45 minutes for the legs and tail, and 1 hour for assembly. The pieces are small, so you can finish one in a single sitting.
Materials You Need
| Item | What to get |
|---|---|
| Yarn, main | Worsted weight (size 4) yarn in sage green, about 150 yards |
| Yarn, contrast | Worsted weight (size 4) yarn in cream, about 60 yards |
| Yarn, accent | Worsted weight (size 4) yarn in brown, about 15 yards for the horns |
| Hook | US E-4 (3.5 mm), or the size that gives you tight stitches with no gaps |
| Eyes | Two 10 mm safety eyes, or black yarn to embroider eyes for a baby safe toy |
| Stuffing | Polyester fiberfill, about 4 ounces |
| Notions | Tapestry needle, scissors, stitch markers, pins for assembly |
Worsted weight yarn is the best choice because it works up quickly and the stitches hold the stuffing inside. Choose a smooth yarn with good stitch definition, because the frill and horns show every stitch. Acrylic is practical for a washable toy, and cotton gives a slightly firmer finish. Avoid fuzzy yarns, because they hide the shaping.
Place 10 mm safety eyes between Rounds 7 and 8 of the head, about 8 stitches apart. For a baby under three, embroider the eyes with black yarn instead. Sew the horns on very firmly for a baby toy.
Abbreviations (US Terms)
- ch = chain
- sl st = slip stitch
- sc = single crochet
- dc = double crochet
- inc = increase, 2 sc in the same stitch
- dec = invisible decrease, single crochet 2 stitches together
- st(s) = stitch(es)
- rnd(s) = round(s)
- rep = repeat
- MR = magic ring
- FO = fasten off
Gauge and Sizing Notes
Gauge for amigurumi is about tightness: your stitches should be tight enough that you cannot see the stuffing through them when you stretch the piece. Work the first few rounds of the head and check: if stuffing shows through, go down a hook size. If the stitches are hard to work into, go up a hook size.
For a smaller triceratops, use DK yarn with a 3.0 mm hook for one about 7 inches long. For a larger one, use bulky yarn with a 5.0 mm hook for one about 12 inches long. Do not change the stitch counts, just the yarn and hook. Check the head after Round 5: it should be a neat ball about 2.5 inches across.
Part 1: Head, Frill, and Horns
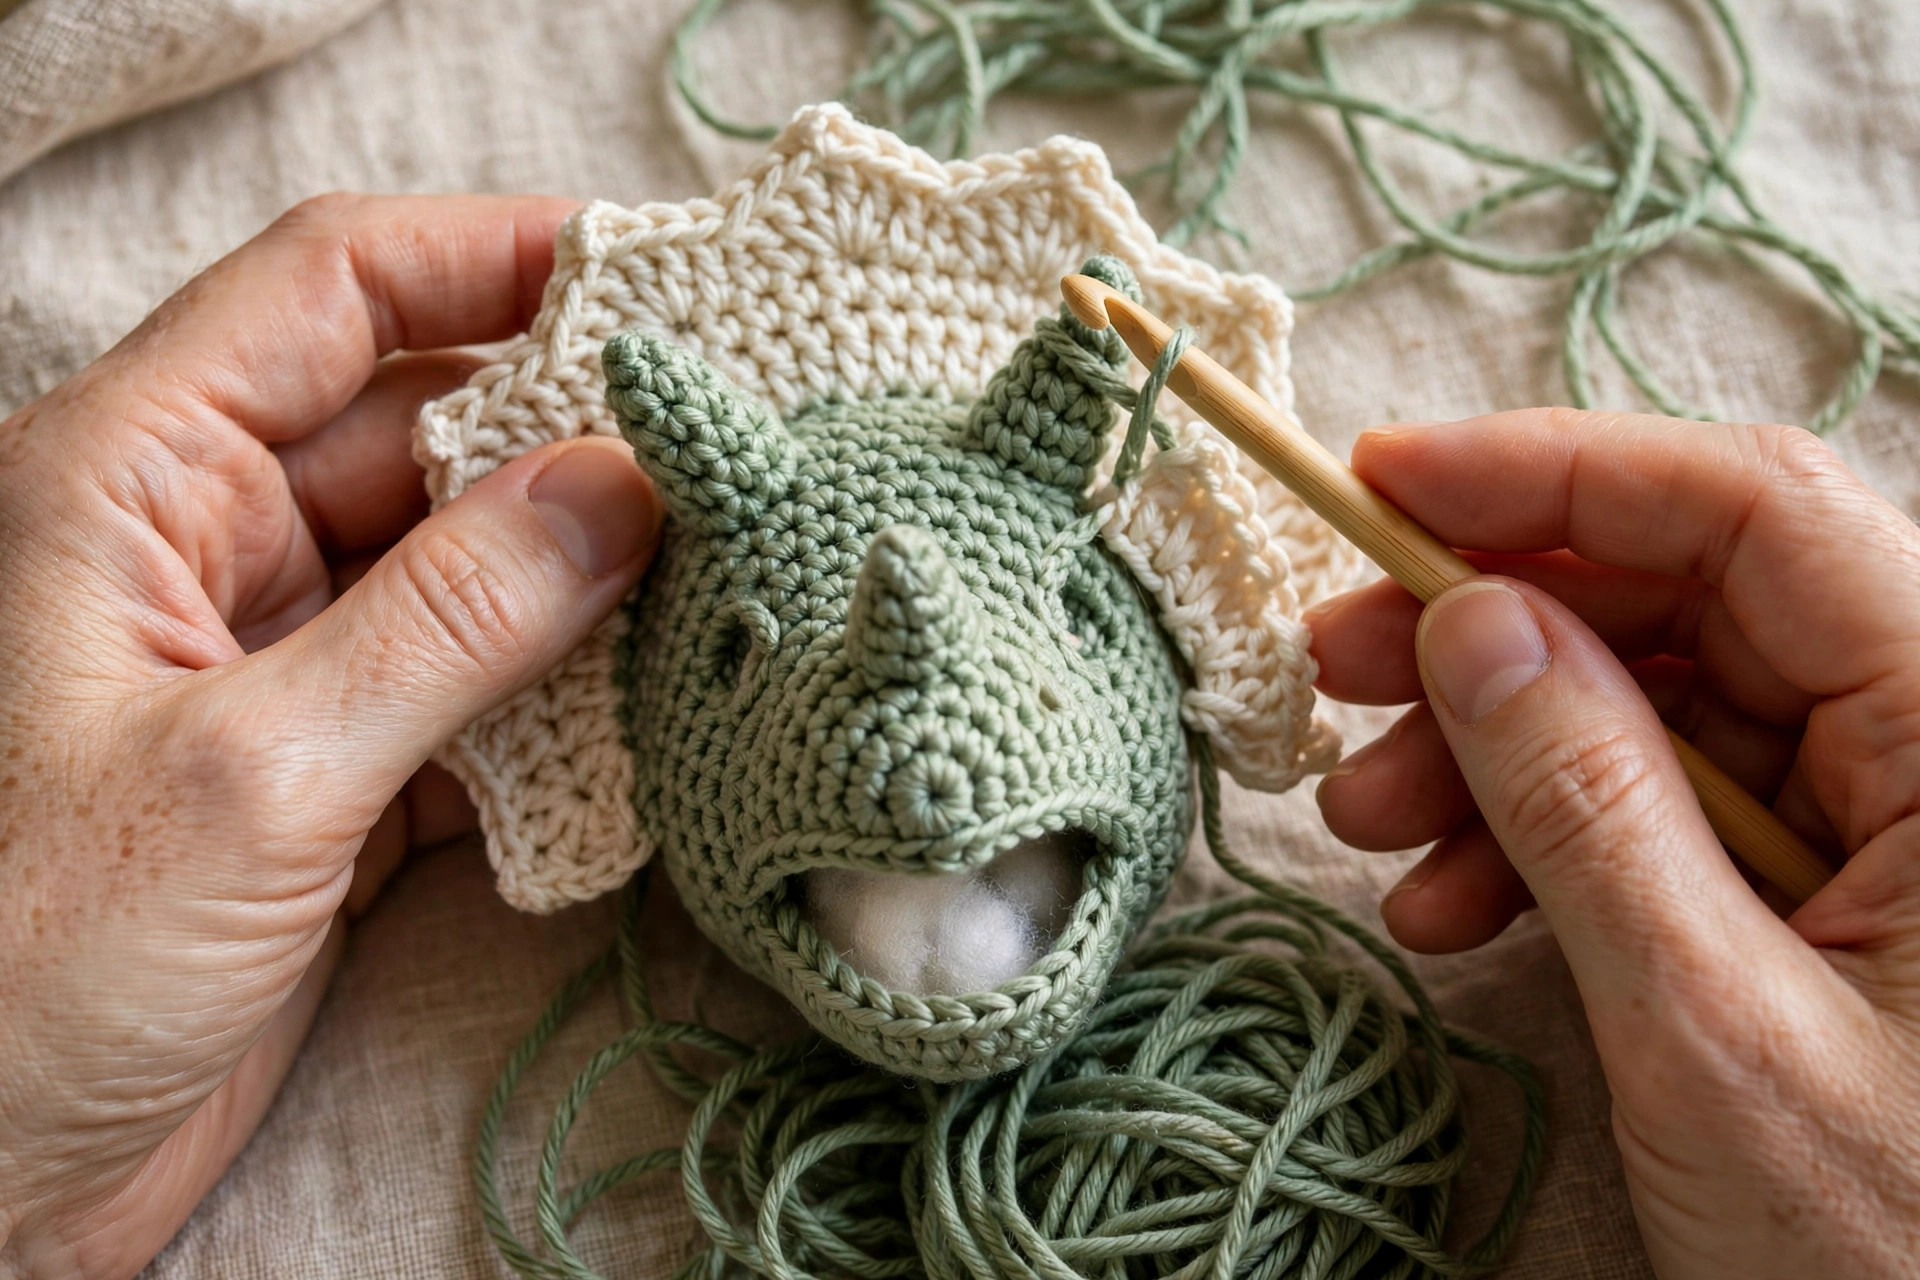
The head is a simple sphere, with the eyes placed before you close it up. The frill is worked flat in rows and sewn behind the head, and the horns are tiny cones. Start with the head, because it sets the size for everything else.
Head
With green, MR, ch 1.
- Rnd 1: 6 sc in MR. (6 sc)
- Rnd 2: inc in each st around. (12 sc)
- Rnd 3: (sc, inc) rep 6 times. (18 sc)
- Rnd 4: (2 sc, inc) rep 6 times. (24 sc)
- Rnd 5: (3 sc, inc) rep 6 times. (30 sc)
- Rnds 6-10: sc in each st around. (30 sc)
- Rnd 11: (3 sc, dec) rep 6 times. (24 sc)
- Rnd 12: (2 sc, dec) rep 6 times. (18 sc)
- Place the safety eyes between Rnds 7 and 8, about 8 stitches apart, then stuff the head firmly.
- Rnd 13: (sc, dec) rep 6 times. (12 sc)
- Rnd 14: dec 6 times. (6 sc)
- FO, leaving a long tail. Weave the tail through the remaining stitches, pull tight to close, and weave in the end.
The head should be a smooth ball about 3 inches across, with the eyes in the lower half of the face. Stuff it firmly, because a soft head will flatten when you sew the pieces on.
Frill
The frill is worked flat in cream, in rows, and it fans out into a half circle with a scalloped edge. Work it loosely so it lies flat against the back of the head.
With cream, ch 13.
- Row 1: dc in the 4th ch from the hook, dc in each ch across. (10 dc)
- Row 2: ch 3 (counts as dc), 2 dc in each st across. (20 dc)
- Row 3: ch 3 (counts as dc), (dc in next st, 2 dc in next st) rep across. (30 dc)
- Row 4, scalloped edge: ch 1, (sc in next st, ch 2, sk 1 st) rep across, ending with a sc in the last st. FO, leaving a long tail for sewing.
The frill should measure about 4 inches across, with a gentle curve and a scalloped edge. If it curls forward, your tension is too tight. If it ripples, go down a hook size.
Brow Horns (make 2)
With brown, MR, ch 1.
- Rnd 1: 4 sc in MR. (4 sc)
- Rnd 2: (sc, inc) rep 2 times. (6 sc)
- Rnd 3: sc in each st around. (6 sc)
- FO, leaving a long tail for sewing. Do not stuff the horns.
Nose Horn (make 1)
With brown, MR, ch 1.
- Rnd 1: 3 sc in MR. (3 sc)
- Rnd 2: sc in each st around. (3 sc)
- FO, leaving a long tail for sewing. Do not stuff the nose horn.
The brow horns are about 1 inch long and the nose horn about half an inch. Keep the tails long for sewing. If a horn looks wonky, roll it gently between your palms to even out the cone before you sew it on.
Part 2: Body, Legs, and Tail
The body is egg shaped, wider at the back and narrower at the front. The legs are short tubes, the tail a tapered cone, and the belly patch a flat cream oval. Work the body first, then the smaller pieces.
Body
With green, MR, ch 1.
- Rnd 1: 6 sc in MR. (6 sc)
- Rnd 2: inc in each st around. (12 sc)
- Rnd 3: (sc, inc) rep 6 times. (18 sc)
- Rnd 4: (2 sc, inc) rep 6 times. (24 sc)
- Rnd 5: (3 sc, inc) rep 6 times. (30 sc)
- Rnd 6: (4 sc, inc) rep 6 times. (36 sc)
- Rnds 7-12: sc in each st around. (36 sc)
- Rnd 13: (4 sc, dec) rep 6 times. (30 sc)
- Rnd 14: (3 sc, dec) rep 6 times. (24 sc)
- Stuff the body firmly, shaping it into a gentle egg shape.
- Rnd 15: (2 sc, dec) rep 6 times. (18 sc)
- Rnd 16: (sc, dec) rep 6 times. (12 sc)
- Rnd 17: dec 6 times. (6 sc)
- FO, leaving a long tail. Weave the tail through the remaining stitches, pull tight to close, and weave in the end.
The body should be about 5 inches long and 4 inches wide, with a plump round back and a narrower front where the head will sit. Stuff it firmly and evenly, adding small handfuls of fiberfill as you go, because lumpy stuffing shows. The closed end is the back, where the tail will be sewn later.
Legs (make 4)
With green, MR, ch 1.
- Rnd 1: 6 sc in MR. (6 sc)
- Rnd 2: inc in each st around. (12 sc)
- Rnds 3-5: sc in each st around. (12 sc)
- Stuff lightly, just enough to hold the shape.
- FO, leaving a long tail for sewing.
Each leg is about 1.5 inches tall and 1.5 inches across. Stuff the legs lightly, because overstuffed legs make the dinosaur sit too high and wobble.
Tail
With green, MR, ch 1.
- Rnd 1: 6 sc in MR. (6 sc)
- Rnd 2: inc in each st around. (12 sc)
- Rnd 3: (sc, inc) rep 6 times. (18 sc)
- Rnds 4-5: sc in each st around. (18 sc)
- Rnd 6: (sc, dec) rep 6 times. (12 sc)
- Rnd 7: sc in each st around. (12 sc)
- Rnd 8: dec 6 times. (6 sc)
- FO, leaving a long tail for sewing. Stuff lightly before you close it.
The tail is about 3 inches long, wide at the base and pointed at the tip. Stuff it lightly so it holds its shape, and keep the tip soft.
Belly Patch
With cream, ch 7.
- Rnd 1: sc in the 2nd ch from the hook, sc in the next 4 ch, 3 sc in the last ch, working around the other side, sc in the next 4 ch, 2 sc in the last ch. Join with a sl st to the first sc. (14 sc)
- Rnd 2: ch 1, inc in the first st, sc in the next 4 sts, inc in the next 3 sts, sc in the next 4 sts, inc in the next 2 sts. Join with a sl st to the first sc. (20 sc)
- FO, leaving a long tail for sewing.
The belly patch is a flat oval about 2.5 inches long and 1.5 inches wide. It sits on the front of the body, under the head, giving the dinosaur its soft cream tummy.
Part 3: Assembly and Finishing
Assembly is where the pieces become a dinosaur, so pin everything in place before you sew. Stand it up and look at it from every side. Adjust the pins until it looks balanced, then sew one piece at a time.
- Sew the head to the body. Pin it to the front of the body, slightly tilted down, and sew around the join with the green tail, taking small neat stitches. Go around twice for strength.
- Sew the frill behind the head. Pin its straight edge to the back of the head, so the fan spreads out behind and above it like a bonnet, and sew it on with the cream tail. It should sit level.
- Sew the brow horns. Pin them above the eyes, about 4 stitches apart, pointing slightly outward, and sew them on firmly.
- Sew the nose horn. Pin it to the tip of the muzzle, between and just below the brow horns, and sew it on firmly.
- Sew the belly patch. Pin the cream oval to the front of the body, centered under the head, and sew around the edge with small whip stitches.
- Sew the legs. Pin them to the bottom of the body, two at the front and two at the back, spaced evenly, and sew them on. Check it stands level before you finish the last leg.
- Sew the tail. Pin it to the back of the body, pointing slightly upward, and sew it on firmly.
- Embroider the smile. With black yarn, embroider a small curved smile under the nose horn and two tiny nostrils with French knots if you like. Weave in all ends.
Stand the dinosaur up and check it from every side. The head should sit straight, the frill level, the legs all touching the table, and the tail pointing up. If it leans, one leg is sewn higher than the others, so unpick it and move it down a round. Give the toy a gentle squeeze to settle the stuffing.
Variations: Colors, Sizes, and Uses
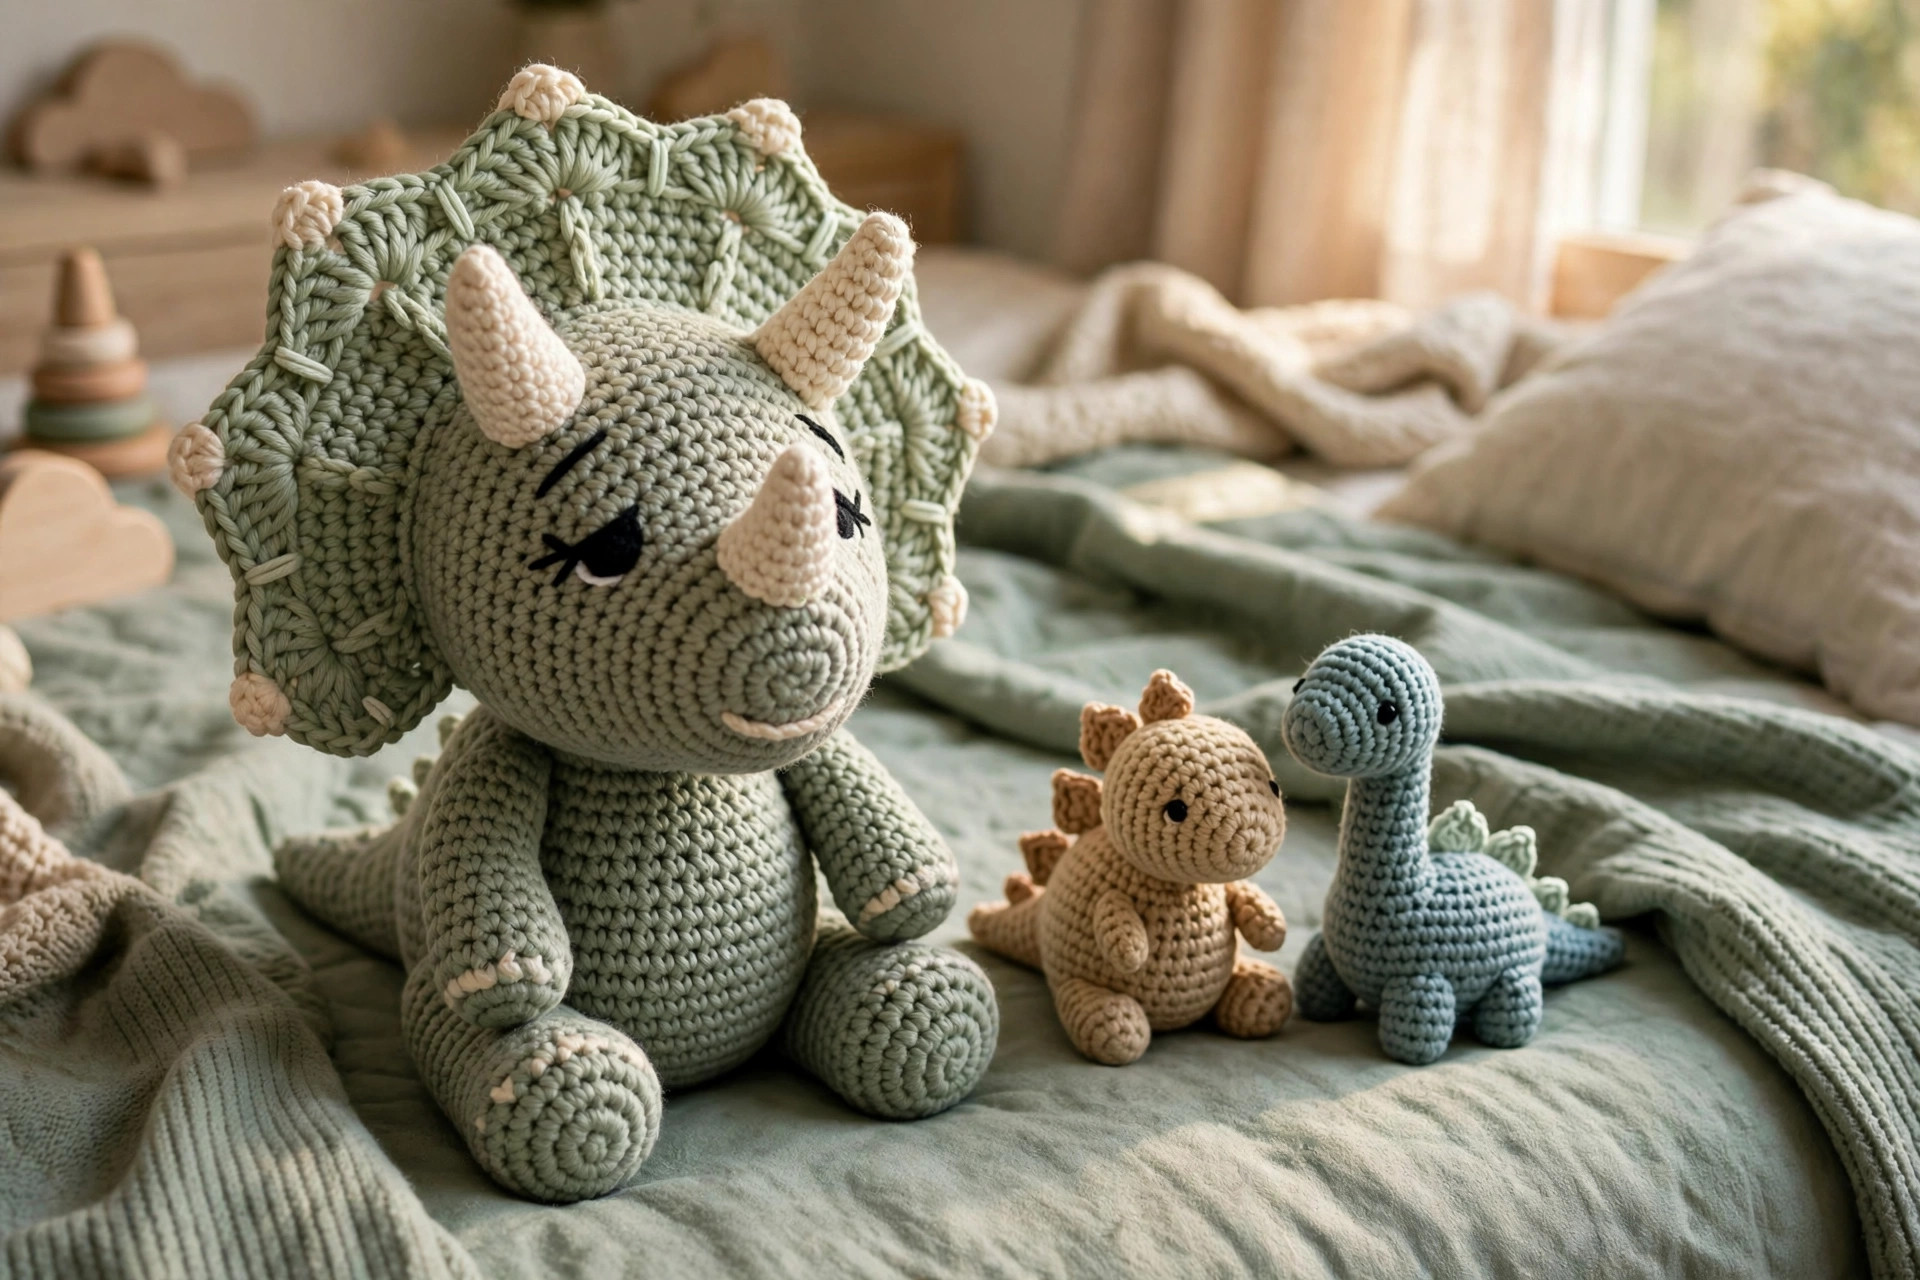
- Classic green: sage green body, cream frill and belly, brown horns. Our crochet dinosaur hat pattern makes a matching hat for the same child.
- Pastel nursery: soft mint body, blush pink frill, and cream horns. Our mini amigurumi patterns work in the same pastels.
- Bold rainbow: a bright teal body with a rainbow striped frill. Our crochet dragon pattern free uses the same horn and frill techniques.
- Tiny keychain: work it in DK yarn with a 3.0 mm hook for one about 5 inches long, and add a keyring. Our crochet turtle patterns shrink the same way.
If you enjoyed sewing this dinosaur together, try another amigurumi next, in the same yarn.
Troubleshooting Triceratops That Wobble or Lean
- My dinosaur wobbles and falls over. One leg is sewn higher than the others, so find the leg that does not touch the table and move it down a round or two.
- My head leans to one side. The head is sewn on unevenly, or the stuffing settled to one side. Unpick it, redistribute the stuffing, and sew it on again.
- My frill tilts or flops forward. The frill is sewn on too low or too loosely, so sew it higher on the back of the head, with several stitches along the straight edge.
- My stuffing shows through the stitches. Your stitches are too loose. Go down a hook size, and stuff with smaller handfuls.
Care Instructions
Hand wash a crochet triceratops gently in cool water with a little mild soap, squeeze gently without wringing, and reshape it while damp. Lay it flat to dry, or prop it upright so the legs dry straight. If the yarn label says machine washable, use a gentle cycle in a mesh laundry bag, and lay the toy flat to dry. Do not put it in the dryer on high heat, because the stuffing can clump. Keep it out of direct sunlight, and check the horns and eyes now and then.
Frequently Asked Questions
Is this triceratops crochet pattern good for beginners?
It is best for a confident beginner or an intermediate crocheter. You need the magic ring, single crochet in the round, increases and decreases, and basic sewing. If you have made one small amigurumi before, you will find this triceratops very manageable.
What yarn is best for a triceratops amigurumi?
Worsted weight yarn is the best choice, because it works up quickly and the stitches hold the stuffing inside. Acrylic is practical for a toy that will be washed, and cotton gives a slightly firmer toy. Avoid fuzzy yarns, because they hide the shaping.
Are safety eyes safe for a baby toy?
Safety eyes are fine for children over three, but for a baby under three, embroider the eyes with black yarn instead. Sew the horns on very firmly for a baby toy.
Why does my triceratops lean forward?
The head is heavier than the body, or it is sewn too far forward. Stuff the body firmly, especially at the front, and sew the head so it sits on top of the body. If it still leans, add extra stuffing to the back.
Can I sell items made from this pattern?
Yes, you may sell finished triceratops toys made from this pattern, with credit to Little Loop Finds. Please do not sell or republish the pattern text itself.
Happy stitching, and may your little triceratops roam happily in its new home.