Scarf with Sleeves Crochet Pattern (Wearable Shrug)
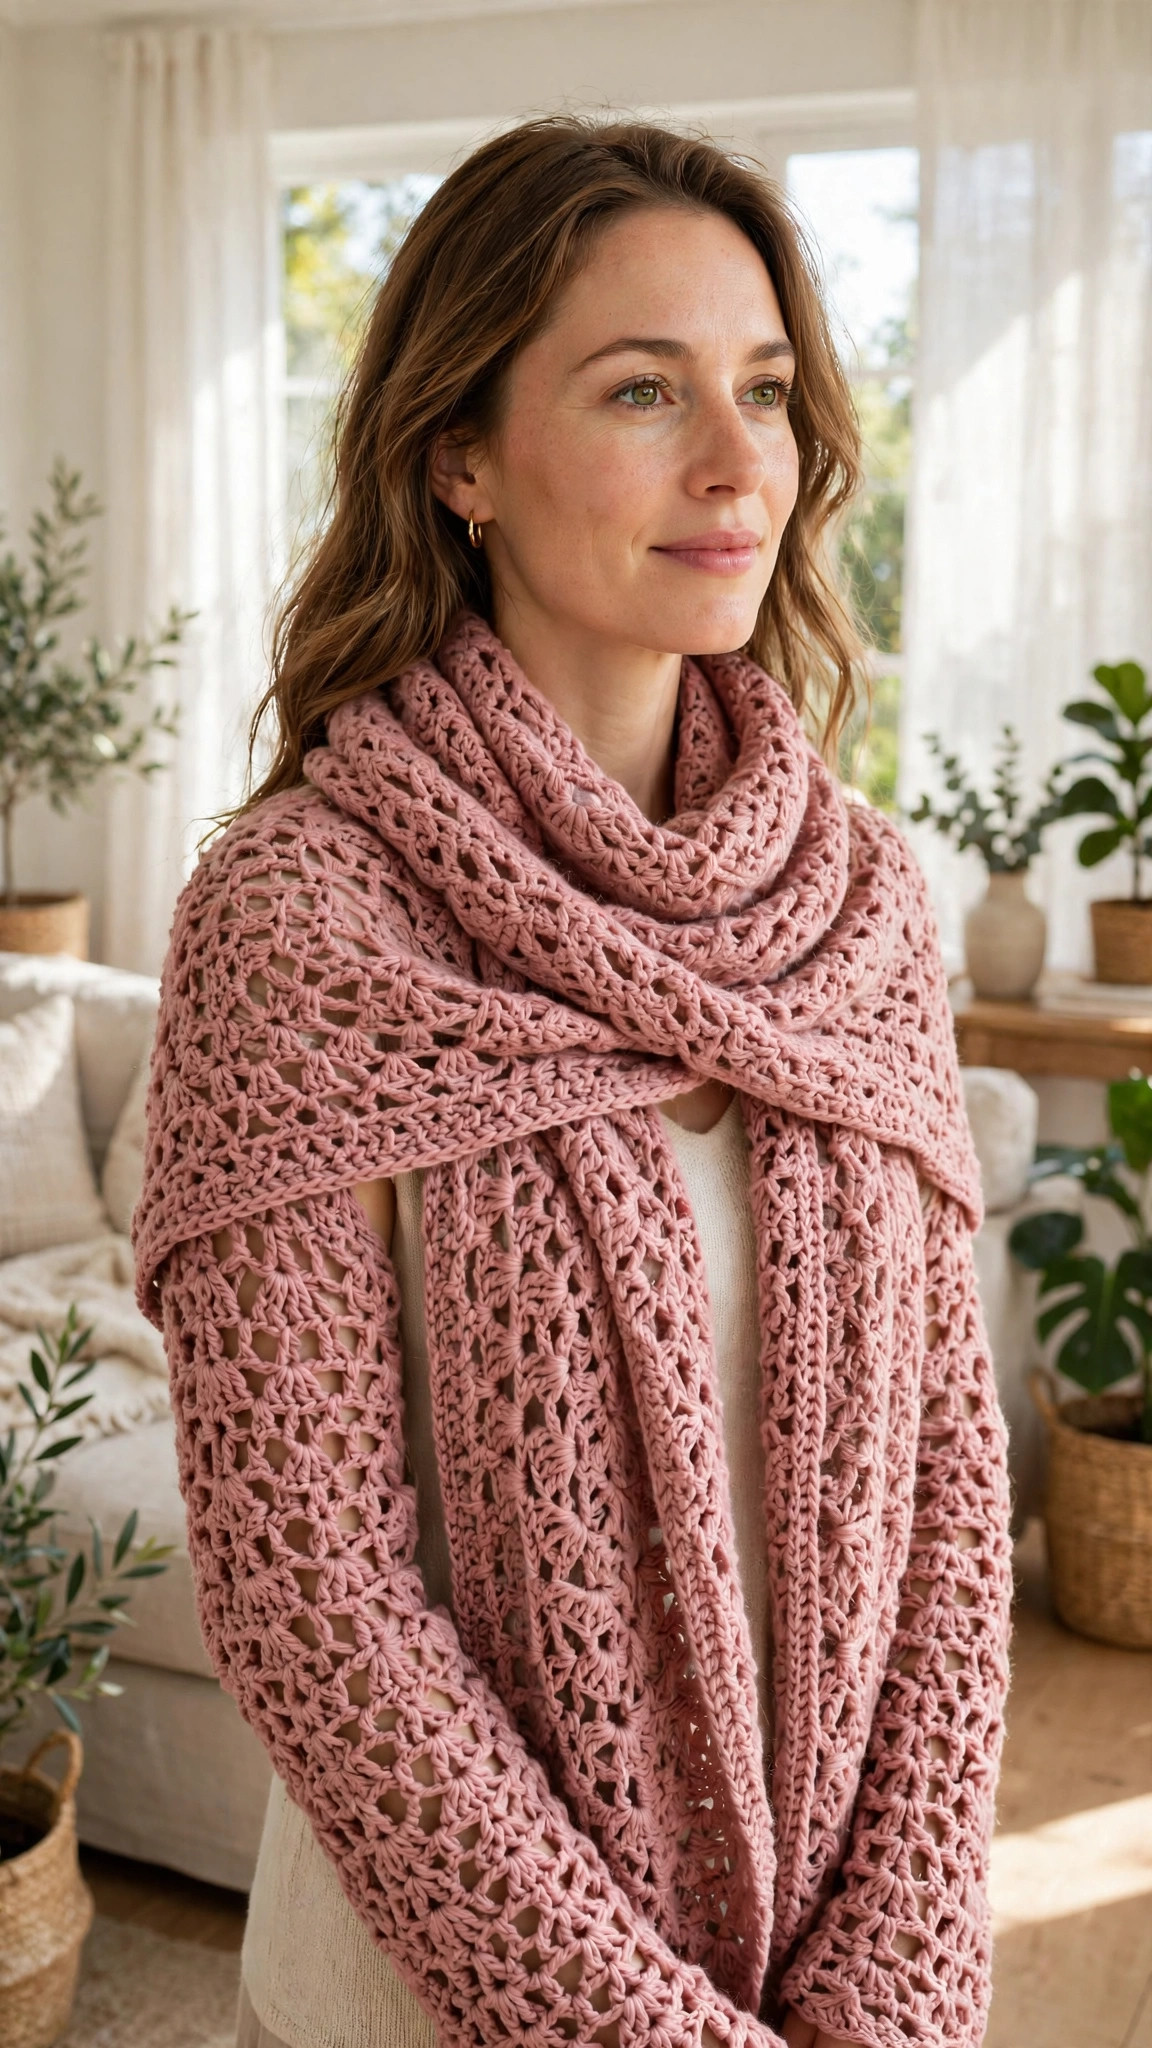
Crochet a wearable scarf shrug with cozy sleeves in about nine hours, then wrap it around your neck and wear it everywhere.

Patterns · Crochet
- Finished size
- 52 in long
- Making time
- 9 hours
- Hook
- US J-10 (6.0 mm)
- Set
- Scarf, sleeves
- Skill
- Easy
In this post
- Key Takeaways
- Table of Contents
- Why You Will Love This Sleeved Scarf
- Finished Size, Skill Level, and Time
- Materials You Need
- Abbreviations (US Terms)
- Gauge and Sizing Notes
- Part 1: The Scarf Body
- Part 2: The Sleeves
- Part 3: Assembly, Edging, and Finishing
- Variations: Colors, Lengths, and Uses
- Troubleshooting a Sleeved Scarf That Does Not Fit
- Care Instructions
- Frequently Asked Questions
A scarf with sleeves is the coziest thing you will ever crochet, and the cleverest. This free scarf with sleeves crochet pattern makes a wearable scarf shrug, a long warm scarf with sleeves built right in, so it stays on your shoulders, keeps your arms warm, and never slips off the way a plain scarf does. It takes about 9 hours, uses about 700 yards of yarn, and makes a lovely layer for cold mornings or a handmade gift.
This is an original Little Loop Finds design, written in US terms and completely free. The sleeved scarf is made from one long rectangle for the scarf body, plus two simple sleeve tubes worked in the round, joined with easy seams, so it is a great first garment project and a fun way to learn sleeve shaping.
A quick note on scope: this post is about one specific scarf with sleeves, a wearable scarf shrug worked as a long scarf body with two attached sleeves, worn wrapped around the neck with the arms through the sleeves. That makes it different from a plain scarf, which has no sleeves and cannot stay put on its own. If you want a classic scarf first, our basic crochet scarf patterns are the matching project.
Key Takeaways
- Free original pattern: a Little Loop Finds original design, written in US terms, and completely free.
- A wearable scarf shrug: a long scarf body with sleeves built in, so it stays on and keeps your arms warm.
- Two sizes: written for S/M and L/XL, with a simple rectangle body and sleeves worked in the round.
- Simple stitches: worked with half double crochet, double crochet, and single crochet edging only.
- A 9 hour project: one sleeved scarf takes about 9 hours, worked one piece at a time.
Table of Contents
- Why You Will Love This Sleeved Scarf
- Finished Size, Skill Level, and Time
- Materials You Need
- Abbreviations (US Terms)
- Gauge and Sizing Notes
- Part 1: The Scarf Body
- Part 2: The Sleeves
- Part 3: Assembly, Edging, and Finishing
- Variations: Colors, Lengths, and Uses
- Troubleshooting a Sleeved Scarf That Does Not Fit
- Care Instructions
- Frequently Asked Questions
Why You Will Love This Sleeved Scarf
A scarf with sleeves solves the one annoying thing about scarves, which is that they slip off. The sleeves hold the scarf in place on your shoulders, so you can reach for a mug or carry a bag without the whole thing sliding to the floor. The scarf part wraps once around your neck for warmth, and the sleeves keep your arms cozy, so the whole piece works like a shrug and a scarf at the same time.
The sleeved scarf is one long rectangle plus two sleeve tubes, worked in soft half double crochet rows. There is no complicated shaping to worry about, no neckline to fit, and no armhole decreases. You can make the scarf body in a few relaxed evenings, then work the sleeves in the round while you watch a show.
Finished Size, Skill Level, and Time
- Finished size: two sizes. S/M has a 52 inch scarf body and 17 inch sleeves. L/XL has a 60 inch scarf body and 18 inch sleeves. The scarf body is 9 inches wide, and each sleeve is about 13 inches around at the upper arm.
- Skill level: Easy. You need a chain, half double crochet, double crochet, single crochet, and basic seaming. The sleeves are worked in the round, which is the only new skill, and the pattern explains each round step by step.
- Time: about 9 hours per sleeved scarf: 5 hours for the scarf body, 1.5 hours for each sleeve, and 1 hour for assembly, edging, and finishing.
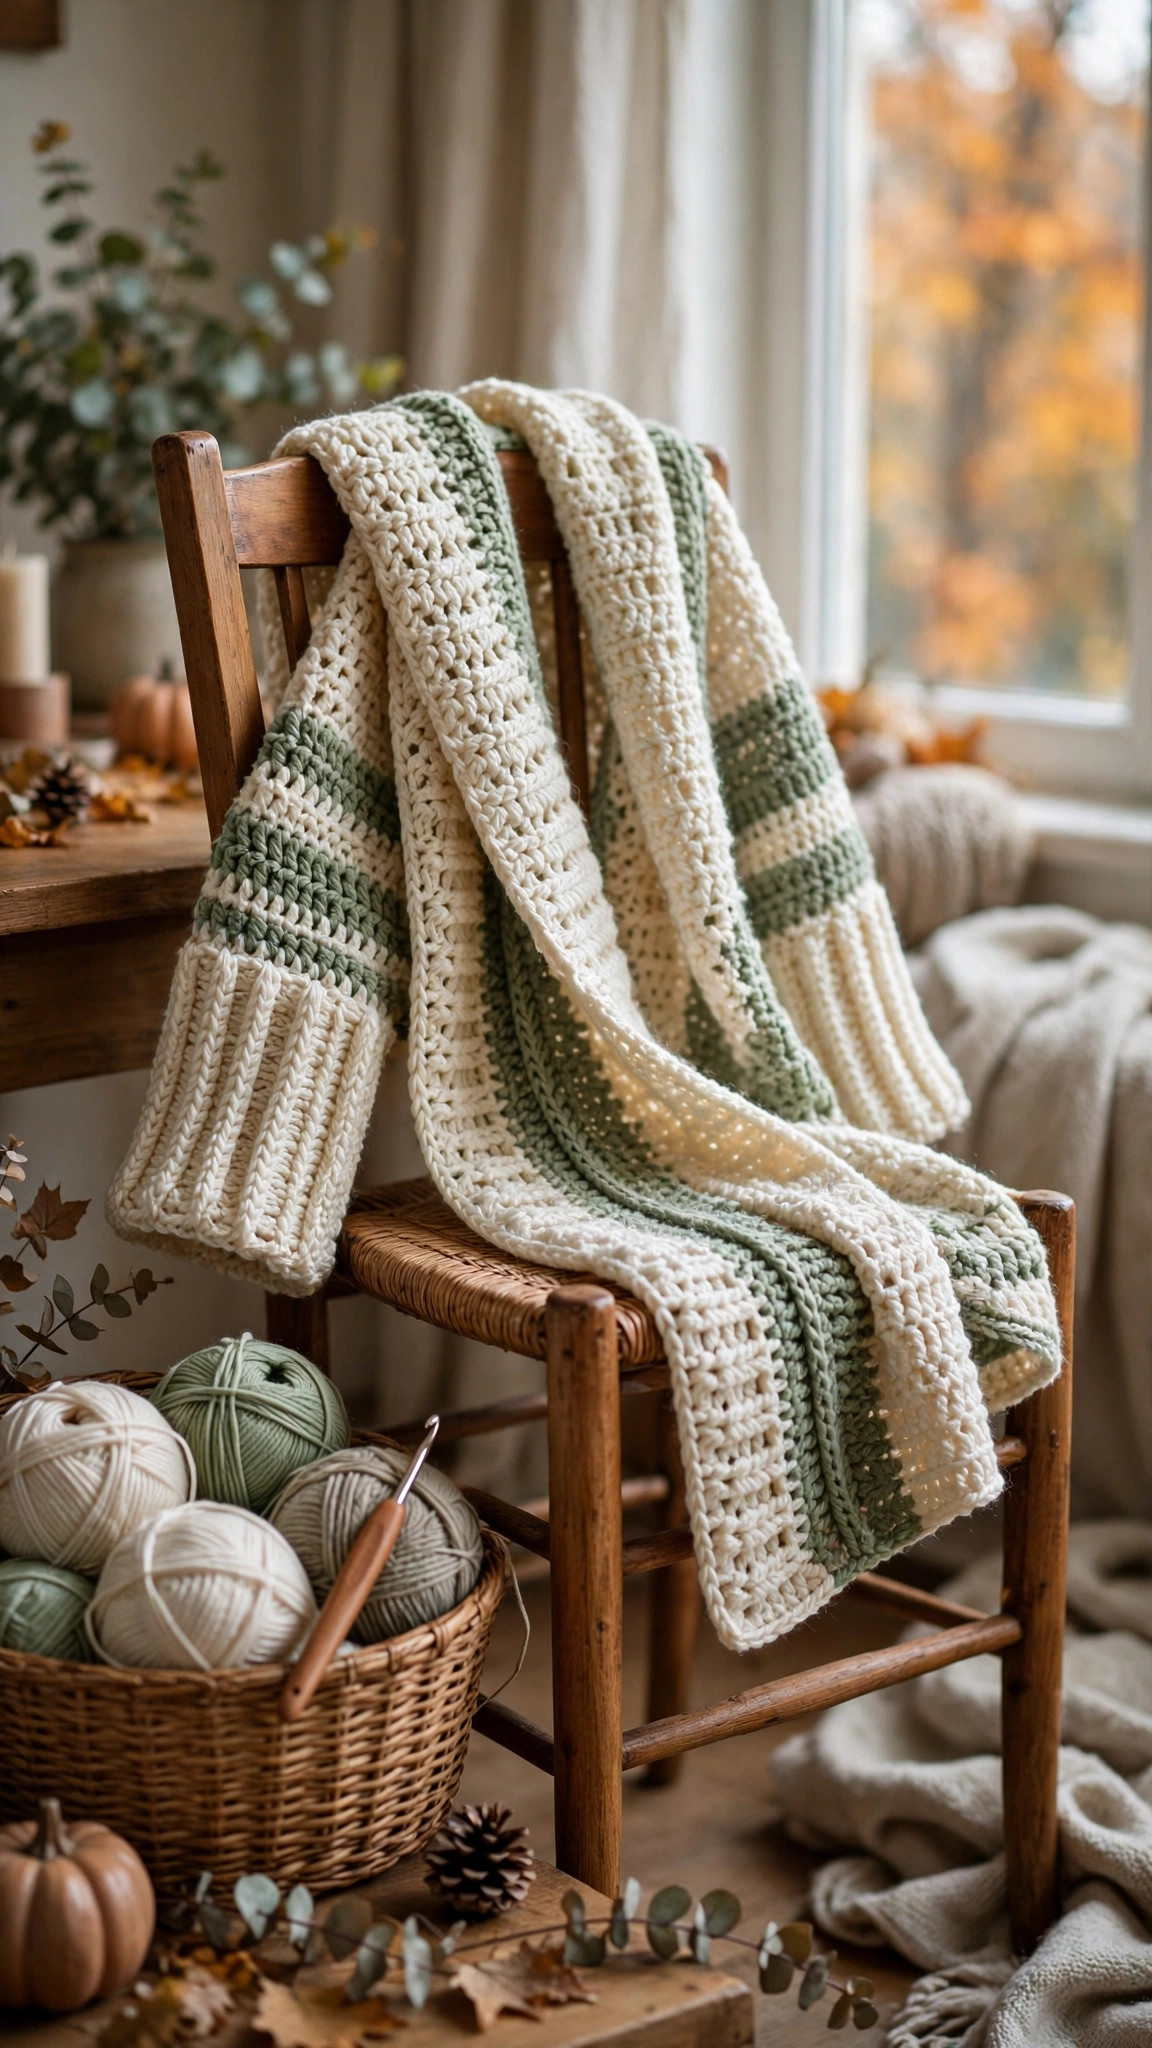
Materials You Need
| Item | What to get |
|---|---|
| Yarn, main color | Worsted weight yarn in dusty rose or cream, 700 yards for S/M (850 for L/XL) |
| Hook | US J-10 (6.0 mm), or the size that gives you the gauge below |
| Notions | Tapestry needle, scissors, tape measure, stitch markers |
Worsted weight yarn is the best choice for a scarf with sleeves because it is warm, works up quickly, and holds the half double crochet texture well. A soft acrylic yarn works well for everyday wear, because it washes easily and comes in every color. A wool blend yarn is the best choice if you want the warmest scarf.
A tape measure is the most important notion for this project, because the scarf body is sized by inches, not by stitch counts alone. Measure the scarf body as you work, and compare it to the size table below before you move on to the sleeves.
Abbreviations (US Terms)
- ch = chain
- sl st = slip stitch
- sc = single crochet
- hdc = half double crochet
- dc = double crochet
- st(s) = stitch(es)
- rep = repeat
- RS = right side
- WS = wrong side
- FO = fasten off
Gauge and Sizing Notes
Gauge matters on a sleeved scarf because the scarf body is sized in inches, and a wrong gauge makes a scarf that is too short to wrap or too wide to sit neatly. Work a swatch of 12 hdc and 9 rows in the main color. It should be about 4 inches wide and 4 inches tall.
The pattern is written in two sizes, with the S/M size given first and the L/XL size in parentheses as S/M (L/XL). The scarf body is 9 inches wide for both sizes and 52 (60) inches long. Each sleeve is 17 (18) inches long and about 13 (14) inches around at the upper arm. To make a longer scarf, work more rows on the scarf body, about 3 rows for every extra inch. Measure your own arm from shoulder to wrist before you pick a sleeve length. Our crochet cardigan sweater pattern uses the same gauge swatch method if you want to practice the sizing on a larger garment first.
Part 1: The Scarf Body
The sleeved scarf starts with one long rectangle, worked flat in half double crochet rows from one end to the other. The texture is soft and stretchy, and the rows run across the short width of the scarf, so the fabric drapes well when it wraps around your neck. Work in rows, and turn at the end of each row.
With the main color, chain 28. This chain gives a scarf body 9 inches wide.
- Row 1: hdc in the 3rd ch from the hook and in each ch across. (26 hdc, counting the turning chain as the first hdc)
- Row 2: ch 2, turn, hdc in each st across. (26)
- Rows 3 to 118 (136): rep row 2.
The scarf body should be 52 (60) inches long when you reach row 118 (136). Measure it from end to end, and stretch it gently first, because half double crochet fabric relaxes with handling. If the scarf is shorter than the target length, work more rows until it measures the right length. Fasten off, leaving a 12 inch tail at each end for the fringe, if you plan to add it. Count your stitches at the end of every tenth row, because a missed or extra stitch will make the scarf wider at one end than the other.
The two ends of the scarf body are where the sleeves will attach, so keep them square. Lay the finished scarf flat and check that both ends are straight and the same width. Our crochet scarf patterns for beginners show the same half double crochet fabric on a plain scarf if you want to practice the stitch first.
Part 2: The Sleeves
The sleeves are what make this scarf special. Each sleeve is a tube worked in the round from the cuff up to the shoulder, with a gentle increase near the top so it fits the upper arm. Make two sleeves, exactly the same.
Sleeve Tubes
With the main color, chain 30 (34). Join with a sl st to the first ch to form a ring, taking care not to twist the chain. Place a stitch marker in the first stitch of the round.
- Round 1: ch 2, hdc in each ch around, join with a sl st to the top of the ch 2. (30 [34] hdc, counting the turning chain as the first hdc)
- Rounds 2 to 6: ch 2, hdc in each st around, join with a sl st. (30 [34])
- Round 7: ch 2, hdc in the first st, 2 hdc in the next st, hdc in each st around, join with a sl st. (31 [35])
- Rounds 8 to 12: ch 2, hdc in each st around, join with a sl st. (31 [35])
- Round 13: ch 2, hdc in the first st, 2 hdc in the next st, hdc in each st around, join with a sl st. (32 [36])
- Rounds 14 to 18: ch 2, hdc in each st around, join with a sl st. (32 [36])
- Round 19: ch 2, hdc in the first st, 2 hdc in the next st, hdc in each st around, join with a sl st. (33 [37])
- Rounds 20 to 24: ch 2, hdc in each st around, join with a sl st. (33 [37])
- Round 25: ch 2, hdc in the first st, 2 hdc in the next st, hdc in each st around, join with a sl st. (34 [38])
- Rounds 26 to 30 (32): ch 2, hdc in each st around, join with a sl st. (34 [38])
Each sleeve should be 17 (18) inches long when you reach round 30 (32). Measure it from the cuff edge to the top edge, and try it on your arm if you can. If you want a shorter sleeve that ends at the forearm, stop after round 22. Fasten off, leaving a 12 inch tail for seaming. Our arm warmer crochet pattern uses the same in the round sleeve shape if you want to practice the tube on a smaller project first.
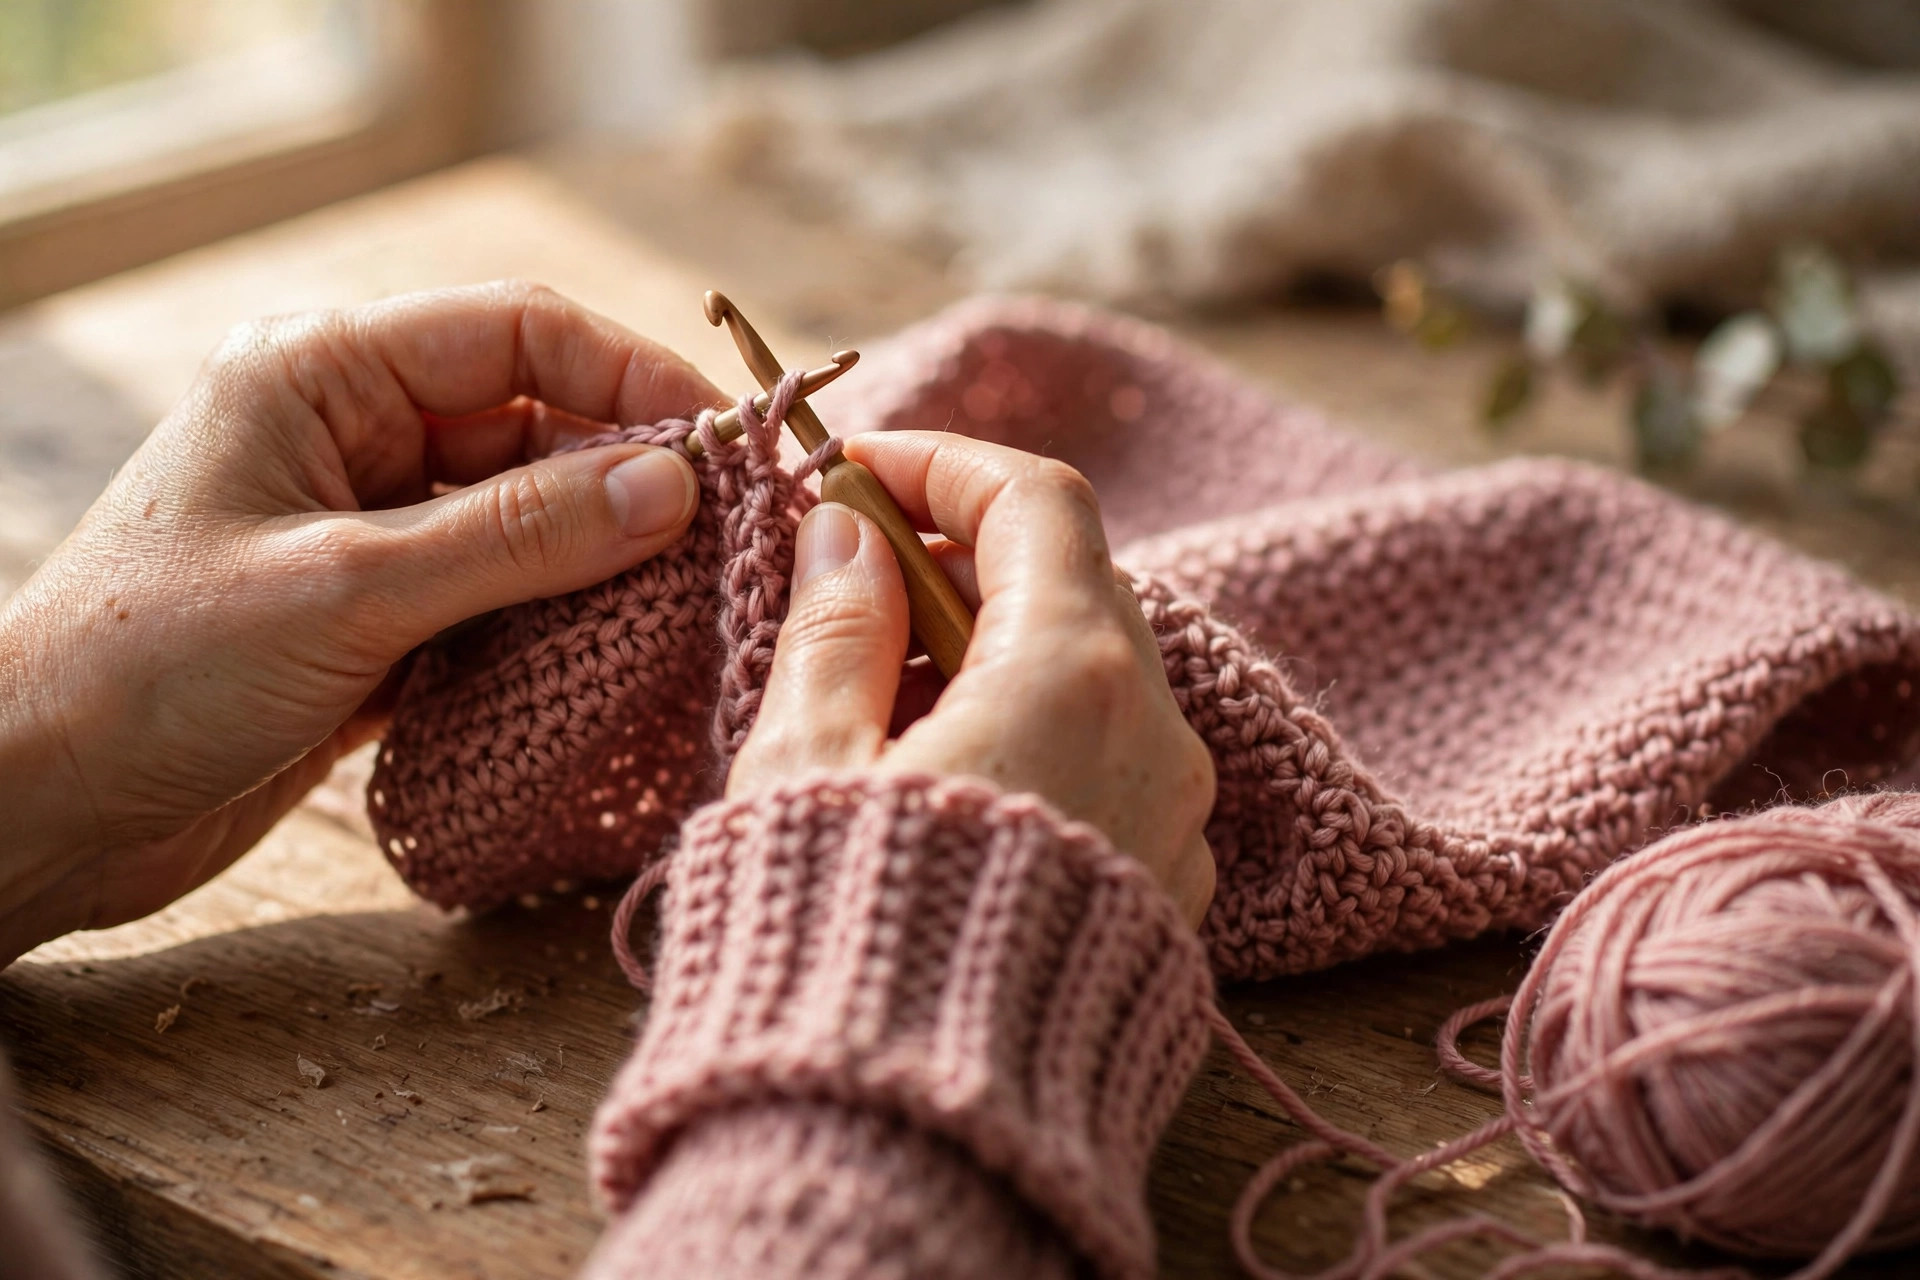
Shaping the Sleeve Cuff
The cuff edge of each sleeve gets a simple ribbed border before assembly, so the sleeve hugs the wrist and does not flare open. With the main color, work 2 rounds of sc around the bottom edge of each sleeve, then work 1 round of front post and back post double crochet alternating around for a stretchy ribbed cuff.
Part 3: Assembly, Edging, and Finishing
This is the part where one long scarf and two tubes become a wearable garment. Mark the sleeve positions, sew the sleeves to the scarf ends, add a neat edge around the whole piece, and finish with fringe if you like.
Attaching the Sleeves
Lay the scarf body flat with the right side up. Measure in 13 (15) inches from each end and place a stitch marker at that point on each side edge of the scarf. These markers show where the top edge of each sleeve will join the scarf, and the 13 (15) inch section between the marker and the end of the scarf is the part that wraps around your neck and shoulders.
Take one sleeve and pin its top edge to the scarf along the side edge, lining up the sleeve opening with the marked section. The sleeve opening is about 11 inches around, and the marked section is 13 (15) inches long, so ease the extra length in evenly with a few small folds. Thread a tapestry needle with the tail from the sleeve, and sew the sleeve to the scarf with a whip stitch, working through the sleeve edge and the scarf edge one stitch at a time. Keep your stitches small and even, and pull each stitch snug so the seam lies flat. Sew the second sleeve the same way on the other end of the scarf.
Turn the piece right side out and try it on. Put your arms through the sleeves and wrap the scarf once around your neck. The scarf ends should hang down your front, and the sleeves should sit comfortably on your shoulders without pulling. If a sleeve feels tight at the top, take out the seam and re-sew it with a little more ease. Our crochet cloak pattern uses the same whip stitch seam if you want to practice the joining on another wearable first.
Edging and Fringe
Work a single crochet edge around the whole scarf body, starting at one end, along the long side edge, around the sleeve join, and back along the other side. Work 1 sc in each row end along the long edges, and 1 sc in each stitch along the short ends. Work 2 sc in each corner so the edge turns neatly.
For the fringe, cut 26 strands of yarn, each 10 inches long. Fold each strand in half, pull the folded loop through a stitch at the end of the scarf with your hook, then pull the loose ends through the loop and tighten. Space 13 strands evenly across each end, and trim the fringe to about 4 inches long. If you prefer a clean look without fringe, skip this step and work one more round of single crochet around the ends instead. Our crochet vest pattern uses the same single crochet edge if you want to see the finish on a simpler garment first.
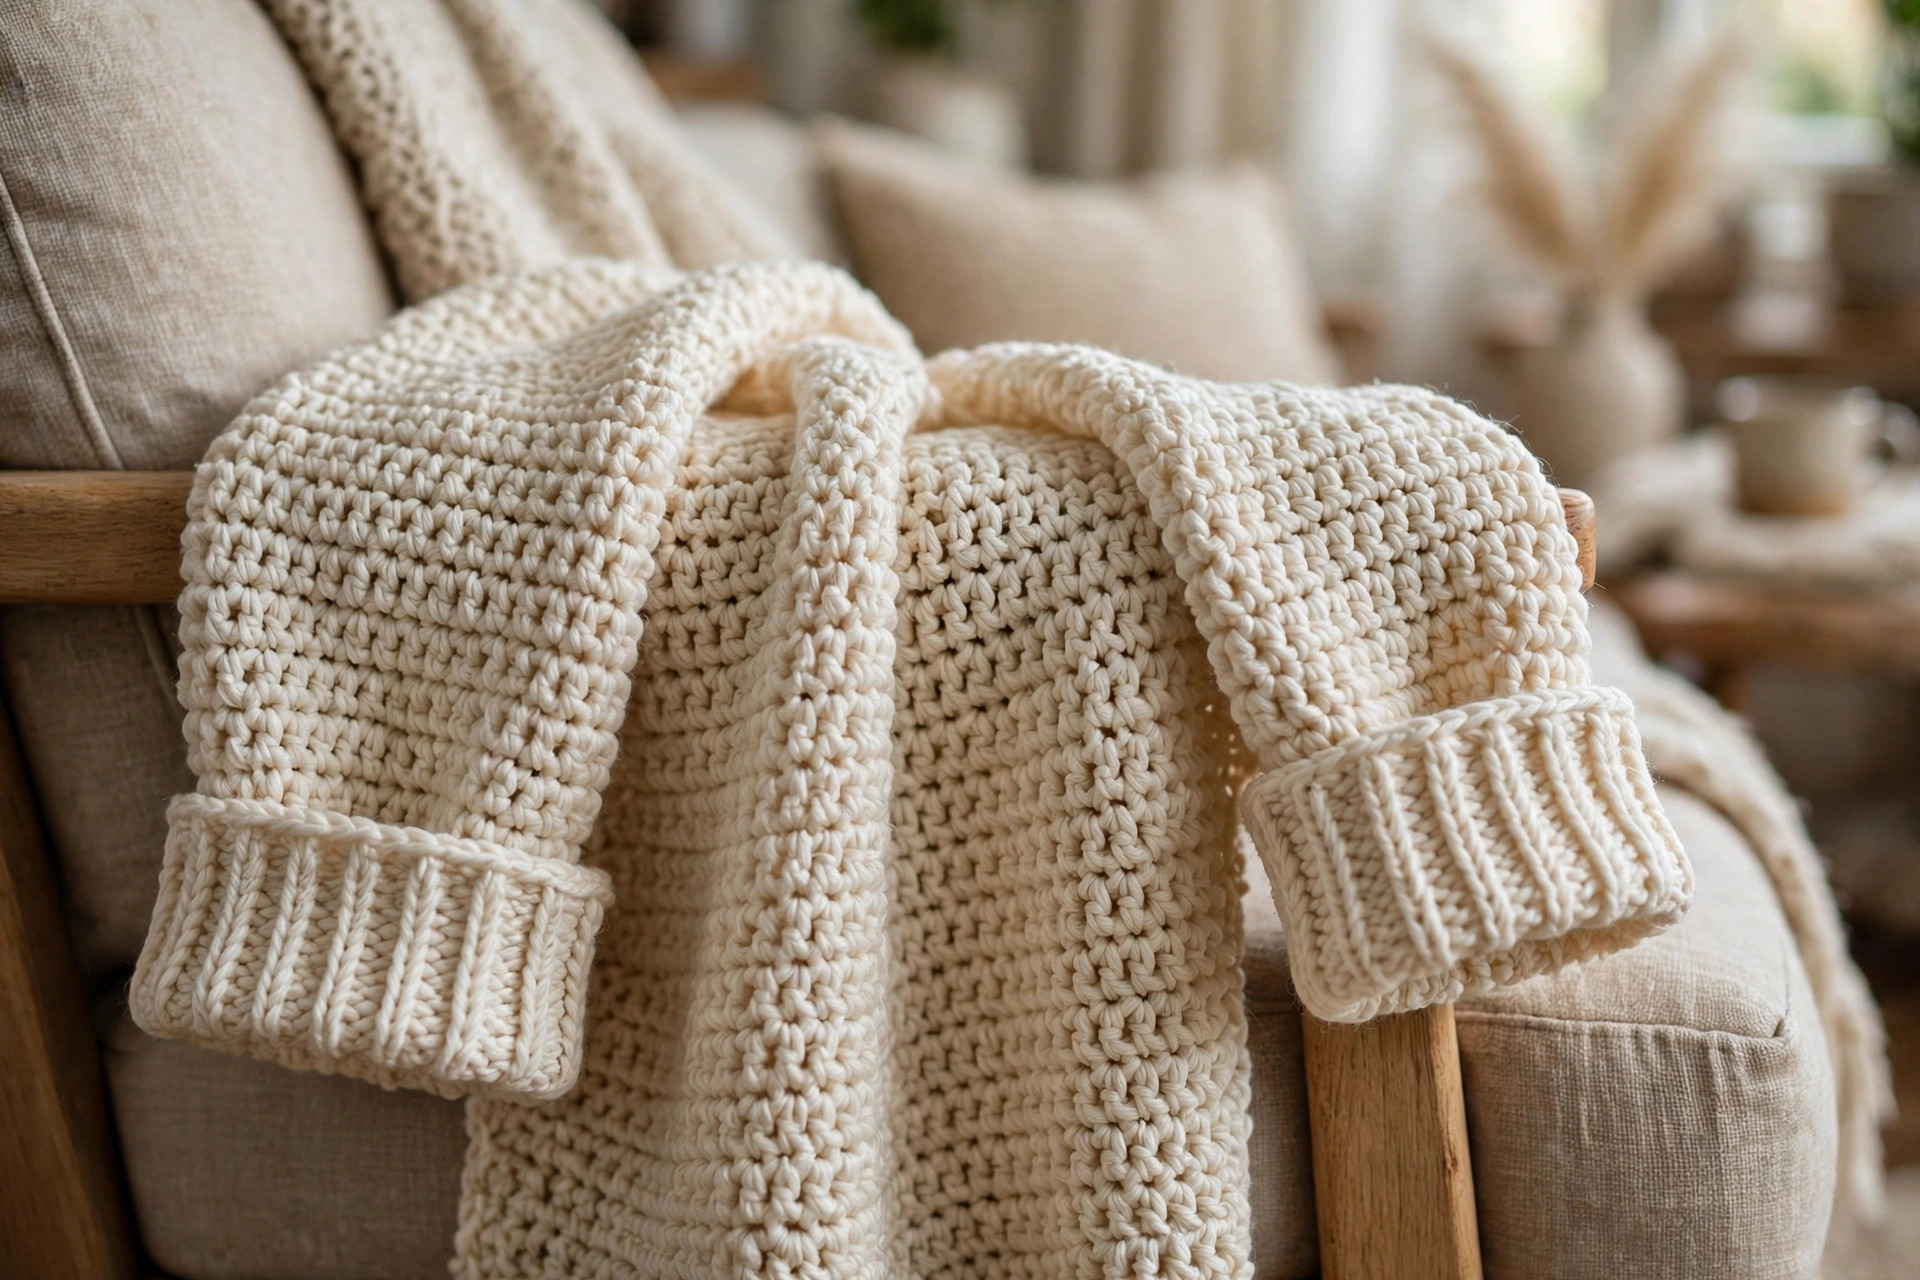
Variations: Colors, Lengths, and Uses
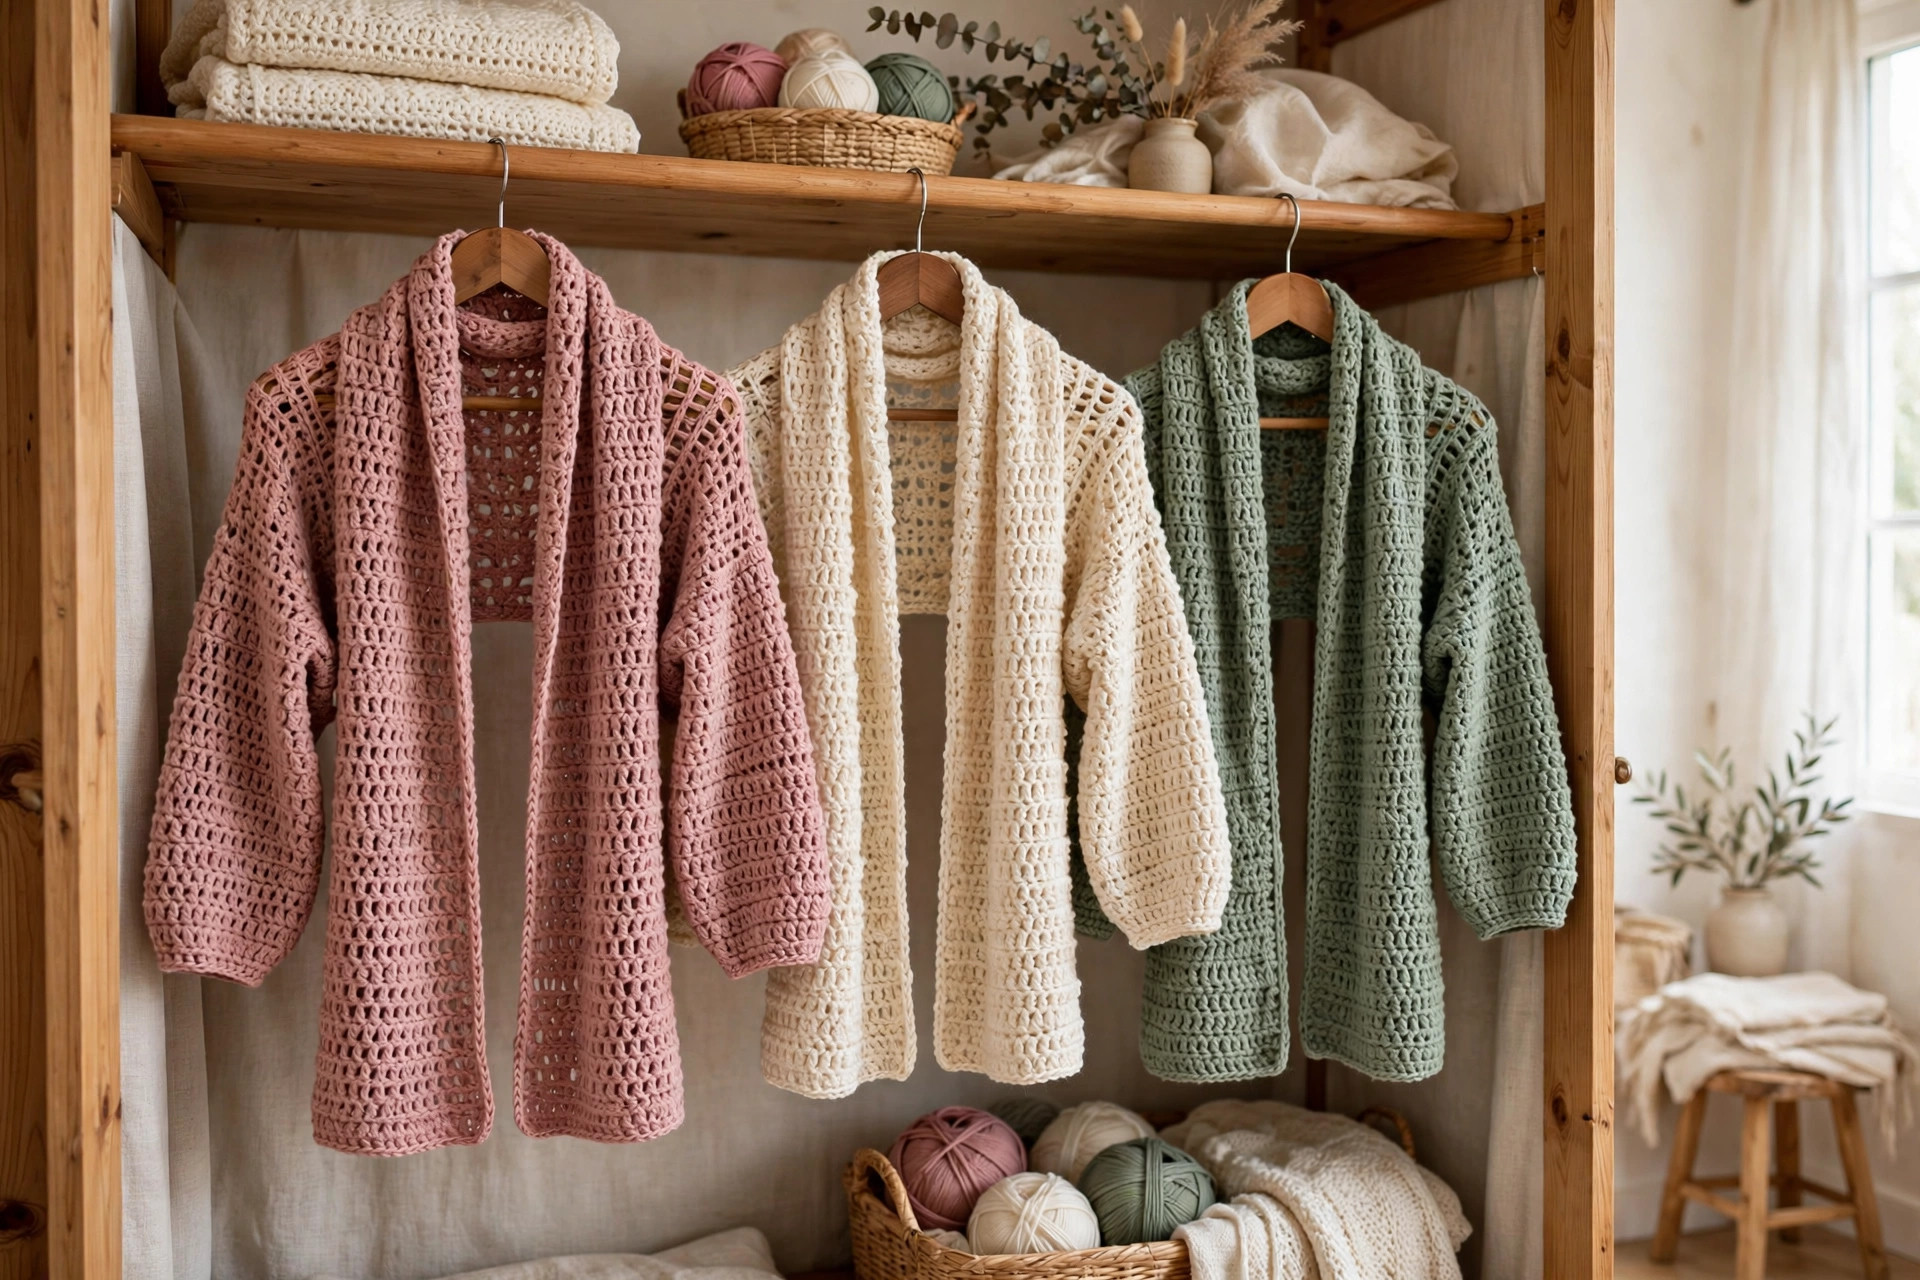
- Classic dusty rose: work the sleeved scarf in dusty rose, just as written, for a soft layer that goes with everything.
- Cream and sage stripes: work the scarf body in cream, and work the sleeves in sage green, for a two tone look that shows off the sleeve shape.
- Long wrap version: work the scarf body to 72 inches long instead of 52, so it wraps twice around the neck for extra warmth.
- Short shrug version: work the scarf body to 40 inches long and skip the fringe, for a neat shoulder shrug that sits close to the body.
- Gift set: pair a sleeved scarf with a matching hat in the same yarn for a handmade gift set that looks planned.
Troubleshooting a Sleeved Scarf That Does Not Fit
- My scarf is too short to wrap. The gauge is too loose in length, or you stopped too soon. Work more rows on the scarf body, about 3 rows for every extra inch, and measure before you fasten off.
- My scarf is too wide. The gauge is too loose, or you added stitches. Go down a hook size, or take out the rows where the width changed.
- My sleeves are too tight. The starting chain was too small, or the increases were missed. Go up a hook size for the sleeves, or add one more increase round near the top of each sleeve.
- My sleeves hang unevenly. One sleeve was pinned lower than the other. Take out the sleeve seam, re-pin the sleeve with the markers lined up on both ends, and sew it again.
- My scarf slips off my shoulders. The scarf body is too long between the sleeves, or the sleeves sit too far apart. Move the sleeve markers 2 inches closer to the ends and re-sew the sleeves.
Care Instructions
Hand wash a crocheted sleeved scarf in cool water with a mild detergent, and press the water out gently without wringing. Reshape the scarf body and the sleeves and lay the piece flat to dry away from direct heat. Store the sleeved scarf folded in a drawer, never on a hanger, because hanging stretches the sleeves out of shape.
Frequently Asked Questions
Is this scarf with sleeves pattern good for beginners?
Yes, it is best for an easy crocheter who knows half double crochet and single crochet. The sleeves are worked in the round, and the pattern explains each round step by step, so it is a great first garment.
What yarn is best for a scarf with sleeves?
Worsted weight yarn is the best choice, because it is warm, works up quickly, and holds the half double crochet texture well. A soft acrylic yarn works well for everyday wear, because it washes easily. A wool blend yarn is the best choice if you want the warmest scarf.
How do I pick the right size for this sleeved scarf?
Measure your arm from shoulder to wrist, then pick the size that covers that number. S/M has 17 inch sleeves and a 52 inch scarf body, and L/XL has 18 inch sleeves and a 60 inch scarf body. If you fall between sizes, pick the larger size for a looser fit, because the wrap fit is forgiving.
Can I make the scarf longer or shorter?
Yes, you can change the length easily. Work 3 more rows on the scarf body for every extra inch of length, or 3 fewer rows for every inch you want to remove. For a long wrap version that goes twice around the neck, work the scarf body to 72 inches long.
How is a scarf with sleeves different from a plain scarf?
A scarf with sleeves is a wearable scarf shrug, a long scarf body with two sleeves built in, so it stays on your shoulders and keeps your arms warm. A plain scarf has no sleeves and slips off easily. This pattern makes a sleeved scarf, not a plain scarf. If you want a classic scarf, see our basic crochet scarf patterns. This post is only about the sleeved scarf.
Can I sell scarves made from this pattern?
Yes, you may sell finished scarves made from this free pattern, with credit to Little Loop Finds. Do not sell or republish the pattern text itself. A sleeved scarf in a soft neutral color makes a lovely item for a market stall.
Happy stitching, and may your little sleeved scarf keep you warm on every cold morning.