Puppy Crochet Pattern (Floppy-Eared Amigurumi Pup)
Crochet a soft floppy-eared amigurumi puppy toy with brown spots in about four hours, then give it to someone who loves dogs.

Patterns · Crochet
- Finished size
- 8 in tall
- Making time
- 4 hours
- Hook
- US G-6 (4.0 mm)
- Set
- Puppy, ears, spots
- Skill
- Easy
In this post
- Key Takeaways
- Table of Contents
- Why You Will Love This Puppy
- Finished Size, Skill Level, and Time
- Materials You Need
- Abbreviations (US Terms)
- Gauge and Sizing Notes
- Part 1: The Head and the Snout
- Part 2: The Body, Legs, and Tail
- Part 3: The Ears, Spots, and Assembly
- Variations: Colors, Sizes, and Uses
- Troubleshooting a Puppy That Does Not Look Right
- Care Instructions
- Frequently Asked Questions
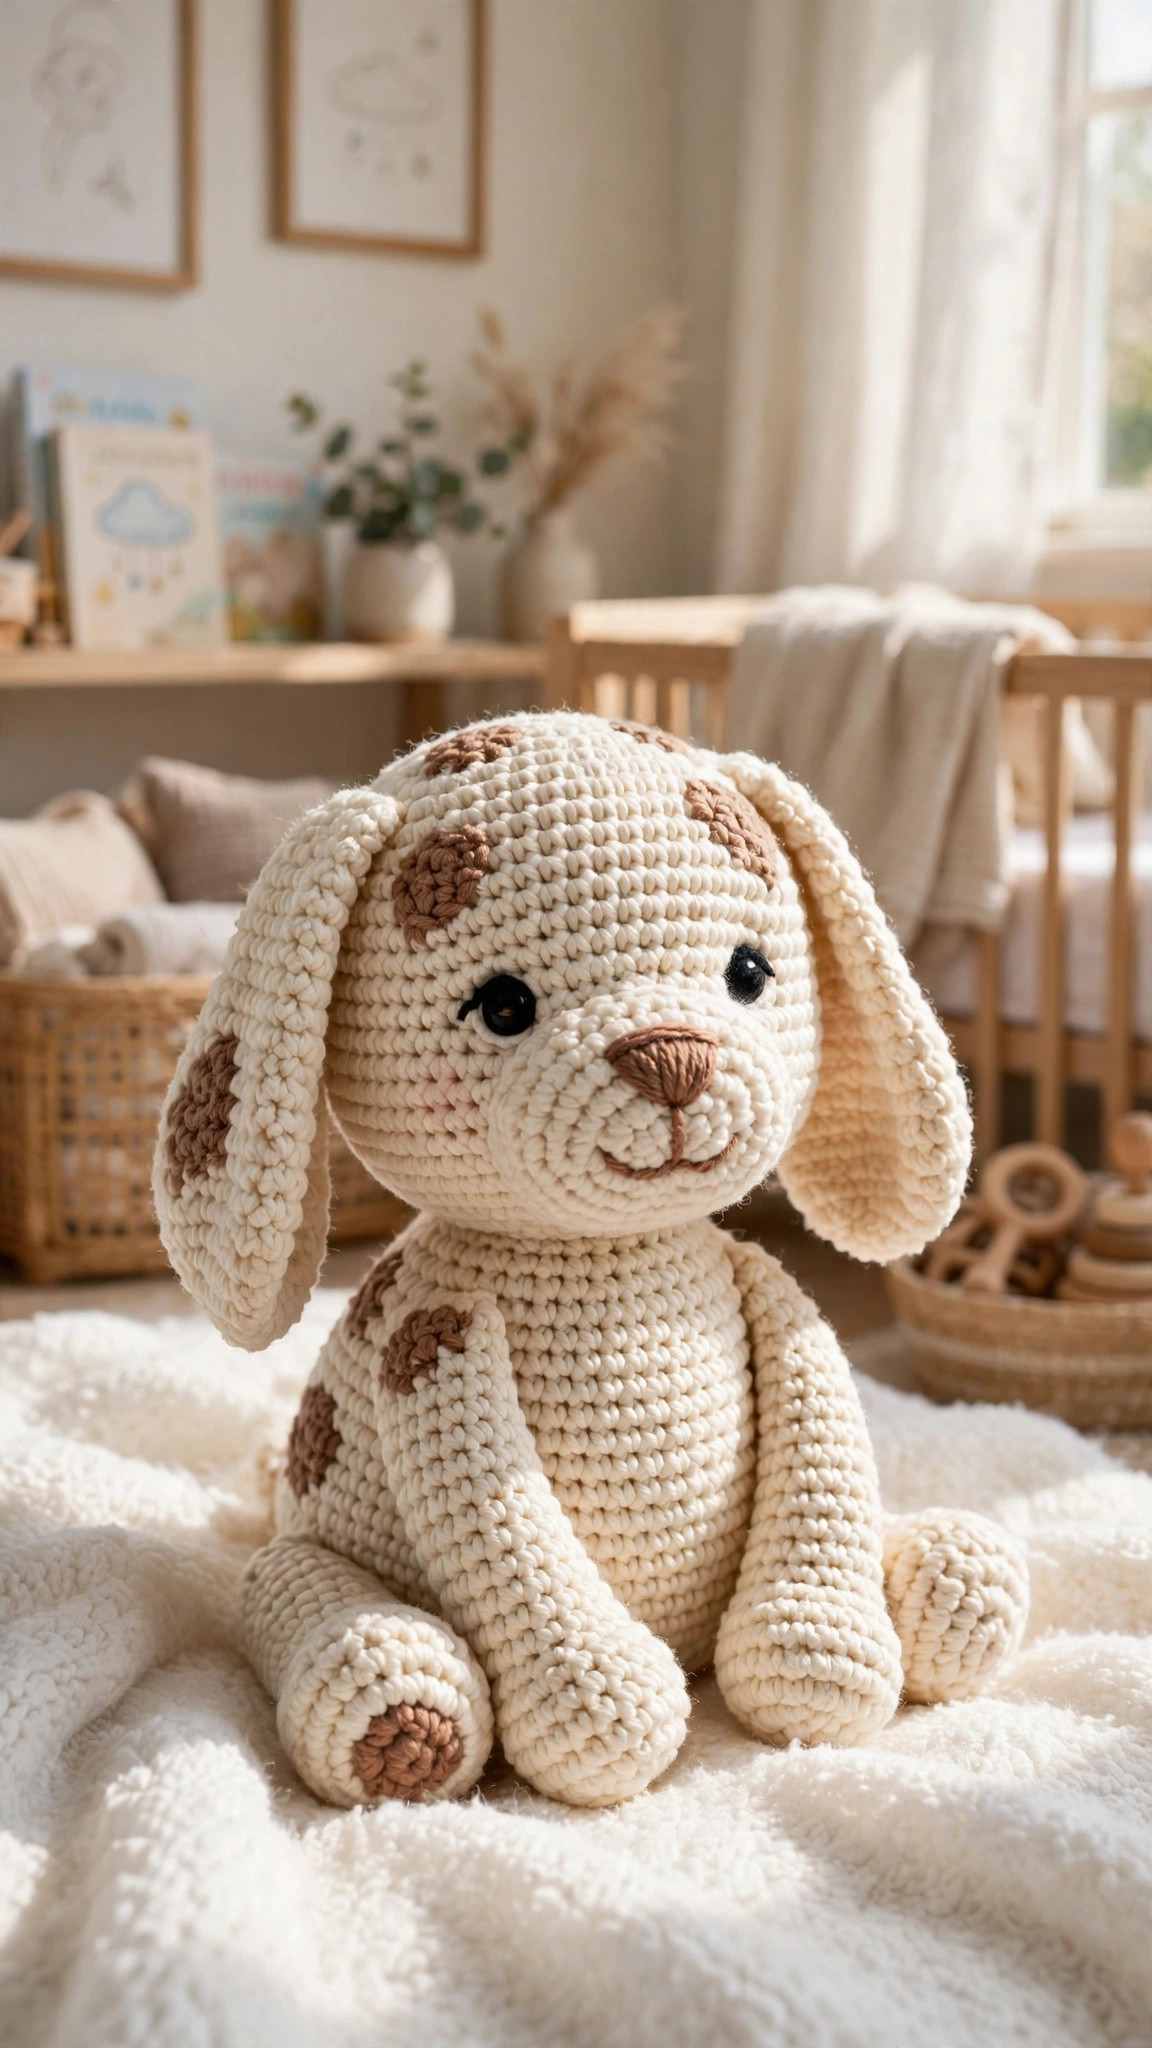
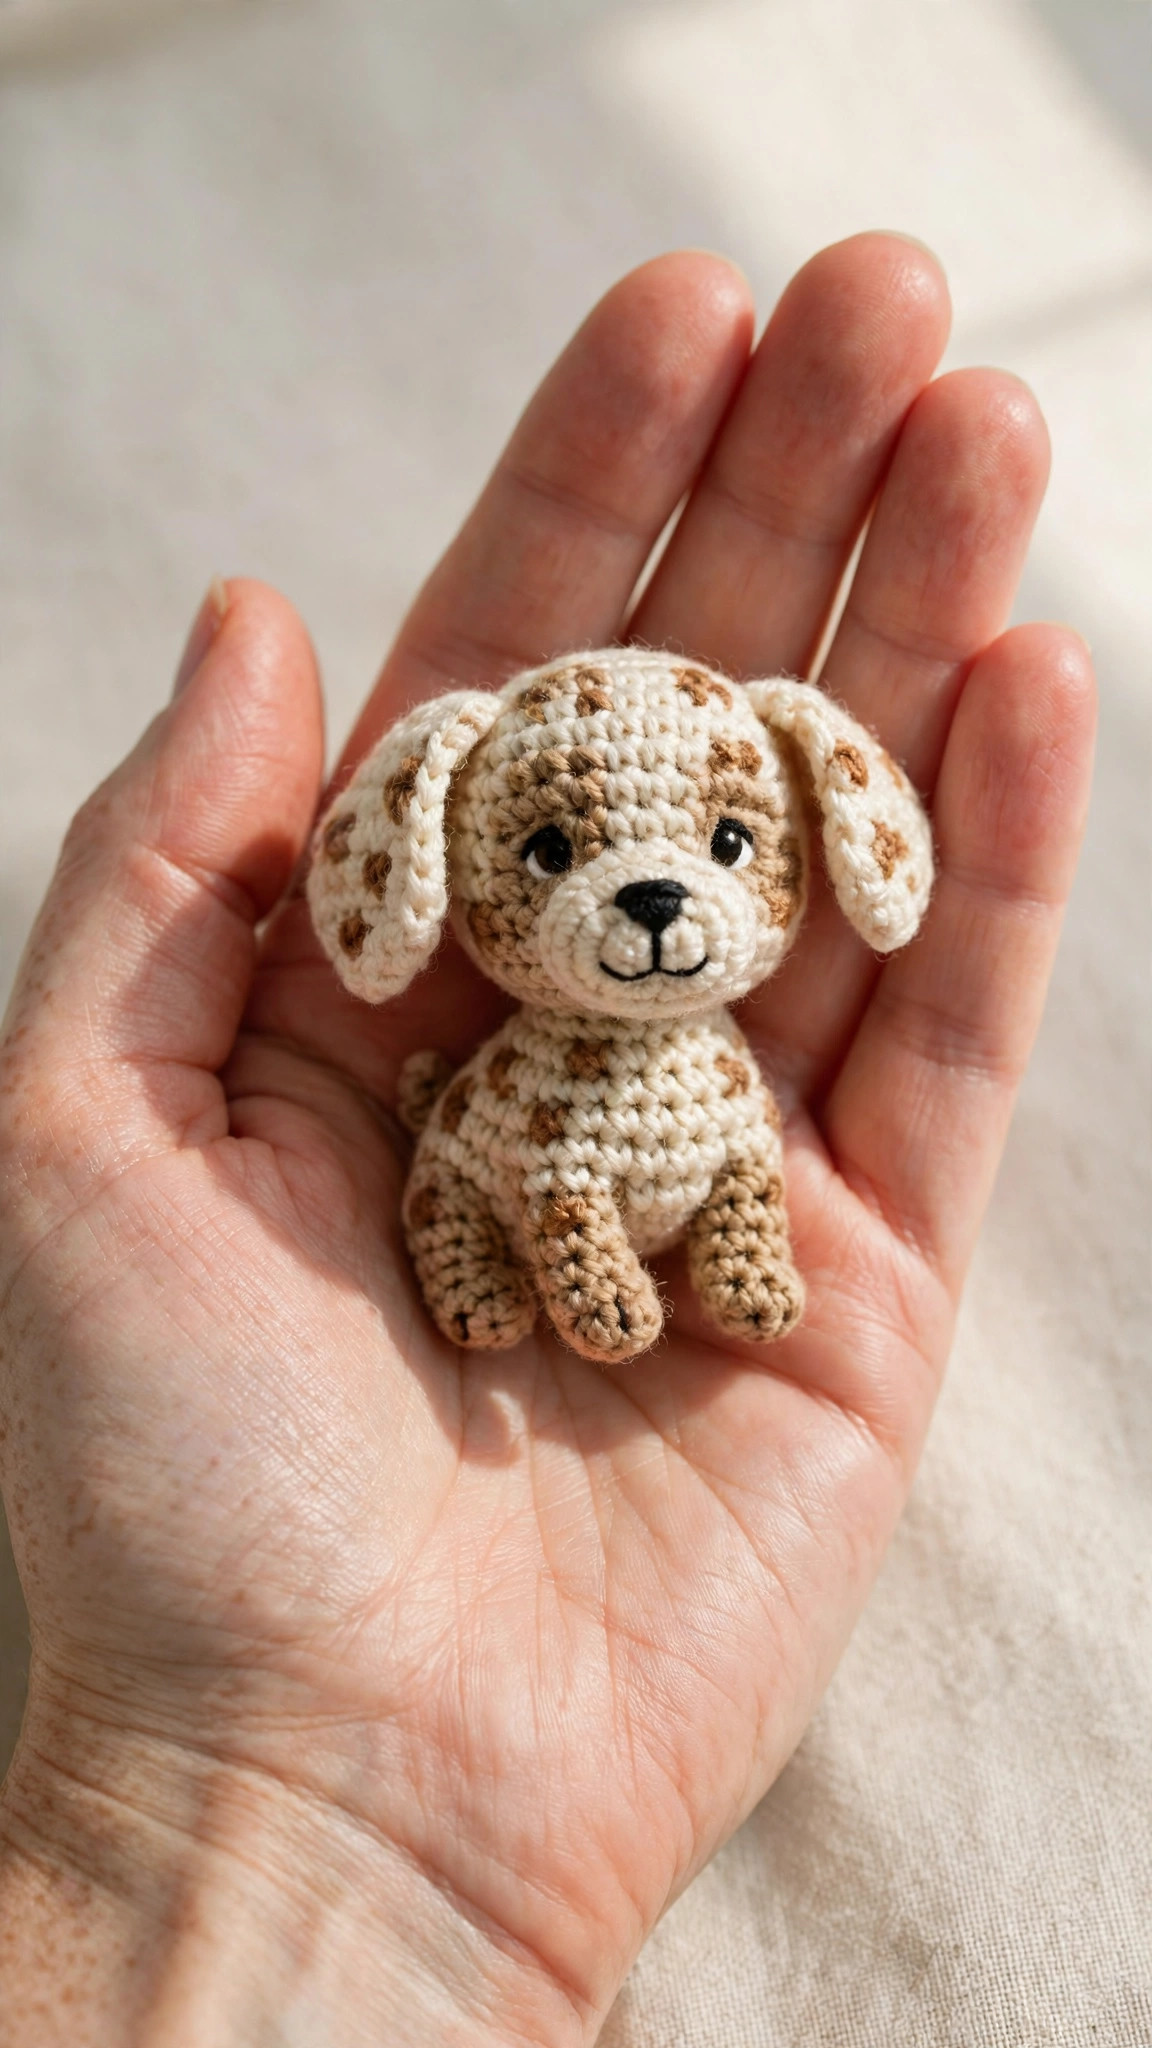
A puppy crochet pattern is the sweetest way to turn a ball of yarn into a best friend. This free puppy crochet pattern makes a soft amigurumi puppy with long floppy ears, sweet brown spots, and a happy sitting pose, worked in the round with simple stitches. It takes about 4 hours, uses less than two skeins of yarn, and makes a wonderful gift or a cuddly toy for a child who loves dogs.
This is an original Little Loop Finds design, written in US terms and completely free. The puppy is made in separate pieces, a round head, a plump body, floppy ears, a snout, legs, a tail, and spots, then sewn together. Every piece uses the same simple increase and decrease rhythm.
A quick note on scope: this post is about one specific puppy, a floppy-eared sitting puppy toy with spots, made as a soft amigurumi friend. It is a toy, not a garment or an accessory, so it is different from a dog sweater or a dog collar. If you want something your real dog can wear, our crochet dog collar pattern is the matching project. If you want a matching blanket to go with this puppy, try our crystal waves crochet pattern for a soft ripple throw.
Key Takeaways
- Free original pattern: a Little Loop Finds original design, written in US terms, and completely free.
- A floppy-eared sitting puppy: a soft amigurumi puppy toy with long floppy ears, brown spots, and a happy sitting pose.
- An 8 inch puppy: about 8 inches tall when sitting, and about 6 inches wide.
- Simple amigurumi stitches: worked in the round with single crochet, increases, and decreases only.
- A 4 hour project: one puppy takes about 4 hours, including sewing the pieces together.
Table of Contents
- Why You Will Love This Puppy
- Finished Size, Skill Level, and Time
- Materials You Need
- Abbreviations (US Terms)
- Gauge and Sizing Notes
- Part 1: The Head and the Snout
- Part 2: The Body, Legs, and Tail
- Part 3: The Ears, Spots, and Assembly
- Variations: Colors, Sizes, and Uses
- Troubleshooting a Puppy That Does Not Look Right
- Care Instructions
- Frequently Asked Questions
Why You Will Love This Puppy
A crochet puppy is the kind of toy that gets picked up again and again. The soft yarn body is gentle in small hands, the floppy ears are fun to hold, and the sitting pose means the puppy can sit on a bed or a shelf without toppling over. Make one in cream and brown, just as written, or match the colors to a real dog you love.
The spots are the best part, because they make every puppy look a little different. One spot over the eye gives your puppy a cheeky wink, and a spot on the back makes it look like a real spaniel.
Finished Size, Skill Level, and Time
- Finished size: about 8 inches tall when sitting and about 6 inches wide at the base. The head is about 4 inches wide.
- Skill level: Easy to intermediate. You need a magic ring, single crochet, increases, decreases, and basic sewing. The pieces are all simple rounds.
- Time: about 4 hours per puppy: 1 hour for the head and snout, 1 hour for the body, legs, and tail, 1 hour for the ears and spots, and 1 hour for assembly.
Materials You Need
| Item | What to get |
|---|---|
| Yarn, main color | Worsted weight yarn in cream, 150 yards |
| Yarn, spot color | Worsted weight yarn in brown, 60 yards |
| Yarn, accent color | Worsted weight yarn in tan, 30 yards |
| Hook | US G-6 (4.0 mm), or the size that gives you the gauge below |
| Notions | Tapestry needle, scissors, tape measure, stitch markers, polyester stuffing, 12 mm safety eyes, black embroidery floss |
Medium weight yarn is the best choice for an amigurumi puppy because it holds its shape, shows the stitches clearly, and stands up to lots of cuddling. Cotton yarn gives a firm, smooth finish, while acrylic yarn is softer and easier to wash. Avoid very fuzzy yarns, because they hide the shaping. If this puppy is for a baby under three, skip the safety eyes and embroider the eyes with black yarn instead, so there are no small parts.
Use a stitch marker at the start of each round, and count your stitches at the end of each increase and decrease round. Stuff the pieces firmly but not so tightly that the stuffing shows through. Our amigurumi body pattern free uses the same round shaping if you want to practice the body first.
Abbreviations (US Terms)
- MR = magic ring
- ch = chain
- sl st = slip stitch
- sc = single crochet
- hdc = half double crochet
- dc = double crochet
- inc = increase (2 sc in the same stitch)
- dec = decrease (sc 2 together)
- st(s) = stitch(es)
- rep = repeat
- RS = right side
- FO = fasten off
Gauge and Sizing Notes
Gauge matters on amigurumi because it decides whether the stuffing shows through. Work a swatch of 12 sc and 12 rows in the main color. It should be about 3 inches wide and 3 inches tall. If it is wider, go down a hook size. If it is narrower, go up a hook size.
The pattern is written for a puppy about 8 inches tall when sitting. To make a smaller puppy, about 6 inches tall, use a US F-5 (3.75 mm) hook and the same stitch counts. To make a larger puppy, about 10 inches tall, use a US H-8 (5.0 mm) hook with bulky yarn and the same counts. Do not change the stitch counts, because the shaping depends on the increase and decrease rhythm.
Part 1: The Head and the Snout
The puppy starts with the head, a round ball worked from the top down, with a smaller snout sewn onto the front. Work in continuous rounds, and place a stitch marker at the start of each round.
The Head
With the main color, work in continuous rounds.
- Round 1: MR, 6 sc in the ring. (6)
- Round 2: inc in each st around. (12)
- Round 3: (sc, inc) rep 6 times. (18)
- Round 4: (2 sc, inc) rep 6 times. (24)
- Round 5: (3 sc, inc) rep 6 times. (30)
- Round 6: (4 sc, inc) rep 6 times. (36)
- Round 7: (5 sc, inc) rep 6 times. (42)
- Rounds 8 to 13: sc in each st around. (42)
- Round 14: (5 sc, dec) rep 6 times. (36)
- Round 15: (4 sc, dec) rep 6 times. (30)
- Round 16: (3 sc, dec) rep 6 times. (24)
Stuff the head firmly at round 16, shaping it into a round ball as you go. Add the safety eyes between rounds 11 and 12, about 8 stitches apart, before you finish stuffing, so the backs lock inside the head.
- Round 17: (2 sc, dec) rep 6 times. (18)
- Round 18: (sc, dec) rep 6 times. (12)
- Round 19: dec in each st around. (6)
Fasten off and weave the tail through the last 6 stitches to close the hole. The head should be a smooth round ball about 4 inches wide, with no flat spots and no lumps.
The Snout
With the accent color, work in continuous rounds.
- Round 1: MR, 6 sc in the ring. (6)
- Round 2: inc in each st around. (12)
- Round 3: (sc, inc) rep 6 times. (18)
- Round 4: (2 sc, inc) rep 6 times. (24)
- Rounds 5 to 6: sc in each st around. (24)
- Round 7: (2 sc, dec) rep 6 times. (18)
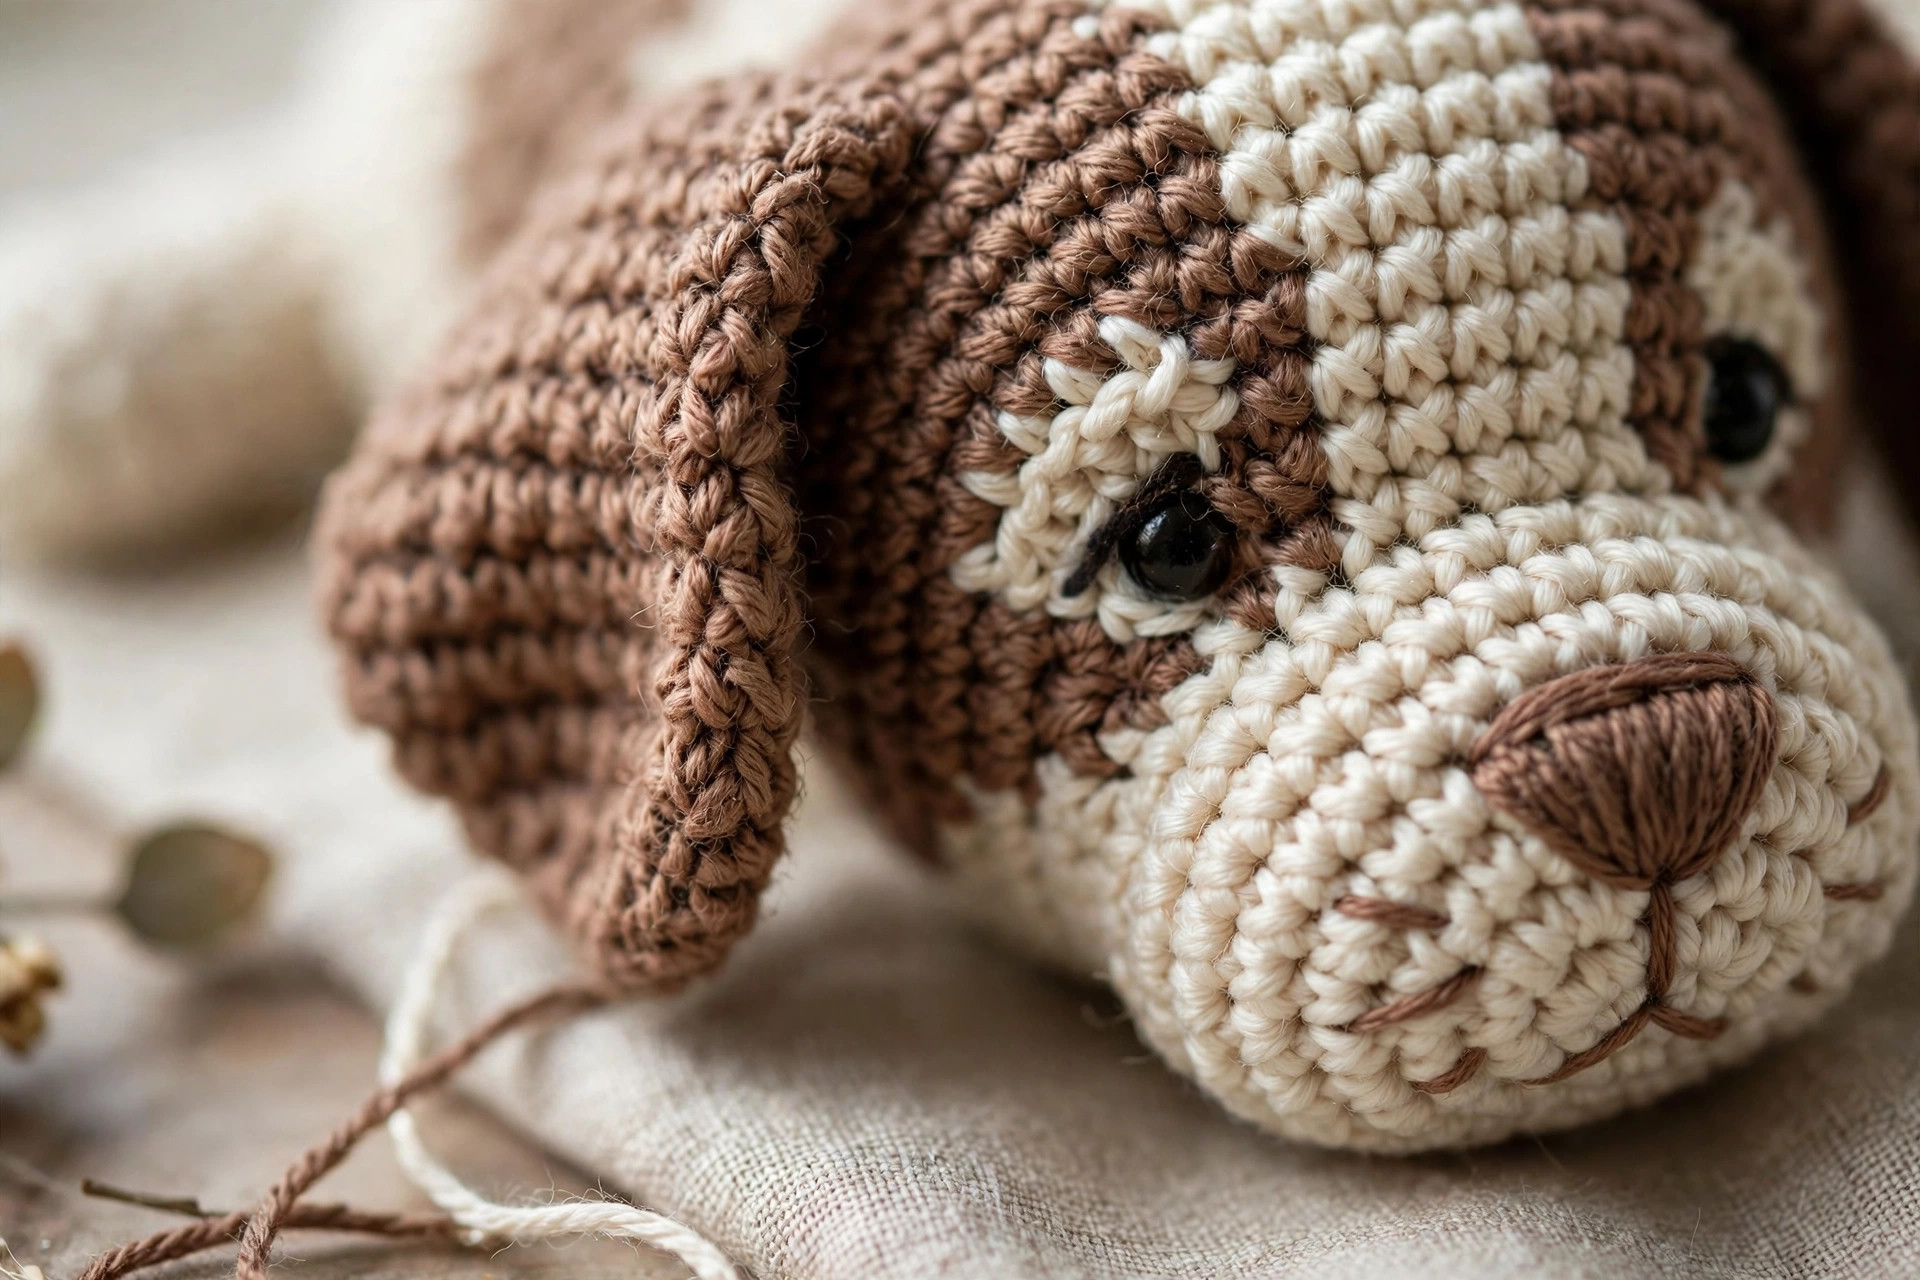
Fasten off, leaving a long tail for sewing. Stuff the snout lightly, keeping it soft and slightly flat, so it sits neatly on the front of the head. Sew the snout to the lower front of the head, centered between the eyes, with the top edge of the snout just below the eye line. Use the black embroidery floss to stitch a small triangle nose on the top of the snout and a short vertical line down to a tiny smile.
Part 2: The Body, Legs, and Tail
The body is a plump oval worked from the bottom up, with four short legs and a small curled tail. Work in continuous rounds, and place a stitch marker at the start of each round.
The Body
With the main color, work in continuous rounds.
- Round 1: MR, 6 sc in the ring. (6)
- Round 2: inc in each st around. (12)
- Round 3: (sc, inc) rep 6 times. (18)
- Round 4: (2 sc, inc) rep 6 times. (24)
- Round 5: (3 sc, inc) rep 6 times. (30)
- Round 6: (4 sc, inc) rep 6 times. (36)
- Rounds 7 to 13: sc in each st around. (36)
- Round 14: (4 sc, dec) rep 6 times. (30)
- Round 15: (3 sc, dec) rep 6 times. (24)
- Round 16: (2 sc, dec) rep 6 times. (18)
Stuff the body firmly at round 16, shaping it into a plump oval that is slightly wider at the bottom, so the puppy can sit up on its own.
- Round 17: (sc, dec) rep 6 times. (12)
- Round 18: dec in each st around. (6)
Fasten off and close the hole the same way as the head. The body should be about 5 inches tall and about 4 inches wide at the base, with a flat bottom that lets it sit without wobbling.
The Front Legs (Make 2)
With the main color, work in continuous rounds.
- Round 1: MR, 6 sc in the ring. (6)
- Round 2: inc in each st around. (12)
- Rounds 3 to 7: sc in each st around. (12)
- Round 8: (sc, dec) rep 4 times. (8)
Fasten off, leaving a long tail for sewing. Stuff the legs lightly, keeping them soft and slightly flat at the top. Sew the front legs to the lower front of the body, side by side, with the paws pointing forward, so the puppy looks like it is sitting up and begging.
The Back Legs (Make 2)
With the main color, work in continuous rounds.
- Round 1: MR, 6 sc in the ring. (6)
- Round 2: (sc, inc) rep 3 times. (9)
- Round 3: (2 sc, inc) rep 3 times. (12)
- Rounds 4 to 6: sc in each st around. (12)
Fasten off, leaving a long tail for sewing. Stuff the back legs lightly and flatten them slightly. Sew them to the lower sides of the body, angled forward, like a real puppy sitting on the floor. Our crochet panda bear pattern free uses the same seated leg placement.
The Tail
With the accent color, work in continuous rounds.
- Round 1: MR, 6 sc in the ring. (6)
- Rounds 2 to 6: sc in each st around. (6)
Fasten off, leaving a long tail for sewing. Do not stuff the tail. Sew it to the back of the body, low down, with a slight upward curl.
Part 3: The Ears, Spots, and Assembly
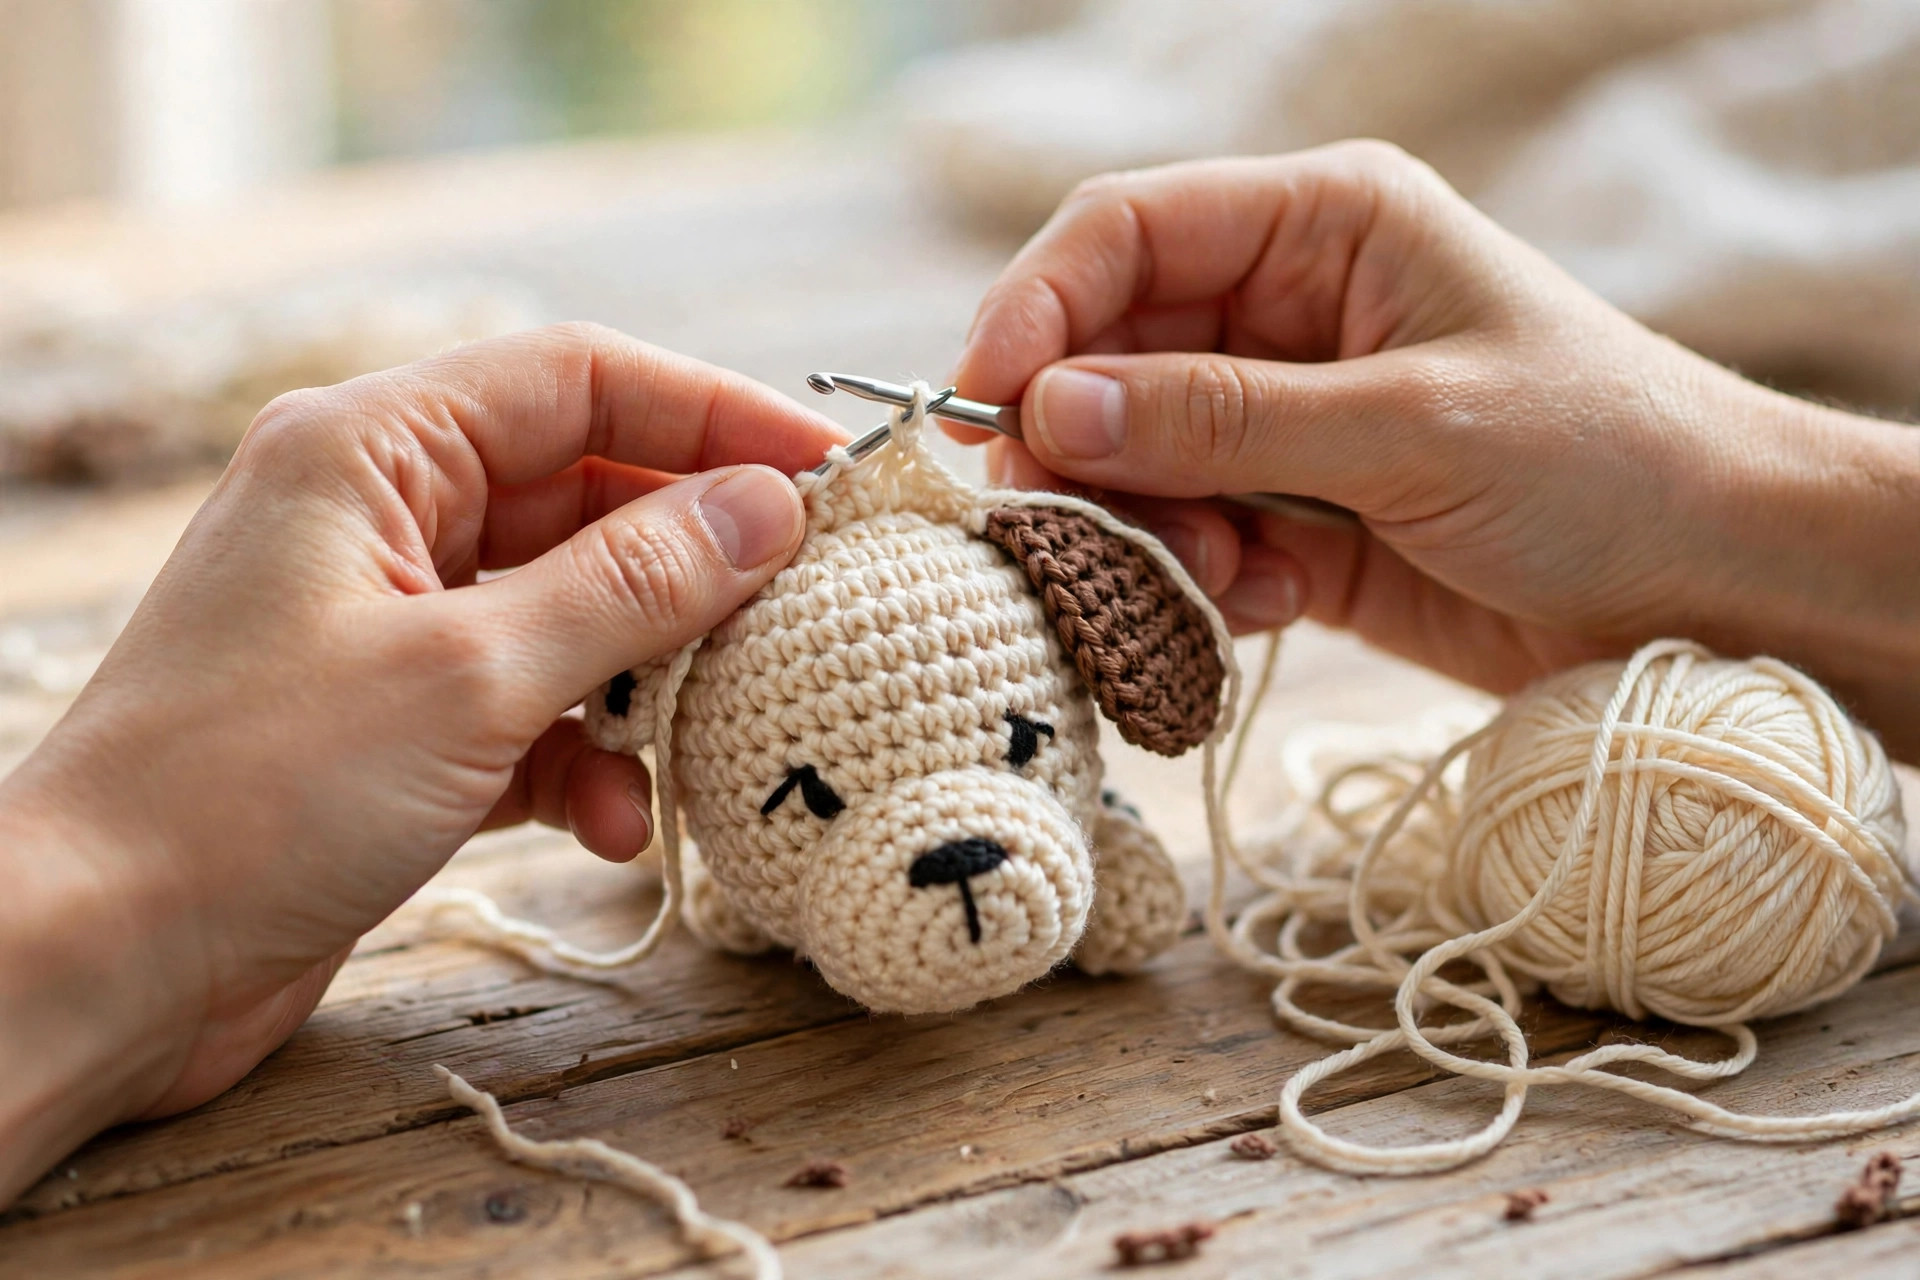
This is the part where the puppy gets its personality. Make the floppy ears, crochet the spots, and sew everything together.
The Floppy Ears (Make 2)
With the spot color, work in rows, turning at the end of each row.
- Row 1: ch 7, sc in the 2nd ch from the hook and in each ch across. (6)
- Rows 2 to 4: ch 1, turn, sc in each st across. (6)
- Row 5: ch 1, turn, dec, 2 sc, dec. (4)
- Rows 6 to 9: ch 1, turn, sc in each st across. (4)
- Row 10: ch 1, turn, dec, dec. (2)
- Row 11: ch 1, turn, dec. (1)
Fasten off, leaving a long tail for sewing. Work a round of single crochet evenly around the edge of each ear to neaten it, placing 2 sc in each corner. Sew one ear to each side of the head, just above the eye line, with the tops folded slightly forward so they flop down over the sides of the face.
The Spots (Make 3)
With the spot color, work in continuous rounds. Make two small spots and one large spot.
Small spot (make 2):
- Round 1: MR, 6 sc in the ring. (6)
- Round 2: inc in each st around. (12)
- Round 3: (sc, inc) rep 6 times. (18)
Fasten off, leaving a long tail for sewing. Do not stuff the spots. They are flat circles that sit on the surface of the puppy.
Large spot (make 1):
- Round 1: MR, 6 sc in the ring. (6)
- Round 2: inc in each st around. (12)
- Round 3: (sc, inc) rep 6 times. (18)
- Round 4: (2 sc, inc) rep 6 times. (24)
Fasten off, leaving a long tail for sewing. Sew one small spot over one eye, like a patch, the second small spot on the side of the body, and the large spot on the back, slightly off center. Pin each spot flat before you sew, and stitch just under the edge of the circle.
Assembly
Sew the head to the top of the body, working small, even stitches all the way around the join, pulling gently so the head sits straight. Add a little extra stuffing into the neck join as you sew, so the head stays upright.
Check the puppy from every side before you finish. The ears should hang evenly, the eyes should sit level, the snout should be centered, and the legs should touch the ground when the puppy sits. Weave in all the loose ends inside the body, where they will not show.
Variations: Colors, Sizes, and Uses
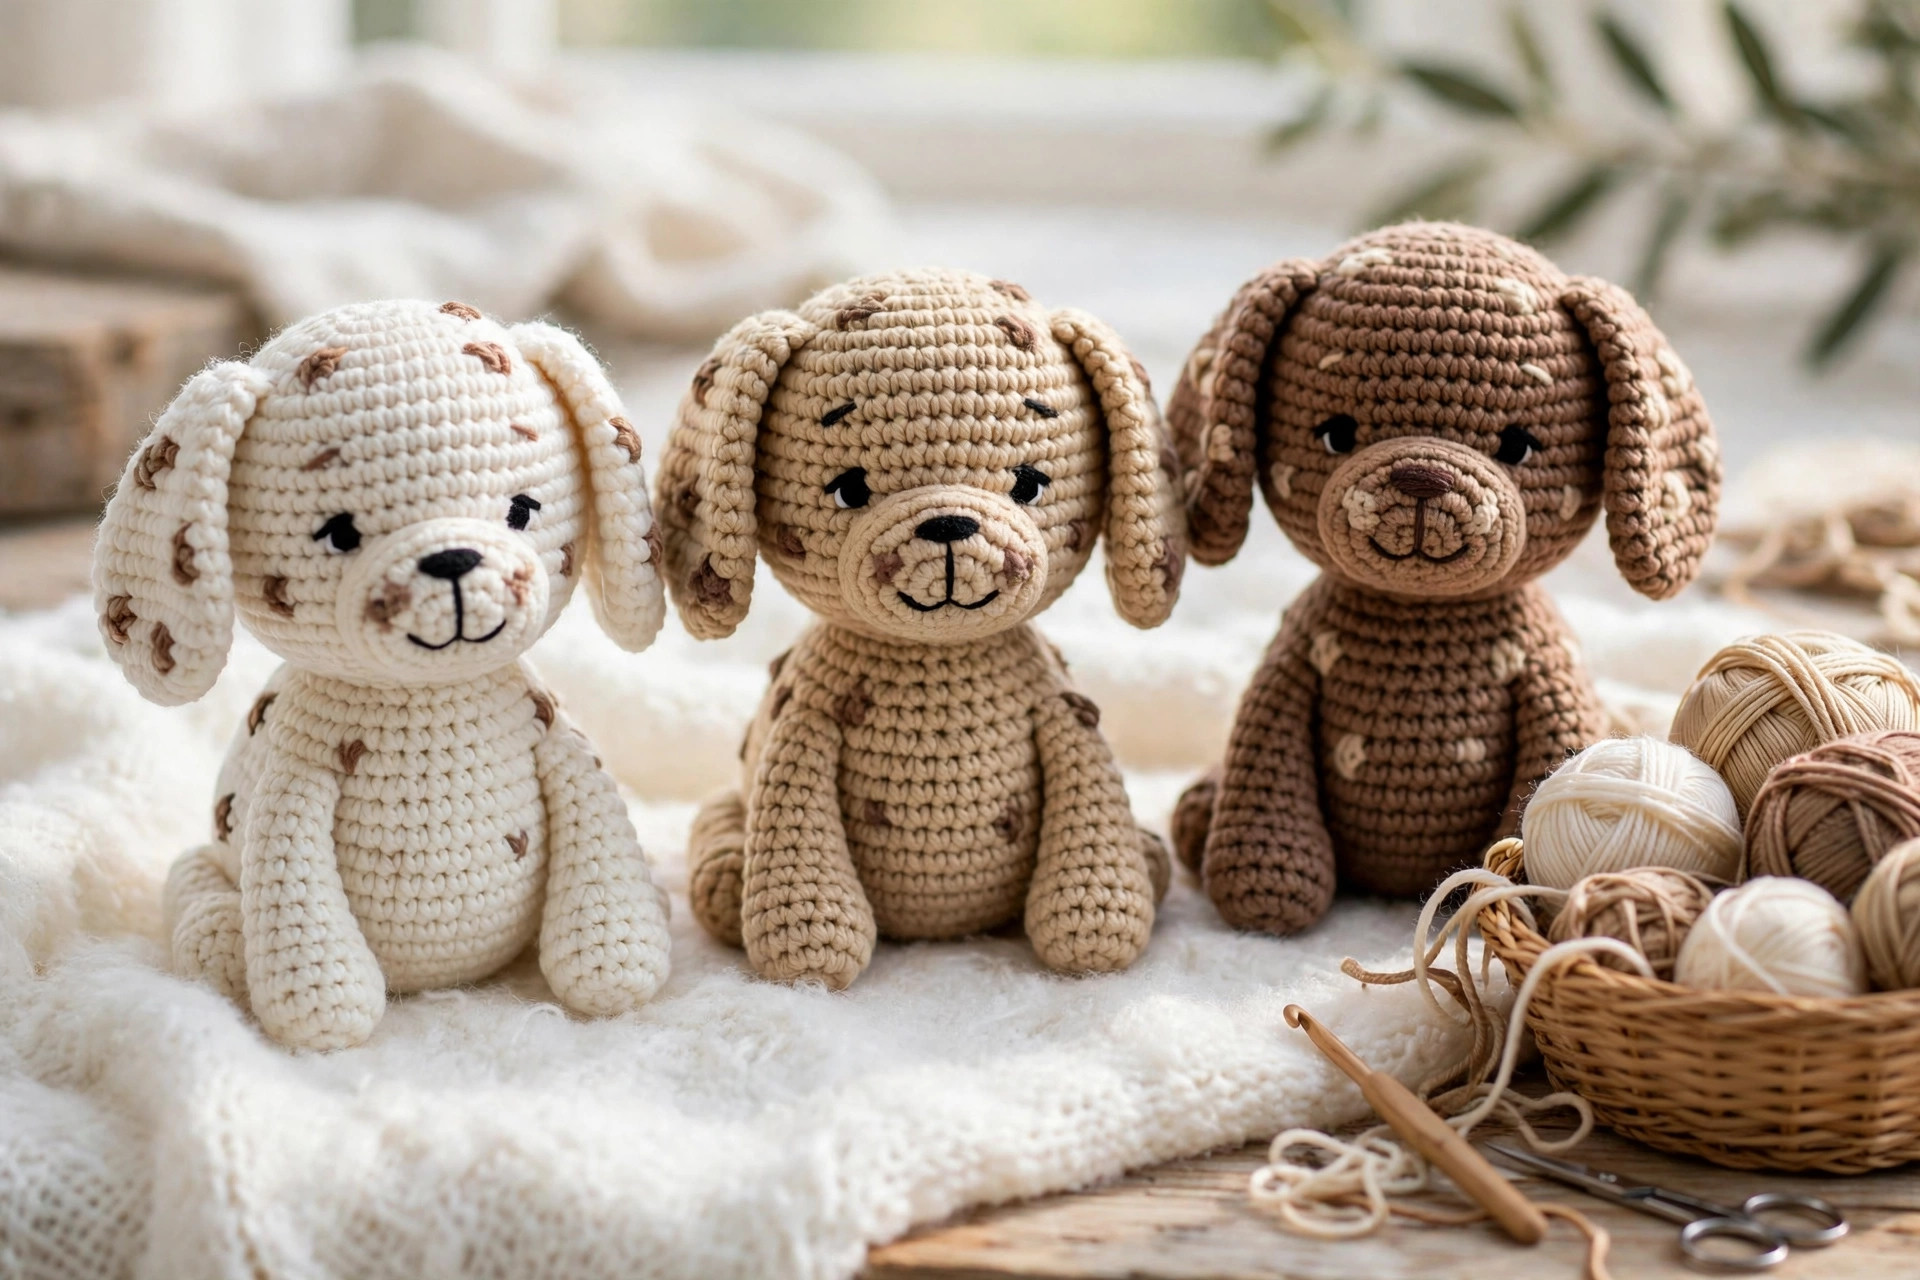
- Classic spaniel puppy: work the puppy in cream with brown ears and spots, just as written.
- Black and white puppy: work the body in white with black ears and spots for a Dalmatian look.
- Golden puppy: work the whole puppy in golden yellow with tan ears for a retriever look.
- Tiny puppy: use a US F-5 (3.75 mm) hook and the same stitch counts for a 6 inch puppy that fits in a pocket.
- Big cuddle puppy: use a US H-8 (5.0 mm) hook with bulky yarn for a 10 inch puppy that is perfect for hugging.
Troubleshooting a Puppy That Does Not Look Right
- My puppy will not sit up. The body base is too narrow, or the head is too heavy. Add more stuffing to the back of the body, and check that the legs touch the ground evenly.
- My head wobbles on the body. The neck join is too loose. Add stuffing into the join as you sew, and work small, tight stitches all the way around.
- My stuffing shows through the stitches. The gauge is too loose. Go down a hook size, and stuff a little less firmly.
- My ears are different lengths. The rows were not counted the same on both ears. Count the rows on the first ear before you start the second.
- My spots pucker when I sew them on. The spot was sewn too tightly, or it was not pinned flat first. Pin each spot flat, and stitch just under the edge.
- My face looks lopsided. The eyes or the snout are not centered. Pin the face pieces in place and look at the head from the front before you sew.
Care Instructions
Hand wash a crochet puppy in cool water with a mild detergent, and press the water out gently without wringing. Reshape the head and ears and lay the puppy flat to dry away from direct heat. A puppy made with acrylic yarn can go in the washing machine on a gentle cycle inside a pillowcase, but hand washing keeps the face stitching neat. Do not put a crochet puppy in the dryer, because the heat can melt the stuffing and shrink the yarn.
Frequently Asked Questions
Is this puppy crochet pattern good for beginners?
Yes, it is best for an easy to intermediate crocheter. You need a magic ring, single crochet, increases, decreases, and basic sewing. The pieces are all simple rounds.
What yarn is best for a crochet puppy?
Worsted weight yarn is the best choice, because it holds its shape, shows the stitches clearly, and stands up to lots of cuddling. Cotton yarn gives a firm, smooth finish, while acrylic yarn is softer and easier to wash.
How big is the finished puppy?
The finished puppy is about 8 inches tall when sitting and about 6 inches wide at the base. The head is about 4 inches wide. To make a smaller puppy, use a smaller hook, and to make a larger puppy, use a larger hook with bulky yarn.
Can I make this puppy safe for a baby?
Yes, you can make it baby safe by embroidering the eyes with black yarn instead of using safety eyes, and by sewing every piece on very firmly with no small parts. Wash the puppy before you give it to a baby.
How do I keep the puppy sitting up?
The wide, flat base of the body is what keeps the puppy sitting. Stuff the body firmly, especially at the back, and check that all four legs touch the ground evenly.
Can I sell puppies made from this pattern?
Yes, you may sell finished puppies made from this free pattern, with credit to Little Loop Finds. Do not sell or republish the pattern text itself. A puppy in custom colors that matches a real dog makes a lovely personalized gift.
Happy stitching, and may your little puppy bring a wag and a smile to all.