Free Crochet Yoga Mat Bag Pattern: Carry It in Style
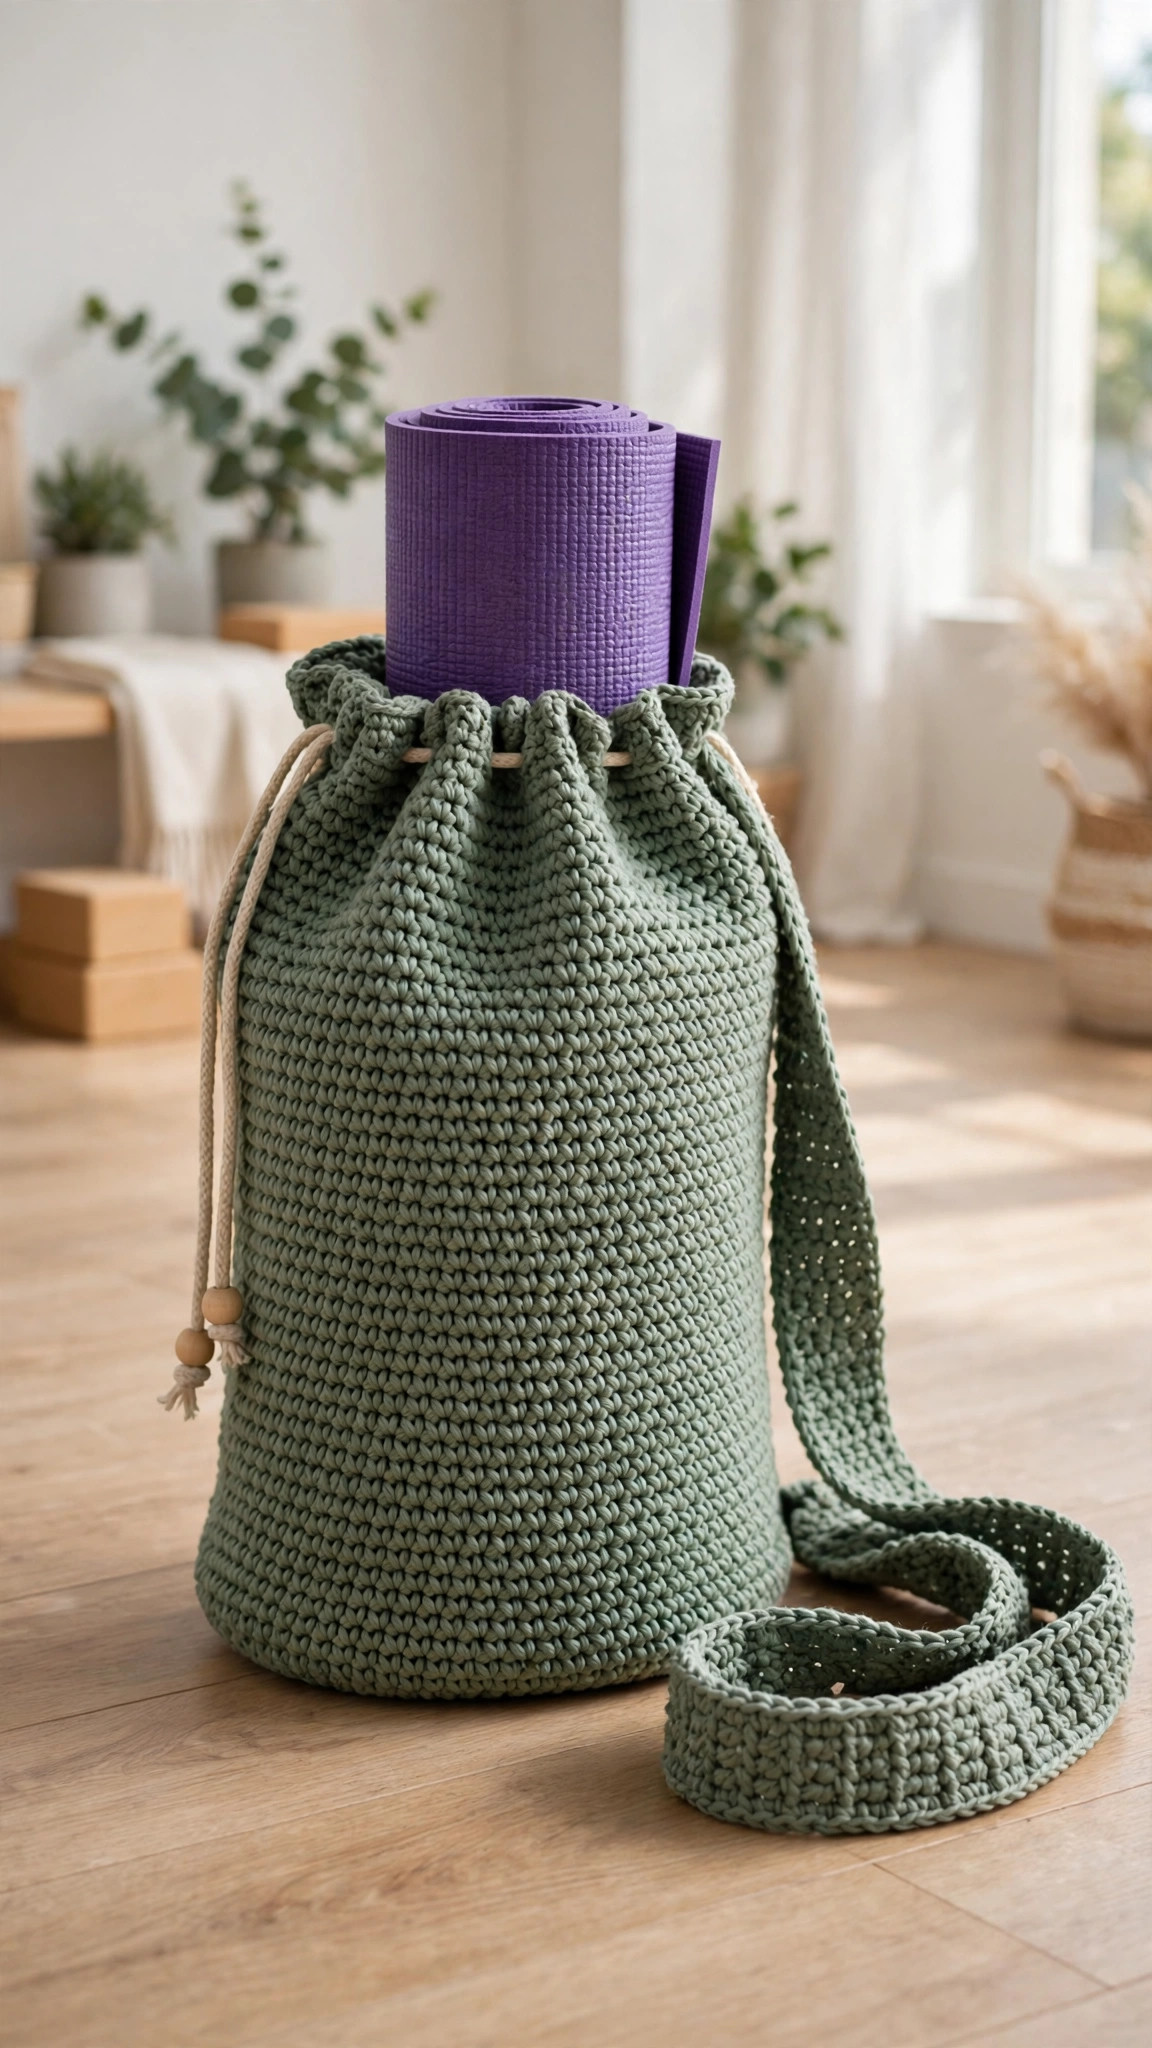
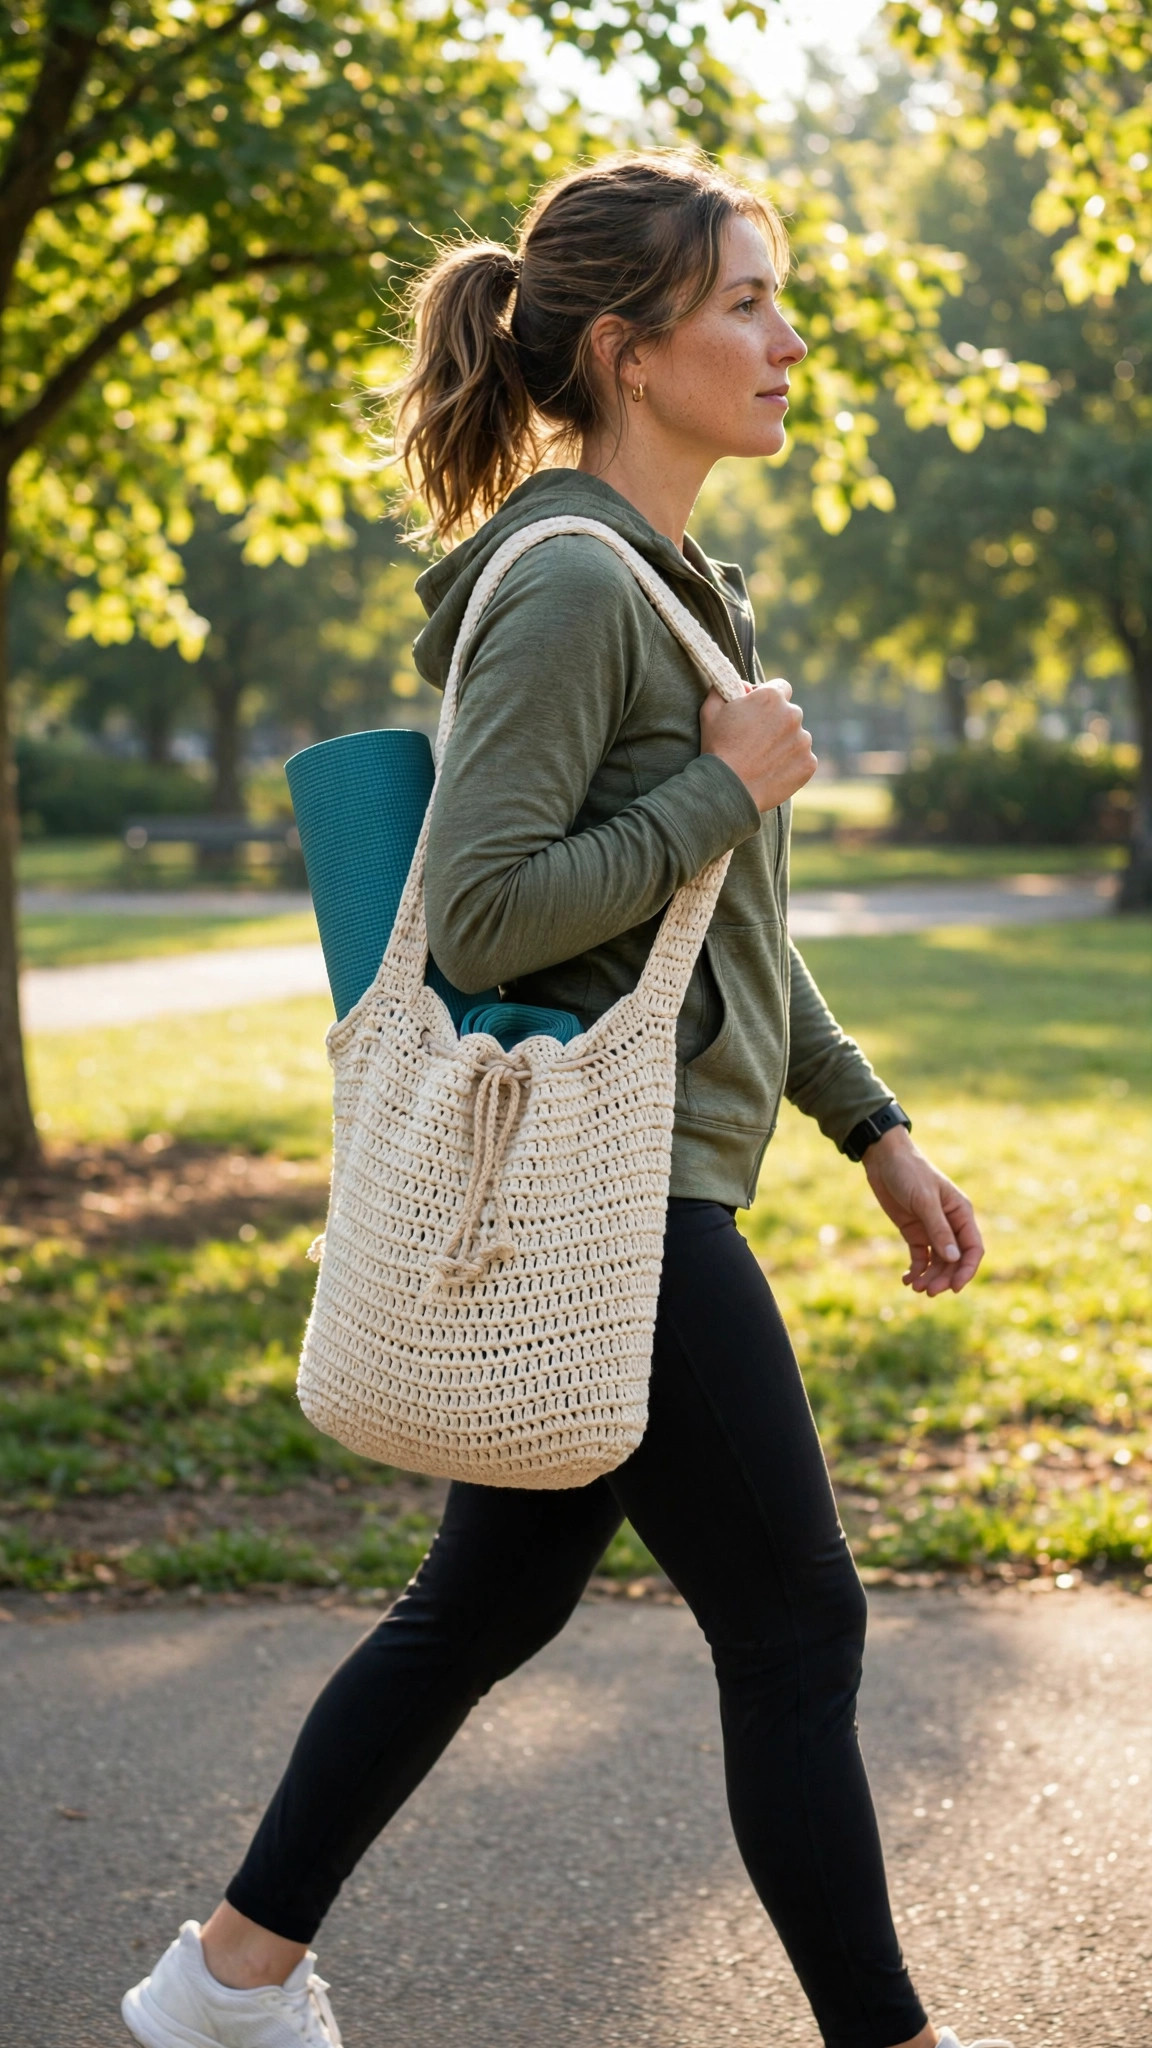
Carry your mat to class in a bag you made yourself: this original free crochet yoga mat bag pattern uses sturdy cotton, a drawstring top, and a long adjustable strap.

Bags · Crochet
- Finished size
- Fits a 68 x 24 in mat
- Making time
- About 6 hours
- Hook
- 5.0 mm, cotton yarn
- Set
- Bag, strap, drawstring
- Skill
- Easy
In this post
- Table of contents
- Why you'll love this free crochet yoga mat bag pattern
- Materials you'll need
- Size, gauge and skill level
- Abbreviations, US terms
- The crochet yoga mat bag pattern (US terms)
- Finishing touches and assembly
- Tips and tricks
- Variations to try next
- Troubleshooting tips
- Frequently asked questions
- More free patterns to try
A rolled yoga mat is awkward to carry: it unrolls in the car, slips off your shoulder, and never fits in a tote. This free crochet yoga mat bag pattern solves all three problems with one sturdy, good-looking sling you make yourself.
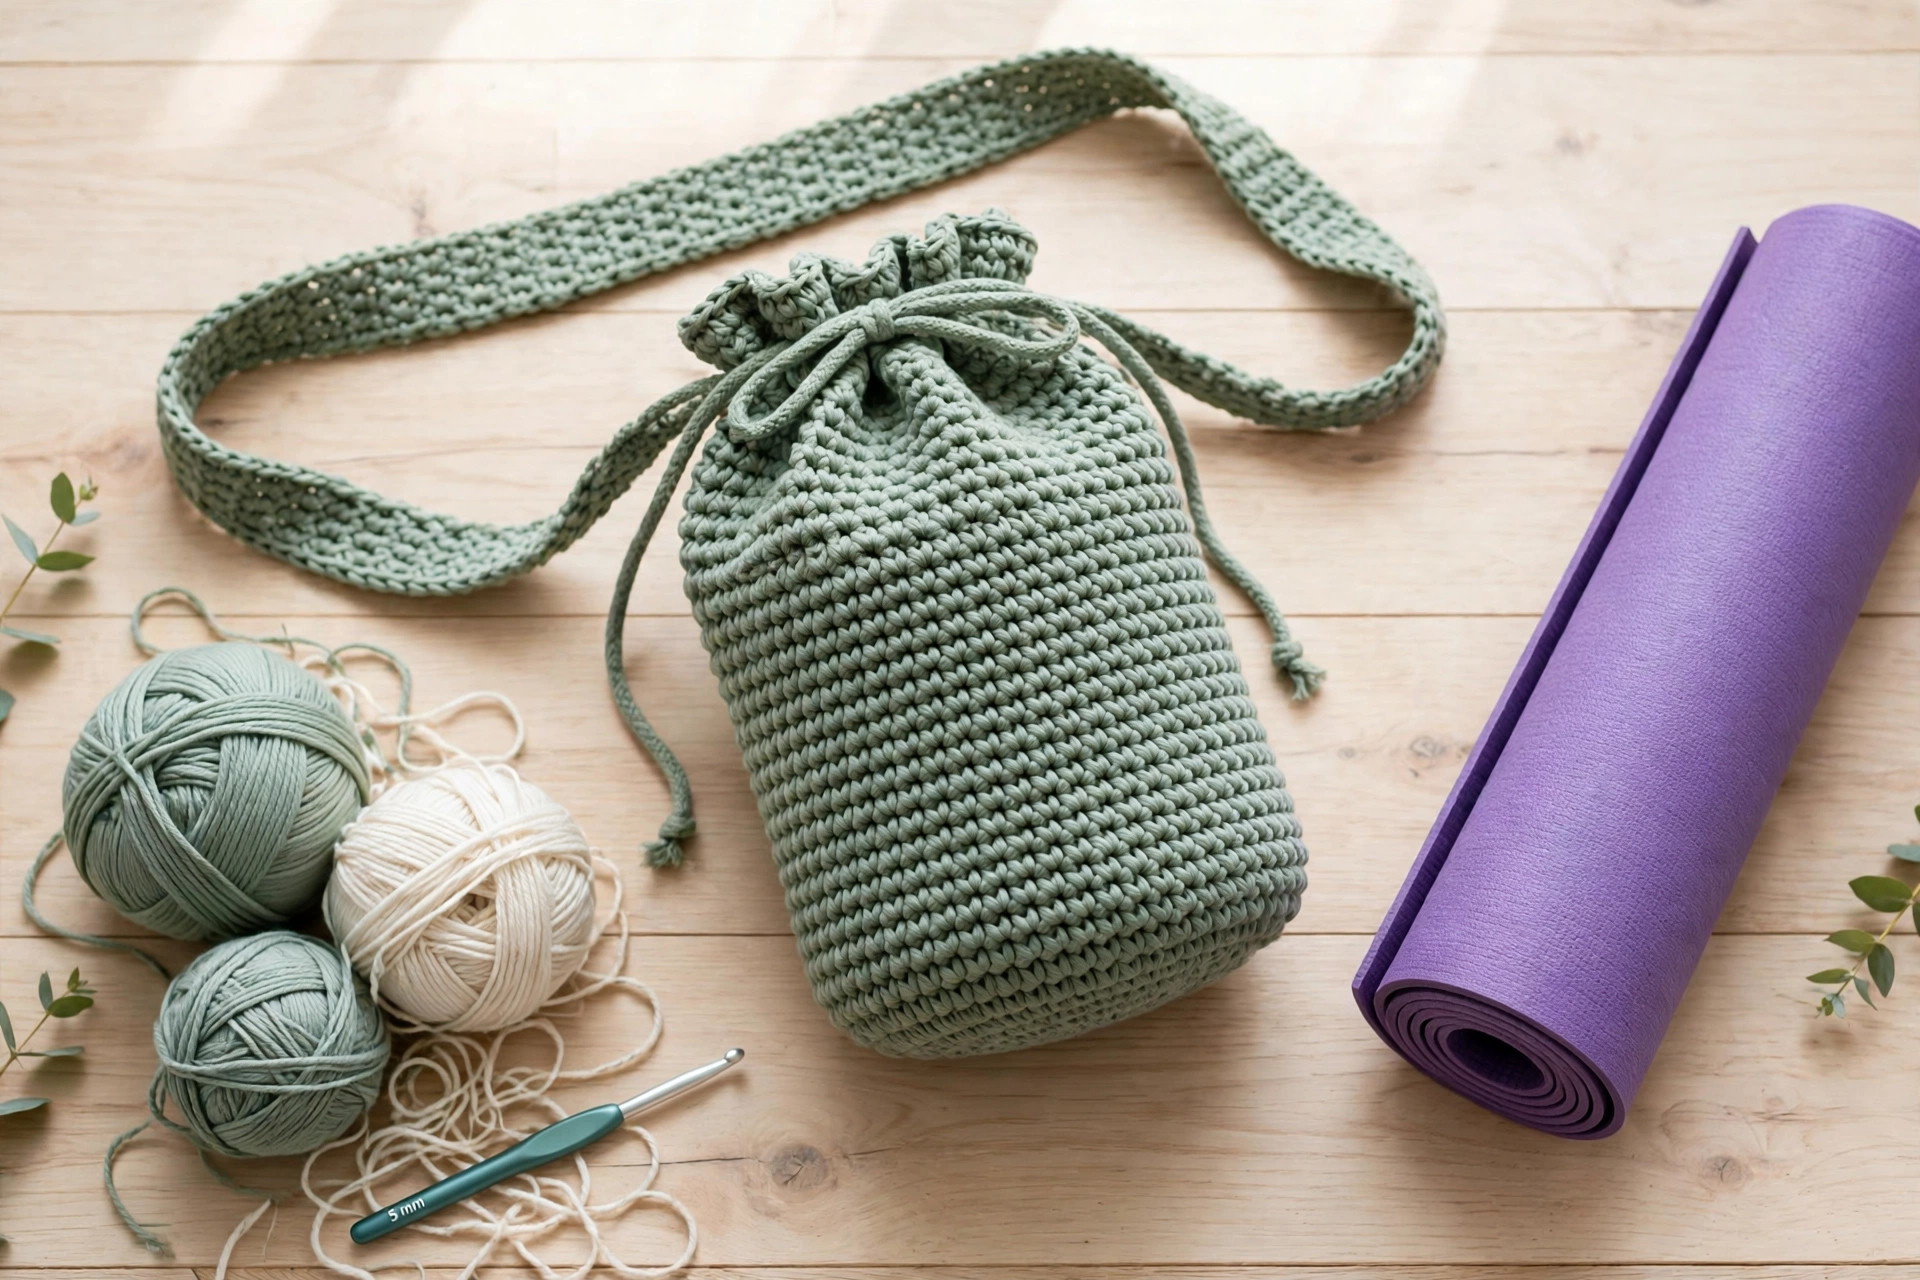
The bag is a tall tube with a reinforced round base, a ribbed drawstring channel at the top, and a long crocheted strap you can wear crossbody. It fits a standard 68 x 24 inch mat rolled up, plus it has room for a water bottle tucked beside the mat if you size up the base slightly. Worked in durable cotton with a 5.0 mm hook, it holds its shape trip after trip.
This is an original Little Loop Finds design in US terms, built for beginners who can chain, half double crochet, and work in the round. The whole bag uses one main stitch, so once you find your rhythm the rounds fly by. Expect about six hours of relaxed stitching, most of it pleasantly mindless.
Table of contents
- Why you'll love this free crochet yoga mat bag pattern
- Materials you'll need
- Size, gauge and skill level
- Abbreviations, US terms
- The crochet yoga mat bag pattern (US terms)
- Finishing touches and assembly
- Tips and tricks
- Variations to try next
- Troubleshooting tips
- Frequently asked questions
- More free patterns to try
Why you'll love this free crochet yoga mat bag pattern
Store-bought mat slings are either flimsy nylon that digs into your shoulder or canvas bags that cost more than the mat. A crocheted bag gives you something neither can: a bag sized exactly for your mat, in your colors, strong enough to use every day. Cotton yarn has a natural grip that keeps the rolled mat from sliding, and the thick crocheted strap spreads the weight across your shoulder.
The construction is refreshingly simple. You work a flat circle for the base, then crochet straight up in joined half double crochet rounds: no shaping, no color changes, no fiddly bits. The drawstring channel is built right into the top of the bag with an eyelet round, and the strap is a simple rectangle you sew on with a strong box stitch. If you can crochet a beanie, you can crochet this bag.
It is also a genuinely useful gift. Yogis always need a second mat bag, and a handmade one in their favorite color beats anything from a sporting goods store. Pair it with one of our free crochet bag patterns for a full set: a tote for the studio, a mat sling for the walk there.
Materials you'll need
| Supply | What to get |
|---|---|
| Cotton yarn | Worsted-weight (#4) 100% cotton, about 550 yds / 500 m in your main color |
| Accent yarn (optional) | About 60 yds / 55 m of a contrast color for the drawstring and strap edge |
| Crochet hook | 5.0 mm (H) |
| Cord stop | One medium cord stop or toggle for the drawstring |
| Tapestry needle | Large-eye needle for weaving in ends and sewing the strap |
| Notions | Scissors, stitch markers, pins, measuring tape |
Choose a sturdy cotton or cotton-blend worsted: it resists stretching far better than acrylic, which matters when the bag holds a heavy mat. Kitchen cotton works beautifully and comes in great colors. Avoid very dark colors if you practice outdoors: they show dust and lint quickly. A variegated yarn looks gorgeous in the plain half double crochet body, since the stitches themselves are simple.
A note on yarn quantity: the bag body eats more yarn than it looks like it will. Buy one extra skein beyond your estimate: running out two rounds from the top is the classic mat-bag heartbreak, and dye lots change between purchases.
Size, gauge and skill level
The bag is worked bottom-up in joined rounds: chain 2 at the start of each round (it does not count as a stitch) and join with a slip stitch to the first stitch at the end. This keeps the seam nearly invisible and the rounds level, which matters on a tall tube.
| Measurement | Value |
|---|---|
| Finished bag | About 27 in / 69 cm around x 28 in / 71 cm tall |
| Strap | About 60 in / 152 cm long x 2.25 in / 6 cm wide |
| Fits | A rolled mat up to 68 x 24 in (standard size) |
| Approx. time | About 6 hours total |
- Finished size: the tube measures about 27 inches around and 28 inches tall. A standard rolled mat (about 6.5 inches in diameter when rolled) slides in with room to spare. If your mat is extra thick, add one more increase round to the base: the body round count stays the same.
- Gauge: 14 half double crochet and 10 rows = 4 in (10 cm) with the 5.0 mm hook. Gauge matters less than usual here, but a much looser gauge will make a floppy bag: if your fabric drapes instead of standing, go down half a hook size.
- Skill level: easy. You need chain, half double crochet, slip stitch, working in the round, front and back post stitches for the ribbed bands, and basic seaming for the strap. Nothing fancy, just a lot of satisfying rounds.
A note on the invisible join: joining each round with a slip stitch creates a visible seam line on tall projects. To minimize it, always join to the first half double crochet (not the chain 2), and keep your tension even on the joining slip stitch. The seam will sit at the back of the bag anyway.
Abbreviations, US terms
| Abbreviation | Meaning |
|---|---|
| ch | chain |
| hdc | half double crochet |
| dc | double crochet |
| sl st | slip stitch |
| fpdc | front post double crochet |
| bpdc | back post double crochet |
| inc | increase: 2 hdc in the same stitch |
| st(s) | stitch(es) |
| R | round |
| FO | fasten off |
| BLO | back loop only |
| [ ] | total stitch count at the end of the round |
Reading the pattern: chain 2 at the start of every round does not count as a stitch. Join each round with a slip stitch to the first stitch of the round. Place a stitch marker in the first stitch of the round so the join stays lined up.
The crochet yoga mat bag pattern (US terms)
Work the base first, then the tall body, then the drawstring channel. Make the strap and drawstring last so you can try the bag on for size before attaching them.
Base (main color)
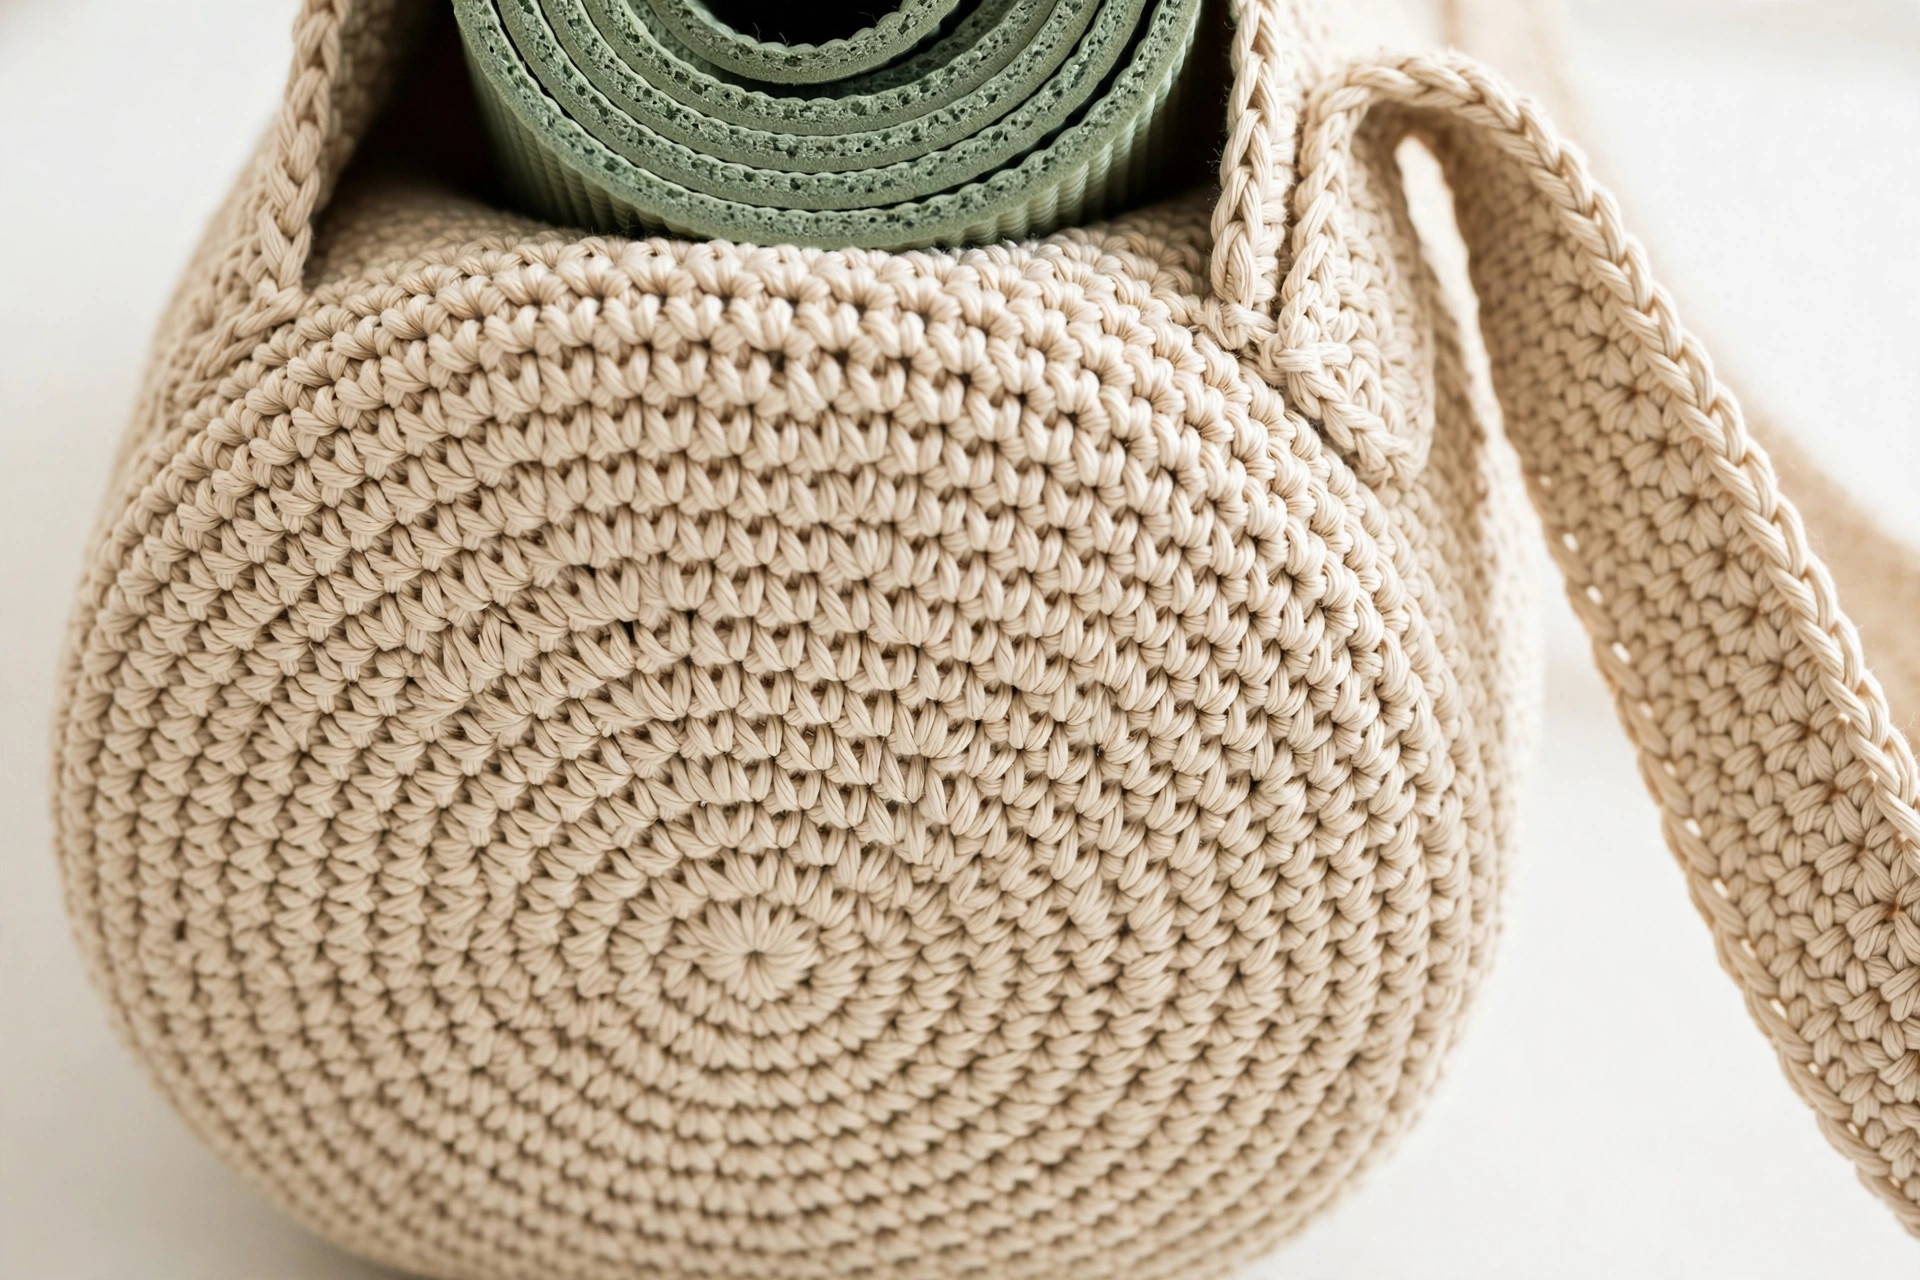
- R1: MR, ch 2 (does not count as st), 12 hdc in ring. Join with sl st to first hdc. [12]
- R2: Ch 2, inc in each st around. Join. [24]
- R3: Ch 2, (hdc, inc) x12. Join. [36]
- R4: Ch 2, (2 hdc, inc) x12. Join. [48]
- R5: Ch 2, (3 hdc, inc) x12. Join. [60]
- R6: Ch 2, (4 hdc, inc) x12. Join. [72]
- R7: Ch 2, (5 hdc, inc) x12. Join. [84]
- R8: Ch 2, (6 hdc, inc) x12. Join. [96]
The base should measure about 8.5 inches across and lie flat. If it cups upward, your tension is tight: go up half a hook size for the base only. If it ruffles, go down half a size.
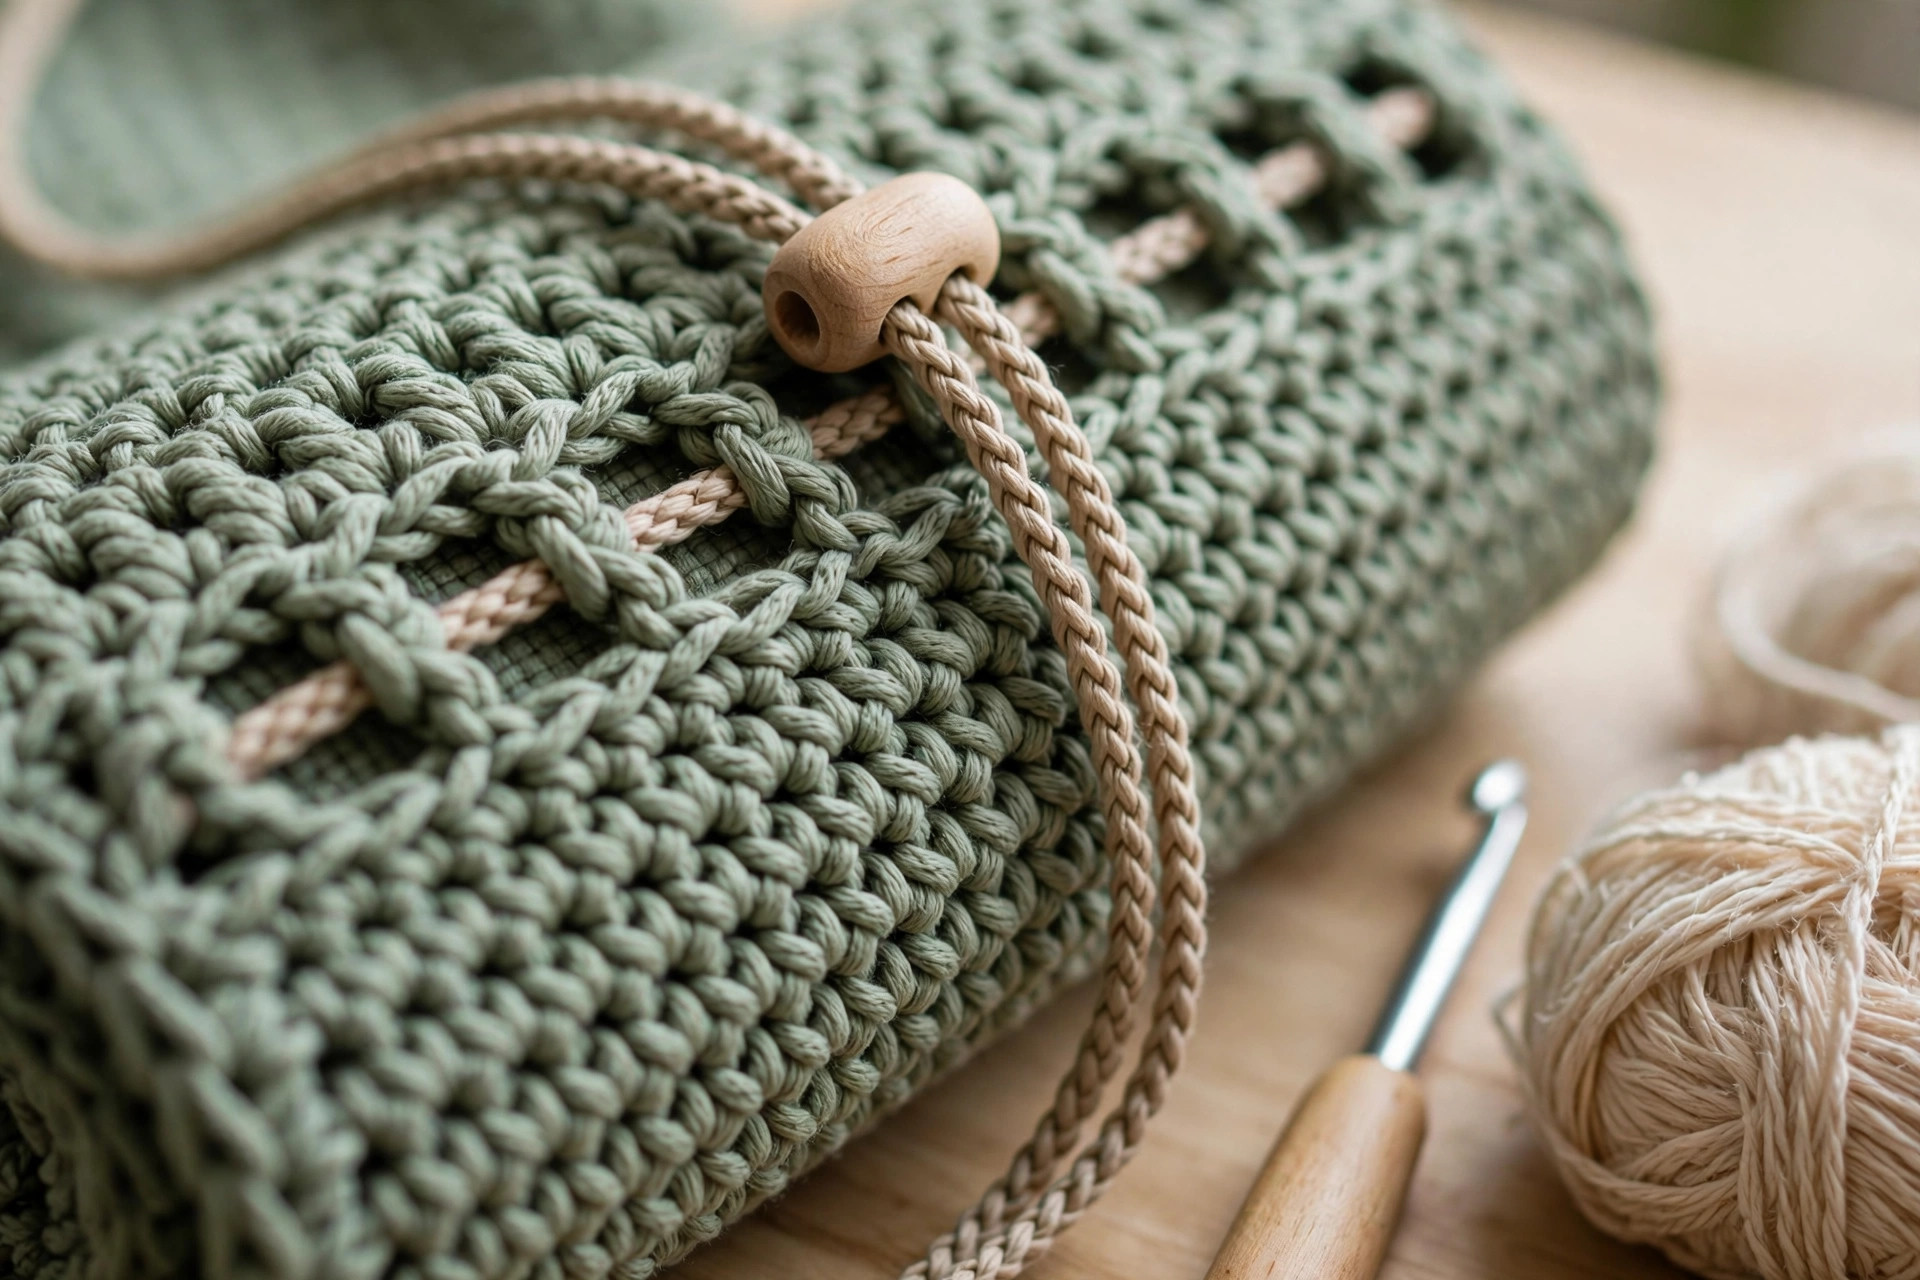
- R9: Ch 2, hdc in BLO of each st around. Join. [96]
Working this round in the back loop only creates a crisp corner where the base meets the walls: the bag will stand up on its own instead of flopping.
Body (main color)
- R10-R69: Ch 2, hdc in each st around. Join. [96] (60 rounds)
This is the long, meditative middle of the project. The body should measure about 24 inches from the base corner to the last round. Try your rolled mat inside around round 50: it should slide in easily with 3 to 4 inches of bag above the top of the roll for the drawstring channel.
Drawstring channel (main color)
- R70: Ch 2, (fpdc in next st, bpdc in next st) around. Join. [96]
- R71: Ch 2, (fpdc in next st, bpdc in next st) around. Join. [96]
- R72 (eyelet round): Ch 3 (counts as dc), skip 1 st, (dc in next st, ch 1, skip 1 st) around to last st, dc in last st. Join with sl st to top of ch 3. You will have 48 eyelets.
- R73: Ch 2, hdc in each dc and each ch-1 space around. Join. [96]
- R74: Ch 2, (fpdc in next st, bpdc in next st) around. Join. [96]
- R75: Ch 2, (fpdc in next st, bpdc in next st) around. Join. [96]
FO, leaving a 6-inch tail. Weave in all ends on the inside of the bag.
Drawstring (accent color, make 1)
Chain 220 (about 95 inches). Slip stitch back along the chain for a sturdy cord, or work a twisted two-strand cord if you prefer a rounder look. Thread the cord through the eyelets of R72, starting and ending at the front center, and thread both ends through the cord stop. Knot the ends and trim, leaving 2-inch tails, or add small tassels for a finished look.
Strap (main color, make 1)
- Row 1: Ch 200 (about 60 inches). Hdc in 3rd ch from hook and in each ch across. [198]
- Row 2: Ch 2, turn, hdc in each st across. [198]
- Row 3: Ch 2, turn, hdc in each st across. [198]
FO, leaving long tails at both ends. The strap measures about 60 x 2.25 inches. For a shorter strap, chain 170 (about 52 inches) instead.
Optional front pocket (main color, make 1)
- Row 1: Ch 22. Hdc in 3rd ch from hook and in each ch across. [20]
- Rows 2-12: Ch 2, turn, hdc in each st across. [20]
FO, leaving a long tail. The pocket measures about 6 x 5 inches: big enough for a phone, keys, and a class card. Sew it to the front of the bag between R40 and R52 with the long tail, using small whipstitches through the back loops of the pocket edge.
Finishing touches and assembly
Slide your rolled mat into the bag and decide where the strap should sit: it should attach at about R55 on both sides, roughly 6 inches below the drawstring channel, so the bag hangs level when carried.
Pin one end of the strap to the outside of the bag at R55, centered on the seam (the back of the bag). Sew it with the long tail using a box stitch: sew a 2-inch square through the strap and the bag wall, then sew an X across the square. This box-X distributes the weight across many stitches instead of a single line. Repeat on the opposite side, making sure the strap is not twisted. Weave in the tails on the inside.
Pull the drawstring to close the top, slide the cord stop up, and give the whole bag a gentle tug in every direction to settle the stitches. If the base wobbles, a round cardboard disc or a plastic canvas circle slipped inside the base adds structure: cut it to 8 inches across.
Steam-block lightly if the body leans: hold a steamer or iron (steam setting, not touching) a few inches above the fabric and let the bag hang straight while it cools. Cotton relaxes beautifully with a little steam.
Tips and tricks
- Wind the strap ends: wrap the sewing tail around the strap end twice before stitching it down. The extra wrap acts like a rivet and keeps the end from peeling under load.
- Keep the seam at the back: the joining seam of the body rounds drifts slightly. Mark the seam with a stitch marker every 10 rounds and nudge it back to center: a straight seam looks far more professional.
- Prevent drawstring creep: if the cord slips through the eyelets during class, thread it twice through the cord stop or add a second stop. A tiny knot behind the stop works too.
- Reinforce for heavy mats: extra-thick or weighted mats add up to 8 pounds. Work the base rounds with two strands held together for a bulletproof bottom, then switch to one strand for the body.
- Color-block the channel: work R70-R75 in your accent color for a crisp stripe at the top. It uses barely any extra yarn and looks intentional, like a store-bought detail.
- Wash it flat: machine wash cold and lay flat to dry. Never hang a wet crocheted bag: the water weight will stretch the body rounds permanently.
Variations to try next
- Mesh summer version: replace R10-R69 with (dc, ch 1, skip 1) mesh rounds for a breezy market-style bag. It uses less yarn and dries fast after outdoor practice, though it shows the mat through the holes.
- Backpack straps: make two straps 36 inches long instead of one long strap and attach them 8 inches apart. Add a small loop at the top center for hanging.
- Tall travel version: add 10 more body rounds for extra-long travel mats or to carry a folded blanket alongside the mat.
- Kid size: stop the base at R6 (72 sts) and work 40 body rounds for a child's mat or a foam roller bag.
- Boho fringe: add 4-inch fringe around the bottom of the drawstring channel by knotting short strands through the post stitches of R75.
If the pocket idea has you thinking smaller, our makeup bag crochet pattern uses the same boxy construction at pouch scale, and the crochet hobo bag pattern free shows how a wider strap changes the whole carry feel.
Troubleshooting tips
- The base will not lie flat: count your stitches. A missed increase in an early round compounds into ruffling by R8. The count must be exactly 96 after R8.
- The body leans or spirals: your joining seam is drifting. Join firmly to the first stitch (not the chain 2) and tug the slip stitch snug each round.
- Eyelets are too tight for the cord: your ch-1 spaces are small because of tight tension. Work the eyelet round with a 5.5 mm hook, then switch back: the holes open up just enough.
- The strap stretches too long: cotton grows with use. Make the strap 4 inches shorter than you think you want it: it will relax to the right length within a week.
- Drawstring ends fray: dab the cut ends with clear fabric glue or melt acrylic-blend ends briefly with a lighter (never cotton: it chars). A knot 1 inch from the end stops fraying too.
- Bag smells musty after outdoor use: cotton holds dampness. Air the bag open after every use and wash monthly if you practice outside.
Frequently asked questions
What size yoga mat does this bag fit? A standard 68 x 24 inch mat rolled to about 6.5 inches in diameter. The 27-inch circumference and 28-inch height give you comfortable clearance, and the drawstring closes over the top.
Can I use acrylic yarn instead of cotton? You can, but cotton is strongly recommended. Acrylic stretches under sustained weight, so a bag that fits perfectly in week one sags by week four. If you must use acrylic, go down to a 4.5 mm hook for a denser fabric.
How much yarn do I actually need? About 550 yards of worsted-weight cotton for the bag as written, plus 60 yards of accent for the drawstring. Buy one extra skein: the tall body consumes yarn faster than most crocheters expect.
Is this pattern good for a beginner? Yes, with a caveat: the stitches are all beginner level, but the project is long. If you have finished a beanie or a scarf and want a bigger first bag, this is an ideal next step. The repetition makes it relaxing rather than hard.
How do I wash the finished bag? Machine wash cold on gentle, then lay flat to dry. Reshape the base while damp and let the drawstring hang free so the channel keeps its shape.
Can I sell bags made from this pattern? Yes. Finished items made from this original pattern may be sold in small batches. Please credit Little Loop Finds as the pattern designer and do not redistribute the pattern text itself.
More free patterns to try
Round out your handmade carry collection with these:
- Free crochet bag patterns: totes, pouches, and market bags in every size
- Makeup bag crochet pattern: a zippered pouch that uses the same sturdy construction
- Crochet hobo bag pattern free: a slouchy everyday bag with a wide comfortable strap
- Crochet grocery bag holder pattern: keep plastic bags tidy with a matching kitchen helper
- Crochet pocket scarf pattern free: pockets you wear, with the same boxy stitch logic as the mat bag pocket