Free Crochet Tiger Pattern (Easy Amigurumi)
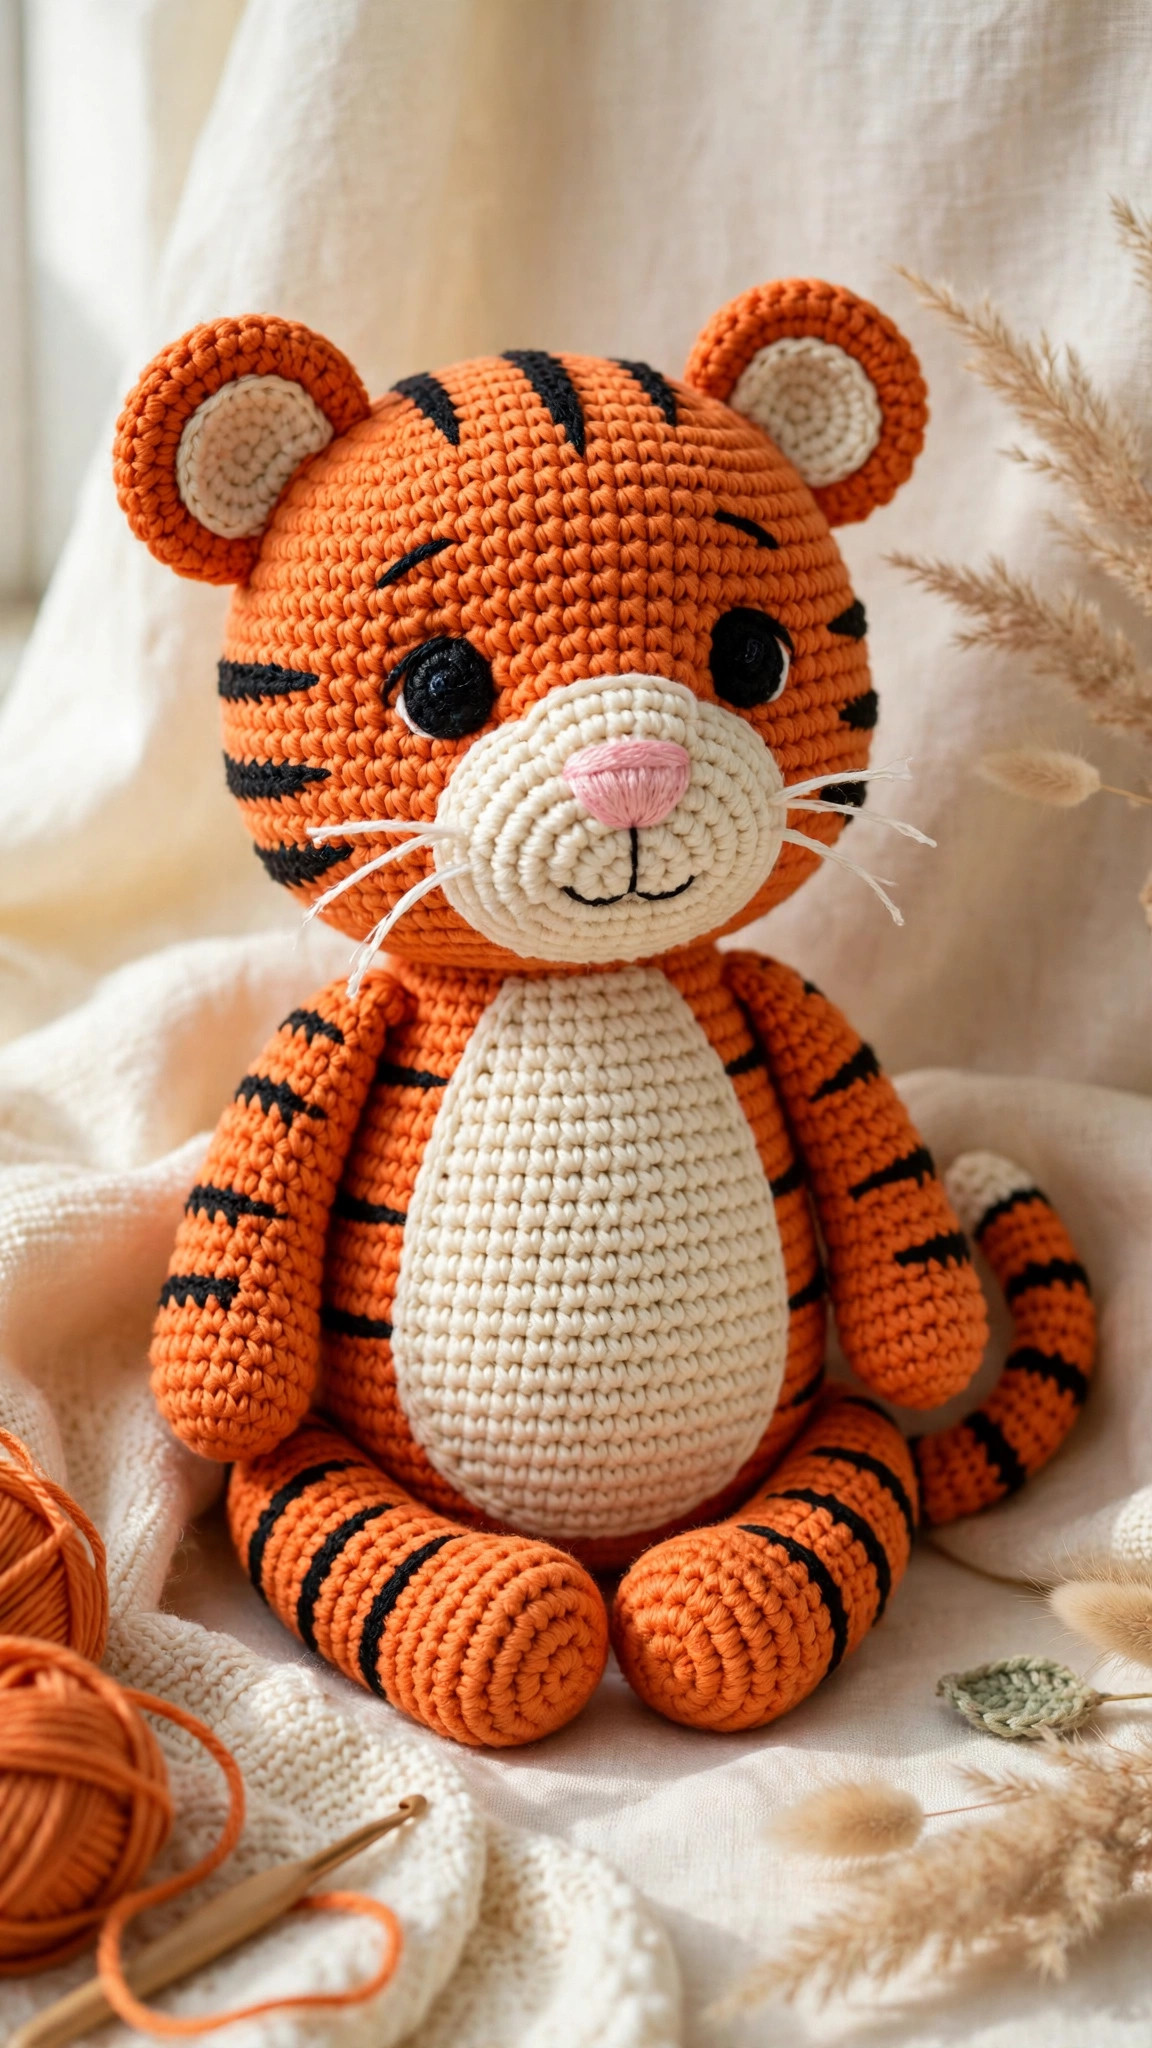
Stitch a stripey little tiger with this free, beginner-friendly crochet tiger pattern in US terms.

Amigurumi · Crochet
- Finished size
- About 9 in tall sitting, 6 in wide
- Making time
- 6 to 8 hours
- Hook
- US E-4 (3.5 mm)
- Set
- Tiger, stripe guide, and face details
- Skill
- Easy
In this post
- Key Takeaways
- Table of Contents
- Why You Will Love This Tiger
- Finished Size, Skill Level, and Time
- Materials You Need
- Abbreviations (US Terms)
- How the Stripes Work
- Part 1: Crocheting the Head
- Part 2: The Body
- Part 3: Muzzle, Ears, and Face Details
- Part 4: Arms, Legs, and Tail
- Part 5: Adding the Stripes
- Part 6: Assembling Your Tiger
- Color Variations
- Troubleshooting
- Safety Notes for Little Ones
- Care Instructions
- Frequently Asked Questions
Tigers are one of the most requested amigurumi animals ever: bold, cuddly, and instantly recognizable. This free crochet tiger pattern gives you a soft 9 inch plush with a sweet embroidered face, a cream belly patch, and stripes you add with simple straight stitches. No complicated colorwork, just orange, cream, and black yarn in easy rounds.
This is an original Little Loop Finds design, written in US crochet terms from start to finish. The whole tiger is built from simple shapes: a round head, a chubby body, four small limbs, two round ears, and a striped tail that uses basic color changes you can handle on your very first amigurumi. The stripes are embroidered on at the end, which means you control exactly how wild your tiger looks, and you never have to carry yarn or follow a chart.
Tigers make fantastic gifts for safari nurseries, big cat fans, and amigurumi collectors. Stitch one in classic orange, or try the color variations below, like a cream white tiger or a pastel cub. Most makers finish in a weekend of relaxed evenings, and assembly is the fun part where your tiger gets its personality.
Key Takeaways
- Free and original: this crochet tiger pattern is a Little Loop Finds original design, written in US terms, and completely free.
- Easy amigurumi: built from simple rounds of single crochet with basic increases and decreases, plus easy embroidered stripes.
- No colorwork charts: stripes are added with a yarn needle after crocheting, so there is no carrying yarn or reading charts.
- Kid friendly size: about 9 inches tall sitting, 6 inches wide, soft and huggable with no hard parts if you embroider the eyes.
- Weekend project: roughly 6 to 8 hours of stitching and assembly, spread comfortably over two or three evenings.
Table of Contents
- Why You Will Love This Tiger
- Finished Size, Skill Level, and Time
- Materials You Need
- Abbreviations (US Terms)
- How the Stripes Work
- Part 1: Crocheting the Head
- Part 2: The Body
- Part 3: Muzzle, Ears, and Face Details
- Part 4: Arms, Legs, and Tail
- Part 5: Adding the Stripes
- Part 6: Assembling Your Tiger
- Color Variations
- Troubleshooting
- Safety Notes for Little Ones
- Care Instructions
- Frequently Asked Questions
Why You Will Love This Tiger
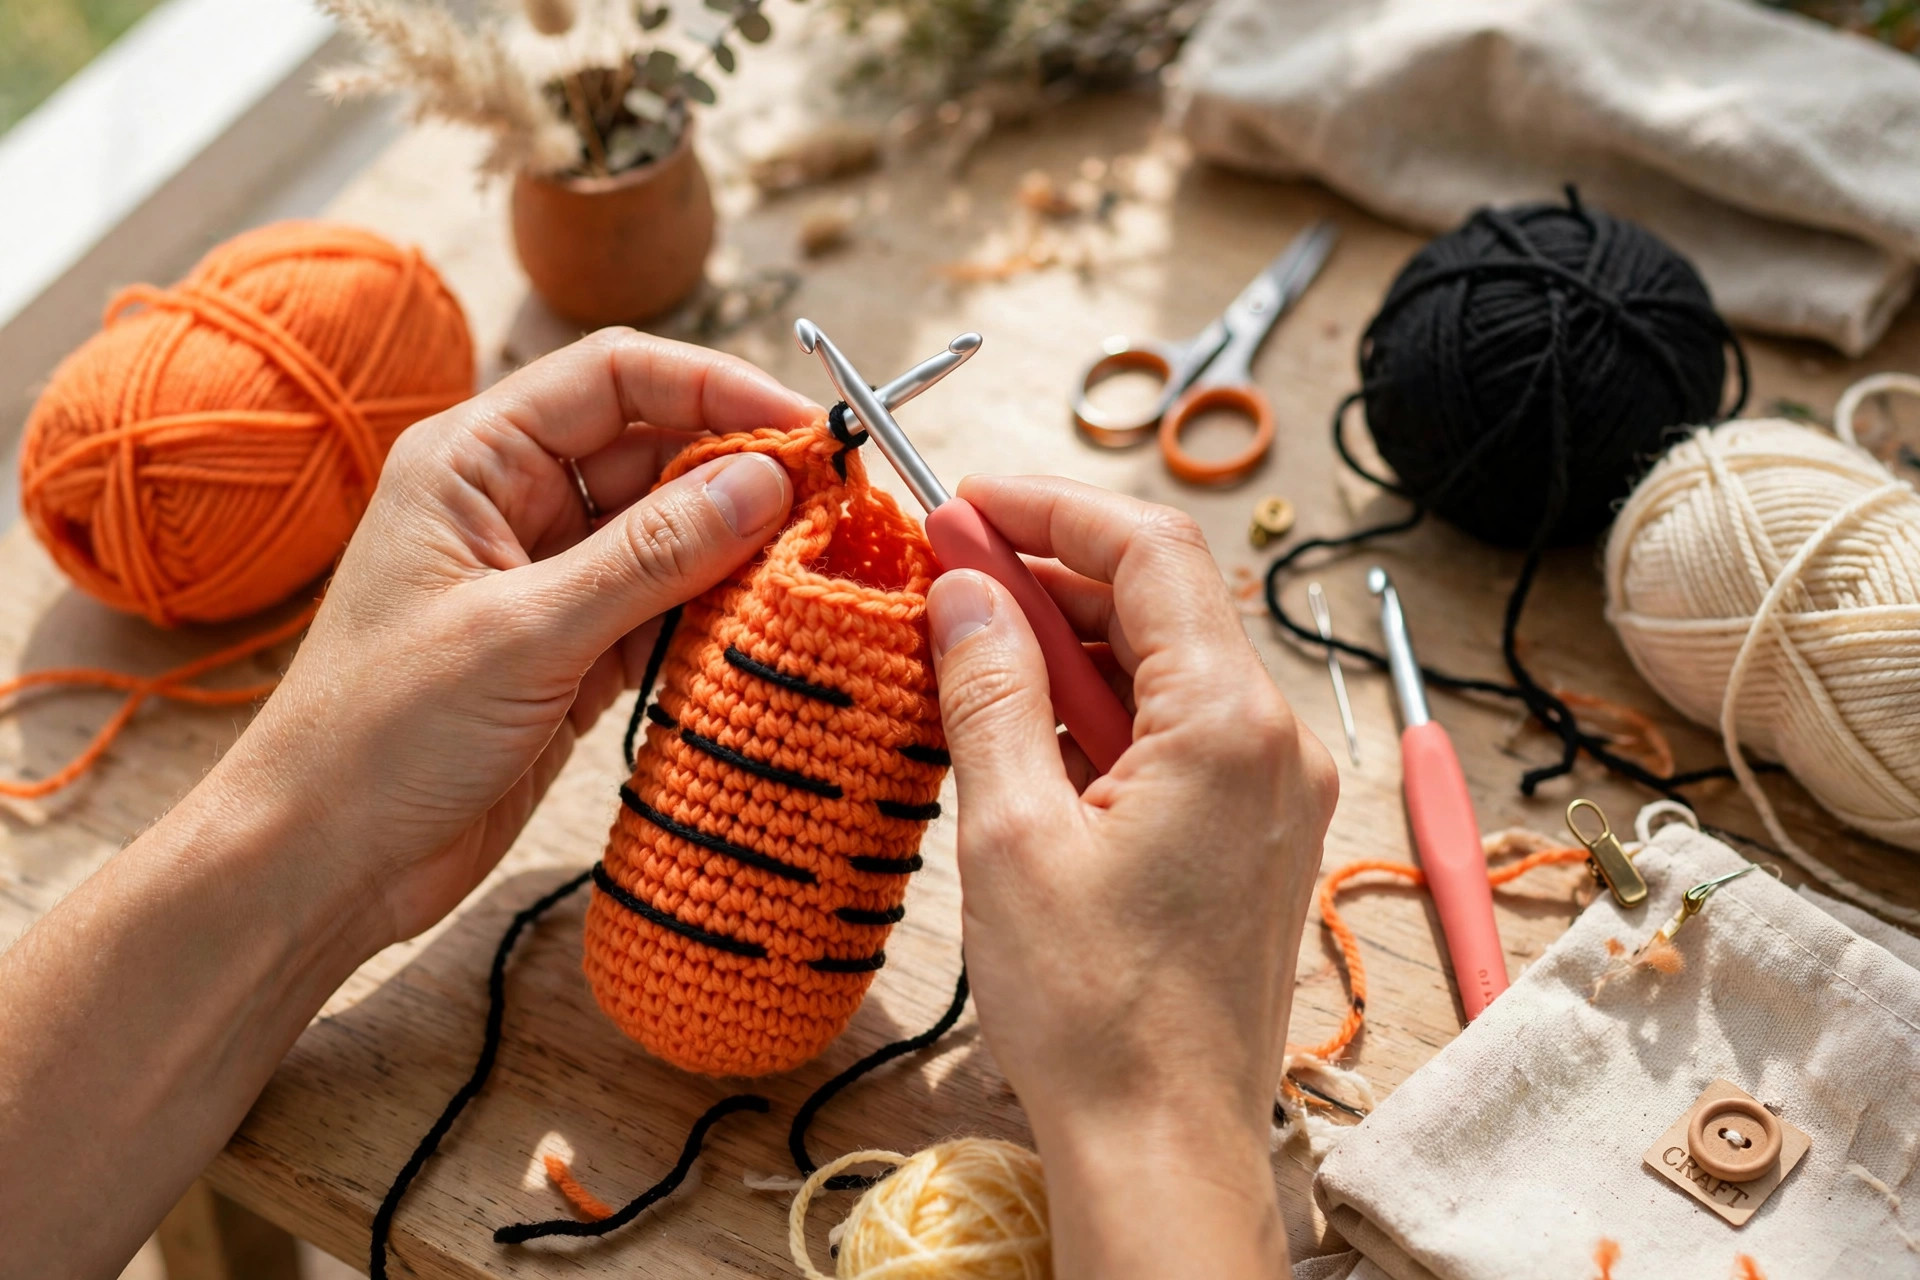
Amigurumi tigers look impressive, but this pattern keeps every single step approachable. The head and body are classic amigurumi spheres worked in continuous rounds, the kind of shaping you can do while watching a show once you learn the rhythm of increase, work even, then decrease. The ears, arms, legs, and tail are all tiny quick makes that fly by in minutes, which keeps the project feeling fresh instead of repetitive.
The embroidered stripe technique is the real star here. Many tiger patterns ask you to change colors mid round, which means carrying yarn and counting carefully. This pattern skips all of that: you crochet everything in solid orange and cream, then add straight stitch stripes with black yarn and a tapestry needle exactly where they look best. A crooked stripe pulls out in seconds, so beginners get perfect stripes on the first try.
If you love stitching cute animals, you will also enjoy our crochet cat pattern, another beginner friendly amigurumi with the same simple shaping.
Finished Size, Skill Level, and Time
- Finished size: about 9 inches tall sitting and 6 inches wide at the body, measured with worsted weight yarn and a US E-4 (3.5 mm) hook. Size shifts a little with your yarn and tension.
- Skill level: easy. You should be comfortable with the magic ring, single crochet, increasing, decreasing, and sewing pieces together. The embroidery is just straight stitches.
- Making time: 6 to 8 hours total, including about an hour for assembly and stripe embroidery.
Materials You Need
- Worsted weight (#4) acrylic or cotton-blend yarn: about 200 yards of orange, 60 yards of cream, and 30 yards of black.
- US E-4 (3.5 mm) crochet hook. A hook one size smaller than the yarn label suggests keeps amigurumi stitches tight so stuffing does not show through.
- Polyester fiberfill stuffing, about 4 to 5 ounces.
- Tapestry needle with a large eye for sewing and embroidery.
- Stitch marker to mark the first stitch of each round.
- Scissors.
- Optional: two 12 mm safety eyes and washers. Skip these and embroider the eyes instead if the tiger is for a child under three.
Abbreviations (US Terms)
- MR = magic ring
- ch = chain
- sc = single crochet
- hdc = half double crochet
- dc = double crochet
- inc = increase (2 sc in the same stitch)
- dec = decrease (single crochet 2 together)
- sl st = slip stitch
- st(s) = stitch(es)
- BLO = back loop only
- R = round
How the Stripes Work
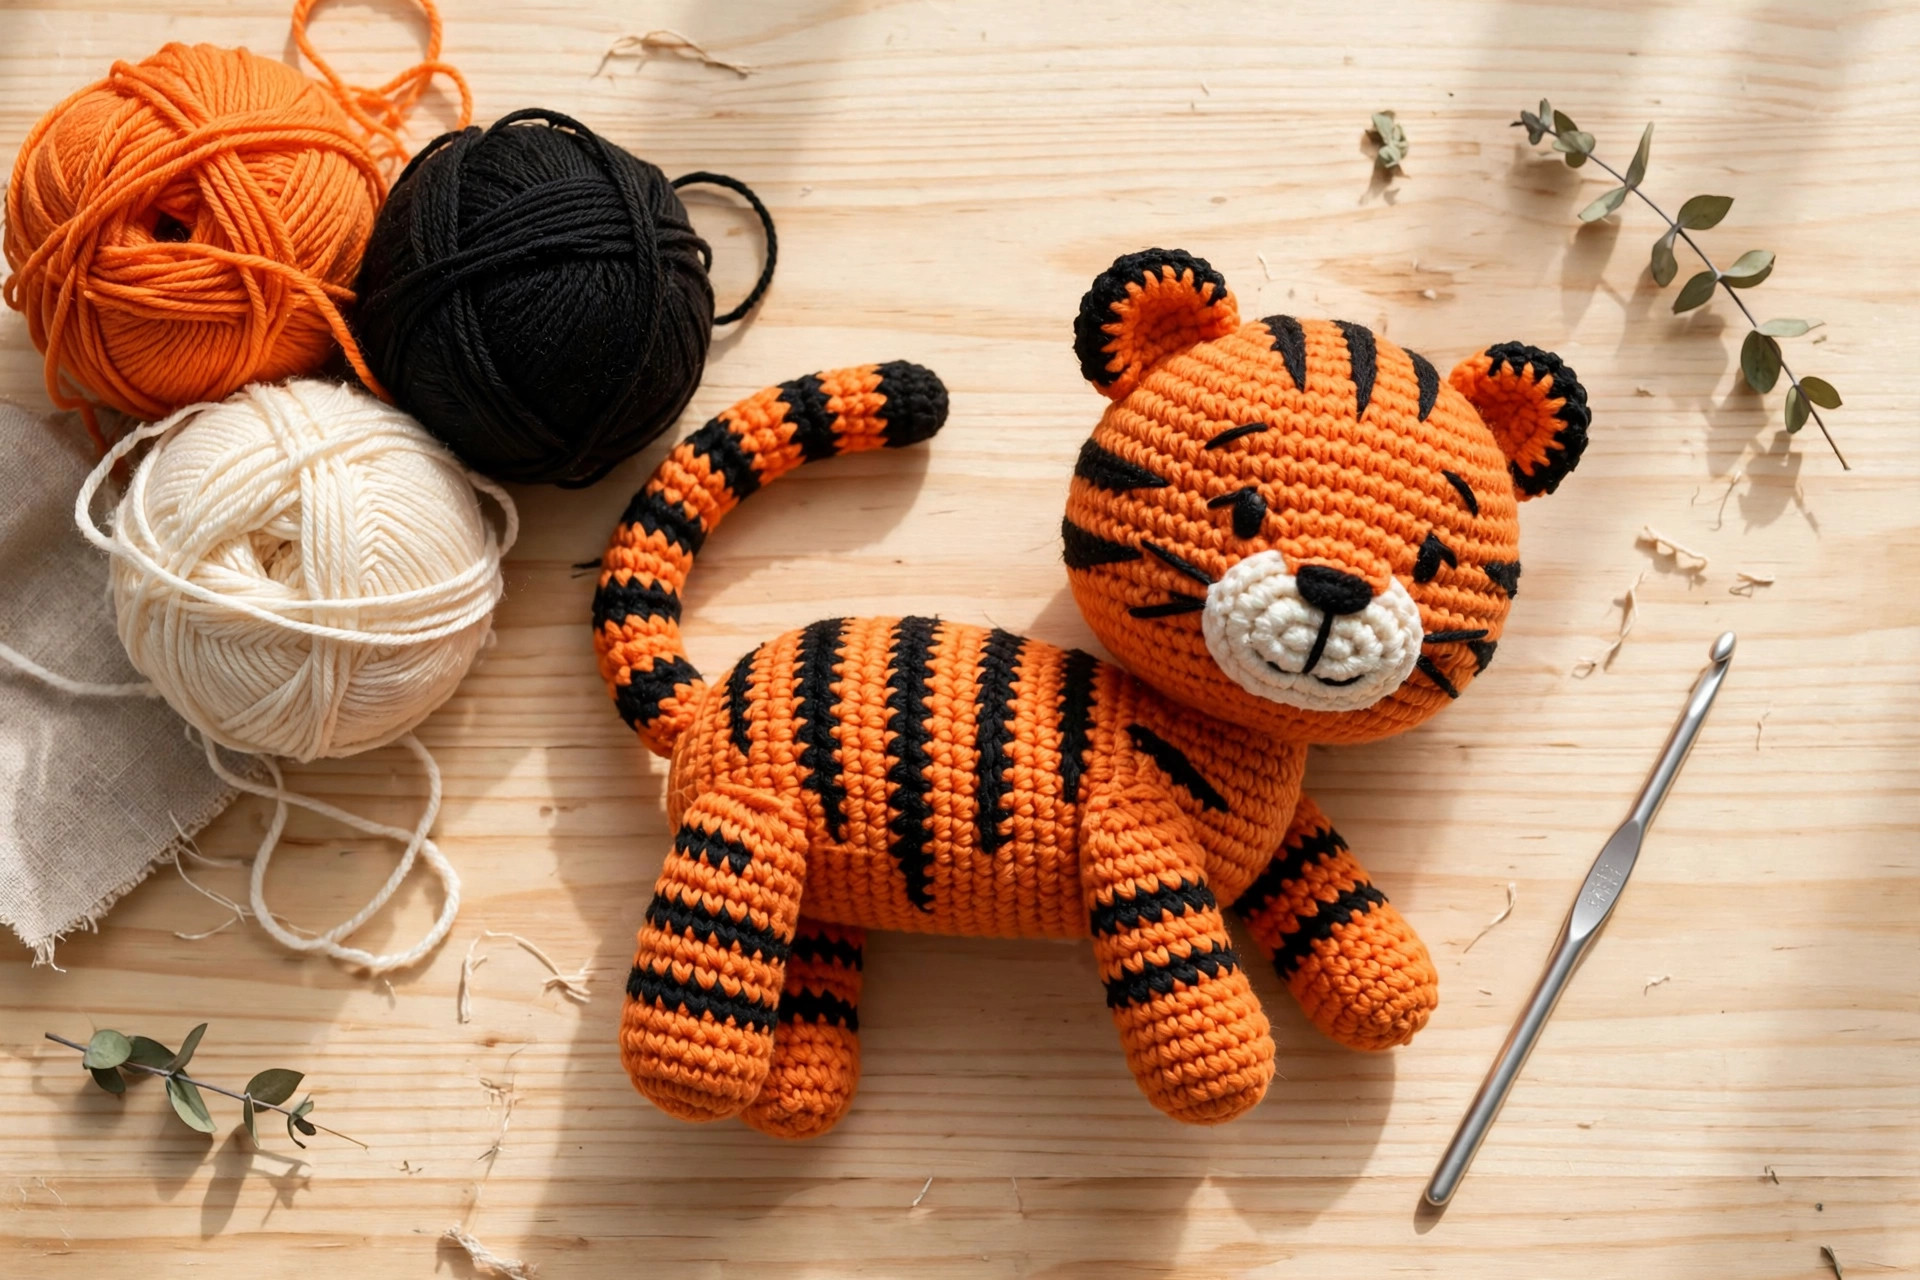
Real tigers have unique stripe patterns, and your crochet tiger will too, because you place every stripe by hand. After the head, body, and limbs are crocheted and stuffed, you thread black yarn on a tapestry needle and add simple straight stitches directly onto the surface of the finished pieces. Each stripe is just a short line of yarn laid across the stitches, about three quarters of an inch long, anchored with a tiny knot hidden inside the piece.
This approach has three big advantages: no colorwork to manage while you crochet, so tension stays even; you place stripes on the finished tiger, so positioning is easy; and mistakes pull out painlessly. The guide below tells you exactly how many stripes go on each piece.
For more striped and spotted animal friends, check out our free crochet fox pattern, which uses the same easy assembly style.
Part 1: Crocheting the Head
Work the head in continuous rounds. Place a stitch marker in the first stitch of each round and move it up as you go.
R1: MR, 6 sc in the ring. Pull the ring closed. (6) R2: Inc in each st around. (12) R3: (Sc in the next st, inc in the next st) x6. (18) R4: (Sc in the next 2 sts, inc in the next st) x6. (24) R5: (Sc in the next 3 sts, inc in the next st) x6. (30) R6: (Sc in the next 4 sts, inc in the next st) x6. (36) R7: (Sc in the next 5 sts, inc in the next st) x6. (42) R8 to R14: Sc in each st around. (42) [7 rounds] R15: (Sc in the next 5 sts, dec) x6. (36) R16: (Sc in the next 4 sts, dec) x6. (30) R17: (Sc in the next 3 sts, dec) x6. (24)
Pause here and stuff the head firmly, shaping it into a nice round ball. Add stuffing in small handfuls and press it into the sides so no lumps show through the stitches.
R18: (Sc in the next 2 sts, dec) x6. (18) R19: (Sc in the next st, dec) x6. (12) R20: Dec x6. (6)
Fasten off, thread the tail through the remaining stitches, pull closed, and weave in the end. Set the head aside.
A note on tension: keep stitches tight and even so no stuffing peeks through. If it does, switch to a 3.25 mm hook. The fabric should feel firm and springy, like a tennis ball.
Part 2: The Body
Work the body in continuous rounds with orange yarn, just like the head.
R1: MR, 6 sc in the ring. (6) R2: Inc in each st around. (12) R3: (Sc in the next st, inc in the next st) x6. (18) R4: (Sc in the next 2 sts, inc in the next st) x6. (24) R5: (Sc in the next 3 sts, inc in the next st) x6. (30) R6 to R10: Sc in each st around. (30) [5 rounds] R11: (Sc in the next 3 sts, dec) x6. (24) R12 to R13: Sc in each st around. (24) [2 rounds] R14: (Sc in the next 2 sts, dec) x6. (18) R15: Sc in each st around. (18)
Stuff the body firmly, packing the bottom a little extra so the tiger sits upright without tipping. Fasten off, leaving an 18 inch tail for sewing the body to the head later.
If you enjoy building amigurumi from simple round shapes, our amigurumi body pattern breaks down the same shaping principles in extra detail.
Part 3: Muzzle, Ears, and Face Details
Muzzle (cream): R1: MR, 6 sc in the ring. (6) R2: Inc in each st around. (12) R3: (Sc in the next st, inc in the next st) x6. (18) R4: Sc in each st around. (18)
Fasten off, leaving a 12 inch tail. Press the piece gently into a soft oval with your fingers; it does not need stuffing.
Ears, make 2 (orange): R1: MR, 6 sc in the ring. (6) R2: (Sc in the next st, inc in the next st) x3. (9) R3: (Sc in the next 2 sts, inc in the next st) x3. (12) R4 to R5: Sc in each st around. (12)
Flatten the ear (do not stuff it) and fasten off, leaving a 12 inch tail.
Inner ears, make 2 (cream): Ch 4. Sc in the 2nd ch from the hook, hdc in the next ch, dc in the last ch. Fasten off, leaving a tail. Sew one inner ear to the front of each orange ear, centered and slightly toward the top.
Eyes: If you are using safety eyes, insert two 12 mm eyes between R10 and R11 of the head, about 8 stitches apart, and press the washers on firmly from the inside before the head is fully stuffed. For a child under three, skip the safety eyes and embroider them instead: make each eye from a small black French knot or a tight cluster of satin stitches.
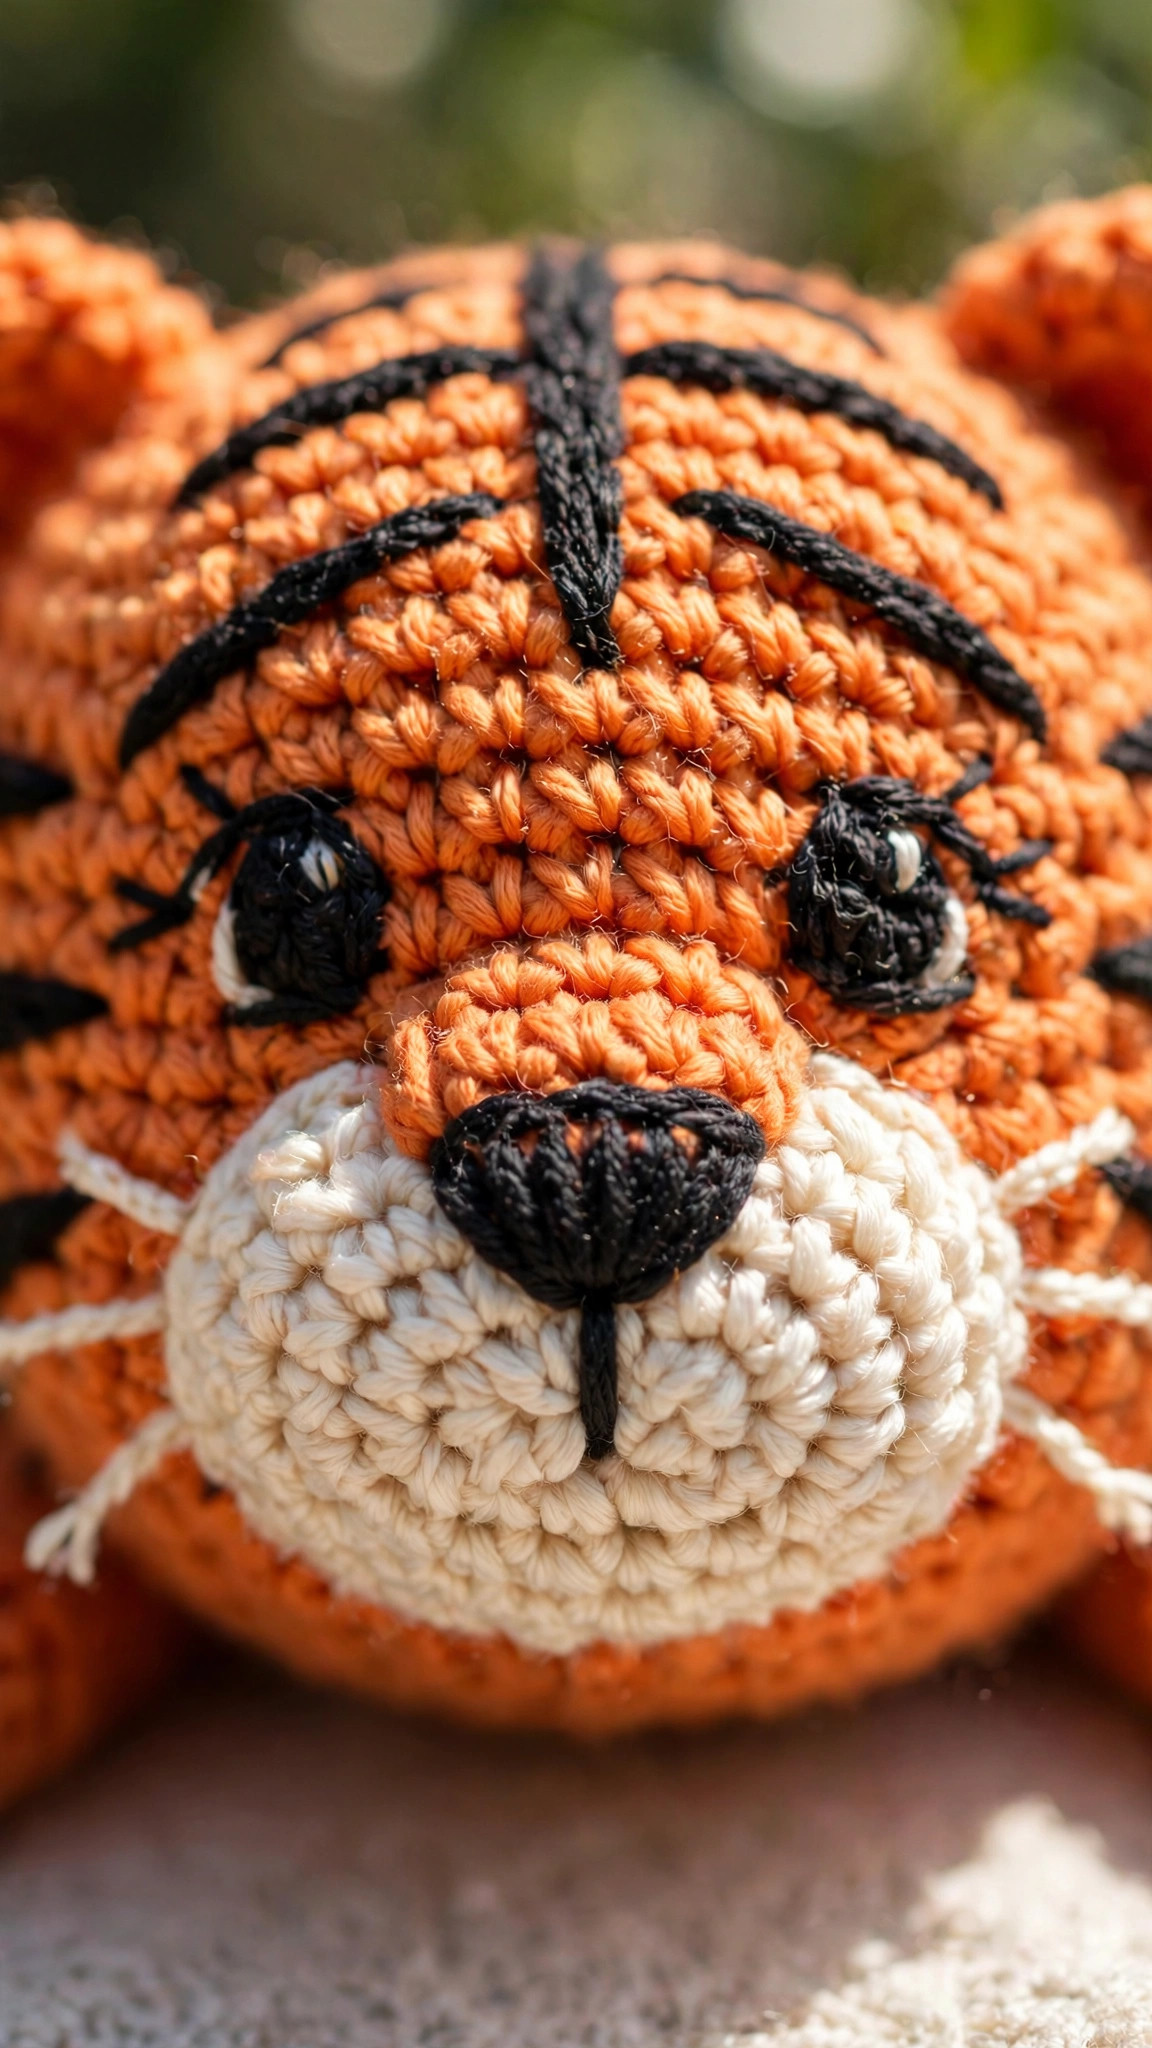
Nose and mouth: Thread black yarn on your tapestry needle. On the cream muzzle, embroider a triangle nose in the center top area using 4 or 5 horizontal straight stitches that get shorter toward the top, then one vertical stitch down from the bottom point of the triangle, and two short curved lines branching left and right for the mouth. Keep the stitches small and neat; this little face is what gives your tiger its charm.
Part 4: Arms, Legs, and Tail
Arms, make 2 (orange): R1: MR, 6 sc in the ring. (6) R2: (Sc in the next st, inc in the next st) x3. (9) R3 to R6: Sc in each st around. (9)
Stuff just the rounded end lightly. Flatten the open top and sc across through both layers (4 sc) to close it. Fasten off, leaving a 12 inch tail.
Legs, make 2 (orange): R1: MR, 6 sc in the ring. (6) R2: Inc in each st around. (12) R3: (Sc in the next st, inc in the next st) x6. (18) R4 to R5: Sc in each st around. (18) R6: (Sc in the next st, dec) x6. (12) R7 to R8: Sc in each st around. (12)
Stuff firmly. Fasten off, leaving a 12 inch tail.
Tail (orange and black stripes): Work in continuous rounds, changing colors as noted. To change color, finish the last yarn over of the old color stitch with the new color. R1: With orange, MR, 6 sc. (6) R2 to R3: Sc in each st around. (6) R4 to R5: With black, sc in each st around. (6) R6 to R7: With orange, sc in each st around. (6) R8 to R9: With black, sc in each st around. (6) R10 to R12: With orange, sc in each st around. (6) R13: With black, sc in each st around. (6) R14: Dec x3. (3)
Stuff the tail lightly; it should stay flexible so it can curve. Fasten off, leaving a 12 inch tail.
Belly patch (cream): R1: MR, 6 sc in the ring. (6) R2: Inc in each st around. (12) R3: (Sc in the next st, inc in the next st) x6. (18) R4: (Sc in the next 2 sts, inc in the next st) x6. (24)
Fasten off, leaving an 18 inch tail. This patch is sewn to the front of the body in the assembly step.
Part 5: Adding the Stripes
Thread black yarn on your tapestry needle and knot the end. For each stripe, bring the needle up from inside the piece, make one straight stitch about three quarters of an inch long, then take the needle back down nearby and knot inside. Follow the curve of the piece for natural looking stripes.
- Forehead: 3 short vertical stripes above and between the eyes.
- Cheeks: 2 angled stripes on each side of the muzzle, slanting outward.
- Back of head: 2 short stripes on the upper back of the head.
- Body: 3 stripes on each side of the body, gently curved to follow the body shape.
- Arms and legs: 2 short stripes on the outer side of each limb.
- Ears: 1 short stripe on the outer edge of each ear, optional but cute.
Step back and look at your tiger after every few stripes. Real tigers have uneven, organic stripes, so do not aim for perfect symmetry. A little variation looks more natural and handmade.
Part 6: Assembling Your Tiger
Use the long tails and a tapestry needle; neat sewing is what separates good amigurumi from great.
Step 1: Sew the head to the top of the body, tilting it very slightly forward. Use small whipstitches all the way around the join, pulling snugly so no gap shows.
Step 2: Center the cream muzzle on the lower front of the head, with the embroidered nose facing forward. Sew around the edge of the muzzle with small stitches.
Step 3: Pin the ears to the top of the head, angled slightly outward, and sew them on securely. The inner cream ear should face forward.
Step 4: Sew the arms to the sides of the body around R12 to R13, angled slightly forward like the tiger is ready for a hug.
Step 5: Sew the legs to the lower front of the body so the tiger sits upright on them. Test the sitting position before you finish the stitches.
Step 6: Center the cream belly patch on the front of the body and sew it down all the way around.
Step 7: Sew the tail to the lower back of the body, curving it to one side. Weave in every remaining end, hiding the tails inside the stuffing.
Give your tiger a final fluff, smooth the stripes with your fingers, and it is ready for its debut.
Color Variations
One pattern, many tigers. Here are five colorways our test makers loved:
- Classic Bengal: orange, cream, and black, exactly as written.
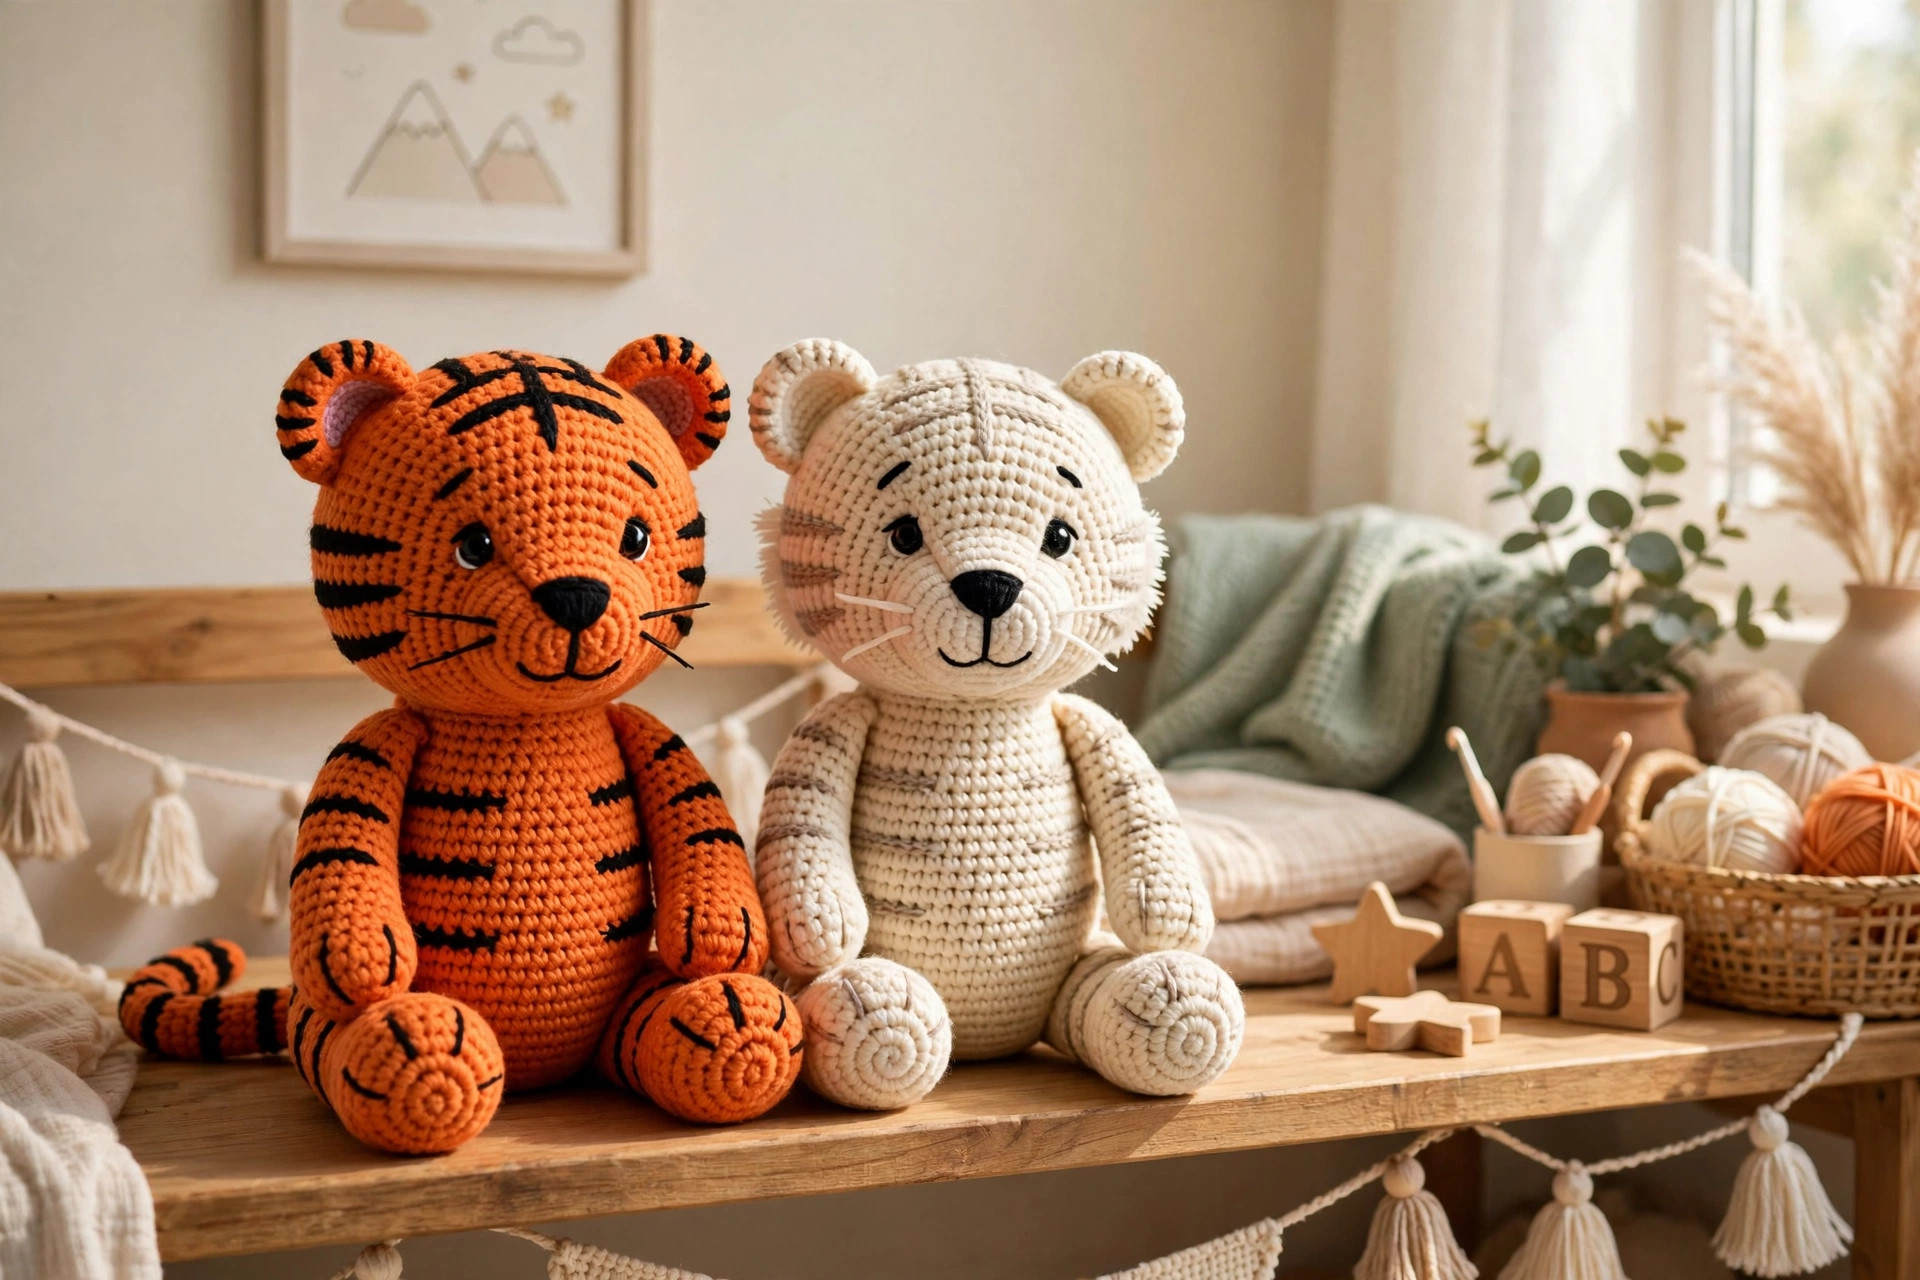
- White tiger: soft white body, white belly, charcoal gray stripes and face.
- Pastel cub: blush pink body, cream accents, chocolate brown stripes.
- Midnight tiger: charcoal body, cream belly, silver gray stripes.
- Sports team tiger: body and stripes in a favorite team's colors.
For another woodland predator in the same easy style, try our free crochet wolf pattern.
Troubleshooting
My stitches are so tight I cannot get the hook in. Relax your grip or go up to a 3.75 mm hook. Tight is good, but you should still insert the hook without forcing it.
Stuffing shows through the stitches. Switch to a smaller hook and keep each stitch snug against the last one.
My stripes look messy. Redo them with shorter, half inch stitches and relaxed tension; short stitches sit flatter and look neater.
The head wobbles on the body. Add a second round of whipstitches around the join and pack extra stuffing into the neck area.
The tiger will not sit upright. Move the legs further forward, firm up the bottom stuffing, and test the sit before sewing the legs down.
Safety Notes for Little Ones
For a child under three, embroider the eyes and nose instead of using safety eyes, weave in all ends extra securely, and tug test every sewn piece. With those changes, the tiger is a soft, safe cuddle buddy with nothing to come loose.
Care Instructions
Machine wash acrylic tigers on gentle inside a pillowcase and air dry. Hand wash cotton blends in cool water and dry flat. Tighten loose stripes with a quick pass of the tapestry needle, and store out of direct sunlight to keep the colors bright.
Frequently Asked Questions
Is this crochet tiger pattern good for beginners?
Yes. If you can work a magic ring, single crochet, increase, and decrease, you can make this tiger. Stripes are embroidered on afterward, so there is no colorwork, and every piece is a simple round shape.
How do I make the stripes without carrying yarn?
You embroider them after crocheting, with straight stitches worked directly onto the finished pieces. The pattern includes a full placement guide, and any stripe pulls out easily for a redo.
What size hook should I use for amigurumi?
Use a hook one size smaller than your yarn label suggests, usually a US E-4 (3.5 mm) for worsted weight yarn. The smaller hook makes tight stitches that hide the stuffing, which is the hallmark of neat amigurumi.
Can I use safety eyes on this tiger?
Yes, 12 mm safety eyes work perfectly and are placed between rounds 10 and 11 of the head. If the tiger is for a child under three, embroider the eyes instead, since safety eyes are still small parts.
How much yarn does the tiger need?
About 200 yards of orange, 60 yards of cream, and 30 yards of black worsted weight yarn, a great stash buster.
Can I sell finished tigers made from this pattern?
Yes. You are welcome to sell finished tigers you make from this original pattern. Please credit Little Loop Finds as the pattern designer and do not redistribute the pattern itself.
Why does my tiger look lumpy?
Pull the stuffing into small, flat handfuls and press each one firmly into place, especially around the cheeks and belly. Smooth the outside with your hands as you go.
Love amigurumi with a little mischief? Our day 20 sibling make, the crochet zombie pattern, uses the same easy round shaping with a spooky twist. Happy crocheting, and enjoy your stripey new friend.