Free Crochet Zombie Pattern (Spooky Amigurumi)
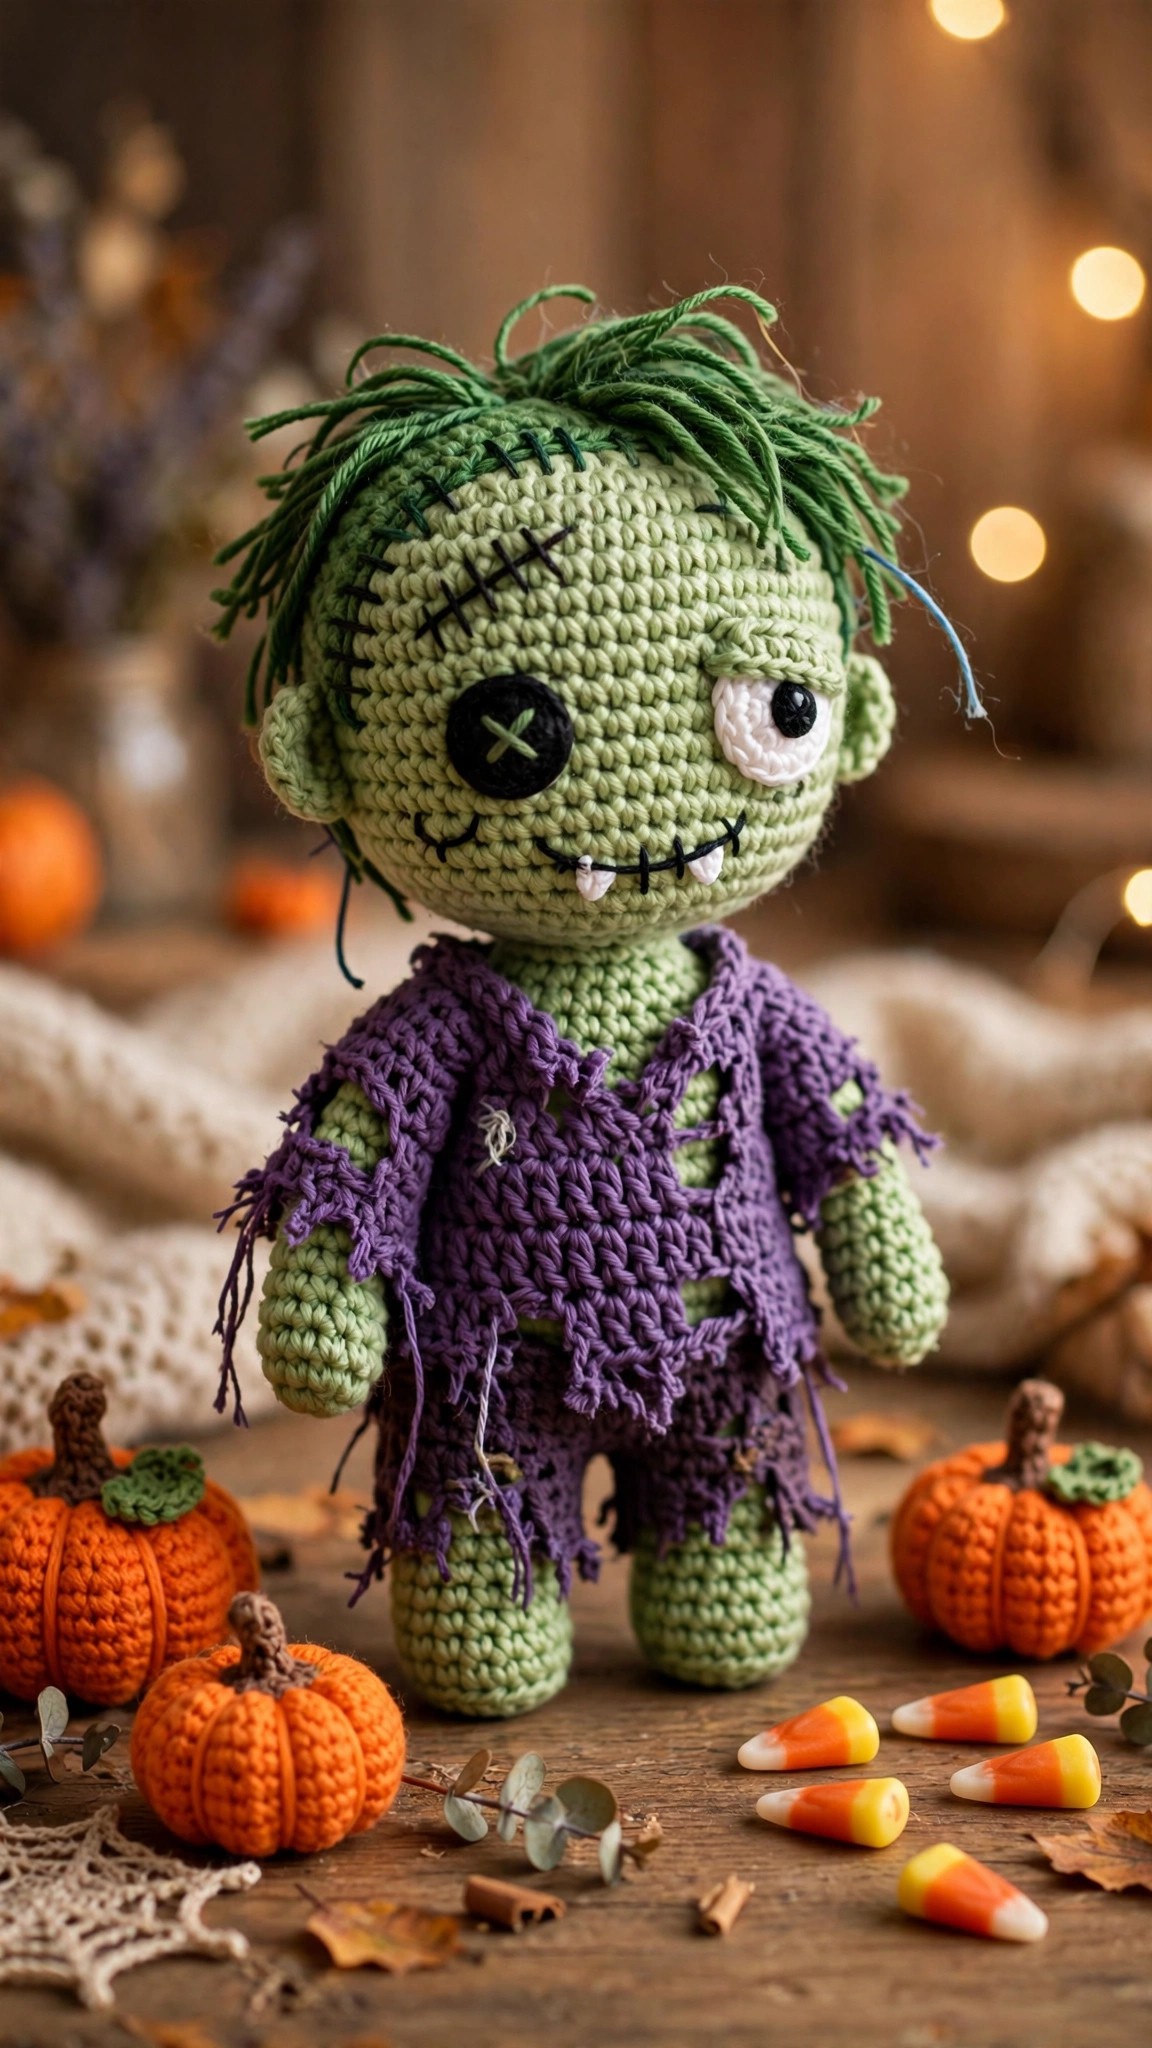
Stitch a spooky sweet amigurumi zombie with X eyes, messy hair, and a tattered shirt, free pattern in US terms.

Amigurumi · Crochet
- Finished size
- 8 in tall
- Making time
- 5 to 7 hours
- Hook
- US E-4 (3.5 mm)
- Set
- Doll, shirt, hair and face guide
- Skill
- Easy
In this post
- Key Takeaways
- Table of Contents
- Why You Will Love This Zombie
- Finished Size, Skill Level, and Time
- Materials You Need
- Abbreviations (US Terms)
- Part 1: Crocheting the Head
- Part 2: Crocheting the Body
- Part 3: Arms and Legs
- Part 4: The Tattered Shirt Collar
- Part 5: Hair, Face, and Details
- Assembly
- Variations: Build Your Horde
- Troubleshooting Amigurumi
- Care Instructions
- Frequently Asked Questions
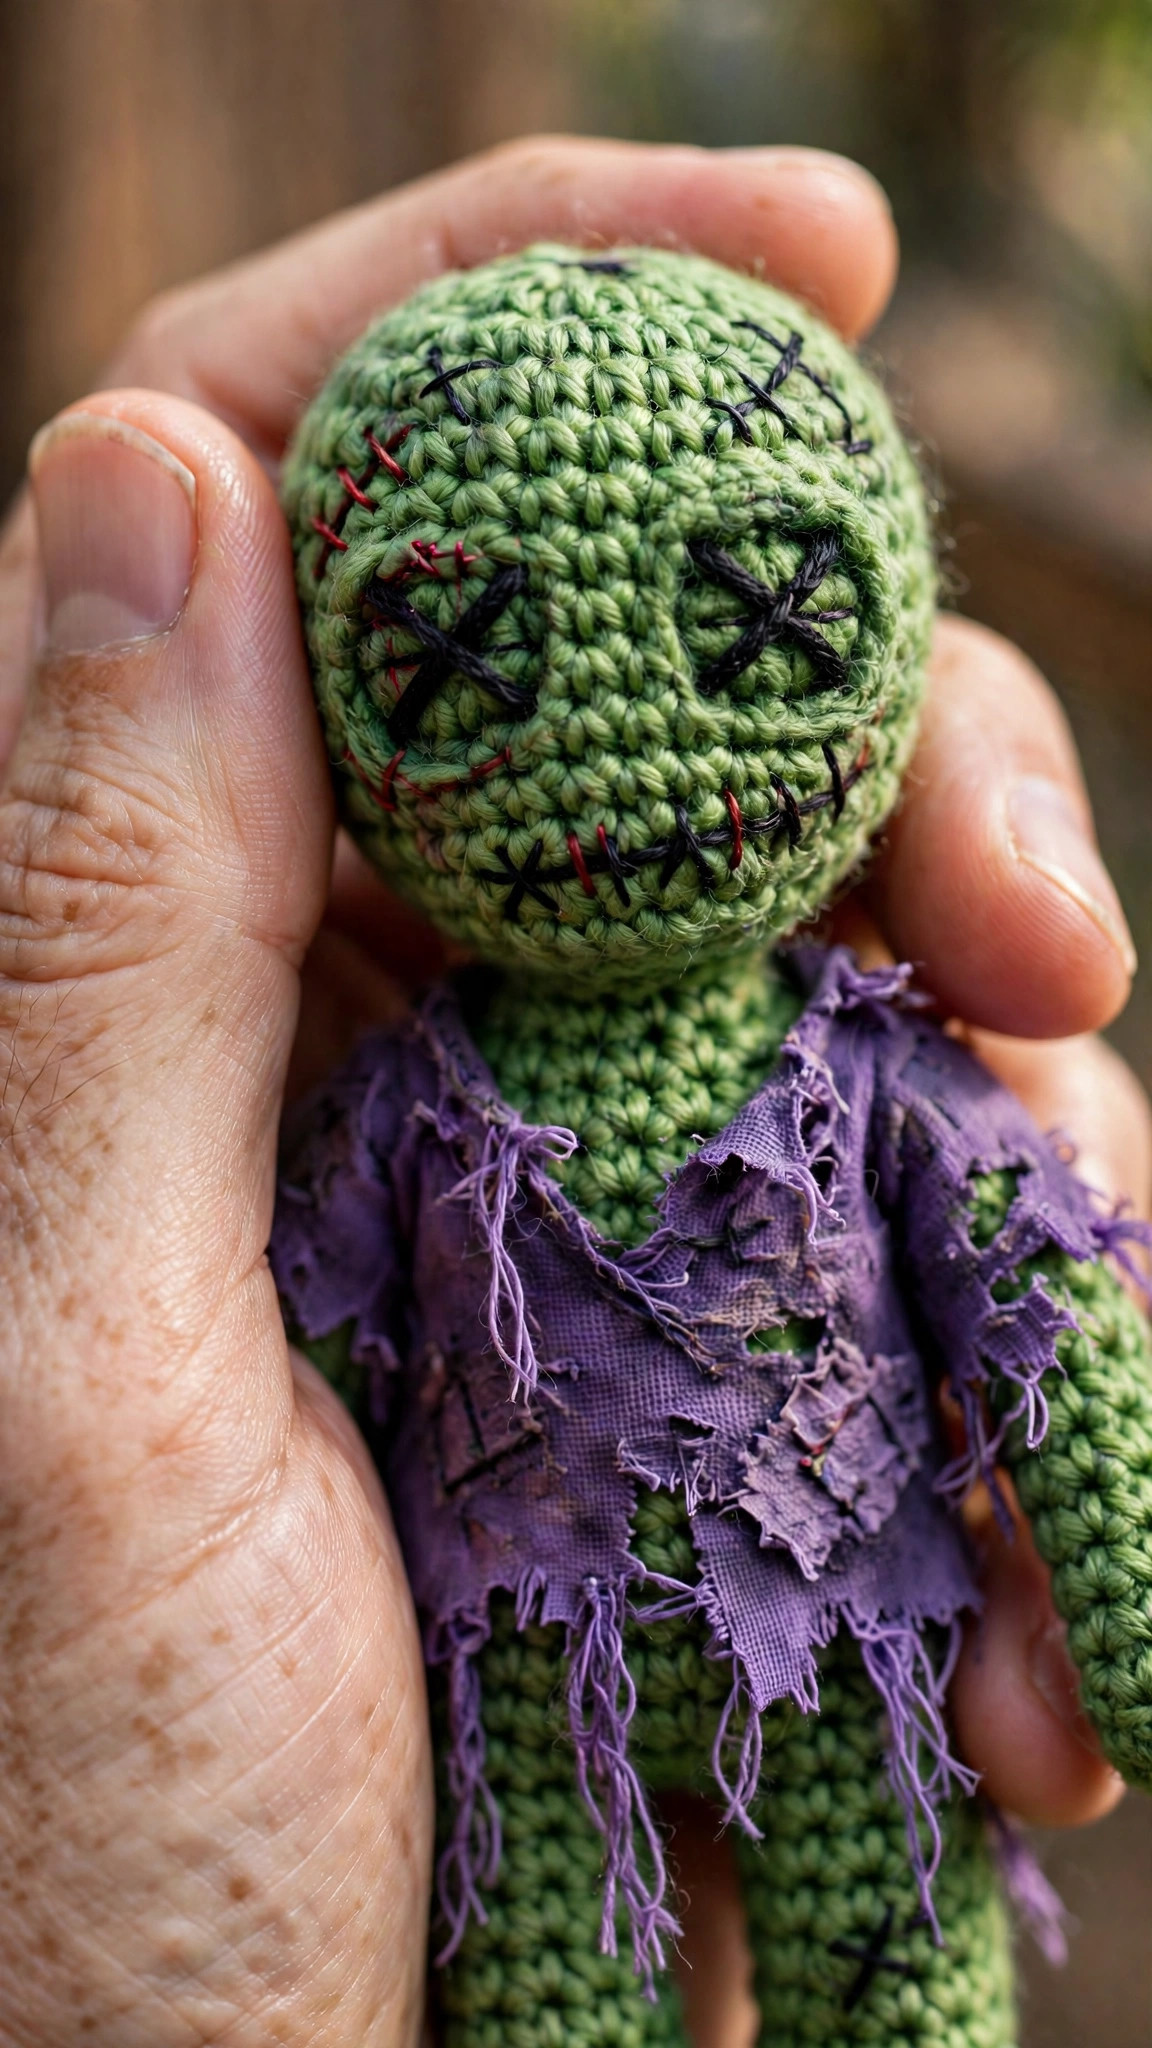
Meet the cutest little zombie you will ever stitch. This free crochet zombie pattern makes a goofy, green, tattered-shirt amigurumi doll that is equal parts spooky and sweet, with stitched X eyes, messy yarn hair, and a gloriously ragged purple shirt. He is the perfect Halloween shelf buddy, a fun gift for horror movie fans, and a stash buster that works up in a weekend.
This is an original Little Loop Finds design, written in US terms and completely free. The doll is worked in simple single crochet rounds with basic increases and decreases, so if you have made any amigurumi before, you will fly through this one. If this is your very first amigurumi, the zombie is actually a forgiving choice: his whole charm is being lopsided, lumpy, and messy, so perfection is officially not required.
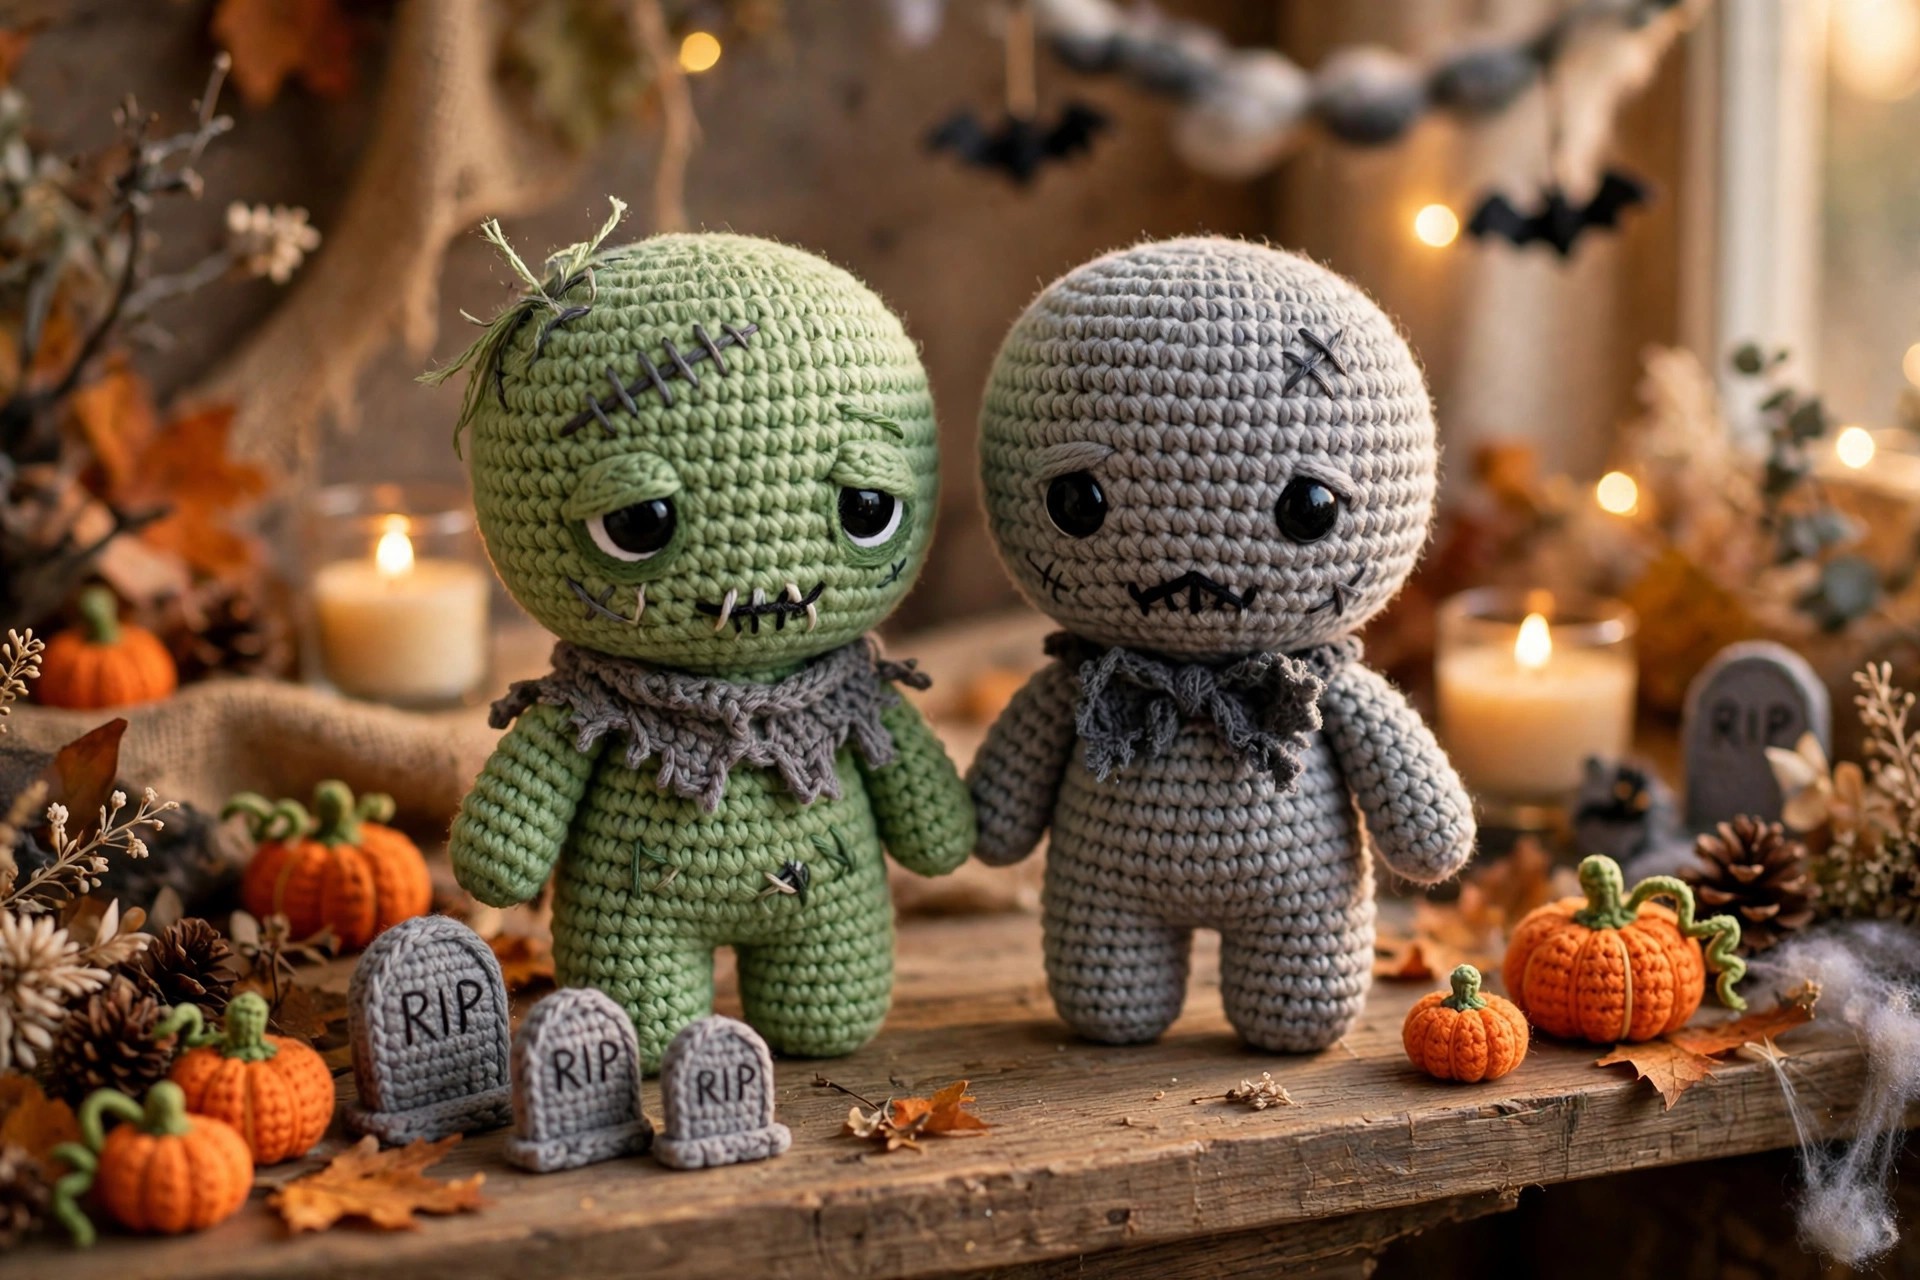
Zombies are having a moment in the crochet world, and this little guy fits right into a spooky season collection. Pair him with the tiny tombstones in the photos, set him on a Halloween mantel, or gift him to the kid who loves monsters more than princesses. Change the shirt color, swap the hair, or stitch a whole zombie family in different sizes, because once you make one, you will want a horde.
Key Takeaways
- Free original pattern: this crochet zombie pattern is a Little Loop Finds original amigurumi design, written in US terms, and completely free.
- Beginner friendly amigurumi: uses only single crochet, increases, and decreases in simple rounds.
- Weekend project: about 5 to 7 hours of stitching plus assembly.
- Stash buster: needs less than one skein each of green and purple worsted weight yarn.
- Spooky but sweet: stitched X eyes, messy hair, and a tattered shirt give big Halloween energy with zero scariness.
Table of Contents
- Why You Will Love This Zombie
- Finished Size, Skill Level, and Time
- Materials You Need
- Abbreviations (US Terms)
- Part 1: Crocheting the Head
- Part 2: Crocheting the Body
- Part 3: Arms and Legs
- Part 4: The Tattered Shirt Collar
- Part 5: Hair, Face, and Details
- Assembly
- Variations: Build Your Horde
- Troubleshooting Amigurumi
- Care Instructions
- Frequently Asked Questions
Why You Will Love This Zombie
Most amigurumi patterns demand perfection: smooth decreases, invisible seams, symmetrical faces. This zombie throws all of that out the window, and that is exactly why he is so fun to make. A slightly lumpy head just looks more zombie-like. Uneven hair is the whole aesthetic. The tattered shirt is supposed to look destroyed. It is the rare pattern where every little imperfection makes the finished doll better.
He is also a fantastic way to practice the core amigurumi skills without pressure. You will work a magic ring, even increases and decreases, color changes, simple embroidery, and basic assembly, all in one small project. If you enjoy spooky season stitching, you will also love our crochet bat pattern, another quick Halloween make with the same playful energy.
And let us talk about giftability. Zombie lovers are everywhere, from kids obsessed with monsters to adults who decorate for Halloween in July. This little guy fits in a gift bag, ships easily, and always gets a laugh. Make him in classic green, or go wild with the variations below.
Finished Size, Skill Level, and Time
- Finished size: about 8 inches tall in worsted weight yarn with a 3.5 mm hook. Using DK yarn and a 3.0 mm hook makes a 6.5 inch mini zombie.
- Skill level: confident beginner. You should know how to single crochet in the round, increase, and decrease. Embroidery for the face is simple straight stitching.
- Making time: 5 to 7 hours of crocheting, plus about 45 minutes for the face, hair, and assembly.
Materials You Need
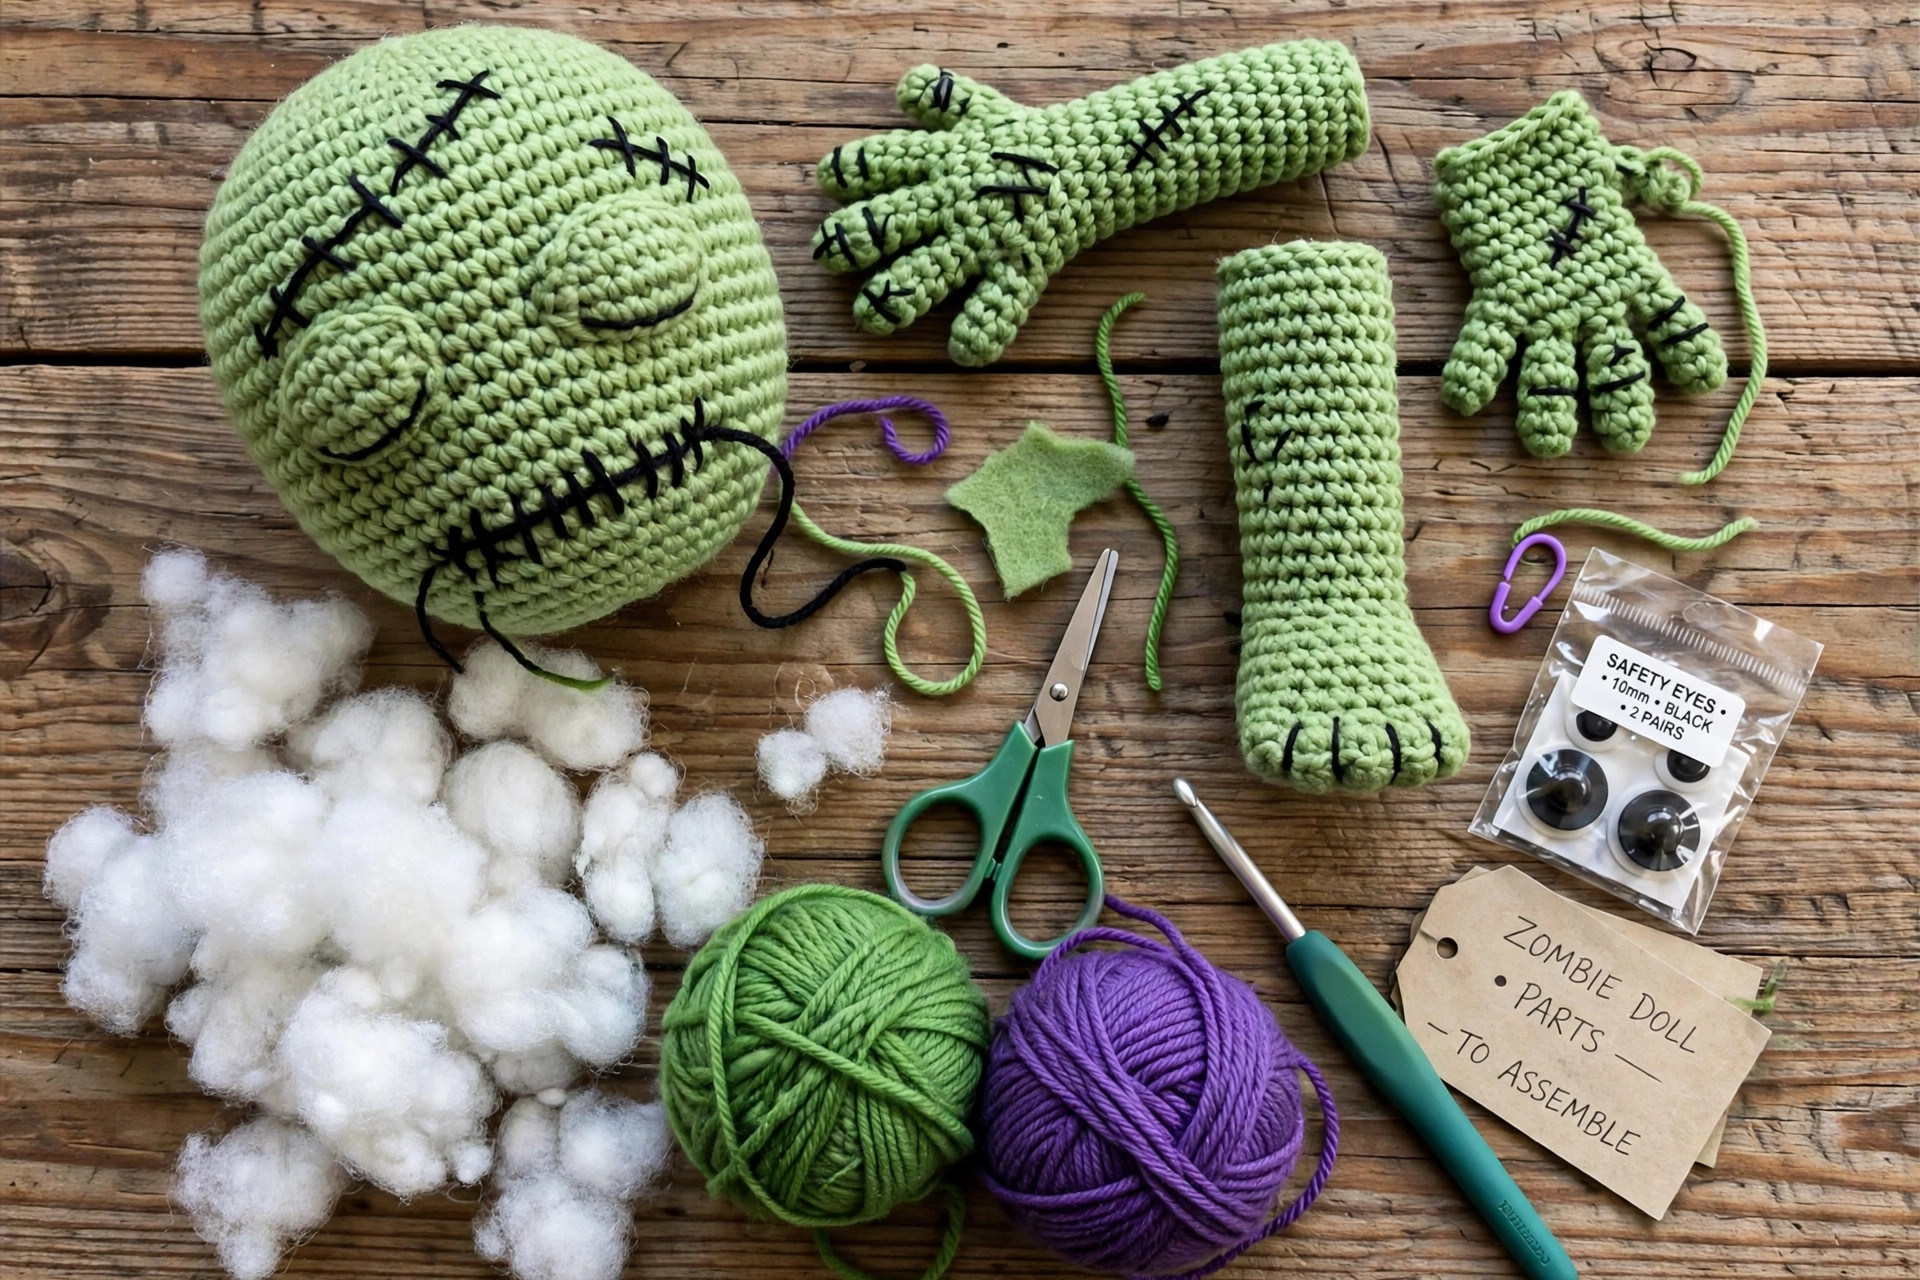
- Worsted weight (#4) yarn: about 120 yards of zombie green, 60 yards of purple for the shirt, and small amounts of black for face details.
- US E-4 (3.5 mm) crochet hook. A smaller hook than the yarn label suggests keeps the stuffing from showing through.
- Polyester fiberfill stuffing.
- Yarn needle and scissors.
- Stitch marker for marking round beginnings.
- Two 9 mm black safety eyes (optional; the pattern includes an embroidered X eye option that is safer for young children).
- Small amount of white felt or white yarn for fangs (optional).
Abbreviations (US Terms)
- MR = magic ring
- ch = chain
- sc = single crochet
- inc = increase (2 sc in same st)
- dec = decrease (single crochet 2 together; invisible decrease recommended)
- sl st = slip stitch
- st(s) = stitch(es)
- BLO = back loop only
- FO = fasten off
Part 1: Crocheting the Head
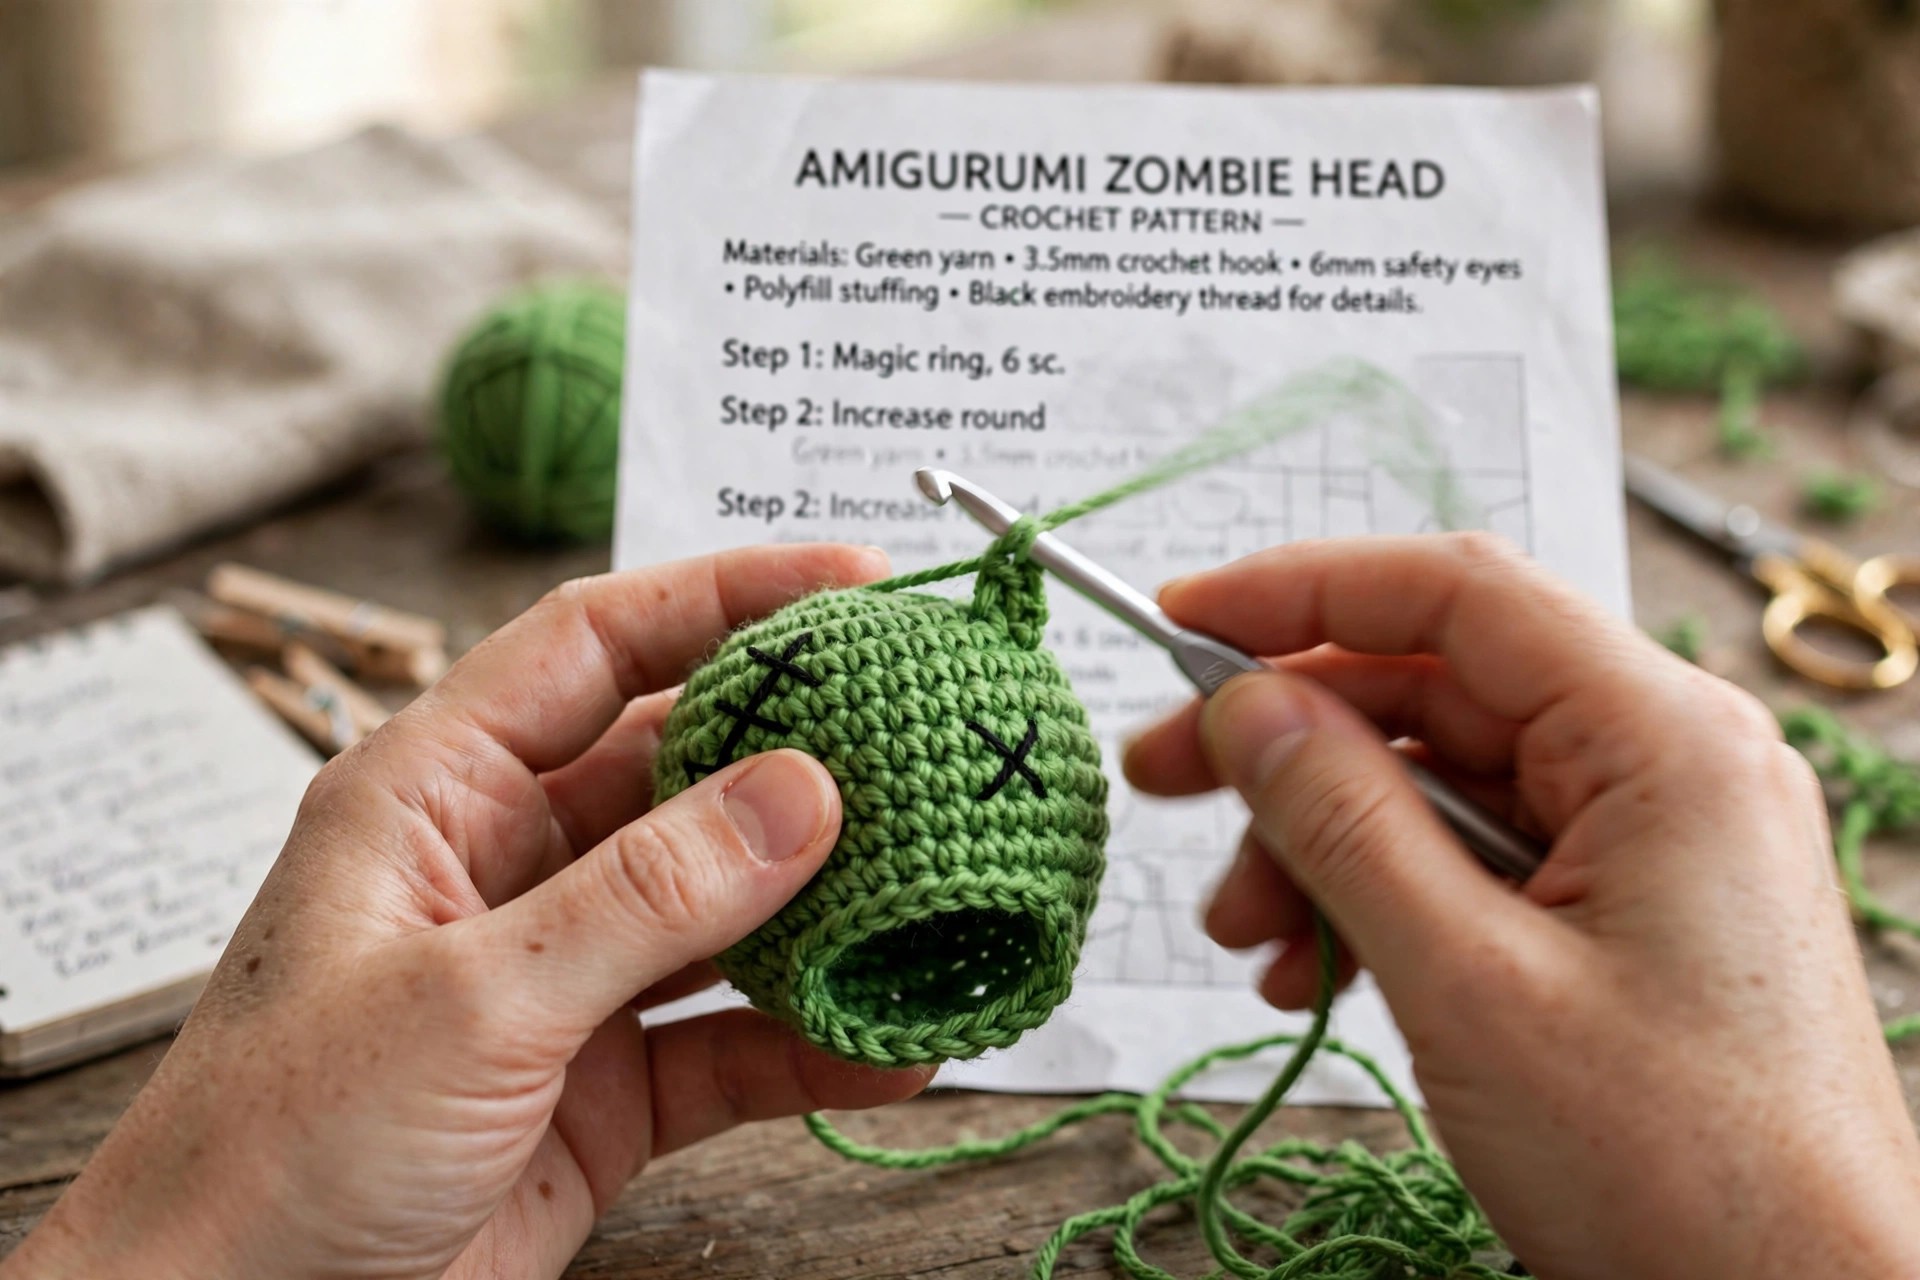
Worked in continuous rounds in zombie green. Place a stitch marker in the first stitch of each round and move it up as you go.
- Round 1: MR 6 sc. (6)
- Round 2: Inc in each st around. (12)
- Round 3: (Sc in next st, inc) 6 times. (18)
- Round 4: (Sc in next 2 sts, inc) 6 times. (24)
- Round 5: (Sc in next 3 sts, inc) 6 times. (30)
- Round 6: (Sc in next 4 sts, inc) 6 times. (36)
- Round 7: (Sc in next 5 sts, inc) 6 times. (42)
- Rounds 8 to 13: Sc in each st around. (42) Work 6 rounds even.
- Round 14: (Sc in next 5 sts, dec) 6 times. (36)
- Round 15: (Sc in next 4 sts, dec) 6 times. (30)
Pause here to place the eyes. If using safety eyes, insert them between rounds 11 and 12, about 8 stitches apart, and secure the washers inside. If embroidering X eyes, mark the positions with pins for now and stitch them after stuffing.
- Round 16: (Sc in next 3 sts, dec) 6 times. (24)
- Round 17: (Sc in next 2 sts, dec) 6 times. (18) Begin stuffing firmly, shaping the head round as you go.
- Round 18: (Sc in next st, dec) 6 times. (12) Add more stuffing.
- Round 19: Dec 6 times. (6) FO, leaving a long tail. Thread the tail through the front loops of the remaining stitches, pull tight to close, and weave in the end.
The head should feel firm and springy, not squishy. Under stuffed amigurumi sags over time, so pack the fiberfill in small handfuls and press it into shape.
Part 2: Crocheting the Body
Start in zombie green for the pants area, then switch to purple for the shirt. To change colors, work the last yarn over of the final green stitch in purple.
- Round 1: MR 6 sc in green. (6)
- Round 2: Inc in each st around. (12)
- Round 3: (Sc in next st, inc) 6 times. (18)
- Round 4: (Sc in next 2 sts, inc) 6 times. (24)
- Rounds 5 to 7: Sc in each st around in green. (24)
- Round 8: Change to purple. Sc in each st around. (24)
- Rounds 9 to 12: Sc in each st around in purple. (24)
- Round 13: (Sc in next 2 sts, dec) 6 times. (18)
- Round 14: Sc in each st around. (18) Stuff the body firmly. FO, leaving a long tail for sewing the head on.
For a fun two tone effect, you can also work round 8 in BLO to create a little ridge where the shirt meets the pants. It reads as a waistband and adds nice definition.
Part 3: Arms and Legs
Arms (make 2, in zombie green):
- Round 1: MR 6 sc. (6)
- Round 2: (Sc in next st, inc) 3 times. (9)
- Rounds 3 to 7: Sc in each st around. (9)
- Round 8: (Sc in next st, dec) 3 times. (6) Lightly stuff the hand end only, leaving the top flat for sewing. FO, leaving a tail for sewing.
Legs (make 2, in zombie green):
- Round 1: MR 6 sc. (6)
- Round 2: Inc in each st around. (12)
- Rounds 3 to 6: Sc in each st around. (12)
- Round 7: (Sc in next 2 sts, dec) 3 times. (9) Stuff firmly. FO, leaving a tail for sewing.
Part 4: The Tattered Shirt Collar
This little collar sits around the neck and sells the whole zombie costume. Worked in purple in rows.
- Row 1: Ch 25. Sc in 2nd ch from hook and in each ch across. (24) Turn.
- Row 2: Ch 1, sc in each st across. (24) Turn.
- Row 3 (tattered edge): Ch 1, (sc in next st, ch 3, sl st in the same st, skip next st) 12 times. This creates 12 little jagged points. FO, leaving a tail.
Wrap the collar around the top of the body with the jagged edge pointing down, overlapping the ends at the back, and sew it in place with the tail. Pull a few of the points outward and trim any that look too neat: neatness is the enemy of a good zombie shirt.
Part 5: Hair, Face, and Details
Messy hair: Cut 12 strands of zombie green yarn, each about 5 inches long. Fold a strand in half, pull the loop through a stitch on top of the head with your hook, then pull the ends through the loop (a lark's head knot). Repeat around the crown, spacing them unevenly. Trim the strands to different lengths, from 1 to 2.5 inches, for that just crawled out of the grave look. A few strands hanging over the face is perfect.
X eyes (embroidered option): With black yarn and a yarn needle, stitch two X shapes where you marked the eye positions, each X about 3 stitches wide and 3 rounds tall. Keep the two X shapes slightly different sizes for extra character.
Scar: On the forehead, stitch 3 short diagonal black lines crossed by one longer line, like a classic cartoon scar. This one detail makes him read as "zombie" instantly.
Mouth: With black yarn, stitch a slightly crooked horizontal line about 6 stitches wide below and between the eyes. Add two tiny vertical stitches hanging down for teeth gaps. For fangs, cut two small triangles from white felt and glue or stitch them just above the mouth line.
Cheek stitches (optional): Add two or three short black straight stitches on one cheek like patchwork repairs. Cute and creepy in the best way.
Assembly
- Sew the head to the body using the long tail left on the body. Stitch through the bottom of the head and the top round of the body, going around twice for strength. The head should sit centered and tilt very slightly to one side: a perfectly straight zombie looks suspicious.
- Sew the arms to the sides of the body at about round 10, angled slightly outward and forward, like the classic zombie reach. Use the tails to whipstitch them securely.
- Sew the legs to the bottom of the body, spaced evenly so the doll stands. Test the balance before you finish your stitches: press the feet flat on the table and adjust until he stands on his own.
- Weave in all remaining ends. Fluff the hair, straighten the collar, and step back to admire your monster.
If you love building little characters stitch by stitch, our crochet dragon pattern is a great next amigurumi adventure with wings and personality to spare.
Variations: Build Your Horde
Zombie bride: Work the doll in pale gray green, swap the purple shirt for a tattered white dress (a longer collar with more rows), and add a tiny veil from a scrap of white tulle. A black X over one eye keeps her spooky.
Mini zombie: Use DK weight yarn and a 3.0 mm hook with the exact same pattern for a 6.5 inch pocket sized zombie. He makes a great backpack charm or Halloween party favor.
Glow in the dark zombie: Substitute glow in the dark worsted weight yarn for the green. Charge him under a lamp before lights out for maximum effect on Halloween night.
Zombie cat: Work the head and body as written, then add two triangle ears (MR 4, increase to 8, work 3 rounds even) and a curled tail (ch 16, 2 sc in each ch). Instant monster mashup.
Whole monster crew: This zombie looks fantastic next to other spooky amigurumi. Pair him with our crochet ghost pattern for a mantel display, or build a full zoo of creatures starting with the free crochet tiger pattern and the giant blueberry crochet pattern for a delightfully weird shelf.
Troubleshooting Amigurumi
My magic ring keeps coming undone. After round 2, thread the tail onto a yarn needle and weave it through the base of the round 1 stitches, then pull snug. The ring cannot loosen once the tail is woven in.
Stuffing shows through my stitches. Your hook is too large for the yarn, or your tension is too loose. Drop down half a hook size and keep your stitches snug. Amigurumi fabric should be dense enough that you cannot see daylight through it.
My decreases leave little gaps. Switch to the invisible decrease: insert the hook through the front loop only of the next two stitches, yarn over, and pull through all loops. It sits flatter and nearly disappears.
The head wobbles on the body. You need more stitches attaching them, or the neck area needs more stuffing. Sew around the join twice, and pack extra fiberfill into the top of the body before closing.
My doll will not stand up. Flatten the bottoms of the legs with your fingers and make sure the stuffing is evenly distributed. Sew the legs on with the feet pointing very slightly outward, which widens the base. A tiny cardboard circle inside each foot also helps.
Care Instructions
Spot clean with a damp cloth and mild soap. If a full wash is needed, hand wash in cool water, gently squeeze out excess water in a towel, and air dry away from direct heat. Do not machine wash pieces with safety eyes or glued felt details. Fluff the hair back into its messy glory after washing, and store the doll where little hands can reach him: he is meant to be played with.
Frequently Asked Questions
Is this zombie pattern suitable for beginners?
Yes, if you can single crochet in the round and work simple increases and decreases, you can make this zombie. The face is basic embroidery, and the whole design is forgiving of small mistakes, which makes it a friendly first amigurumi.
Are safety eyes safe for children?
Safety eyes are called that because the washer locks on, but no small part is truly risk free for children under three. For toys meant for toddlers, use the embroidered X eye option in this pattern instead.
How much yarn do I need?
About 120 yards of green and 60 yards of purple worsted weight yarn, plus scraps of black. One skein of each main color is plenty, with yarn left over for a second zombie.
Can I make the zombie bigger?
Yes. Use bulky weight yarn with a 5.0 mm hook and follow the pattern exactly for a doll around 11 inches tall. Keep your tension snug so the stuffing stays hidden.
Why does my zombie look lopsided?
Check that your stitch counts match the pattern at each increase round, and that you stuffed both sides evenly. A slight tilt is charming, but if the head leans hard to one side, add stuffing to the low side of the neck join.
Can I sell finished zombies made from this pattern?
Yes. You are welcome to sell finished dolls made from this original Little Loop Finds pattern. Please credit Little Loop Finds as the designer and do not redistribute the written instructions.
How do I make the hair stay messy?
The trick is uneven trimming. Cut the strands to different lengths and resist the urge to even them up. A quick shake after trimming settles them into a naturally wild look.