Easy Crochet Snowflake Pattern: Make Winter Motifs
A free original crochet snowflake pattern in US terms: two delicate thread motifs, a large six-point and a small five-point, with blocking tips.

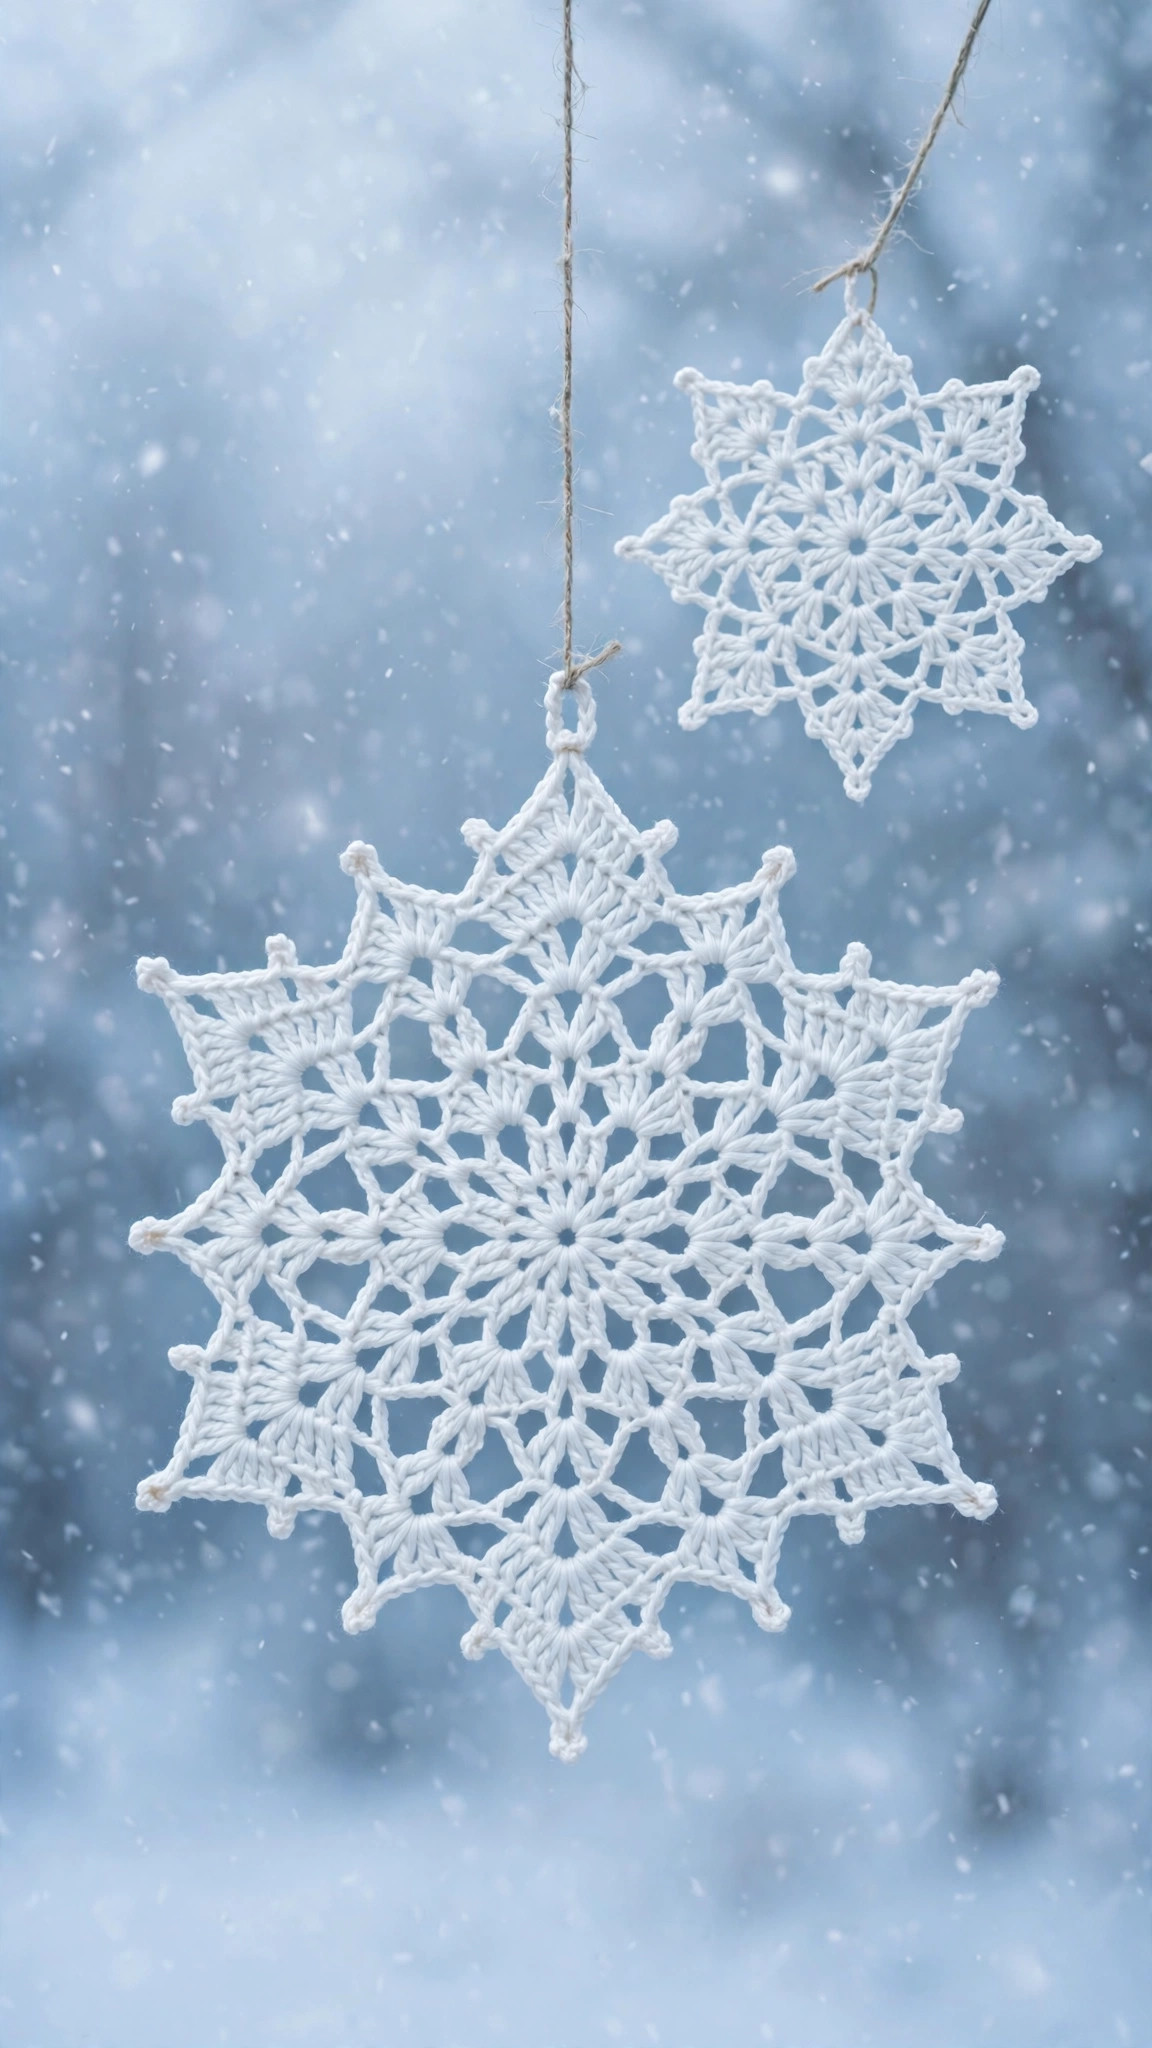
Ornaments · Crochet
- Finished size
- 4 in and 2.75 in across
- Making time
- About 45 min each
- Hook
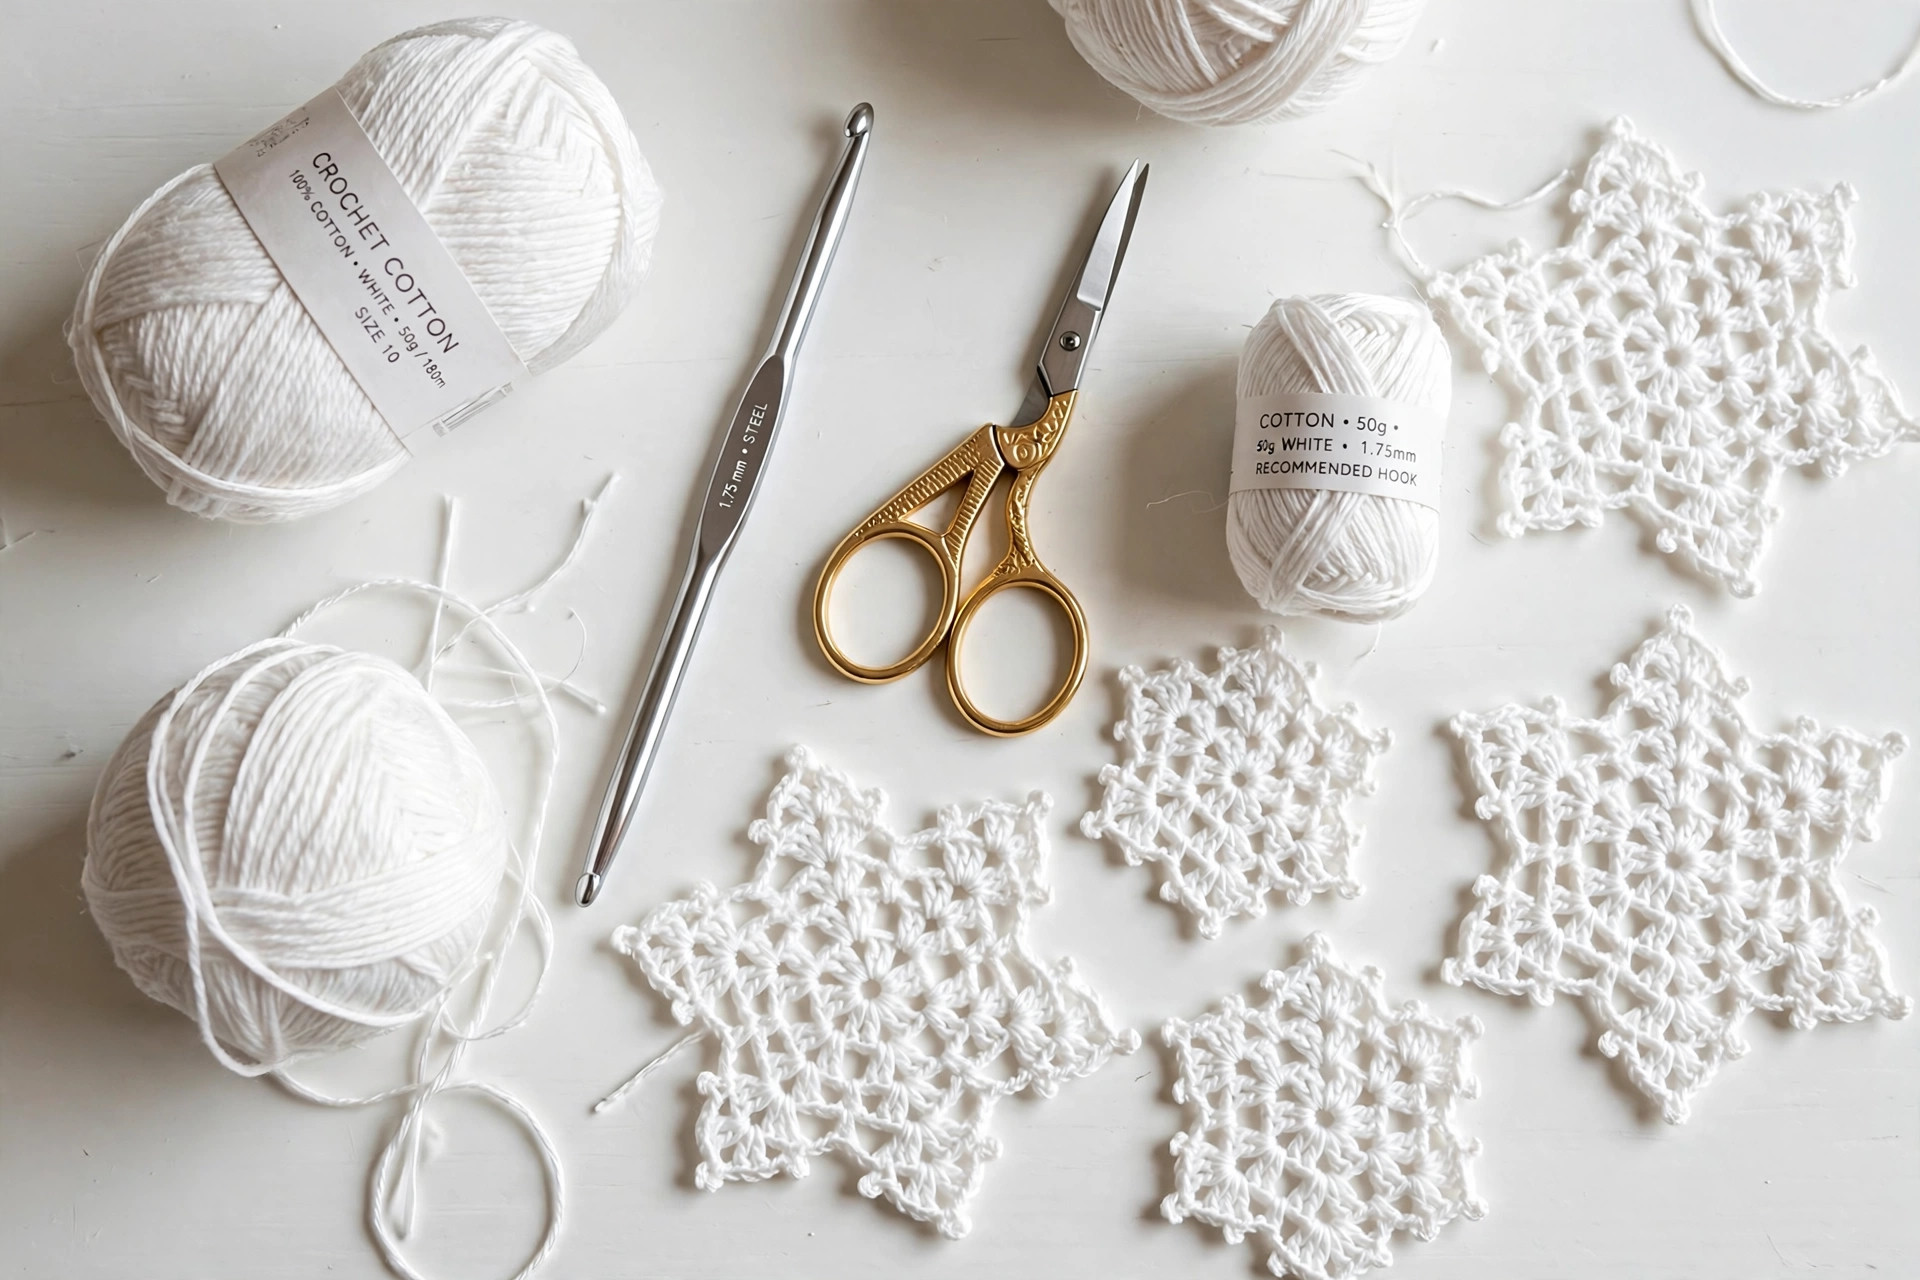
- 1.75 mm steel hook
- Set
- Large and small motif
- Skill
- Beginner
In this post
- Table of contents
- Why you'll love this crochet snowflake pattern
- Materials you'll need
- Size, gauge and skill level
- Abbreviations, US terms
- The easy crochet snowflake pattern (US terms)
- Finishing touches and blocking
- Tips and tricks
- Variations to try next
- Troubleshooting tips
- Frequently asked questions
- More free patterns to try
Few crochet projects feel as magical as a snowflake. Six perfect points bloom from your hook in under an hour, and the finished motif looks far more intricate than it is. This easy crochet snowflake pattern is an original Little Loop Finds design, written in US terms, and it gives you two sizes: a large six-point snowflake and a smaller five-point one.
Snowflakes are the ultimate stash-busting winter make. Each one uses only a few yards of thread or yarn, so you can turn leftover white cotton into a whole blizzard of ornaments, garlands, gift tags, and appliques. They are also brilliant for beginners who want to try thread crochet: the stitches are simple, the rounds are short, and a slightly imperfect snowflake still looks like, well, a snowflake. Nature never makes two alike, so neither should you.
Below you will find the full free pattern for both sizes, row by row, plus blocking tips, ten ways to use your snowflakes, and fixes for the most common thread-crochet headaches.
Table of contents
- Why you'll love this crochet snowflake pattern
- Materials you'll need
- Size, gauge and skill level
- Abbreviations, US terms
- The easy crochet snowflake pattern (US terms)
- Finishing touches and blocking
- Tips and tricks
- Variations to try next
- Troubleshooting tips
- Frequently asked questions
- More free patterns to try
Why you'll love this crochet snowflake pattern
A crocheted snowflake hits the sweet spot that every maker chases: maximum beauty, minimum effort. Each snowflake takes about 45 minutes, uses a few yards of thread, and needs no sewing, no stuffing, and no assembly. You finish one, hold it up, and immediately want to make five more. That is exactly why snowflakes are the classic December production-line project: an evening of happy hooking becomes a whole box of ornaments.
The two sizes multiply your options. The large snowflake is a proper ornament on its own, while the small one is perfect for gift tags, card fronts, and earrings. Mix the sizes on a garland for a professional-looking result with almost no planning. And because the pattern is original and written in plain US terms, you can make as many as you like for gifts, craft fairs, and decorating.
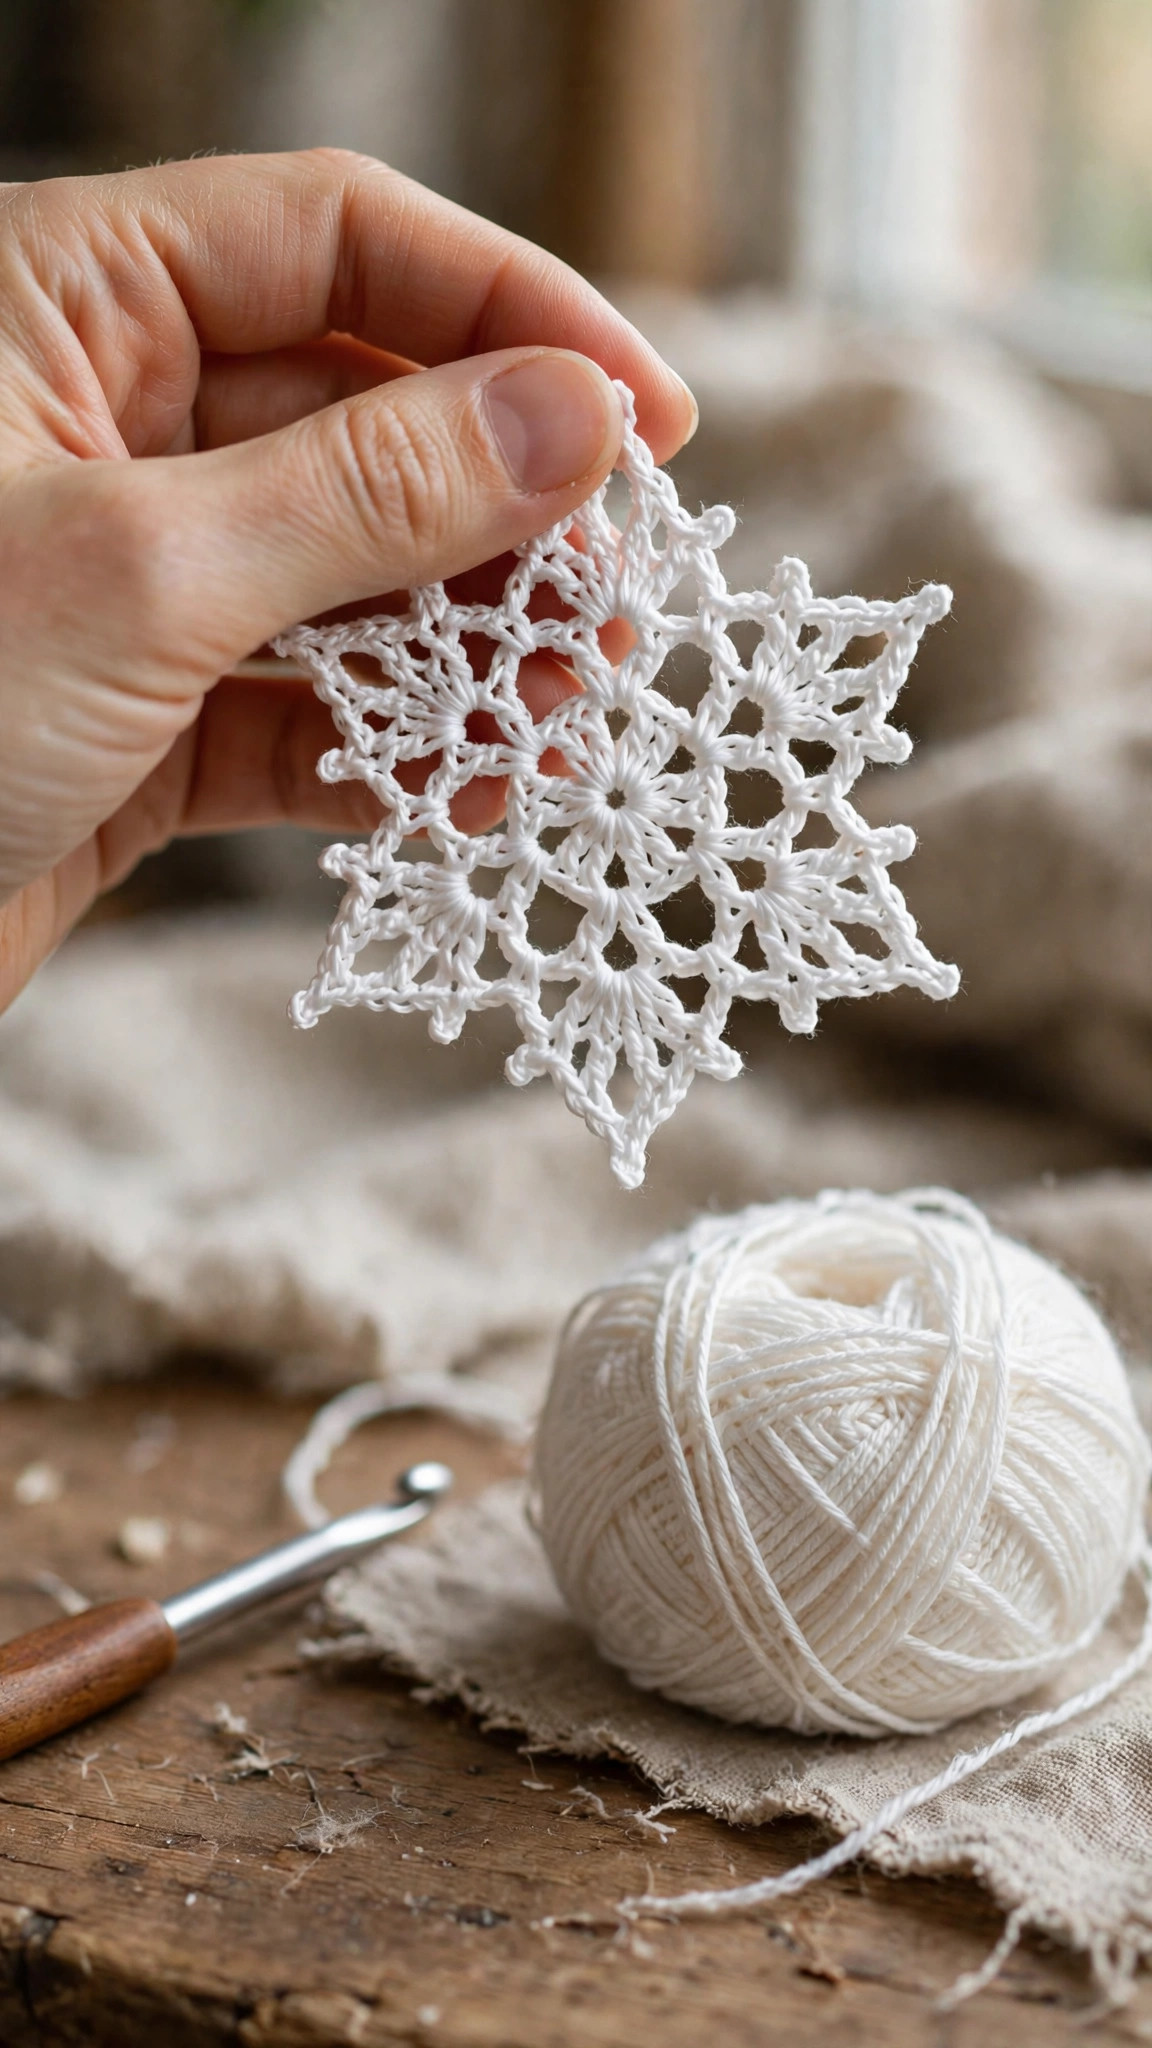
Thread crochet has a reputation for being fiddly, but this pattern is designed to change your mind. The rounds are short, the stitch counts are small, and every round starts and ends in an obvious place. If you have been curious about crochet thread, this is the gentlest possible introduction. For more delicate holiday makes, our crochet ornaments collection is full of quick thread-friendly projects, and the crochet Christmas doily patterns use the same lacy techniques on a bigger scale.
Materials you'll need
| Supply | What to get |
|---|---|
| Crochet thread | Size 10 cotton crochet thread in white, about 8 yds / 7 m per large snowflake, 5 yds / 4.5 m per small one |
| Steel crochet hook | 1.75 mm (size 4 steel hook) |
| Tapestry needle | A fine needle for weaving in thread ends |
| Blocking supplies | Rust-proof pins, a foam board or towel, and a spray bottle with water (or fabric stiffener for ornaments) |
| Notions | Small scissors, ribbon or ornament hangers for display |
White is the classic, but snowflakes are lovely in pale blue, silver-grey, or even a variegated winter thread that shades from white to ice blue on its own. Size 10 thread with a 1.75 mm hook gives crisp, defined stitches: the standard snowflake combination. If thread feels too intimidating, the pattern also works beautifully in fingering or DK yarn with the matching hook (see the chunky variation below). For ornaments that need to hold their shape on the tree, pick up a small bottle of fabric stiffener: one dip and the snowflake stays crisp for years.
A note on the hook: steel hooks are sized differently from regular hooks: a 1.75 mm steel hook is labelled size 4 in the US steel system. Do not substitute a 1.75 mm regular crochet hook by accident: the grip shape is different and your hands will notice within minutes.
Size, gauge and skill level
Work in joined rounds: join each round with a slip stitch to the first stitch, unless the pattern says otherwise. Chain stitches at the start of a round count as indicated.
| Snowflake | Finished size (blocked) | Approx. time |
|---|---|---|
| Large (6 points) | About 4 in / 10 cm across | About 45 minutes |
| Small (5 points) | About 2.75 in / 7 cm across | About 30 minutes |
- Finished size: the large snowflake blocks to about 4 inches (10 cm) point to point, the small to about 2.75 inches (7 cm). In DK yarn with a 4.0 mm hook, the large snowflake grows to about 7 inches: a statement ornament or tree topper.
- Gauge: gauge is not critical for motifs. What matters is consistency: keep your chain loops even and your picots the same size, and the snowflake will be symmetrical.
- Skill level: beginner. You should know how to chain, slip stitch, single crochet, half double crochet, double crochet, and treble crochet. The picot is just chains and a slip stitch, explained in the pattern.
If you have never blocked lace before, do not skip that section. Blocking is what turns a curly little thread blob into a crisp, flat snowflake: it is the difference between homemade and handmade.
Abbreviations, US terms
| Abbreviation | Meaning |
|---|---|
| ch | chain |
| sl st | slip stitch |
| sc | single crochet |
| hdc | half double crochet |
| dc | double crochet |
| tr | treble crochet |
| st(s) | stitch(es) |
| sp | space |
| R | round |
| picot | ch 3, sl st in 3rd ch from hook |
| FO | fasten off |
| [ ] | total stitch count at the end of the round |
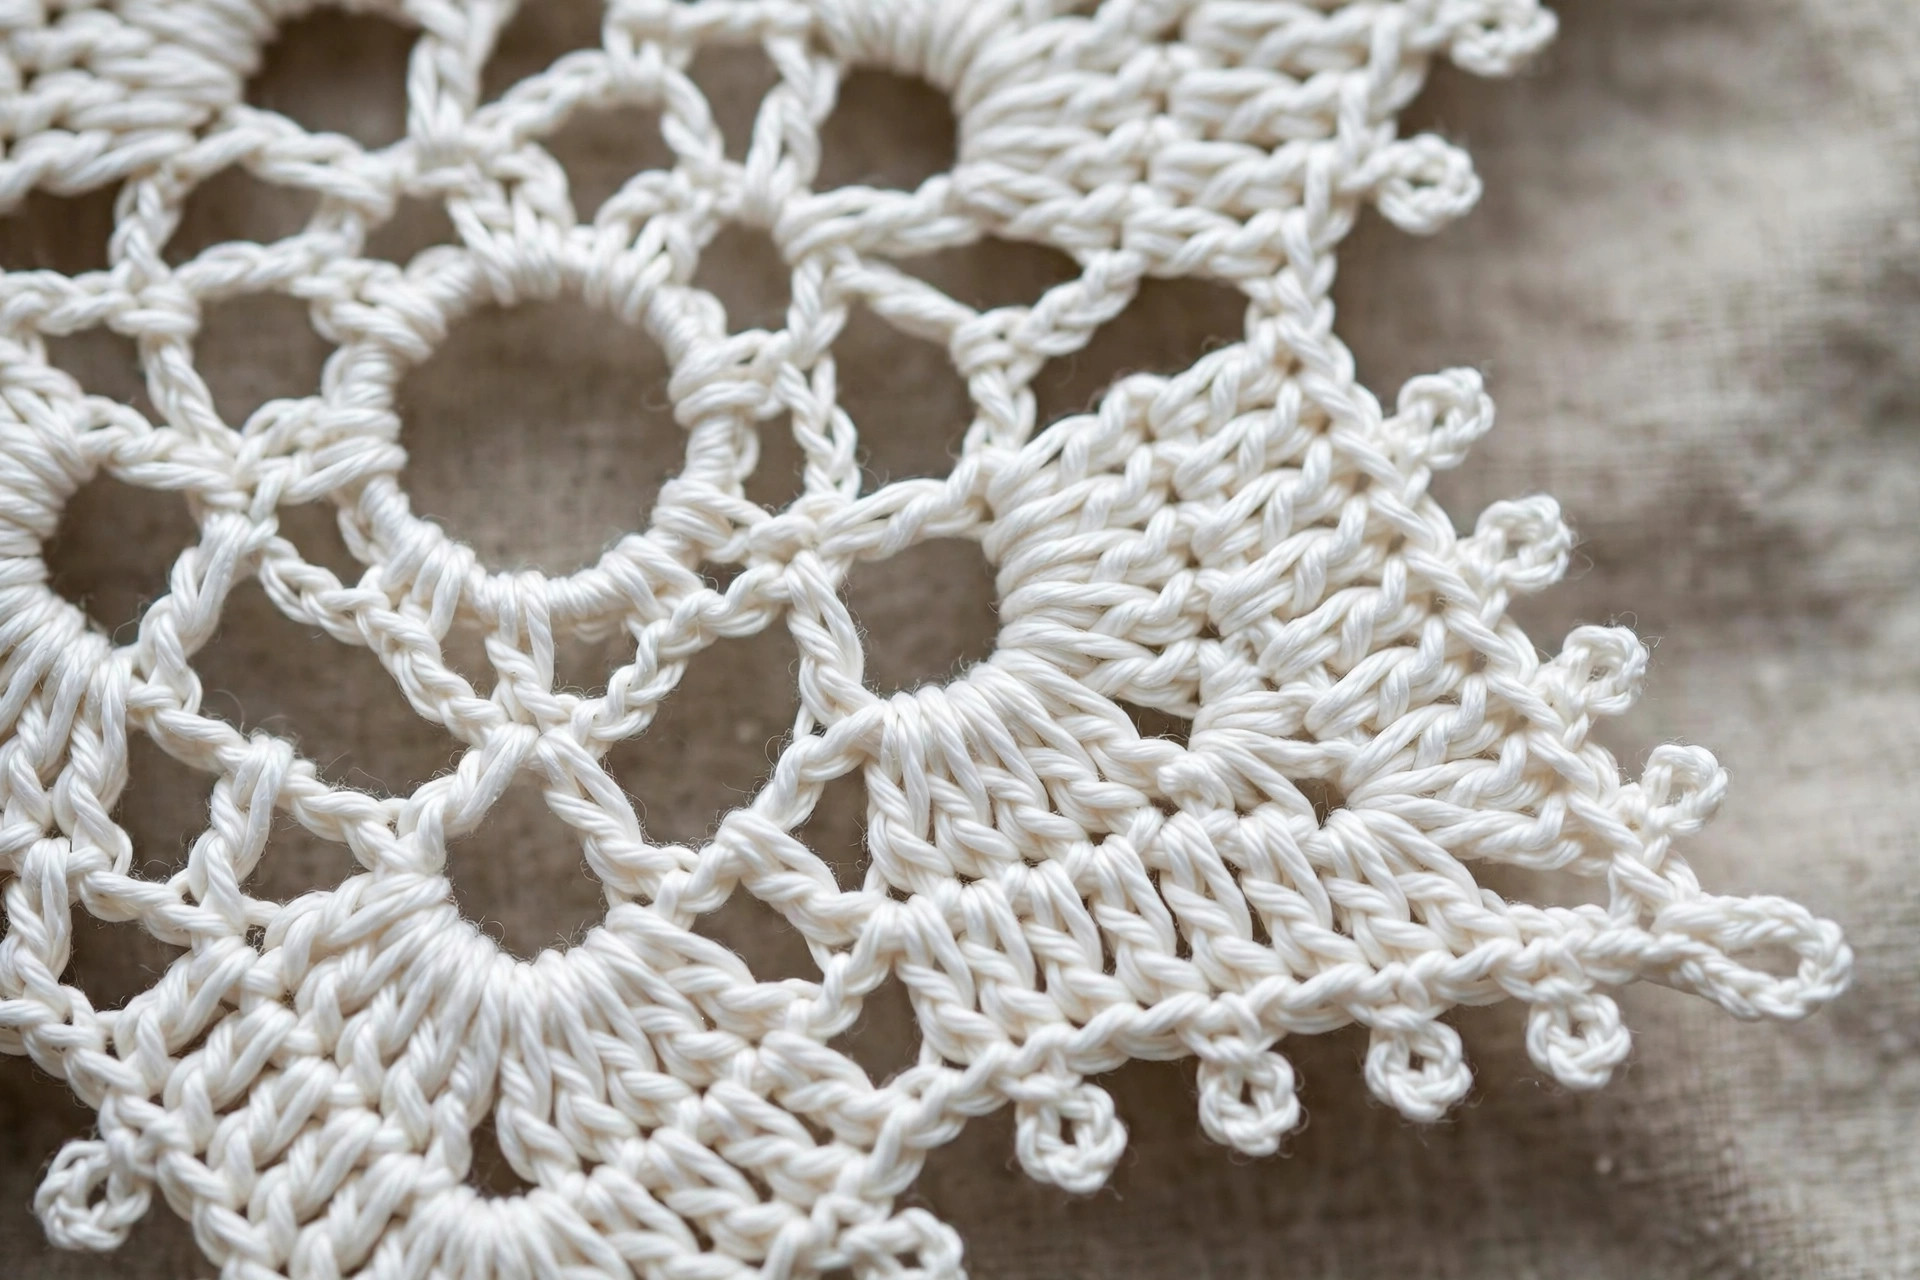
A note on the picot: the picot makes the sharp little tip on each snowflake point. Chain 3, then insert your hook into the third chain from the hook (the one closest to your work), yarn over, and pull through both loops: a tiny loop that stands up at the point. Keep every picot the same size for a professional finish.
The easy crochet snowflake pattern (US terms)
Both snowflakes start the same way: a small ring, a round of stitches into the ring, a round of chain loops, and a final round of decorative points. Read through the whole pattern once before you start, so the architecture makes sense.
Large snowflake (6 points)
- R1: ch 4, sl st in first ch to form a ring.
- R2: ch 3 (counts as dc), 11 dc into the ring, sl st to top of ch 3. [12 dc]
- R3: join with a sc in any dc, (ch 5, skip 2 dc, sc in next dc) x5, ch 5, skip 2 dc, sl st into first sc. [6 sc, 6 ch-5 loops]
- R4: sl st across into the first ch-5 loop. In each ch-5 loop around, work: (sc, hdc, 2 dc, tr, picot, tr, 2 dc, hdc, sc), then sl st into the sc between loops. Repeat for all 6 loops. [6 points]
Join with a sl st to the first sc of R4. FO, leaving a 6-inch tail for weaving in.
Check your work: you should have 6 identical points, each tipped with a picot, with a small sc sitting in the valley between every pair of points. If a point looks lopsided, it is almost always one uneven picot: pull it gently into shape before blocking.
Small snowflake (5 points)
- R1: ch 4, sl st in first ch to form a ring.
- R2: ch 3 (counts as dc), 9 dc into the ring, sl st to top of ch 3. [10 dc]
- R3: join with a sc in any dc, (ch 4, skip 1 dc, sc in next dc) x4, ch 4, skip 1 dc, sl st into first sc. [5 sc, 5 ch-4 loops]
- R4: sl st across into the first ch-4 loop. In each ch-4 loop around, work: (sc, hdc, dc, picot, dc, hdc, sc), then sl st into the sc between loops. Repeat for all 5 loops. [5 points]
Join with a sl st to the first sc of R4. FO, leaving a 6-inch tail for weaving in.
The small snowflake uses shorter loops and one fewer stitch per point, which is why it finishes faster and looks daintier. Make a few of each: they look wonderful mixed together.
Finishing touches and blocking
Weave in the ends first. Thread the tail onto a fine tapestry needle and run it through the back of nearby stitches for about an inch, changing direction once. Trim close. Thread ends are slippery: the direction change is what keeps them from working loose over the years.
Pin the snowflake for blocking. Lay the snowflake on a foam board or folded towel. Starting at the centre, gently pull each point outward and pin through the picot tip, spacing the points evenly. The snowflake should lie perfectly flat with all points the same length: adjust the pins until it does. For the large snowflake, add a pin in each valley between points to keep the edges crisp.
Wet and dry. Mist the pinned snowflake lightly with water from a spray bottle until damp, not soaked. Leave it to dry completely, at least 4 hours or overnight. Unpin and admire: the stitches will have relaxed into a flat, even, professional-looking motif.
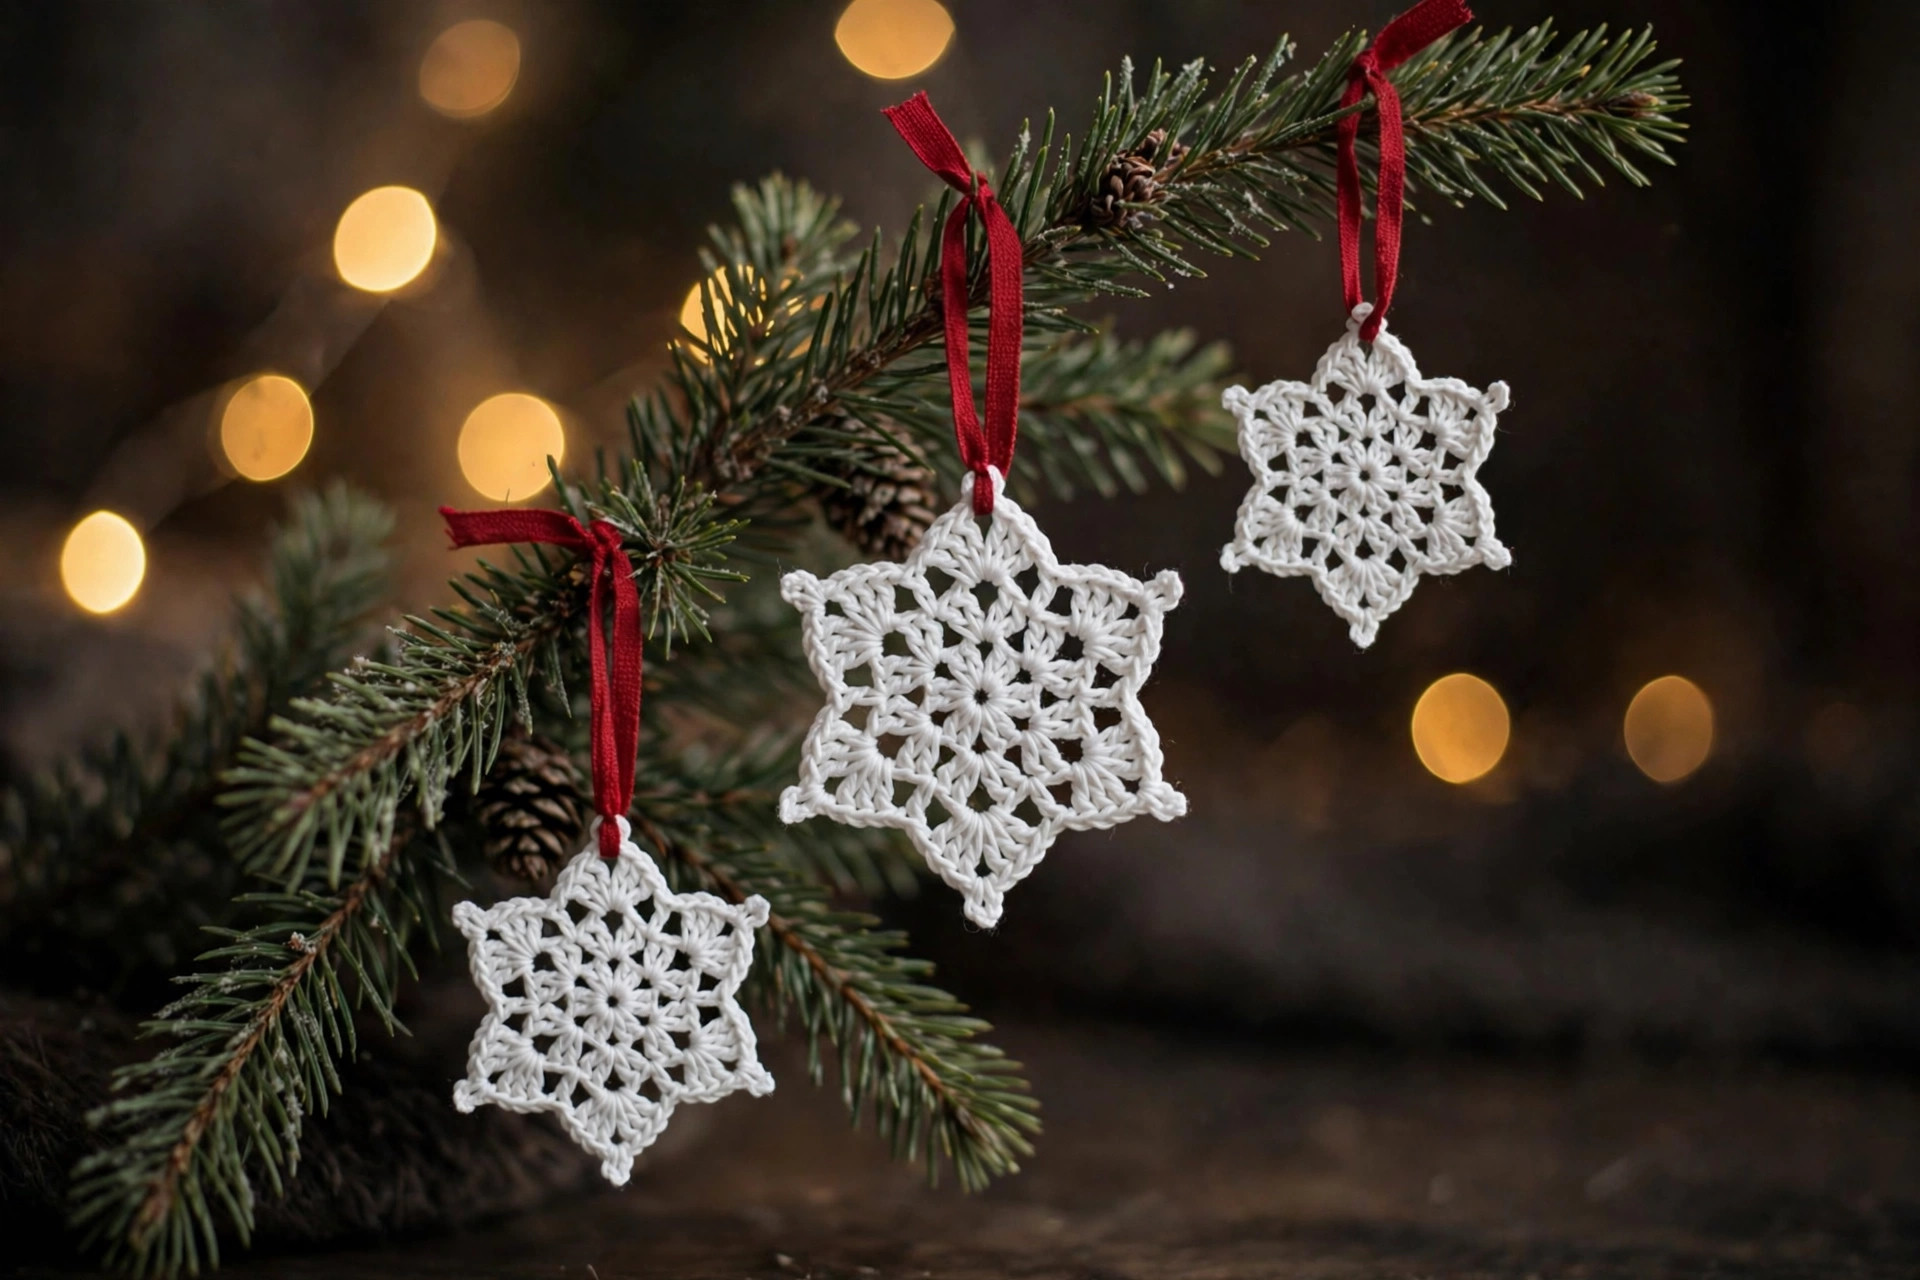
Stiffen ornaments (optional but recommended). If the snowflake will hang on a tree, dip it in fabric stiffener after blocking, squeeze out the excess gently (do not wring), re-pin, and let dry. A stiffened snowflake holds its shape for years and will not curl in a warm room.
Add a hanger. Thread a 6-inch piece of thin ribbon, metallic cord, or clear ornament string through one picot tip and knot it. For gift tags, skip the hanger and glue the snowflake flat to the tag with a dot of craft glue.
Tips and tricks
Thread crochet rewards a few small habits:
Keep your chain loops even. The loops in R3 decide the whole shape. If one loop is longer than the others, its point will stick out further after blocking. Count your chains out loud if it helps: five is five, every time.
Work the picots loosely. A tight picot pulls the point tip inward and looks pinched. Chain the 3 a touch looser than your normal tension, and the picot will stand up in a neat little loop.
Use a steel hook with a comfortable grip. Steel hooks are skinny and can cramp your hand. Take a break every snowflake or two, and consider a hook with a padded handle if you plan a whole blizzard.
Block every single snowflake. Unblocked thread crochet curls: it is the nature of the material. Ten minutes of pinning transforms the result so completely that skipping it is never worth it.
Make the centre ring snug. Pull the starting ch-4 ring closed firmly before working R2. A loose centre leaves a visible hole in the middle of the snowflake, and no amount of blocking hides it.
Variations to try next
Two patterns, endless winter:
- Christmas garland. String 8 to 10 snowflakes, alternating large and small, on a long piece of white yarn with a tapestry needle. Hang across a mantel or window: instant winter wonderland.
- Chunky statement snowflake. Work the large pattern in DK yarn with a 4.0 mm hook for a 7-inch snowflake. It makes a stunning tree topper or a bold applique on a stocking. Our crochet Christmas stocking pattern would welcome one.
- Snowflake earrings. Make two small snowflakes in metallic thread, stiffen well, and attach earring hooks through the top picot. Lightweight, festive, and a great craft fair seller.
- Gift tag toppers. Glue a small snowflake to a plain kraft gift tag and write the name underneath. Guests will keep the tag long after the gift is forgotten.
- Winter mobile. Hang 5 large snowflakes at different heights from an embroidery hoop with clear thread. A beautiful nursery or hallway decoration that takes one evening.
- Table scatter. Make a dozen small snowflakes without stiffener and scatter them across a holiday table runner as confetti that never needs sweeping up. Pair with our crochet doily patterns for a fully dressed table.
Troubleshooting tips
- The snowflake curls up like a bowl. Completely normal before blocking. Pin it flat while damp and it will relax: thread crochet always needs blocking to lie flat.
- The centre has a hole. The starting ring was too loose. Pull the ring closed firmly before R2, or start with a magic ring instead of a ch-4 ring for a fully closed centre.
- One point is longer than the others. Its R3 chain loop was longer. Count chains carefully, and you can cheat slightly in blocking by pinning the long point a touch shorter.
- The picots look uneven. You worked some tighter than others. Consciously chain each picot with the same relaxed tension, and check them against each other as you go.
- The thread keeps splitting. Your hook may have a rough spot, or you are working into the plies instead of the stitch. Slow down on the yarn-over and make sure the hook grabs the full strand.
- The snowflake looks lopsided after blocking. The pins were uneven. Re-wet, re-pin with points evenly spaced (measure point to point with a ruler if needed), and dry again: thread forgives a second blocking.
- Stiffened snowflake went yellow. The stiffener was applied too thickly or dried in direct sunlight. Use a thin, even coat and dry away from windows: white thread shows every mistake.
Frequently asked questions
Is this easy crochet snowflake pattern really free?
Yes, the complete pattern for both sizes is free above, with no email signup and no PDF purchase required.
What skill level is this snowflake pattern?
Beginner. If you can chain, slip stitch, single crochet, half double crochet, double crochet, and treble crochet, you have every skill this pattern needs. The picot is explained step by step.
How long does it take to crochet a snowflake?
About 45 minutes for the large snowflake and 30 minutes for the small one, plus blocking time (mostly hands-off drying). An evening easily produces a handful.
How much thread do I need?
About 8 yards of size 10 thread per large snowflake and 5 yards per small one. A single 350-yard ball makes dozens: snowflakes are the ultimate stash buster.
Do I really have to block the snowflakes?
For ornaments and decorations, yes: blocking is what makes them lie flat and look crisp. For appliques sewn onto something else, you can skip it, since the base fabric holds them flat.
Can I make the snowflakes with regular yarn instead of thread?
Absolutely. The pattern works in any yarn weight: just match the hook to the yarn. DK yarn with a 4.0 mm hook makes a gorgeous 7-inch statement snowflake, and the stitches are easier to see while you learn.
Can I sell finished snowflakes made from this pattern?
Yes! You may sell finished snowflakes made from this pattern in small batches (craft fairs, markets, gifts). Please credit Little Loop Finds as the pattern designer.
More free patterns to try
If these winter motifs were fun, the holiday collection continues. Our free snowman crochet pattern pairs perfectly with snowflake ornaments on the tree, and the easy granny square pattern uses the same join-as-you-go rhythm for bigger projects. For lacy technique practice, the crochet Christmas doily patterns take these exact skills up a level.