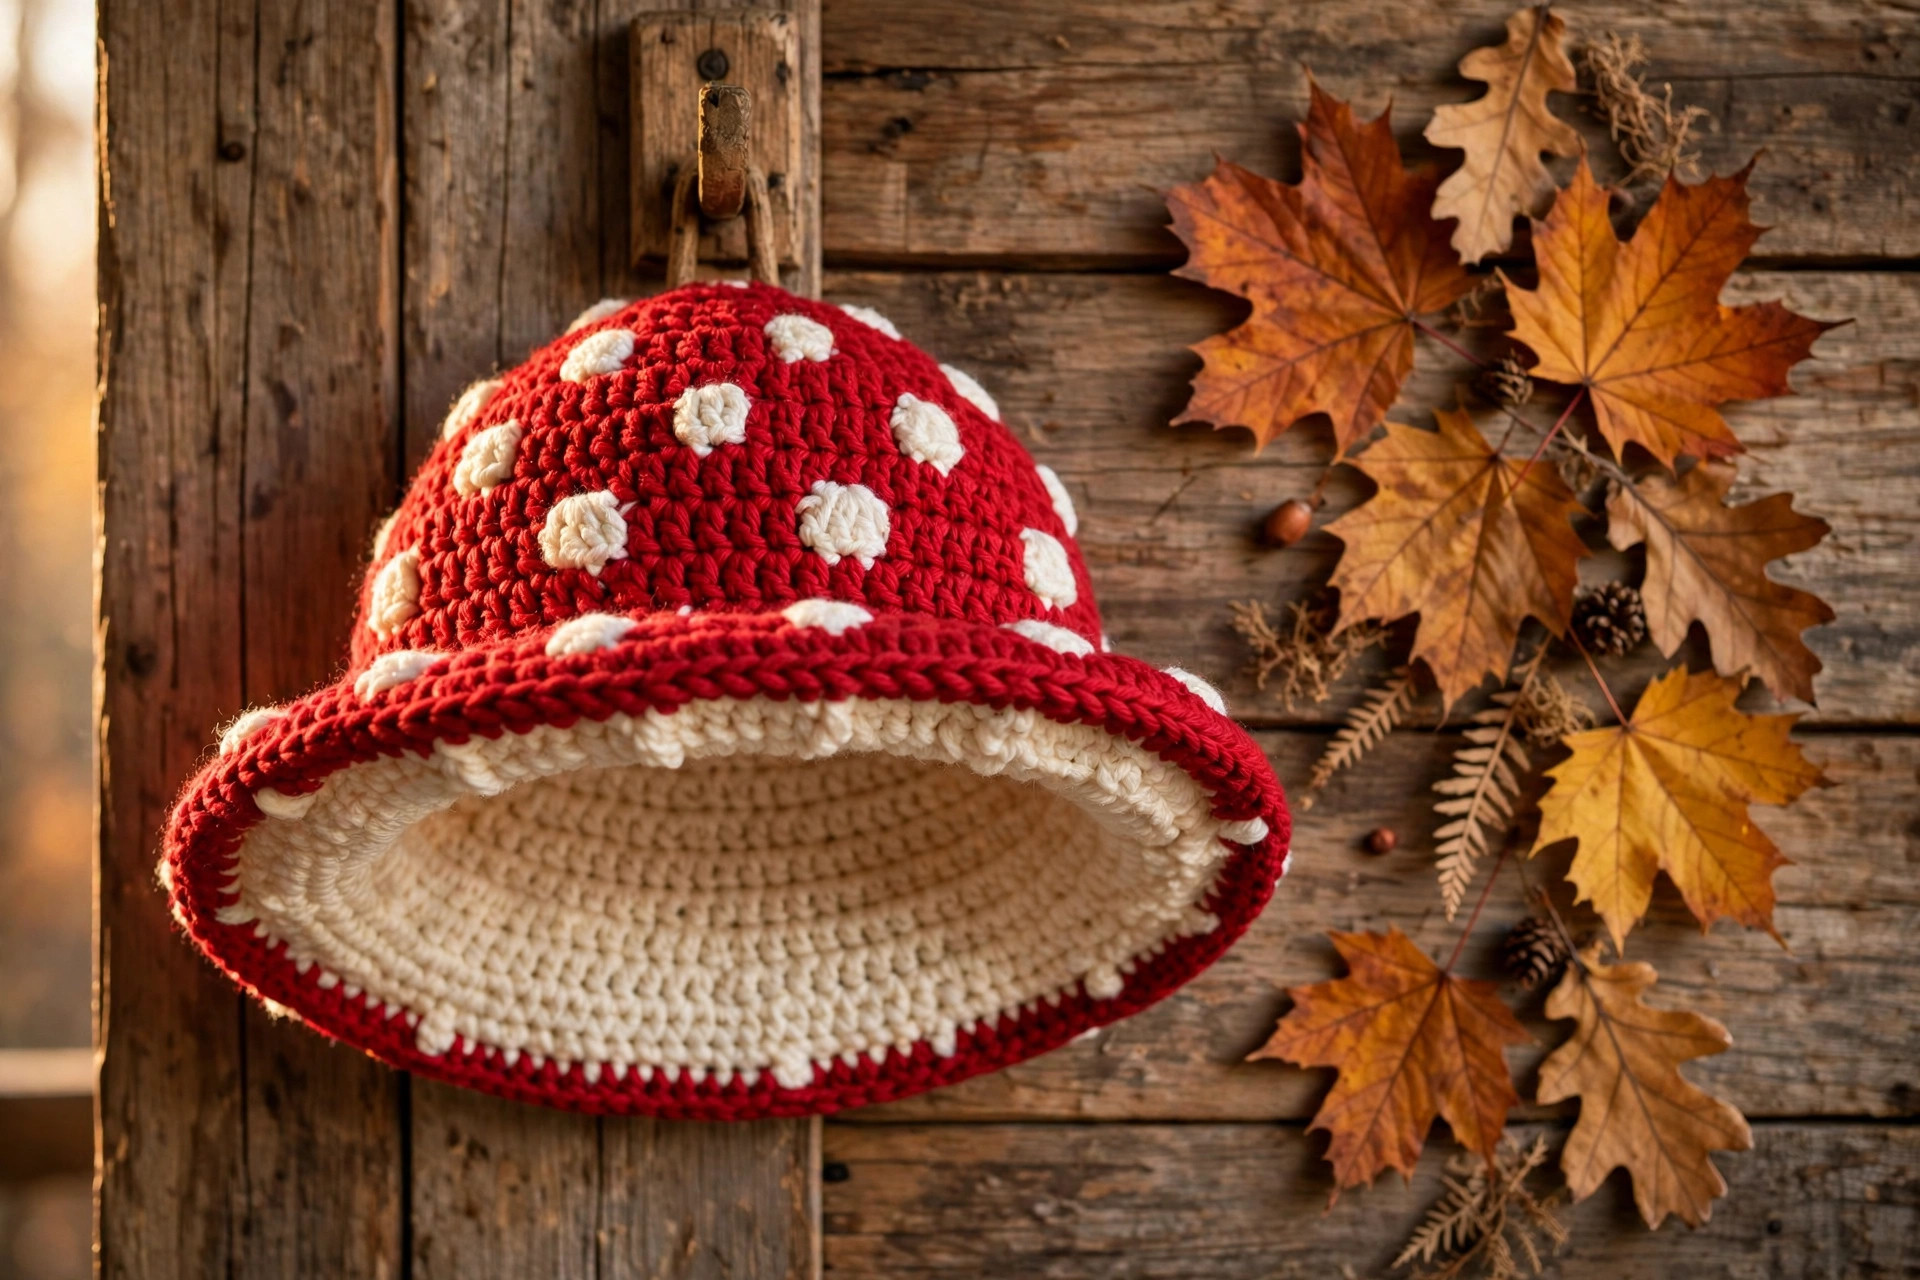
Crochet Mushroom Hat Pattern: Cute Toadstool Cap
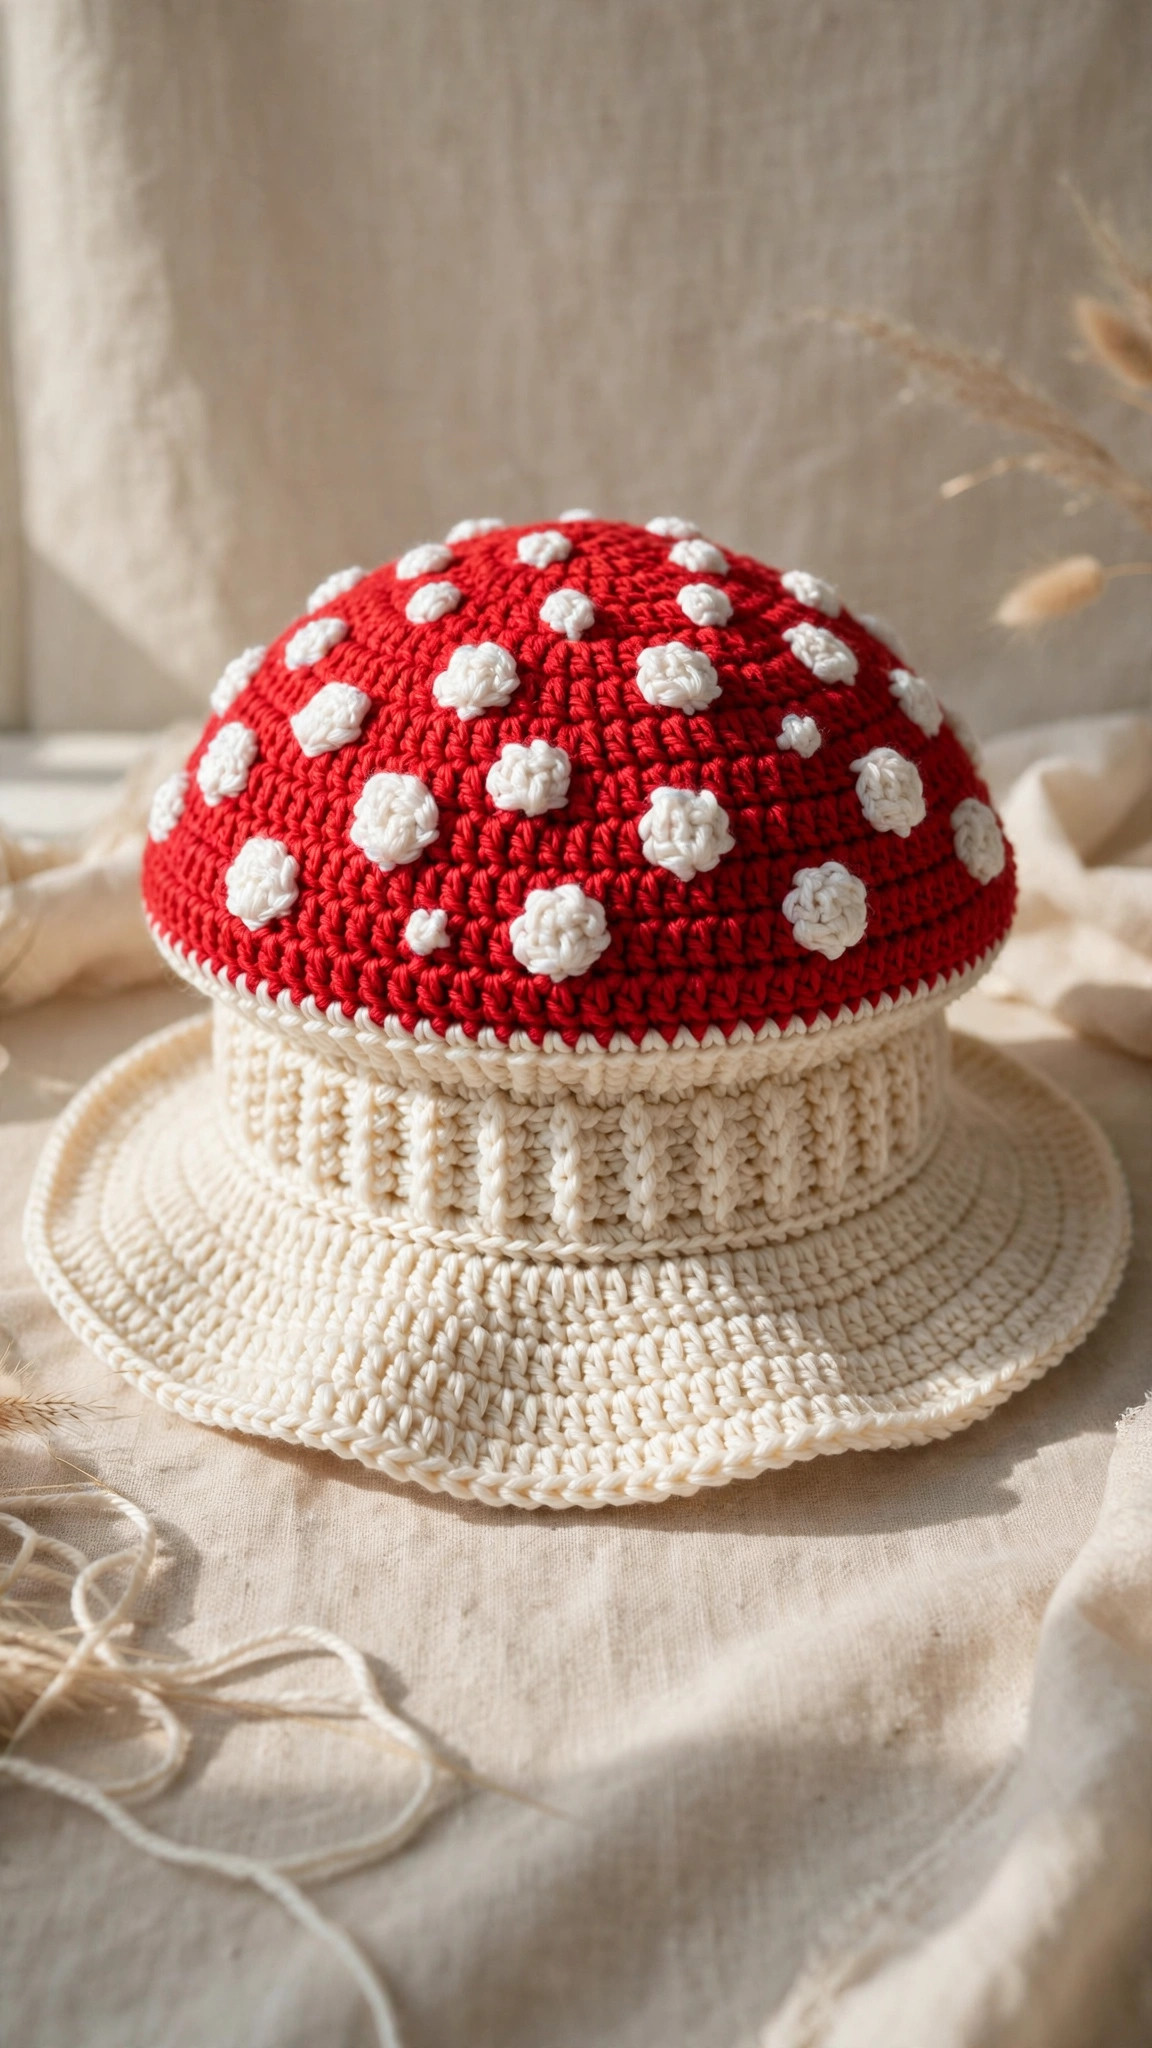
A storybook toadstool cap with a red spotted dome, cream crown and gentle brim flare: original design, US terms, child and adult sizes.

Hats · Crochet
- Finished size
- Adult fits 21-23 in head
- Making time
- About 4 hours (adult)
- Hook
- 5.0 mm, worsted yarn
- Set
- 2 sizes, original design
- Skill
- Advanced Beginner
In this post
- Table of contents
- Why you'll love this mushroom hat crochet pattern
- Materials you'll need
- Size, gauge and skill level
- Abbreviations, US terms
- The mushroom hat crochet pattern (US terms)
- Finishing touches and assembly
- Tips and tricks
- Variations to try next
- Troubleshooting tips
- Frequently asked questions
- More free patterns to try
If cottagecore had an official hat, it would be this one. This free crochet mushroom hat pattern makes an adorable toadstool cap: a cosy cream crown topped with a cheerful red cap dotted with white spots, just like the storybook mushrooms you see in fairy tale illustrations. It is an original design, worked top-down in simple half double crochet, and it looks far more impressive than it is difficult to make.
The pattern comes in two sizes, child and adult, so you can make a matching set for the whole family, a whimsical festival accessory, or the cutest Halloween costume topper you have ever seen. The red cap is worked separately and sewn on, which means you can tilt it for extra charm, and the little white spots are quick circles you scatter across the cap however you like.
Fair warning: once you wear this hat in public, strangers will ask where you got it. You get to say you made it yourself, which is the best part.
Table of contents
- Why you'll love this mushroom hat crochet pattern
- Materials you'll need
- Size, gauge and skill level
- Abbreviations, US terms
- The mushroom hat crochet pattern (US terms)
- Finishing touches and assembly
- Tips and tricks
- Variations to try next
- Troubleshooting tips
- Frequently asked questions
- More free patterns to try
Why you'll love this mushroom hat crochet pattern
The mushroom hat is one of those makes that looks like it took weeks but works up in a weekend. The construction is beautifully simple: a plain half-double-crochet crown worked top-down, a shallow red dome for the cap, and a handful of little white circles for spots. Every piece is basic shaping, and the magic happens at assembly, when the separate cap transforms an ordinary beanie into a toadstool.
It is also endlessly wearable. This is not a costume piece that lives in a box eleven months a year: in cream and red it reads as a playful autumn accessory, in muted tones it is pure cottagecore, and in bright colours it is festival-ready. Kids absolutely adore it, which makes it a brilliant gift for birthdays, Halloween, and dress-up boxes. If you are building a collection of novelty hats, our free crochet hat pattern is the classic base to master first, and the crochet elf hat pattern uses the same top-down crown shaping with a very different finish.
One more thing: this hat photographs like a dream. The bold red-and-white contrast pops on camera, so if you sell at markets or post your makes online, expect this one to be the piece everyone asks about.

Materials you'll need
| Supply | What to get |
|---|---|
| Cream yarn | Worsted-weight (#4) yarn in cream or off-white, about 120 yds / 110 m (adult), 80 yds / 73 m (child) |
| Red yarn | Worsted-weight (#4) yarn in red, about 90 yds / 82 m (adult), 60 yds / 55 m (child) |
| White yarn | A small amount of worsted-weight white yarn for the spots |
| Crochet hook | 5.0 mm (H) |
| Tapestry needle | For sewing the cap and spots, and weaving in ends |
| Notions | Scissors, stitch markers, pins for positioning the cap |
Choose a red with real punch: cherry, tomato, or classic toadstool red. The cap is the star, so this is the place to use your nicest yarn. The cream can be any warm off-white; avoid stark white, which glares next to the red. Acrylic is ideal here because it holds the cap's shape and survives being tossed in a bag.
A note on the hook: 5.0 mm gives a fabric with a little drape for the crown and enough body for the cap. If you crochet tightly, go up to 5.5 mm so the hat is comfortable to wear.
Size, gauge and skill level
The crown is worked top-down in joined rounds: chain 2 at the start of each round (this does not count as a stitch), work the round, and join with a slip stitch to the first half double crochet. Both sizes use the same increase sequence; you simply stop increasing sooner for the child size.
| Size | To fit head | Crown stitches | Approx. time |
|---|---|---|---|
| Child | 18-20 in / 46-51 cm | 56 | About 3 hours |
| Adult | 21-23 in / 53-58 cm | 72 | About 4 hours |
- Finished size (adult): crown fits a 21-23 in (53-58 cm) head, about 8.5 in (22 cm) tall from crown to brim, with the red cap adding about 4 in (10 cm) of height. The child size fits an 18-20 in (46-51 cm) head.
- Gauge: 13 hdc and 10 rounds = 4 in (10 cm) in worsted yarn with a 5.0 mm hook. For a hat, fit matters: if your gauge is off, the crown will be too tight or too sloppy, so check it before you commit to the full crown.
- Skill level: advanced beginner. You should be comfortable with half double crochet, increases, and working in joined rounds. Sewing the cap on neatly is the only fiddly part, and pins make it easy.
If you have made a basic beanie before, this is a comfortable next step: the crown is a beanie, and the cap is just a shallow dome.
Abbreviations, US terms
| Abbreviation | Meaning |
|---|---|
| MR | magic ring |
| ch | chain |
| hdc | half double crochet |
| sc | single crochet |
| sl st | slip stitch |
| inc | increase: 2 stitches in the same stitch |
| dec | decrease: hdc 2 together |
| st(s) | stitch(es) |
| R | round |
| FO | fasten off |
| [ ] | total stitch count at the end of the round |
A note on joined rounds: the chain 2 at the start of each round never counts as a stitch. Join each round with a slip stitch to the first hdc, not to the chain, so your stitch counts stay clean.
The mushroom hat crochet pattern (US terms)
Work the crown first, then the cap, then the spots. Instructions give the child size first with the adult size in parentheses, like this: child (adult). Where only one number appears, it applies to both sizes.
Crown: the cream beanie base
With cream yarn, start at the top of the crown.
- R1: MR, ch 2, 8 hdc in ring, join with sl st to first hdc. [8]
- R2: ch 2, 2 hdc in each st around, join. [16]
- R3: ch 2, (hdc, inc) x8, join. [24]
- R4: ch 2, (2 hdc, inc) x8, join. [32]
- R5: ch 2, (3 hdc, inc) x8, join. [40]
- R6: ch 2, (4 hdc, inc) x8, join. [48]
- R7: ch 2, (5 hdc, inc) x8, join. [56]
Child size: stop increasing here and continue with the even rounds below. Adult size: work two more increase rounds.
- R8: ch 2, (6 hdc, inc) x8, join. [64]
- R9: ch 2, (7 hdc, inc) x8, join. [72]
Now work the sides of the crown, even, with no increases:
- Child, R8-R12: ch 2, hdc in each st around, join. [56]
- Adult, R10-R15: ch 2, hdc in each st around, join. [72]
Finish with a gentle brim flare so the crown sits comfortably over the ears:
- Child, R13: ch 2, (6 hdc, inc) x8, join. [64]
- Adult, R16: ch 2, (8 hdc, inc) x8, join. [80]
- Final round: ch 2, hdc in each st around, join. FO and weave in the end.
Try the crown on now: it should cover the ears with a little ease. If it is snug, add one more even round before the brim flare.
Cap: the red toadstool dome
With red yarn, work the cap that sits on top of the crown. Child size stops increasing at R6; adult continues to R7.
- R1: MR, ch 2, 8 hdc in ring, join. [8]
- R2: ch 2, 2 hdc in each st around, join. [16]
- R3: ch 2, (hdc, inc) x8, join. [24]
- R4: ch 2, (2 hdc, inc) x8, join. [32]
- R5: ch 2, (3 hdc, inc) x8, join. [40]
- R6: ch 2, (4 hdc, inc) x8, join. [48]
- R7 (adult only): ch 2, (5 hdc, inc) x8, join. [56]
Work two even rounds to give the dome its depth:
- R7-R8 (child) / R8-R9 (adult): ch 2, hdc in each st around, join.
Now cup the edge inward so the cap hugs the crown instead of flaring out:
- Next round: ch 2, (5 hdc, dec) x6 (x7 for adult), join. [42 (49)]
- Final round: ch 2, hdc in each st around, join. FO, leaving a long tail for sewing.
Shape the cap with your hands into a shallow dome, curving the cupped edge under slightly.
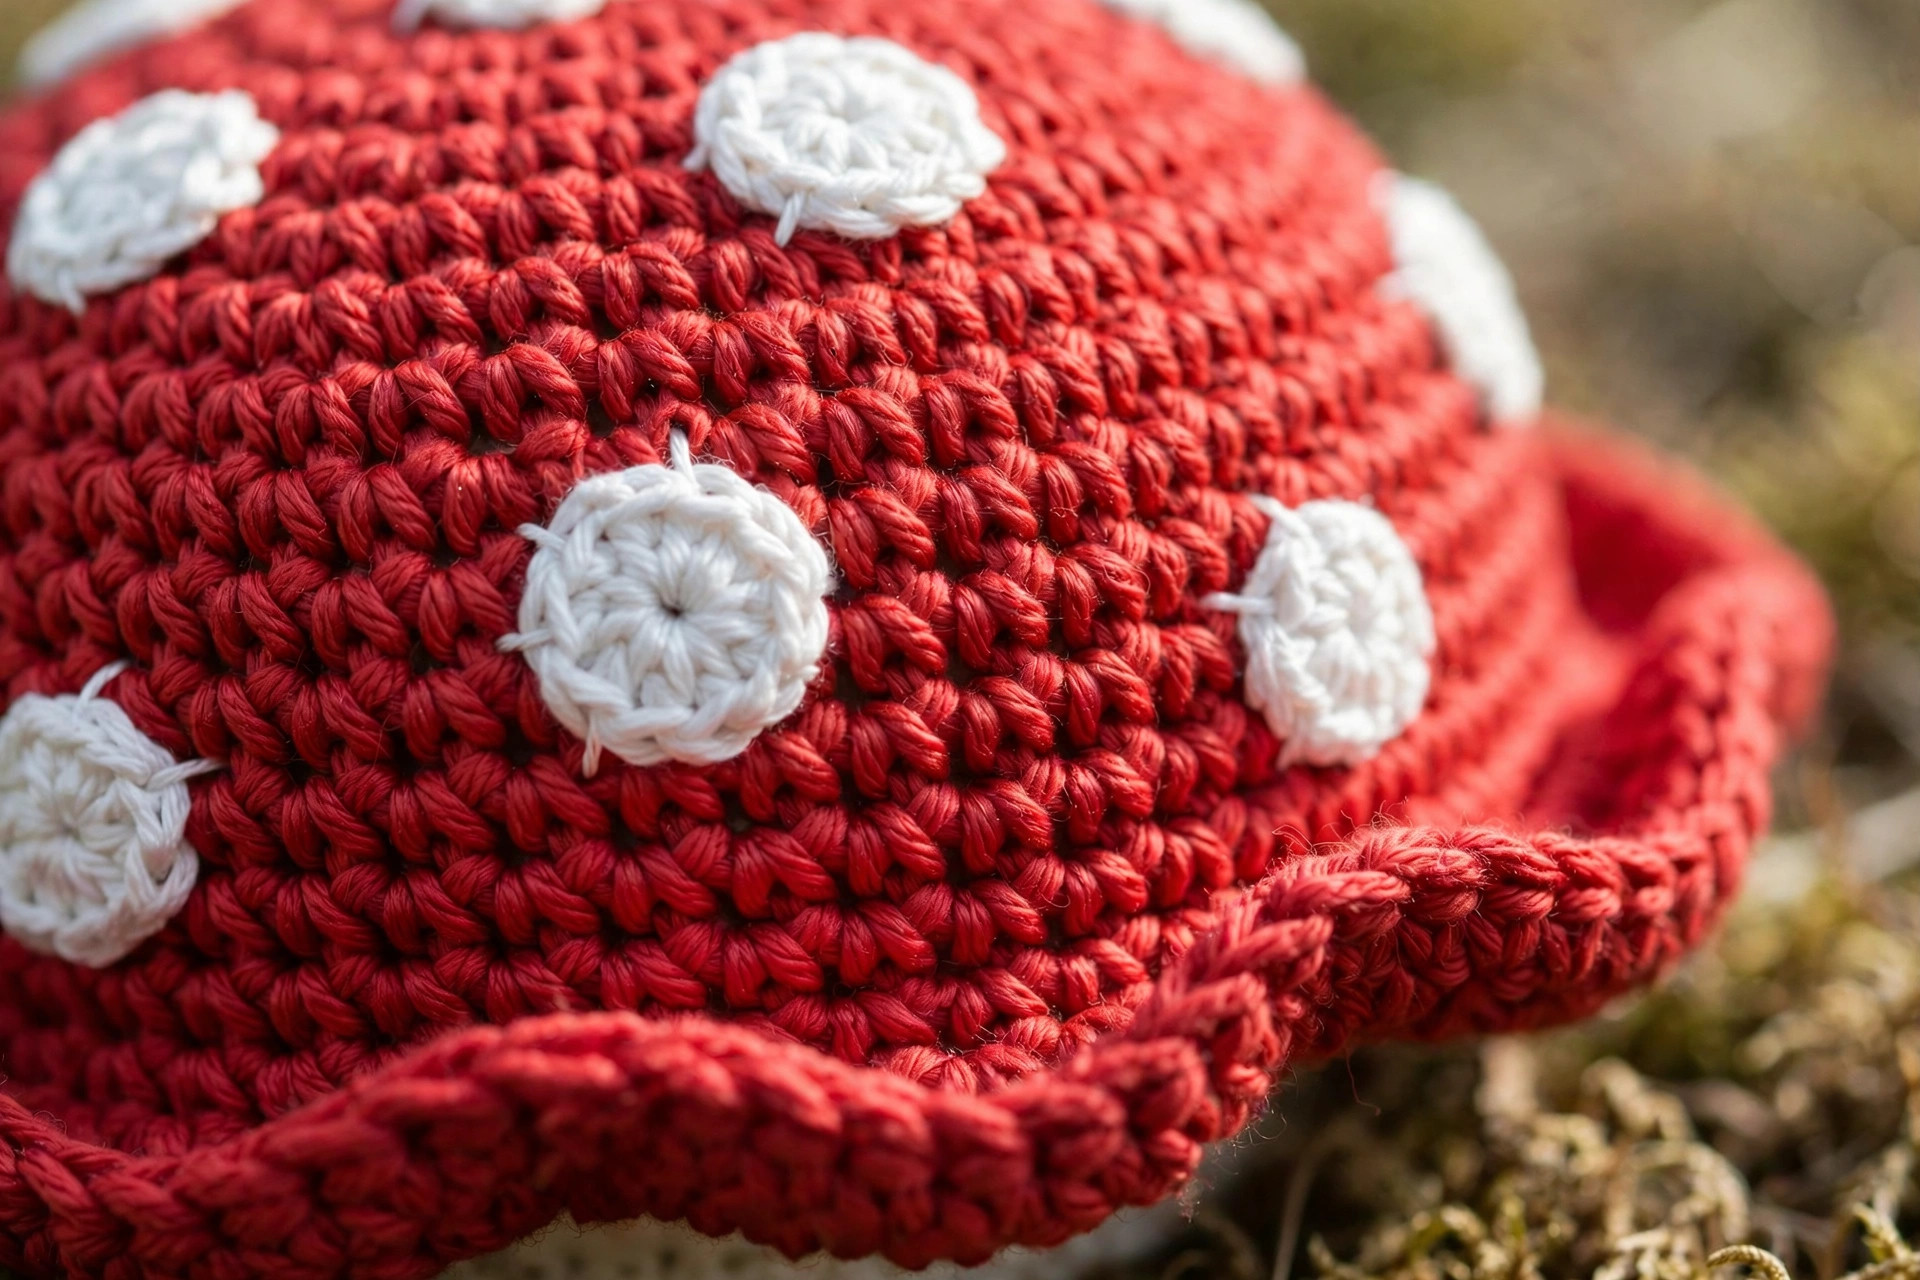
Spots: little white circles (make 6-8)
With white yarn, work small circles to scatter over the cap.
- R1: MR, 6 sc in ring. [6]
- R2: (sc, inc) x3. [9]
Sl st to the first sc, FO, leaving a long tail for sewing. Make 6 spots for the child size and 7 or 8 for the adult size. Vary them slightly: for two of the spots, stop after R1 for smaller dots.
Finishing touches and assembly
Sew on the spots. Arrange the white circles on the red cap before you sew anything: scatter them naturally, mixing the small and large dots, and leave the very centre of the dome clear. Pin each spot in place, then sew around each one with small whipstitches through the back loop only, so the stitching does not show on the front.
Position the cap. Place the red cap on top of the cream crown, tilted very slightly to one side for charm. The cupped edge of the cap should overlap the crown by about an inch all the way around. Pin generously: use at least eight pins so nothing shifts while you sew.
Sew the cap to the crown. With the long red tail, sew around the join with small whipstitches, catching the cupped edge of the cap and the crown beneath it. Go around twice for strength, pulling each stitch snug. This join takes the strain when the hat is pulled on and off, so do not skimp on it.
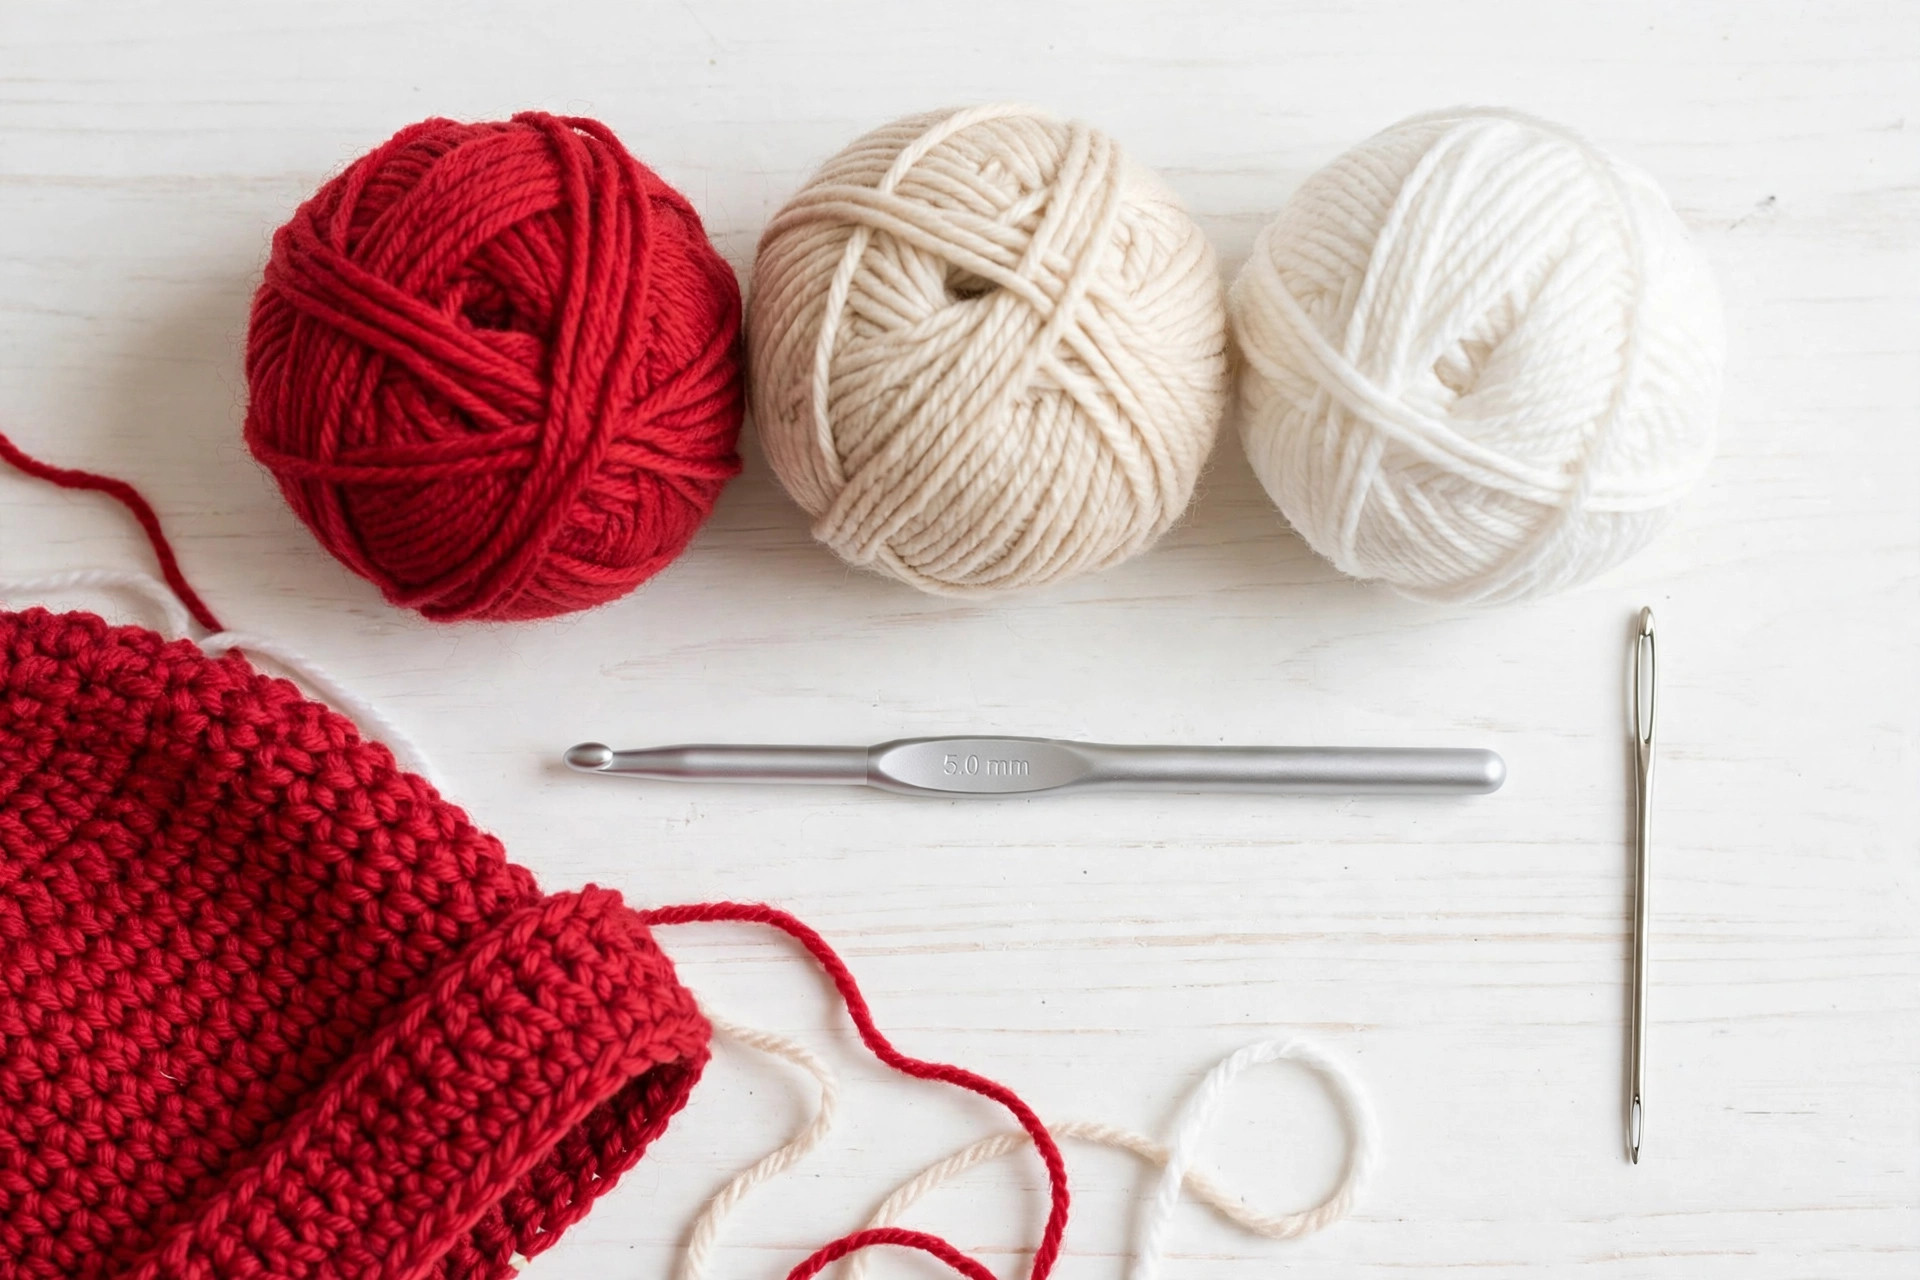
Weave every end. Thread each tail onto the tapestry needle and run it through nearby stitches for at least 2 inches, changing direction once so it locks in place. Trim flush.
Block the brim lightly (optional). If the brim edge curls, lay the hat flat, mist it lightly with water, smooth the brim with your hands, and let it dry completely.
Tips and tricks
A few details that elevate this hat from cute to professional:
Keep the spots irregular. Real toadstool spots are scattered, not symmetrical. Resist the urge to space them evenly: cluster two close together here, leave a gap there. Photograph the arrangement before you sew, and trust the slightly messy version.
Mind the cap tilt. A perfectly centred cap looks manufactured; a slight tilt looks charming and handmade in the best way. About half an inch off-centre is the sweet spot.
Sew the cap on firmly. This is a hat, not a shelf decoration: it gets pulled on, stuffed in bags, and tugged by small children. Two full rounds of whipstitches around the join, plus a few extra tacking stitches at the front and back, keep the cap exactly where you put it.
Check the crown fit early. Try the crown on after the even rounds, before the brim flare. It is easy to add or remove a round at that stage, and impossible to fix gracefully later.
Steam the cap into shape. Hold a steaming iron a few inches above the red dome, never touching it, and let the steam relax the stitches for a few seconds. Shape it with your hands while it is warm and let it cool: the dome will hold its curve beautifully.
Variations to try next
One toadstool is never enough:
- Fairy ring set. Make the adult and child sizes in matching red and cream for the sweetest family photo you will take all autumn.
- Enchanted forest palette. Work the cap in burnt orange with cream spots, or in deep plum with pale pink spots, for a woodland fairy look. The crown stays cream in every version.
- Mini mushroom ornament. Follow the child cap instructions with a 3.5 mm hook and DK yarn, stuff the dome lightly, add a hanging loop, and you have a Christmas tree ornament. Our crochet witch hat pattern free makes a matching spooky-season ornament the same way.
- Newborn photo prop. Work the child crown with only 48 stitches (stop at R6) in soft cotton, add a tiny cap, and you have an irresistible newborn photography prop. Use soft, washable yarn and skip the steam blocking.
- Flower power mushroom. Scatter a few tiny crocheted flowers among the white spots for a spring festival version. If floral hats are your thing, the crochet flower hat pattern free is the natural next project.
Troubleshooting tips
- The cap slides around on the crown. You pinned too little or sewed only one round. Repin with at least eight pins and sew a second full round of whipstitches around the join.
- The crown is too tight. Your gauge is tighter than the pattern's. Go up half a hook size, or add one more increase round (72 to 80 for adult) before the even rounds.
- The crown is too loose and slouches. Go down half a hook size, or work one fewer even round so the sides are shorter.
- The cap looks flat instead of domed. You skipped the cupping round or worked the even rounds too loosely. The decrease round is what creates the dome curve: make sure it is there, then steam-shape the cap.
- The spots pucker the cap. You pulled the whipstitches too tight. Sew with a relaxed tension, catching only the back loop of each spot stitch.
- The join between rounds spirals visibly. You joined to the chain instead of the first hdc, or forgot the chain 2. The seam should run straight up the back: mark it with a stitch marker and check every few rounds.
- The brim edge curls up. The flare round added too much width for your tension. Work the final round in slip stitches instead of hdc for a firmer edge, or block the brim flat.
Frequently asked questions
Is this crochet mushroom hat pattern really free?
Yes, the complete pattern above is free, with no email signup and no PDF purchase required.
What skill level is this mushroom hat pattern?
Advanced beginner. If you can work half double crochet, increase in joined rounds, and sew pieces together neatly, you have every skill this pattern needs.
How long does it take to crochet the mushroom hat?
About 4 hours for the adult size: roughly 2 hours for the crown, an hour for the cap, and an hour for the spots, assembly, and finishing. The child size takes about 3 hours.
How much yarn do I need?
For the adult size, about 120 yds of cream, 90 yds of red, and a small amount of white for the spots. The child size needs about 80 yds of cream and 60 yds of red.
Can I make the cap bigger and floppier?
Yes. Add one more increase round to the cap (to 64 for child, 72 for adult) and two more even rounds before the cupping round. The result is a wider, more dramatic toadstool brim.
Will the cap stay on in wind?
The double-sewn join holds well for normal wear. For very windy festivals, sew a thin elastic loop inside the crown at each temple: it grips discreetly without changing the look.
Can I sell the finished mushroom hats I make?
Yes! You may sell finished hats made from this pattern in small batches (craft fairs, markets, gifts). Please credit Little Loop Finds as the pattern designer.
More free patterns to try
If this toadstool was fun, the hat parade continues. The free crochet newsboy hat pattern uses similar crown shaping for a completely different vintage look, and for something totally different, our batch-mate the crochet pickle pattern free is a hilarious quick amigurumi that pairs perfectly with this hat for a costume. A pickle in a mushroom hat: Halloween is sorted.