Free Wreath Crochet Pattern: Evergreen Christmas Wreath
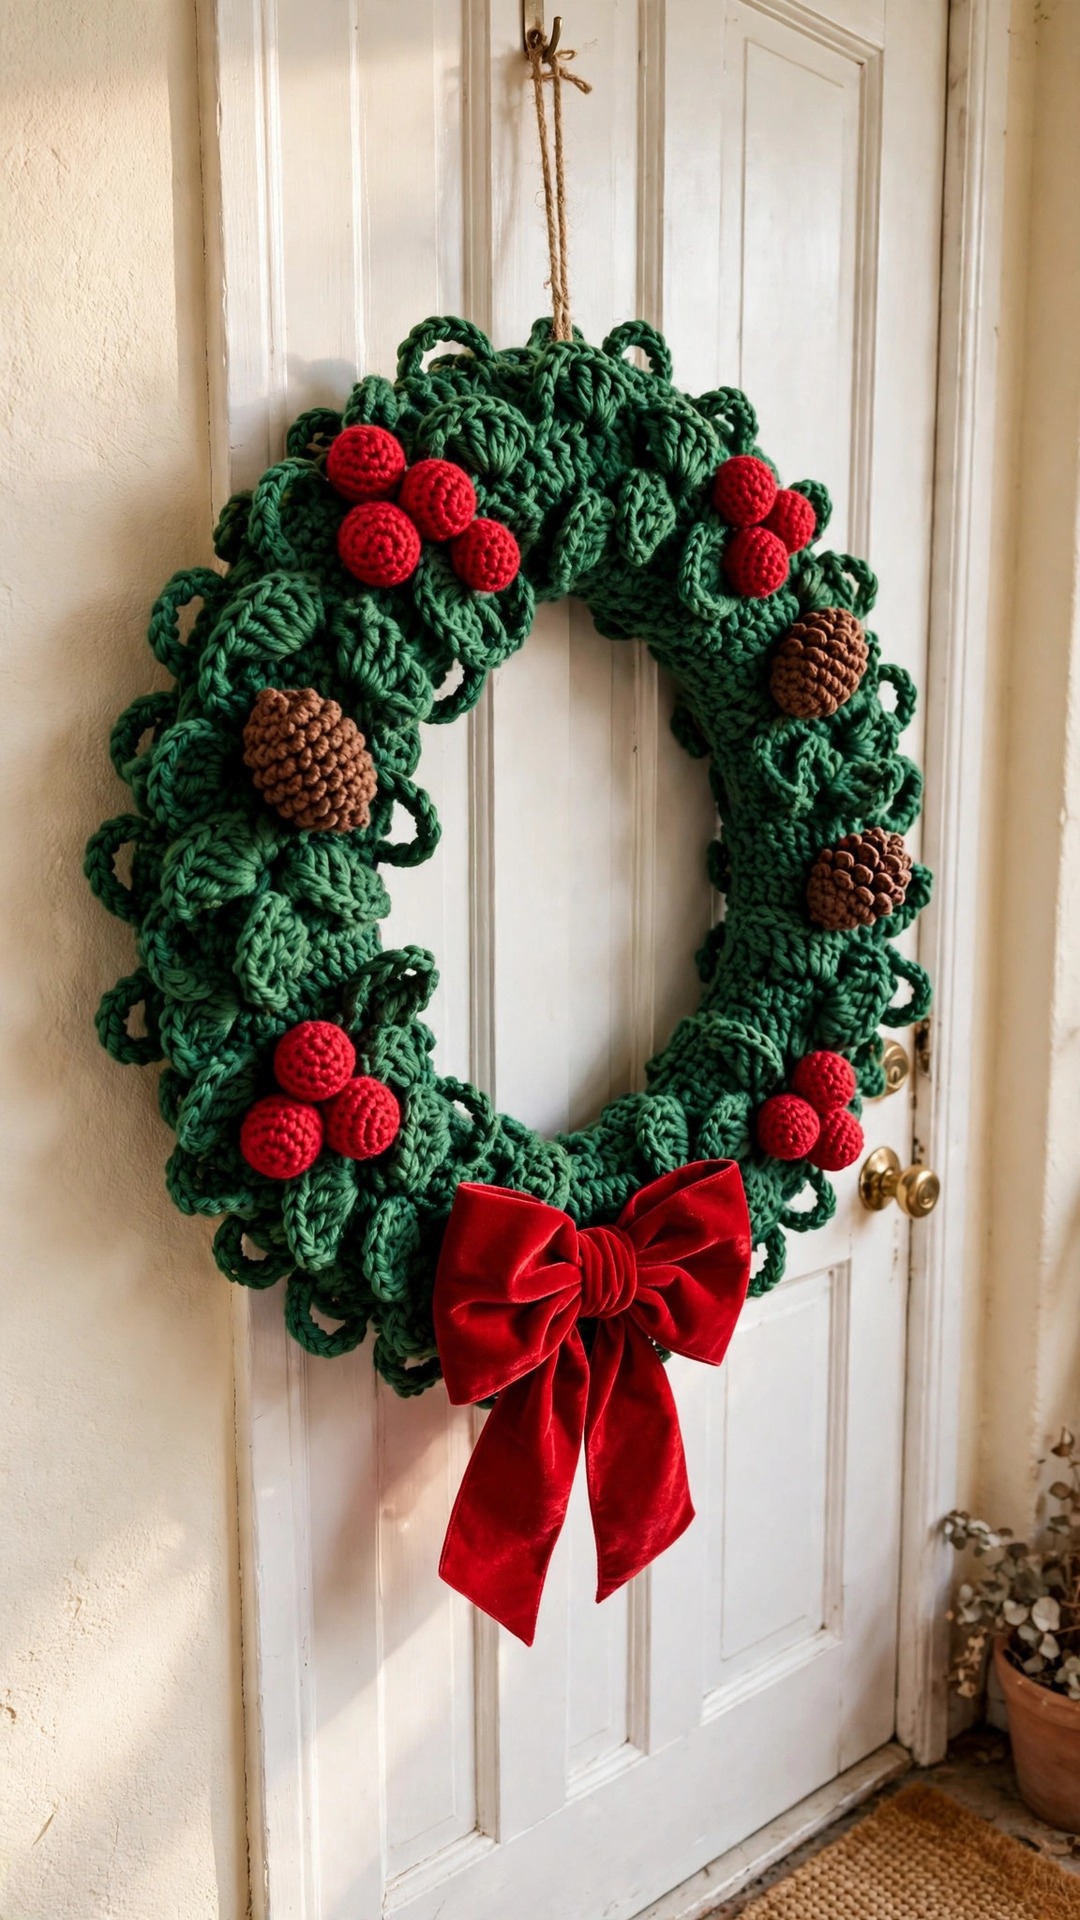
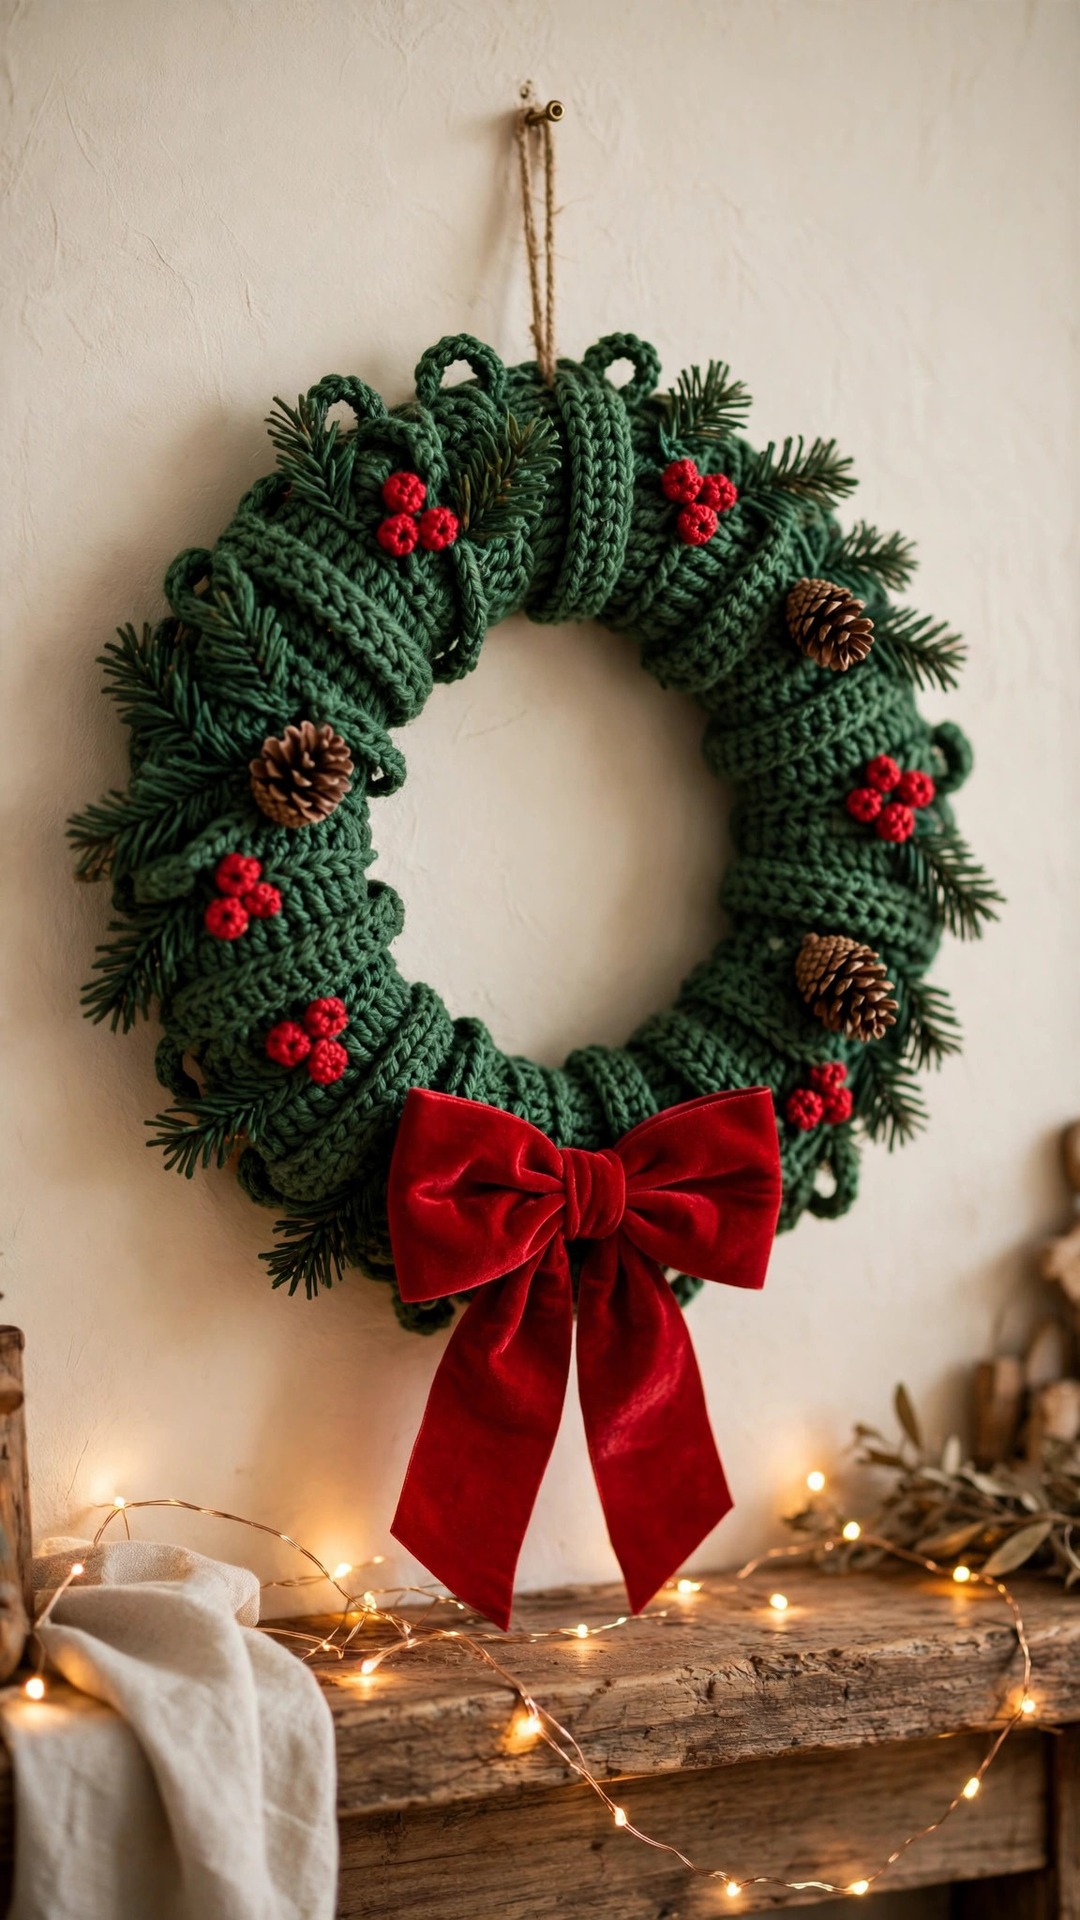
A full evergreen Christmas wreath worked from a simple chunky tube — two layers of pine-needle sprigs, red berry clusters, three little pinecones and a red velvet bow, with full stitch counts in easy US terms.

Christmas · Crochet
- Finished size
- 13 in across the ring, 16 in with sprigs
- Making time
- About 5–6 hours
- Hook
- 6.5 mm, chunky-weight yarn
- Pieces
- 96 sprigs, 18 berries, 3 pinecones
- Skill
- Easy
In this post
Every December the front door gets dressed first, and a shop-bought wreath never quite looks like the one in your head. This free wreath crochet pattern is the one we reach for instead: a full evergreen-style Christmas wreath in chunky green yarn, layered with pine-needle sprigs, red berry clusters, three pinecones and a big red velvet bow. It looks like it took a whole season — it takes a weekend.
This is an original Little Loop Finds design. The base is a simple crocheted tube — just single crochet, round after round — and the sprigs are worked straight onto it, one chain at a time. No garland to wind, no glue gun near your yarn.
Contents
- Why you'll love this wreath
- Materials you'll need
- Size, gauge and skill level
- Abbreviations — US terms
- The pattern (US terms)
- Finishing and assembly
- Tips for a wreath that looks full, not flat
- FAQ
- What to crochet next
Why you'll love this wreath
First, it is genuinely beginner-friendly. The base tube is one stitch — single crochet — repeated for a hundred rounds, and each sprig is a single chain worked back with stitches you know.
Second, the sprigs are the whole trick, and they are much easier than they look. Each one is a chain of fourteen, worked back with a mix of single, half double and double crochet that tapers it like a pine needle. Two offset layers — forty-eight sprigs, then forty-eight more between them — overlap into a thick evergreen that hides the tube.
Third, it is made to last. A real evergreen wreath sheds needles all over the doormat by Boxing Day. This one comes down in one piece, shakes off the dust, and goes back in its box until next year. The chunky acrylic holds its shape and the berries are stitched on, not glued.
Finally, it makes the rest of your Christmas crochet look intentional. Hang it on the front door, then make matching pieces for the rooms inside — a crochet elf hat pattern for the family photo, a stocking for the fireplace, a snowman for the sideboard.
Materials you'll need
Chunky green yarn does nearly all the work here, so choose it with care. Pick a deep, true evergreen in a smooth acrylic or acrylic-wool blend with a little body, so the sprigs stand out rather than flopping flat. Buy the full amount before you start.
| Supply | What to get |
|---|---|
| Main yarn | Chunky weight (category 5), deep evergreen green — 300 g / 330 yards (3 × 100 g balls) |
| Berry yarn | Worsted weight (category 4) in bright red — about 30 g / 65 yards |
| Pinecone yarn | Worsted weight (category 4) in warm brown — about 40 g / 85 yards |
| Hooks | 6.5 mm (US K-10½) for the base tube and sprigs; 4.5 mm (US 7) for the berries and pinecones |
| Ribbon | Red velvet ribbon, 1.5 in (4 cm) wide, 36 in (90 cm) long, for the bow |
| Hanging | Jute twine, 12 in (30 cm), for the hanging loop |
| Stuffing | Polyester toy stuffing, about 50 g, for lightly filling the tube |
| Notions | Yarn needle with a large eye, stitch marker, sharp scissors, tape measure, pins |
Size, gauge and skill level
Skill level: Easy. You need a chain, slip stitch, single, half double and double crochet, plus a magic ring for the berries and pinecones. If you have finished a scarf or a simple hat, this wreath is well within reach.
Finished size: The tube ring measures about 13 in (33 cm) across, with an inner opening of about 8 in (20 cm). With sprigs, it measures about 16 in (40 cm) tip-to-tip.
To make it bigger or smaller: Add or remove rounds on the base tube — every 10 rounds changes the finished diameter by about 1 in (2.5 cm). Keep 18 stitches per round, and the seam still lines up.
Gauge: With chunky yarn and a 6.5 mm hook, 12 single crochet stitches and 12 rounds measure about 4 in (10 cm). A tube worked much tighter than gauge will be stiff and hard to bend into a neat circle.
Abbreviations — US terms
US terms throughout. (UK note: US single crochet = UK double crochet, US half double crochet = UK half treble, US double crochet = UK treble.)
| Abbreviation | Meaning |
|---|---|
| MR | magic ring |
| ch | chain |
| sl st | slip stitch |
| sc | single crochet |
| hdc | half double crochet |
| dc | double crochet |
| inc | increase — 2 sc in the same stitch |
| dec | decrease — single crochet 2 stitches together |
| st(s) | stitch(es) |
| rnd(s) | round(s) |
| FO | fasten off |
A note on rounds: Join each round with a slip stitch to the first single crochet, then chain 1; the chain 1 does not count as a stitch. The bold number at the end of a round is your stitch count.
The pattern (US terms)
Work the wreath in five parts: base tube, sprigs, berries, pinecones, and bow with hanging loop. Make the tube first — everything else is worked onto it.
The base tube — green chunky yarn, 6.5 mm hook
The tube is the skeleton of the wreath: a long sausage of single crochet that you bend into a circle and seam. The sprigs will cover every stitch of it, so a wobble here is invisible by the end.
- Foundation: Ch 18, join with a sl st to the first ch to form a ring, taking care not to twist the chain (18)
- R1–R100: Ch 1, sc in each st around, join with a sl st to the first sc (18 sts per round)
That is one hundred rounds of eighteen stitches — 1,800 stitches, all the same. Check your count every ten rounds: drift is much harder to fix at round ninety than at round ten.
When the tube measures about 33 in (84 cm) long, fasten off, leaving an 18 in (45 cm) tail for seaming. Stuff it lightly — just enough to hold a round shape, not so stiff it will not bend into a circle. Fold it into a ring, line up the eighteen stitches of the last round with the eighteen of the first, and whipstitch them together with the tail. Knot inside and weave the end in.
The pine-needle sprigs — green chunky yarn, 6.5 mm hook
The sprigs turn a green ring into a Christmas wreath. Each one is a short chain worked back towards the tube, tapering from a fine point to a wider base, and they are worked directly onto the tube — no sewing at this stage.
First layer — 48 sprigs. Join the green yarn to the tube at the seam, then space the sprigs evenly around the outside, roughly one every two rounds of the tube.
Each sprig is worked as follows:
- Sl st to anchor the yarn to the tube, ch 14
- Sc in the 2nd ch from the hook, hdc in the next 2 ch, dc in the next 3 ch, hdc in the next 2 ch, sc in the next 5 ch — 13 stitches worked back along the chain
- Sl st into the next st of the tube to anchor the tip end, FO and weave the end in on the back of the tube
Count as you work back: 1 single crochet, 2 half double, 3 double, 2 half double, 5 single — thirteen stitches on a fourteen chain, because the first chain is the turning chain.
Second layer — 48 sprigs. Work the same sprig between two first-layer sprigs, offset by about one round of the tube, so the second layer fills the gaps. You now have 96 sprigs in total. If the inside edge looks bare, add a few sprigs pointing inwards — the count is a guide, not a law.
The berries — red worsted yarn, 4.5 mm hook
Make eighteen berries, then sew them into six clusters of three.
- R1: MR, 6 sc into the ring, join (6)
- R2: Inc in each st around (12)
- R3: Sc in each st around (12)
- R4: [Sc, dec] × 4 (8)
- R5: Dec × 4 (4)
Stuff each berry firmly before round 5 — stuffed after closing, a berry is lumpy; stuffed too loosely, it is flat. Fasten off, leaving a tail, and use it to close the last four stitches. Each finished berry is about 0.75 in (2 cm) across.
Check the arithmetic: round 2 doubles 6 to 12; round 4 takes 12 to 8, each [single crochet, decrease] repeat using 3 stitches and making 2, four times over; round 5 takes 8 to 4. If your count is off after round 4, pull back one round and count again.
Making the clusters: Sew three berries together at their bases, pulling them snug into a little triangle with no gaps. Make six clusters. Pin them evenly around the front — one about every eight sprigs — and sew each on through the tube, knotting on the back.
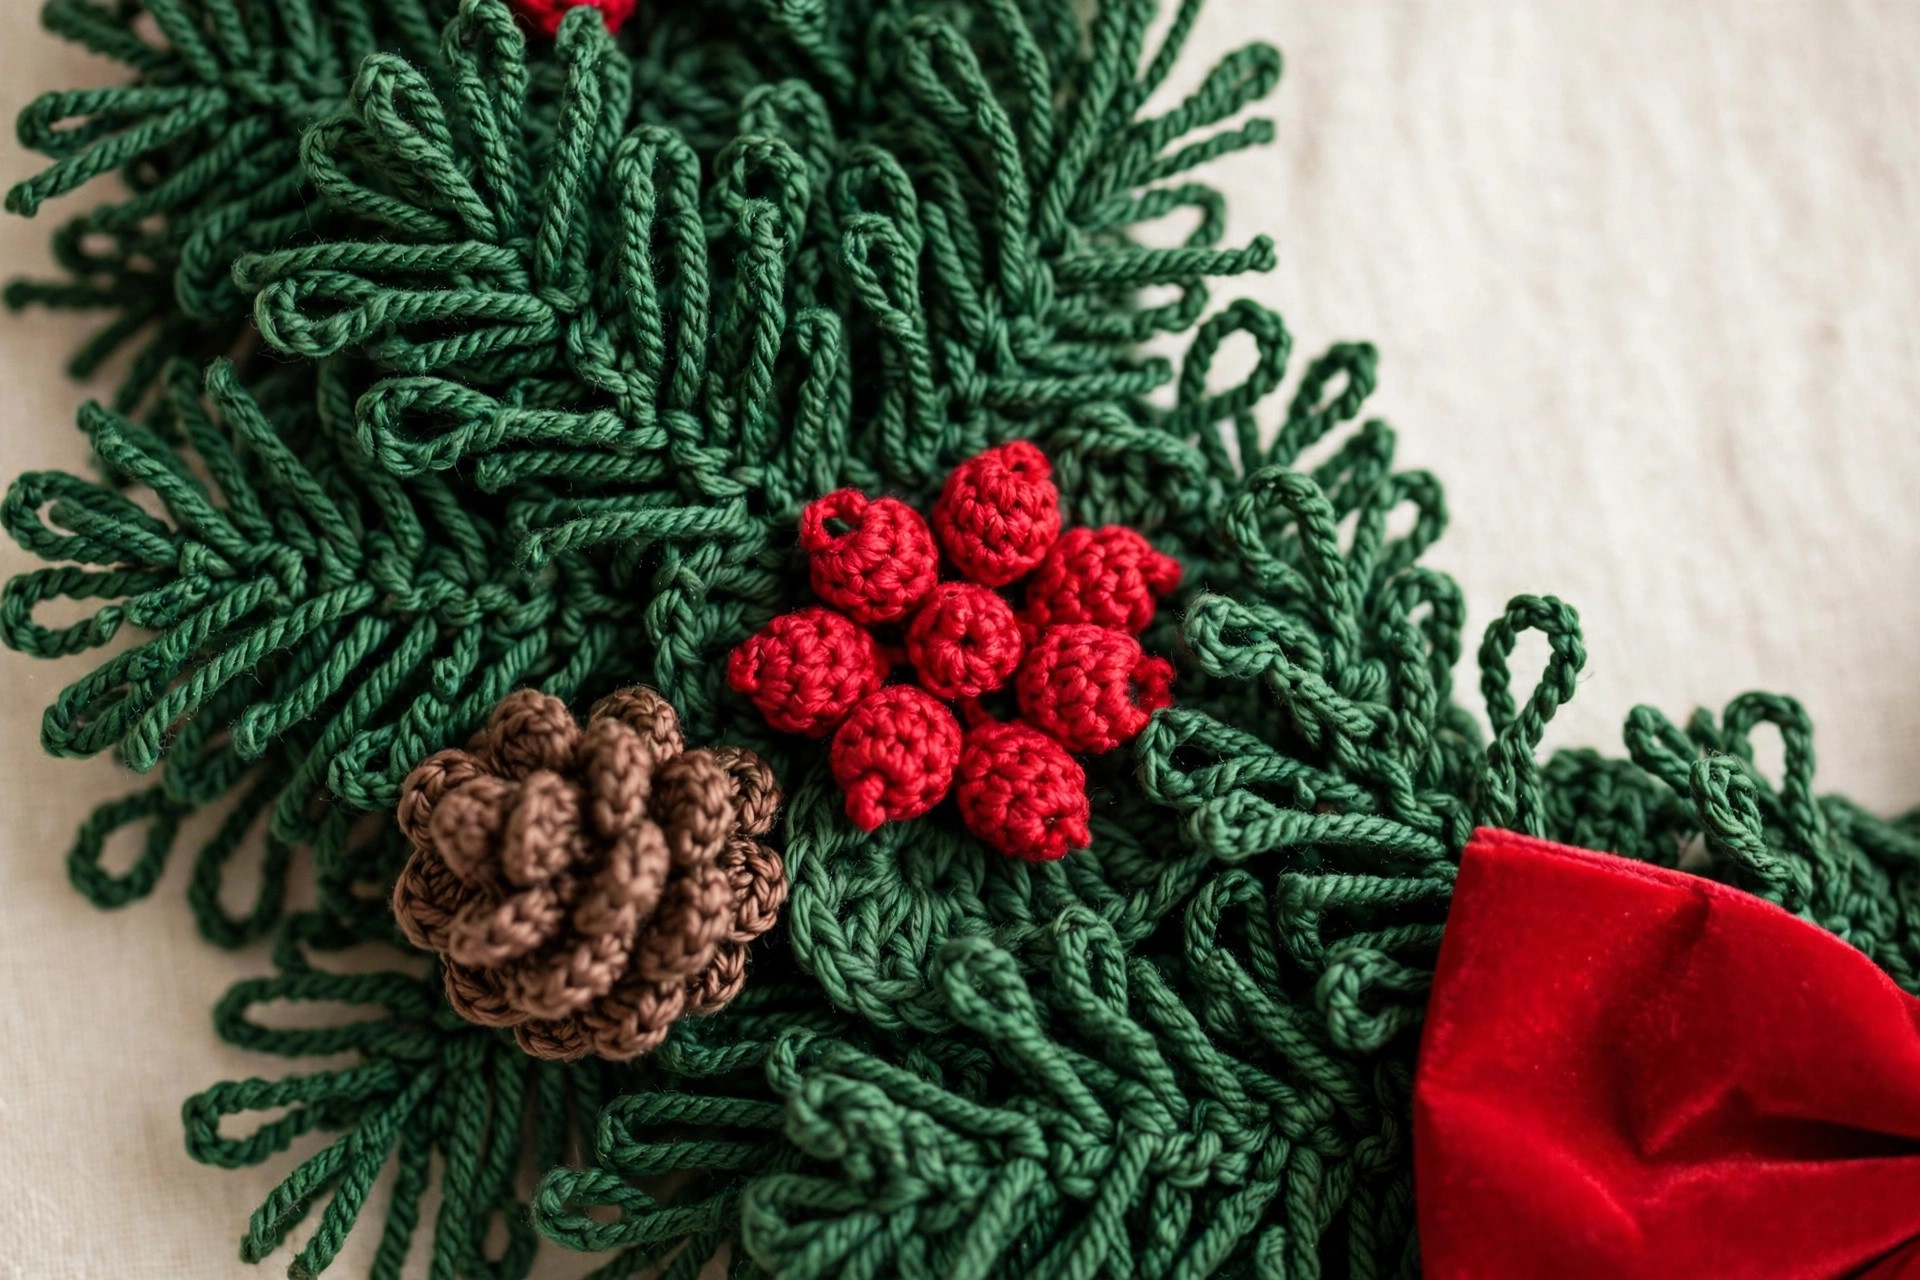
The pinecones — brown worsted yarn, 4.5 mm hook
Make three pinecones: a small tapered body with nine scale leaves sewn on in three rings of three — the berry ball with one extra increase round.
Body — make 3:
- R1: MR, 6 sc into the ring, join (6)
- R2: Inc in each st around (12)
- R3: [Sc, inc] × 6 (18)
- R4–R5: Sc in each st around (18) — 2 rounds even
- R6: [Sc, dec] × 6 (12)
- R7: Sc in each st around (12)
- R8: Dec × 6 (6)
Stuff firmly before round 8, fasten off, and close the last six stitches with the tail. The finished body is about 2 in (5 cm) long and 1.25 in (3 cm) wide, narrower at the tip than at the base.
Scales — 9 per pinecone, 27 in total. Each scale is one small leaf:
- Ch 6, sc in the 2nd ch from the hook, hdc in the next ch, dc in the next ch, hdc in the next ch, sc in the last ch — 5 stitches along the chain. FO, leaving a tail.
Sew the scales on in three rings of three: bottom ring near the wide end, tips pointing down and out; middle ring overlapping the first; top ring near the narrow tip. Keep the stitches on the back of each scale so they do not show. Sew the three pinecones between the berry clusters, one roughly every third of the way around, with several firm passes through the tube and a knot on the back.
The bow and hanging loop
The bow is shop-bought velvet ribbon: a crocheted bow in chunky yarn is stiff and heavy, while a velvet ribbon bow drapes the way a bow should. Cut 36 in (90 cm) of ribbon, 1.5 in (4 cm) wide. Form two loops of about 4 in (10 cm) each, cross them, and wrap a short length of ribbon tightly around the middle. Trim the tails to about 6 in (15 cm), cutting the ends at an angle so they do not fray. Sew the bow to the bottom centre of the wreath, right over the seam.
For the hanging loop, fold 12 in (30 cm) of jute twine in half, knot the ends, and sew the knot firmly to the top back of the wreath. Hang the wreath and step back before you sew anything else: the bow belongs at the bottom, the loop at the top, and a pinned bow is much easier to move than a sewn one.
Variations — a mini wreath, and a snowy version
Mini wreath: For a child's bedroom door or a Christmas tree: work the tube for 50 rounds instead of 100, keeping 18 stitches per round, then work 24 sprigs in one layer, 9 berries in 3 clusters of 3, and 1 pinecone. The finished mini wreath measures about 8 in (20 cm) across the ring. Our free crochet Santa hat pattern makes a sweet companion piece.
Snowy version: For a frost-dusted wreath, work the last five stitches of every tenth sprig in white chunky yarn, or brush the sprig tips lightly with white fabric paint and let it dry flat overnight.
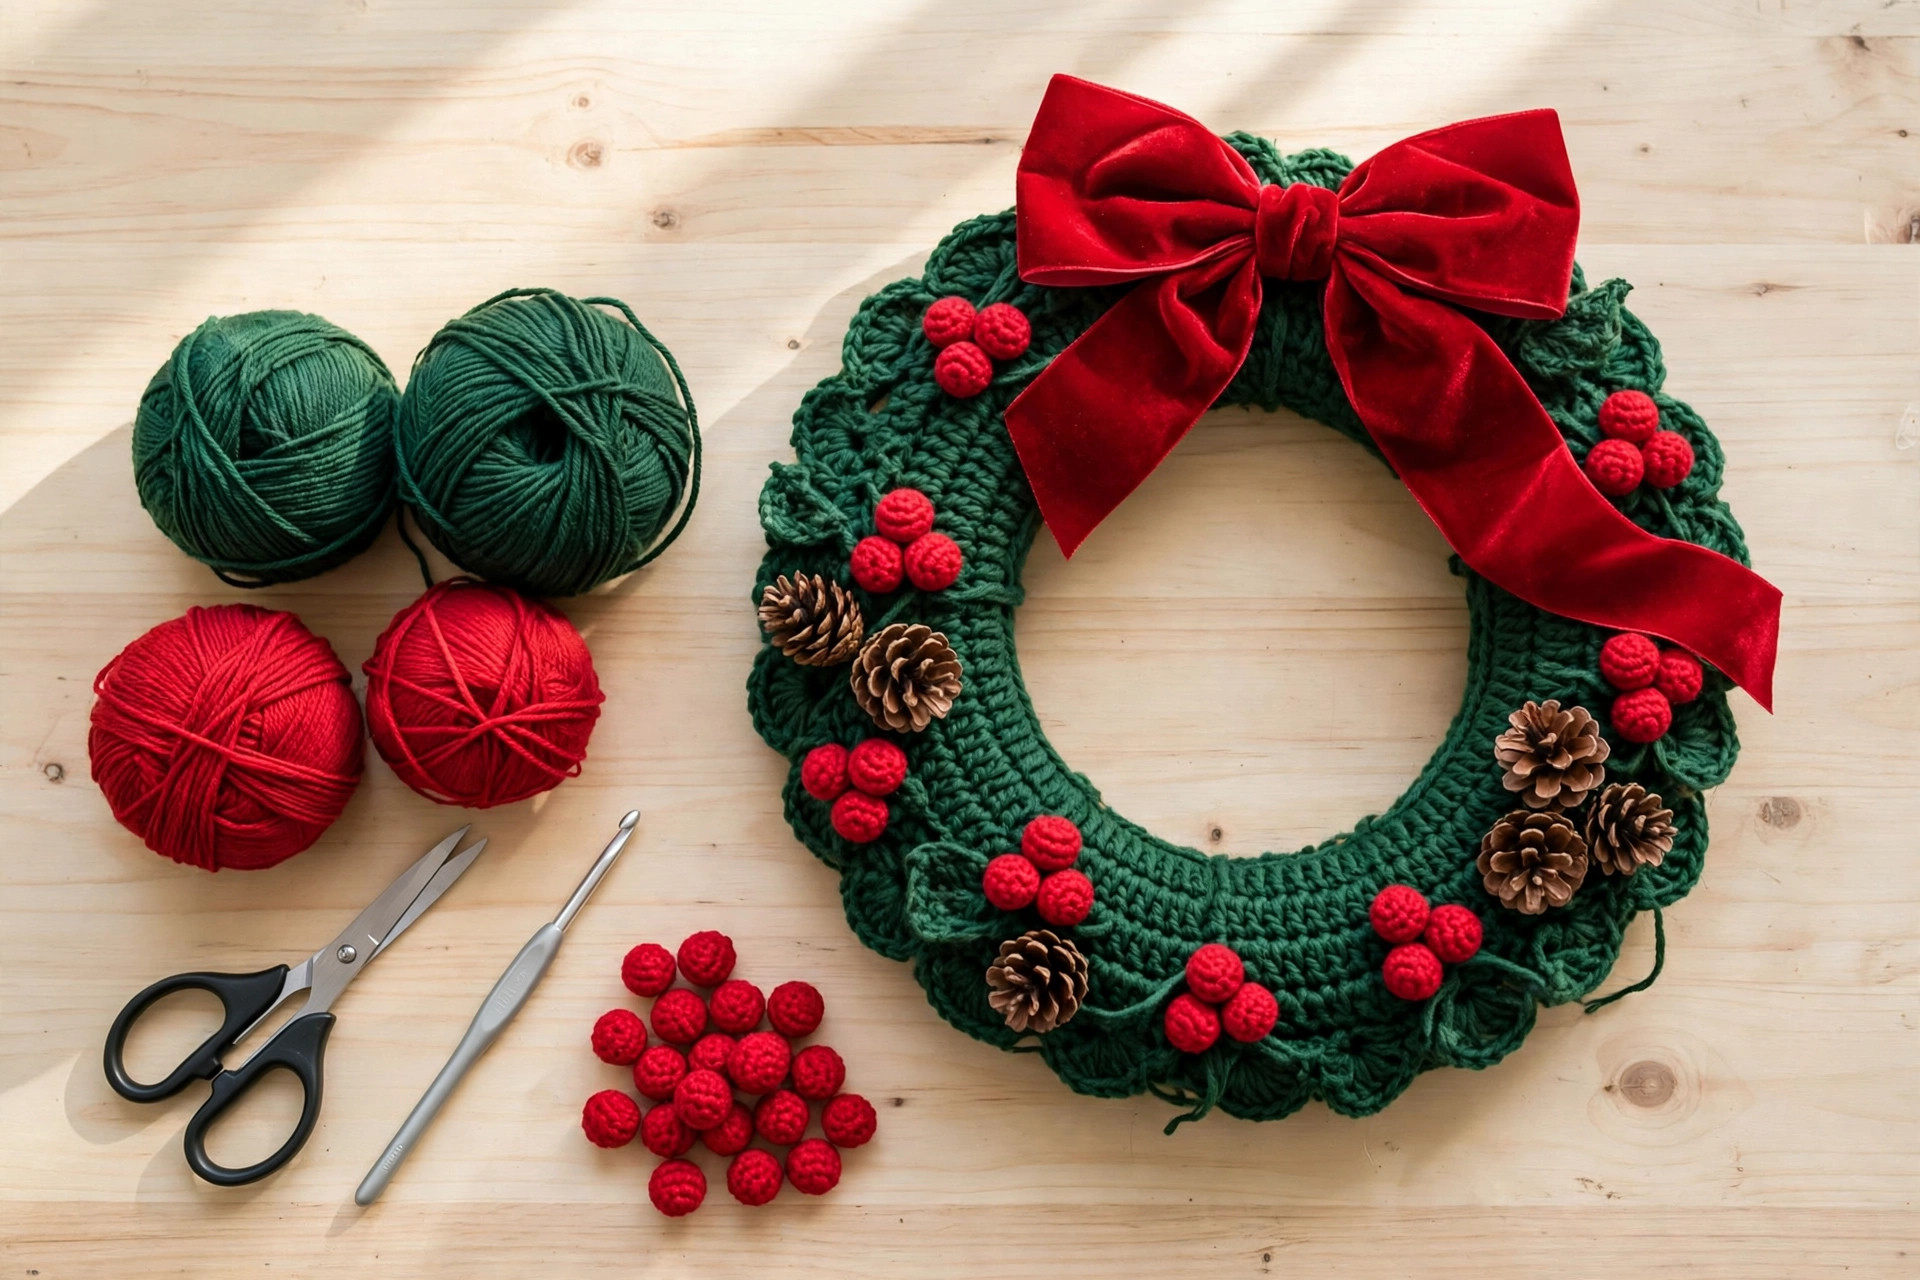
Finishing and assembly
The wreath is nearly done, but the finishing is what makes it look shop-bought rather than handmade-in-a-hurry.
1. Weave in every end properly. There are a lot of ends on a wreath — ninety-six sprigs alone is ninety-six tails. Travel at least 1 in (2.5 cm) through the tube stitches one way, then back another, before trimming. A short pass will creep out.
2. Check the shape from across the room. Hang the wreath and walk across the room. A wreath that looks even from arm's length can lean from the doorway. Nudge the sprigs, straighten the bow, and if one side is fuller, move a berry cluster rather than adding sprigs — balance beats bulk.
3. Secure the decorations once more. Give each berry cluster and pinecone a gentle tug. Anything that moves gets another pass through the tube and a fresh knot on the back — a wreath hangs on a door that opens and closes dozens of times a day.
4. Steam the sprigs, do not press them. Hold a steam iron a few inches away and let the steam drift over the sprigs, fluffing them gently as you go. Never press the iron onto acrylic yarn — it can melt the fibres and flatten the sprigs for good.
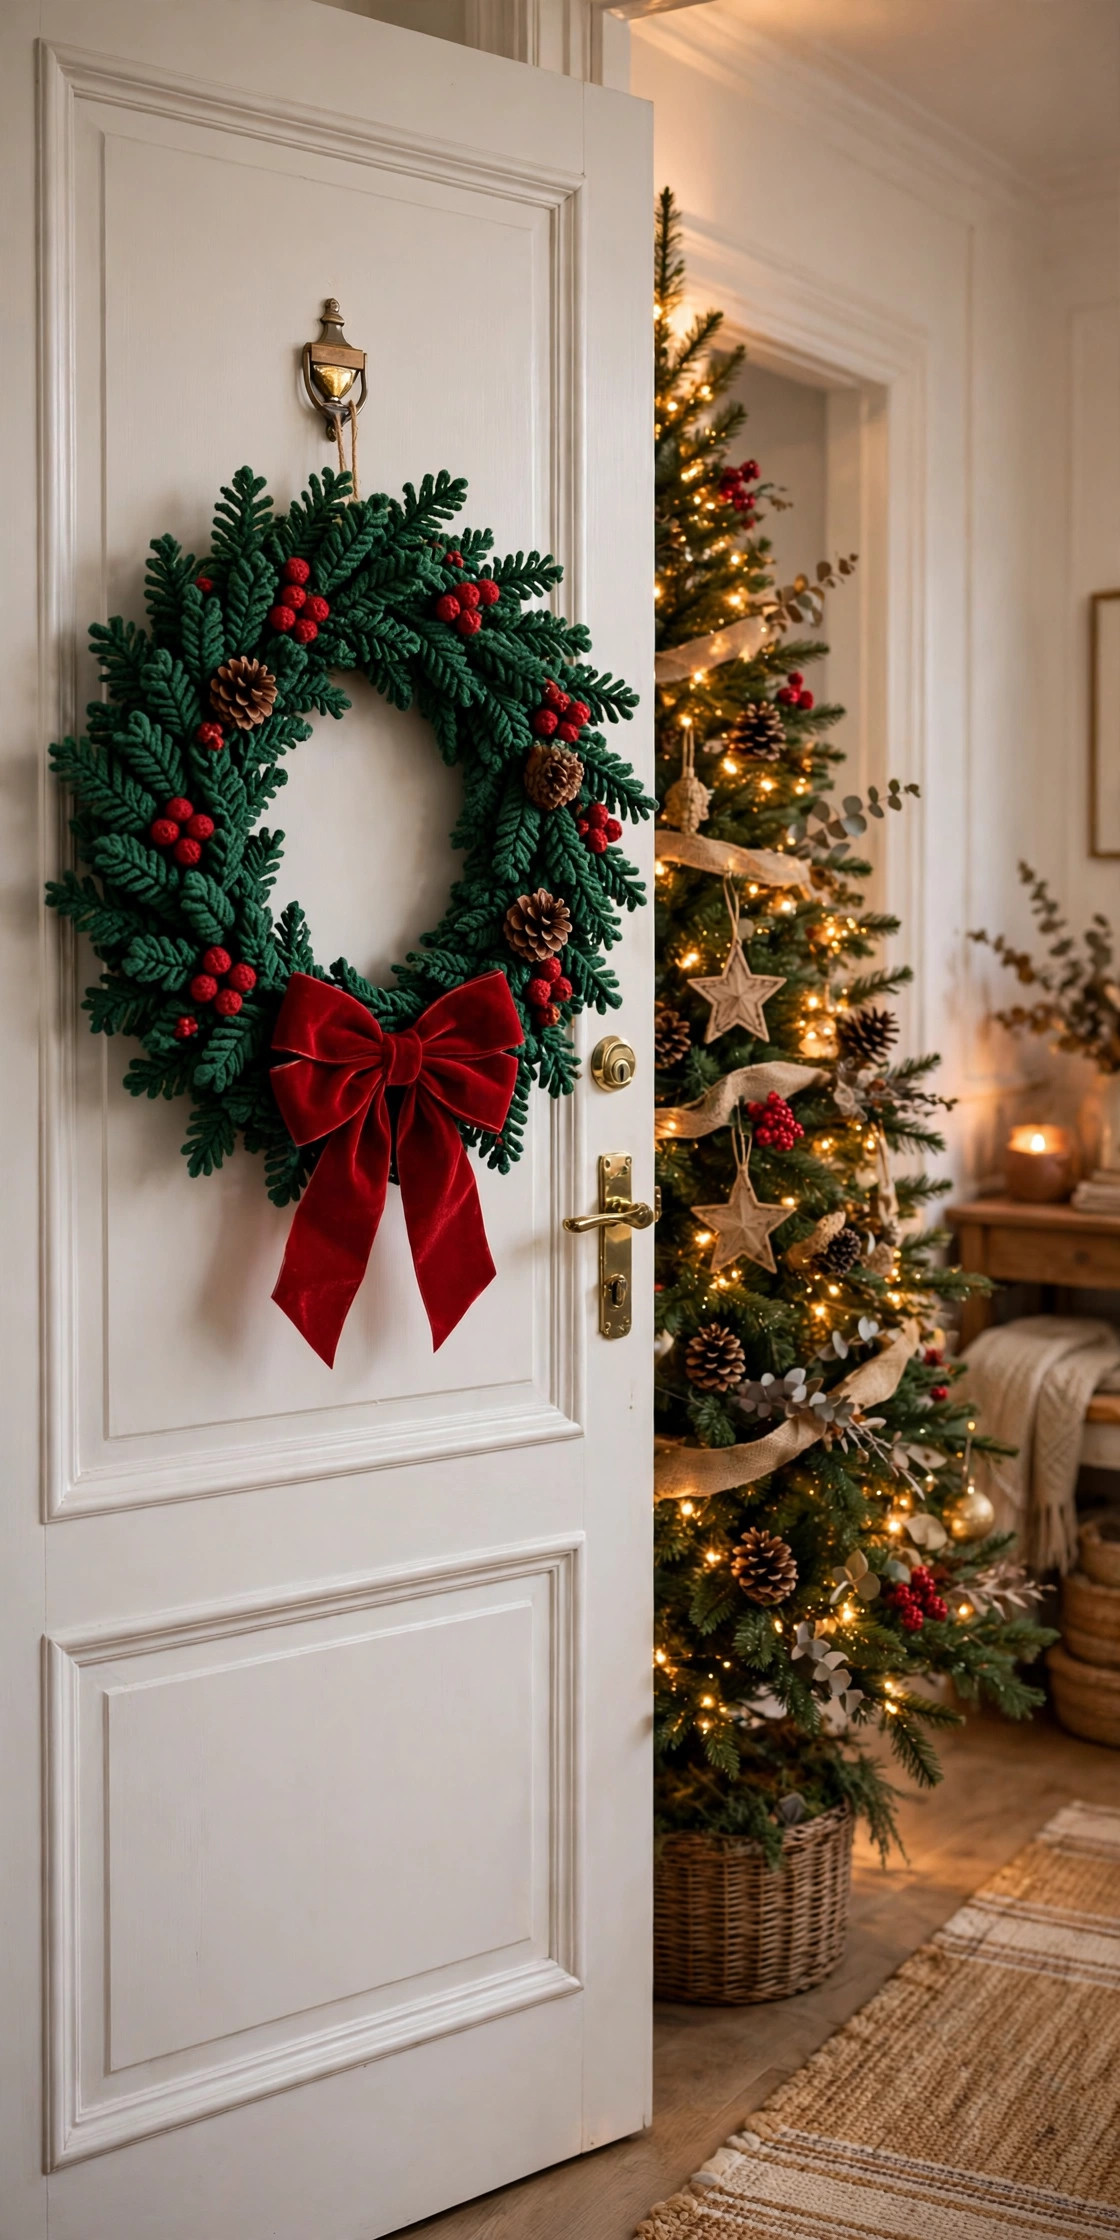
Tips for a wreath that looks full, not flat
Do the second layer of sprigs. It is tempting to stop after the first forty-eight — until you see one with both layers. The second layer is what makes it look like a real evergreen instead of a green ring with decorations on it.
Keep your sprig tension even. Tight sprigs curl into little hooks; loose sprigs flop flat against the tube. Aim for the middle: firm enough to hold a shape, relaxed enough to lie naturally. If your first ten sprigs are all different lengths, pull out the worst three and redo them.
Count the berries before you sew. Eighteen berries sounds like a lot until you have sewn six clusters on and realise you are two short — a cluster of two looks unfinished next to clusters of three. Make all eighteen first, count them into six piles of three, and only then start sewing.
Mind the seam. The join between the tube ends is the weakest point of the wreath and the likeliest place for stuffing to escape. Whipstitch it twice, and position the finished seam at the bottom, where the bow covers it.
Store it flat, sprigs up. When Christmas is over, lay the wreath flat in a box with tissue paper underneath and nothing on top, and keep the bow loosely tied so it does not crease. Never hang it by its loop for eleven months — the tube will stretch and the sprigs will flatten on one side.
Washing and outdoor use. Spot clean with a damp cloth and mild soap, and dry flat. This wreath is happiest indoors or on a covered porch: driving rain will soak the stuffing and weigh the sprigs down, and strong sun will fade the green.
FAQ
Is this wreath crochet pattern really free and original?
Yes — a complete, original Little Loop Finds design, published in full here. Make as many as you like for yourself, family and gifts.
How long does a wreath crochet pattern like this take to make?
About 5 to 6 hours over a weekend: the tube 2 hours, the sprigs 2 hours, the berries and pinecones 1 hour, and assembly 30 minutes.
What yarn works best for a crochet Christmas wreath?
A smooth chunky acrylic or acrylic-wool blend in deep evergreen green, with worsted red and brown for berries and pinecones. Acrylic holds the sprigs upright, washes well, and does not shed the way a real wreath does.
Can I hang this wreath on my front door outside?
Yes, on a covered porch or a sheltered door, hung from its twine loop on a small hook or an over-door hanger. Avoid doors that take driving rain or full sun, which will soak the stuffing and fade the yarn. For an exposed door, hang it on the inside instead.
Can I make the wreath with worsted yarn instead of chunky?
Yes — hold two strands of worsted-weight green yarn together and use a 6.5 mm hook, working the same stitch counts. The tube and sprigs will come out a little softer and slightly smaller, so add about 10 extra rounds to the tube. The berries and pinecones stay exactly as written.
Can I sell wreaths I make from this pattern?
Yes — you may sell finished wreaths made by hand from this pattern in small quantities, crediting Little Loop Finds as the designer. Please do not republish the pattern text and photos themselves.
What to crochet next
Keep the festive making going:
- Our crochet Christmas stocking pattern uses the same green and red yarn and hangs beautifully beside the wreath.
- This free snowman crochet pattern looks wonderful on the sideboard under the wreath.
- These crochet ornaments free patterns are quick makes that use up the leftover red and brown yarn.
- This free crochet Santa pattern is the perfect companion for the wreath on the front door.
Happy crocheting — may your sprigs stay fluffy, your berries stay bright, and your front door be the best-dressed on the street this Christmas.
The box below contains an Etsy link. If you buy through it, we may earn a small commission at no extra cost to you. Learn more.
No time to make one?
Short on time? Find handmade crochet Christmas wreaths from independent makers on Etsy.
Browse on Etsy (opens Etsy in a new tab)