Crochet Tulip Pattern (Amigurumi Tulip Flower)
Crochet a sweet amigurumi tulip with a stem and leaves in about two hours, then stand it in a vase for spring color that never fades.

Patterns · Crochet
- Finished size
- 10 in tall
- Making time
- 2 hours
- Hook
- US G-6 (4.0 mm)
- Set
- Tulip, stem, leaves
- Skill
- Easy
In this post
- Key Takeaways
- Table of Contents
- Why You Will Love This Crochet Tulip
- Finished Size, Skill Level, and Time
- Materials You Need
- Abbreviations (US Terms)
- Gauge and Sizing Notes
- Part 1: The Tulip Flower Head
- Part 2: The Stem and Leaves
- Part 3: Assembling Your Tulip
- Variations: Colors, Sizes, and Uses
- Troubleshooting a Tulip That Does Not Look Right
- Care Instructions
- Frequently Asked Questions
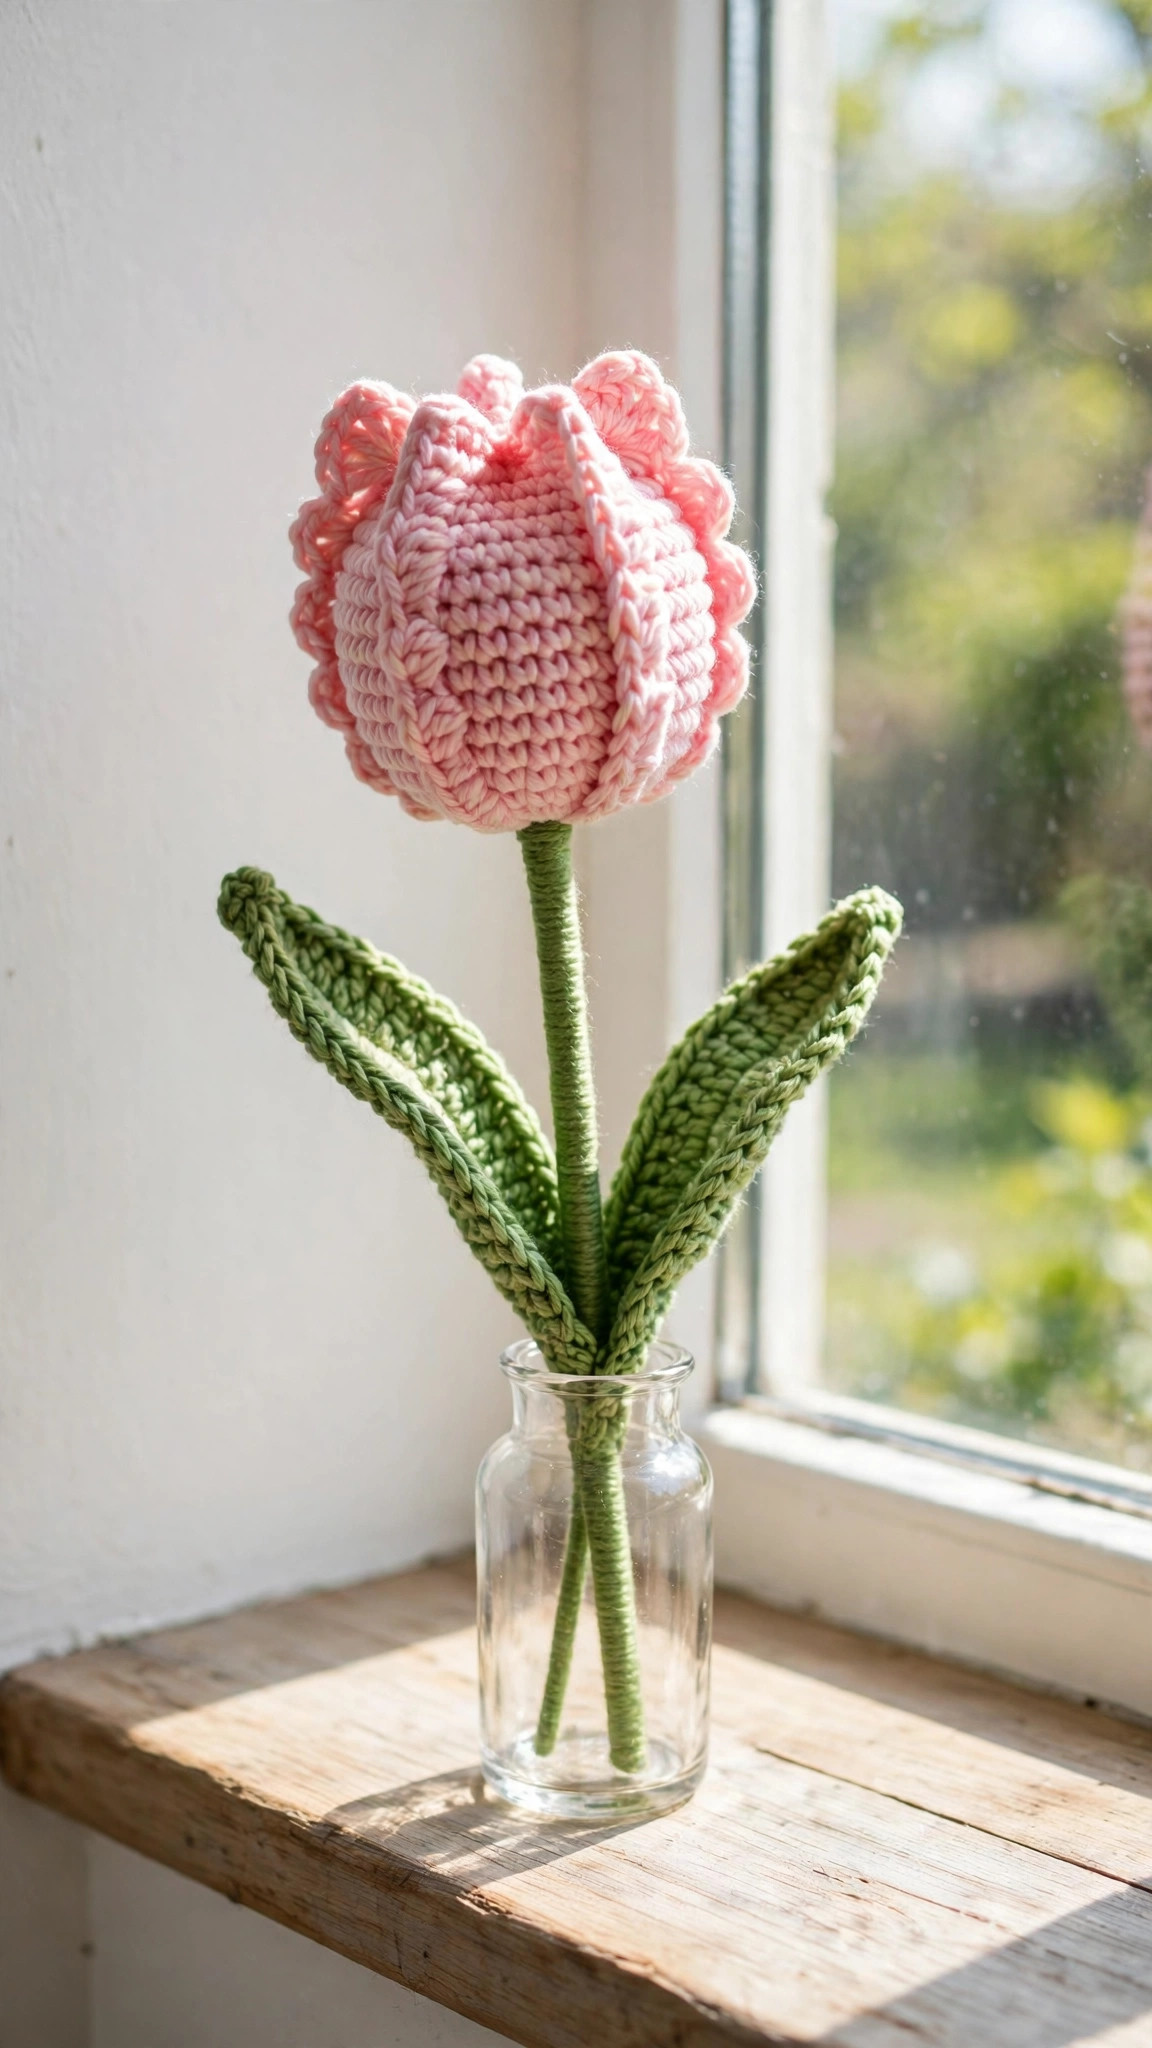
A crochet tulip never wilts, never needs water, and stays bright on your table all year long. This free crochet tulip pattern makes a sweet amigurumi tulip flower with a long green stem and two leaves, worked in soft pink yarn with simple stitches. Make one for a vase, or make a whole bunch for a spring bouquet that lasts forever.
This is an original Little Loop Finds design, written in US terms and completely free. The tulip head is worked in the round from a magic ring, the stem is a simple tube with a pipe cleaner inside so it stands up straight, and the leaves are small flat ovals sewn to the stem. If you can single crochet and increase, you can make this flower.
A quick note on scope: this post is about one specific crochet tulip, an amigurumi flower with a stem and leaves. It is not a flat applique and it is not a tulip blanket square. If you want another flower to pair with it, our crochet rose pattern makes a lovely companion bloom for the same vase.
Key Takeaways
- Free original pattern: a Little Loop Finds original amigurumi design, written in US terms, and completely free.
- A tulip that lasts: a soft pink flower head with a sturdy green stem and two leaves, about 10 inches tall.
- Beginner friendly: you only need a magic ring, single crochet, increases, and decreases.
- Quick to make: one tulip takes about 2 hours, and a bouquet of five takes one relaxed weekend.
- A spring gift: lovely for Mother's Day, Easter, a teacher gift, or a cheerful table all year.
Table of Contents
- Why You Will Love This Crochet Tulip
- Finished Size, Skill Level, and Time
- Materials You Need
- Abbreviations (US Terms)
- Gauge and Sizing Notes
- Part 1: The Tulip Flower Head
- Part 2: The Stem and Leaves
- Part 3: Assembling Your Tulip
- Variations: Colors, Sizes, and Uses
- Troubleshooting a Tulip That Does Not Look Right
- Care Instructions
- Frequently Asked Questions
Why You Will Love This Crochet Tulip
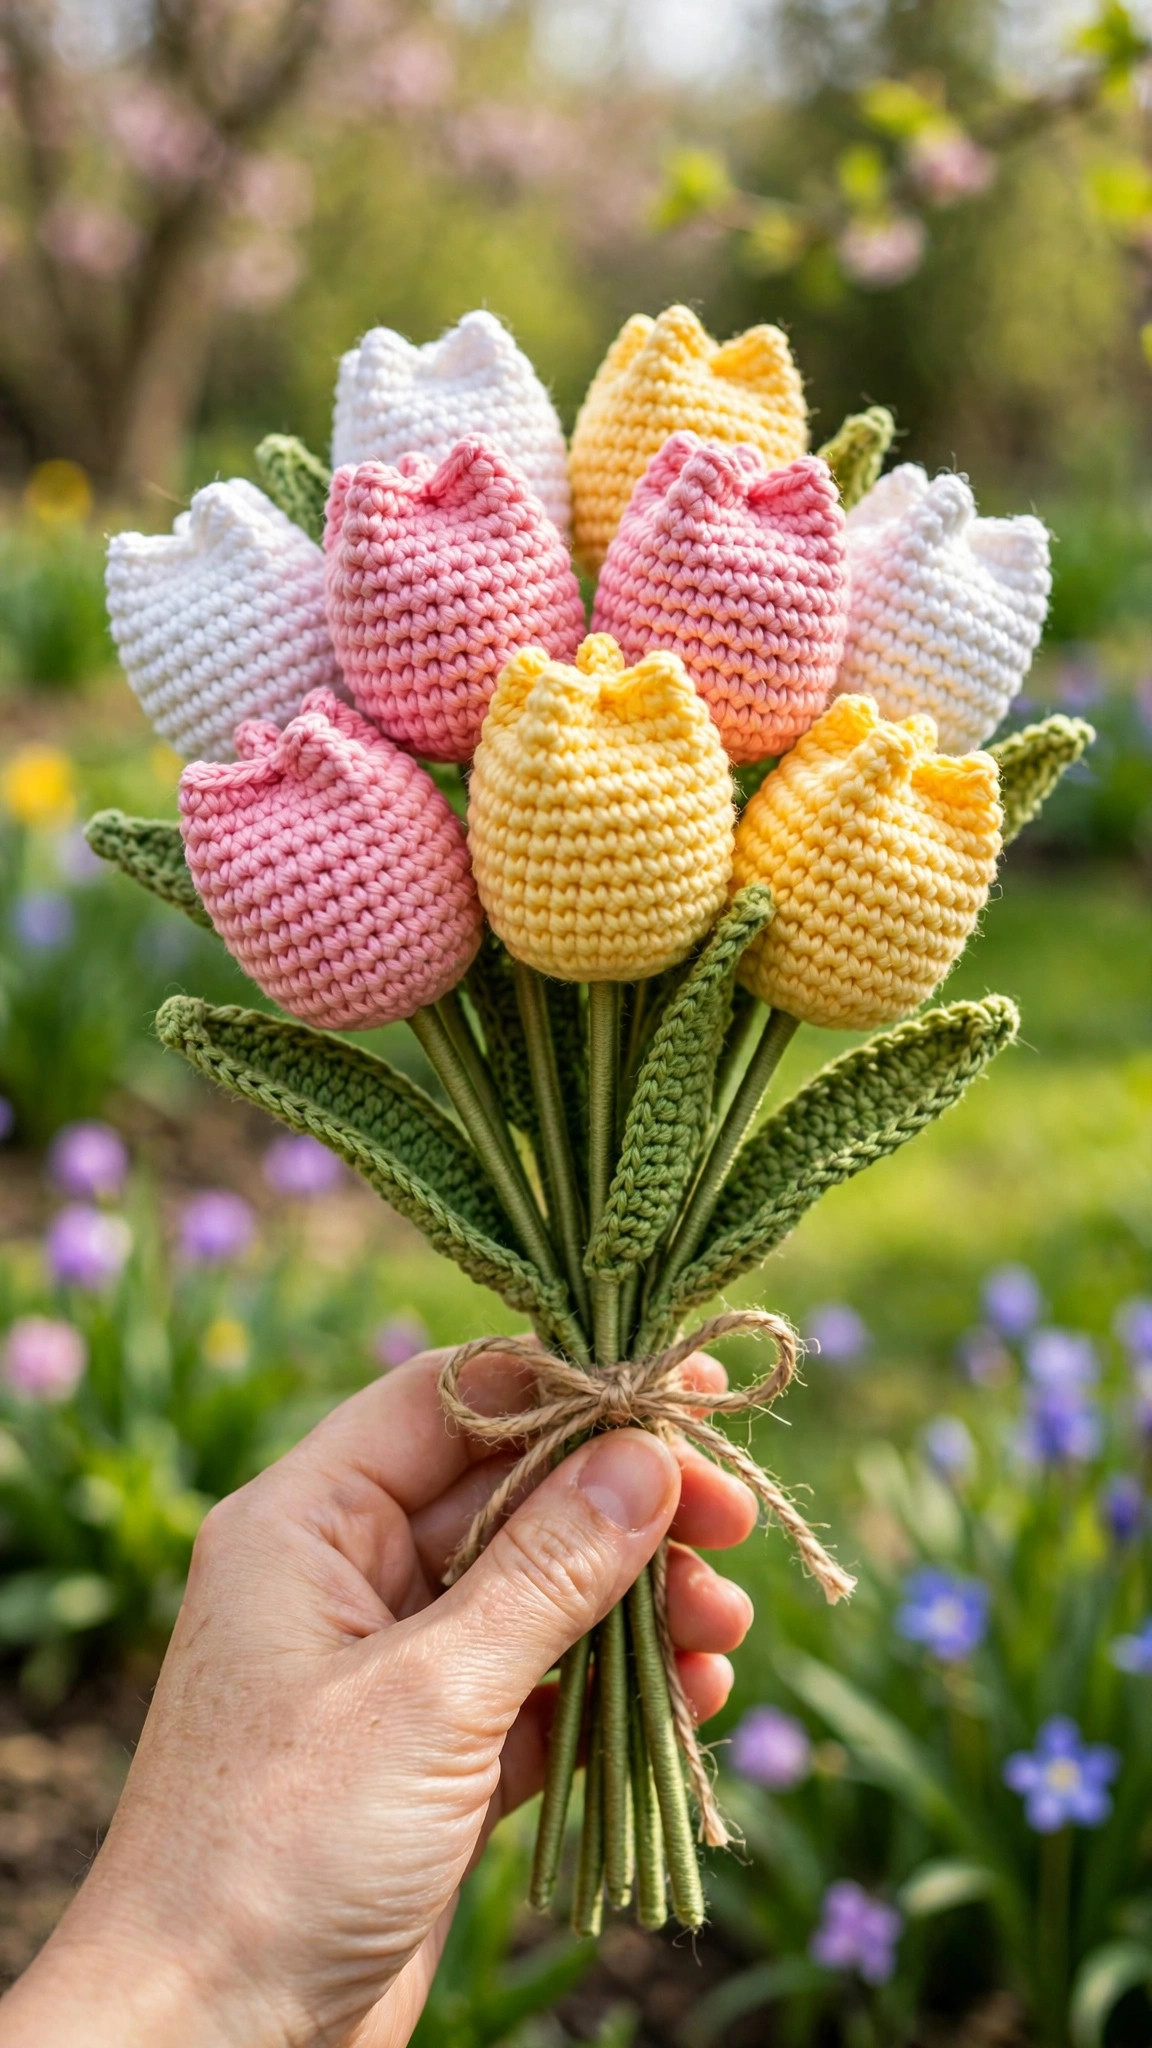
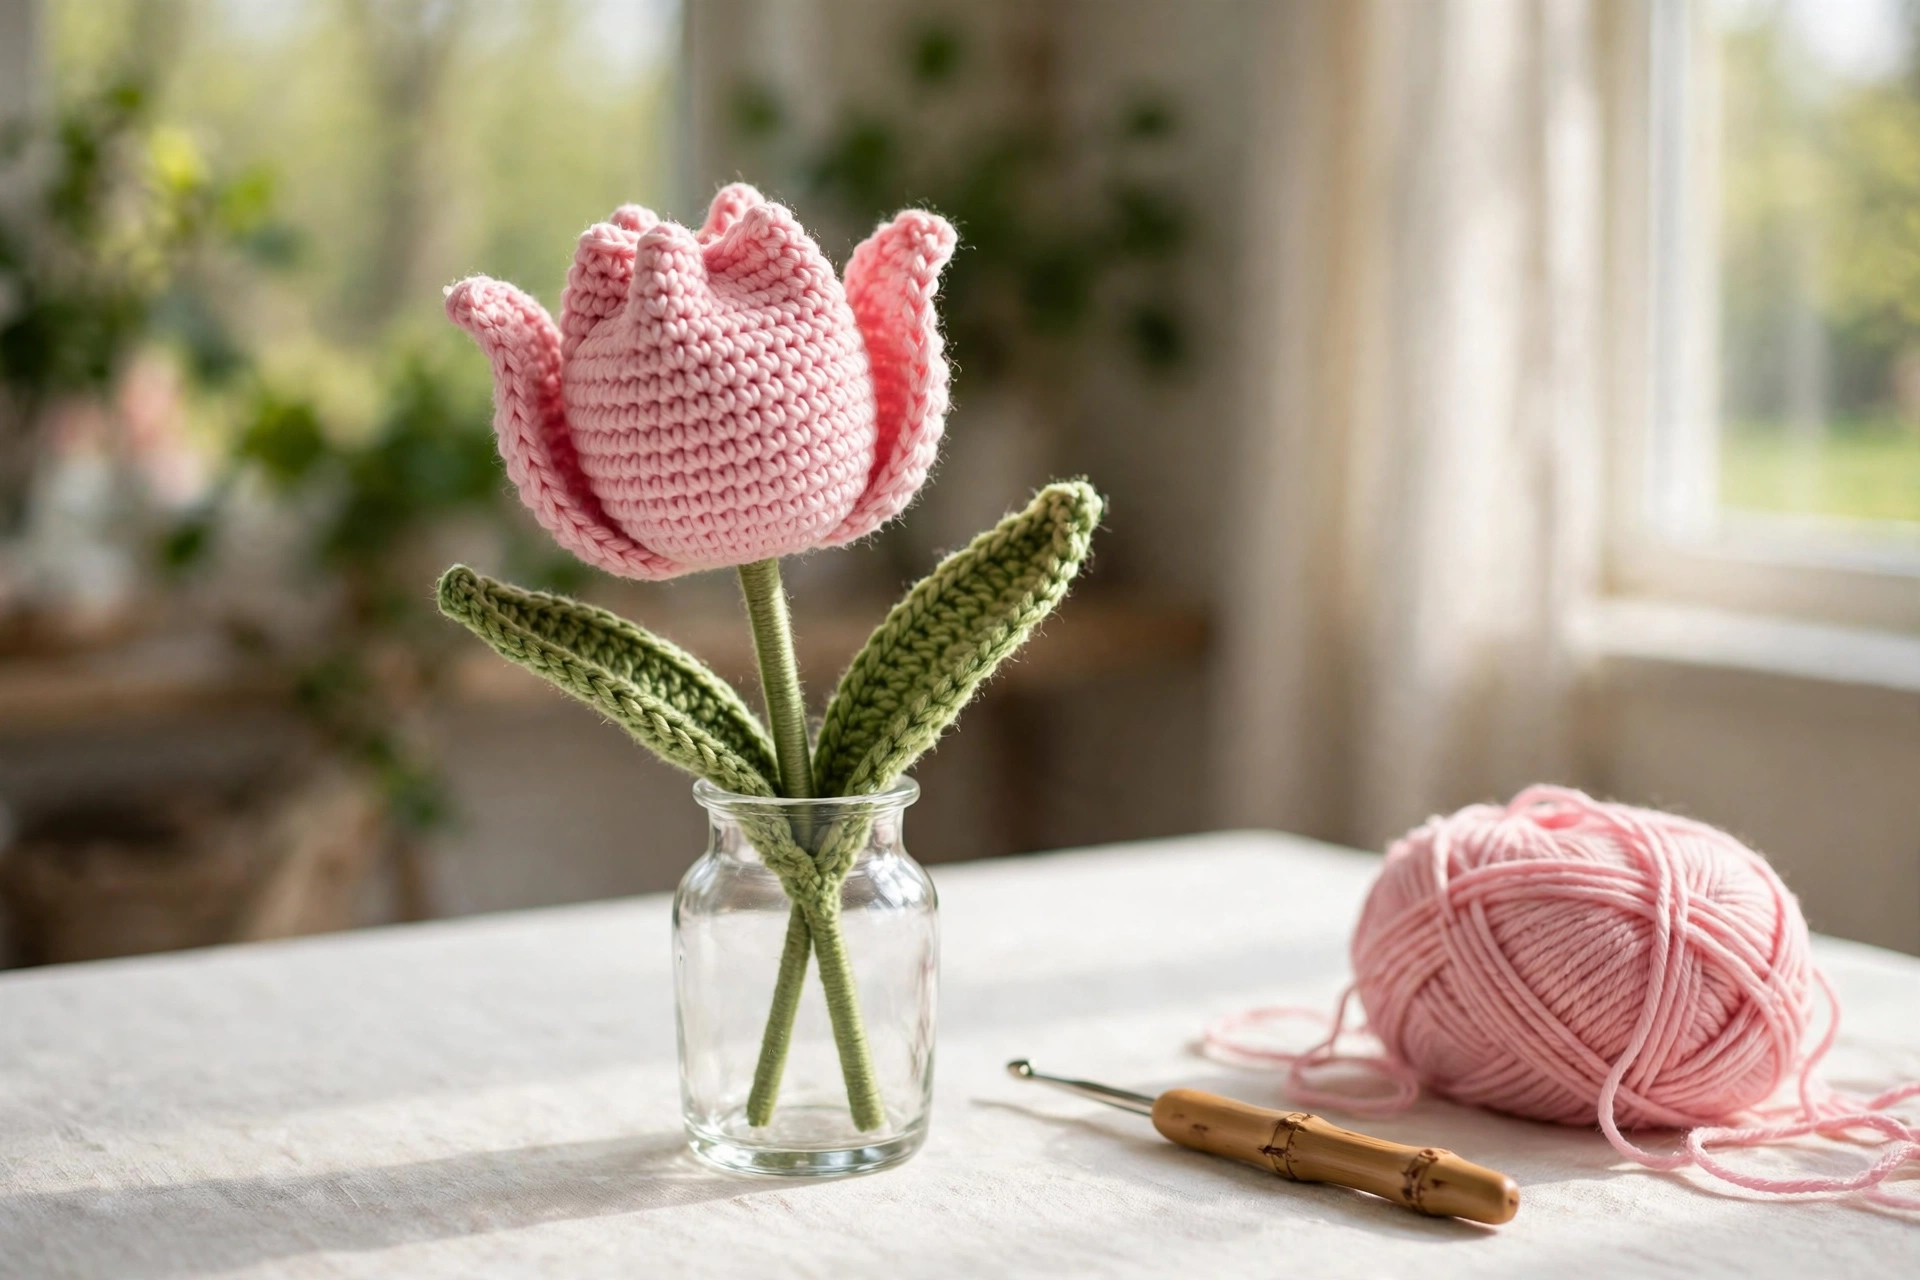
A crochet tulip is the happiest small project you can make. The flower head works up fast in the round, the stem gives it height, and the two leaves finish it off so it looks like a real flower picked from the garden. Put one in a narrow vase on a windowsill, or gather five or seven into a bouquet tied with twine for a gift that never fades.
A crochet tulip makes a thoughtful handmade gift. Real tulips last a week, but a crochet tulip lasts for years, and every time the person who receives it sees it on their desk or table, they will think of you. Make one in a favorite color, add a little gift tag, and you have a present that costs almost nothing and means a great deal.
Finished Size, Skill Level, and Time
- Finished size: about 10 inches tall from the bottom of the stem to the top of the flower, with a flower head about 2.5 inches wide and 3 inches tall. Each leaf is about 3 inches long.
- Skill level: Easy. You need a magic ring, single crochet, half double crochet, double crochet, increases, decreases, and simple seaming.
- Time: about 2 hours per tulip: 45 minutes for the flower head, 30 minutes for the stem and leaves, and 45 minutes for stuffing and assembly.
Materials You Need
| Item | What to get |
|---|---|
| Yarn, flower color | Worsted weight yarn in soft pink, 60 yards |
| Yarn, green | Worsted weight yarn in leaf green, 50 yards |
| Hook | US G-6 (4.0 mm), or the size that gives you the gauge below |
| Stuffing | Polyester fiberfill, a small handful per tulip |
| Support | One pipe cleaner or 10 inch length of floral wire, green |
| Notions | Tapestry needle, scissors, tape measure, stitch markers, pins |
Worsted weight yarn is the best choice for a crochet tulip because it makes a flower head that holds its cup shape without going floppy, and it works up quickly on a 4.0 mm hook. Choose a soft pink for a classic spring tulip, or pick any color you love, because tulips come in almost every color. Avoid very dark yarns for your first tulip, because it is harder to see your stitches in dark colors.
A pipe cleaner or a length of floral wire inside the stem is what keeps your tulip standing up straight in a vase. Without it, the stem bends and the flower flops over. Fold the ends of the wire over so no sharp tip pokes through the yarn, and slide it into the stem before you sew the flower head on. Our crochet cactus pattern uses the same wire support trick if you want to practice it on another plant first.
Abbreviations (US Terms)
- ch = chain
- sl st = slip stitch
- sc = single crochet
- hdc = half double crochet
- dc = double crochet
- inc = increase, 2 sc in the same stitch
- dec = decrease, single crochet 2 stitches together
- st(s) = stitch(es)
- rep = repeat
- RS = right side
Gauge and Sizing Notes
Gauge matters on an amigurumi tulip because the flower head needs to be firm enough to hold its cup shape, with no stuffing showing through the stitches. Work a small swatch of 12 sc and 12 rows in the flower color. It should be about 3 inches wide and 3 inches tall. If it is wider, go down a hook size. If it is narrower, go up a hook size.
Your stitches should be tight enough that you cannot see the fiberfill through them. If you can see white stuffing poking through the pink yarn, go down a hook size or stuff the head a little less firmly. Count your stitches at the end of every increase round, because a missed increase makes the flower head lopsided.
Part 1: The Tulip Flower Head
The flower head is worked in the round from the bottom up, starting with a magic ring and increasing to a full cup, then working straight for the body of the flower before shaping six petals at the top. Work in a spiral without joining the rounds, and place a stitch marker in the first stitch of each round so you do not lose your place.
The Flower Cup (pink yarn)
With the flower color, make a magic ring.
- Round 1: 6 sc in the ring. Pull the ring closed. (6 sts)
- Round 2: inc in each st around. (12 sts)
- Round 3: (sc in the next st, inc in the next st) rep 6 times. (18 sts)
- Round 4: (sc in the next 2 sts, inc in the next st) rep 6 times. (24 sts)
- Round 5: (sc in the next 3 sts, inc in the next st) rep 6 times. (30 sts)
- Rounds 6 to 11: sc in each st around. (30 sts)
- Round 12: (sc in the next 3 sts, dec) rep 6 times. (24 sts)
The cup should now look like a small bowl, about 2.5 inches wide and 2.5 inches tall, with the open top facing up. Do not fasten off yet, because the petals are worked straight onto this round.
The Six Petals
The petals are six shell shapes worked around the top edge of the cup, each one made from a single round of tall stitches. Keep your tension even so all six petals come out the same size.
- Round 13: sl st in the next st, skip 1 st, 5 dc in the next st, skip 1 st, sl st in the next st, skip 1 st, 5 dc in the next st, skip 1 st, sl st in the next st, skip 1 st, 5 dc in the next st, skip 1 st, sl st in the next st, skip 1 st, 5 dc in the next st, skip 1 st, sl st in the next st, skip 1 st, 5 dc in the next st, skip 1 st, sl st in the next st, skip 1 st, 5 dc in the next st, skip 1 st. Join with a sl st to the first sl st. (6 petals)
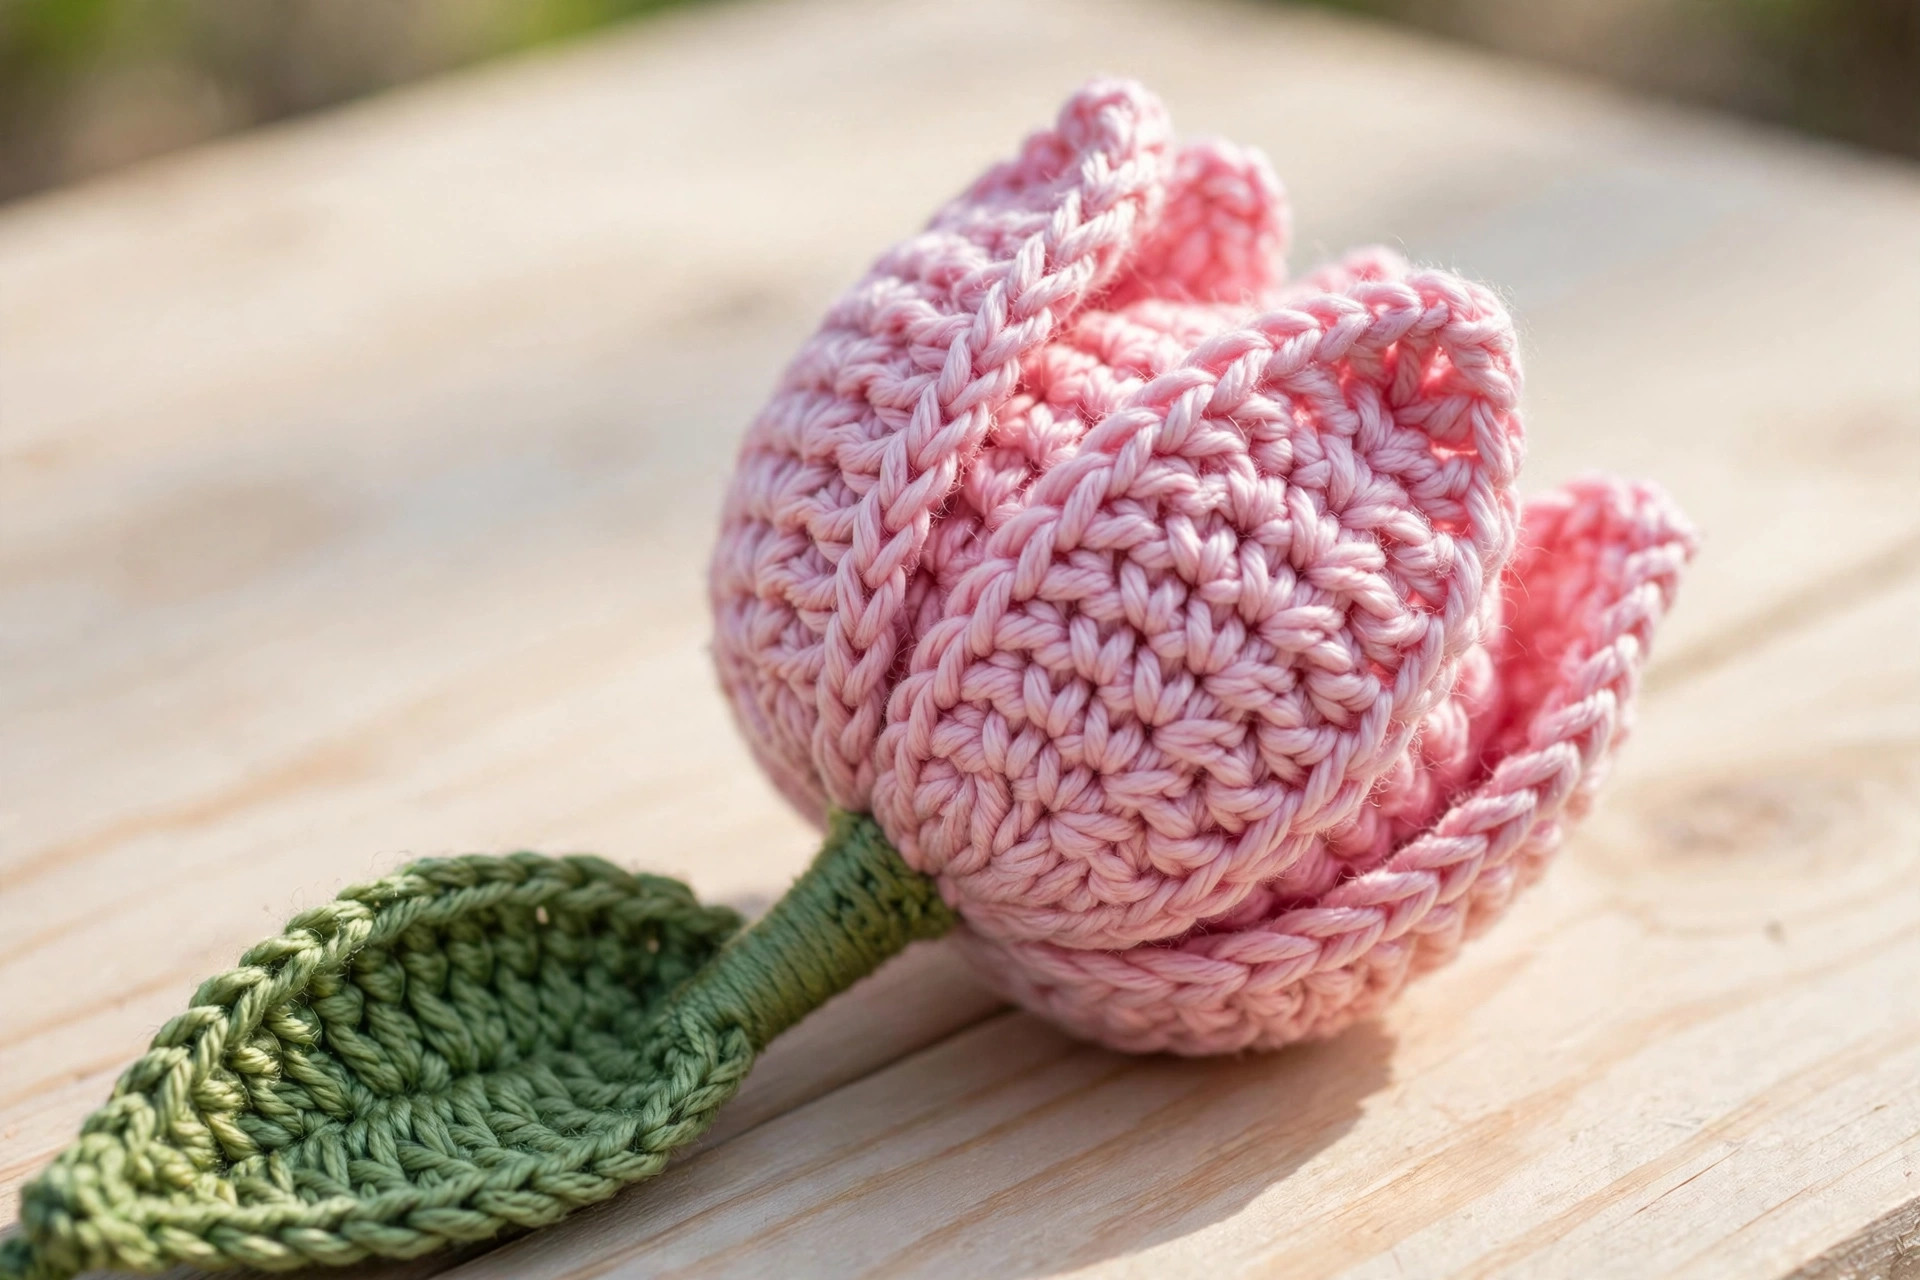
Fasten off, leaving a long tail for sewing. Stuff the flower head lightly with fiberfill, shaping it into a rounded cup with your fingers. Do not overstuff it, because a tulip head should feel soft and slightly hollow, not hard like a ball. Pinch the tip of each petal gently between your fingers to give it a soft point, and the flower will look like a tulip just starting to open.
Part 2: The Stem and Leaves
The stem is a long narrow tube worked in the round, with a pipe cleaner inside for support. The leaves are flat ovals worked in rows, with a pointed tip at each end. Make two leaves for each tulip, one a little higher on the stem than the other, just like a real tulip plant.
The Stem (green yarn)
With the green yarn, make a magic ring.
- Round 1: 6 sc in the ring. Pull the ring closed. (6 sts)
- Round 2: (sc in the next st, inc in the next st) rep 3 times. (9 sts)
- Rounds 3 to 16: sc in each st around. (9 sts)
Fasten off, leaving a long tail for sewing. The stem should be about 7 inches long and a little less than half an inch wide. Fold the ends of your pipe cleaner or floral wire over so the tips are blunt, then slide it into the stem from the top. Stuff the stem very lightly around the wire, just enough to smooth out the tube, and the stem will stand up straight on its own.
The Leaves (make 2, green yarn)
Each leaf is worked flat in rows, starting with a chain and working down one side, around the tip, and back up the other side. Work loosely so the leaf stays soft and flexible.
- Row 1: ch 12. Sc in the 2nd ch from the hook, hdc in the next 2 ch, dc in the next 4 ch, hdc in the next 2 ch, sc in the next ch, 3 sc in the last ch. Now work along the other side of the chain: sc in the next ch, hdc in the next 2 ch, dc in the next 4 ch, hdc in the next 2 ch, sc in the next ch. Join with a sl st to the first sc.
- Row 2: ch 1, sc in each st around the whole leaf, working 3 sc in the stitch at each pointed tip. Join with a sl st to the first sc.
Fasten off, leaving a long tail for sewing. Each leaf should be about 3 inches long and 1 inch wide, with a gentle point at both ends. Bend each leaf gently along the center so it curves like a real tulip leaf.
Part 3: Assembling Your Tulip
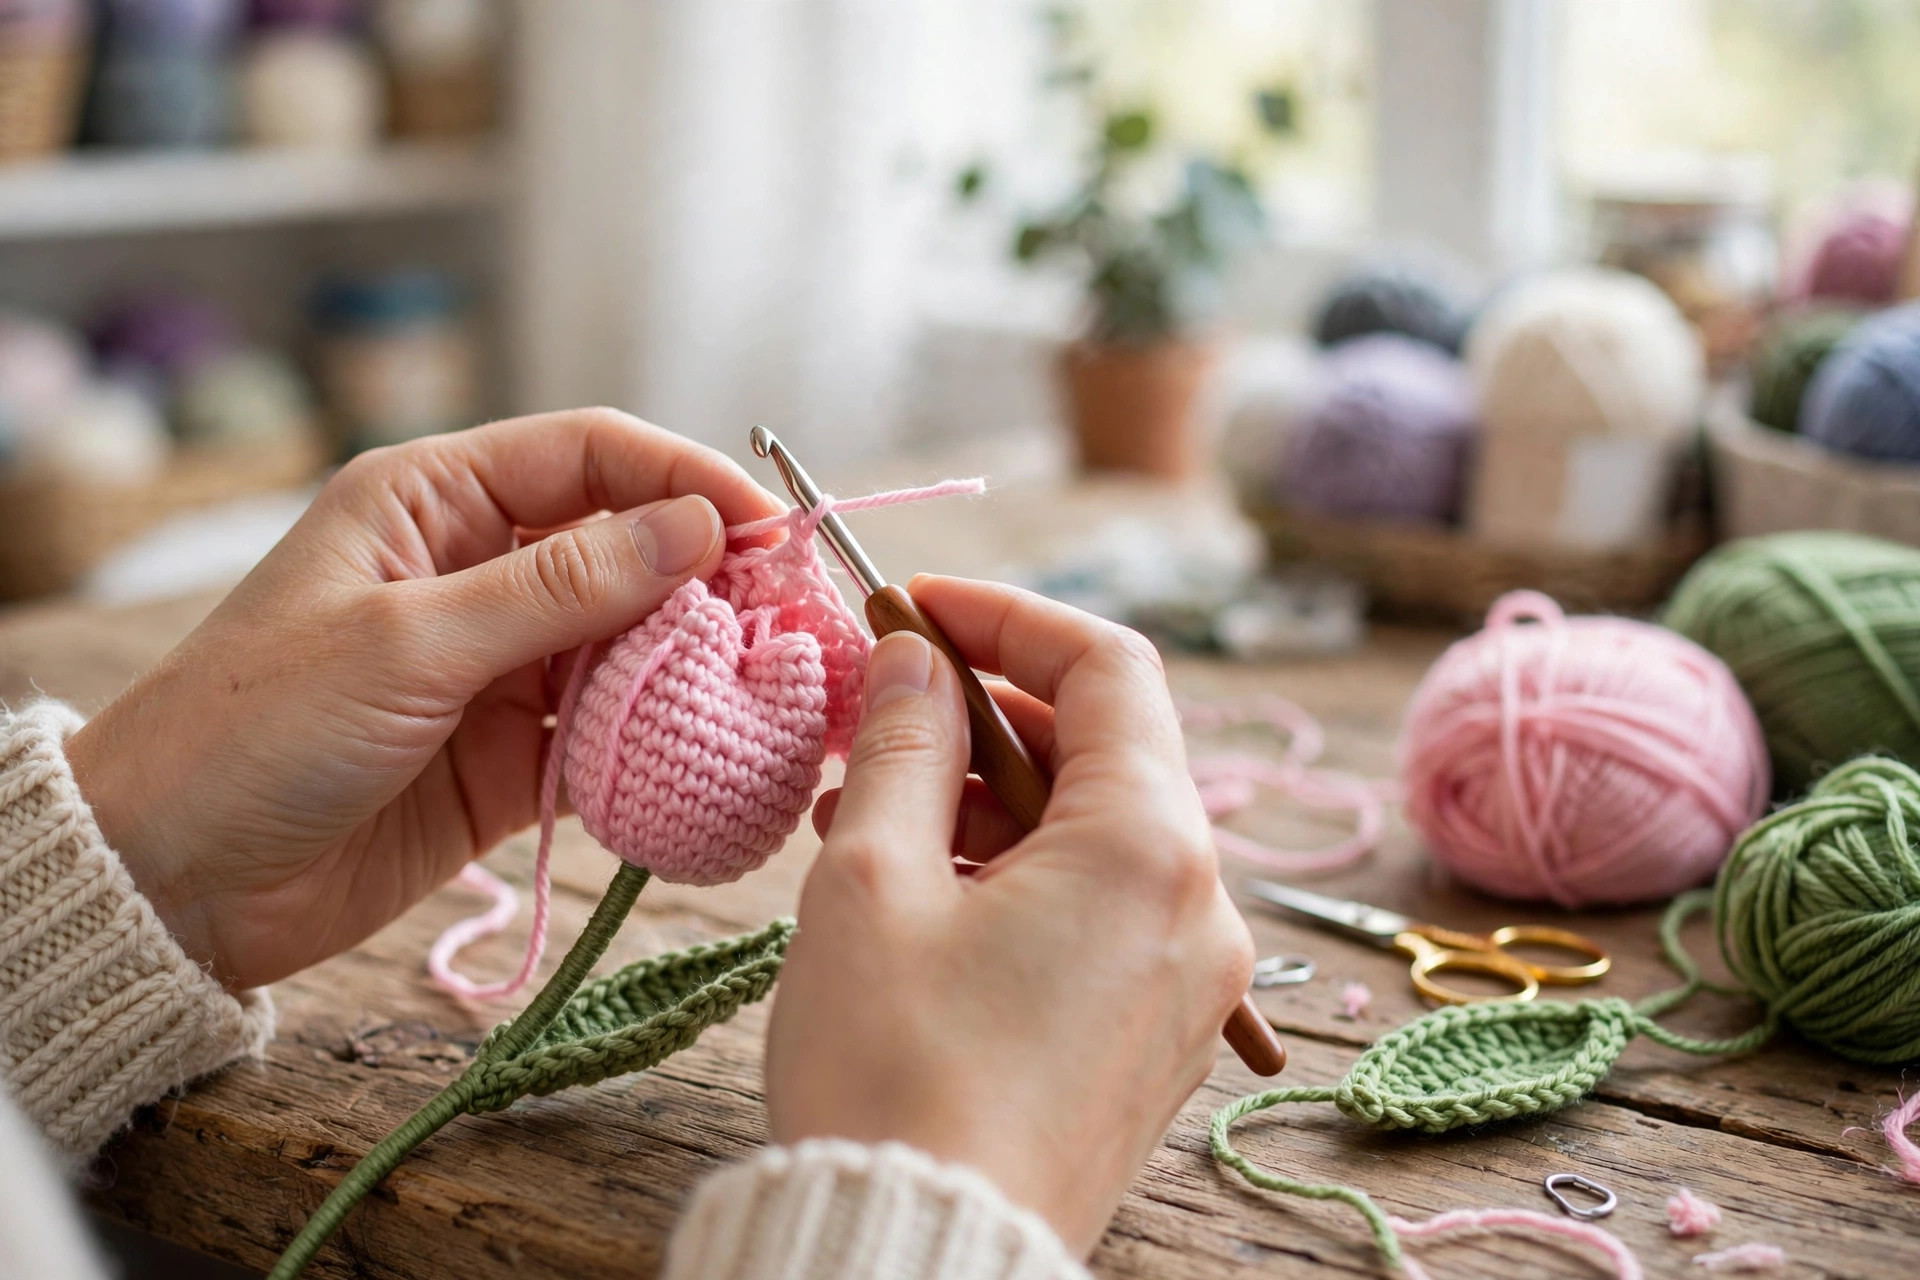
Assembly is the part where three separate pieces become a flower. Take your time here, because neat sewing is what makes a crochet tulip look finished instead of homemade in the wrong way. Pin everything in place before you sew so you can check the shape first.
Joining the Flower Head to the Stem
Hold the flower head with the open petal edge facing up and the closed bottom facing down. Set the top end of the stem against the center of the bottom of the flower head, making sure the wire inside the stem reaches right up into the flower. Thread the long tail from the stem onto a tapestry needle, and sew around the join with small whip stitches, working one stitch into the flower head and one into the stem each time. Go around the join twice so it is strong, because this is the joint that carries the weight of the flower. Knot the yarn and weave the end inside the stem.
Check that the flower sits straight on the stem and does not lean to one side. If it leans, take the stitches out and re-sew it with the stem centered under the flower. A tulip that leans will never stand straight in a vase, so it is worth fixing now.
Attaching the Leaves
Pin one leaf to the stem about 3 inches below the flower head, and the second leaf about 4.5 inches below the flower head on the opposite side. The leaves should angle upward, like a real tulip leaf reaching for the sun, not hang down flat against the stem. Sew each leaf to the stem with a few small stitches at its base only, leaving the rest of the leaf free so it can curve naturally. Weave in all the ends, trim them close, and give the finished tulip a gentle shake to settle the stuffing.
If you are making a bouquet, make five or seven tulips in different colors and tie the stems together with twine or a ribbon. A matching crochet sunflower blanket pattern in soft yellow makes a lovely spring table setting for the same bouquet, and a small crochet basket pattern free holds a bunch of tulips beautifully on a shelf.
Variations: Colors, Sizes, and Uses
- Classic pink tulip: work the flower head in soft pink with a leaf green stem for the prettiest spring look.
- Yellow spring tulip: make the flower head in sunny yellow for an Easter bouquet, and pair it with a pink and a white tulip.
- Red tulip for a gift: work the flower head in a deep red and tie a ribbon around the stem for a simple Valentine gift.
- White wedding tulip: make the whole bouquet in white and cream for a wedding table, with a touch of green ribbon at the stems.
- Mini tulip: use a 3.5 mm hook and the same pattern for a smaller tulip about 8 inches tall, perfect for a desk vase or a gift tag. A tiny crochet bee pattern sitting beside a mini tulip makes a sweet spring scene.
Troubleshooting a Tulip That Does Not Look Right
- My flower head looks like a ball, not a cup. You stuffed it too firmly, or you skipped the decrease in round 12. Take out some stuffing and pinch the sides in, so the top stays wider than the bottom.
- My petals are uneven. One petal has more than 5 dc, or a skipped stitch was missed. Count the stitches in round 13, because the petals need exactly 4 stitches of space each: 1 slip stitch, 1 skipped, 1 shell, 1 skipped.
- My stem bends over. The wire inside is too short, or it is missing. The wire should run the full length of the stem and reach up into the flower head.
- My leaves curl up at the edges. Your tension is too tight on row 2. Work the second round more loosely, or go up half a hook size for the leaves only.
- I can see stuffing through the stitches. Your stitches are too loose for amigurumi. Go down a hook size for the flower head, and stuff it a little less firmly.
- My flower leans to one side. The stem is not centered under the flower head. Take the join stitches out and re-sew it with the stem in the middle of the flower base.
Care Instructions
Keep a crochet tulip out of direct sunlight for long stretches, because strong sun can fade the yarn colors over time. If it gets dusty, shake it gently outdoors or brush it lightly with a soft brush. If it needs washing, hand wash it in cool water with a mild detergent, press the water out without wringing, and lay it flat to dry away from direct heat. Do not put a crochet tulip in the washing machine, because the wire inside the stem can bend and the stuffing can clump.
Frequently Asked Questions
Is this crochet tulip pattern good for beginners?
Yes, it is a good first amigurumi project. You only need a magic ring, single crochet, increases, and decreases, and the petals are simple shell stitches. One tulip takes about 2 hours, so it is a relaxing evening project.
What yarn is best for a crochet tulip?
Worsted weight yarn is the best choice, because it makes a flower head that holds its cup shape and works up quickly. Soft pink is classic for spring, but tulips come in almost every color, so pick your favorite.
Do I need wire inside the stem?
Yes, a pipe cleaner or a length of floral wire keeps the stem standing up straight in a vase. Without it, the stem bends and the flower flops over. Fold the wire ends over so no sharp tip pokes through the yarn.
How many tulips do I need for a bouquet?
Five or seven tulips make a lovely bouquet, because odd numbers look natural in a vase. Make them in different colors, or all in one color for a simple and elegant bunch.
Can I make the tulip without the leaves?
Yes, you can leave the leaves off and the flower still looks like a tulip. The leaves add a finished look and help it look like a real flower, so most makers add at least one leaf per stem.
Can I sell tulips made from this pattern?
Yes, you may sell finished tulips made from this free pattern, with credit to Little Loop Finds. Do not sell or republish the pattern text itself. A bouquet of five tulips in mixed colors sells well at spring craft markets.
Happy stitching, and may your little tulip bring you spring sunshine all year long.