Crochet Sunflower Blanket Pattern (Free)
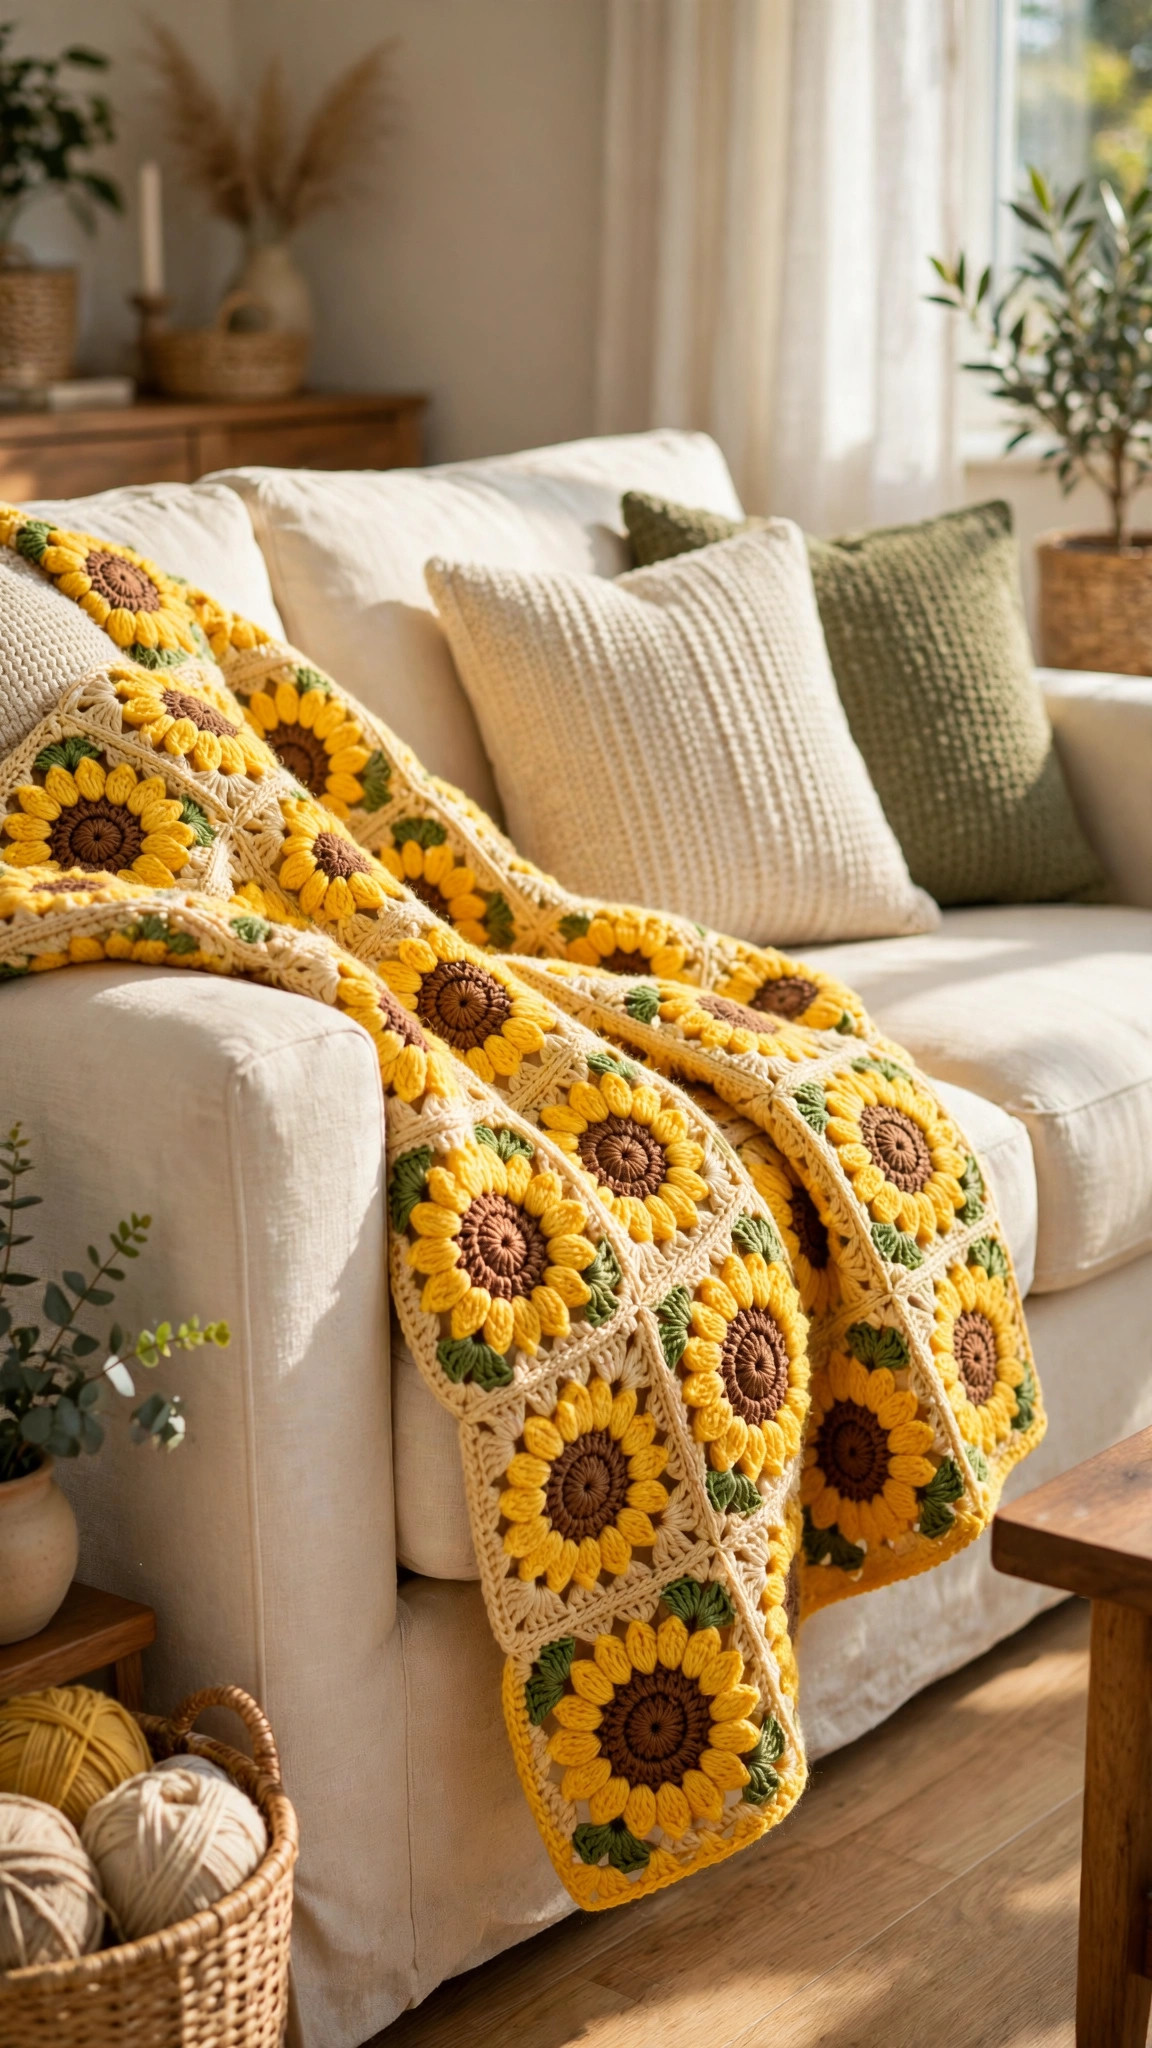
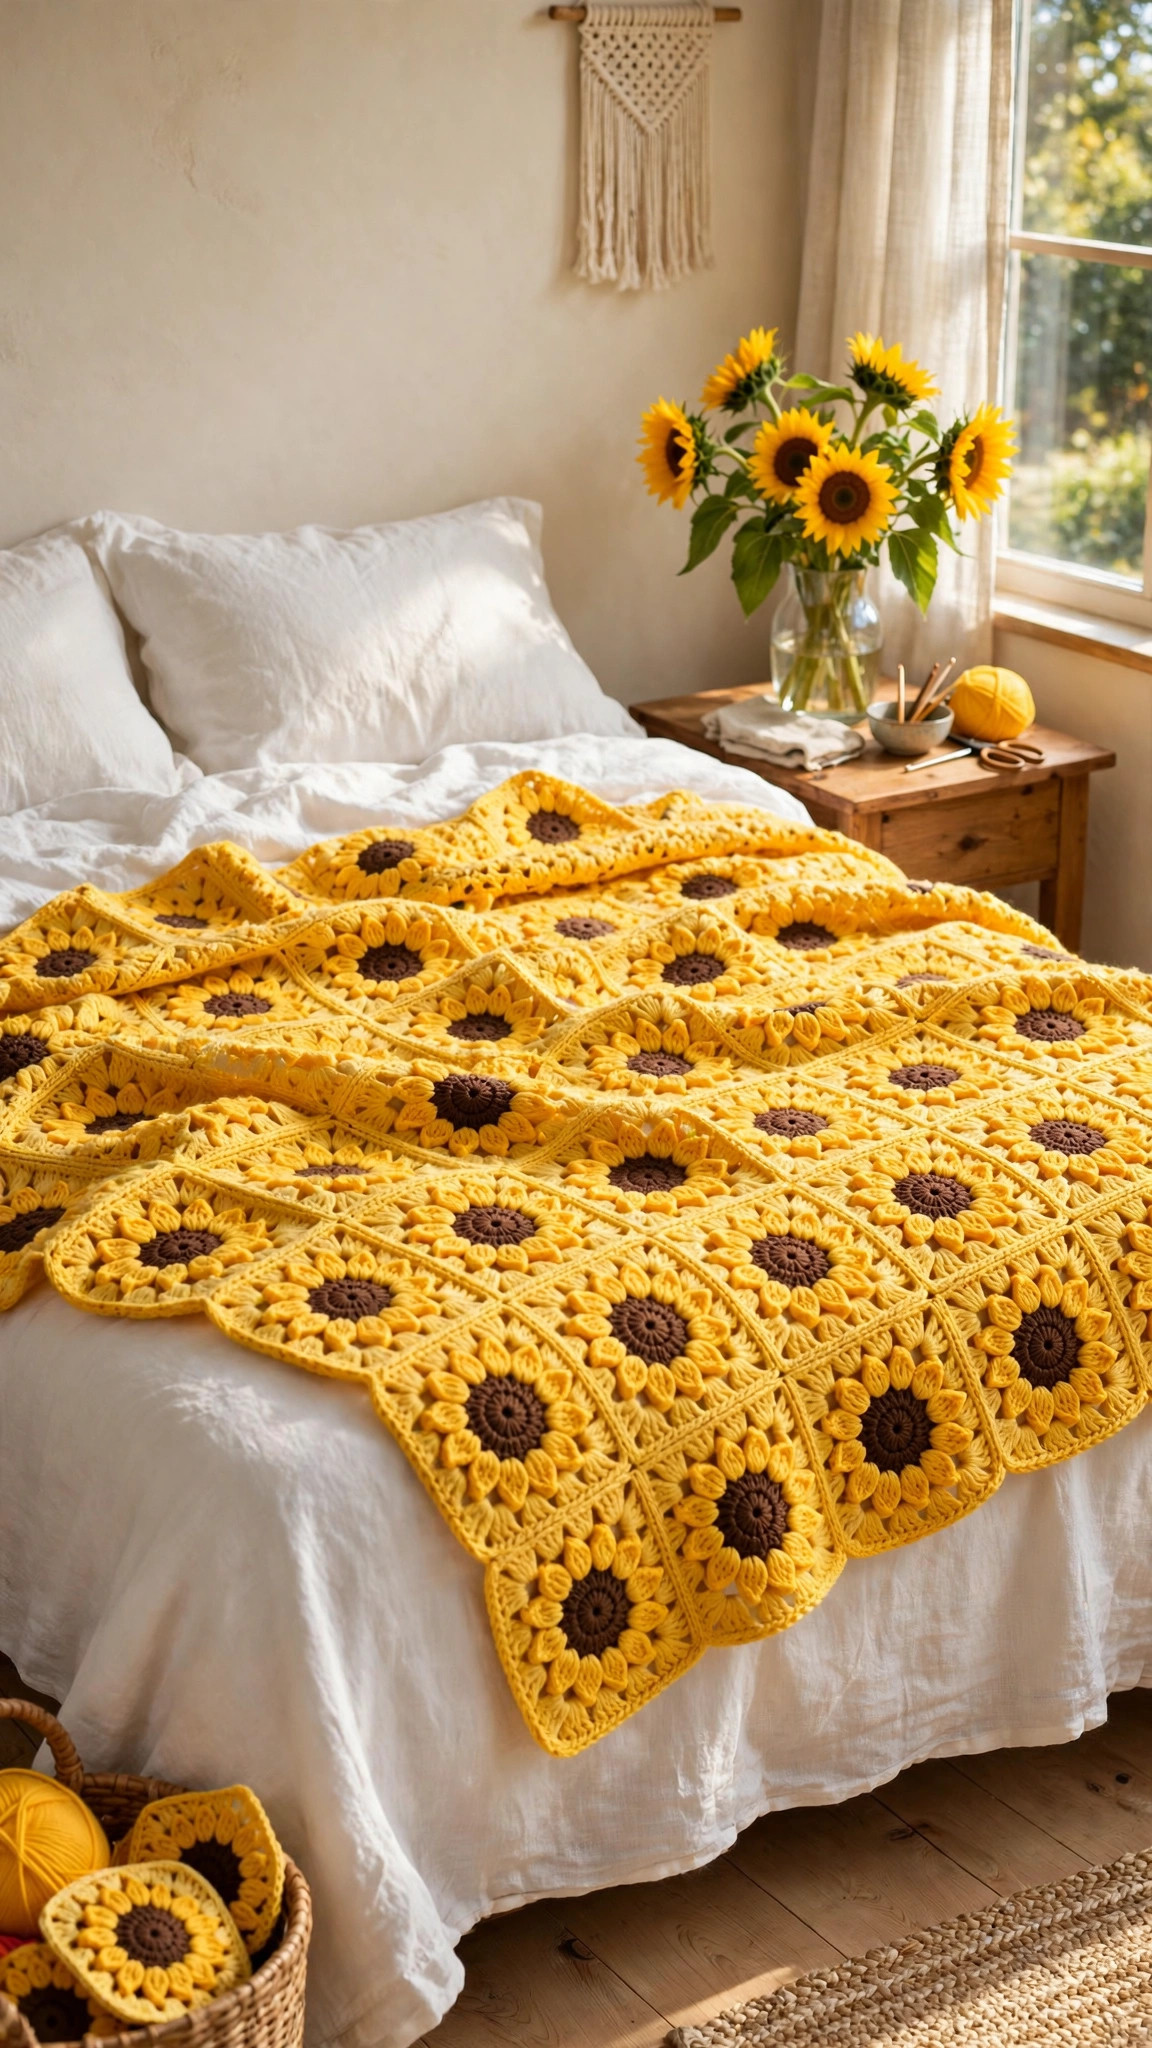
Stitch a cheerful throw of sunflower granny squares, with brown centers, bright yellow petals, and a soft border.

Patterns · Crochet
- Finished size
- Throw 45 by 54 in
- Making time
- 12 to 15 hours
- Hook
- US H-8 (5.0 mm)
- Set
- 30 squares, join and shell border
- Skill
- Easy
In this post
- Key Takeaways
- Table of Contents
- Why You Will Love This Sunflower Blanket
- Finished Size, Skill Level, and Time
- Materials You Need
- Abbreviations (US Terms)
- Gauge and Sizing Notes
- Part 1: The Sunflower Square
- Part 2: Joining the Squares
- Part 3: The Border and Finishing
- Variations: Colors, Sizes, and Layouts
- Troubleshooting Squares That Curl or Gap
- Care Instructions
- Frequently Asked Questions
Few things say summer quite like a sunflower, and this free crochet sunflower blanket pattern turns that sunny flower into a blanket you can wrap around yourself all year. Each square is a single sunflower with a rich brown center, bright yellow petals, and a soft green or cream border, and the squares join together into a cheerful throw that looks wonderful on a sofa, a bed, or a picnic blanket. It is a project made of small victories, because every finished square feels like a tiny win, and before you know it you have a whole blanket.
This is an original Little Loop Finds design, written in US terms and completely free. The sunflower square uses only double crochet, chains, and a simple corner stitch, so there is no complicated colorwork and no tricky joining method. You make the squares one at a time, join them as you go or at the end, then add a simple border that pulls the whole blanket together. It is a perfect take along project, because one square fits in a small bag and works up in about 20 minutes.
A quick note on scope: this post is about a sunflower motif blanket made from joined granny squares, not a flower bouquet blanket and not a sunflower amigurumi. If you want a different flower blanket, our flower bouquet blanket crochet pattern is the bouquet version, and you will find links to more blanket projects below.
Key Takeaways
- Free original pattern: this crochet sunflower blanket pattern is a Little Loop Finds original design, written in US terms, and completely free.
- Sunny sunflower squares: a brown bobble center, bright yellow petals, and a soft green or cream square border.
- Beginner friendly: double crochet, chains, and simple corners, with no complicated colorwork.
- Portable project: one square takes about 20 minutes, so the blanket grows a square at a time.
- Wonderfully giftable: perfect for housewarmings, baby showers, birthdays, and anyone who loves summer.
Table of Contents
- Why You Will Love This Sunflower Blanket
- Finished Size, Skill Level, and Time
- Materials You Need
- Abbreviations (US Terms)
- Gauge and Sizing Notes
- Part 1: The Sunflower Square
- Part 2: Joining the Squares
- Part 3: The Border and Finishing
- Variations: Colors, Sizes, and Layouts
- Troubleshooting Squares That Curl or Gap
- Care Instructions
- Frequently Asked Questions
Why You Will Love This Sunflower Blanket
Sunflowers are the happiest flower in the garden, and a blanket full of them brings that feeling indoors. The yellow is warm without being loud, the brown centers add a cozy earthy note, and the green borders tie the whole blanket together like leaves on a stem. It suits a farmhouse living room, a sunny nursery, or a college dorm, and it photographs beautifully.
This design is also a wonderful stash buster. The brown centers use tiny amounts of yarn, so you can use up every scrap of brown and rust in your stash. The yellow petals are the same on every square, which means you can buy one large skein of yellow and work through the blanket without worrying about dye lots. The squares are identical, so there is no chart to follow, and you can stop at any size, from a baby blanket of 20 squares to a twin blanket of 48.
Finished Size, Skill Level, and Time
- Finished size: each square measures about 9 inches across. Baby blanket: 4 by 5 squares, about 36 by 45 inches. Throw (pattern as written): 5 by 6 squares, about 45 by 54 inches. Twin blanket: 6 by 8 squares, about 54 by 72 inches.
- Skill level: Easy. You need a magic ring, chains, slip stitches, single crochet, half double crochet, and double crochet, plus simple increases at the corners.
- Time: about 20 minutes per square, plus 2 to 3 hours for joining and the border. The throw size takes about 12 to 15 hours total, spread over as many evenings as you like.
Materials You Need
| Item | What to get |
|---|---|
| Yarn, yellow | Worsted weight (medium 4) acrylic or cotton in sunflower yellow, about 500 yards for a throw |
| Yarn, brown | Worsted weight in chocolate brown, about 200 yards for a throw |
| Yarn, green or cream | Worsted weight in sage green or cream for the square borders, about 300 yards for a throw |
| Yarn, border | Worsted weight in cream, about 150 yards |
| Hook | US H-8 (5.0 mm), or the size that gives you a soft, drapey fabric with your yarn |
| Notions | Tapestry needle, scissors, stitch markers, tape measure |
Acrylic yarn is a great choice for this blanket, because it is soft, washable, and light enough to use every day, and it comes in the perfect sunflower yellow. Cotton gives crisper stitch definition and a slightly heavier blanket that drapes beautifully, but it is heavier to hold while you work. Whichever you choose, use the same brand and weight for all three colors, because different yarns shrink and stretch differently, and your squares will not match if the yarns behave differently.
Abbreviations (US Terms)
- ch = chain
- sl st = slip stitch
- sc = single crochet
- hdc = half double crochet
- dc = double crochet
- st(s) = stitch(es)
- rnd(s) = round(s)
- rep = repeat
- MR = magic ring
- sp(s) = space(s)
Gauge and Sizing Notes
Gauge for this blanket is about the square size, not about exact numbers. One finished sunflower square should measure about 9 inches across from edge to edge, in worsted weight yarn with a 5.0 mm hook. If your square measures 8 inches, go up a hook size. If it measures 10 inches, go down a hook size. A one inch difference per square adds up fast: six squares across at 10 inches each makes a blanket 60 inches wide instead of 54, so check your first square before you make 30 of them.
The blanket sizes below are for the throw as written. To make a baby blanket, make 20 squares and join them 4 across and 5 down. For a twin blanket, make 48 squares and join them 6 across and 8 down. The border instructions work for any size, because the stitch counts are based on the edge length rather than a fixed number.
| Blanket | Squares | Layout | Finished size | Yellow yarn |
|---|---|---|---|---|
| Baby | 20 | 4 by 5 | 36 by 45 in | about 350 yards |
| Throw | 30 | 5 by 6 | 45 by 54 in | about 500 yards |
| Twin | 48 | 6 by 8 | 54 by 72 in | about 800 yards |
Part 1: The Sunflower Square
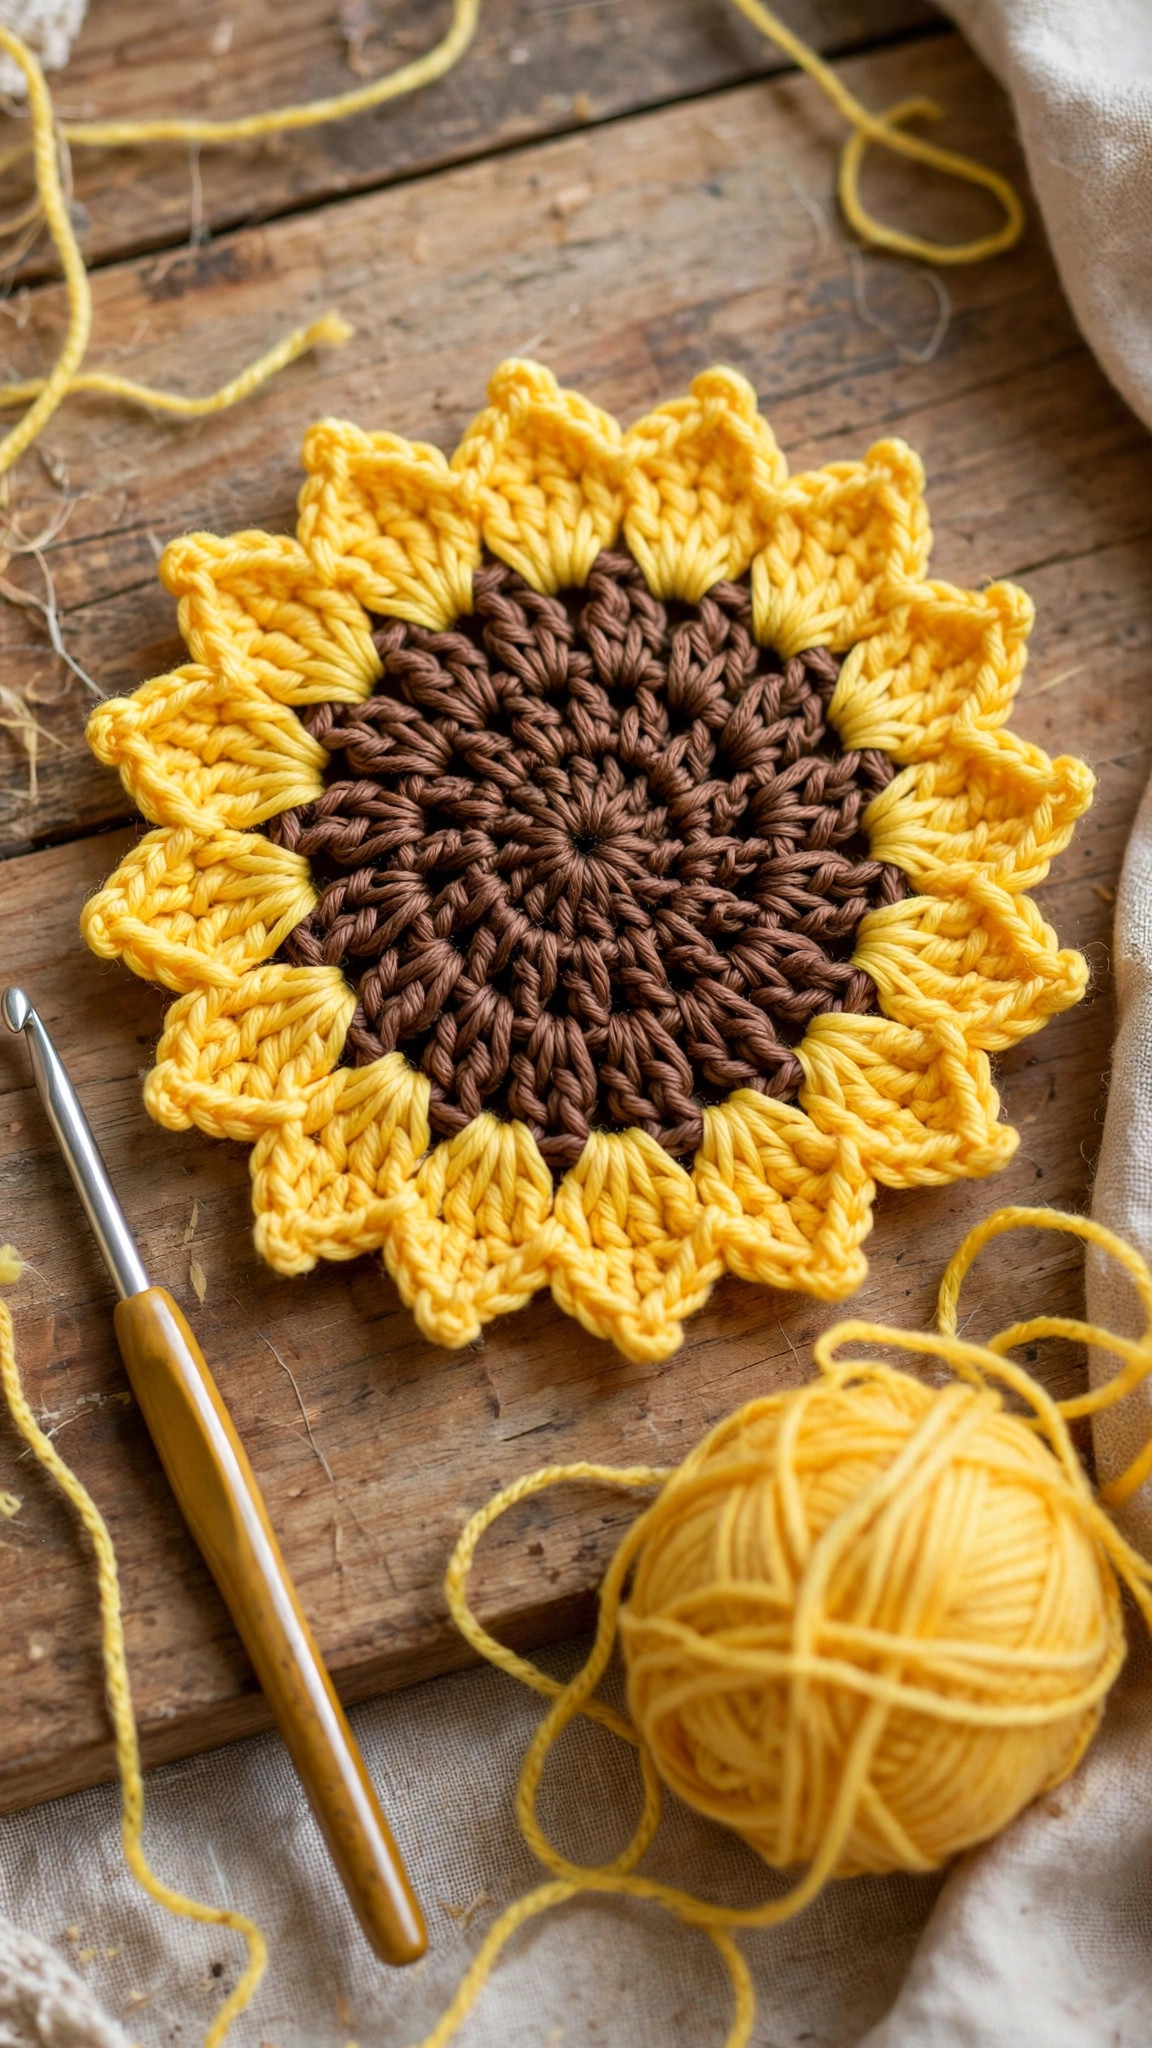
Each square is worked in the round, starting with the brown center, then the yellow petals, then the green or cream border that squares the circle off. Change colors by finishing the last stitch of the round with the new color, and weave in the ends as you go, because 30 squares means 90 ends to weave in.
Brown Center
With brown yarn, MR, ch 1.
- Rnd 1: ch 3 (counts as first dc), 11 dc in MR, join with a sl st to top of ch 3. (12 dc) Pull the ring closed.
- Rnd 2: ch 3, dc in same st, 2 dc in each st around, join with a sl st to top of ch 3. (24 dc) Fasten off brown.
The center should lie flat. If it cups upward, your stitches are too tight, so go up a hook size. If it ripples like a ruffle, your stitches are too loose, so go down a hook size.
Yellow Petals
Join yellow yarn with a sl st in any stitch.
- Rnd 3: ch 3 (counts as first dc), dc in same st, ch 2, skip 1 st, (2 dc in next st, ch 2, skip 1 st) repeat around, join with a sl st to top of ch 3. (12 groups of 2 dc, 12 ch-2 spaces)
- Rnd 4: sl st into the next ch-2 space, ch 3 (counts as first dc), 2 dc in same space, ch 2, 3 dc in same space, then work around the round as follows: in each ch-2 space, work 3 dc, except in every third space, where you work (3 dc, ch 2, 3 dc) to form a corner. Work a ch 1 between the petal groups on the sides. This gives 4 corners, spaced evenly, with two plain petal groups between each pair of corners. Join with a sl st to top of ch 3. Fasten off yellow.
Count your corners before you move on. There should be exactly 4 corner spaces with a ch-2 gap, spaced evenly around the square, with two plain petal groups between each pair of corners. If a corner is missing, the square will come out lopsided, and the blanket will not join neatly.
Green or Cream Border
Join green or cream yarn with a sl st in any corner ch-2 space.
- Rnd 5: ch 3 (counts as first dc), (2 dc, ch 2, 3 dc) in same corner space, dc in each st across the side to the next corner space, (3 dc, ch 2, 3 dc) in corner space, repeat around all four sides, join with a sl st to top of ch 3.
- Rnd 6: ch 3, dc in each st around, working (2 dc, ch 2, 2 dc) in each corner ch-2 space, join with a sl st to top of ch 3. Fasten off, leaving a 6 inch tail for joining.
Block your first square and measure it. It should be about 9 inches across. If it is the right size, make 29 more exactly the same way, and keep them in a neat stack as you finish them, because a pile of sunflower squares is its own reward.
Part 2: Joining the Squares
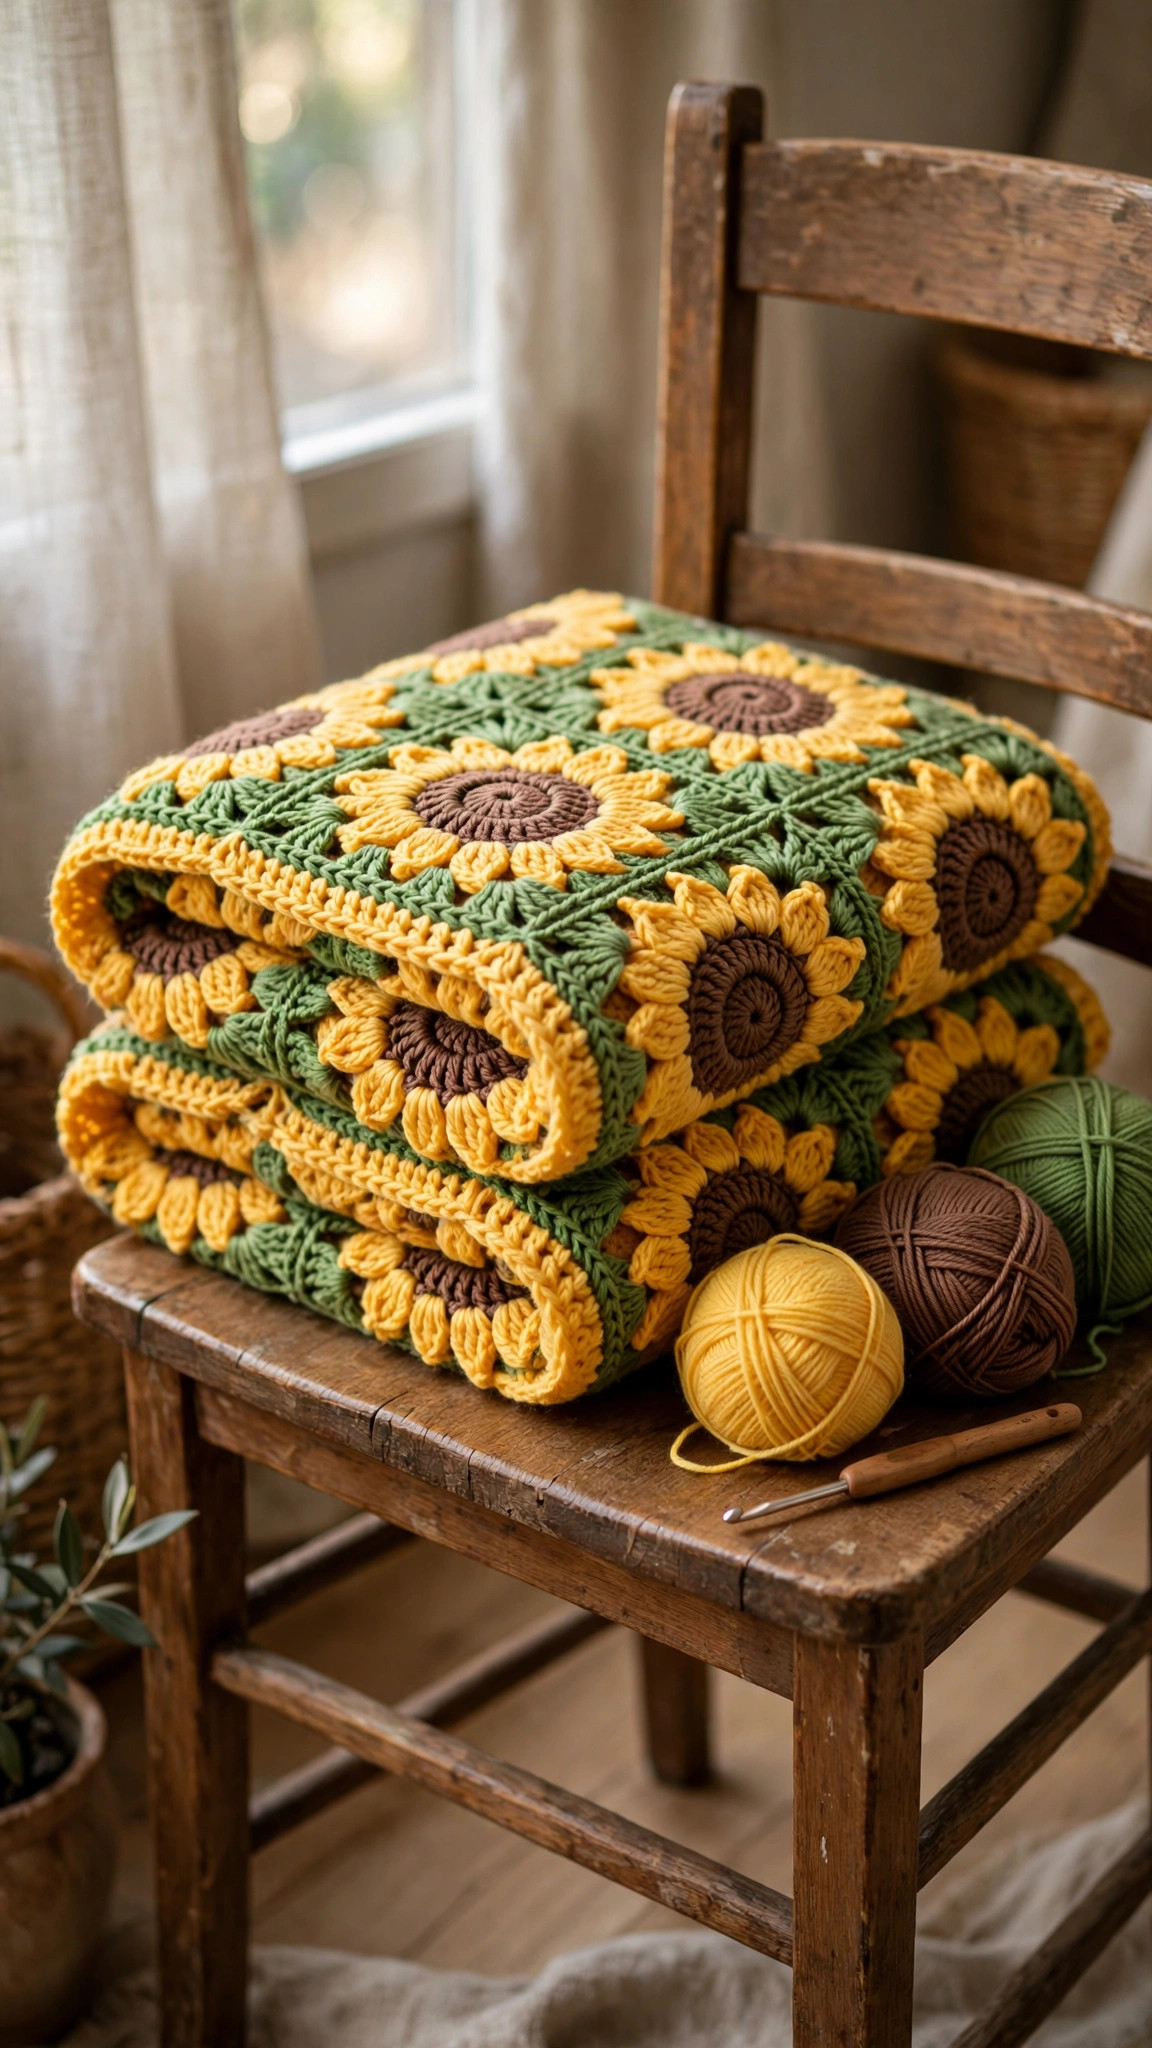
Lay all 30 squares out on a bed or a clean floor, 5 across and 6 down, with the right sides facing up. The sunflowers should all face the same way, with the corners lined up in straight rows. If one square looks twisted or upside down, turn it now, because fixing it after joining means unpicking seams.
The simplest join is the whip stitch join, worked with a tapestry needle and the green or cream yarn. Hold two squares with right sides together, and whip stitch through the back loops only, one stitch at a time, from one corner to the other. Work loosely, because a tight seam puckers the blanket and makes the squares bulge. Join the squares into rows first, then join the rows together, and weave in the ends as you finish each seam so they do not pile up at the end.
If you prefer a crocheted join, use the slip stitch join instead. Hold two squares with wrong sides together, join cream yarn at a corner, and slip stitch through both layers, one stitch at a time, down the side. This makes a neat raised ridge on the front of the blanket, which looks like a little frame around every sunflower. It uses more yarn and takes a little longer, but many crocheters prefer the tidy finish. Our easy granny square pattern shows the same joins in more detail if you want a refresher.
Part 3: The Border and Finishing
The border pulls 30 separate squares into one blanket, so do not skip it, and do not rush it. Join cream yarn with a slip stitch in any corner of the blanket.
- Round 1: ch 1, sc evenly around the whole blanket, working 1 sc in each stitch along the edges, 3 sc in each corner stitch, and 2 sc in the dip where two squares meet, so the edge stays flat. Join with a sl st to the first sc.
- Round 2: ch 3 (counts as first dc), dc in each st around, working (2 dc, ch 2, 2 dc) in each corner stitch, join with a sl st to top of ch 3.
- Round 3 (shell edge): ch 1, sc in same st, skip 1 st, (5 dc in next st, skip 1 st, sc in next st, skip 1 st) repeat around, working (sc, 5 dc, sc) in each corner to keep the corners square. Join with a sl st and fasten off.
Weave in every remaining end, then block the blanket. Soak it in cool water with a little wool wash for 15 minutes, press out the water gently in a towel without wringing, and lay it flat on clean towels, pinning the corners square and the edges straight. Let it dry completely, which takes a day or more for a throw. Blocking is the step that turns a good blanket into a beautiful one, because it evens out the squares, straightens the border, and lets the sunflower petals open up.
For a matching set, the same sunflower square makes a lovely cushion cover when you join 4 squares, and our crochet granny square bag pattern uses the same square logic for a cheerful tote. If you love bold geometric blankets, the chunky yarn crochet blanket patterns collection is a good next project, and our star blanket crochet pattern is another cheerful throw in the same easy style.
Variations: Colors, Sizes, and Layouts
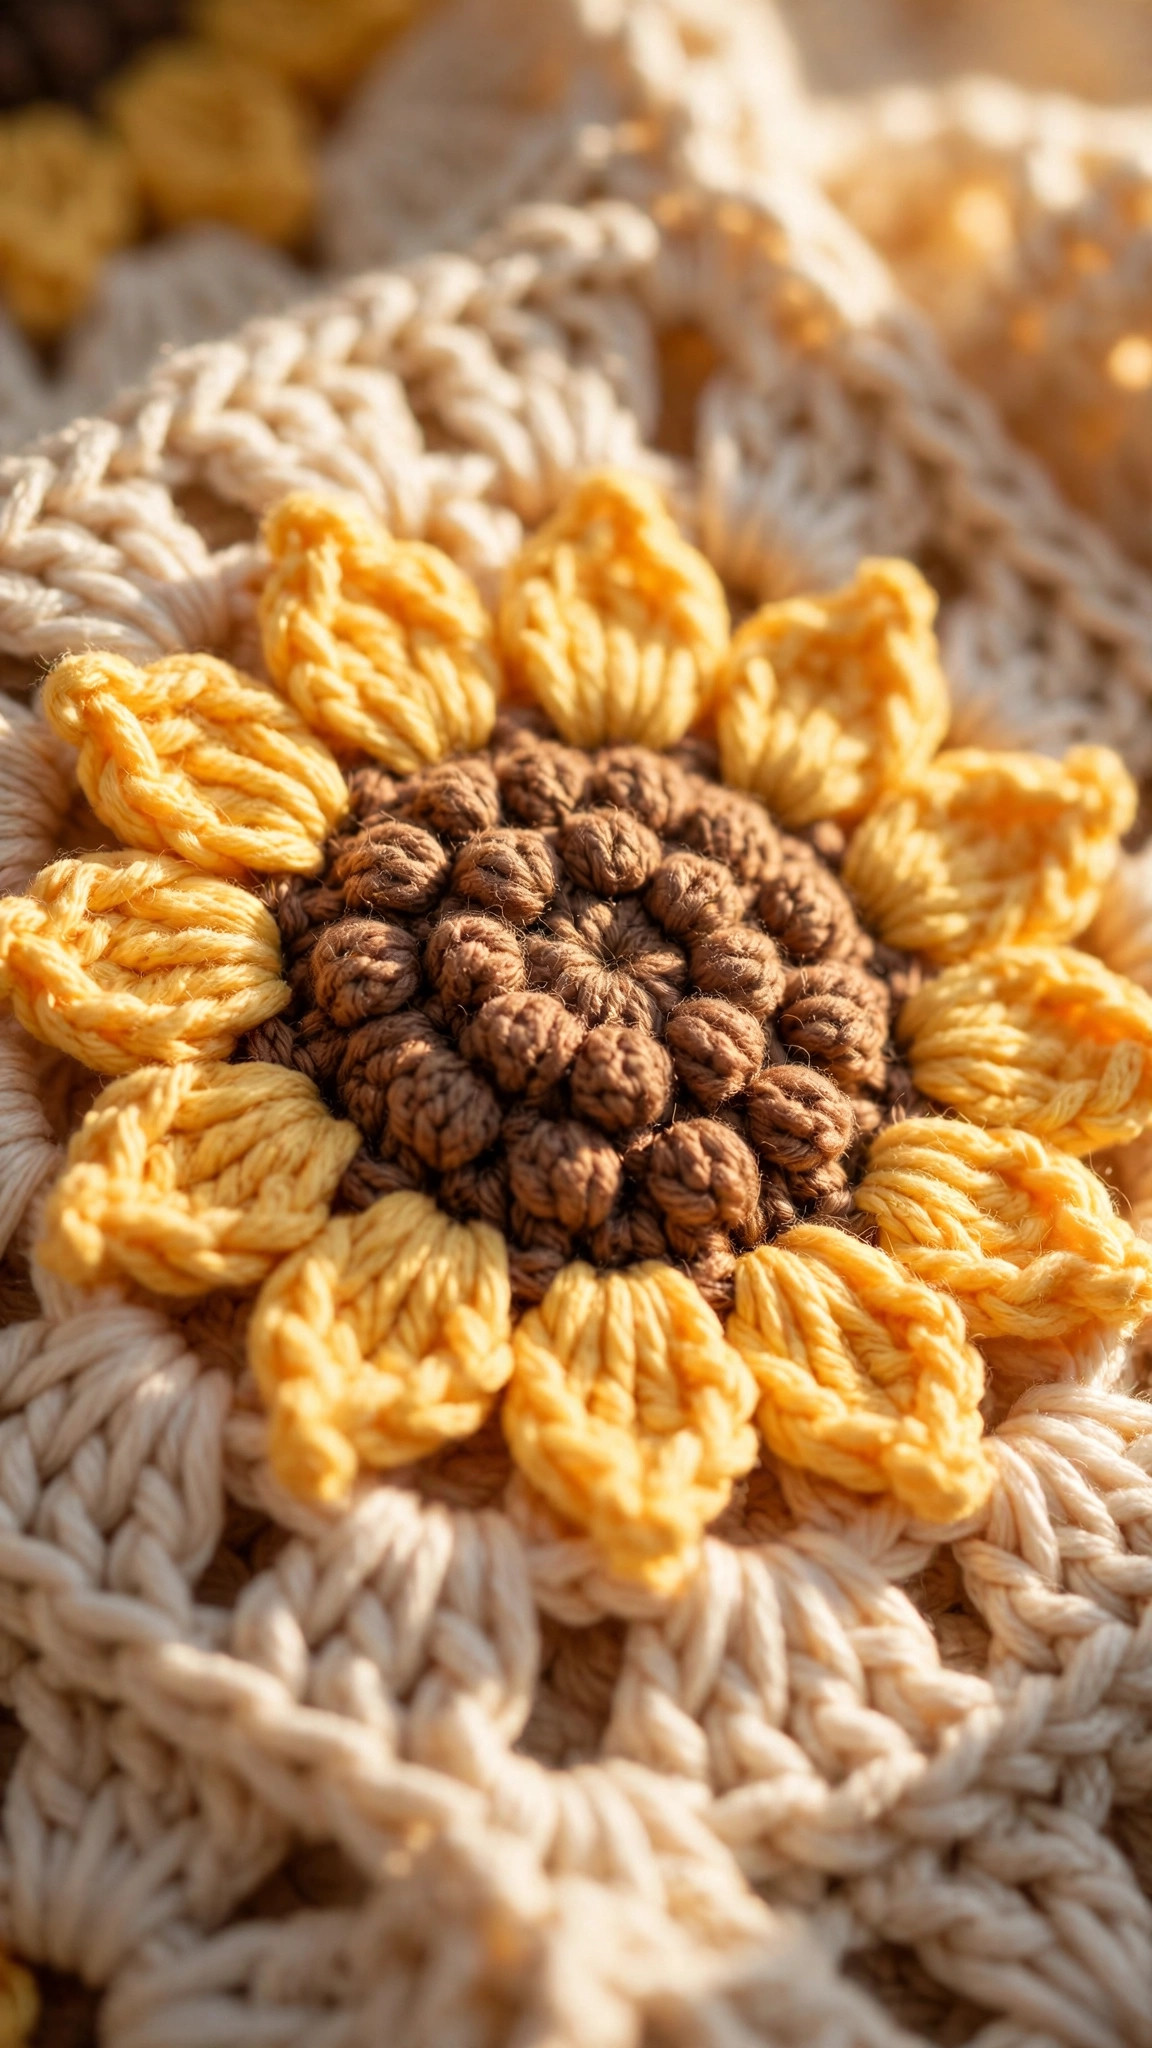
- Classic sunflower field: keep the pattern as written, with brown centers, yellow petals, and green borders, for the most cheerful blanket in the house.
- White daisy version: work the petals in white and the centers in yellow, with a cream border, for a soft daisy blanket that suits a nursery.
- Autumn sunflowers: use rust, gold, and burnt orange for the petals, with chocolate brown centers, for a fall blanket that glows.
- Checkerboard layout: alternate sunflower squares with plain green squares, for a calmer blanket where the flowers have room to breathe.
- Mandala centerpiece: make one extra large sunflower square for the middle of the blanket, using the same rounds with two extra border rounds, for a statement center. Our crochet mandala pattern has more round motif ideas in the same spirit.
- Scrap yarn sunflowers: work each square in a different petal color from your stash, with the same brown center and cream border, for a joyful rainbow blanket that uses up every leftover skein.
Troubleshooting Squares That Curl or Gap
- The square cups or ripples. Check your stitch counts after Rnd 2 and Rnd 4. A cupped square usually has too few stitches, and a rippled square usually has too many. Blocking fixes mild cupping, but a badly rippled square is faster to remake than to rescue.
- The corners are not square. Make sure the corner spaces get exactly (3 dc, ch 2, 3 dc) and that there are exactly 4 corners, evenly spaced. A missing corner makes a lopsided square that will not join neatly.
- The squares are different sizes. Your tension changed while you worked, which happens to everyone. Block the small squares a little larger and the large ones a little smaller, and match the sizes when you join them.
- The joining seams pucker. Your whip stitches are too tight. Unpick the seam and redo it loosely, pulling the yarn just snug enough to close the gap, no tighter.
- The border ripples. You worked too many stitches around the edge. Unpick the border round and work fewer stitches, skipping a stitch every few inches along the sides, until the border lies flat.
Care Instructions
Machine wash the blanket on a gentle cold cycle, inside a large laundry bag if you have one, with a mild detergent. Do not use bleach, and do not wash it with anything that has zippers or hooks. Lay the blanket flat to dry on clean towels, reshaping the corners and straightening the border while it is still damp. Do not put it in the dryer, because the heat can shrink cotton and pill acrylic. If the blanket gets a small snag, push the loop to the back with a crochet hook and weave the end in, rather than cutting it.
Frequently Asked Questions
Is this crochet sunflower blanket pattern good for beginners?
Yes, it is a great first blanket. Each square uses only double crochet and chains, and you learn one square and repeat it 30 times. If you can crochet a granny square, you can crochet this blanket.
How many squares do I need for a throw blanket?
Thirty squares, joined 5 across and 6 down, makes a throw about 45 by 54 inches, enough to cover your lap on the sofa.
How long does this blanket take to make?
About 20 minutes per square, plus 2 to 3 hours for joining and the border, so the throw takes about 12 to 15 hours in total. Most makers finish it in two or three weeks of evening stitching.
What yarn is best for a sunflower blanket?
Soft worsted weight acrylic is the most popular choice, because it is washable, light, and comes in perfect sunflower colors. Cotton gives a heavier blanket with crisper stitches. Use the same brand and weight for all colors so the squares match.
Can I make the blanket bigger?
Yes, just add more squares. Add a row of 5 squares to make it longer, or a column of 6 squares to make it wider. The border instructions work for any size, because they are based on the edge length rather than a fixed stitch count.
How do I join the squares?
Whip stitch them together through the back loops only, working loosely, or use a slip stitch join for a raised ridge on the front. Join the squares into rows first, then join the rows together.
Can I sell blankets made from this pattern?
Yes, you may sell finished blankets made from this free pattern, with credit to Little Loop Finds. Please do not sell or republish the pattern text itself.
Happy stitching, and may your home be full of sunshine, soft yarn, and one very cheerful sunflower blanket.


