Crochet Letters Pattern Free (Alphabet Letters)
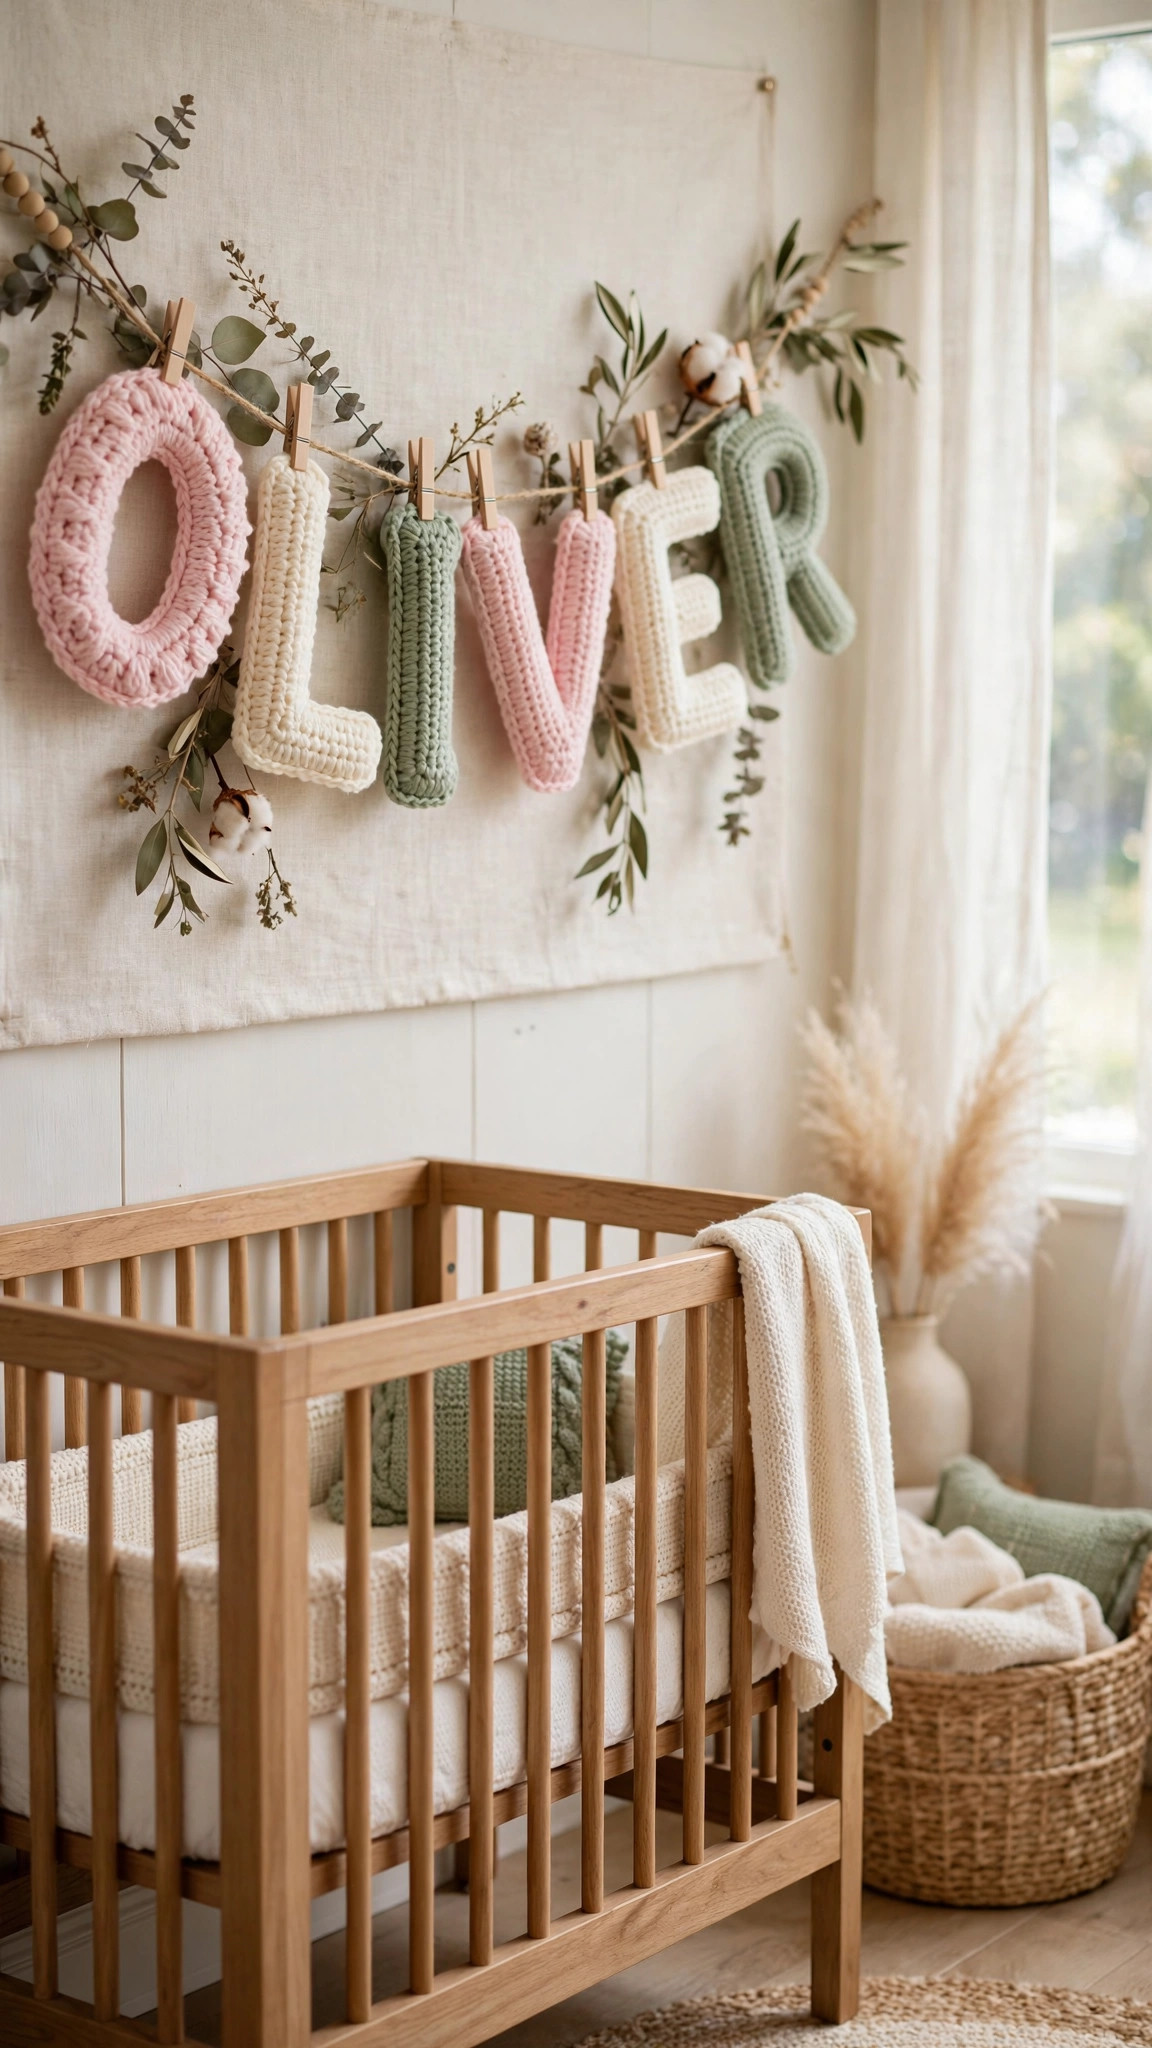
Crochet soft alphabet letters in pastel yarn for a nursery wall, a baby name garland, or early learning play, one letter in about thirty minutes.

Patterns · Crochet
- Finished size
- 4 in tall
- Making time
- 30 min per letter
- Hook
- US H-8 (5.0 mm)
- Set
- A to Z letters
- Skill
- Easy
In this post
- Key Takeaways
- Table of Contents
- Why You Will Love These Crochet Letters
- Finished Size, Skill Level, and Time
- Materials You Need
- Abbreviations (US Terms)
- Gauge and Sizing Notes
- Part 1: The Basic Flat Letter
- Part 2: Stuffed Letters and the Tricky Letters
- Part 3: The Name Garland, Wall Display, and Finishing
- Variations: Colors, Sizes, and Uses
- Troubleshooting Letters That Do Not Look Right
- Care Instructions
- Frequently Asked Questions
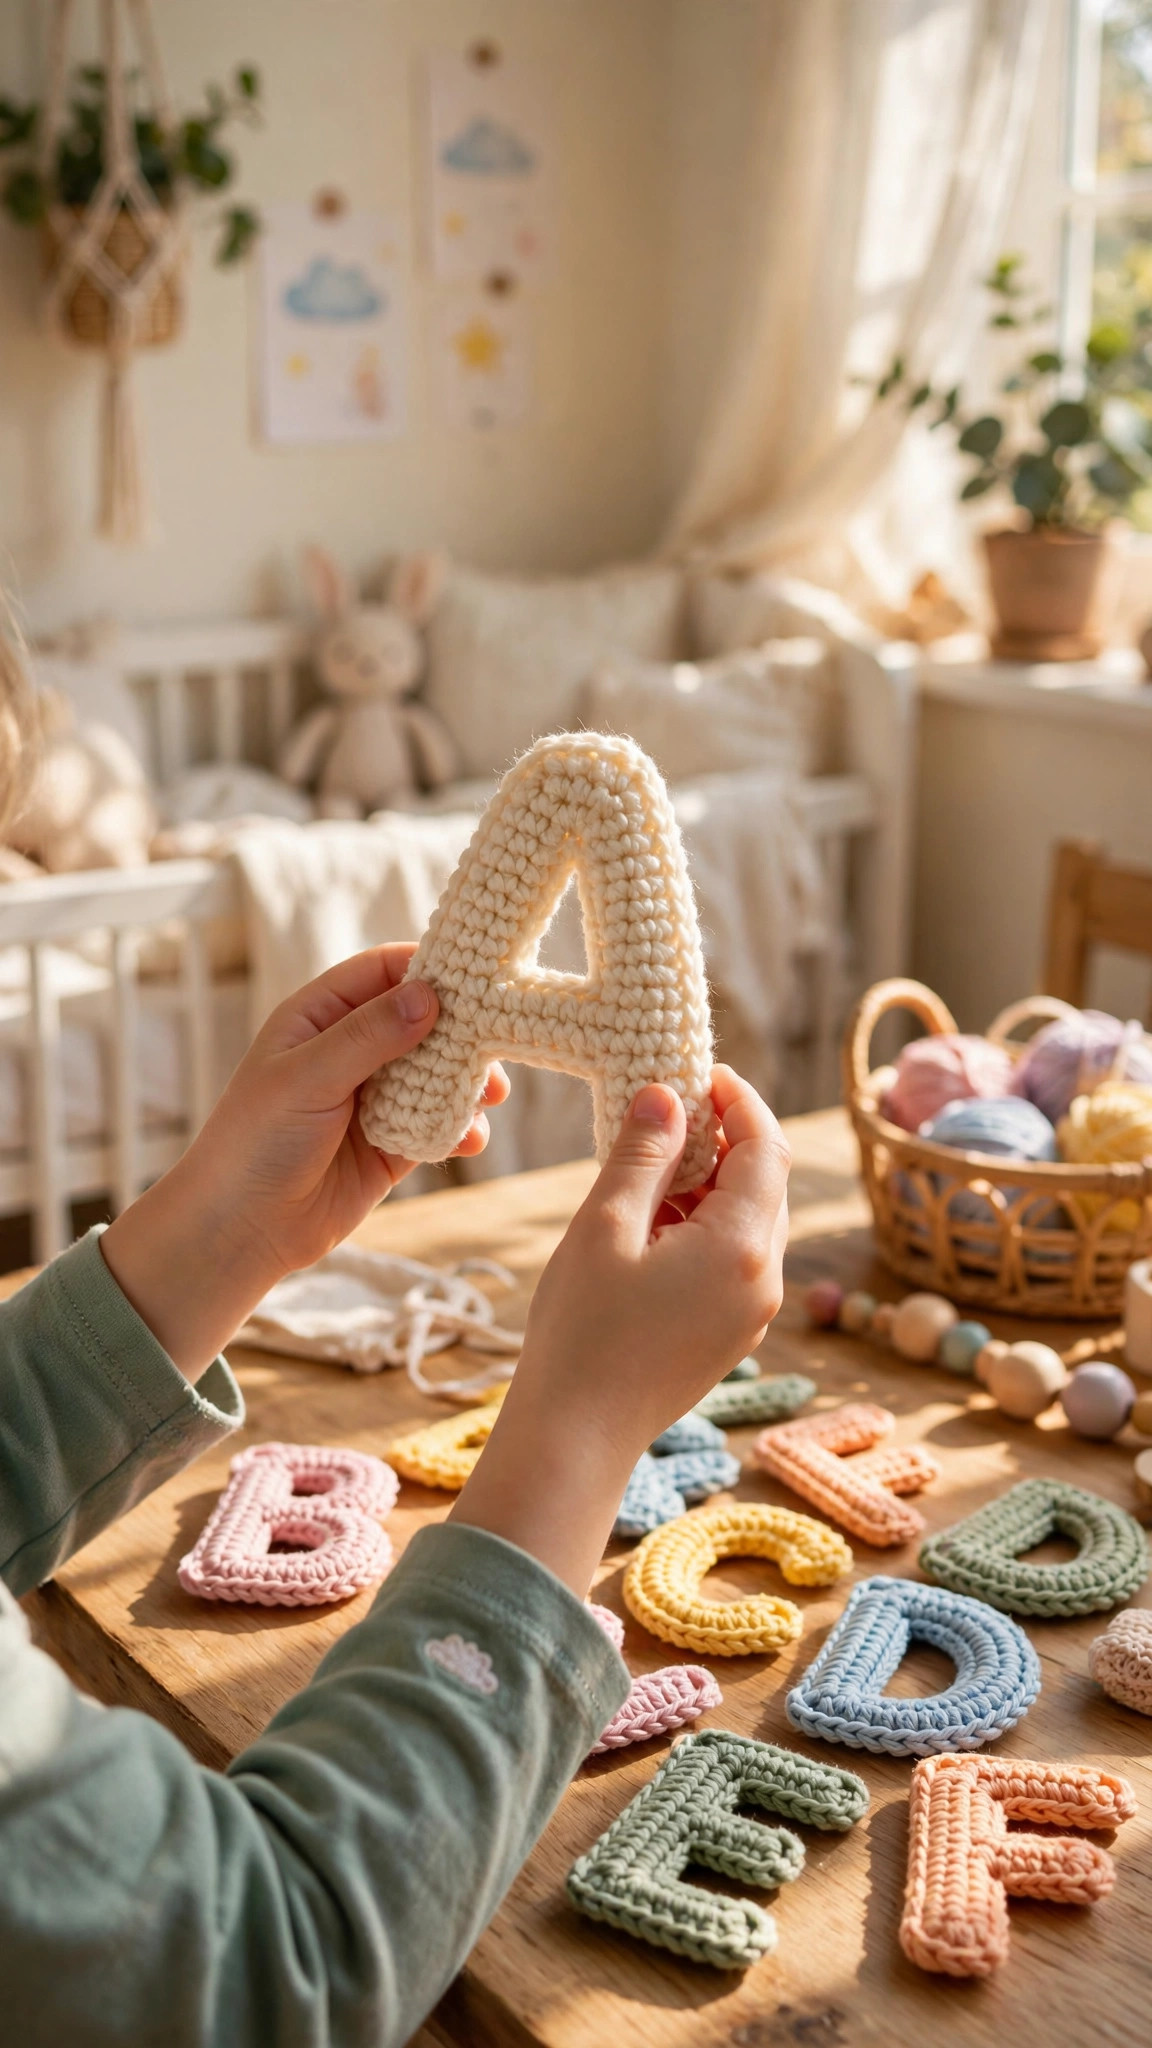
Soft crochet letters turn the alphabet into something a child can hold. This free crochet letters pattern makes a full set of soft alphabet letters in pastel yarn, perfect for a nursery wall, a baby name garland, or early learning play. Each letter is about 4 inches tall, worked in simple single crochet, and finished with a neat border.
This is an original Little Loop Finds design, written in US terms and completely free. You can make the letters flat as appliques, or stuff them lightly so they stand up as soft play letters.
A quick note on scope: this post is about one specific project, a set of soft crochet alphabet letters for a nursery or for early learning play. If you want a matching decoration for the wall, our crochet garland pattern free is a good match.
Key Takeaways
- Free original pattern: a Little Loop Finds original design, written in US terms, and completely free.
- A full alphabet: all 26 letters, A to Z, in one simple method you can repeat.
- A 4 inch letter: each finished letter is about 4 inches tall, a good size for small hands.
- Two ways to finish: flat applique letters or lightly stuffed play letters, from the same counts.
- A weekend project: one letter takes about 30 minutes, and a name garland takes 3 hours.
Table of Contents
- Why You Will Love These Crochet Letters
- Finished Size, Skill Level, and Time
- Materials You Need
- Abbreviations (US Terms)
- Gauge and Sizing Notes
- Part 1: The Basic Flat Letter
- Part 2: Stuffed Letters and the Tricky Letters
- Part 3: The Name Garland, Wall Display, and Finishing
- Variations: Colors, Sizes, and Uses
- Troubleshooting Letters That Do Not Look Right
- Care Instructions
- Frequently Asked Questions
Why You Will Love These Crochet Letters
Crochet letters are useful in a way most crochet projects are not. They decorate a nursery, they spell a name for a baby shower gift, and then they become a learning toy. A child can hold the letter A, trace its shape with a finger, and match it to the A on a book page.
The letters are also a great scrap yarn project. Each letter uses only about 15 yards of yarn, so you can work through a basket of leftover balls and end up with a rainbow alphabet.
The method is simple on purpose. Every letter starts from the same grid of single crochet stitches. Once you have made an E and an F, you already understand how most of the alphabet works.
Finished Size, Skill Level, and Time
- Finished size: each letter is about 4 inches tall and 2 to 3 inches wide. A five letter name garland is about 24 inches wide with the letters spaced 1 inch apart.
- Skill level: Easy. You need a chain, single crochet, slip stitch, and basic seaming. The letters are worked flat in rows, so there is no working in the round and no magic ring.
- Time: about 30 minutes per letter. A full alphabet takes about 13 hours, and a five letter name takes about 3 hours including the garland cord.
Materials You Need
| Item | What to get |
|---|---|
| Yarn, main colors | Worsted weight yarn in pastel pink, cream, sage green, soft blue, and pale yellow, about 15 yards per letter |
| Yarn, border color | Worsted weight yarn in cream or white, 100 yards for a full alphabet |
| Hook | US H-8 (5.0 mm), or the size that gives you the gauge below |
| Notions | Polyester stuffing (for stuffed letters), tapestry needle, scissors, tape measure, stitch markers, pins |
| Garland cord | Cotton cord or ribbon, 36 inches, for a name garland |
| Wall display | Wooden dowel, 24 inches, and hanging cord, for a wall display |
Soft worsted weight yarn is the best choice for crochet letters because it is sturdy, easy to see while you stitch, and makes letters that hold their shape. Cotton yarn also works well and gives a crisp edge for wall letters. Avoid very fuzzy yarns, because they hide the stitch grid. Use the same yarn weight for every letter in a set.
Abbreviations (US Terms)
- ch = chain
- sl st = slip stitch
- sc = single crochet
- hdc = half double crochet
- dc = double crochet
- inc = increase (2 sc in the same stitch)
- dec = decrease (sc 2 together)
- st(s) = stitch(es)
- rep = repeat
- RS = right side
- WS = wrong side
- FO = fasten off
Gauge and Sizing Notes
Gauge matters because the letters must be the same height or the garland will look uneven. Work a swatch of 12 sc and 12 rows. It should be about 3 inches wide and 3 inches tall. If it is wider, go down a hook size. If it is narrower, go up a hook size.
You can change the size easily. Use a thinner yarn and a smaller hook for mini letters about 2.5 inches tall, perfect for a baby mobile or a gift tag. Use a chunky yarn and a larger hook for big letters about 6 inches tall, perfect for a bedroom door sign. Keep the same stitch counts and only change the yarn and hook. Our crochet baby hat pattern uses the same worsted weight gauge if you want to practice on a simpler nursery project first.
Part 1: The Basic Flat Letter
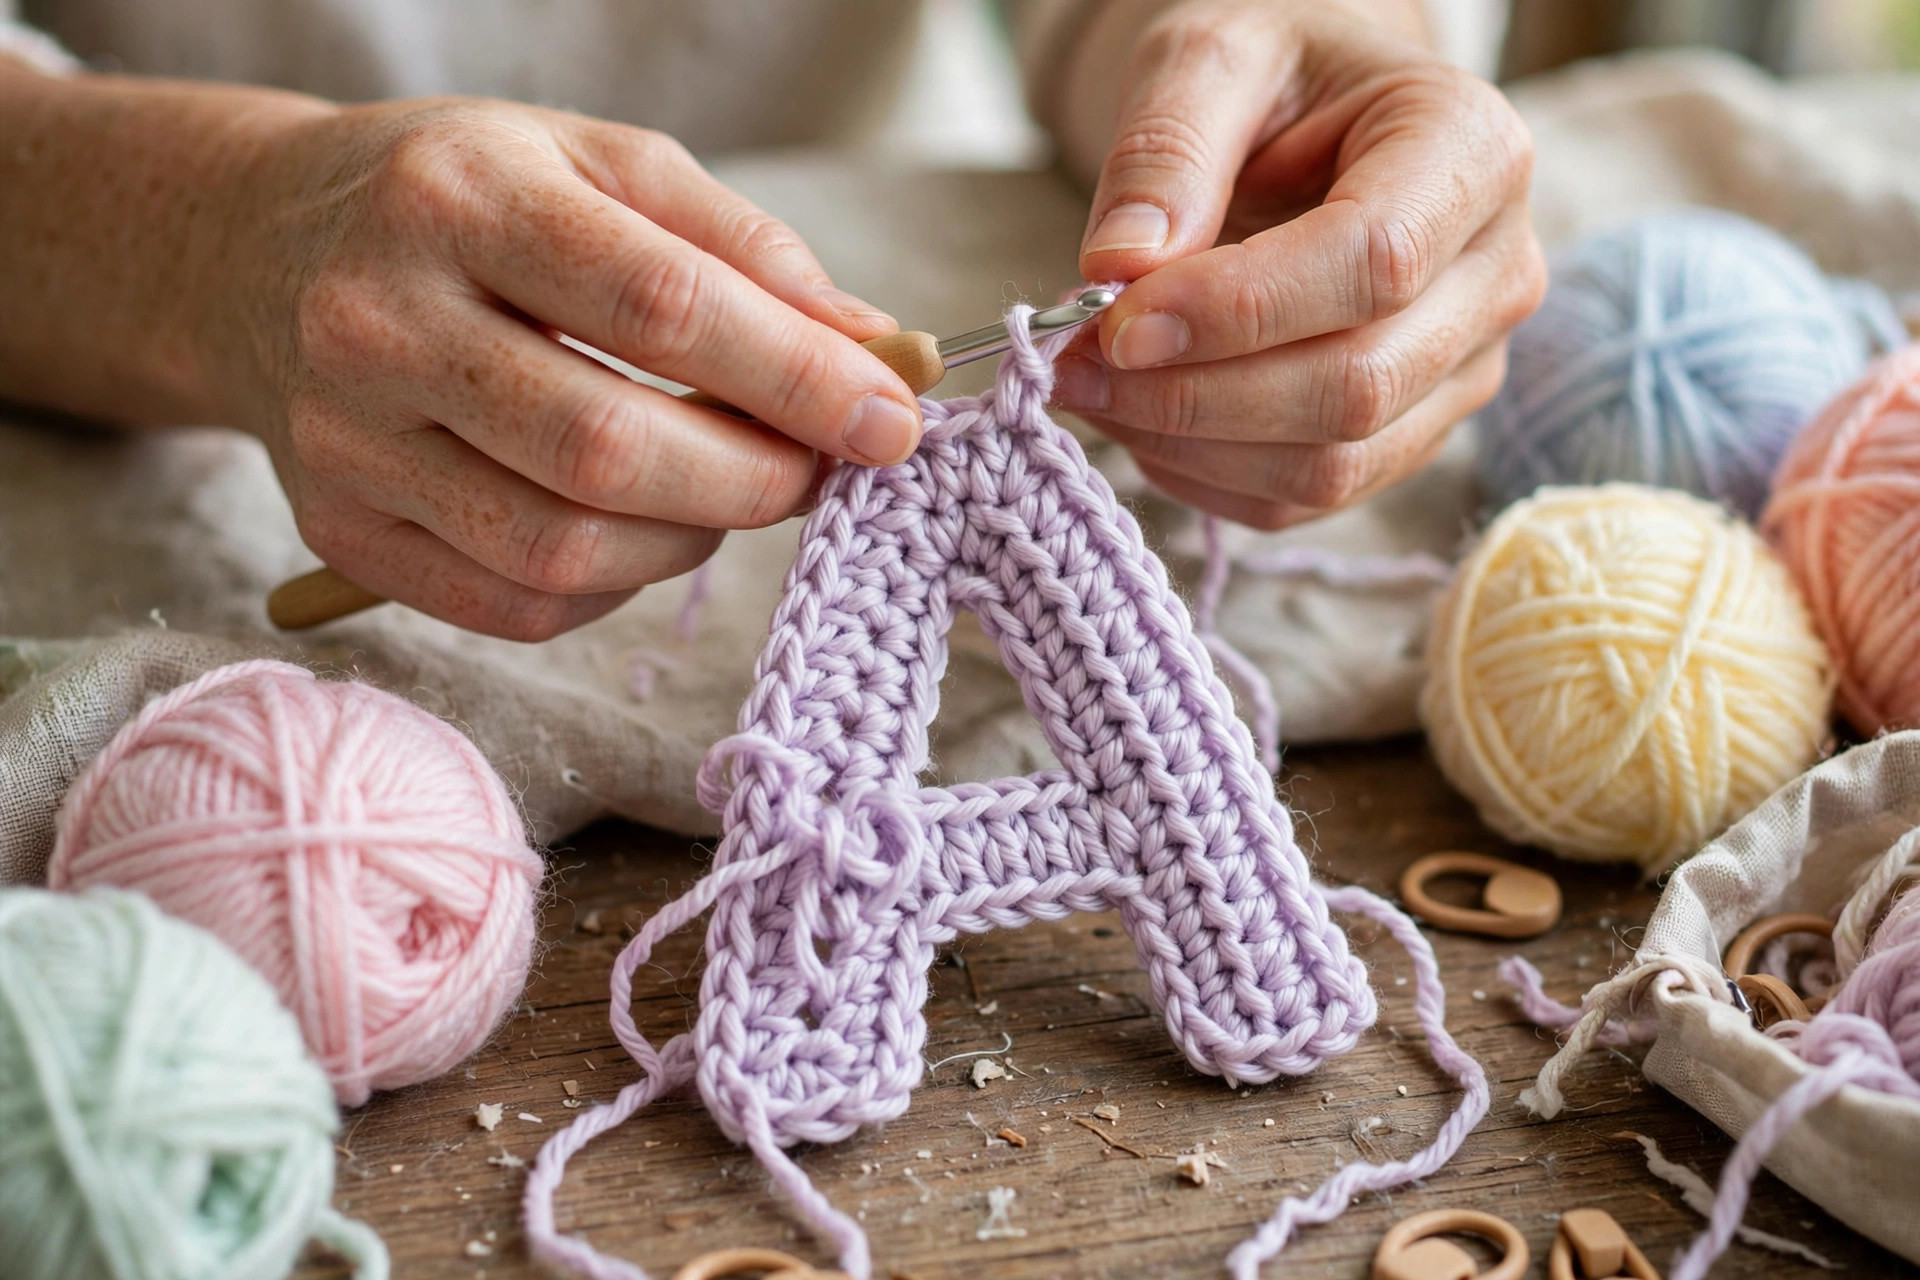
Every letter in this set is built on the same grid. Think of each letter as a rectangle of single crochet, 10 stitches wide and 14 rows tall, with parts of the rectangle left out to form the letter shape. You work the letter in rows, turning at the end of each row, and you shape the letter by chaining over gaps and working into the chains on the next row.
Start every letter the same way. Chain 11, then work 1 sc in the 2nd ch from the hook and 1 sc in each ch across. Turn. You now have 10 stitches.
The Letter E
The letter E is the best first letter, because it teaches you the whole method. Work it from the bottom up.
- Rows 1 to 3: ch 1, sc in each st across. Turn. (10)
- Row 4: ch 1, sc in the first 6 sts, turn, leaving the last 4 sts unworked. (6)
- Rows 5 to 6: ch 1, sc in each st across. Turn. (6)
- Row 7: ch 1, sc in each st across, then ch 5 to bridge the gap, and join back into the main stem with a sl st at the edge of row 4. Turn. (10)
- Rows 8 to 9: ch 1, sc in each st across. Turn. (10)
- Row 10: ch 1, sc in the first 6 sts, turn, leaving the last 4 sts unworked. (6)
- Rows 11 to 12: ch 1, sc in each st across. Turn. (6)
- Row 13: ch 1, sc in each st across, then ch 5, join back into the main stem the same way as row 7. Turn. (10)
- Row 14: ch 1, sc in each st across. (10)
Fasten off and weave in the ends. The letter E should be about 4 inches tall and 3 inches wide, with three arms of equal length.
The Letters F, L, T, I, and H
The letter F is the same as the letter E with the bottom arm left off. Work a straight stem for the first three rows, then add the middle arm and the top arm the same way you did for E.
The letter L is the simplest letter in the set. Work a straight stem 10 stitches wide for 11 rows, then work the bottom arm across the last 3 rows.
The letter T starts with a top bar 10 stitches wide for 3 rows, then a centered stem 4 stitches wide for the remaining 11 rows. To center the stem, skip 3 stitches at the start of row 4, work 4 stitches, and leave the last 3 stitches unworked.
The letter I is a straight stem, 4 stitches wide and 14 rows tall, with a top bar and a bottom bar if you like the classic serif style. The plain version without bars is fine for play letters, and it is the fastest letter in the alphabet.
The letter H is two stems joined by a middle bar. Work the left stem 4 stitches wide for 14 rows, fasten off, then work the right stem the same way. Join the two stems with a middle bar worked across rows 7 and 8.
The Letters O and C
Round letters use a different trick. The simplest good looking O is a flat ring: chain 24, join with a sl st, then work 3 rounds of single crochet around the ring, increasing at the outer edge and decreasing at the inner edge so the ring stays flat.
The letter C is the same ring with a gap. Work the O ring for 3 rounds, then stop before you close the circle, leaving a gap of about 6 stitches on the right side.
Part 2: Stuffed Letters and the Tricky Letters
Flat letters are perfect for a wall or a blanket, but stuffed letters are better for play. A stuffed letter is just two flat letters sewn together with a little stuffing between them.
How to Stuff a Letter
Make two identical flat letters in the same color. Place them wrong sides together, with the right sides facing out. With a tapestry needle and the border color, whipstitch around the outside edge, leaving a gap of about 2 inches on one straight edge. Stuff the letter lightly through the gap, using small pieces of stuffing pushed into the corners. Do not overstuff. Close the gap with the same whipstitch, and weave in the ends.
Stuff the letter evenly, a little at a time, smoothing it flat after each addition. Our woodland nursery mobile crochet pattern uses the same light stuffing method if you want to practice on a smaller nursery piece first.
The Tricky Letters
The rest of the alphabet follows the same grid and the same tricks you already learned. Here is how each group works, so you can make the whole set without a separate pattern for every letter.
- A: Two diagonal stems that meet at the top, with a middle bar across rows 7 and 8.
- B and D: A straight stem on the left, then bumps on the right. B has two bumps, D has one tall bump spanning rows 2 to 13.
- G: Work the C first, then add a small bar inside the gap on rows 6 and 7.
- J: A straight stem on the right, then a hook at the bottom left across the last 3 rows.
- K: A straight stem on the left, then two diagonal arms to the right, meeting at the middle of the stem.
- M, N, and W: M has two outer stems and a middle V dipping to row 7. N has two outer stems and one diagonal bar. W is the M upside down.
- P, Q, and R: P is a stem with a bump on the upper right, ending at row 7. Q is the O ring with a small tail at the bottom right. R is the P with a diagonal leg to the bottom right corner.
- S: Three bands, a top curve, a middle bar, and a bottom curve, shaped with increases on one side and decreases on the other.
- U and V: U is two stems joined by a rounded bottom. V is two diagonal stems that meet at the bottom.
- X, Y, and Z: X is two diagonal bars that cross in the middle. Y is a V on top with a straight stem below. Z is a top bar, a diagonal bar, and a bottom bar, each 3 rows tall.
Work the tricky letters one at a time. If a letter looks wrong, it is almost always a counting mistake in one row, so count the stitches in that row and rework just it.
Part 3: The Name Garland, Wall Display, and Finishing
A set of letters becomes a gift when you display it well. The two best displays are a name garland and a wall hanging. The garland suits a baby shower or a first birthday, and the wall hanging suits a nursery that is already decorated.
The Name Garland
Cut a length of cotton cord 36 inches long for a five letter name, adding 6 inches for each extra letter. Lay the letters face up in the right order, spaced 1 inch apart. Thread the cord through the top back of each letter, passing it behind the top two rows so the cord is hidden from the front. Tie a small loop at each end for hanging.
Hang the garland and step back to look at it from across the room. The letters should sit level. If a letter tips, thread the cord through one more stitch near its center. If a letter slides, tie a tiny knot in the cord behind it, hidden from the front.
The Wall Display and the Border
For a wall display, sew the letters to a piece of felt or fabric 24 inches wide and 8 inches tall, in a color that matches the nursery. Pin the letters in place first, spaced evenly, and check the spacing before you sew anything. Sew each letter with small whipstitches around its edge. Attach a wooden dowel to the top edge with two small loops of cord, and tie a hanging cord to the ends of the dowel.
Every letter in this set gets the same border, and the border is what makes a set look finished. With the border color, join the yarn at any corner, work 1 sc in each stitch around the outside edge, and work 3 sc in each outer corner so the border turns neatly. Join with a sl st to the first stitch. Fasten off and weave in the ends on the back of the letter.
Check each letter from the front and the back before you call it done. Weave every end in for at least 2 inches, going back and forth through the stitches so it cannot work loose when a child pulls on the letter.
Variations: Colors, Sizes, and Uses
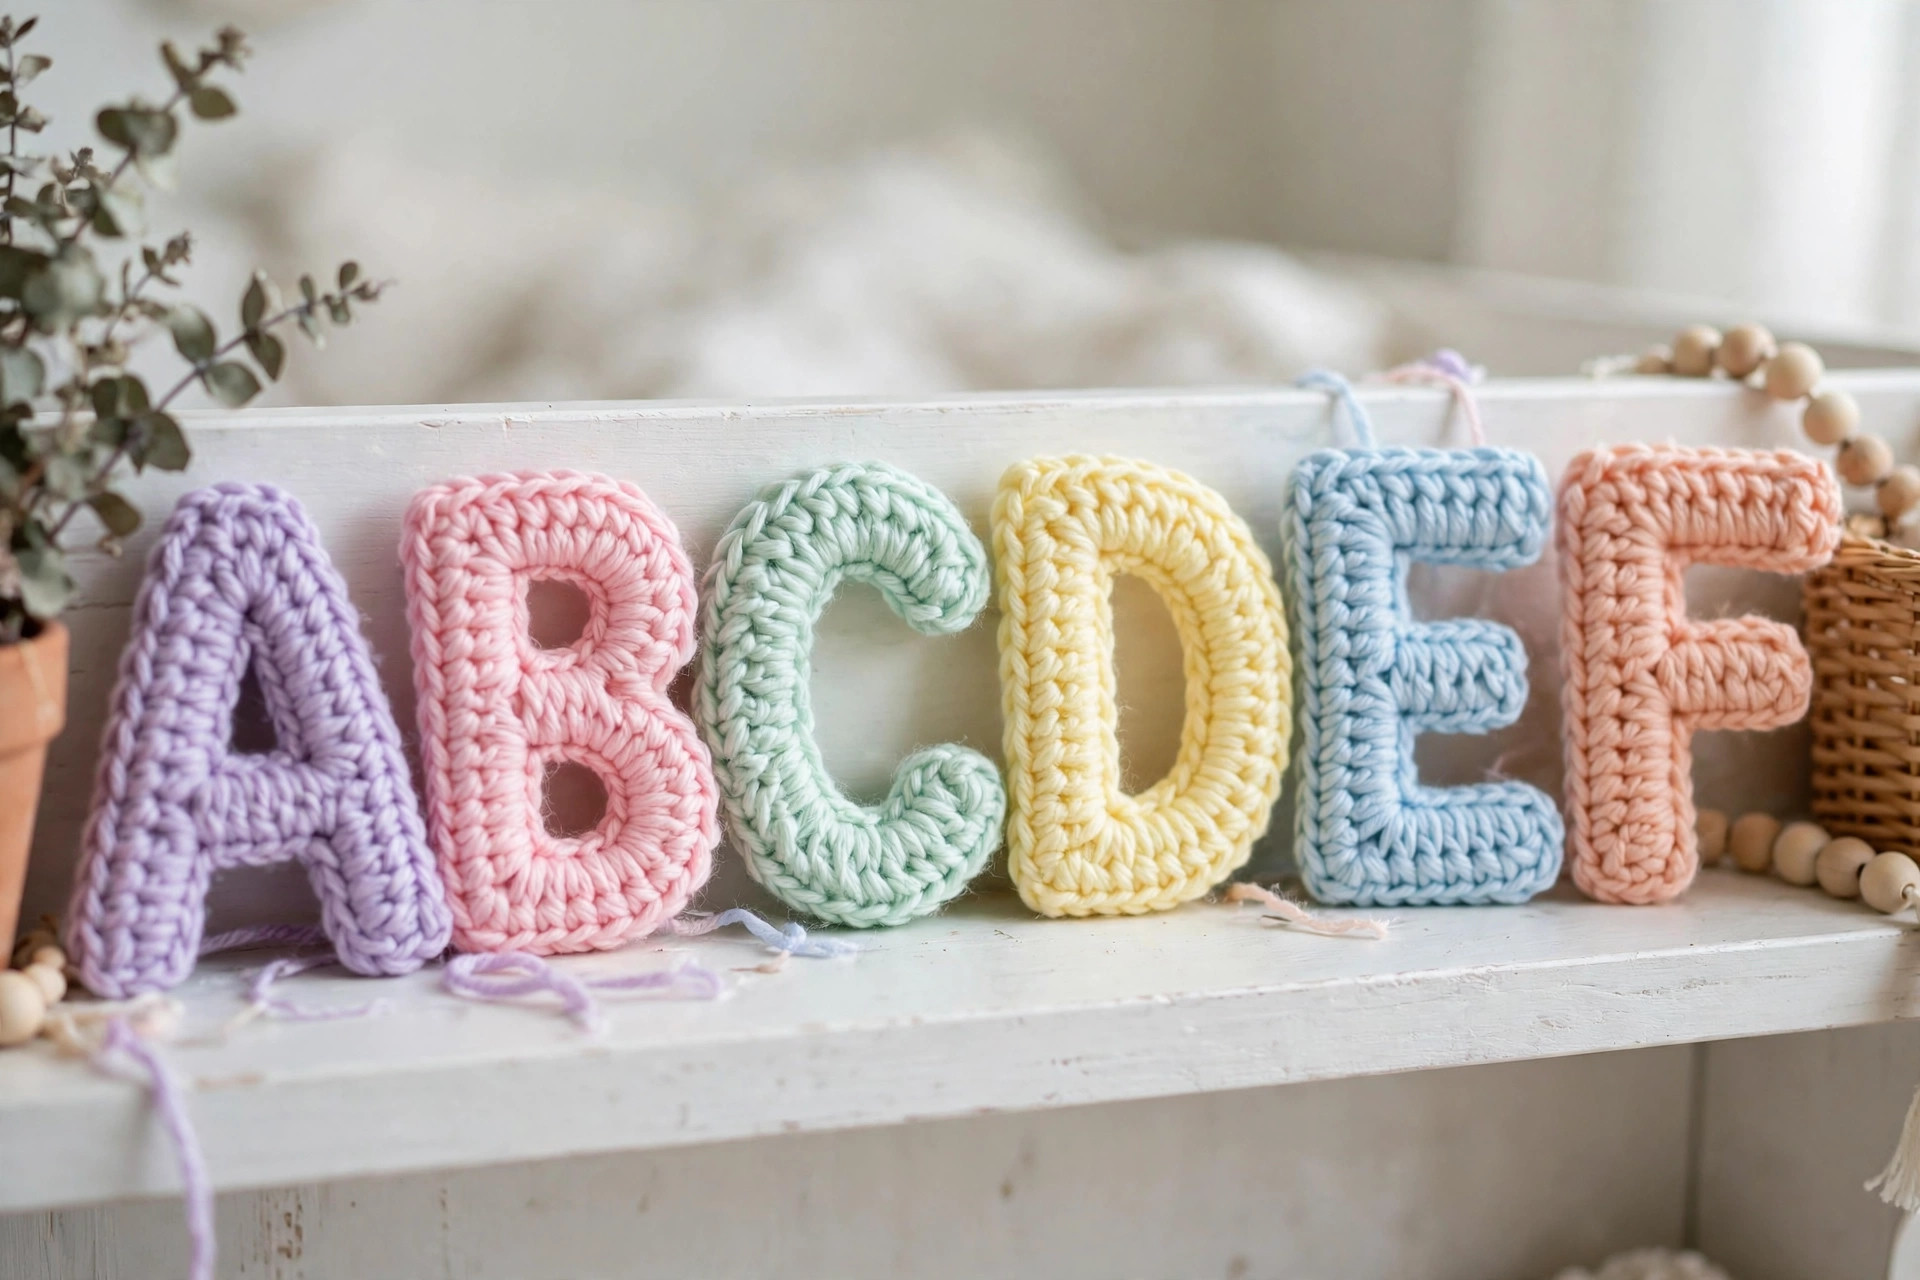
- Pastel nursery set: work the letters in pastel pink, cream, sage green, soft blue, and pale yellow, with a cream border on every letter.
- Rainbow alphabet: give each letter its own bright color, with a white border to tie the set together.
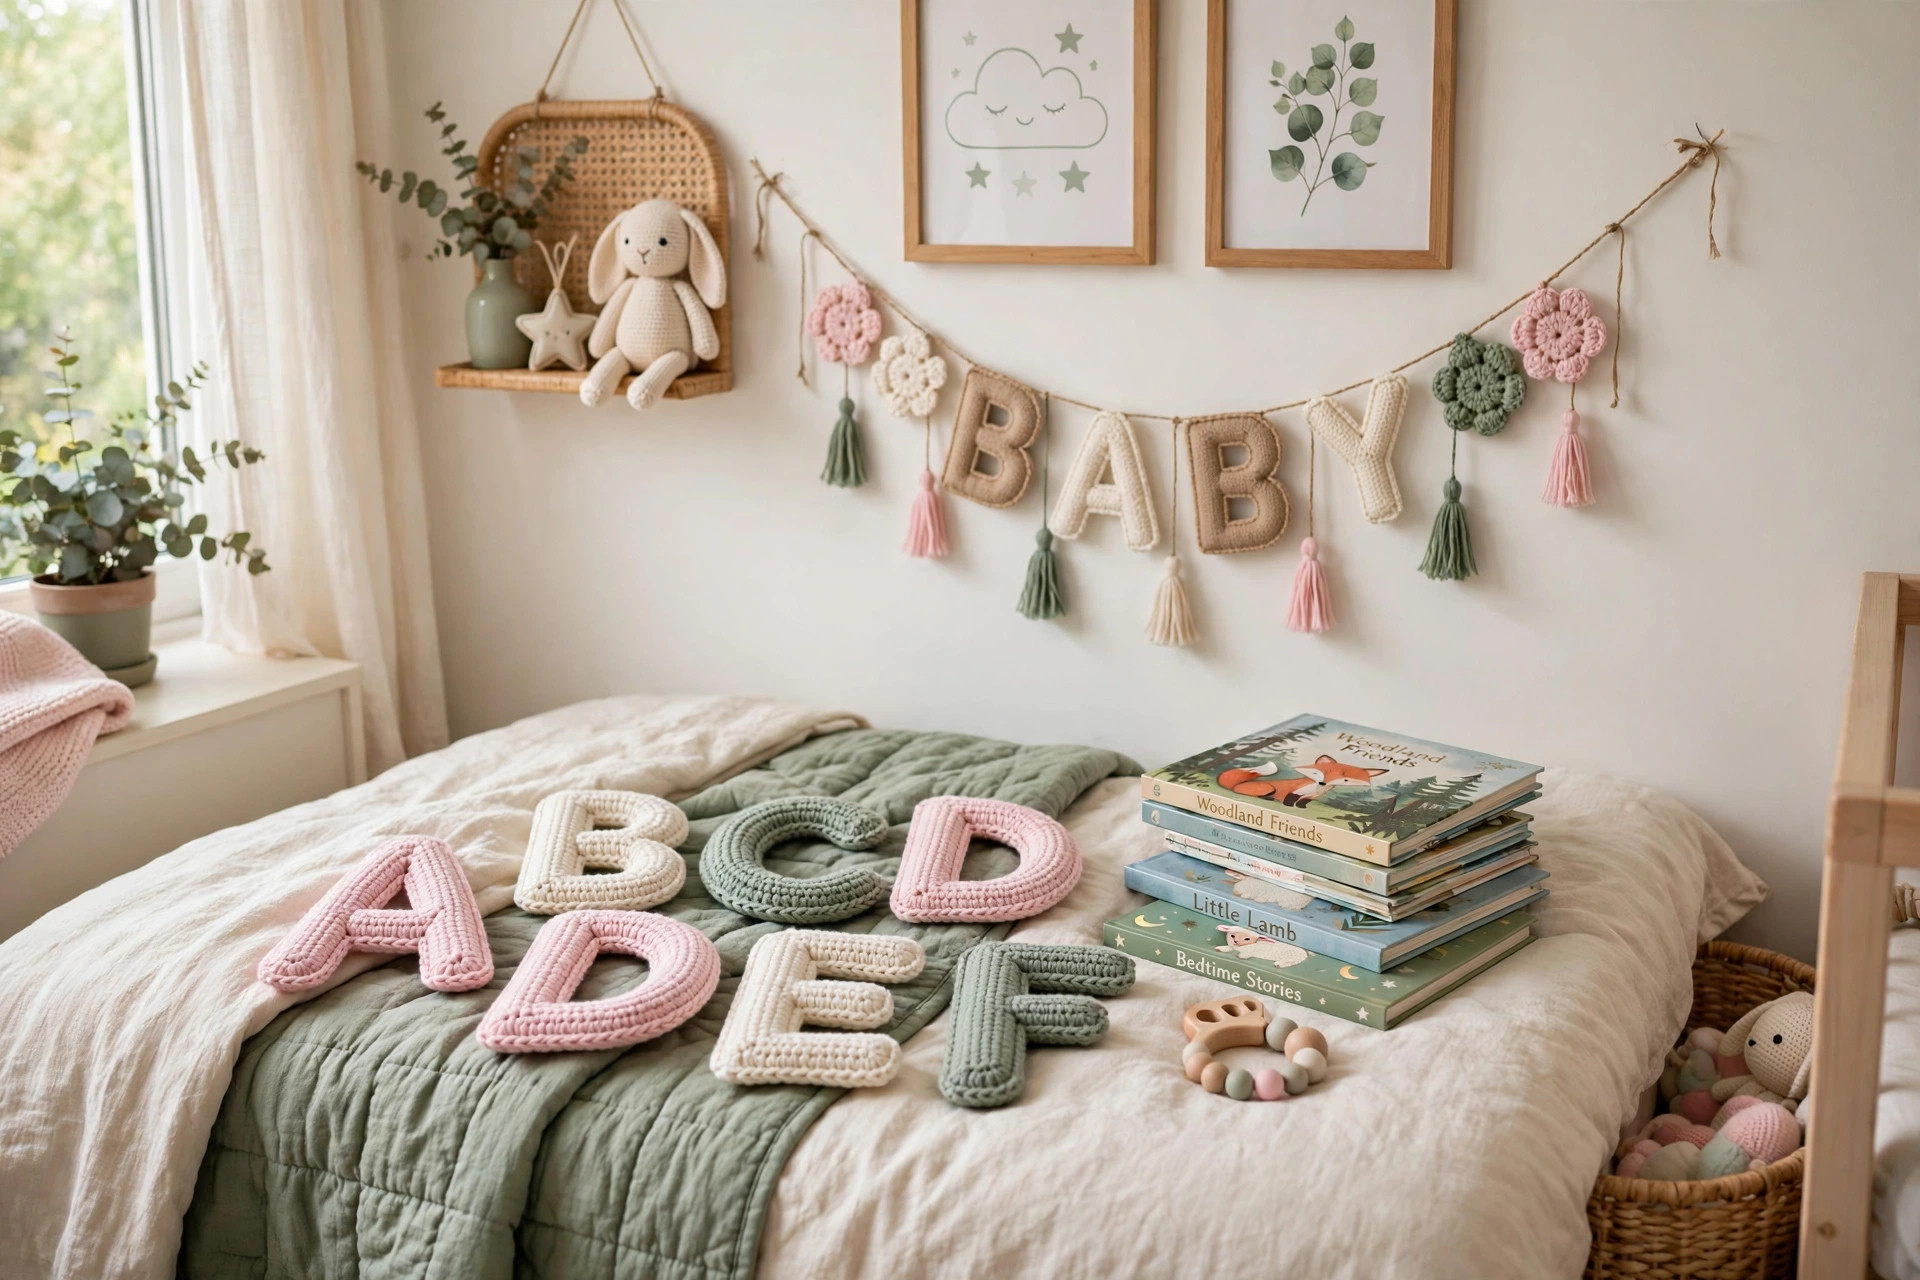
- Baby name garland: make only the letters of the name, in two alternating colors, and hang them on a cotton cord.
- Learning play set: stuff every letter lightly and keep them loose in a fabric basket, so a child can pull them out and sort them.
Troubleshooting Letters That Do Not Look Right
- My letters are different heights. The gauge changed between letters, or the yarn weight changed. Check the swatch again, and use the same yarn weight and hook for the whole set.
- My E looks like an F. The bottom arm is missing or too short. Count the rows of the bottom arm and make sure it matches the top arm.
- My stuffed letter is lumpy. The stuffing went in as one big ball. Pull it out, tear it into small wisps, and add it a little at a time.
- My garland letters tip forward. The cord is threaded too high on the letter. Thread it through the top two rows, closer to the center, so the weight balances.
Care Instructions
Hand wash crochet letters in cool water with a mild detergent, and press the water out gently without wringing. Reshape each letter, pulling the corners square, and lay the letters flat to dry away from direct heat. Do not put crochet letters in the washing machine or the dryer. Store flat letters in a drawer, and store stuffed letters in a fabric basket where they can keep their shape.
Frequently Asked Questions
Is this crochet letters pattern good for beginners?
Yes. You need a chain, single crochet, slip stitch, and basic seaming, and the letters are worked flat in rows. One letter takes about 30 minutes.
What yarn is best for crochet letters?
Worsted weight yarn is the best choice, because it is sturdy and easy to see while you stitch. Cotton yarn also works well and gives a crisp edge for wall letters. Avoid very fuzzy yarns.
Should I make flat letters or stuffed letters?
Flat letters are best for a wall display, a garland, or appliques on a blanket, because they lie flat and sew on neatly. Stuffed letters are best for play, because they are soft and easy for a small child to hold.
How do I make the letters bigger or smaller?
Use the same stitch counts and only change the yarn and hook. A thinner yarn and a smaller hook makes mini letters about 2.5 inches tall, and a chunky yarn and a larger hook makes big letters about 6 inches tall.
How do I hang a name garland so the letters stay level?
Thread the cord through the top two rows of each letter, near its center, so the weight balances. If a letter tips or slides, tie a tiny knot in the cord behind it, hidden from the front.
Can I sell letters made from this pattern?
Yes, you may sell finished letters made from this free pattern, with credit to Little Loop Finds. Do not sell or republish the pattern text itself. A pastel name garland with a matching crochet flower pattern free makes a lovely pair for a market stall.
Happy stitching.