Crochet Lanyard Pattern (Free Simple Key and Badge Holder)
Crochet a simple lanyard with a clip, key ring, and badge pocket in about an hour, then wear it to work or school.

Patterns · Crochet
- Finished size
- 18 in loop
- Making time
- 1 hour per lanyard
- Hook
- US G-6 (4.0 mm)
- Set
- Lanyard, pocket
- Skill
- Easy
In this post
- Key Takeaways
- Table of Contents
- Why You Will Love This Crochet Lanyard
- Finished Size, Skill Level, and Time
- Materials You Need
- Abbreviations (US Terms)
- Gauge and Sizing Notes
- Part 1: The Lanyard Tube
- Part 2: The Clip End and Key Ring
- Part 3: The Badge Pocket
- Part 4: Joining, Safety, and Finishing
- Variations: Colors, Lengths, and Uses
- Troubleshooting a Lanyard That Twists or Stretches
- Care Instructions
- Frequently Asked Questions
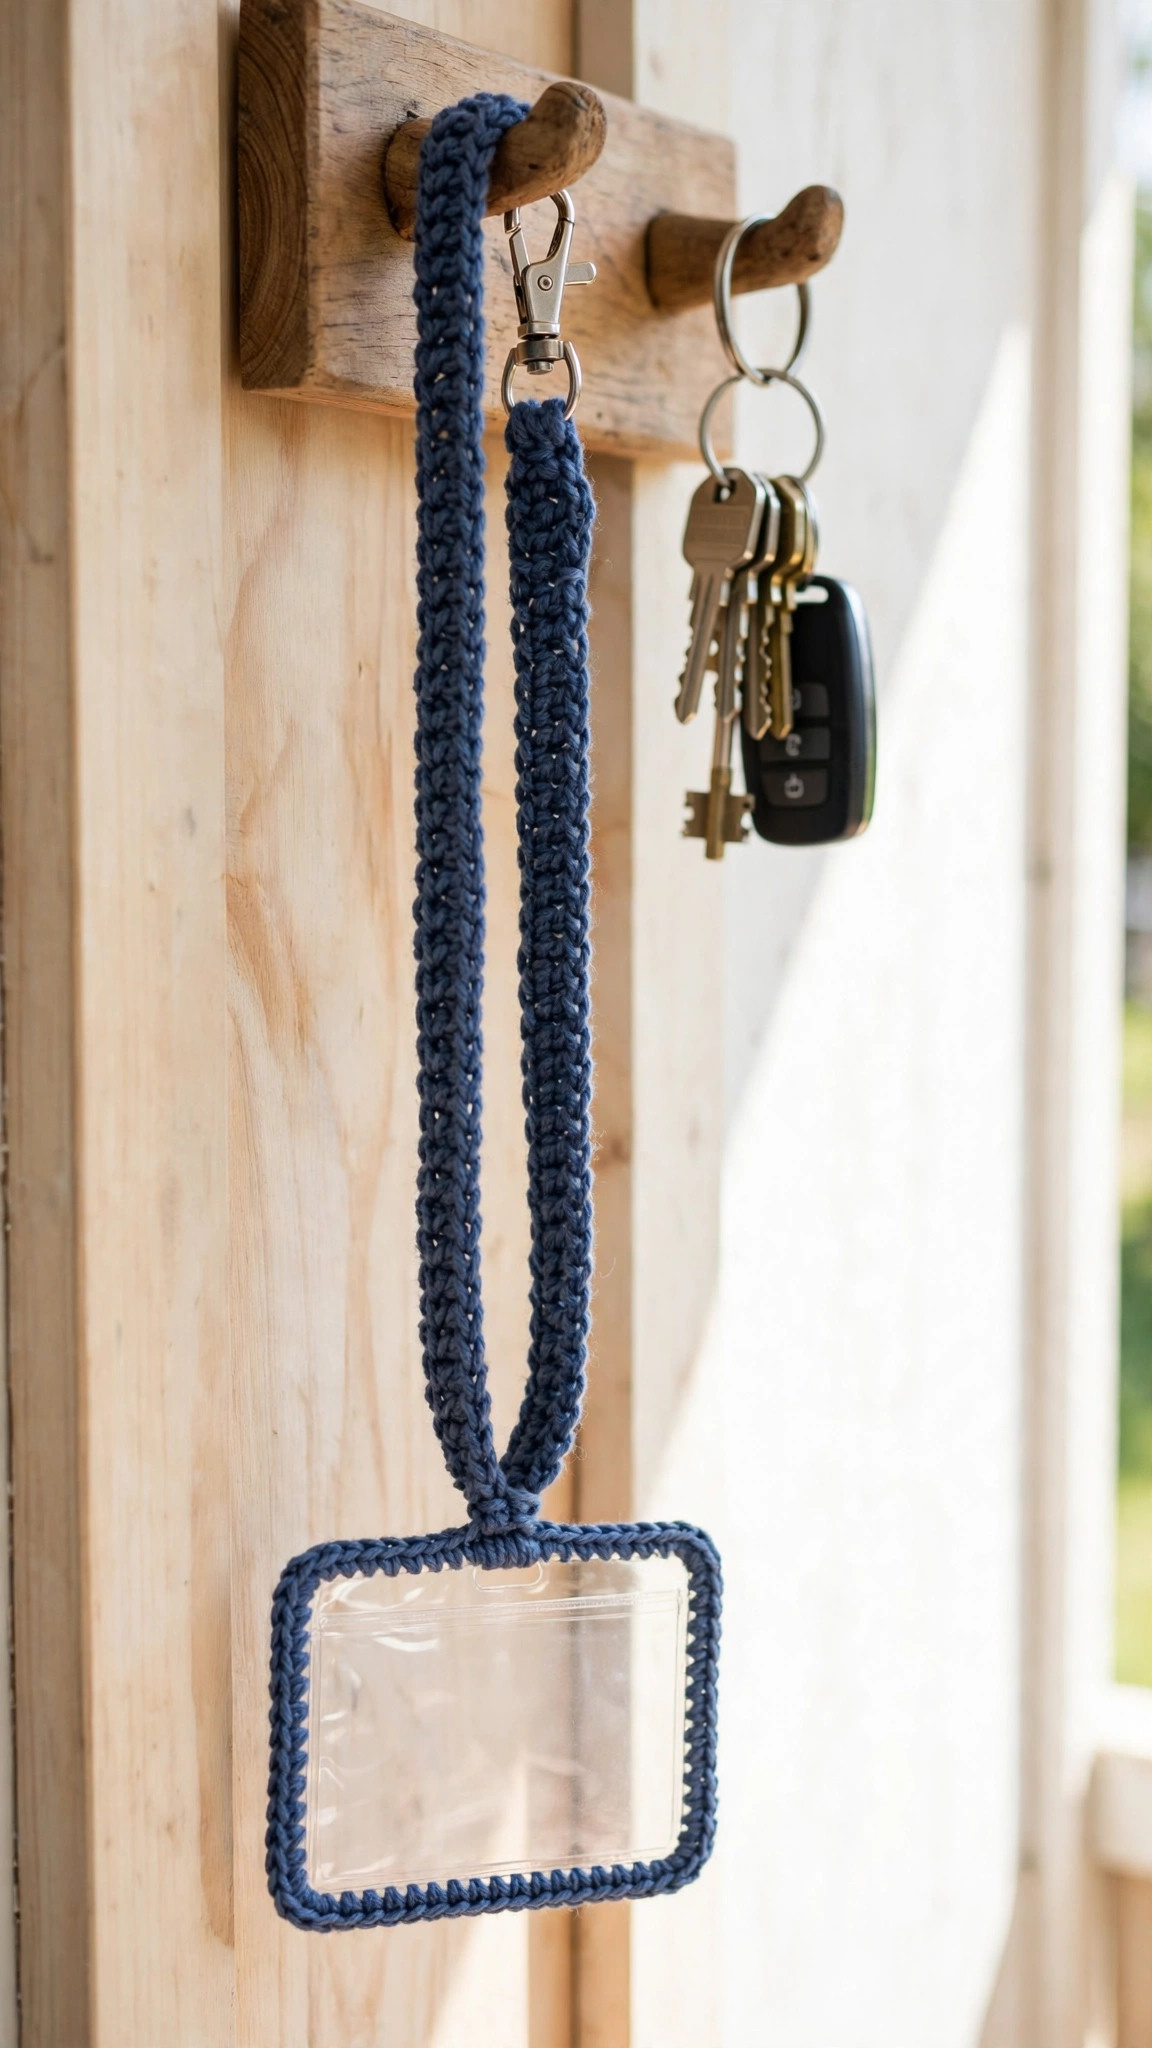
A crochet lanyard is a small project with a big everyday job. This free crochet lanyard pattern makes a simple, sturdy lanyard with a metal clip, a key ring, and a small pocket for a badge or an ID card. It keeps your keys, your work badge, or your student card close at hand, and it looks far nicer than a plain shop bought strap.
This is an original Little Loop Finds design, written in US terms and completely free. The lanyard is worked as a narrow tube in rounds, so it is smooth, strong, and comfortable around your neck, with no seam to rub. A small crochet pocket at the end holds a badge or a card, and a metal clip lets you attach and remove keys in seconds. If you can crochet a chain and a single crochet, you can crochet this lanyard.
A quick note on scope: this post is about one specific crochet lanyard, a simple neck lanyard with a clip, a key ring, and a badge pocket. It is not a wrist lanyard, a phone lanyard, or a beaded lanyard. If you want another small useful accessory, our crochet keyring free pattern is a quick keyring in the same spirit.
Key Takeaways
- Free original pattern: this crochet lanyard pattern is a Little Loop Finds original design, written in US terms, and completely free.
- A simple sturdy lanyard: a narrow tube worked in rounds, smooth and comfortable around your neck.
- Clip, key ring, and badge pocket: a metal clip for keys, a key ring for extra keys, and a small pocket for a badge or card.
- Beginner friendly and quick: only chains and single crochet, worked in the round, with a stitch count at every step.
- A one hour project: one lanyard takes about 1 hour, so you can make a whole set in an evening.
Table of Contents
- Why You Will Love This Crochet Lanyard
- Finished Size, Skill Level, and Time
- Materials You Need
- Abbreviations (US Terms)
- Gauge and Sizing Notes
- Part 1: The Lanyard Tube
- Part 2: The Clip End and Key Ring
- Part 3: The Badge Pocket
- Part 4: Joining, Safety, and Finishing
- Variations: Colors, Lengths, and Uses
- Troubleshooting a Lanyard That Twists or Stretches
- Care Instructions
- Frequently Asked Questions
Why You Will Love This Crochet Lanyard
A lanyard is one of those small things you use every day without thinking about it, until you lose your keys or you cannot find your badge at the office door. A crochet lanyard solves that problem in a pretty way. It is soft around your neck, it does not slip off your shoulder like a loose strap, and the bright color makes your keys easy to spot in a bag.
A crochet lanyard is also one of the fastest gifts you can make. It uses less than one small ball of yarn and works up in about an hour. Our crochet bookmark pattern uses the same narrow strip idea if you want a matching gift set.
Finished Size, Skill Level, and Time
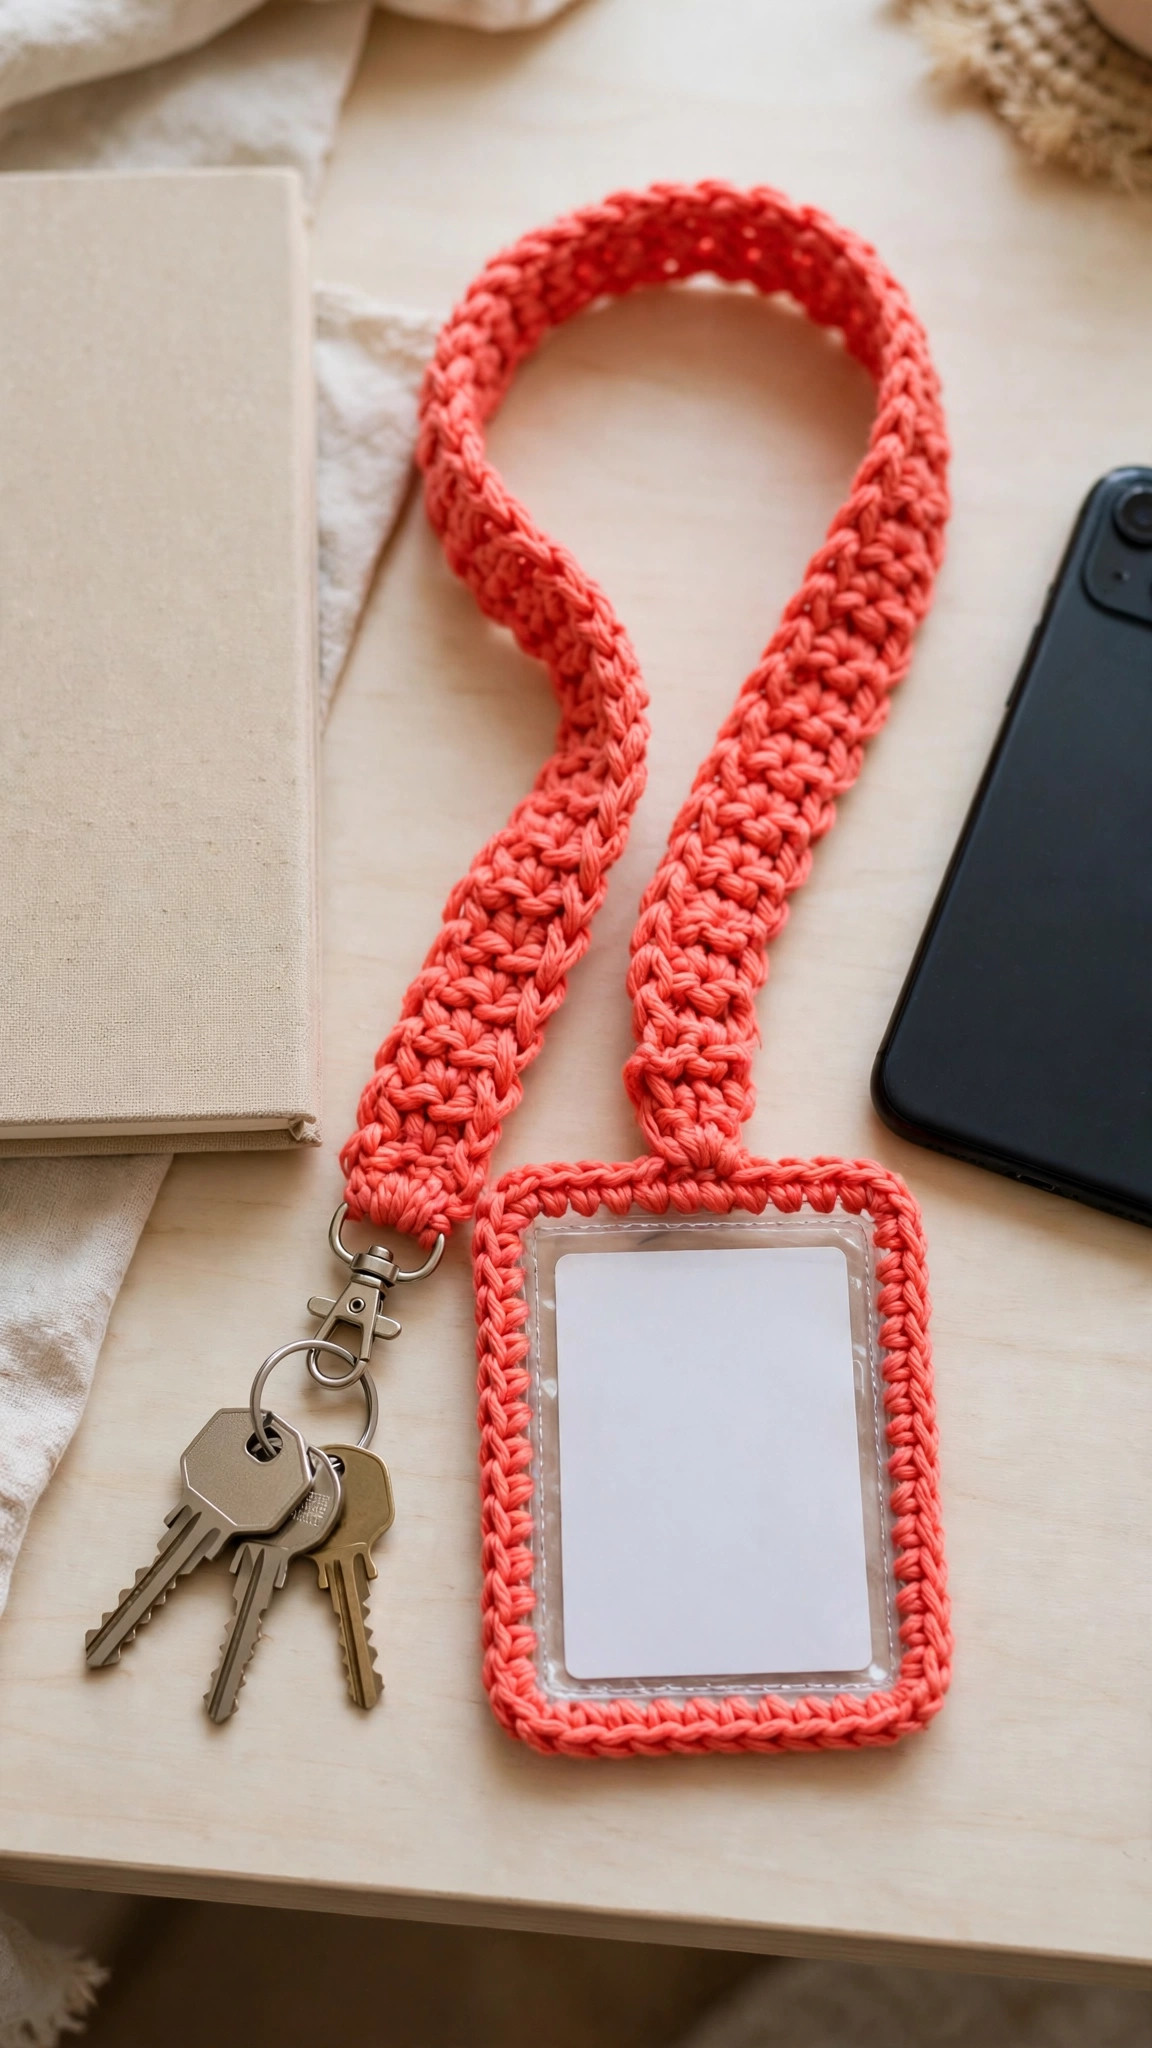
- Finished size: the lanyard strap is about 18 inches long when folded in half, and about 0.75 inches wide. The badge pocket is about 3.5 inches wide and 2.5 inches tall, sized to hold a standard ID card.
- Skill level: Easy. You need chains, single crochet, and slip stitches, plus a little sewing to attach the clip and the pocket.
- Time: about 1 hour per lanyard: 30 minutes for the tube, 15 minutes for the pocket, and 15 minutes for the clip, the key ring, and finishing.
Materials You Need
| Item | What to get |
|---|---|
| Yarn, color A | Worsted weight (size 4) cotton yarn, 50 yards |
| Yarn, color B | Worsted weight (size 4) yarn in a contrasting color for the pocket edge, 15 yards |
| Hook | US G-6 (4.0 mm), or the size that gives you the gauge below |
| Notions | Tapestry needle, scissors, stitch markers, 1 swivel lobster clip about 1 inch wide, 1 split key ring about 1 inch wide, 1 small metal ring or a D-ring about 0.75 inches wide |
Cotton yarn is the best choice for a crochet lanyard, because cotton is strong, it does not stretch much, and it feels smooth around your neck. Choose a color you can spot quickly. Navy, coral, teal, mustard, and charcoal all look lovely, and a contrasting color for the pocket edge makes the design stand out. Avoid fluffy yarns, because they hide the stitch texture.
Abbreviations (US Terms)
- ch = chain
- sl st = slip stitch
- sc = single crochet
- sc2tog = single crochet 2 together (decrease)
- st(s) = stitch(es)
- rep = repeat
- RS = right side
- WS = wrong side
Gauge and Sizing Notes
Gauge for a lanyard matters because the tube has to be firm enough to hold its shape, but soft enough to sit comfortably around your neck. Work a swatch of 12 sc stitches and 12 rows, and measure it. It should be about 3 inches wide and 3 inches tall. If your swatch is wider than 3 inches, go down a hook size. If it is narrower, go up a hook size.
The standard length is 36 inches of tube, folded in half to make an 18 inch loop. For a shorter lanyard, work 30 inches of tube, for a 15 inch loop. For a longer lanyard, work 42 inches of tube, for a 21 inch loop. Count your stitches often, because the tube must stay at 8 stitches all the way along.
Part 1: The Lanyard Tube
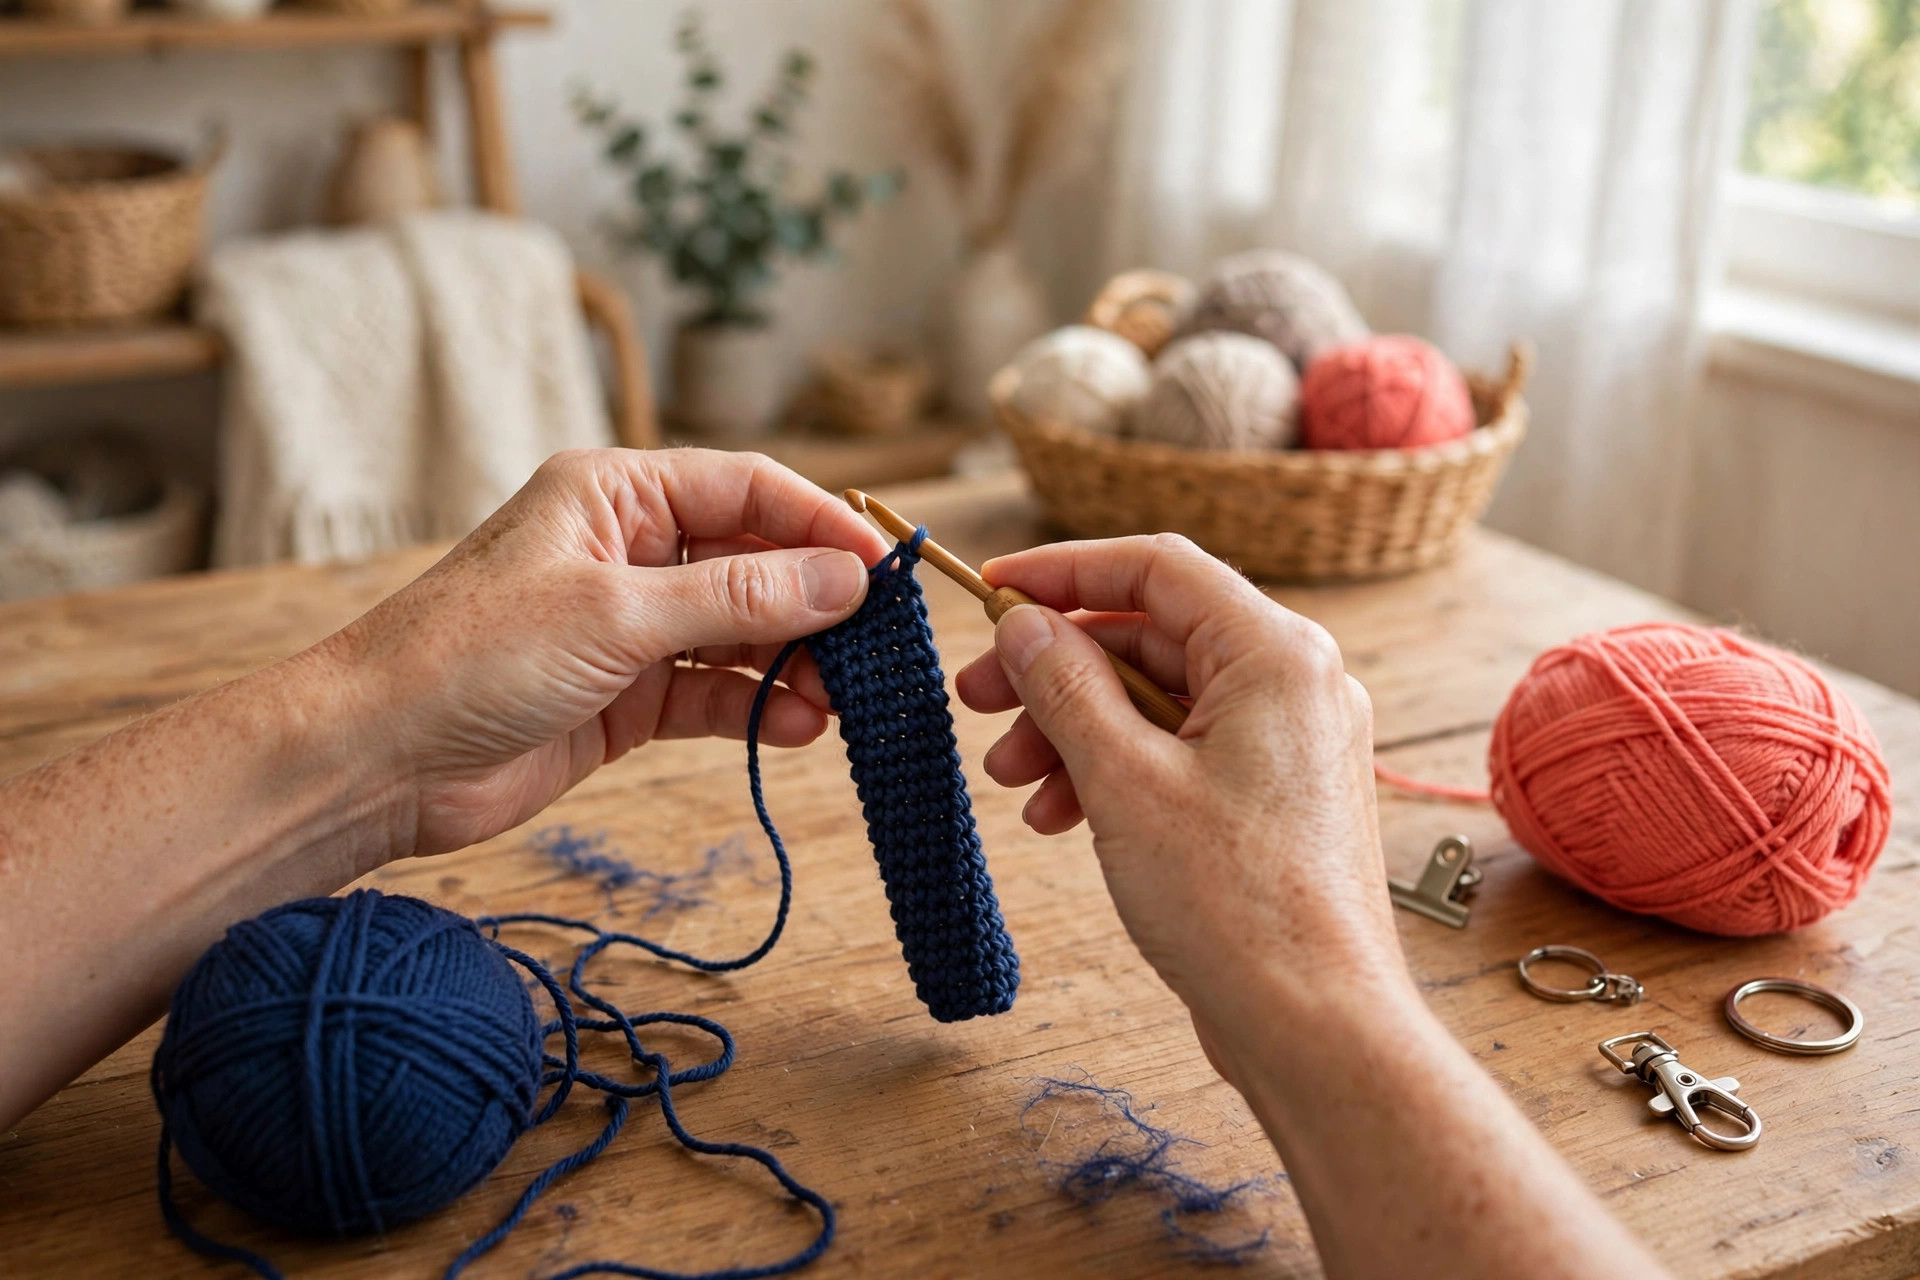
The lanyard is a narrow tube worked in rounds of single crochet. Working in the round means there is no seam, so the strap is smooth all the way around. The tube is worked in a continuous spiral, with a stitch marker to mark the start of each round.
Starting the Tube
With color A, ch 8, and join with a sl st to the first ch to form a ring, being careful not to twist the chain.
- Round 1: ch 1, sc in each ch around. (8 sc)
- Rounds 2 to 120: sc in each st around, working in a continuous spiral. (8 sc)
Place a stitch marker in the first stitch of Round 1, and move it up every 10 rounds. After 20 rounds, the tube should be about 6 inches long. After 120 rounds, it should be about 36 inches long.
Work the tube tightly, because a loose tube will stretch when it carries keys. Do not add or remove stitches, because the tube must stay at 8 stitches all the way along.
Checking the Length
When the tube reaches 36 inches, fold it in half and check that the loop is 18 inches long. If it is too short, add 10 rounds at a time. If it is too long, take out 10 rounds at a time. Do not fasten off yet.
Part 2: The Clip End and Key Ring
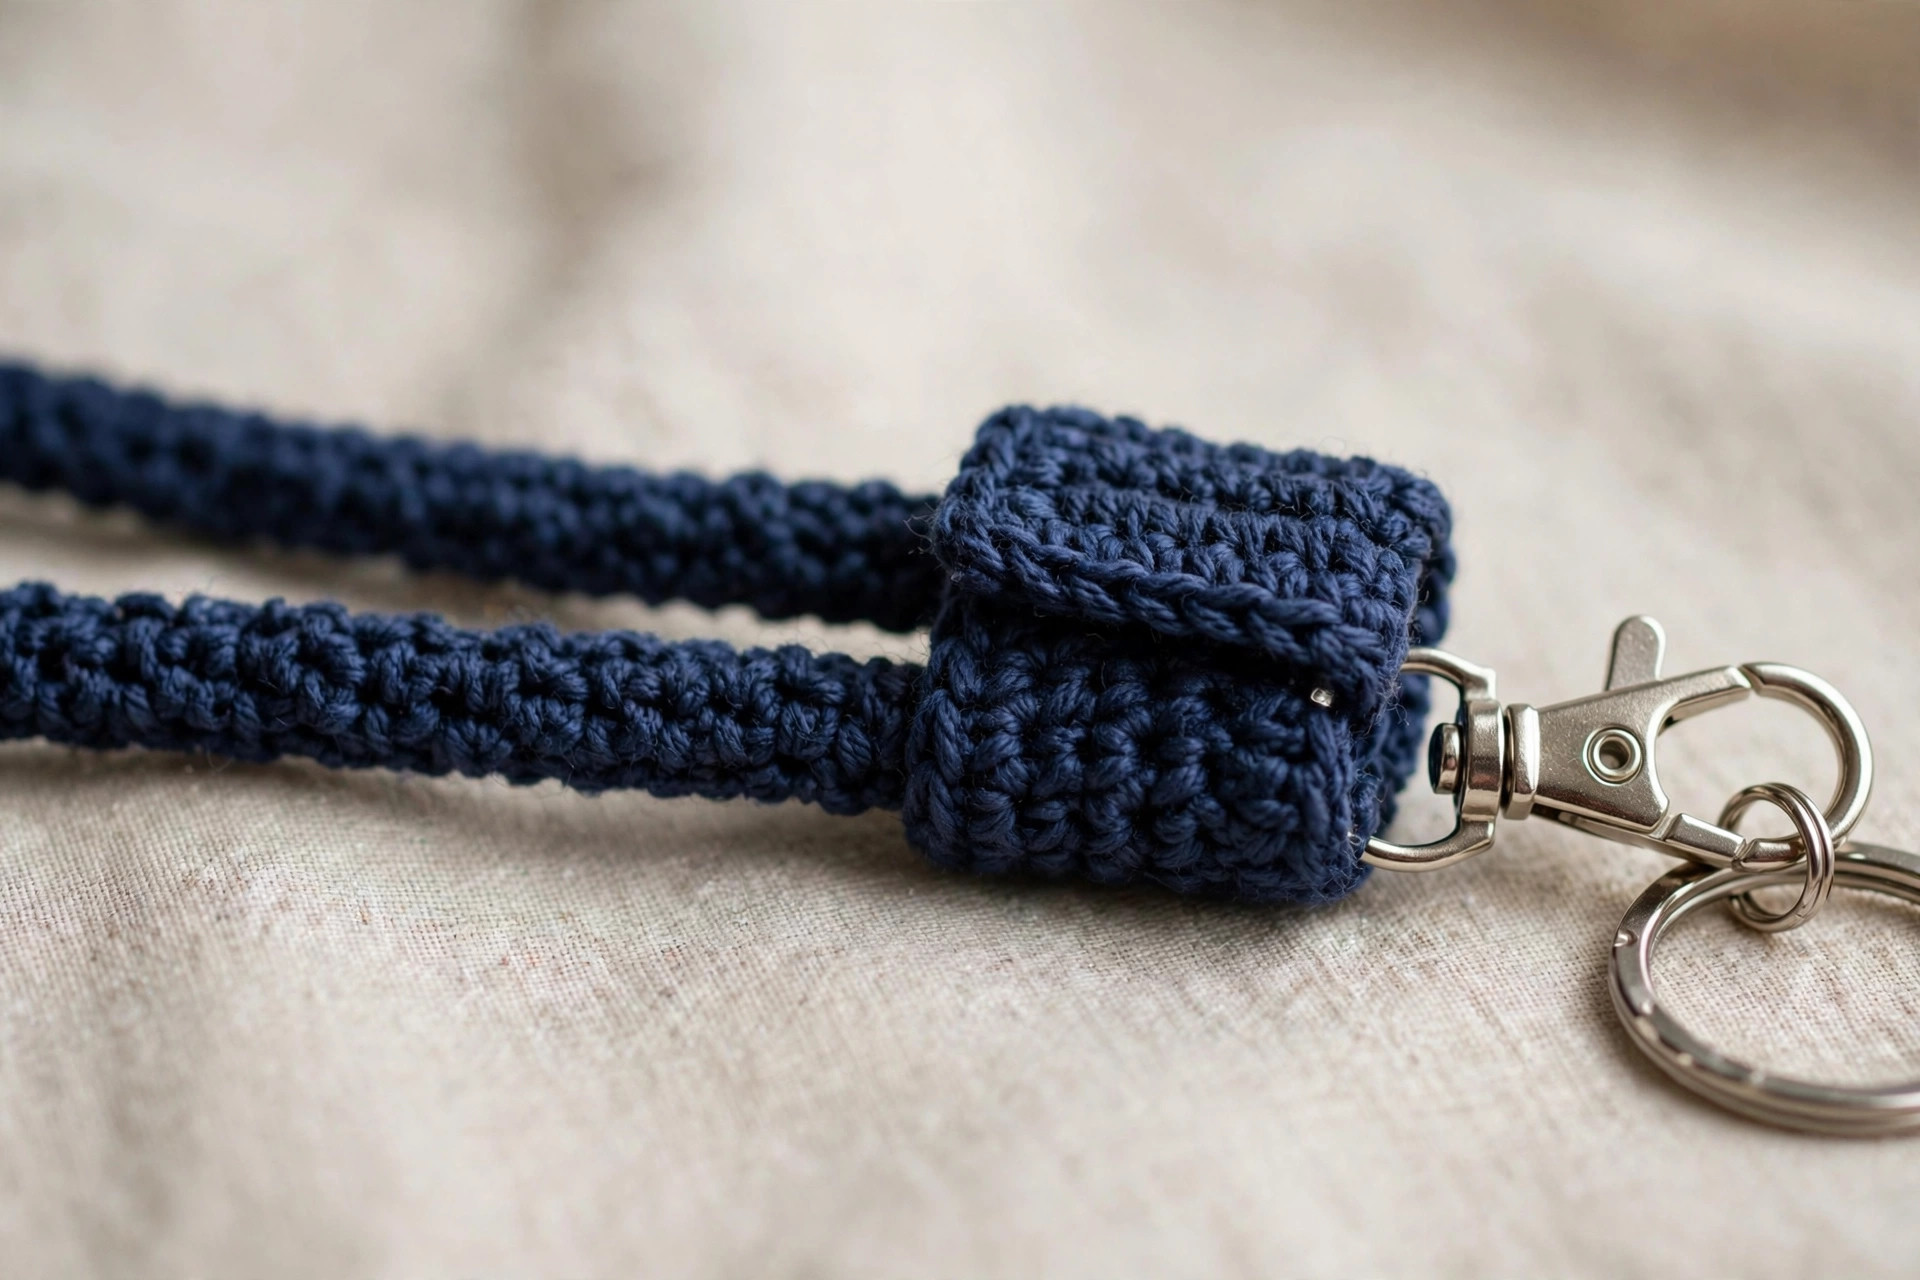
The clip end is where the lanyard meets your keys. A small folded tab holds a metal ring, and the lobster clip and the key ring hang from that ring.
The Clip Tab
With color A, ch 5.
- Row 1: sc in the 2nd ch from the hook and in each ch across. (4 sc)
- Rows 2 to 8: ch 1, turn, sc in each st across. (4 sc)
The tab is now about 1 inch wide and 2 inches long. Fasten off, leaving a long tail for sewing. Thread the small metal ring onto the tab, and fold the tab in half around the ring, so the two ends meet. Sew the ends together with the tail, working through both layers at least three times, so the ring cannot pull free. Knot the yarn firmly on the inside of the tab, and weave in the end.
Attach the lobster clip and the split key ring to the metal ring. Test the clip by opening and closing it a few times, and pull the key ring firmly to check that it cannot come off.
Attaching the Tab to the Tube
Hold the folded tube with the two ends together, and place the clip tab between the ends, so the ring hangs below the tube. Sew the tab to the ends of the tube with a tapestry needle and color A, working through the tab and both tube ends at least four times. Our crochet chapstick holder pattern uses the same small tab idea.
Part 3: The Badge Pocket
The badge pocket is a small rectangle worked flat in rows, then folded and sewn into a pocket. It holds a standard ID card or a work badge.
The Pocket Rectangle
With color A, ch 13.
- Row 1 (RS): sc in the 2nd ch from the hook and in each ch across. (12 sc)
- Rows 2 to 16: ch 1, turn, sc in each st across. (12 sc)
The rectangle is now about 3.5 inches wide and 4.5 inches tall. Do not fasten off yet, because the edging comes next.
Folding and Edging the Pocket
Fold the rectangle in half, so it measures 3.5 inches wide and about 2.25 inches tall, with the fold at the bottom and the open edge at the top. With color B, work a single crochet edge around the two sides and the bottom, working through both layers. Leave the top edge open, so the card can slide in.
Work one more row of single crochet along the top edge, in color B, 1 sc in each stitch across, for 12 sc in total. Fasten off, and weave in the ends on the inside of the pocket.
Test the pocket with a real ID card. It should slide in easily, but it should not fall out when you turn the pocket upside down. If it is too tight, start with 14 chains instead of 13. If it is too loose, start with 12 chains.
Attaching the Pocket to the Lanyard
Place the pocket on the front of the lanyard, just above the clip tab, with the open top facing up. Sew the back of the pocket to the tube with a tapestry needle and color A, working along the bottom and the two sides, but not across the top. Pull the pocket gently to check that it is firmly attached.
Part 4: Joining, Safety, and Finishing
The last part of the lanyard is joining the tube ends, checking the safety of the clip and the pocket, and finishing the yarn ends. Take your time here, because the joins carry the keys and the badge.
Joining the Tube Ends
Fold the tube in half, so the two ends meet at the clip tab. Sew the two tube ends together with a tapestry needle and color A, working through both ends at least four times, and knot the yarn firmly inside the tube.
If you prefer a neater join, work a few slip stitches through both ends instead of sewing, then weave in the tail. Either way, pull the join firmly to check that it cannot come apart. The lanyard should now form a smooth loop, with the clip and the pocket hanging at the bottom, and no twist in the tube.
Safety Notes
A lanyard sits around your neck, so safety matters, especially for children. Never leave a young child alone with a lanyard, and never let a child sleep while wearing one. For children, use a breakaway clasp in the middle of the tube, so the lanyard comes apart if it gets caught.
For adults, check the clip and the key ring before every use, and replace them if they feel loose or bent. Do not hang heavy items from the lanyard. Keys, a badge, and a small card are enough. If you carry more, use a bag instead.
Final Finishing
Weave in every yarn end with a tapestry needle. Hold the lanyard up and let it hang. It should hang straight, with no twist, and the pocket should sit flat. Slide a card into the pocket, clip a key on, and wear the lanyard for a few minutes to test the fit.
Variations: Colors, Lengths, and Uses
- Work badge lanyard: navy or charcoal with a cream pocket edge, a smart colorway for the office. Our crochet dog collar pattern uses the same narrow tube idea for a pet accessory.
- School lanyard: a school color, with a bright pocket edge, and a small charm on the key ring.
- Teacher lanyard: teal or coral, with a pocket big enough for a staff badge and a small pen loop sewn to the side.
- Short wrist lanyard: work the tube to 12 inches instead of 36 inches, join the ends in a small loop, and attach the clip tab.
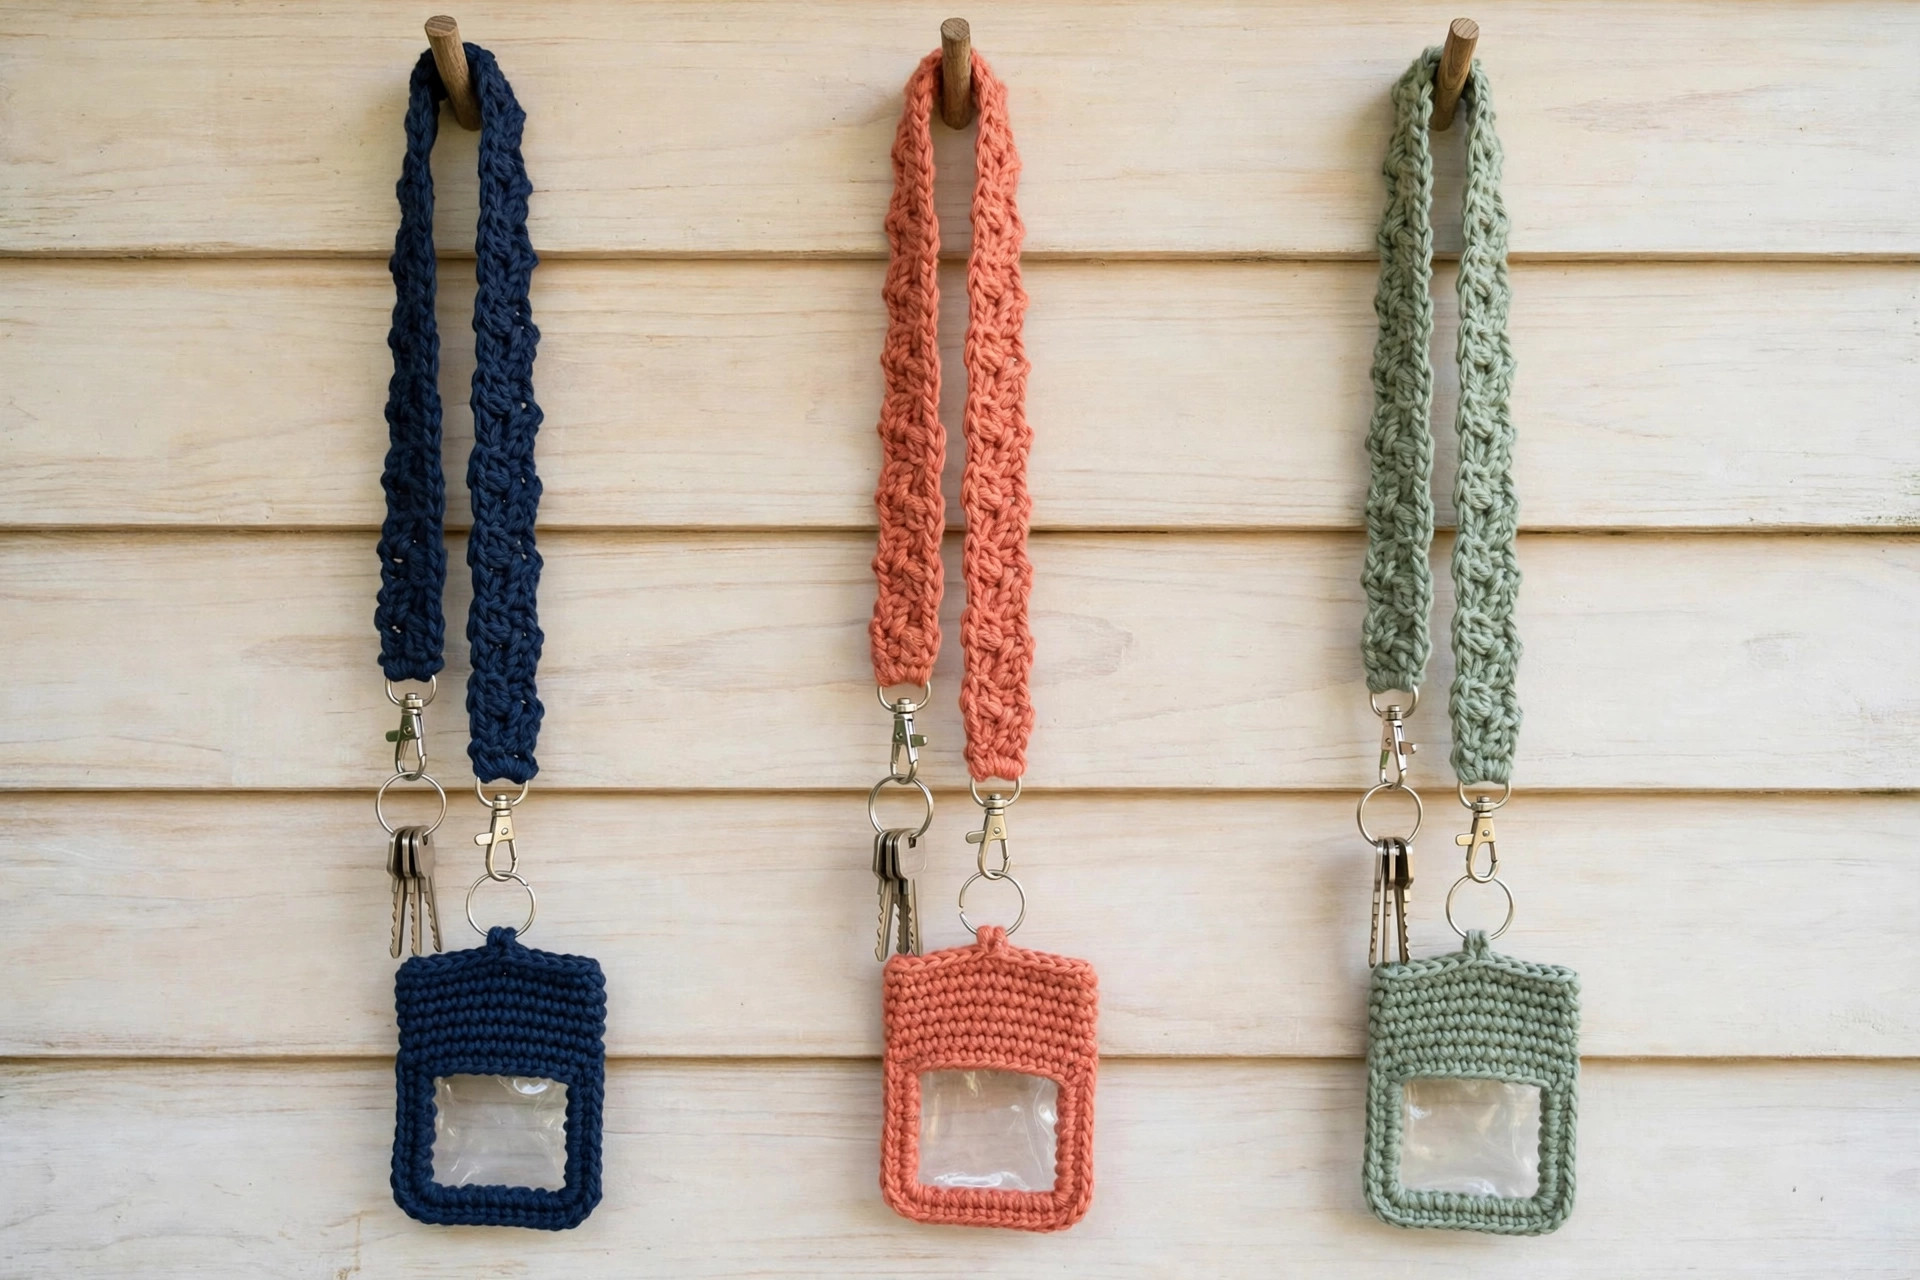
- Gift set: three lanyards in three different colors, paired with a small pouch like our crochet coin purse pattern.
Troubleshooting a Lanyard That Twists or Stretches
- My lanyard twists when I wear it. The stitch count drifted, or the tube was joined with a twist. Count the stitches, and rejoin the tube lying flat.
- My lanyard stretches when it carries keys. The gauge is too loose, or the yarn is too stretchy. Work the next lanyard one hook size smaller, and keep the load light.
- My badge falls out of the pocket. The pocket is too wide. Work the next pocket with one fewer chain, and work the top edging tightly.
- My clip will not stay closed. The lobster clip is worn out. Replace it with a new one, and check that the ring fits through it easily.
- My tube looks lumpy. The stitches are uneven, or the yarn is too thick for the hook. Work slowly and evenly, and try a smaller hook next time.
Care Instructions
Hand wash the lanyard in cool water with a mild detergent, and press the water out gently without wringing. Reshape the tube while it is damp, and let it dry flat. Remove the metal clip and the key ring before washing if you can. Do not use high heat in the dryer, and keep it out of direct sunlight.
Frequently Asked Questions
Is this crochet lanyard pattern good for beginners?
Yes, it is a great first project in the round. You need chains and single crochet only, and every step ends with a stitch count. One lanyard takes about 1 hour, so it is a satisfying evening make, and it uses less than one small ball of yarn.
What yarn is best for a crochet lanyard?
Worsted weight cotton yarn is the best choice, because cotton is strong, it does not stretch much, and it feels smooth around your neck. You need about 50 yards of the main color and 15 yards of a contrasting color. Avoid fluffy yarns, because they hide the stitch texture and make the tube lumpy.
How long is the finished lanyard?
The finished lanyard is about 18 inches long when folded in half, made from a tube 36 inches long. The badge pocket is about 3.5 inches wide and 2.5 inches tall, sized to hold a standard ID card. For a shorter lanyard, work 30 inches of tube, and for a longer one, work 42 inches.
Is a crochet lanyard safe for children?
A lanyard needs care around children, because it sits around the neck. Never leave a young child alone with a lanyard, and never let a child sleep while wearing one. For children, use a breakaway clasp in the middle of the tube, so the lanyard comes apart if it gets caught, and check the safety notes in Part 4.
Can I make the lanyard without the badge pocket?
Yes, you can leave the pocket off and use the lanyard for keys only. The tube and the clip end work on their own, and the lanyard is just as useful without the pocket. You can also make the pocket separately and sew it on later, or make a matching pouch like our crochet pencil case pattern to carry with the same keys.
Can I make the lanyard in different colors?
Yes, any color works well. Navy or charcoal with a cream edge is smart for work, a school color with a bright edge is fun for students, and teal or coral is cheerful for teachers. Keep the pocket edge in a contrasting color so the design stands out, and make a set of three in different colors for a family gift.
Can I sell lanyards made from this pattern?
Yes, you may sell finished lanyards made from this free pattern, with credit to Little Loop Finds. Please do not sell or republish the pattern text itself. A set of three lanyards in three colors makes a lovely gift bundle, and pairs nicely with a small accessory tucked into the badge pocket as a surprise.
Happy stitching, and may your new lanyard keep your keys and your badge close at hand.