Crochet Koozie Pattern (Can Cooler Sleeve)
Crochet a snug can koozie sleeve for a standard drink can in about one hour, then keep your drink cold and your hand dry.

Patterns · Crochet
- Finished size
- 4.5 in tall
- Making time
- 1 hour
- Hook
- US H-8 (5.0 mm)
- Set
- Koozie, drawstring
- Skill
- Easy
In this post
- Key Takeaways
- Table of Contents
- Why You Will Love This Koozie
- Finished Size, Skill Level, and Time
- Materials You Need
- Abbreviations (US Terms)
- Gauge and Sizing Notes
- Part 1: The Bottom and the Body
- Part 2: The Stripes and the Top Edge
- Part 3: The Drawstring and Assembly
- Variations: Colors, Sizes, and Uses
- Troubleshooting a Koozie That Does Not Fit
- Care Instructions
- Frequently Asked Questions
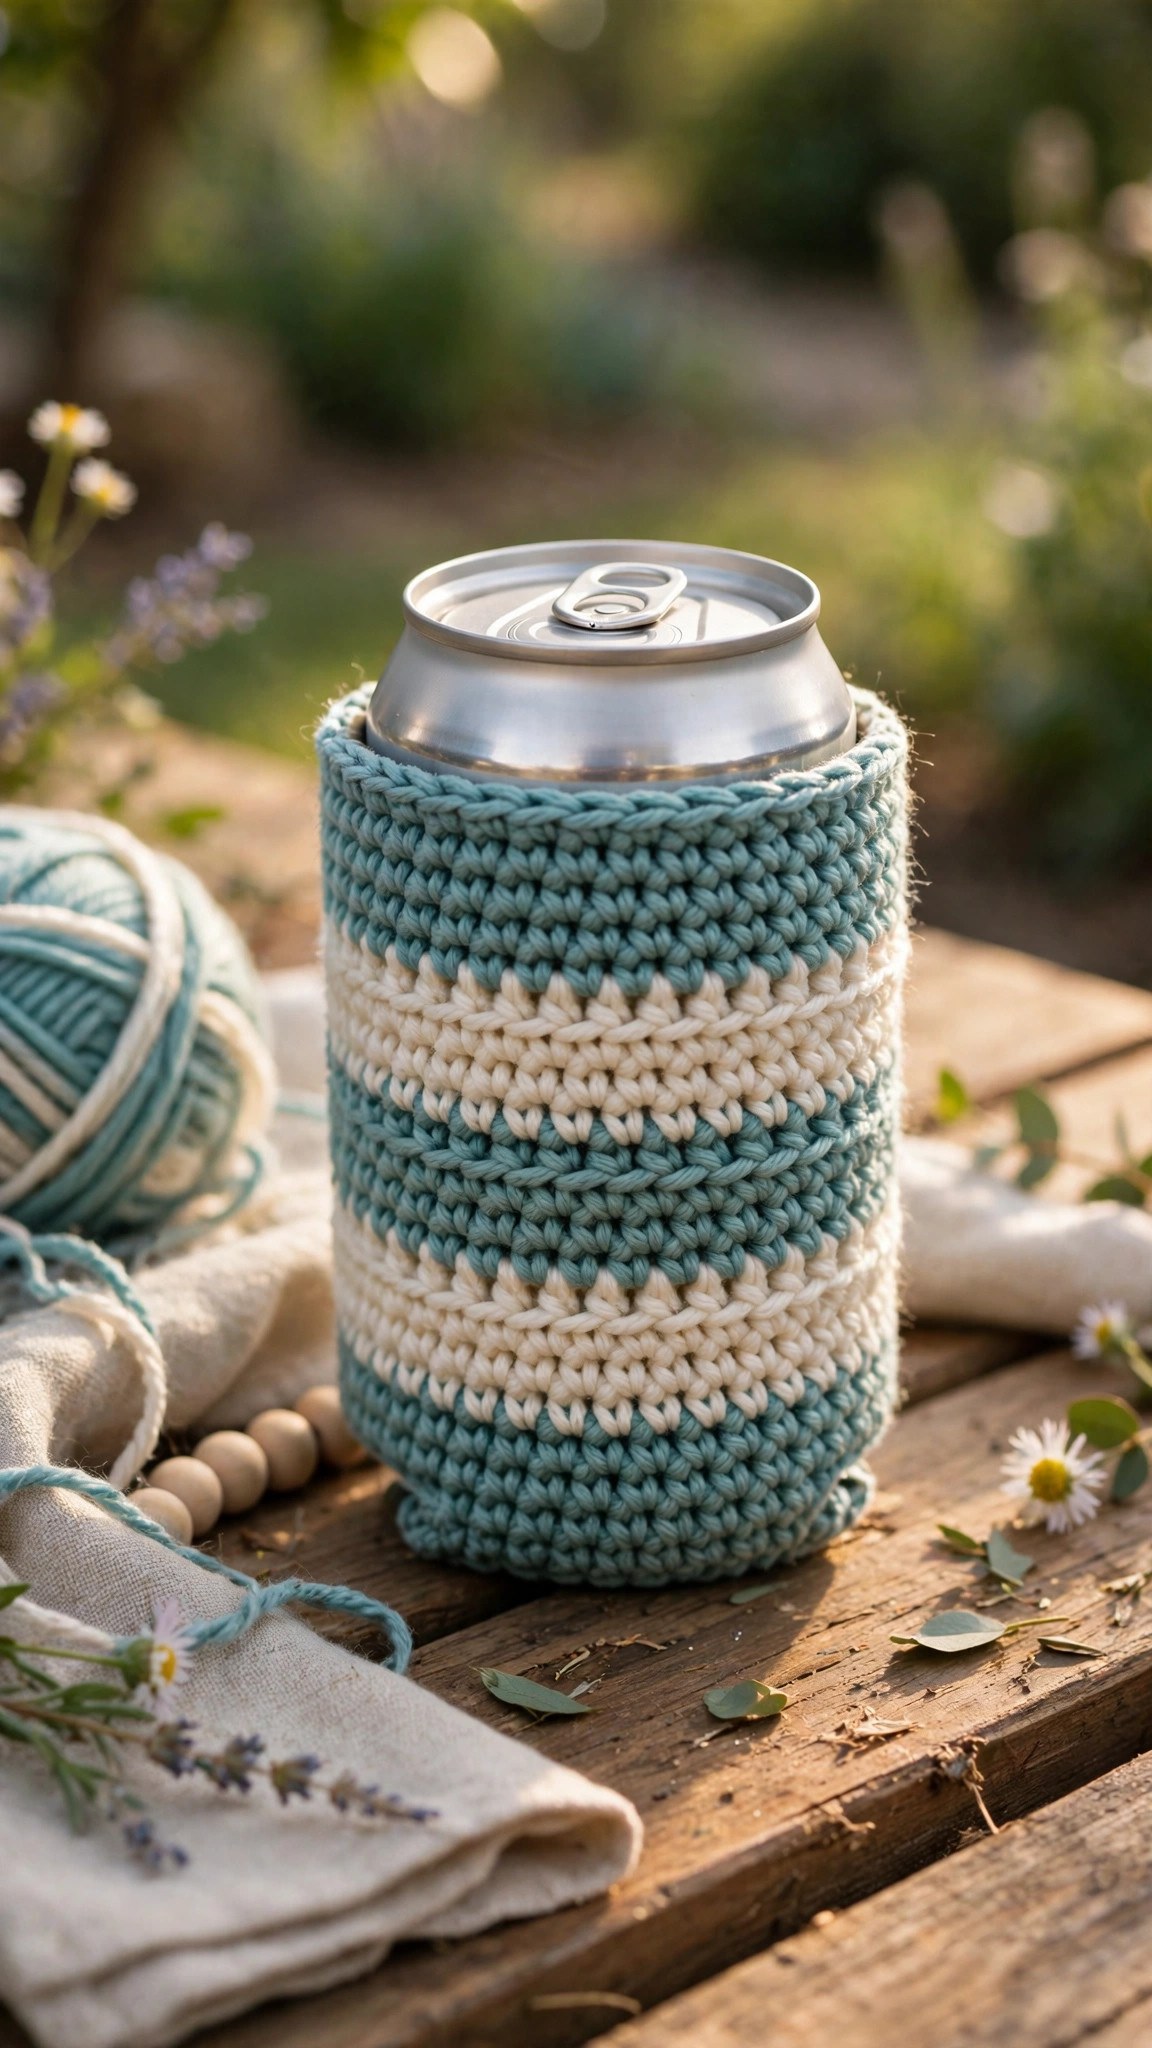
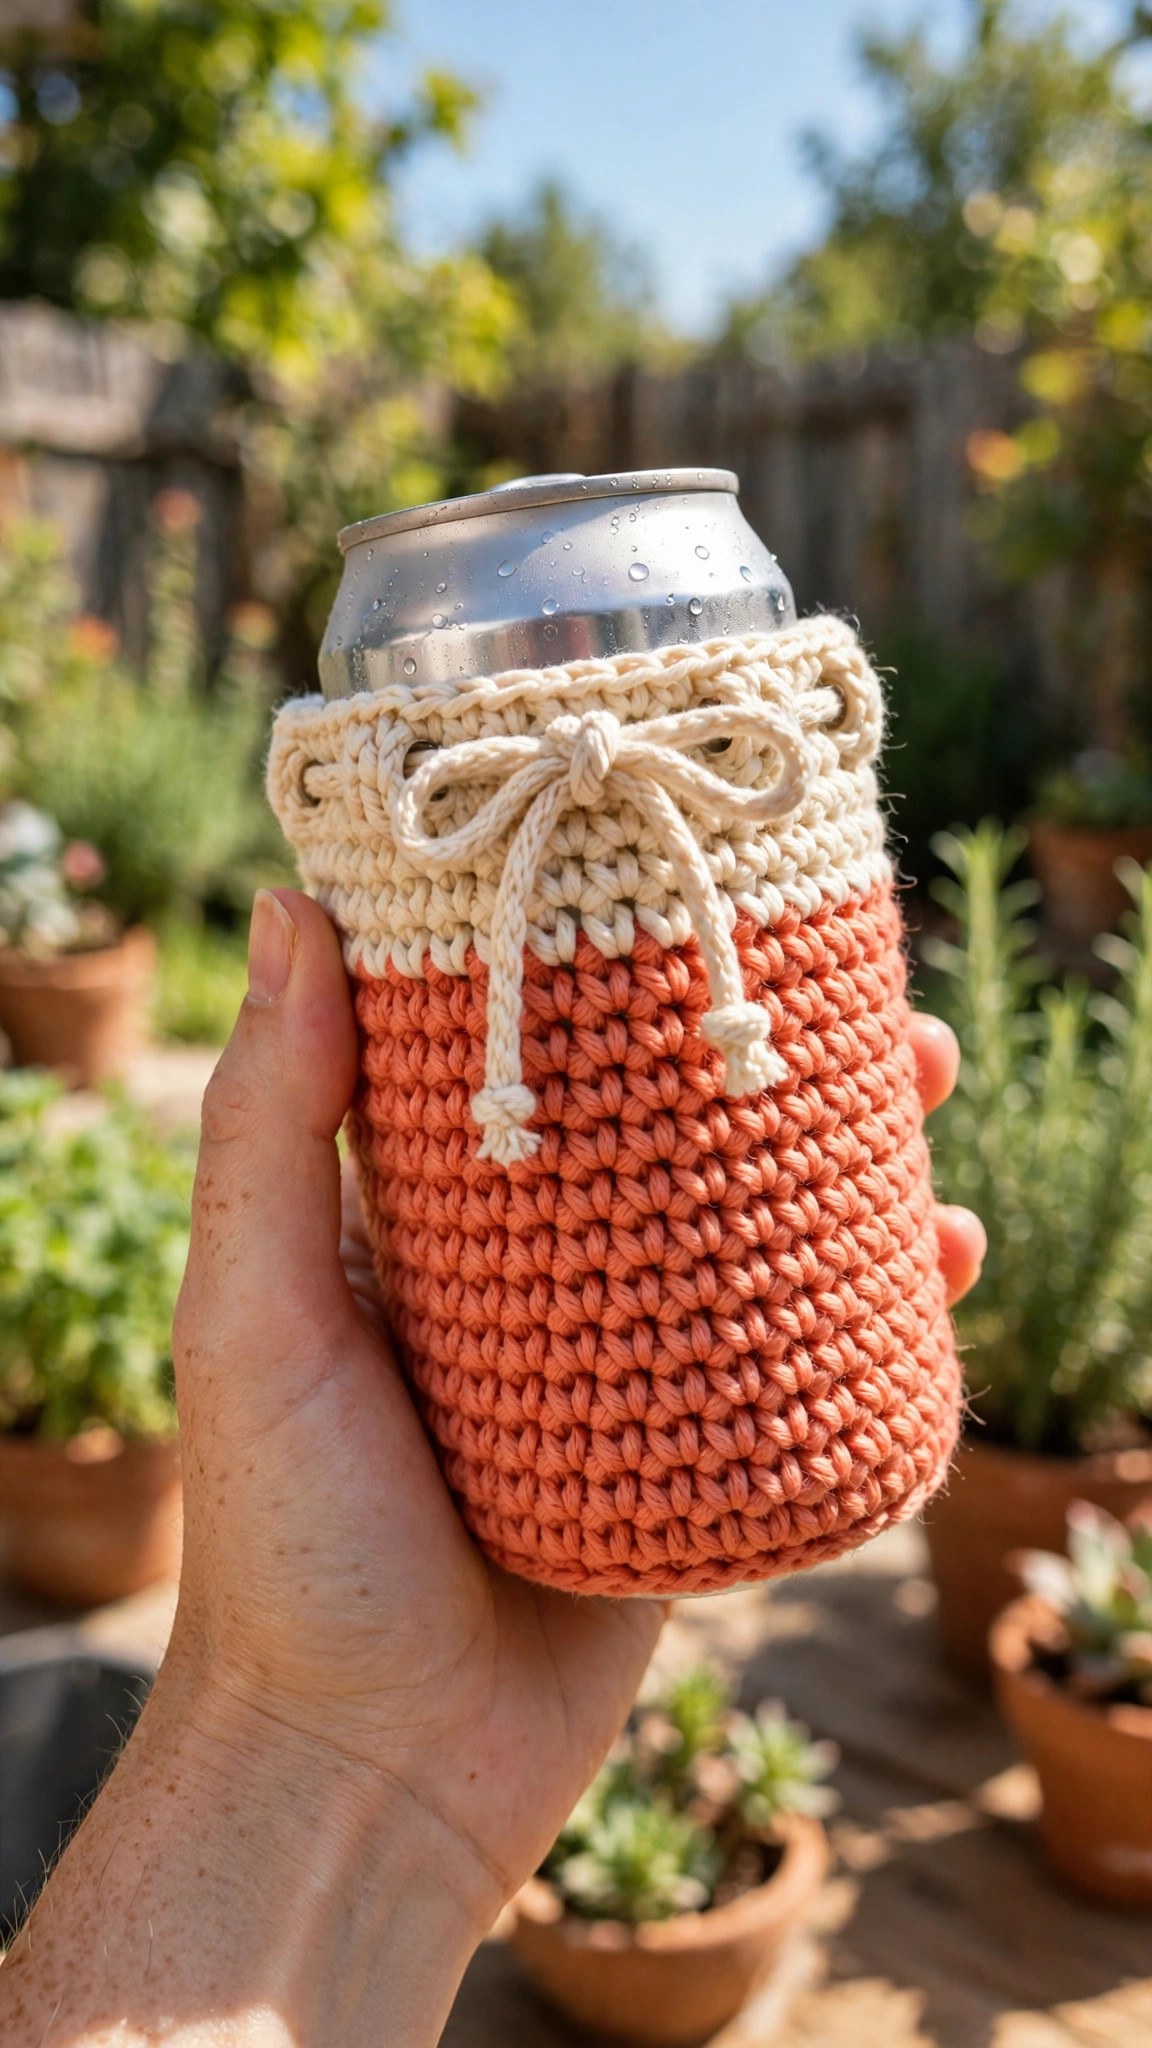
A crochet koozie is the simplest way to keep a cold drink cold and your hand dry. This free crochet koozie pattern makes a snug crochet can koozie, a soft insulating sleeve that fits a standard drink can, with a crocheted bottom and a drawstring top or a snug top option. It takes about 1 hour, uses less than one skein of yarn, and makes a great gift, party favor, or market stall item.
This is an original Little Loop Finds design, written in US terms and completely free. The koozie is worked in the round with simple single crochet, then finished with a drawstring or a snug top edge, so it is a great first crochet project.
A quick note on scope: this post is about one specific crochet koozie, a snug insulating sleeve for a standard drink can, with no handle. That makes it different from a cup holder, which has a handle and fits a cup. A koozie hugs the can itself. If you want a holder for a bottle instead, our crochet water bottle holder pattern is the matching project.
Key Takeaways
- Free original pattern: a Little Loop Finds original design, written in US terms, and completely free.
- A snug can sleeve: a crochet koozie that fits a standard drink can, with a bottom and a drawstring or snug top.
- A 4.5 inch koozie: about 4.5 inches tall when finished, sized to fit a standard 12 ounce can.
- Simple stitches: worked in the round with single crochet, increases, and decreases only.
- A 1 hour project: one koozie takes about 1 hour.
Table of Contents
- Why You Will Love This Koozie
- Finished Size, Skill Level, and Time
- Materials You Need
- Abbreviations (US Terms)
- Gauge and Sizing Notes
- Part 1: The Bottom and the Body
- Part 2: The Stripes and the Top Edge
- Part 3: The Drawstring and Assembly
- Variations: Colors, Sizes, and Uses
- Troubleshooting a Koozie That Does Not Fit
- Care Instructions
- Frequently Asked Questions
Why You Will Love This Koozie
A crochet koozie turns an ordinary can into something cheerful. The soft sleeve keeps your drink cold longer, stops condensation from wetting your hand, and gives you a grip that never slips. Make one in your favorite colors, or make a set for a barbecue, a picnic, or a party.
The koozie is one small tube of single crochet, worked in the round from the bottom up. There is no shaping to worry about, no sewing, and no pieces to join. You can finish one in an evening, and a set of four in a weekend.
The drawstring top is the best part, because you can pull it snug around the top of the can so the koozie never slides off, then loosen it to swap in a fresh cold can.
Finished Size, Skill Level, and Time
- Finished size: about 4.5 inches tall and 2.75 inches wide, sized to fit a standard 12 ounce drink can. The bottom is a flat round about 2.75 inches wide, and the body is a straight tube with no shaping.
- Skill level: Easy. You need a magic ring, single crochet, increases, and basic finishing. No decreases are needed for the main body, and the drawstring is a simple chain.
- Time: about 1 hour per koozie: 20 minutes for the bottom, 30 minutes for the body, and 10 minutes for the top edge and the drawstring.
Materials You Need
| Item | What to get |
|---|---|
| Yarn, main color | Worsted weight cotton yarn in teal, 40 yards |
| Yarn, stripe color | Worsted weight cotton yarn in cream, 20 yards |
| Hook | US H-8 (5.0 mm), or the size that gives you the gauge below |
| Notions | Tapestry needle, scissors, tape measure, stitch markers |
Cotton yarn is the best choice for a crochet koozie because it absorbs condensation, holds its shape when wet, and washes well. Acrylic yarn also works, but it does not absorb moisture as well, and it can feel slippery on a cold can. Avoid very fuzzy yarns, because they hide the stitches and make the koozie hard to slide onto the can.
A stitch marker at the start of each round keeps you from losing your place, which matters on a small tube where the rounds all look the same. Move the marker up as you go, and count your stitches at the end of each increase round.
Abbreviations (US Terms)
- MR = magic ring
- ch = chain
- sl st = slip stitch
- sc = single crochet
- hdc = half double crochet
- dc = double crochet
- inc = increase (2 sc in the same stitch)
- dec = decrease (sc 2 together)
- st(s) = stitch(es)
- rep = repeat
- RS = right side
- FO = fasten off
Gauge and Sizing Notes
Gauge matters on a koozie because the sleeve must fit the can snugly. Too loose, and it slides off. Too tight, and you cannot get the can in. Work a swatch of 12 sc and 12 rows in the main color. It should be about 3 inches wide and 3 inches tall. If it is wider, go down a hook size. If it is narrower, go up a hook size.
The pattern is written for a standard 12 ounce can, about 2.6 inches wide and 4.8 inches tall. To fit a slim can, work the bottom to 30 sts instead of 36, and work the body to 4 inches tall instead of 4.5. To fit a tall can, keep the same stitch count and work the body to 5.5 inches tall. Test the fit on a real can as you go, and adjust the top edge so the can slides in with a gentle push. Our crochet coaster pattern uses the same flat round shaping if you want to practice the bottom on a simpler piece first.
Part 1: The Bottom and the Body
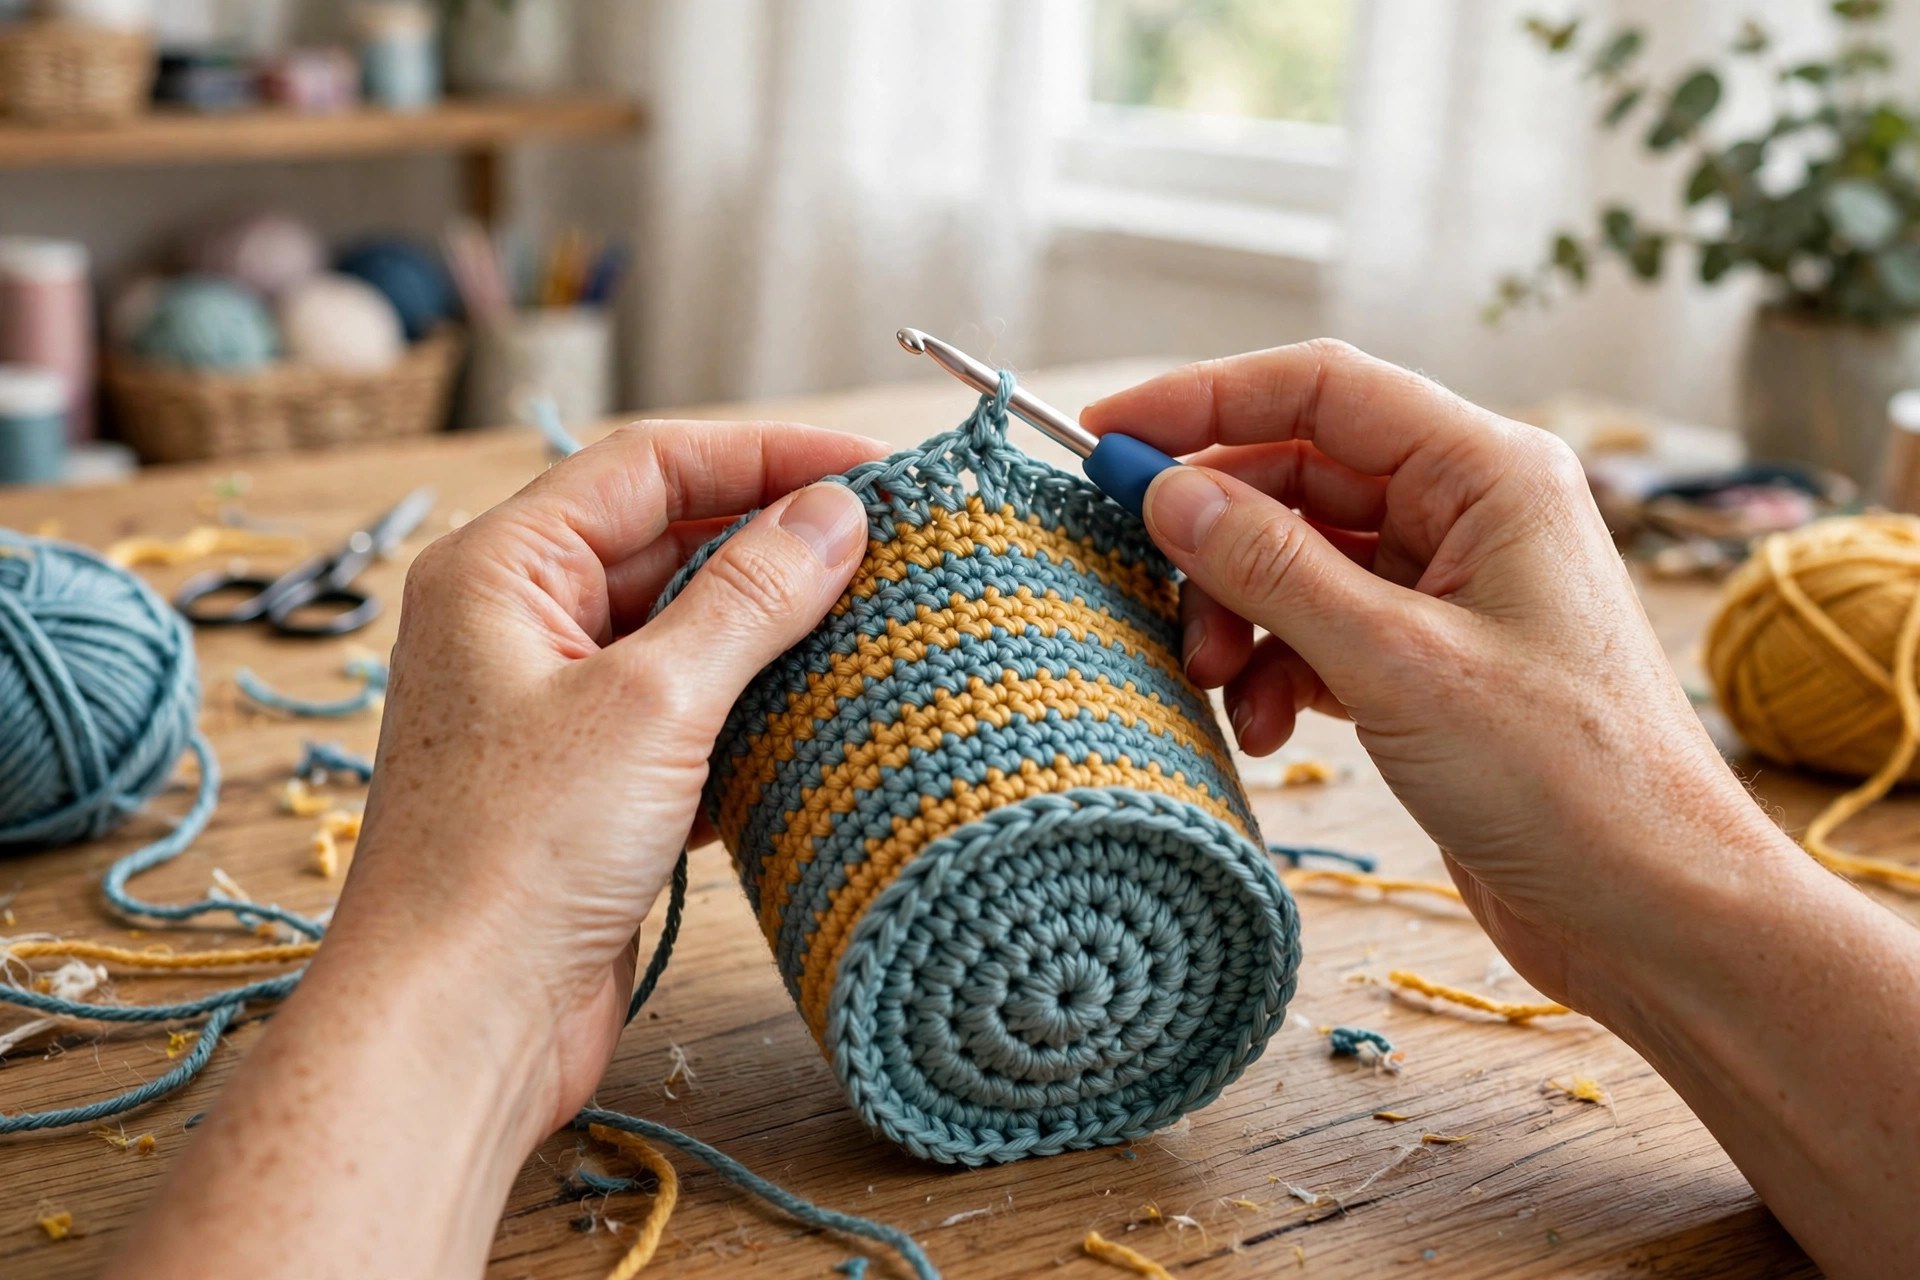
The koozie starts with a flat round for the bottom, then the sides are worked straight up with no shaping. Work in continuous rounds, and place a stitch marker at the start of each round.
The Bottom
With the main color, work in continuous rounds.
- Round 1: MR, 6 sc in the ring. (6)
- Round 2: inc in each st around. (12)
- Round 3: (sc, inc) rep 6 times. (18)
- Round 4: (2 sc, inc) rep 6 times. (24)
- Round 5: (3 sc, inc) rep 6 times. (30)
- Round 6: (4 sc, inc) rep 6 times. (36)
The bottom should be a flat round about 2.75 inches wide. Lay it on a table to check. If the edges curl up, your tension is too tight, so go up a hook size. If the edges ripple, your tension is too loose, so go down a hook size. The bottom must sit flat, because a wavy bottom makes the whole koozie lean.
The Body
With the main color, work the sides of the koozie straight up from the bottom round.
- Round 7: sc in each st around, working in the back loop only. (36)
- Rounds 8 to 18: sc in each st around. (36)
Working round 7 in the back loop only makes a clean corner where the bottom meets the sides, so the koozie stands up straight instead of flaring out. Keep your stitches even and snug, and slide a real can inside every few rounds to check the fit. The can should slide in with a gentle push and sit snugly, with no gap between the yarn and the metal.
At round 12, switch to the stripe color for two rounds, then switch back to the main color for two rounds, then work two more stripe rounds. This gives the koozie three neat stripes in the middle of the body. To change colors, work the last stitch of the old color until two loops are left on the hook, then pull the new color through to finish the stitch. Carry the unused color up the inside of the koozie so you do not have to weave in lots of ends. Our crochet tote bag pattern uses the same color change method if you want to practice the stripes on a larger project first.
The body should be about 4 inches tall when you reach round 18. If your can is taller than standard, keep working even rounds until the body reaches the height you want, stopping about half an inch below the top of the can.
Part 2: The Stripes and the Top Edge
The stripes give the koozie its cheerful look, and the top edge decides how the koozie finishes. You can choose a drawstring top, which pulls snug around the can, or a snug top, which is a simple rolled edge that grips the can on its own.
Finishing the Stripes
Work the last two stripe rounds in the stripe color, then cut the stripe color, leaving a short tail to weave in. Check the stripes from the outside. They should be even, with clean color changes and no jog where the rounds meet. If the color change leaves a small step, work the first stitch of the new color as a slip stitch instead of a single crochet, which hides the step.
The Drawstring Top Option
This is the default option, and it is the best choice if you want the koozie to stay put on the can.
- Round 19: (4 sc, ch 2, skip 2 sts) rep 6 times. (36 sts and 6 eyelet spaces)
- Round 20: sc in each st and each ch around. (36)
- Round 21: sc in each st around. (36)
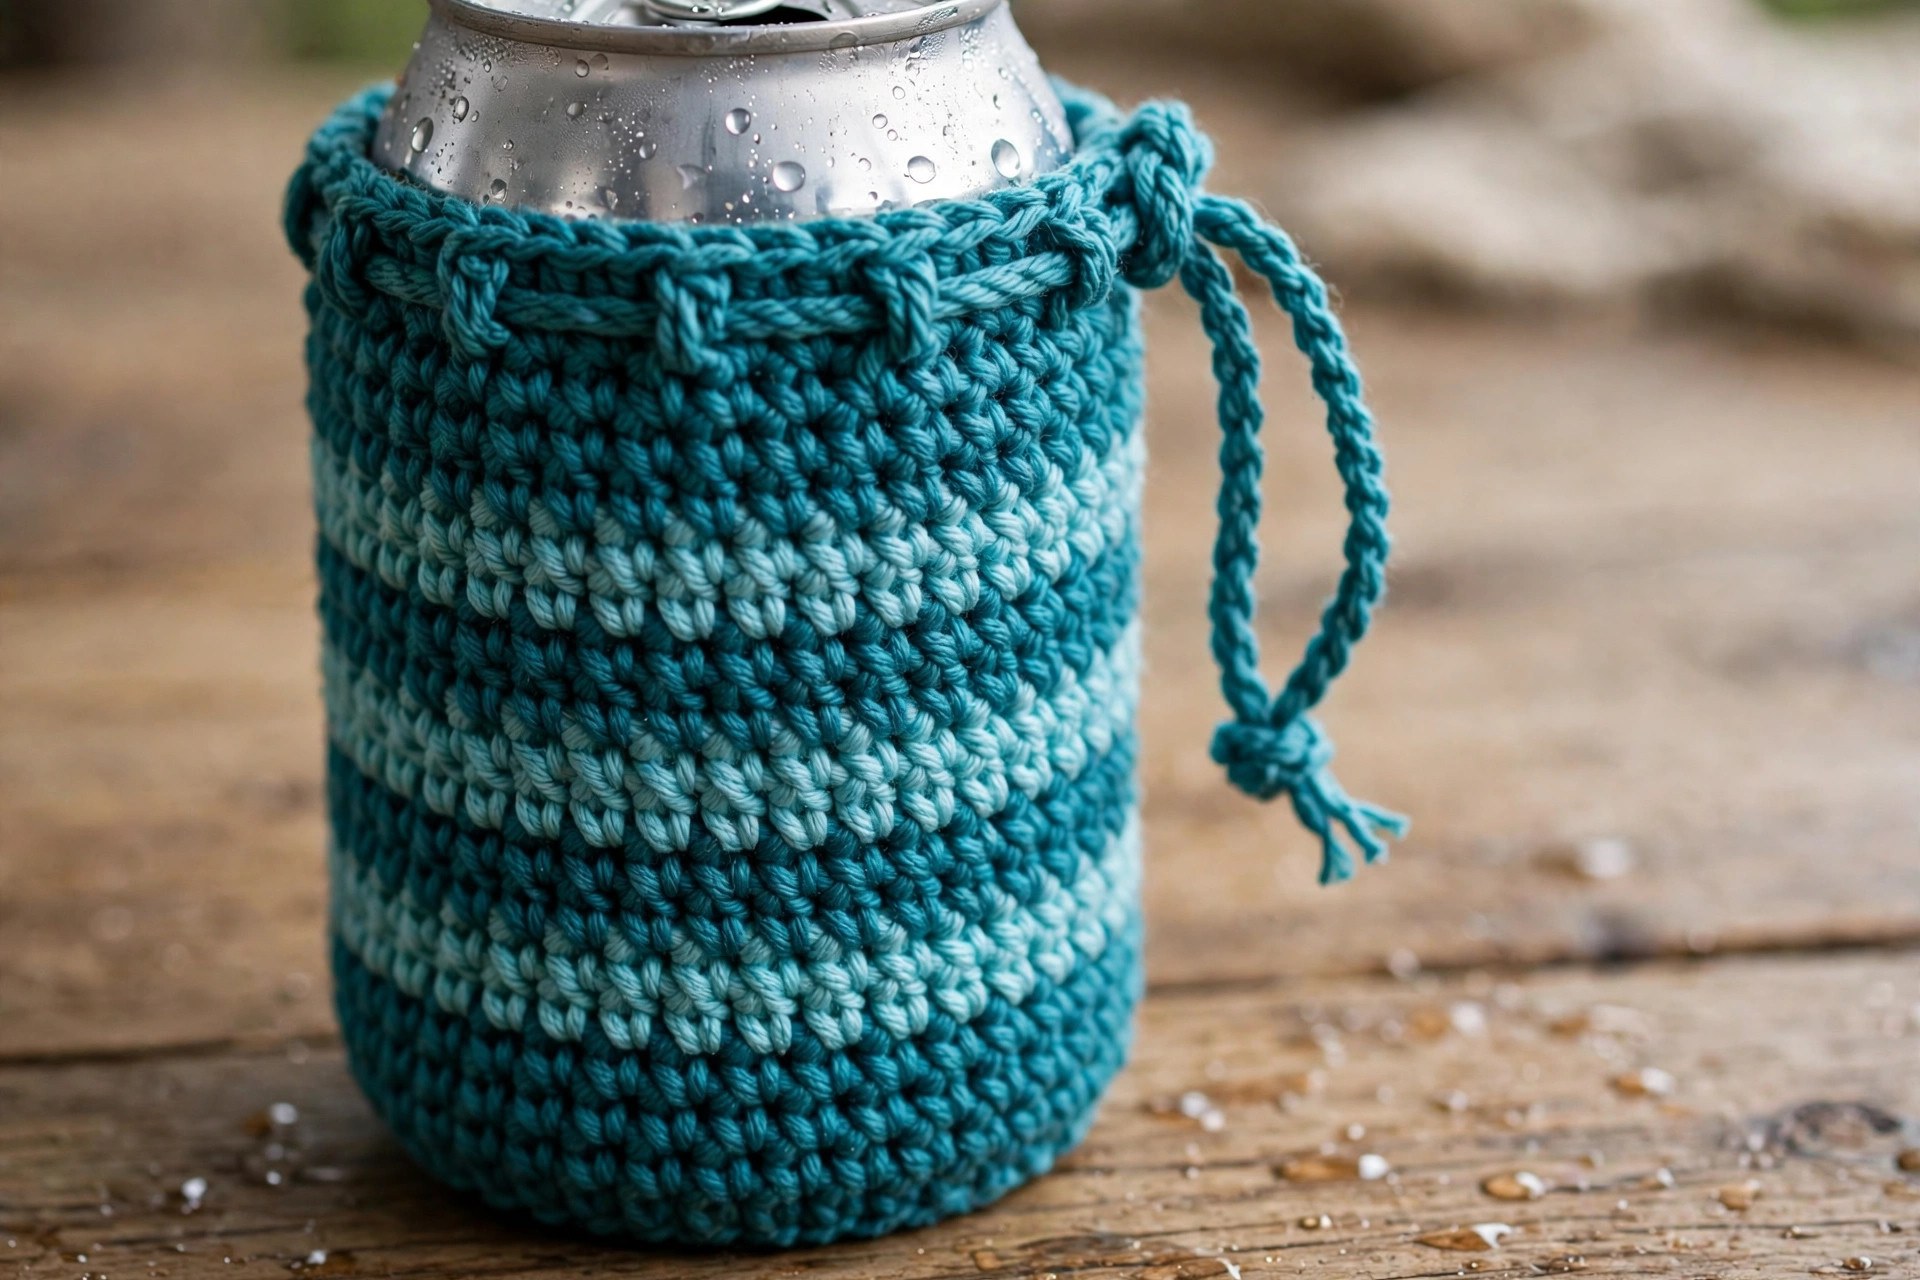
The eyelet spaces in round 19 are the holes the drawstring threads through. Work them evenly around the top, and keep the chains loose so the drawstring slides through easily. Rounds 20 and 21 make a neat band above the eyelets so the top edge does not fray or stretch out of shape.
The Snug Top Option
If you prefer a simpler finish with no drawstring, skip the eyelet round and work the top edge like this instead.
- Round 19: (4 sc, dec) rep 6 times. (30)
- Round 20: sc in each st around. (30)
- Round 21: sl st in each st around. (30)
The decrease round pulls the top in slightly so it grips the top of the can, and the slip stitch round makes a firm rolled edge. This option is faster, and it is the best choice for a koozie you will use every day. The drawstring option is the better choice for a gift, because the recipient can tighten it to fit any can.
Part 3: The Drawstring and Assembly
This is the part where the koozie becomes finished and ready to use. Make the drawstring, thread it through the eyelets, add a small charm or tassel if you like, and weave in the ends.
The Drawstring
With the stripe color, chain 40. Work 1 sl st in the 2nd ch from the hook and in each ch across, then fasten off. The drawstring should be about 10 inches long, with a neat cord that slides easily through the eyelets. If you prefer a thicker cord, work 1 sc in each chain instead of a slip stitch.
Thread the drawstring through the eyelet spaces in round 19, going in one eyelet and out the next, all the way around, so both ends come out at the front. Tie the two ends together in a small knot, then tie a bow. Pull the drawstring snug to test it, then loosen it and slide a can in and out to make sure the koozie still fits.
Optional Tassels and Charms
For a fun finish, add a small tassel to each end of the drawstring. Wrap yarn around three fingers 10 times, tie one end, cut the other end, and tie the tassel to the drawstring end with a knot. Trim the tassel to about 1 inch long. A tassel stops the drawstring from slipping back through the eyelets, and it looks cheerful.
You can also sew a small crochet flower or a wooden bead to the front of the koozie. Keep any decoration flat and small, so it does not catch on things when you carry the can. Our crochet market bag pattern uses the same tassel method if you want to practice it on a larger project first.
Final Finishing
Slide a real can into the finished koozie and check the fit from every side. The bottom should sit flat, the body should hug the can with no gaps, and the top should sit just below the rim of the can. Pull the drawstring snug and check that the koozie does not slide off when you tip the can. Weave in all the loose ends on the inside of the koozie, where they will not show and will not rub against the can.
Variations: Colors, Sizes, and Uses
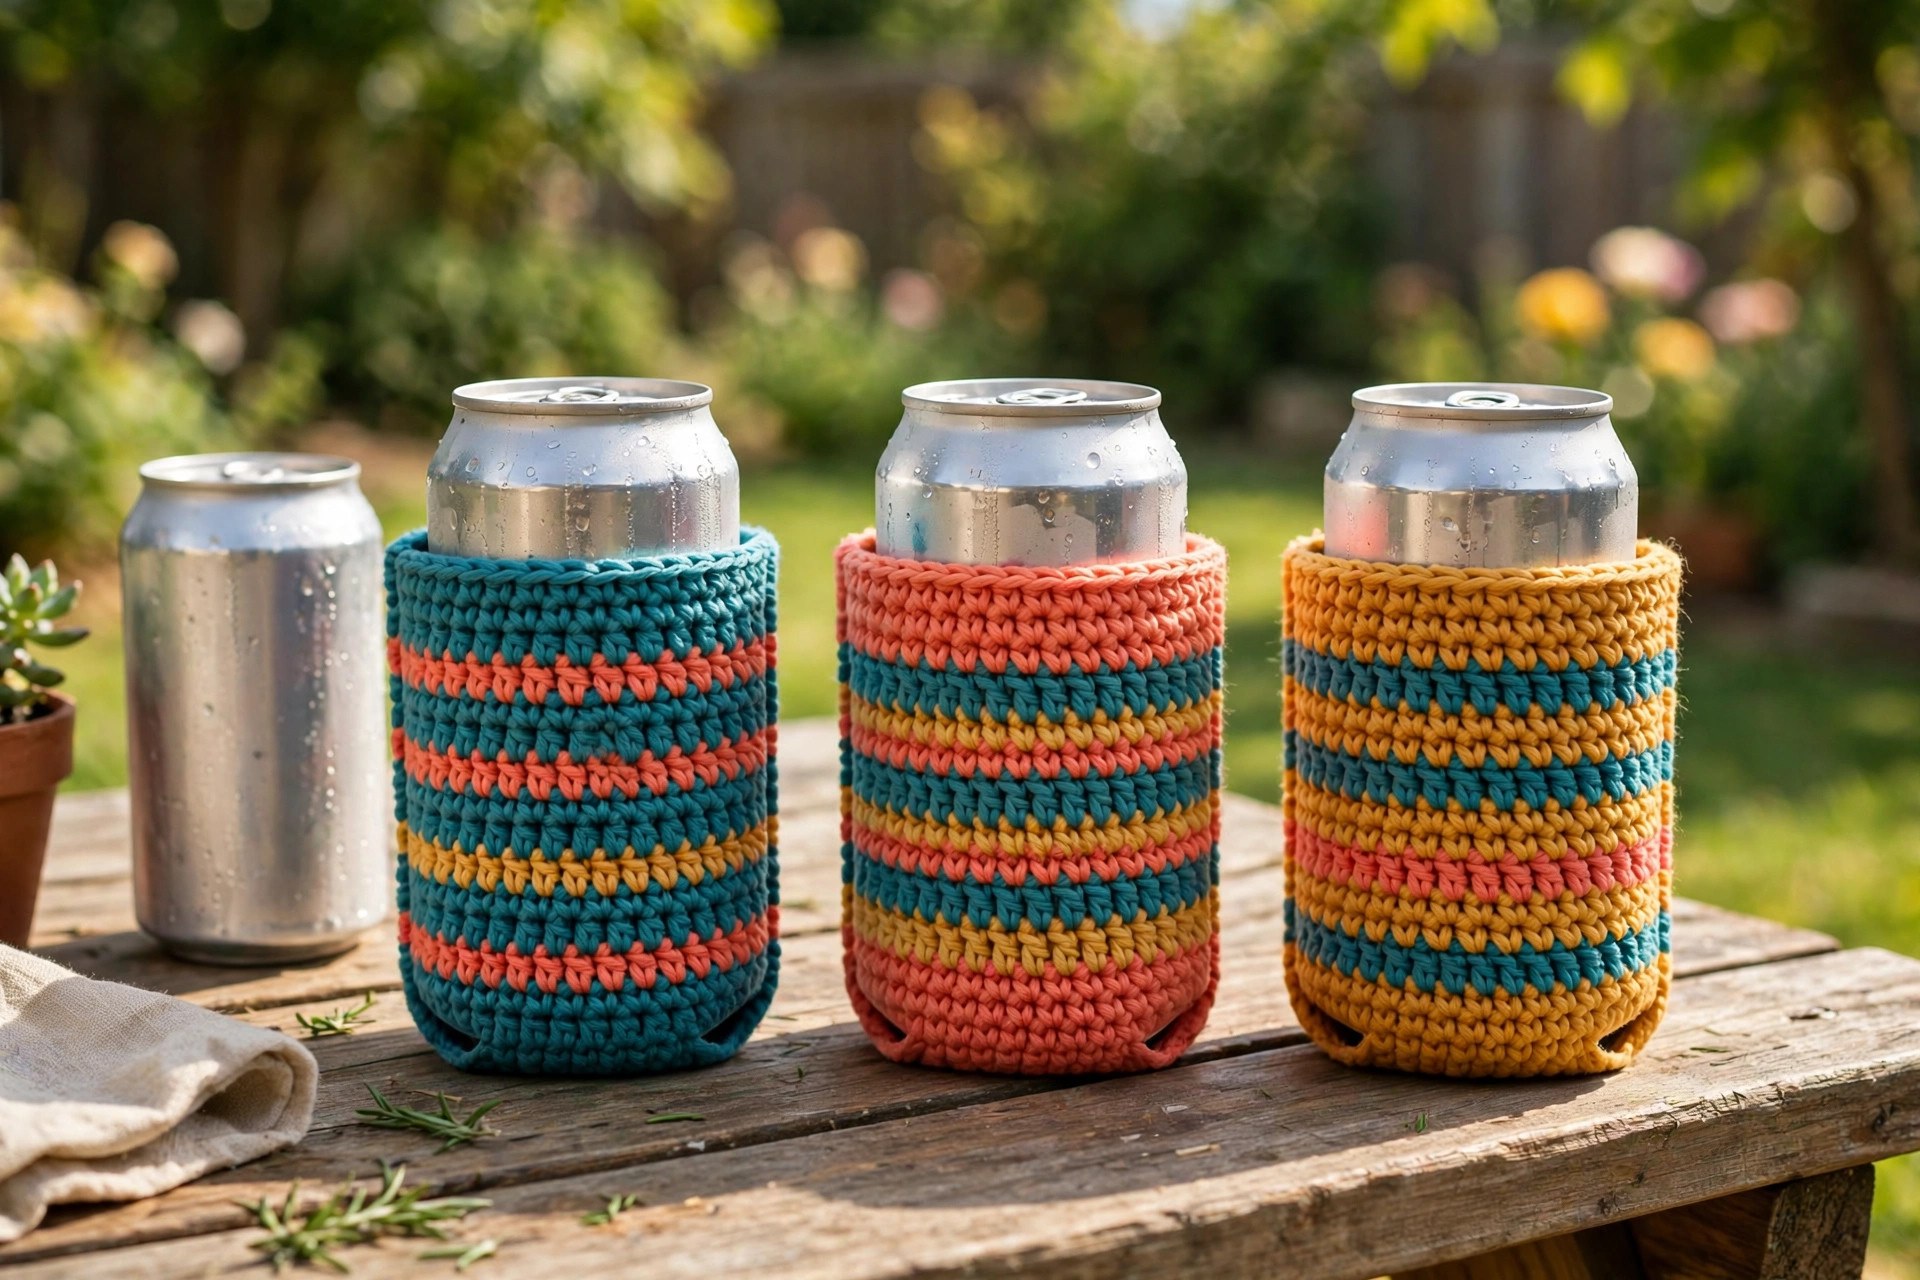
- Classic striped koozie: work the koozie in teal with cream stripes, just as written.
- Team colors koozie: make the body in your favorite team colors for game day.
- Slim can koozie: work the bottom to 30 sts instead of 36, and work the body to 4 inches tall, for a slim can.
- Tall can koozie: keep the same stitch count and work the body to 5.5 inches tall for a tall can.
- Party favor set: make four koozies in four different colors for a barbecue or a birthday party.
- Gift set: pair a koozie with a matching crochet backpack pattern and a cold drink for a fun outdoor gift.
Troubleshooting a Koozie That Does Not Fit
- My koozie slides off the can. The gauge is too loose, or the top is too wide. Go down a hook size, work the snug top option, or pull the drawstring tighter.
- My can will not fit inside. The gauge is too tight, or the bottom is too small. Go up a hook size, or work the bottom to 42 sts instead of 36.
- My bottom curls up at the edges. The stitches are too tight. Go up a hook size, and check that the bottom lies flat after every increase round.
- My stripes have a visible step. The color change was worked as a regular stitch. Work the first stitch of the new color as a slip stitch to hide the step.
- My drawstring will not slide through the eyelets. The chains in the eyelet round were worked too tightly. Work the chains loosely, and use a thinner drawstring cord.
- My koozie leans to one side. The bottom is wavy, or the body rounds are uneven. Check the bottom lies flat, and count your stitches at the end of each round.
Care Instructions
Hand wash a crochet koozie in cool water with a mild detergent, and press the water out gently without wringing. Reshape the tube and lay it flat to dry away from direct heat. Cotton koozies can go in the washing machine on a gentle cycle, but hand washing keeps the stripes bright and the drawstring from tangling. Do not put a koozie in the dryer, because the heat can shrink cotton. Store koozies flat or standing up in a drawer.
Frequently Asked Questions
Is this crochet koozie pattern good for beginners?
Yes, it is best for an easy crocheter. You need a magic ring, single crochet, increases, and basic finishing. One koozie takes about 1 hour.
What yarn is best for a crochet koozie?
Worsted weight cotton yarn is the best choice, because it absorbs condensation, holds its shape when wet, and washes well. Acrylic yarn also works, but it does not absorb moisture as well. Avoid very fuzzy yarns, because they hide the stitches and make the koozie hard to slide onto the can.
Will this koozie fit a standard drink can?
Yes, it is written for a standard 12 ounce can, about 2.6 inches wide and 4.8 inches tall. The finished koozie is about 4.5 inches tall and 2.75 inches wide. Test the fit on a real can as you go, and adjust the body height for a slim or tall can.
How is a koozie different from a cup holder?
A koozie is a snug insulating sleeve that hugs the can itself, with a bottom and a drawstring or snug top, and no handle. A cup holder has a handle and fits a cup, so you carry it by the handle. This pattern makes a koozie, not a cup holder, and it is sized for a can, not a cup.
Should I choose the drawstring top or the snug top?
Choose the drawstring top if you want the koozie to stay put on any can, or if you are making a gift. Choose the snug top if you want a faster finish, or if you will use the koozie every day on the same size can.
Can I sell koozies made from this pattern?
Yes, you may sell finished koozies made from this free pattern, with credit to Little Loop Finds. Do not sell or republish the pattern text itself. A set of four koozies in matching colors makes a lovely set for a market stall.
Happy stitching, and may your little koozie keep every drink cold and every hand dry.