Crochet Checkerboard Pattern (Free Blanket)
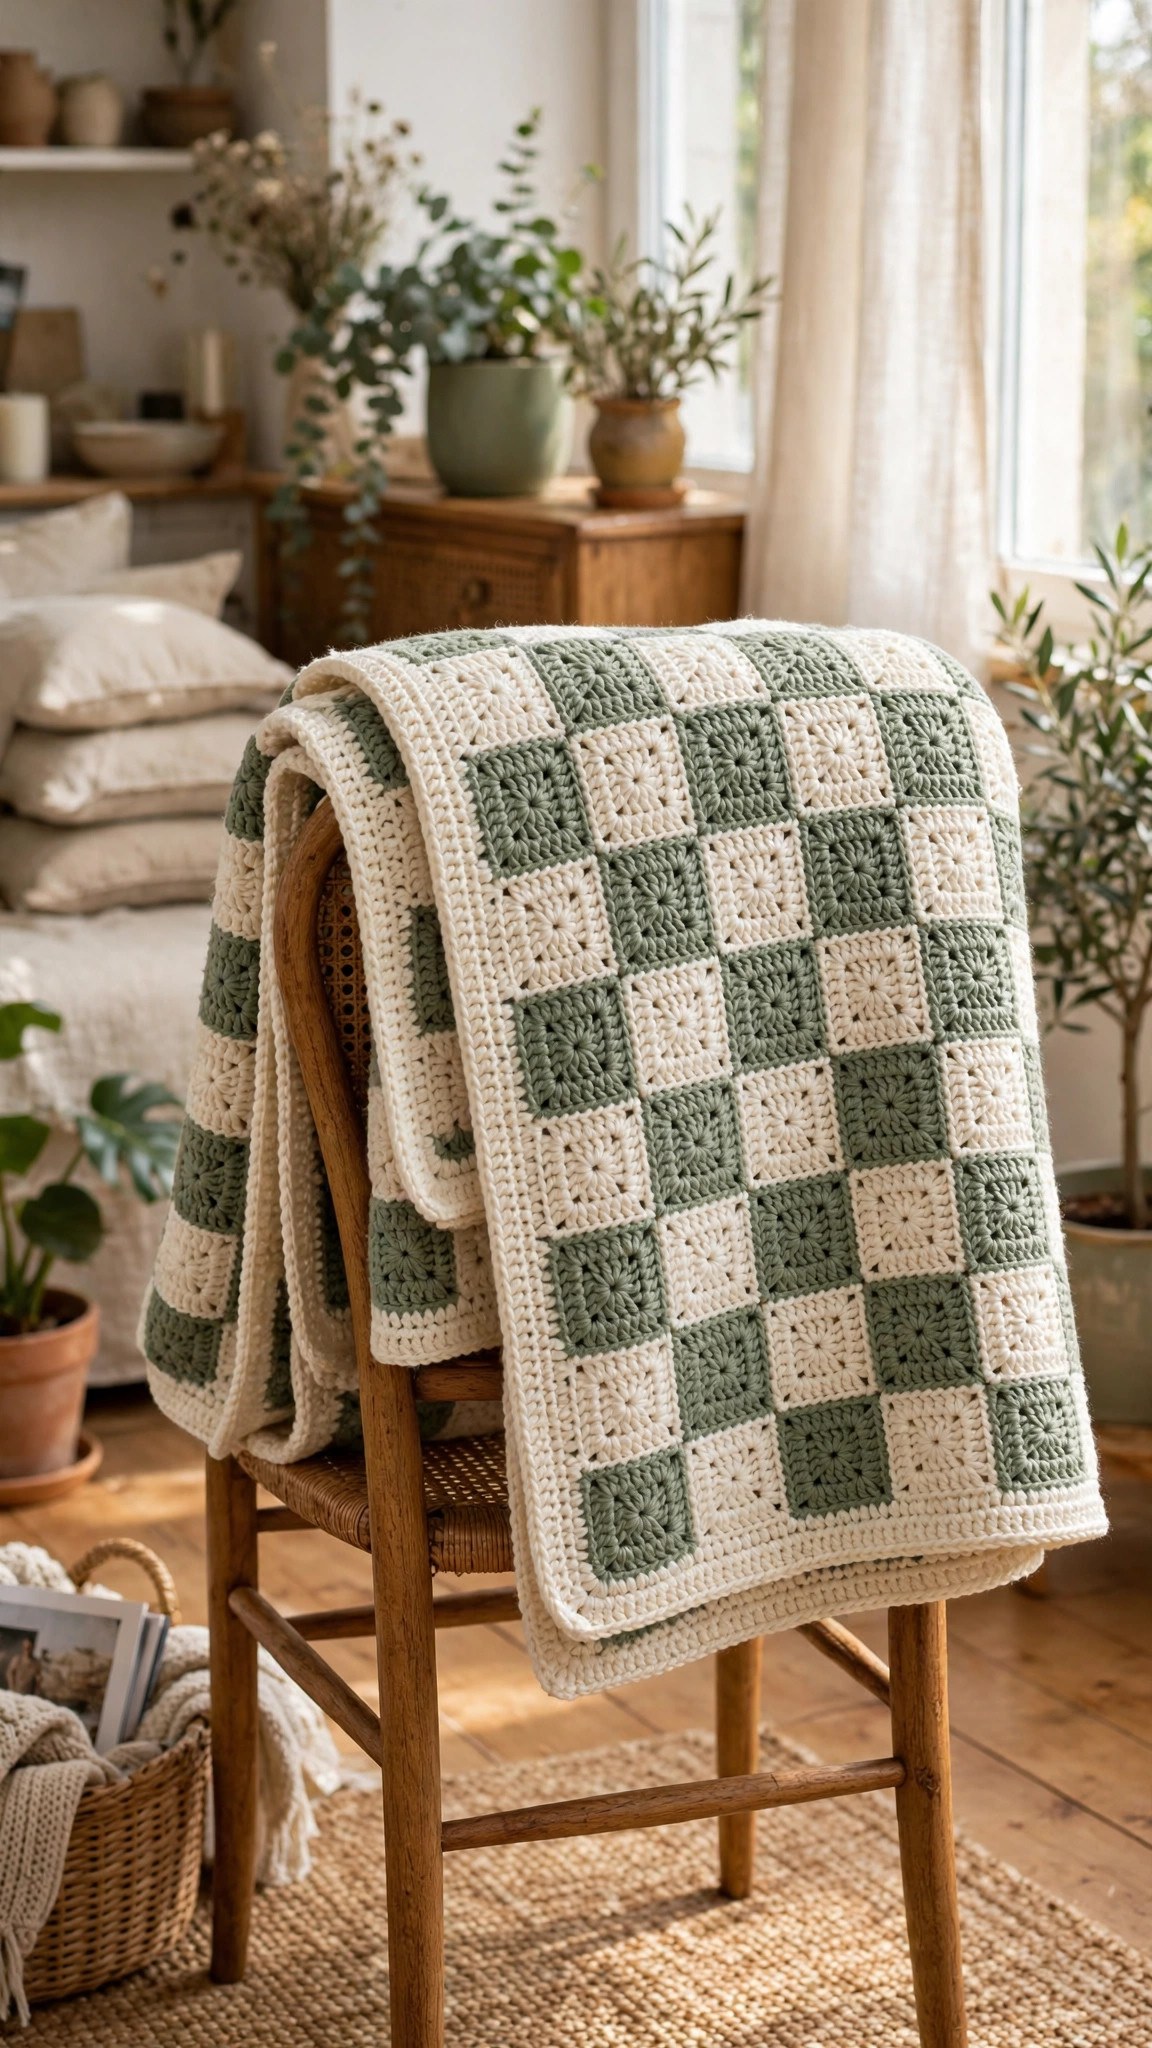
Crochet a two-color checkerboard blanket with alternating squares and a simple border, then drape it over a sofa or give it as a gift.

Patterns · Crochet
- Finished size
- 40 x 48 in
- Making time
- 12 hours per blanket
- Hook
- US J-10 (6.0 mm)
- Set
- Blanket, border
- Skill
- Easy
In this post
- Key Takeaways
- Table of Contents
- Why You Will Love This Crochet Checkerboard
- Finished Size, Skill Level, and Time
- Materials You Need
- Abbreviations (US Terms)
- Gauge and Sizing Notes
- Part 1: The Checkerboard Body
- Part 2: Color Changes and Carrying Yarn
- Part 3: The Border and Finishing
- Variations: Colors, Sizes, and Uses
- Troubleshooting Squares That Wobble or Lean
- Care Instructions
- Frequently Asked Questions
A crochet checkerboard blanket is one of the most satisfying projects you can make. Two colors, neat alternating squares, and a simple border, all in easy rows. This free crochet checkerboard pattern walks you through every step, from the foundation chain to the last round of the border.
This is an original Little Loop Finds design, written in US terms and completely free. The blanket is worked flat in rows of half double crochet, with the color changing every 12 stitches to build the squares, and the color blocks swapping every 8 rows to build the checkerboard. If you can crochet a chain, a half double crochet, and change colors, you can crochet this blanket.
A quick note on scope: this post is about one specific checkerboard blanket, a two color throw worked in rows with alternating squares and a simple border. It is not a checkerboard hat or a checkerboard bag. If you want another geometric blanket, our chevron crochet pattern is a zigzag throw.
Key Takeaways
- Free original pattern: this crochet checkerboard pattern is a Little Loop Finds original design, written in US terms, and completely free.
- A classic two color throw: neat alternating squares in cream and sage green, with a simple border.
- Beginner friendly blanket: half double crochet rows only, with the color changes explained step by step.
- A relaxing long project: one blanket takes about 12 hours, spread over a week or two of evening rows.
- Three ways to use it: drape it over a sofa, fold it at the foot of a bed, or give it as a housewarming gift.
Table of Contents
- Why You Will Love This Crochet Checkerboard
- Finished Size, Skill Level, and Time
- Materials You Need
- Abbreviations (US Terms)
- Gauge and Sizing Notes
- Part 1: The Checkerboard Body
- Part 2: Color Changes and Carrying Yarn
- Part 3: The Border and Finishing
- Variations: Colors, Sizes, and Uses
- Troubleshooting Squares That Wobble or Lean
- Care Instructions
- Frequently Asked Questions
Why You Will Love This Crochet Checkerboard
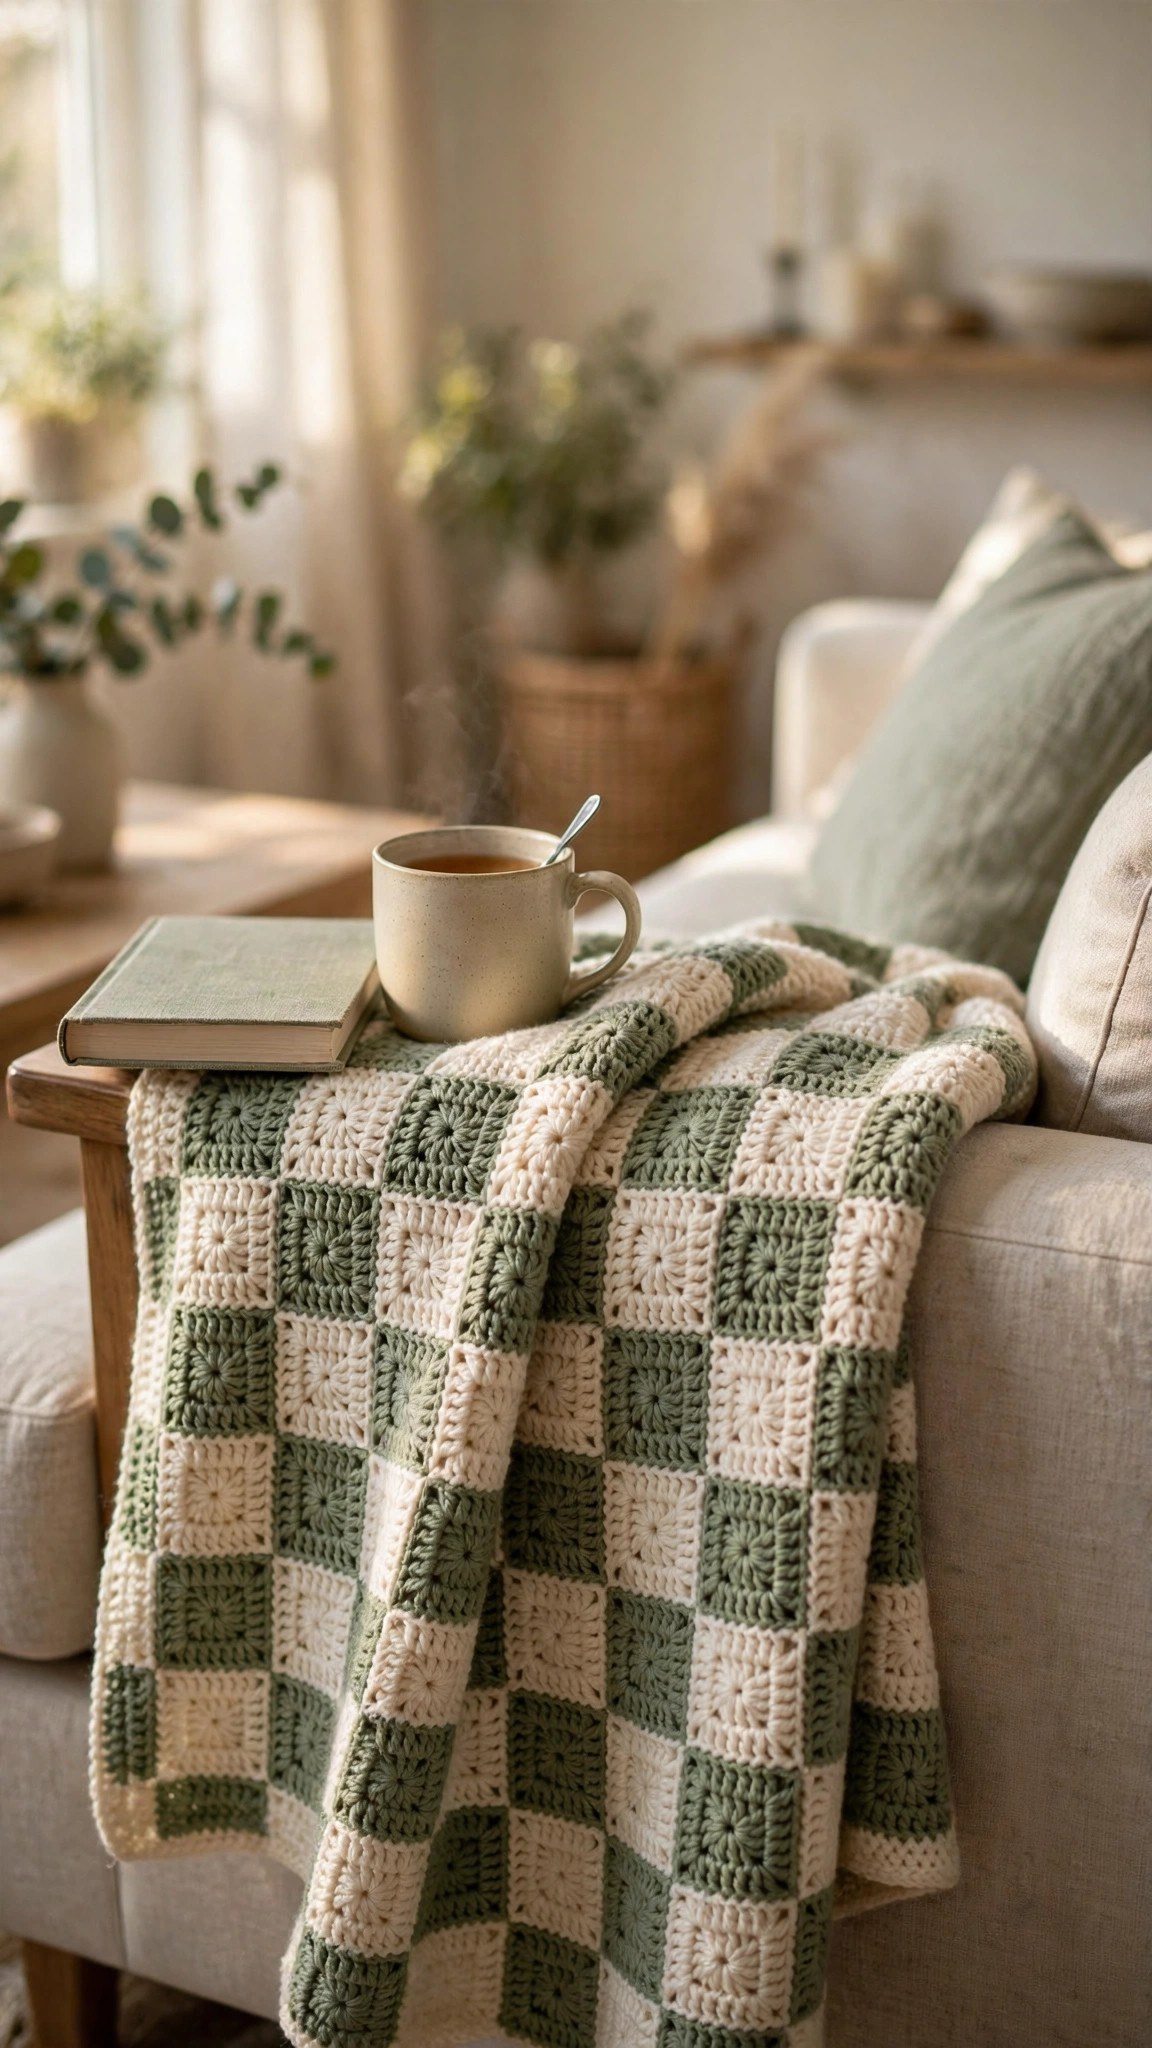
There is something about a checkerboard that never goes out of style. Maybe it is the neat rhythm of the squares, or the way two calm colors look good in almost any room. A crochet checkerboard blanket drapes over a sofa arm or folds at the foot of a bed.
A crochet checkerboard is also a wonderful way to learn color work. The blanket teaches you how to change colors cleanly in the middle of a row, how to carry yarn up the side, and how to read a simple chart.
Finished Size, Skill Level, and Time
- Finished size: about 40 inches wide and 48 inches long after the border, in worsted weight yarn. Each square is about 4 inches, and the blanket has 10 squares across and 12 down.
- Skill level: Easy. You need chains, half double crochet, single crochet, and color changes.
- Time: about 12 hours per blanket: 10 hours for the body and 2 hours for the border and finishing.
Materials You Need
| Item | What to get |
|---|---|
| Yarn, color A | Worsted weight (size 4) yarn in cream, 800 yards |
| Yarn, color B | Worsted weight (size 4) yarn in sage green, 800 yards |
| Hook | US J-10 (6.0 mm), or the size that gives you the gauge below |
| Notions | Tapestry needle, scissors, stitch markers, a row counter (optional) |
Worsted weight yarn is the best choice for a checkerboard blanket because it works up quickly, the squares hold their shape, and the finished blanket is warm but not heavy. A smooth acrylic or cotton blend works well, because it shows clean stitch definition and washes easily. Choose two colors with strong contrast so the checkerboard reads clearly from across the room. Cream and sage green are the colors in the photos. Avoid fuzzy yarns, because they hide the square edges.
Abbreviations (US Terms)
- ch = chain
- sl st = slip stitch
- sc = single crochet
- hdc = half double crochet
- dc = double crochet
- st(s) = stitch(es)
- rep = repeat
- RS = right side
- WS = wrong side
Gauge and Sizing Notes
Gauge for a checkerboard blanket matters, because the squares need to be square. Work a swatch of 15 hdc stitches and 12 rows in color A, and measure it. It should be about 5 inches wide and 4 inches tall. If your swatch is wider than 5 inches, go down a hook size. If it is narrower, go up a hook size.
Each square in this blanket is 12 stitches wide and 8 rows tall, which makes a square about 4 inches by 4 inches at the gauge above. If your gauge is a little different, your squares will be a little rectangular instead of square, and the blanket will still look lovely. Measure the blanket after every 20 rows and check that the width has not drifted.
To make a smaller blanket, work 8 squares across instead of 10, for a baby blanket about 32 inches wide, and work 10 square rows instead of 12, for a length of about 40 inches. To make a larger blanket, work 12 squares across for a bed throw about 48 inches wide, and work 14 square rows for a length of about 56 inches.
Part 1: The Checkerboard Body
The blanket is worked flat in rows of half double crochet, turning at the end of every row. The color changes every 12 stitches to build the squares across, and the color blocks swap every 8 rows to build the checkerboard down. Read the chart below before you start.
The Chart
Think of the blanket as a grid of squares, 10 across and 12 down. Color A is cream and color B is sage green. In odd square rows (1, 3, 5, 7, 9, 11), the squares across read A, B, A, B, A, B, A, B, A, B. In even square rows (2, 4, 6, 8, 10, 12), the squares across read B, A, B, A, B, A, B, A, B, A. Each square row is 8 rows tall, so the whole body is 96 rows.
Foundation
With color A, ch 121.
- Row 1 (RS): hdc in the 3rd ch from the hook and in each ch across. (120 hdc, counting the turning chain as the first stitch)
This first row is all color A, and it forms the bottom edge of the blanket. From row 2 onward, the color changes begin, so keep both balls of yarn close.
Square Row 1 (Rows 2-9)
Square row 1 starts with color A. Work each row the same way, changing color every 12 stitches.
- Row 2 (WS): ch 2, turn, hdc in each of the next 11 sts with A, change to B on the last yarn over of the 12th st, hdc in each of the next 12 sts with B, then alternate A and B every 12 sts, ending with B. (120 hdc)
- Rows 3-9: rep row 2, keeping the same color order, A first, then B, alternating every 12 stitches. (120 hdc)
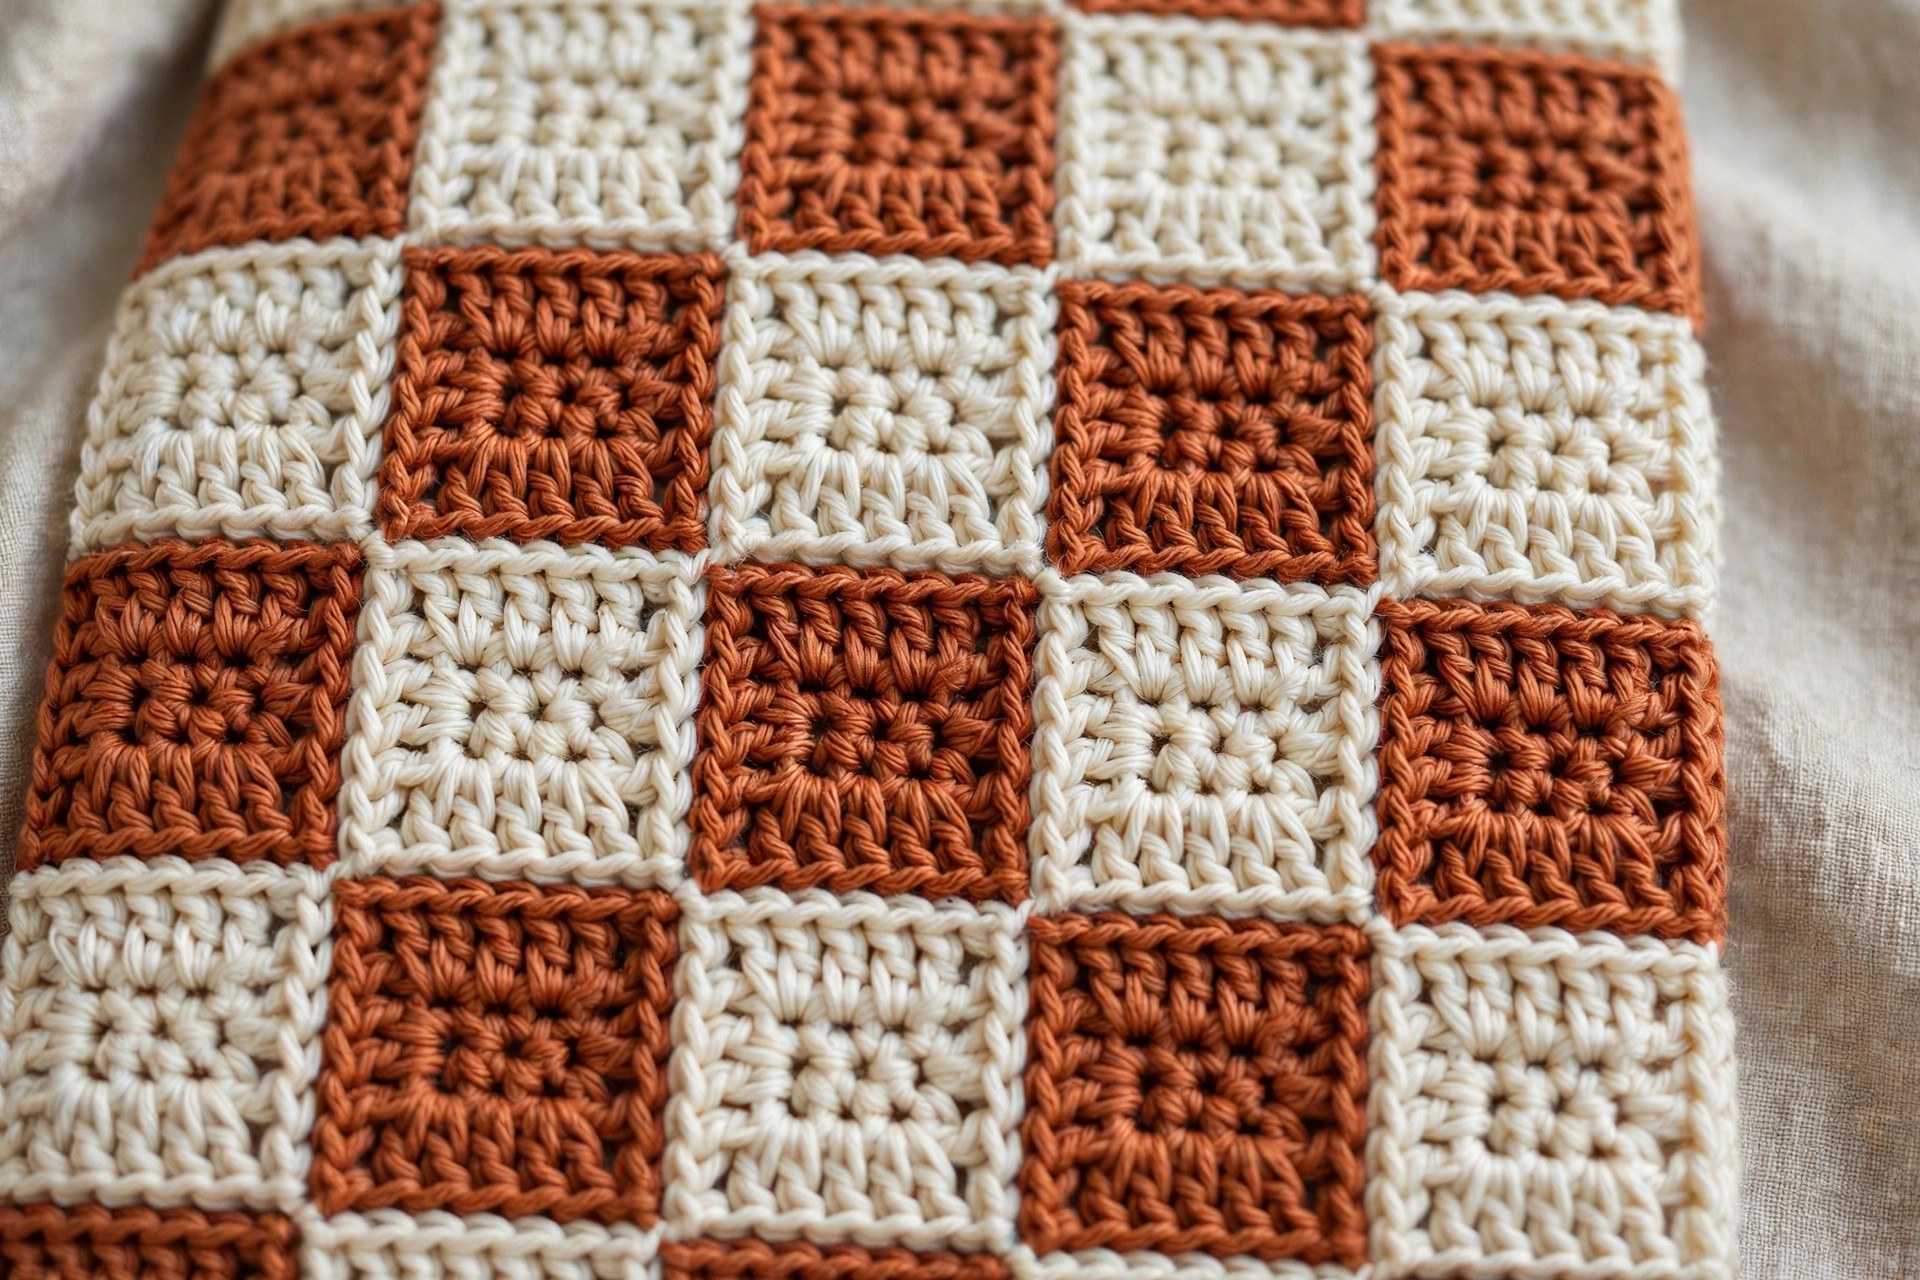
After row 9, the first square row is done, and you should see five cream squares and five sage squares across the bottom of the blanket, each about 4 inches wide. Count your stitches at the end of every row, so the squares do not drift.
Square Row 2 (Rows 10-17)
Square row 2 starts with color B. The color blocks swap, and that swap is what makes the checkerboard.
- Row 10 (WS): ch 2, turn, hdc in each of the next 11 sts with B, change to A on the last yarn over of the 12th st, hdc in each of the next 12 sts with A, then alternate B and A every 12 sts, ending with A. (120 hdc)
- Rows 11-17: rep row 10, keeping the same color order, B first, then A, alternating every 12 stitches. (120 hdc)
After row 17, the second square row is done, and the checkerboard should be clear. The sage squares sit on top of the cream squares, like a chessboard.
Square Rows 3-12 (Rows 18-97)
Keep working in the same way, swapping the starting color at the start of every square row. Odd square rows start with color A, and even square rows start with color B. Each square row is 8 rows tall, and each row is 120 hdc with a color change every 12 stitches.
Use this tracker to keep your place:
| Square row | Blanket rows | Starts with |
|---|---|---|
| 1 | 2-9 | A |
| 2 | 10-17 | B |
| 3 | 18-25 | A |
| 4 | 26-33 | B |
| 5 | 34-41 | A |
| 6 | 42-49 | B |
| 7 | 50-57 | A |
| 8 | 58-65 | B |
| 9 | 66-73 | A |
| 10 | 74-81 | B |
| 11 | 82-89 | A |
| 12 | 90-97 | B |
The last row, row 97, is the top edge of the body. Work it in the same color pattern as square row 12, which starts with B. When you finish row 97, the body should measure about 40 inches wide and 48 inches long. Do not fasten off yet, because the border starts from this same yarn.
Part 2: Color Changes and Carrying Yarn
Clean color changes are what make a checkerboard look crisp. The technique is the same at every change, and it gets easier with practice.
How to Change Colors
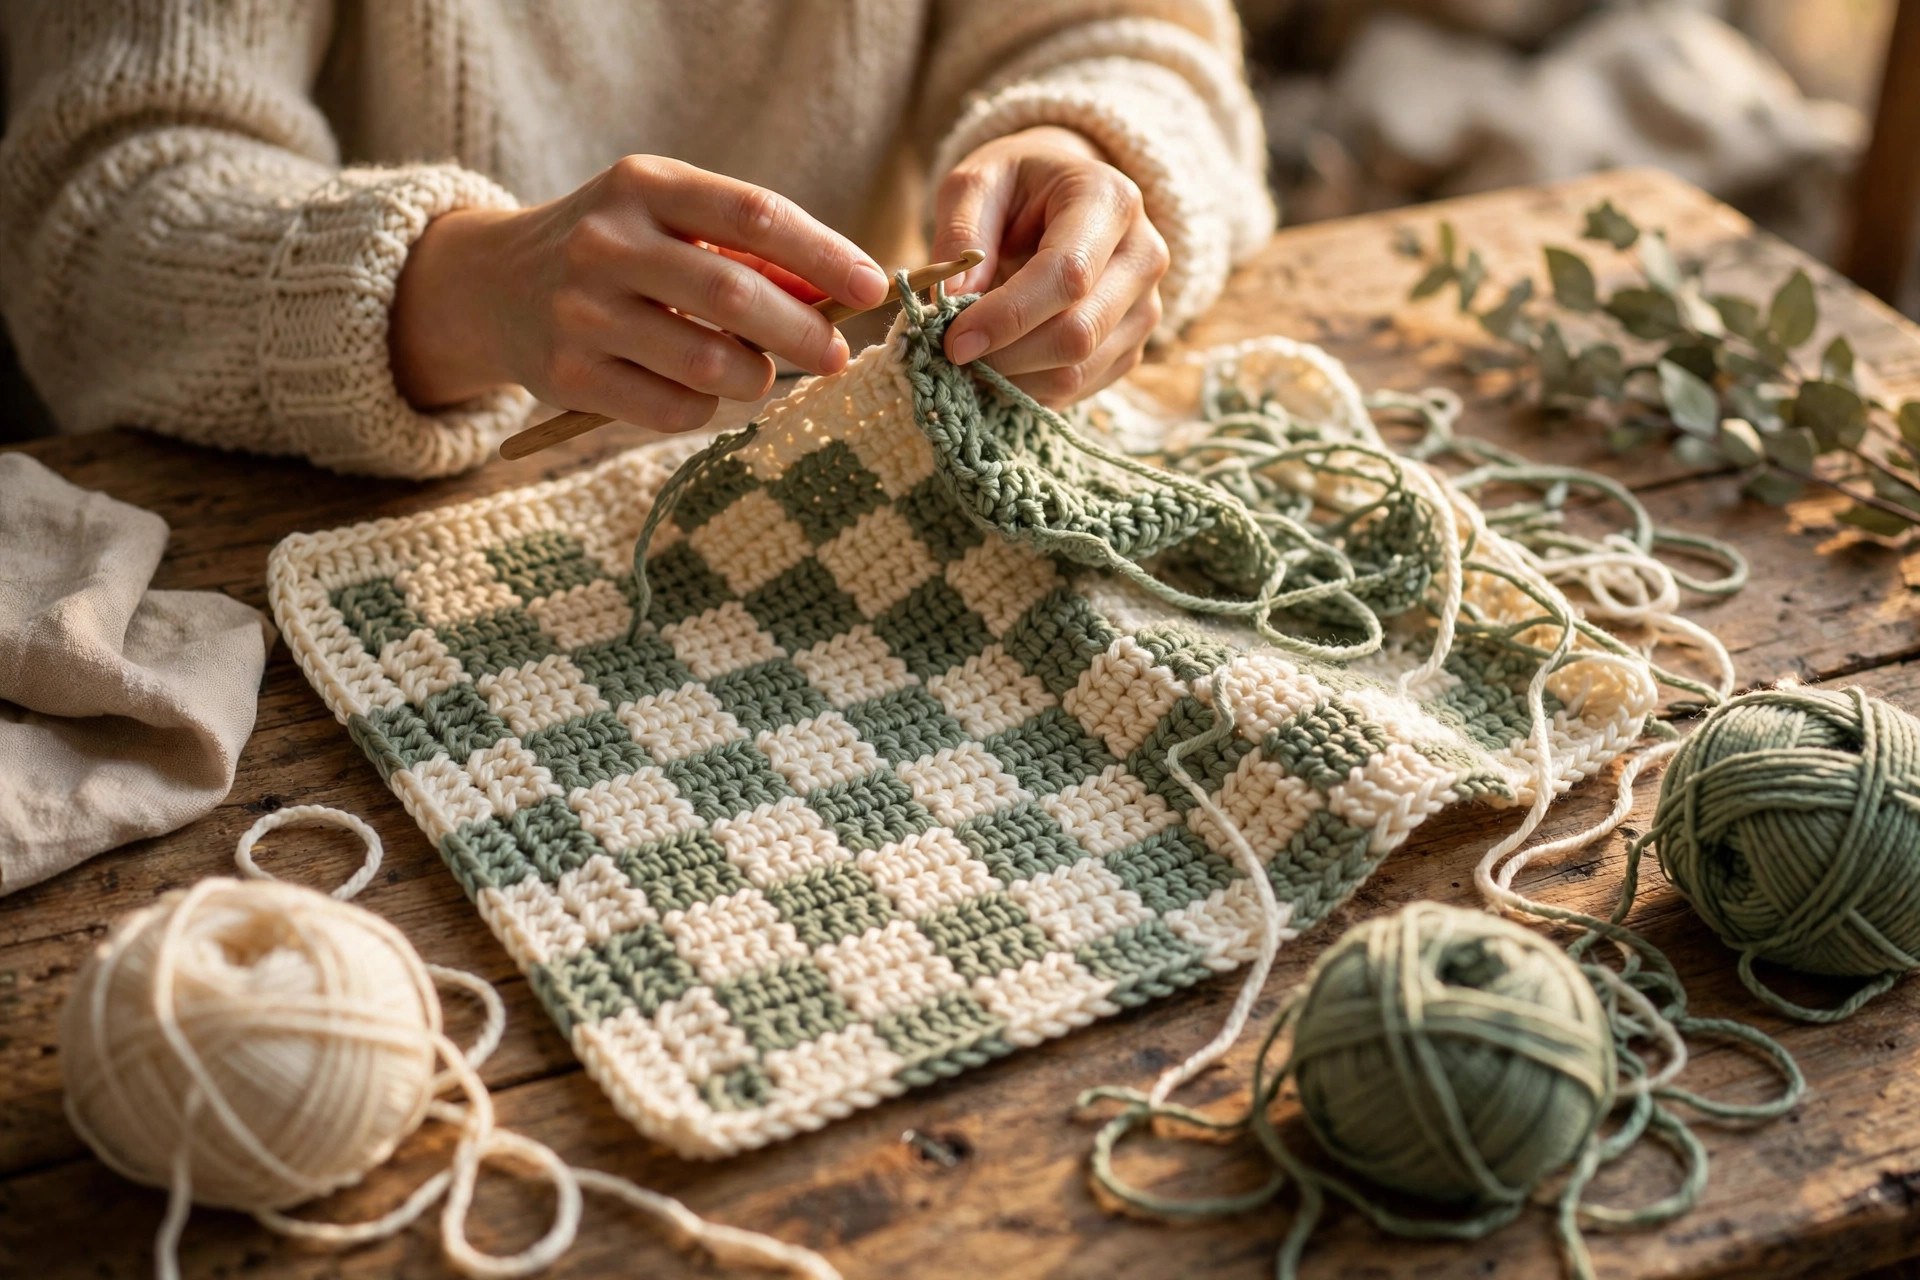
Work the last stitch of the old color until you have two loops left on the hook, then yarn over with the new color and pull it through both loops. Work the next stitch with the new color, and pull the old color snug, but not so tight that it puckers the fabric.
At the start of a row, chain 2 with the new color and turn, then work the first stitch of the row in the new color. The chain 2 counts as the first half double crochet of the row, so your stitch count stays at 120.
Carrying Yarn Up the Side
At the edges of the blanket, the unused color waits for its turn. Carry it up the side by laying it along the edge and working the first few stitches of the next row over it, which traps it inside the edge stitches and hides it.
If the unused color has to wait for more than two rows, cut it instead, leaving a 6 inch tail to weave in later. Long floats of yarn along the edge can snag, and the border will cover the edge anyway. Our corner to corner crochet patterns collection uses the same carry and cut logic.
Part 3: The Border and Finishing
The border is worked in rounds around all four sides of the blanket, starting from the top right corner. It hides the carried yarn at the edges and gives the blanket a finished look.
Border
With color A still attached, do not turn. Work along the top edge first, then down the side, along the bottom, and up the other side.
- Round 1: ch 1, sc in each st across the top edge (120 sc), work 3 sc in the corner st, sc evenly down the side edge (about 96 sc, one in each row end), work 3 sc in the corner st, sc in each st across the bottom edge (120 sc), work 3 sc in the corner st, sc evenly up the other side edge (about 96 sc), work 3 sc in the corner st, join with a sl st to the first sc.
- Round 2: ch 1, sc in each st around, working 3 sc in each corner st, join with a sl st to the first sc.
- Round 3: ch 1, sc in each st around, working 3 sc in each corner st, join with a sl st to the first sc. Fasten off color A.
The three rounds of single crochet in cream give the blanket a clean frame about 1 inch wide. If the sides pull in or flare out, adjust the number of side stitches in round 1. The border should lie flat with no ripples when you spread the blanket on a bed.
Finishing
Weave in every yarn end with a tapestry needle, working the tail through the back of several stitches in the same color, then trimming it close. Block the blanket by laying it flat on a clean towel, misting it lightly with water, and gently shaping the corners into right angles. Let it dry flat. Do not stretch the blanket hard, because the squares can go rectangular.
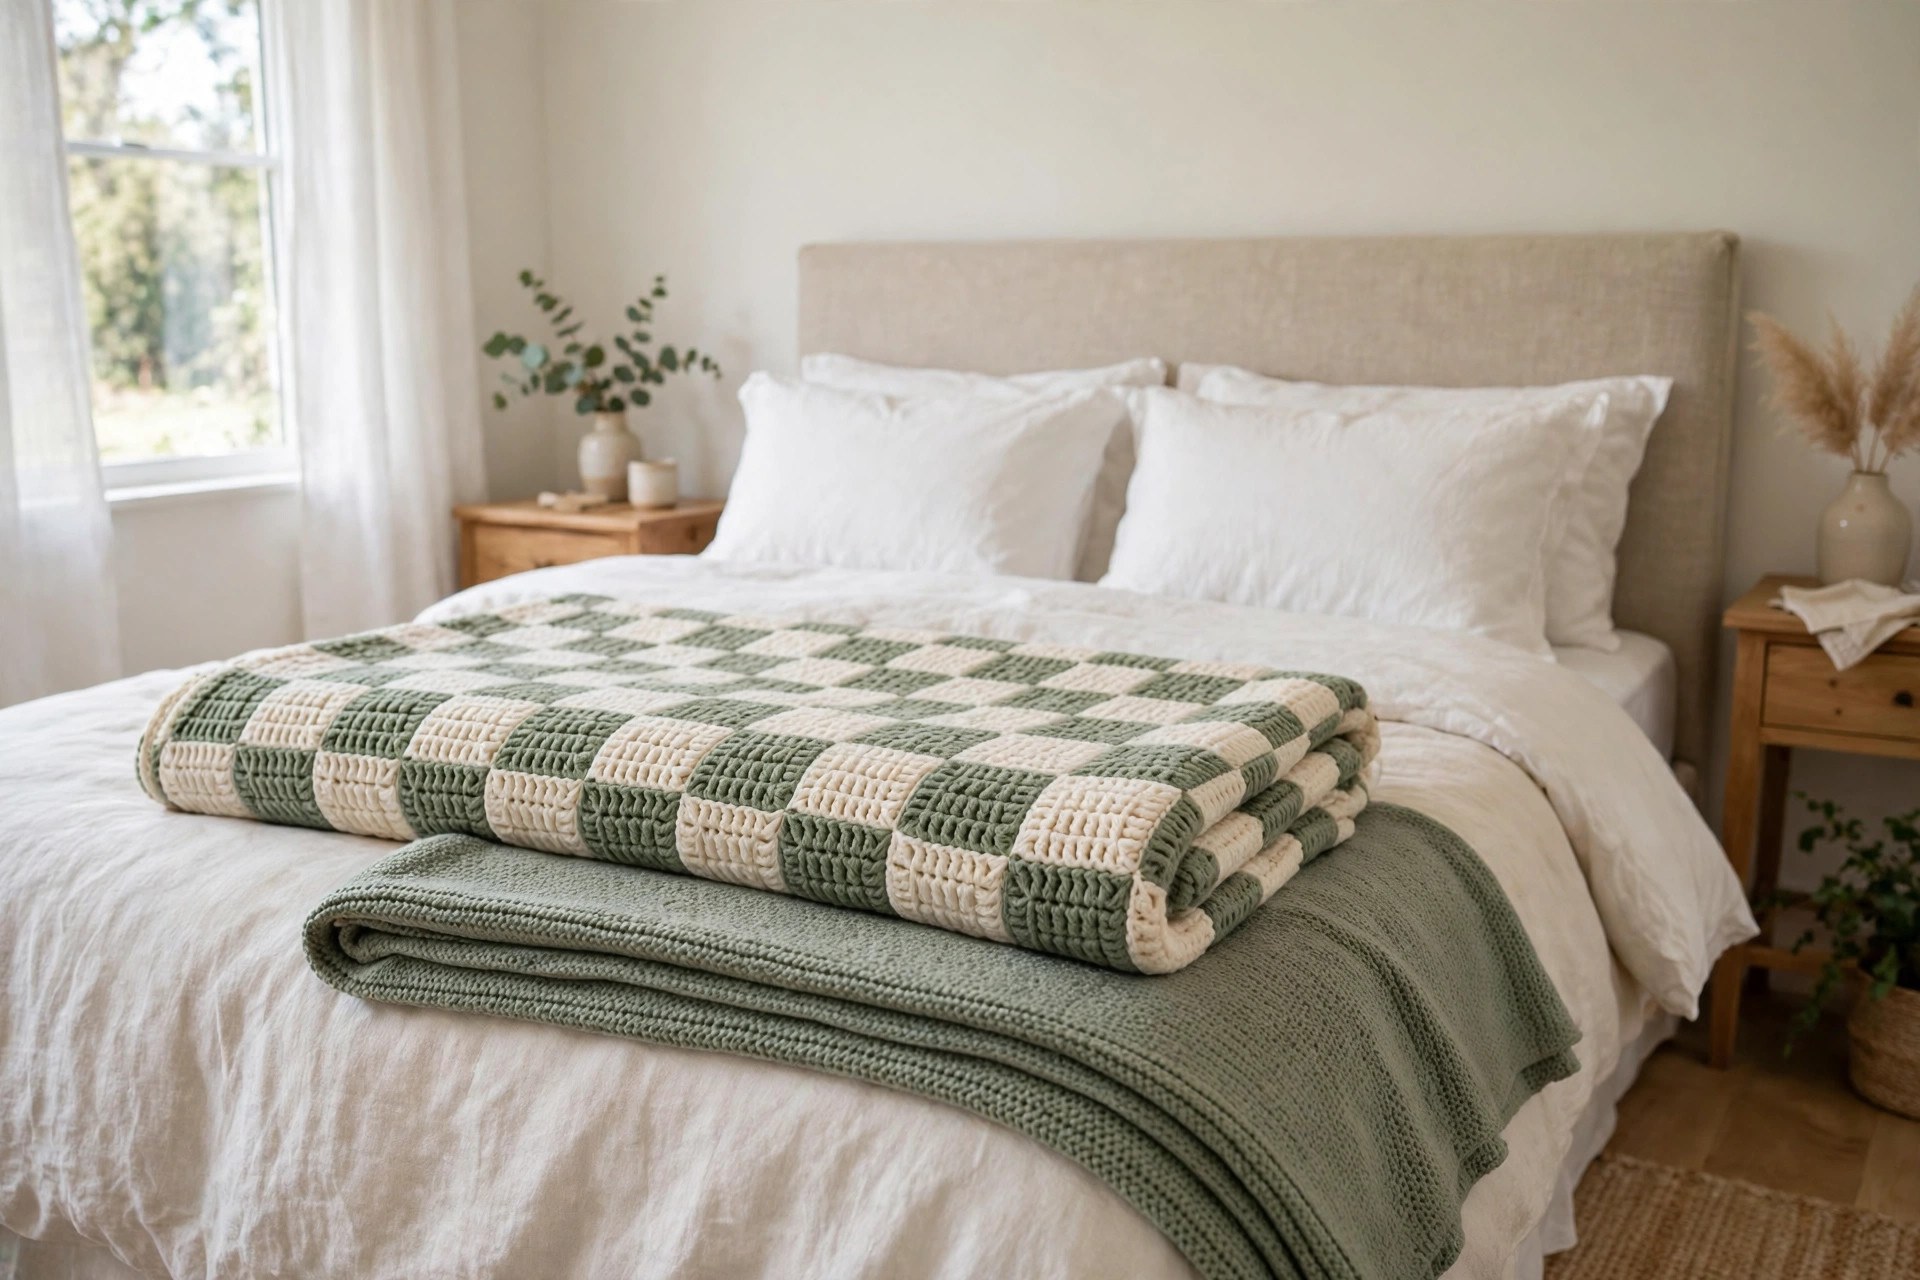
To use your blanket as a sofa throw, fold it in thirds and drape it over the back of the sofa, with the border showing. Our mosaic crochet pattern makes a matching throw in the same size. To give your blanket as a housewarming gift, fold it neatly, tie it with a ribbon, and tuck a small card inside.
Variations: Colors, Sizes, and Uses
- Classic cream and sage: work the blanket in cream and sage green with a cream border, the colorway in the photos. Our crochet tapestry pattern makes a matching wall hanging.
- Bold black and white: make the squares in black and white for a striking modern checkerboard that suits a monochrome room. Work in good light, because dark stitches are harder to see.
- Baby checkerboard: make the small 32 inch version with 8 squares across and 10 square rows for a soft baby blanket, and work the border in a soft pastel instead of cream.
- Bed throw: make the large version with 12 squares across and 14 square rows for a throw about 48 inches wide and 56 inches long, which fits across the foot of a double bed.
- Checkerboard cushion: make a single square row of 10 squares, then fold it in half and sew three sides closed for a cushion cover, with a zip or buttons on the fourth side.
Troubleshooting Squares That Wobble or Lean
- My squares are rectangles, not squares. Your row gauge is off, or your tension changed partway through. Measure a square after every 20 rows, and if the squares are taller than they are wide, go down a hook size.
- My blanket edges lean to one side. The turning chain is being worked as a stitch on one side and skipped on the other. Place a stitch marker in the top of the chain 2 at the start of every row.
- My color changes look messy. The new color is being picked up too early or too late. Change color on the last yarn over of the last stitch in the old color.
- My stitch count drifts from 120. A stitch was missed at a color change, or an extra stitch was added at the edge. Count at the end of every row, and if the count is wrong, pull back to the last color change.
- My border ripples. Too many stitches were worked along the sides in round 1. Pull back the border and work fewer side stitches, about one stitch per row end.
Care Instructions
Machine wash a checkerboard blanket on a gentle cycle in cool water with a mild detergent, and lay it flat to dry. If the yarn label says hand wash only, wash it gently in cool water with a tiny amount of mild soap, press the water out without wringing, and lay it flat on a clean towel to dry. Do not put a checkerboard blanket in the dryer on high heat. Reshape the corners while the blanket is damp, and keep it out of direct sunlight.
Frequently Asked Questions
Is this crochet checkerboard pattern good for beginners?
Yes, it is a great first color work project. You need chains, half double crochet, and color changes, and every row ends with a stitch count. One blanket takes about 12 hours, and the chart is easy to follow.
What yarn is best for a crochet checkerboard blanket?
Worsted weight yarn is the best choice, because it works up quickly and the squares hold their shape. Cream and sage green give the classic look in the photos, but any two colors with strong contrast will read clearly as a checkerboard.
How big is the finished blanket?
About 40 inches wide and 48 inches long after the border, in worsted weight yarn with a 6.0 mm hook. Each square is about 4 inches, and the blanket has 10 squares across and 12 down.
How many rows are in the blanket?
The body is 97 rows: 1 foundation row in color A, then 12 square rows of 8 rows each. The border adds 3 rounds. The tracker table in Part 1 shows which color starts each square row.
How do I keep the color changes neat?
Change color on the last yarn over of the last stitch in the old color, so the top of the stitch is in the new color. Pull the old color snug, but not so tight that it puckers the fabric.
Can I make the checkerboard in different colors?
Yes, any two colors with strong contrast work well. Cream and terracotta make a warm throw, navy and white make a bold modern blanket, and soft pink and cream make a gentle nursery blanket.
Can I sell blankets made from this pattern?
Yes, you may sell finished blankets made from this free pattern, with credit to Little Loop Finds. Please do not sell or republish the pattern text itself. A baby size blanket in soft colors makes a sweet gift bundle with a matching hat.
Happy stitching, and may your little checkerboard bring a neat, cheerful pattern to whoever wraps up in it.