Mosaic Crochet Pattern (Easy Overlay Technique)
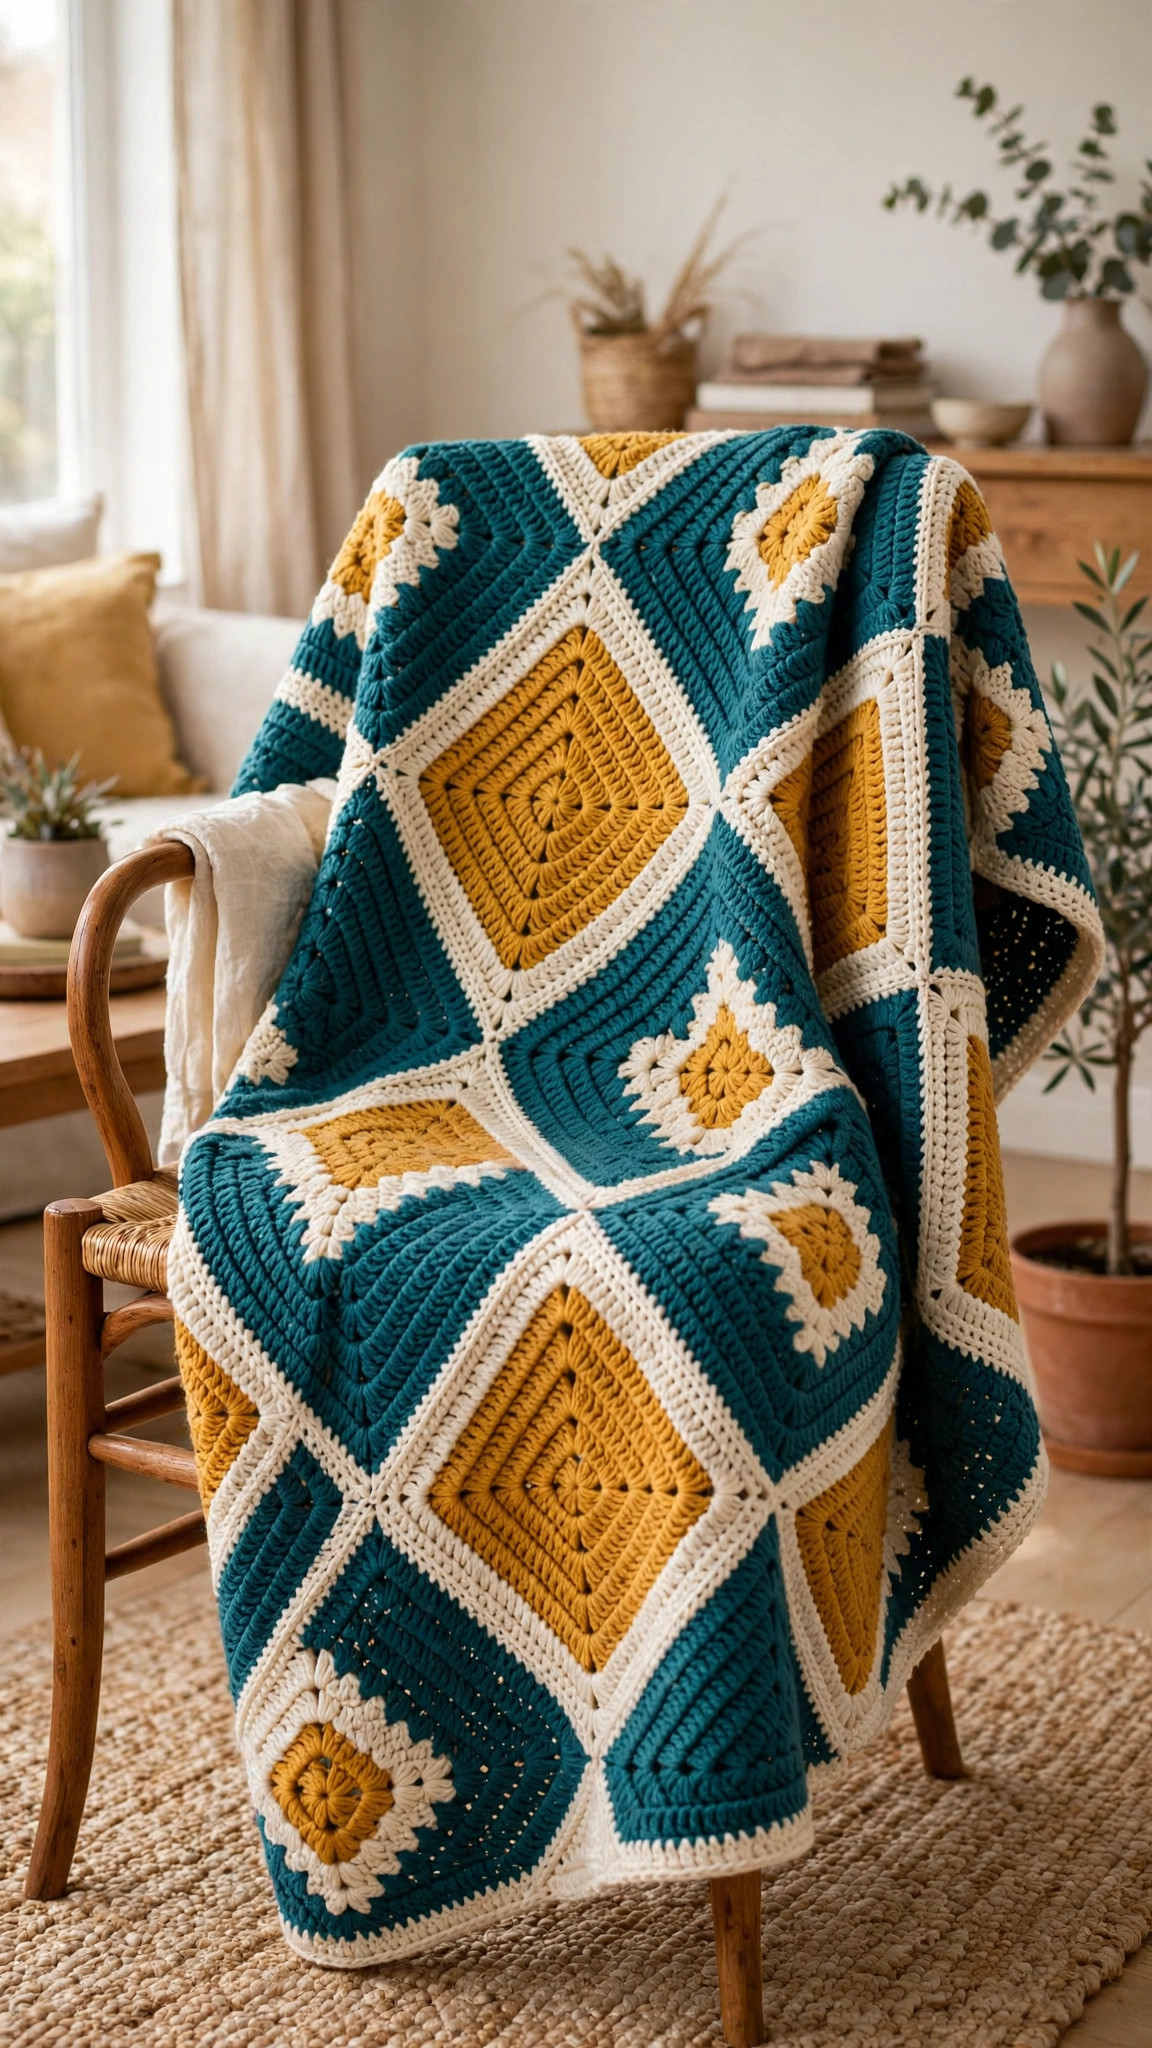
Learn overlay mosaic crochet and stitch a bold diamond cushion cover, one color per row.

Patterns · Crochet
- Finished size
- 16 in square cushion
- Making time
- 5 to 6 hours
- Hook
- US H-8 (5.0 mm)
- Set
- Diamond chart, border and back
- Skill
- Easy
In this post
- Key Takeaways
- Table of Contents
- Why You Will Love Mosaic Crochet
- Finished Size, Skill Level, and Time
- Materials You Need
- Abbreviations (US Terms)
- How Mosaic Crochet Works
- Gauge and Sizing Notes
- Part 1: Foundation and First Diamond Rows
- Part 2: Repeating the Diamond Motif
- Part 3: Border and Finishing
- Variations: Colors, Sizes, and Projects
- Troubleshooting Mosaic That Drifts or Puckers
- Care Instructions
- Frequently Asked Questions
Mosaic crochet looks like magic: bold geometric diamonds and zigzags that appear from just two colors of yarn and one simple stitch combination. This mosaic crochet pattern teaches you the overlay technique step by step, then walks you through a complete diamond motif cushion cover you can finish in a weekend. No color changes inside a row and no carrying yarn across the back.
This is an original Little Loop Finds design, written in US terms and completely free. The project uses overlay mosaic crochet, where you work one color per row and use long double crochet stitches dropped into the row below to draw the pattern. If you can work a chain, single crochet, and double crochet, you can make mosaic crochet.
A quick note on scope: this post teaches overlay mosaic crochet and gives you a full cushion cover project. It is not a tutorial for inset mosaic or tapestry crochet, and it is not a granny square pattern. If you love squares too, our easy granny square pattern is a good next project, and you will find more blanket and home projects linked below.
Key Takeaways
- Free original pattern: this mosaic crochet pattern is a Little Loop Finds original design, written in US terms, and completely free.
- Overlay mosaic made simple: one color per row, single crochet in the back loop, and long double crochet stitches that draw the diamonds.
- No yarn carried across the back: each row uses a single color, so there are no floats and no tangles.
- Weekend project: the diamond cushion cover takes about 5 to 6 hours, and the technique works for blankets, table runners, and bags too.
- Endlessly adaptable: change the colors, repeat the chart, or work more repeats for a lap blanket or a full bed sized throw.
Table of Contents
- Why You Will Love Mosaic Crochet
- Finished Size, Skill Level, and Time
- Materials You Need
- Abbreviations (US Terms)
- How Mosaic Crochet Works
- Gauge and Sizing Notes
- Part 1: Foundation and First Diamond Rows
- Part 2: Repeating the Diamond Motif
- Part 3: Border and Finishing
- Variations: Colors, Sizes, and Projects
- Troubleshooting Mosaic That Drifts or Puckers
- Care Instructions
- Frequently Asked Questions
Why You Will Love Mosaic Crochet
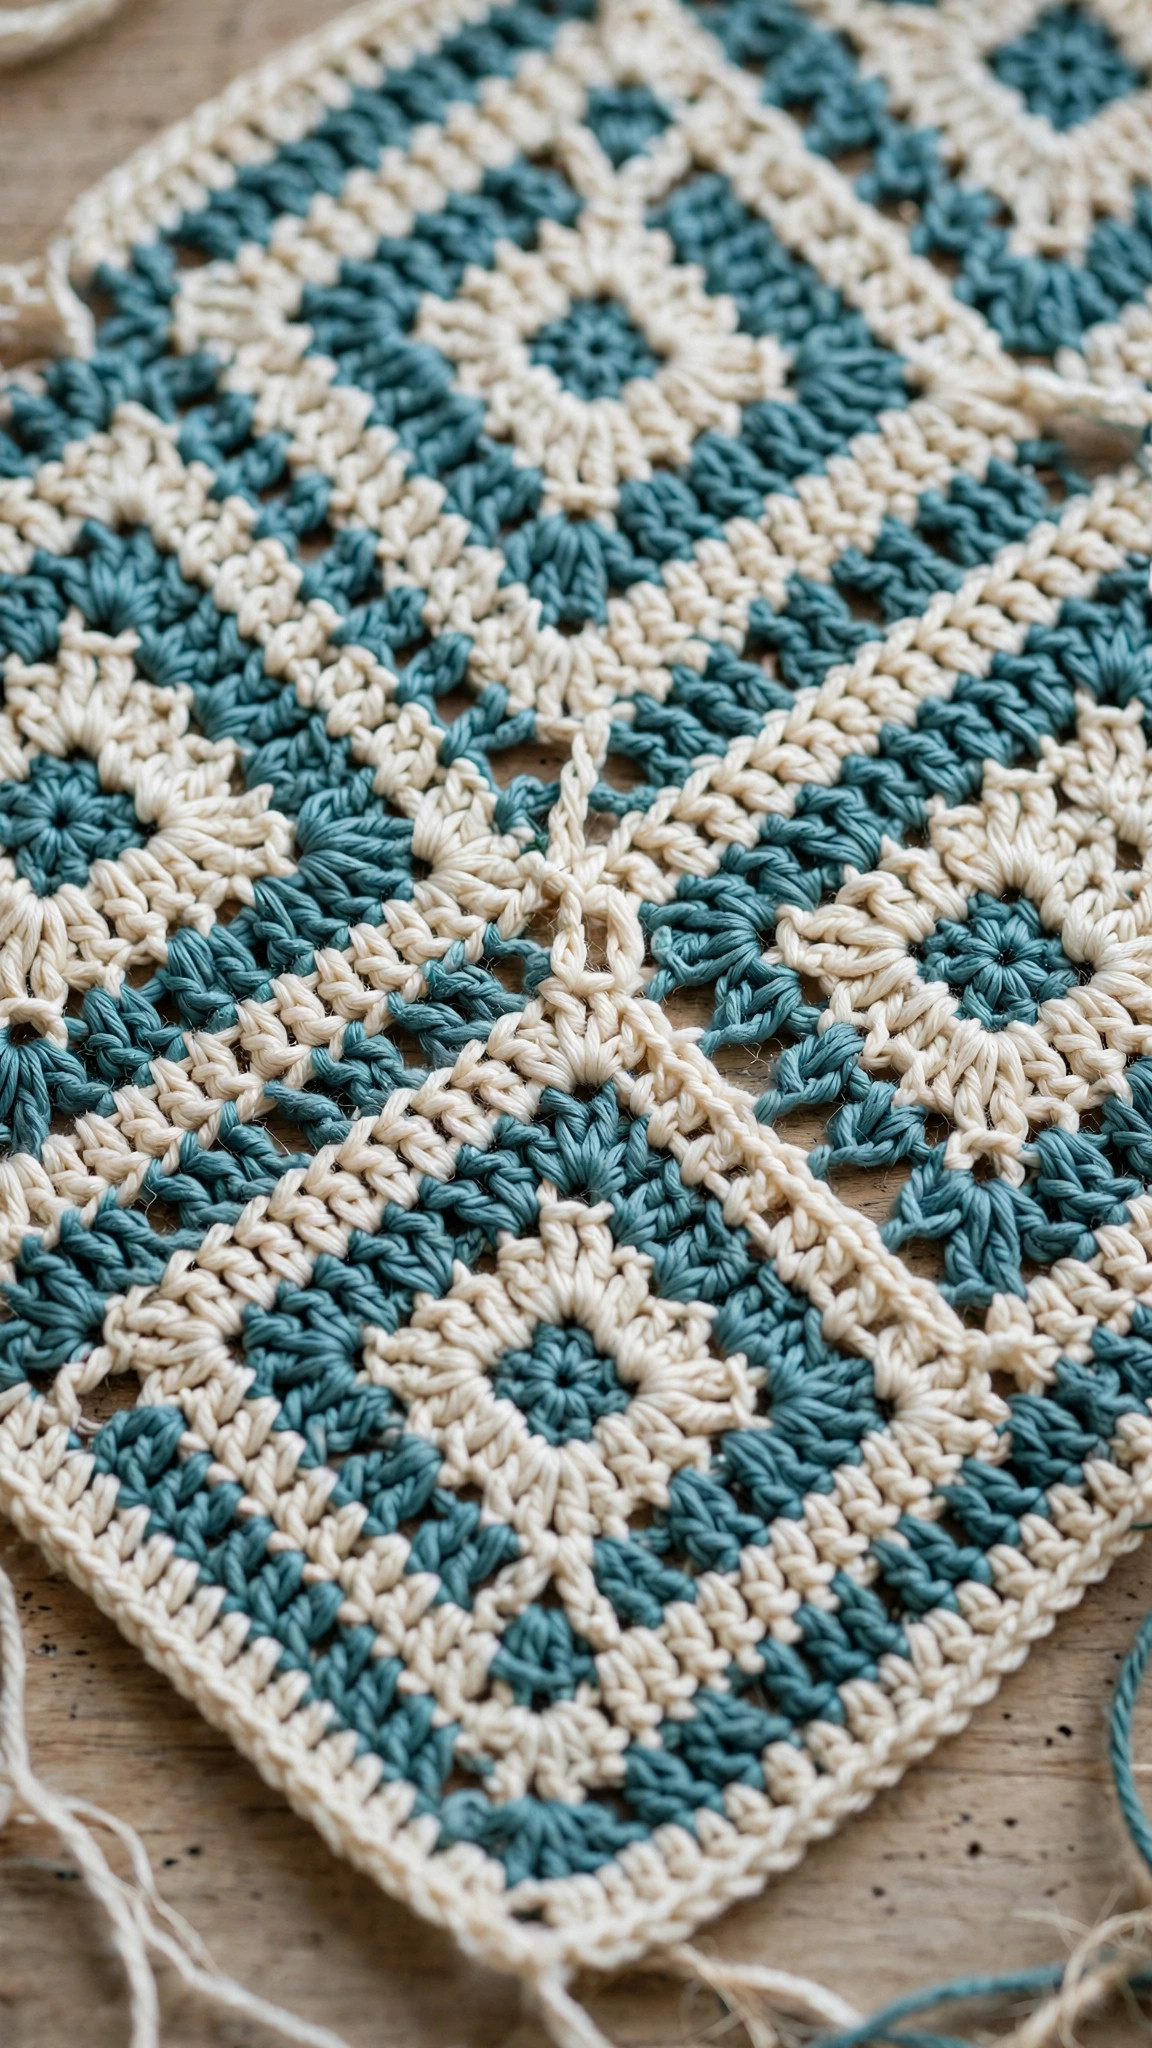
Mosaic crochet gives you the look of fair isle colorwork without any of the fuss. Each row uses one color only, so you never carry a second yarn across the back of your work, and you never have to change colors in the middle of a row. The pattern appears because some stitches are worked as long double crochets dropped down into the row below, while the rest are simple single crochets in the back loop.
This design is also a great stash project. Two contrasting skeins of worsted weight yarn make the whole cushion cover, and the technique is so relaxing once the rhythm clicks that you will want to make a second one straight away. The finished cushion looks far more impressive than the effort it takes, which makes it a wonderful gift.
Finished Size, Skill Level, and Time
- Finished size: the cushion cover fits a standard 16 inch square cushion pad, about 16 inches by 16 inches, in worsted weight yarn.
- Skill level: Easy to intermediate. You need a chain, single crochet, double crochet, and the confidence to work into the front loop of a stitch two rows below. The chart is explained row by row.
- Time: about 5 to 6 hours total: roughly 30 minutes to learn the technique on a swatch, 4 hours for the front panel, and 1 hour for the back panel, border, and finishing.
Materials You Need
| Item | What to get |
|---|---|
| Yarn, color A (main) | Worsted weight (medium 4) acrylic or cotton in teal, about 200 yards |
| Yarn, color B (contrast) | Worsted weight in cream, about 200 yards |
| Hook | US H-8 (5.0 mm), or the size that gives you a firm fabric with your yarn |
| Cushion pad | One 16 inch square cushion pad |
| Notions | Tapestry needle, scissors, stitch markers |
| Optional | Four small buttons for the back closure |
Acrylic yarn is a great choice here because it is soft, washable, and comes in strong contrasting colors that make the mosaic pattern pop. Cotton gives crisper stitch definition and a slightly firmer fabric. Whichever you choose, pick two colors with strong contrast, because mosaic crochet only works when the two colors are easy to tell apart at a glance.
Abbreviations (US Terms)
- ch = chain
- sl st = slip stitch
- sc = single crochet
- dc = double crochet
- sc BLO = single crochet in the back loop only
- dc FLO = double crochet in the front loop only of the stitch two rows below
- st(s) = stitch(es)
- row(s) = row(s)
- rep = repeat
- A = color A (teal)
- B = color B (cream)
How Mosaic Crochet Works
Overlay mosaic crochet is built on three simple rules, and once you know them the chart reads itself.
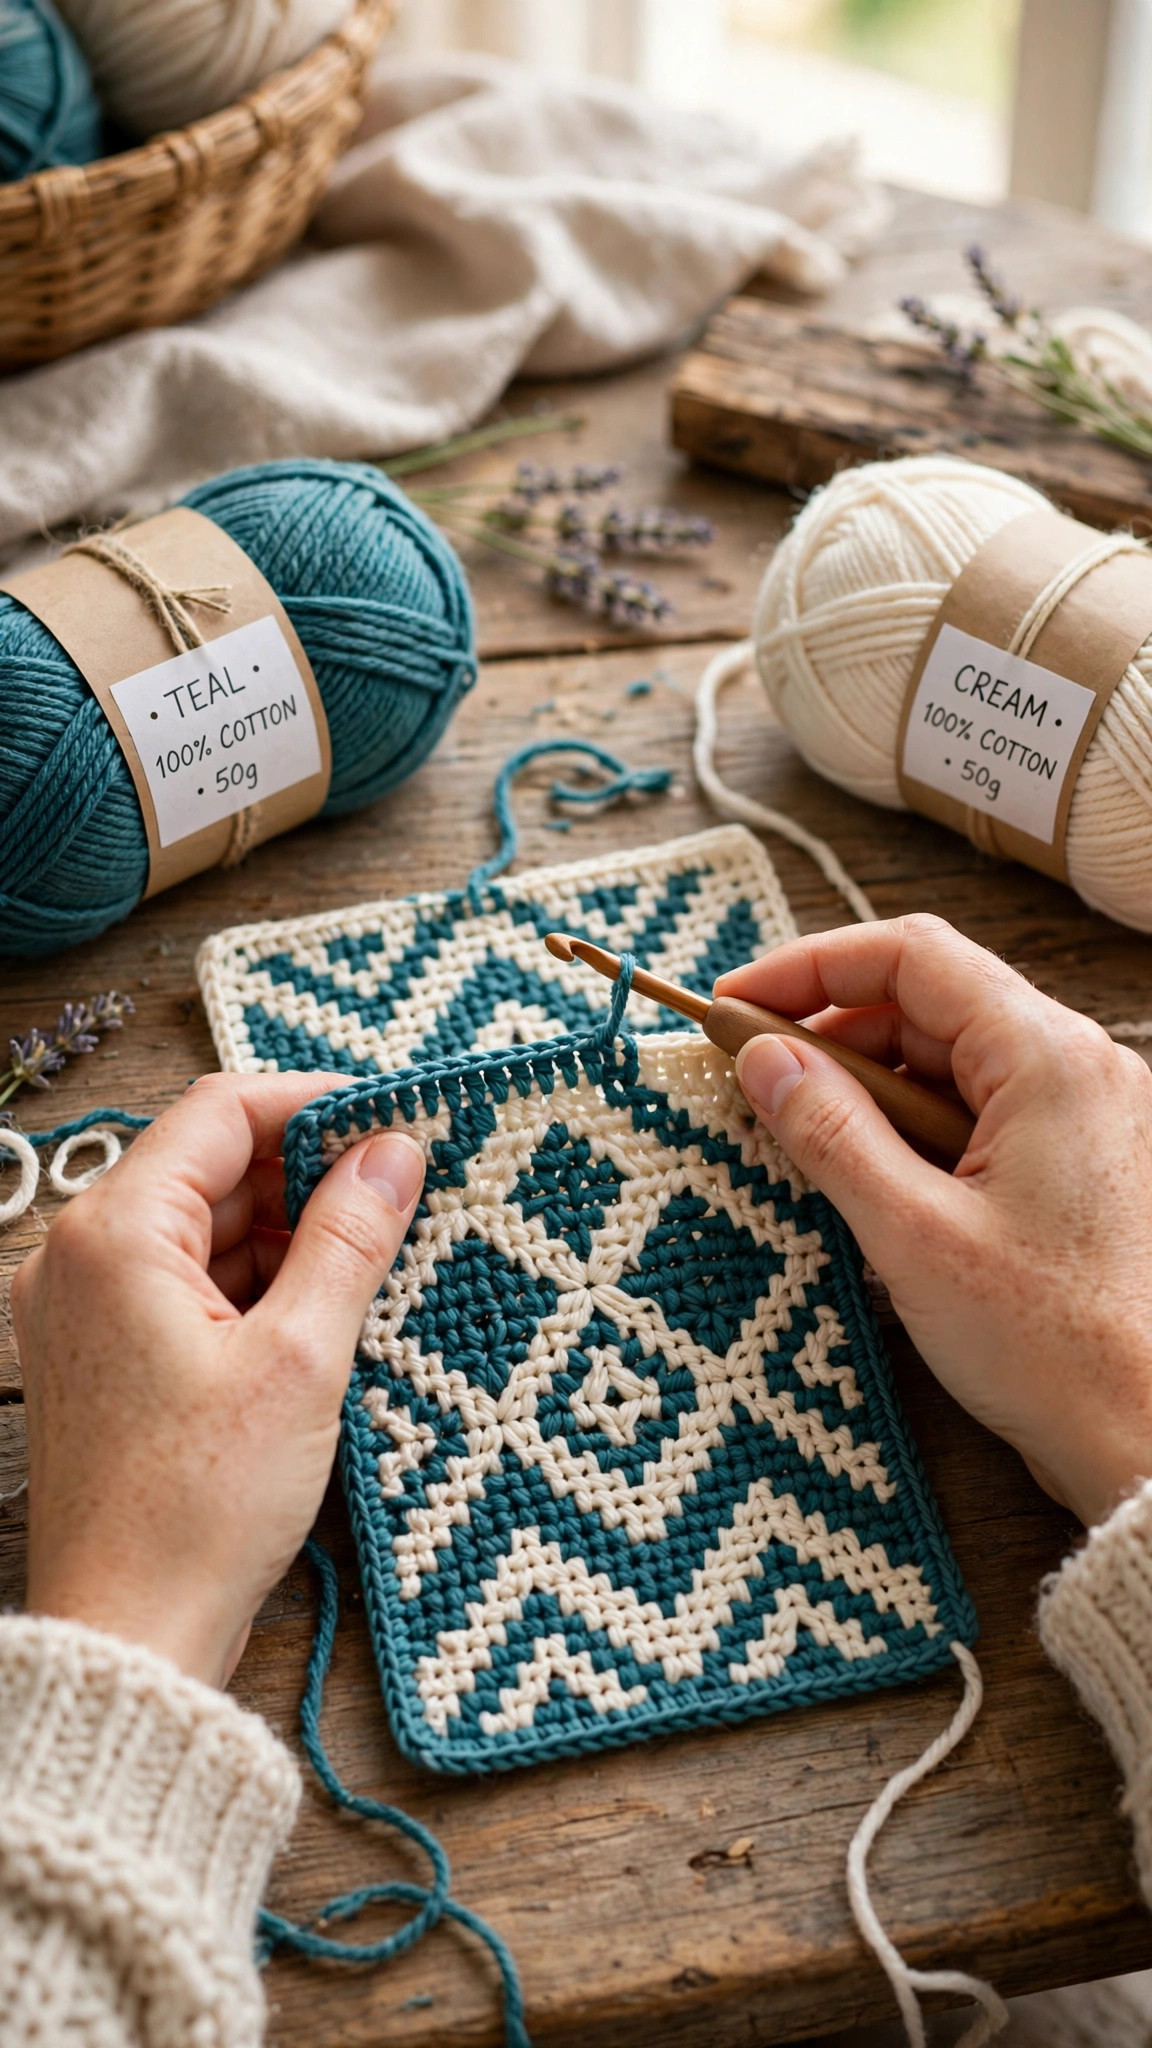
First, you work one color per row, alternating colors every row. Odd rows use color A and even rows use color B, and you never change color in the middle of a row. At the end of each row, fasten off the color you just used and join the next color at the start of the next row.
Second, every stitch is either a back loop single crochet or a front loop double crochet. A back loop single crochet is worked into the back loop only of the stitch below, in the current row color, and it forms the background. A front loop double crochet is worked into the front loop of the stitch two rows below, in the current row color, and it drops down over the row in between to draw the pattern.
Third, the chart is read from the bottom up. In this pattern you do not need to worry about chart reading, because every row is written out in full below, stitch by stitch, with the color named. Just follow the written rows and the diamonds will appear.
Gauge and Sizing Notes
Gauge for this cushion cover is relaxed, because the cover just needs to fit a 16 inch pad with a little stretch. Work a swatch of 24 stitches and 12 rows in the diamond pattern and measure it: it should be about 6 inches wide and 4 inches tall. If your swatch is wider, go down a hook size. If it is narrower, go up a hook size.
To make a larger piece, add repeats of 12 stitches to the foundation chain. Each extra 12 stitch repeat adds about 3 inches of width. To make a lap blanket, work 8 repeats (96 stitches plus the edge stitches) and repeat the 12 row chart until the blanket is as long as you like. The chart repeat is always 12 stitches wide and 12 rows tall, so scaling up is simple addition.
Part 1: Foundation and First Diamond Rows
The front panel is worked flat in rows, from the bottom up. The foundation row sets up the stitch count, then the 12 row chart repeats four times to make the full front panel. Each chart row is written out in full, with the color named and the X stitches counted.
With color A (teal), ch 52.
Foundation row (A): sc in 2nd ch from hook and in each ch across. (51 sts) Do not turn yet. Fasten off A.
The panel is 51 stitches wide: 4 repeats of 12 stitches, plus 3 edge stitches. The first and last stitches of every row are always back loop single crochet in the current color, which gives the panel neat edges.
Row 1 (B): Join B with a sl st in the first st, ch 1, turn. Work sc BLO in each st across, except work dc FLO in the 6th, 18th, 30th, and 42nd stitches. (51 sts) Fasten off B.
Row 2 (A): Join A, ch 1, turn. Work sc BLO in each st across, except work dc FLO in the 5th, 6th, 7th, 17th, 18th, 19th, 29th, 30th, 31st, 41st, 42nd, and 43rd stitches. (51 sts) Fasten off A.
Row 3 (B): Join B, ch 1, turn. Work sc BLO in each st across, except work dc FLO in the 4th, 5th, 6th, 7th, 8th, 16th, 17th, 18th, 19th, 20th, 28th, 29th, 30th, 31st, 32nd, 40th, 41st, 42nd, 43rd, and 44th stitches. (51 sts) Fasten off B.
Row 4 (A): Join A, ch 1, turn. Work sc BLO in each st across, except work dc FLO in the 3rd, 4th, 5th, 6th, 7th, 8th, 9th, 15th, 16th, 17th, 18th, 19th, 20th, 21st, 27th, 28th, 29th, 30th, 31st, 32nd, 33rd, 39th, 40th, 41st, 42nd, 43rd, 44th, and 45th stitches. (51 sts) Fasten off A.
Row 5 (B): Join B, ch 1, turn. Work sc BLO in each st across, except work dc FLO in the 2nd, 3rd, 4th, 5th, 6th, 7th, 8th, 9th, 10th, 14th, 15th, 16th, 17th, 18th, 19th, 20th, 21st, 22nd, 26th, 27th, 28th, 29th, 30th, 31st, 32nd, 33rd, 34th, 38th, 39th, 40th, 41st, 42nd, 43rd, 44th, 45th, and 46th stitches. (51 sts) Fasten off B.
Row 6 (A): Join A, ch 1, turn. Work dc FLO in every stitch across. (51 sts) This full row of long stitches is the widest part of the diamond, and it is the most satisfying row to work. Fasten off A.
Part 2: Repeating the Diamond Motif
Rows 7 to 12 mirror rows 5 to 1, closing the diamond back to a point. Once you finish row 12, you have one complete diamond, and you simply repeat rows 1 to 12 three more times for the full front panel.
Row 7 (B): Join B, ch 1, turn. Work sc BLO in each st across, except work dc FLO in the 2nd, 3rd, 4th, 5th, 6th, 7th, 8th, 9th, 10th, 14th, 15th, 16th, 17th, 18th, 19th, 20th, 21st, 22nd, 26th, 27th, 28th, 29th, 30th, 31st, 32nd, 33rd, 34th, 38th, 39th, 40th, 41st, 42nd, 43rd, 44th, 45th, and 46th stitches. (51 sts) Fasten off B.
Row 8 (A): Join A, ch 1, turn. Work sc BLO in each st across, except work dc FLO in the 3rd, 4th, 5th, 6th, 7th, 8th, 9th, 15th, 16th, 17th, 18th, 19th, 20th, 21st, 27th, 28th, 29th, 30th, 31st, 32nd, 33rd, 39th, 40th, 41st, 42nd, 43rd, 44th, and 45th stitches. (51 sts) Fasten off A.
Row 9 (B): Join B, ch 1, turn. Work sc BLO in each st across, except work dc FLO in the 4th, 5th, 6th, 7th, 8th, 16th, 17th, 18th, 19th, 20th, 28th, 29th, 30th, 31st, 32nd, 40th, 41st, 42nd, 43rd, and 44th stitches. (51 sts) Fasten off B.
Row 10 (A): Join A, ch 1, turn. Work sc BLO in each st across, except work dc FLO in the 5th, 6th, 7th, 17th, 18th, 19th, 29th, 30th, 31st, 41st, 42nd, and 43rd stitches. (51 sts) Fasten off A.
Row 11 (B): Join B, ch 1, turn. Work sc BLO in each st across, except work dc FLO in the 6th, 18th, 30th, and 42nd stitches. (51 sts) Fasten off B.
Row 12 (A): Join A, ch 1, turn. Work sc BLO in each st across. (51 sts) This plain row closes the diamond and gives a clean line before the next repeat starts. Fasten off A.
Repeat rows 1 to 12 three more times, for a total of 4 chart repeats and 48 pattern rows plus the foundation row. The front panel should measure about 16 inches tall. If it is a little short, add one more repeat of rows 1 to 12. If it is a little tall, stop after 3 repeats and add a plain border.
Back panel
The back panel is worked in plain single crochet stripes, which is fast and relaxing after the chart work. With color A, ch 52.
- Foundation row (A): sc in 2nd ch from hook and in each ch across. (51 sts) Turn.
- Rows 1 to 48: sc in each st across, alternating two rows of A and two rows of B, so the back has soft stripes that match the front. Turn at the end of each row.
- Fasten off and weave in all ends.
Part 3: Border and Finishing
The border pulls the front and back panels together and hides all the yarn ends from the color changes.
- Hold the front and back panels together with wrong sides facing in and the front panel facing you. Join color A with a sl st in any corner stitch.
- Work sc evenly around all four sides, working 3 sc in each corner stitch to turn the corner, and working through both panels at once so they join as you go. Leave a 10 inch gap on the bottom edge for the cushion pad.
- Slip the cushion pad inside through the gap, then continue working sc across the gap to close it. If you prefer a removable cover, leave the gap open and sew four small buttons to the back panel instead.
- Work one more round of sc around the whole cover in color B for a neat contrasting edge, with 3 sc in each corner.
- Fasten off and weave in all ends, then pop the cushion on your sofa and admire the diamonds.
For more home projects in the same style, the chunky yarn crochet blanket patterns collection has cozy throws to try next, and the crochet table runners make lovely mosaic style centerpieces. If you want to turn your mosaic skills into a bag, the crochet granny square bag pattern uses the same two color contrast idea.
Variations: Colors, Sizes, and Projects
- Navy and mustard: a bold modern pairing that makes the diamonds look sharp and graphic, perfect for a living room with neutral furniture.
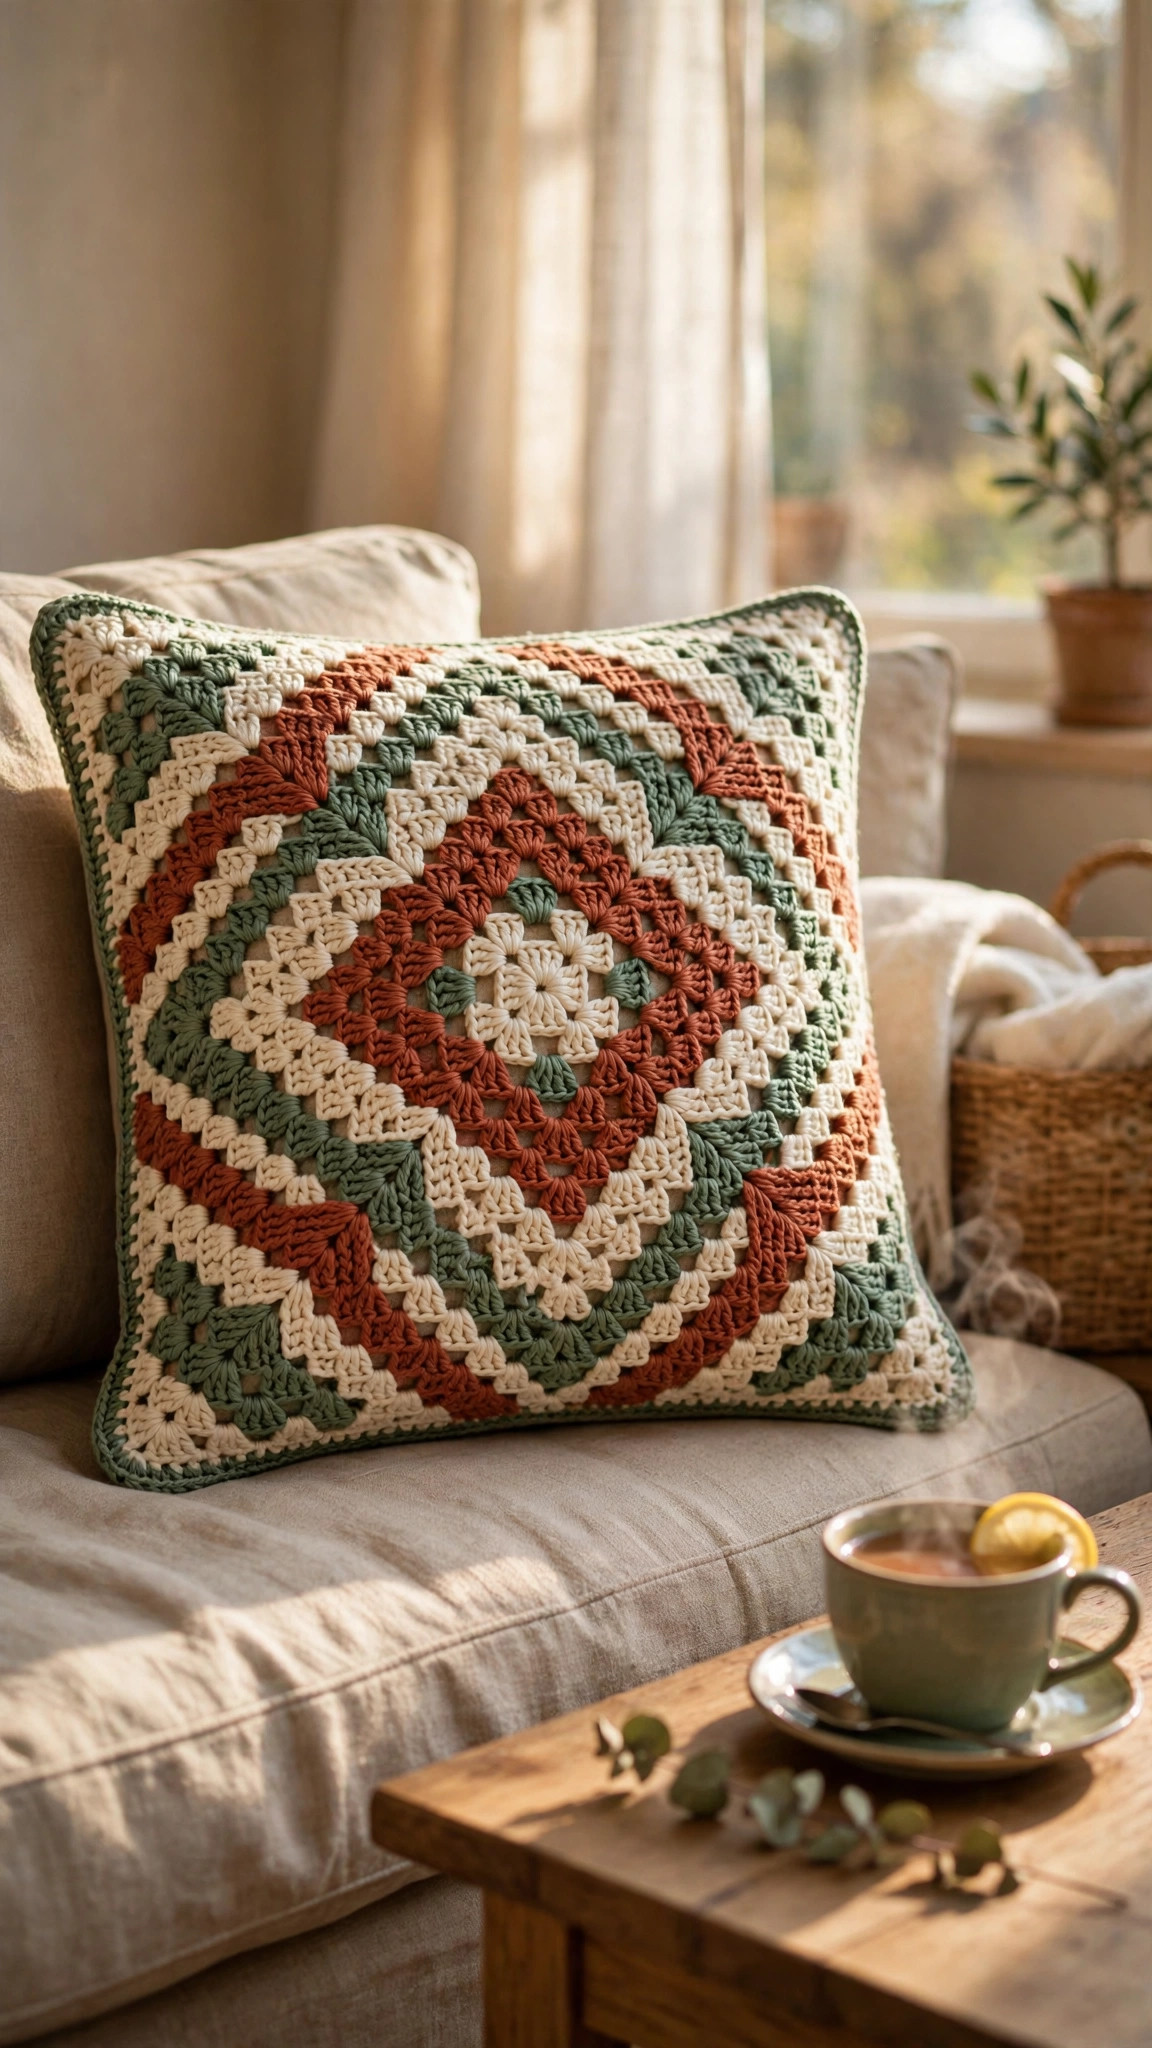
- Terracotta and sage: a warm earthy pairing that suits boho and cottage style homes, with a soft handmade feel.
- Lap blanket: work 8 repeats wide (99 stitches) and repeat the 12 row chart until the blanket is about 40 inches long, then add a simple single crochet border.
- Table runner: work 3 repeats wide (39 stitches) and stop after 4 chart repeats, then add tassels to the short ends for a finished look.
If your cushion needs a matching throw, the easy crochet patterns for blankets collection has simple blankets in the same weight of yarn, and the crochet sunflower blanket pattern brings the same bold color contrast to a floral design.
Troubleshooting Mosaic That Drifts or Puckers
- My diamonds lean to one side. Count your stitches at the end of every row. A missed stitch early on shifts the whole diamond, so count the X stitches in each row against the written instructions before you move on.
- The fabric puckers or ripples. Your front loop double crochets may be too tight. Work them loosely, pulling the yarn up to the height of the current row before you finish the stitch, so they lie flat over the row below.
- I can see the other color peeking through. Work the back loop single crochets firmly and keep your tension even. A little peeking is normal in mosaic crochet, but large gaps mean your tension is too loose.
- The edges are wavy. The first and last stitches of every row must be back loop single crochet. Use stitch markers in the first and last stitches until the rhythm feels natural.
Care Instructions
Shake your cushion cover gently to remove dust. If it gets grubby, hand wash it gently in cool water with a tiny amount of mild soap, squeeze it gently without wringing, and let it air dry completely. Do not machine wash a mosaic cushion, because the agitation can distort the long stitches, and do not put it in the dryer. Reshape the cover with your fingers while it is still damp, and store it away from direct sunlight.
Frequently Asked Questions
Is mosaic crochet hard for beginners?
No, not if you start with overlay mosaic like this pattern. You only use single crochet and double crochet, one color per row, and the chart repeats every twelve rows. Make a small swatch first, and by the end of the first diamond you will have the rhythm.
What is the difference between overlay and inset mosaic crochet?
Overlay mosaic works one color per row and uses long double crochet stitches dropped into the row below to draw the pattern. Inset mosaic works two colors in the same row. Overlay is easier to learn and gives a thicker, more textured fabric, which is why this pattern uses it.
Do I need to carry yarn across the back?
No, and that is the best part of overlay mosaic. Each row uses one color only, so you fasten off at the end of every row and join the next color. There are no floats on the back, and the border hides all the yarn ends.
How do I read a mosaic crochet chart?
A mosaic chart is read from the bottom up, with a dot meaning back loop single crochet and an X meaning front loop double crochet. This pattern writes every row out in full, so you do not need to read a symbol chart at all.
What yarn is best for mosaic crochet?
Smooth worsted weight acrylic or cotton in two strongly contrasting colors works best. Avoid fuzzy or textured yarn, because it hides the stitch definition and makes the pattern hard to see.
Can I make a blanket with this diamond chart?
Yes, easily. Add repeats of 12 stitches to the foundation chain for width, and repeat the 12 row chart until the blanket is as long as you like. Eight repeats wide makes a lovely lap blanket.
Can I sell cushion covers made from this pattern?
Yes, you may sell finished cushion covers made from this free pattern, with credit to Little Loop Finds. Please do not sell or republish the pattern text itself.
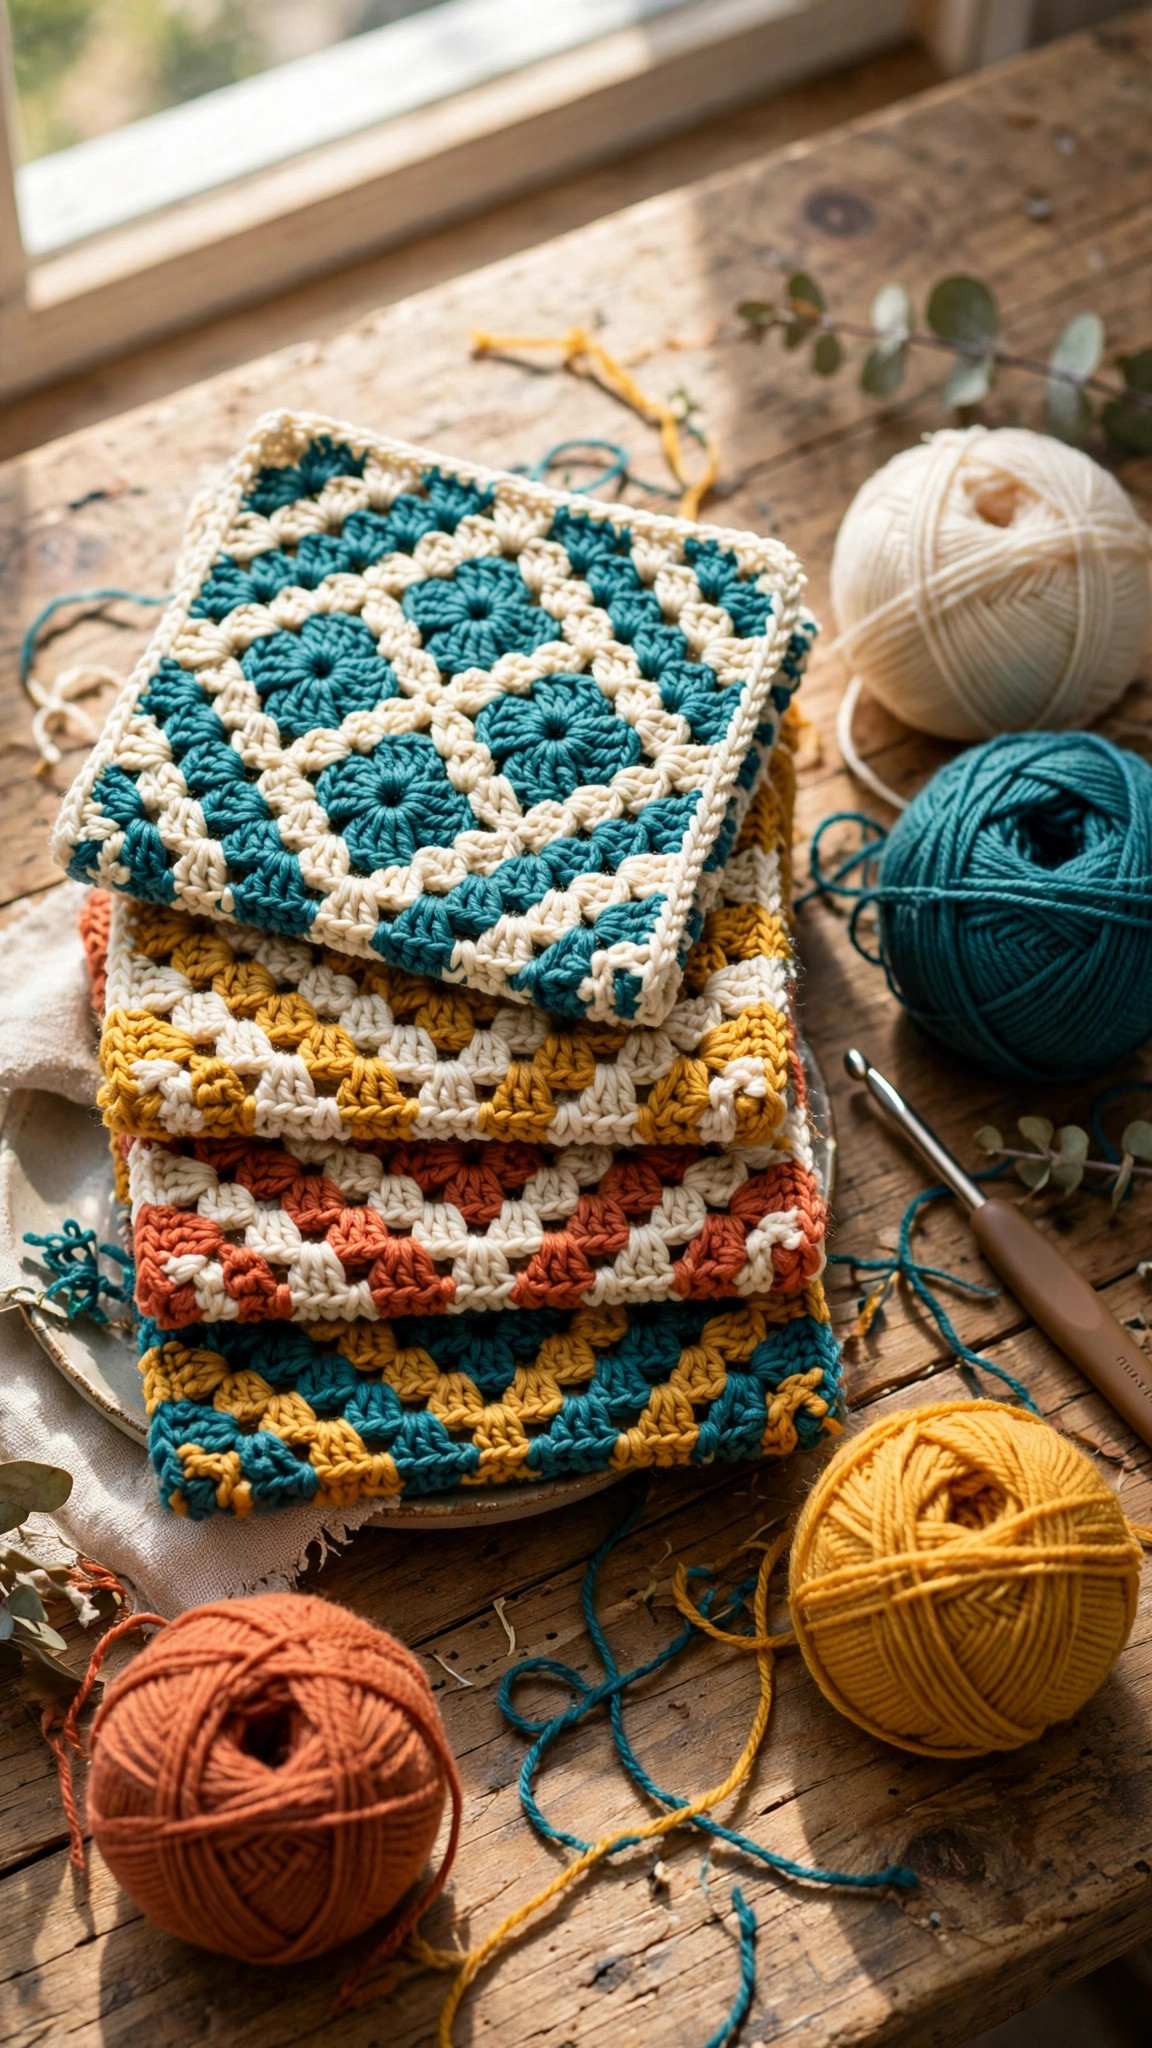
Happy stitching, and may your home be full of bold diamonds, bright colors, and one very satisfying mosaic cushion.


